 WJCarpenter
To keep track of when the laundry is moved around by someone, I put contact sensors on the door of the washer and dryer. I know the smart money thinks you should use Zigbee sensors for battery-powered devices like this, but I have not had a good experience with Zigbee sensors in the past. Maybe I just need to work harder at it and understand more things. For now, I am using these battery-powered wifi devices.
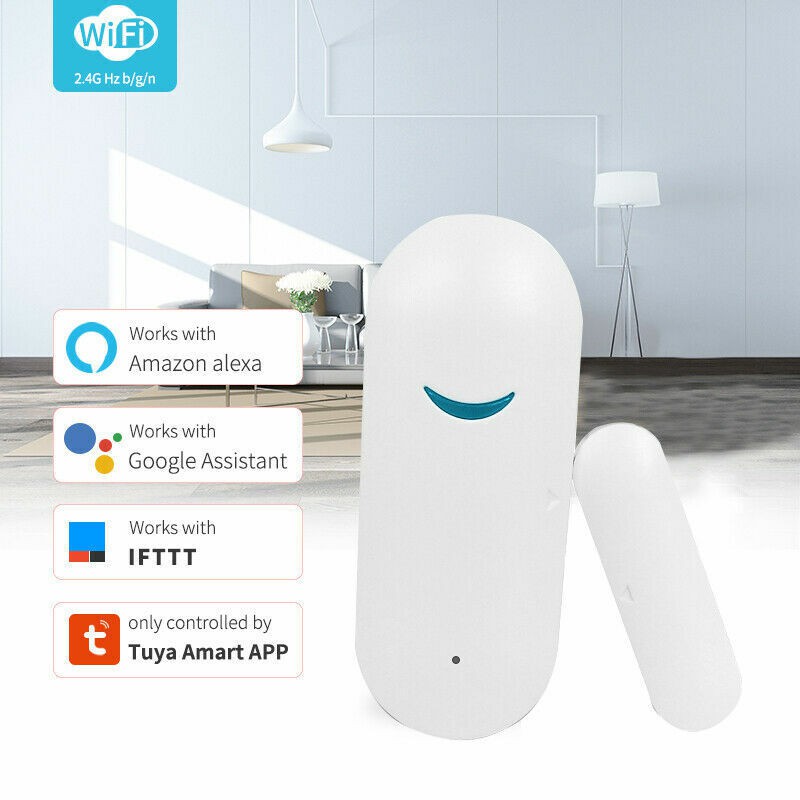
These are widely available with no-name branding for US$10-12 each. They are powered by 2 AAA batteries. Certainly there is a few seconds lag in getting updates from them, but that's not important in this application. Places that sell them claim half a year battery life under some unknown conditions. We shall see about that.
I integrated these with Home Assistant using localtuya. I've already got several other devices integrated that way, so I'm comfortable in getting it to work. The only tricky part is more of an annoyance than a trick. To conserve power, the devices are only connected to the wifi for a few seconds after an open or close event. So, to set them up via the localtuya integration, you have to keep triggering them by moving the magnet near and away. It's not too bad once you know what's going on and get used to what you need to do. The localtuya integration does not make the battery level available, but the cloud-based Tuya integration does. I disabled the entity for the open/close sensor in the Tuya integration but left the battery level sensor available.
The other quirk that you have to deal with in this kind of sensor is that it shows "unavailable" most of the time in Home Assistant. Of course, that's also due to dropping off of wifi as soon as it can. The answer to that is a somewhat advanced feature of Home Assistant called templating. It's advanced in the sense that you have to directly edit templates in files; there's no simple GUI for it. The idea of templates for these sensors is to define a new sensor that remembers the value of the last real sensor. Home Assistant's templating mechanism will let you trigger the update of the templated sensor based on a state change of the real sensor. So, when the real washer door sensor signals "open", it triggers an update of the templated sensor to that value. Likewise when it signals "closed". For this purpose, the template explicitly ignore state changes to "unavailable".
Here's what the resulting triggered templates look like:
  - trigger:
      - platform: state
        entity_id:
          - binary_sensor.lt_contact_sensor_washer
    binary_sensor:
      - name: Contact Sensor Washer Triggered
        device_class: door
        state: >-
          {% if states('binary_sensor.lt_contact_sensor_washer') != 'unavailable' %}
            {{ states('binary_sensor.lt_contact_sensor_washer') }}
          {% else %}
            {{ states('binary_sensor.contact_sensor_washer_triggered') }}
          {% endif %}

  - trigger:
      - platform: state
        entity_id:
          - binary_sensor.lt_contact_sensor_dryer
    binary_sensor:
      - name: Contact Sensor Dryer Triggered
        device_class: door
        state: >-
          {% if states('binary_sensor.lt_contact_sensor_dryer') != 'unavailable' %}
            {{ states('binary_sensor.lt_contact_sensor_dryer') }}
          {% else %}
            {{ states('binary_sensor.contact_sensor_dryer_triggered') }}
          {% endif %}
(I first learned about this template sensor trick from another Home Assistant user for a different sensor.)
Discussions
Become a Hackaday.io Member
Create an account to leave a comment. Already have an account? Log In.