Nick Bild
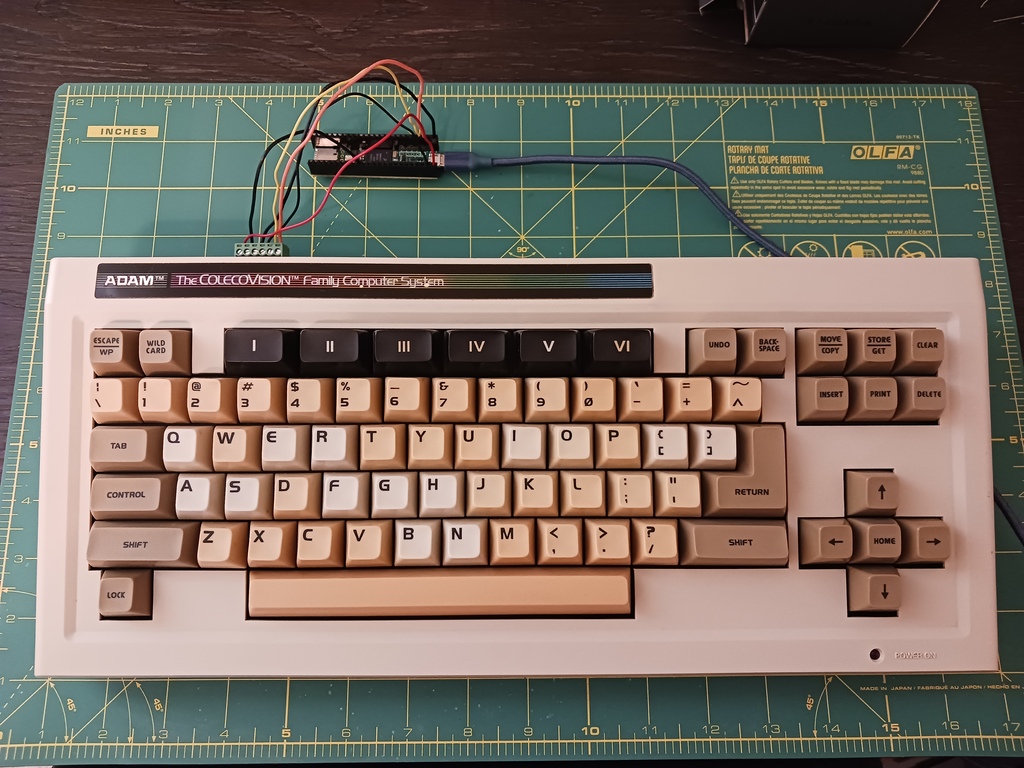
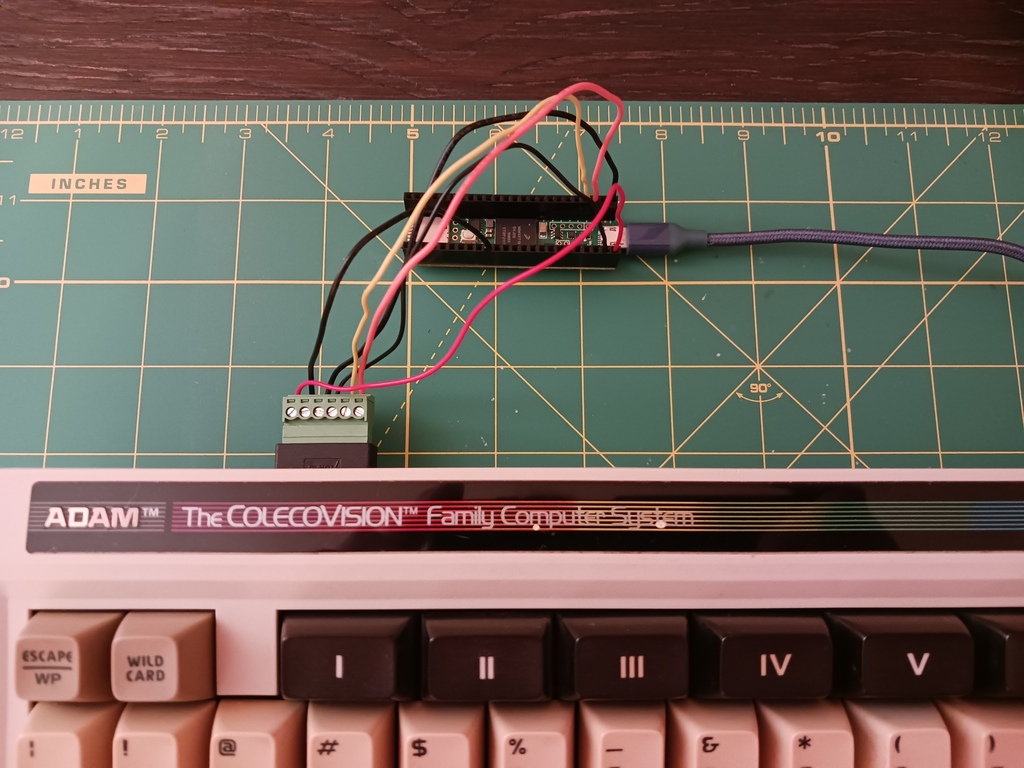
This adapter enables an unmodified Coleco Adam keyboard to work as a USB keyboard on any modern computer.
The Coleco Adam was a short-lived home computer of the early 1980s. It launched with a number of problems, and many units were defective, so it quickly earned a bad reputation and sold poorly before being discontinued after little more than one year on the market. Many attribute the downfall of Coleco to the losses taken on the Adam computer.
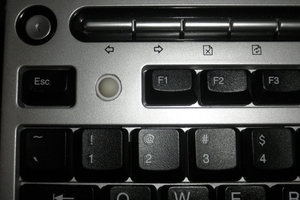
But despite these problems, the Adam did have a pretty amazing keyboard for the era. Unlike the many keyboards with membrane keys that were sized for the hands of a toddler, the Adam keyboard is well-built and very nice to type on. Aside from a few odd outliers, the keyboard also has a very modern layout that is immediately familiar to a modern computer user.
I do not have an Adam computer, but I do have an Adam keyboard, and I really want to use it, so I built this USB adapter.
How It Works
The weirdness of the Adam extends to all of its peripherals, including the keyboard. Instead of a typical keyboard of the time that arranged the keys into a matrix of switches that triggered pins on an interface chip when they were closed, Coleco designed a communications protocol called AdamNet. The keyboard connects to the computer via an RJ-12 connector with a single data line that communicates over a 62.5 kbit/s half-duplex serial bus. It contains its own Motorola 6801 microcontroller to cache key presses and send them to the main computer when it asks for them by sending a series of commands via the AdamNet protocol.
I developed an Arduino sketch for the Teensy 4.1 microcontroller development board that communicates with the keyboard via AdamNet to acquire keystrokes, then they are translated into the appropriate key codes and sent to the host computer as if the Teensy was a USB keyboard (be sure to set serial mode to "Keyboard" in Arduino IDE). Modifier keys like "shift" and "control" are supported.
I have not mapped some of the keyboard's special keys, like "Store/Get," "Wildcard," or the six "smart" keys at the top, but it would be fairly trivial to map these to any key desired with a small edit.
Wiring:
- Pin 1 — RJ 1
- Pin 2 — RJ 2
- GND — RJ 3,4,5
- VIN (+5V) — RJ 6
Media

Bill of Materials
- 1 x Teensy 4.1 microcontroller
- 1 x RJ-12 breakout connector
About the Author
 Gertlex
 ZitaoTech