 Keenan Pinto
With the updated larger PCB, I had several ideas for how a Ready-to-Use (RTU) version would take form.
Given that the DIY version had a laser-cut enclosure, I decided that the RTU version should be something that does not need much tinkering with to assembly. A few screws and that's it.
So I got cracking with Fusion360.
With the RTU version, the ideal user is not necessarily a maker or hobbyist and so the visual and functional appeal is expectedly greater than the hackability or flexibility of the setup.
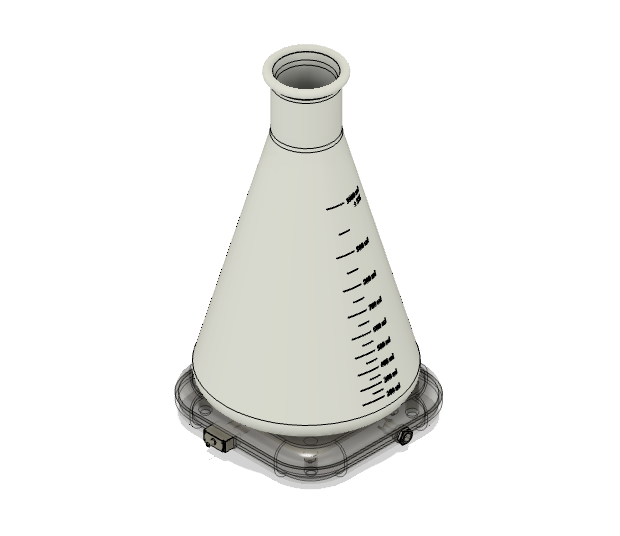
In the first revisions of the project, I had used a conical flask to grow the algae, but as I started thinking about the aesthetics of things, it became obvious that I'd need better looking glassware for the final revision.
For this design revision though, I stuck with the conical flask.
Here's the outcome!
Let's focus on the enclosure though.
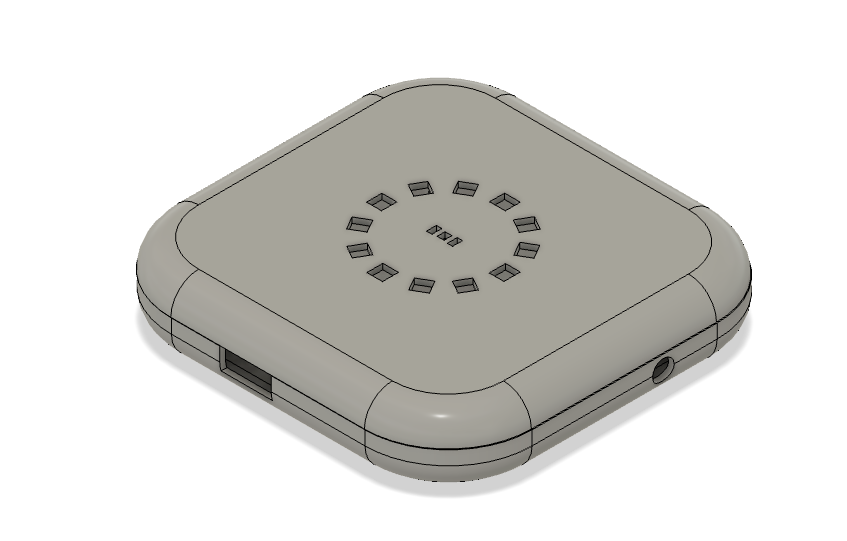
As with most folks, a lot of this work is done after work hours and sometimes late into the night. The downside of late-night work is that you sometimes miss things.
Let me know if you spot the mistake I made!
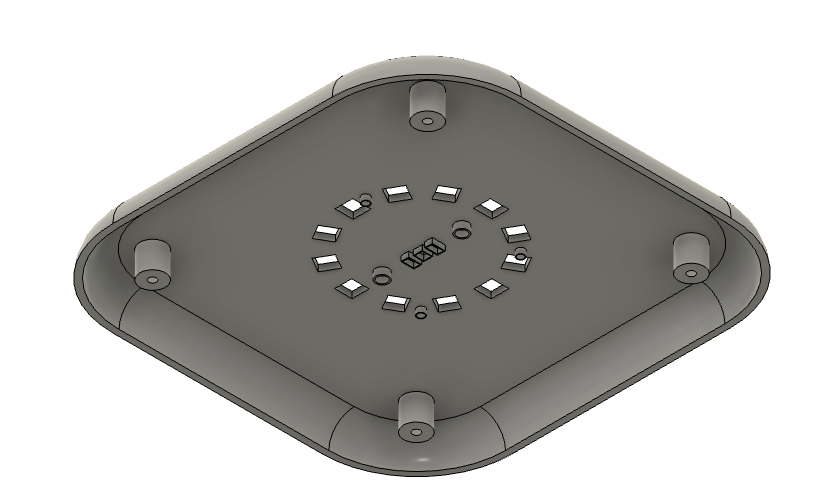
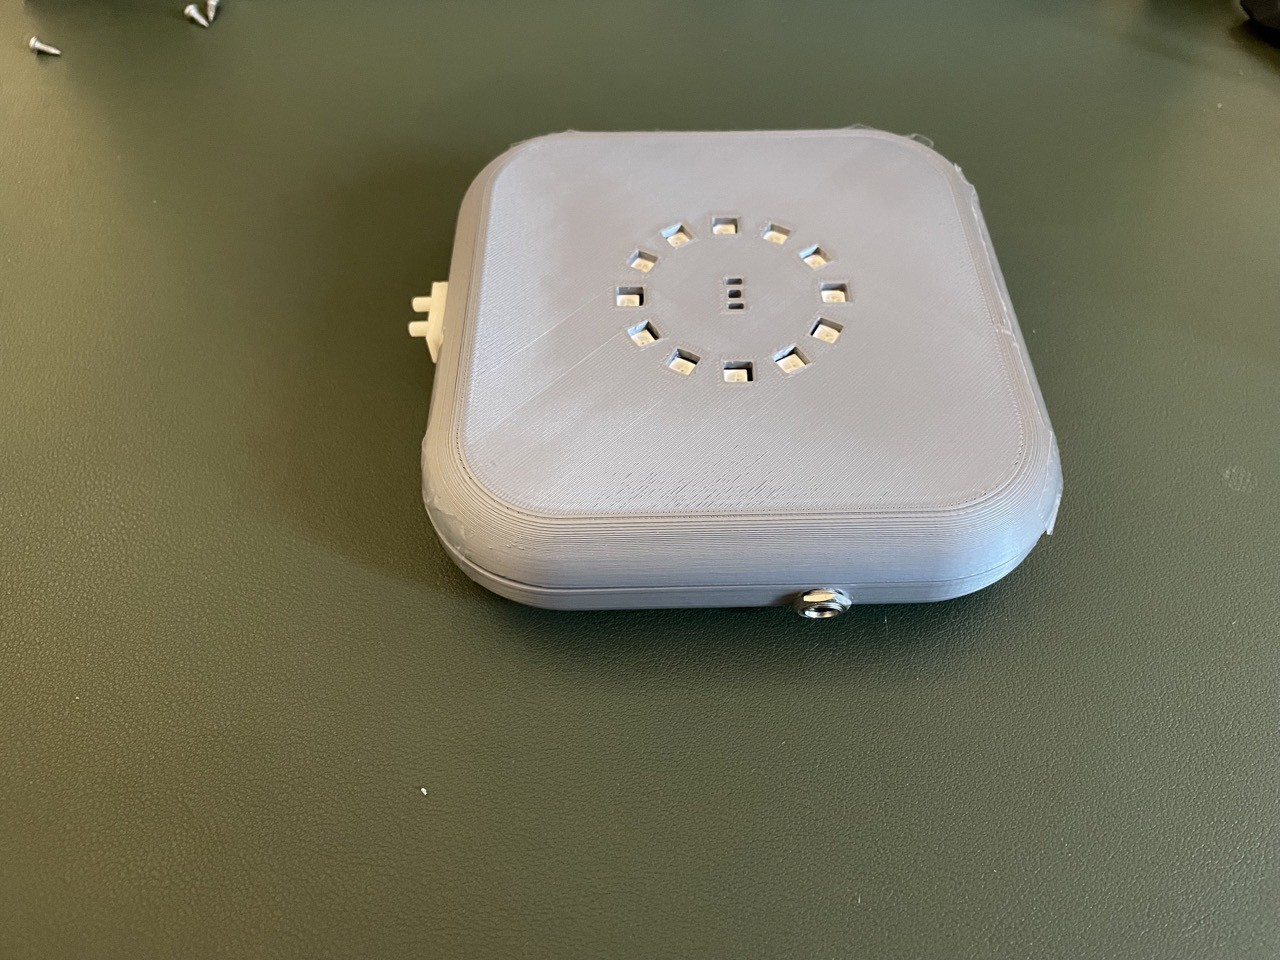
For the first print, I decided to go with an FDM setup to move fast. Here are a few picture of the outcome.
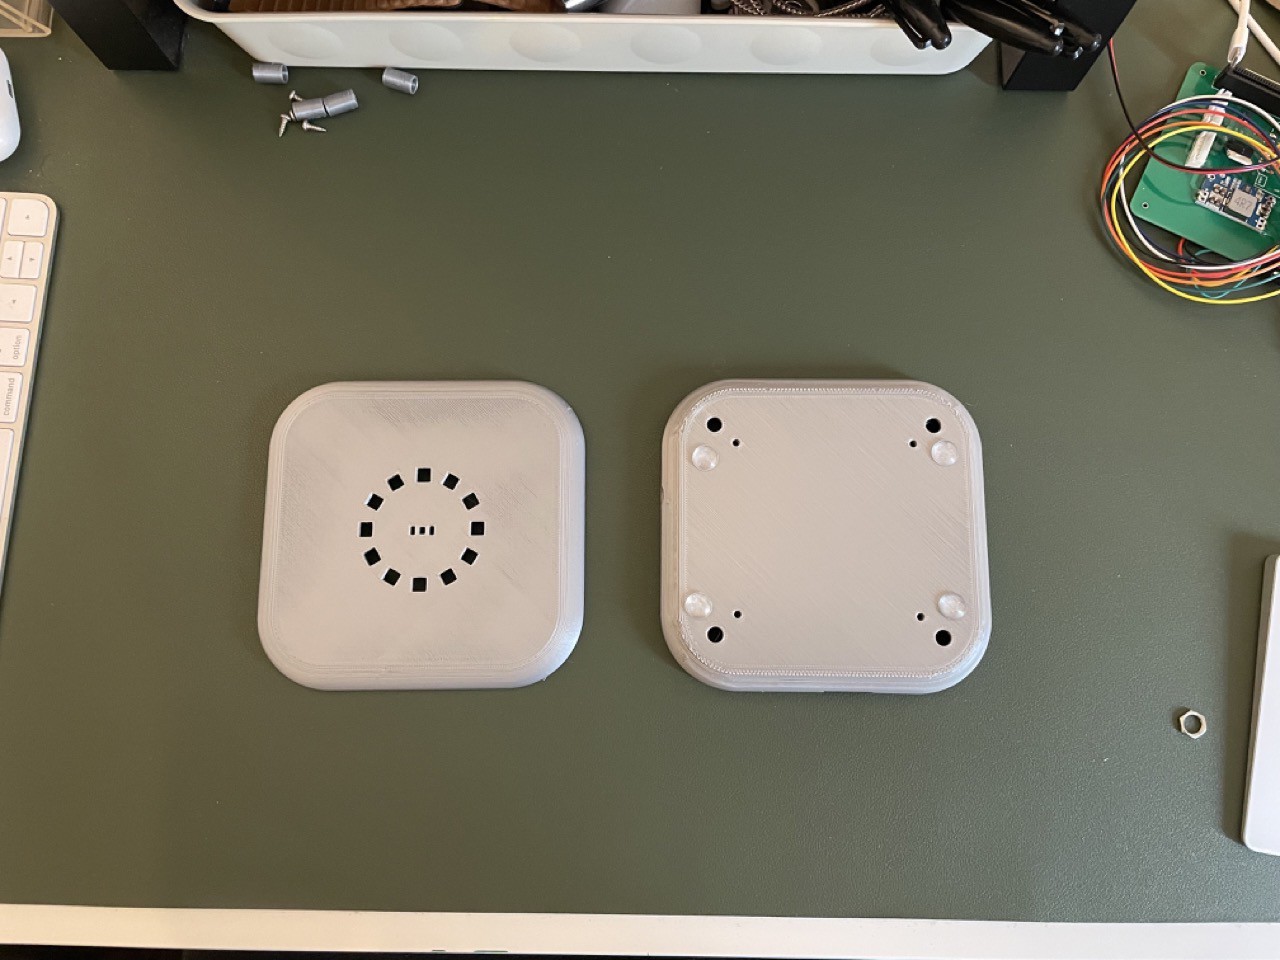
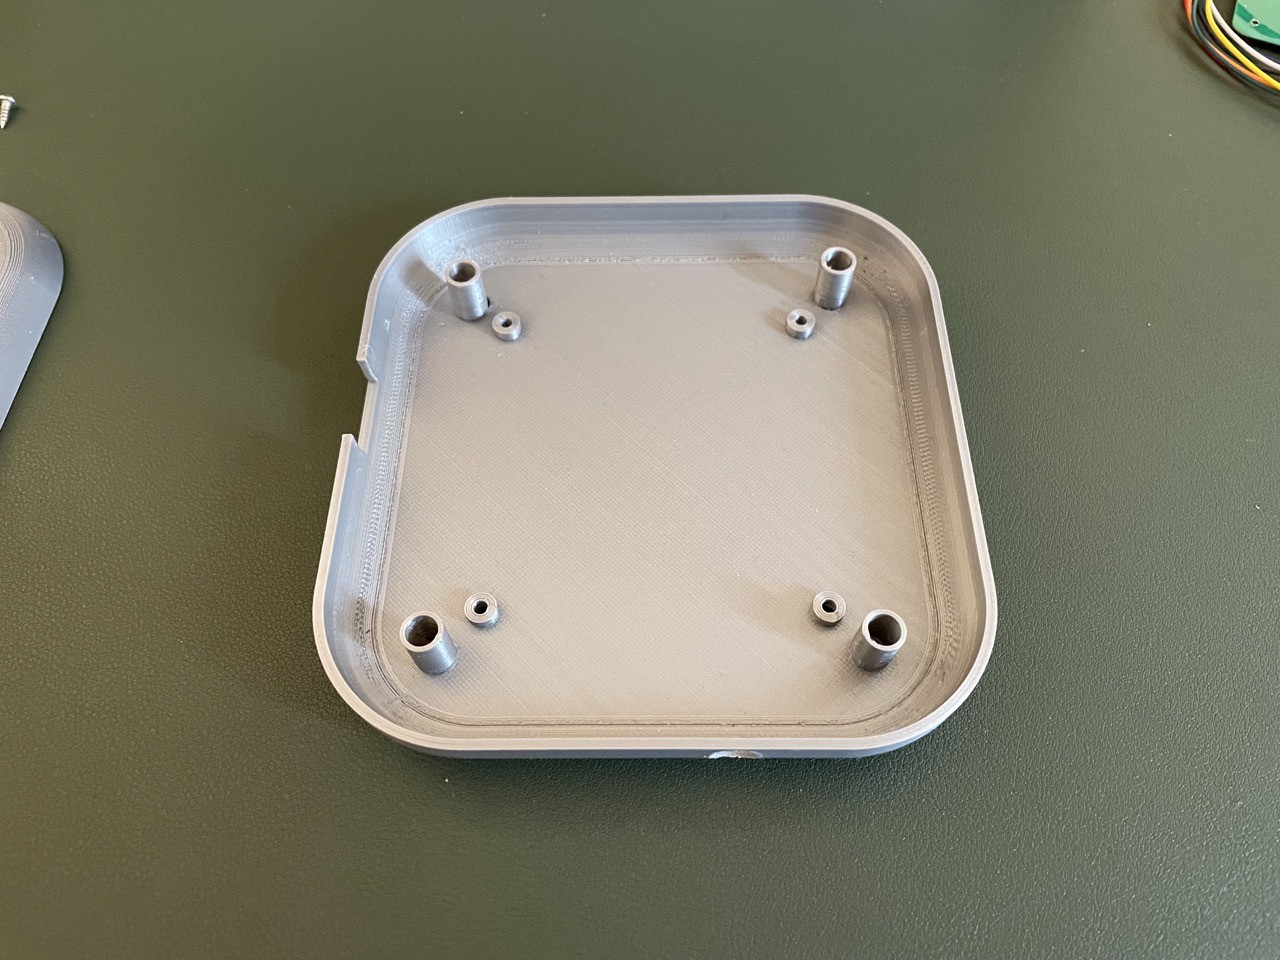

Lots of learnings from the first print, that's for sure.
But also a sense of satisfaction with the direction I chose.
With a few minor updates, this could be it!
Here's a link to check out the enclosure on Fusion360 Online.
Now on to the assembly part.
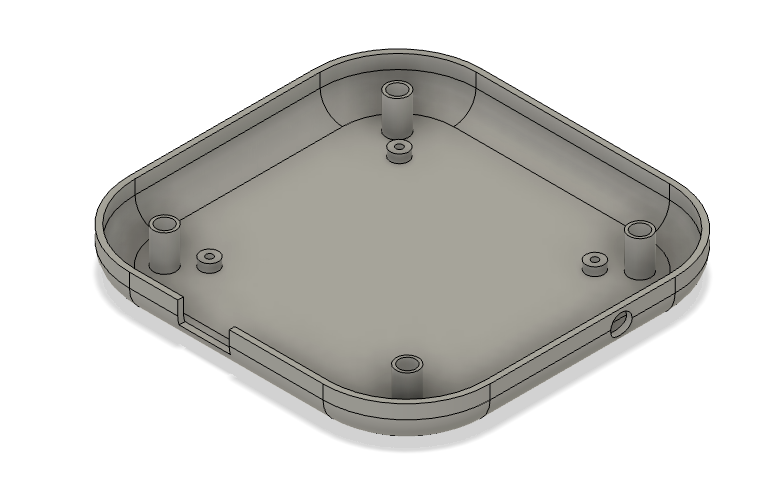
Disclaimer: It's been a while since I've done a CAD model. So I've messed up the sizes of the screw holes between the PCB and the enclosure. So I ended up using hot glue to bring the parts together.
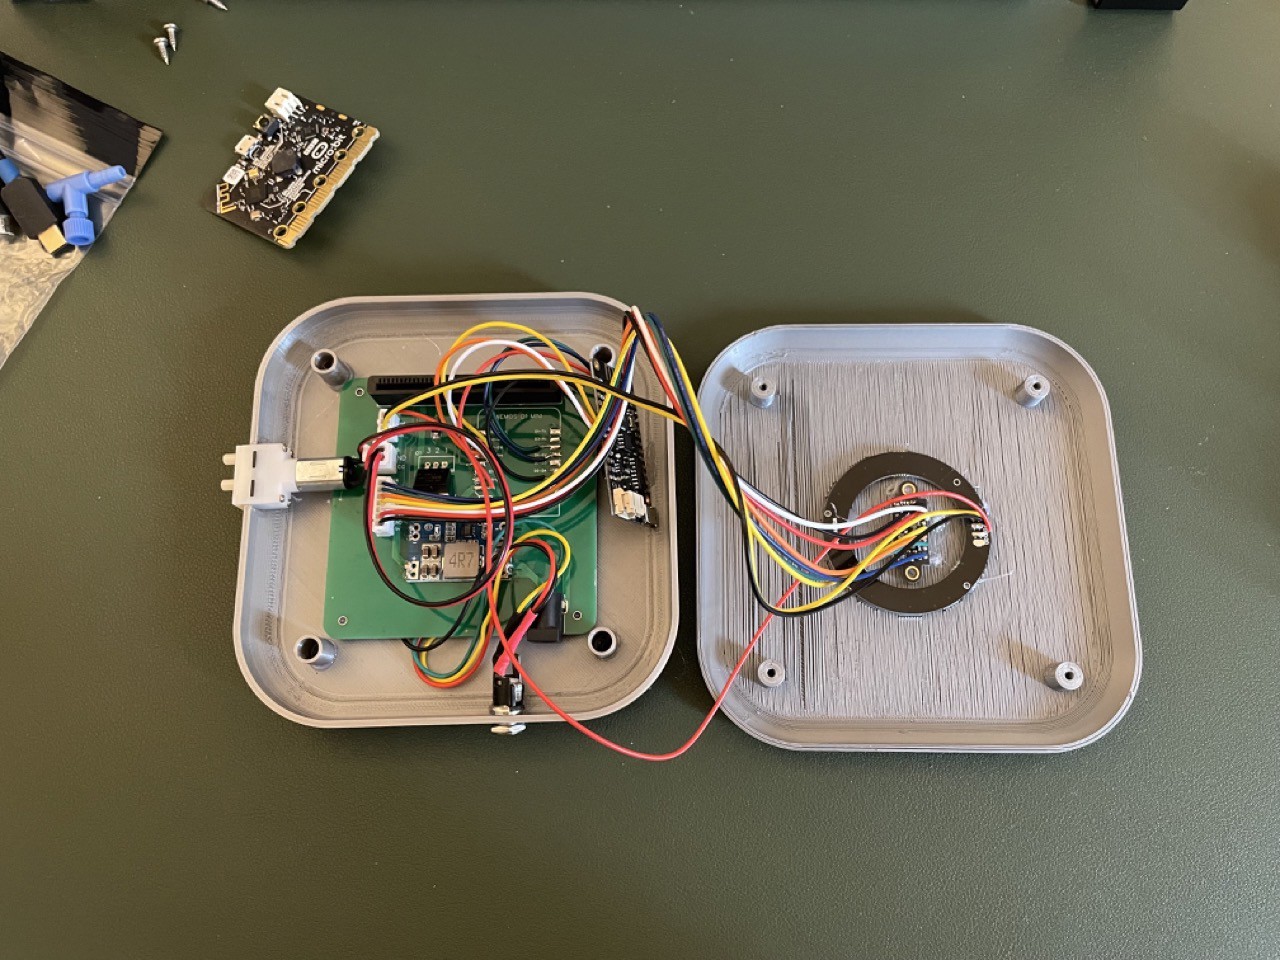
I definitely overdid it with the length of the wiring. Especially with the Air pump.
And if you hadn't caught it till now, the pillars on the bottom part are hollow all the way thought :P
Meaning, I couldn't seal the two parts together.
Hot glue was out of the question as I'd need to keep opening things to program it for now.
So I ended up using another prototyping staple :) Tape!
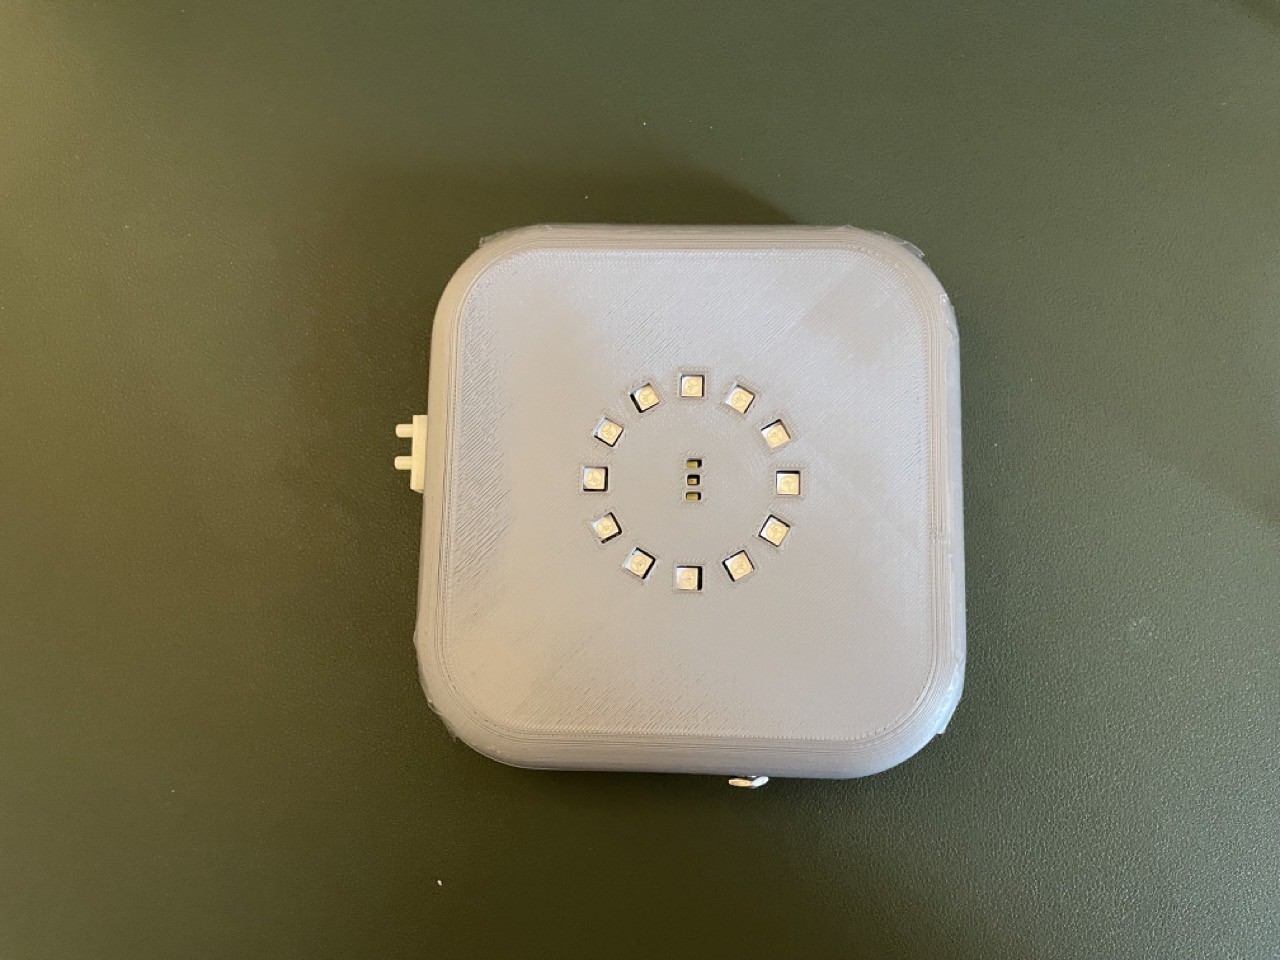
And there you have it!
AlgaLite has a new enclosure and the first steps towards a Ready to Use version.
Next steps, bring this to life!
Discussions
Become a Hackaday.io Member
Create an account to leave a comment. Already have an account? Log In.