Close
0%
0%

AlgaLite

A living lamp for climate-conscious homes. It uses microalgae to create sustainable light while improving indoor air quality naturally

Public Chat
Similar projects worth following
Hello there! Welcome to the AlgaLite project page, a living lamp focuses on circularity of energy and mass using the power of biology.

This project is an ode to MicroAlgae. Fantastic little microbes that keep our world together by cycling CO2 into Oxygen and serving as a food source at the bottom of the food pyramid. (and sometimes at the top).

Functionally, it's an LED lamp that's controllable via WiFi. But rather than simply wasting the photons generated by the LEDs, the light is passed through a container with microalgae inside it. They absorb the photons and CO2 and any nutrients in water to produce more algae biomass.

The project makes use of simple components found on and can be built relatively cheaply. A starter culture can be sourced from a local repository of algae and protozoa.
Make your next home improvement project a green (and living one)!

This project is licensed under the Creative Commons License (CC BY-NC)

Updated Project video: 


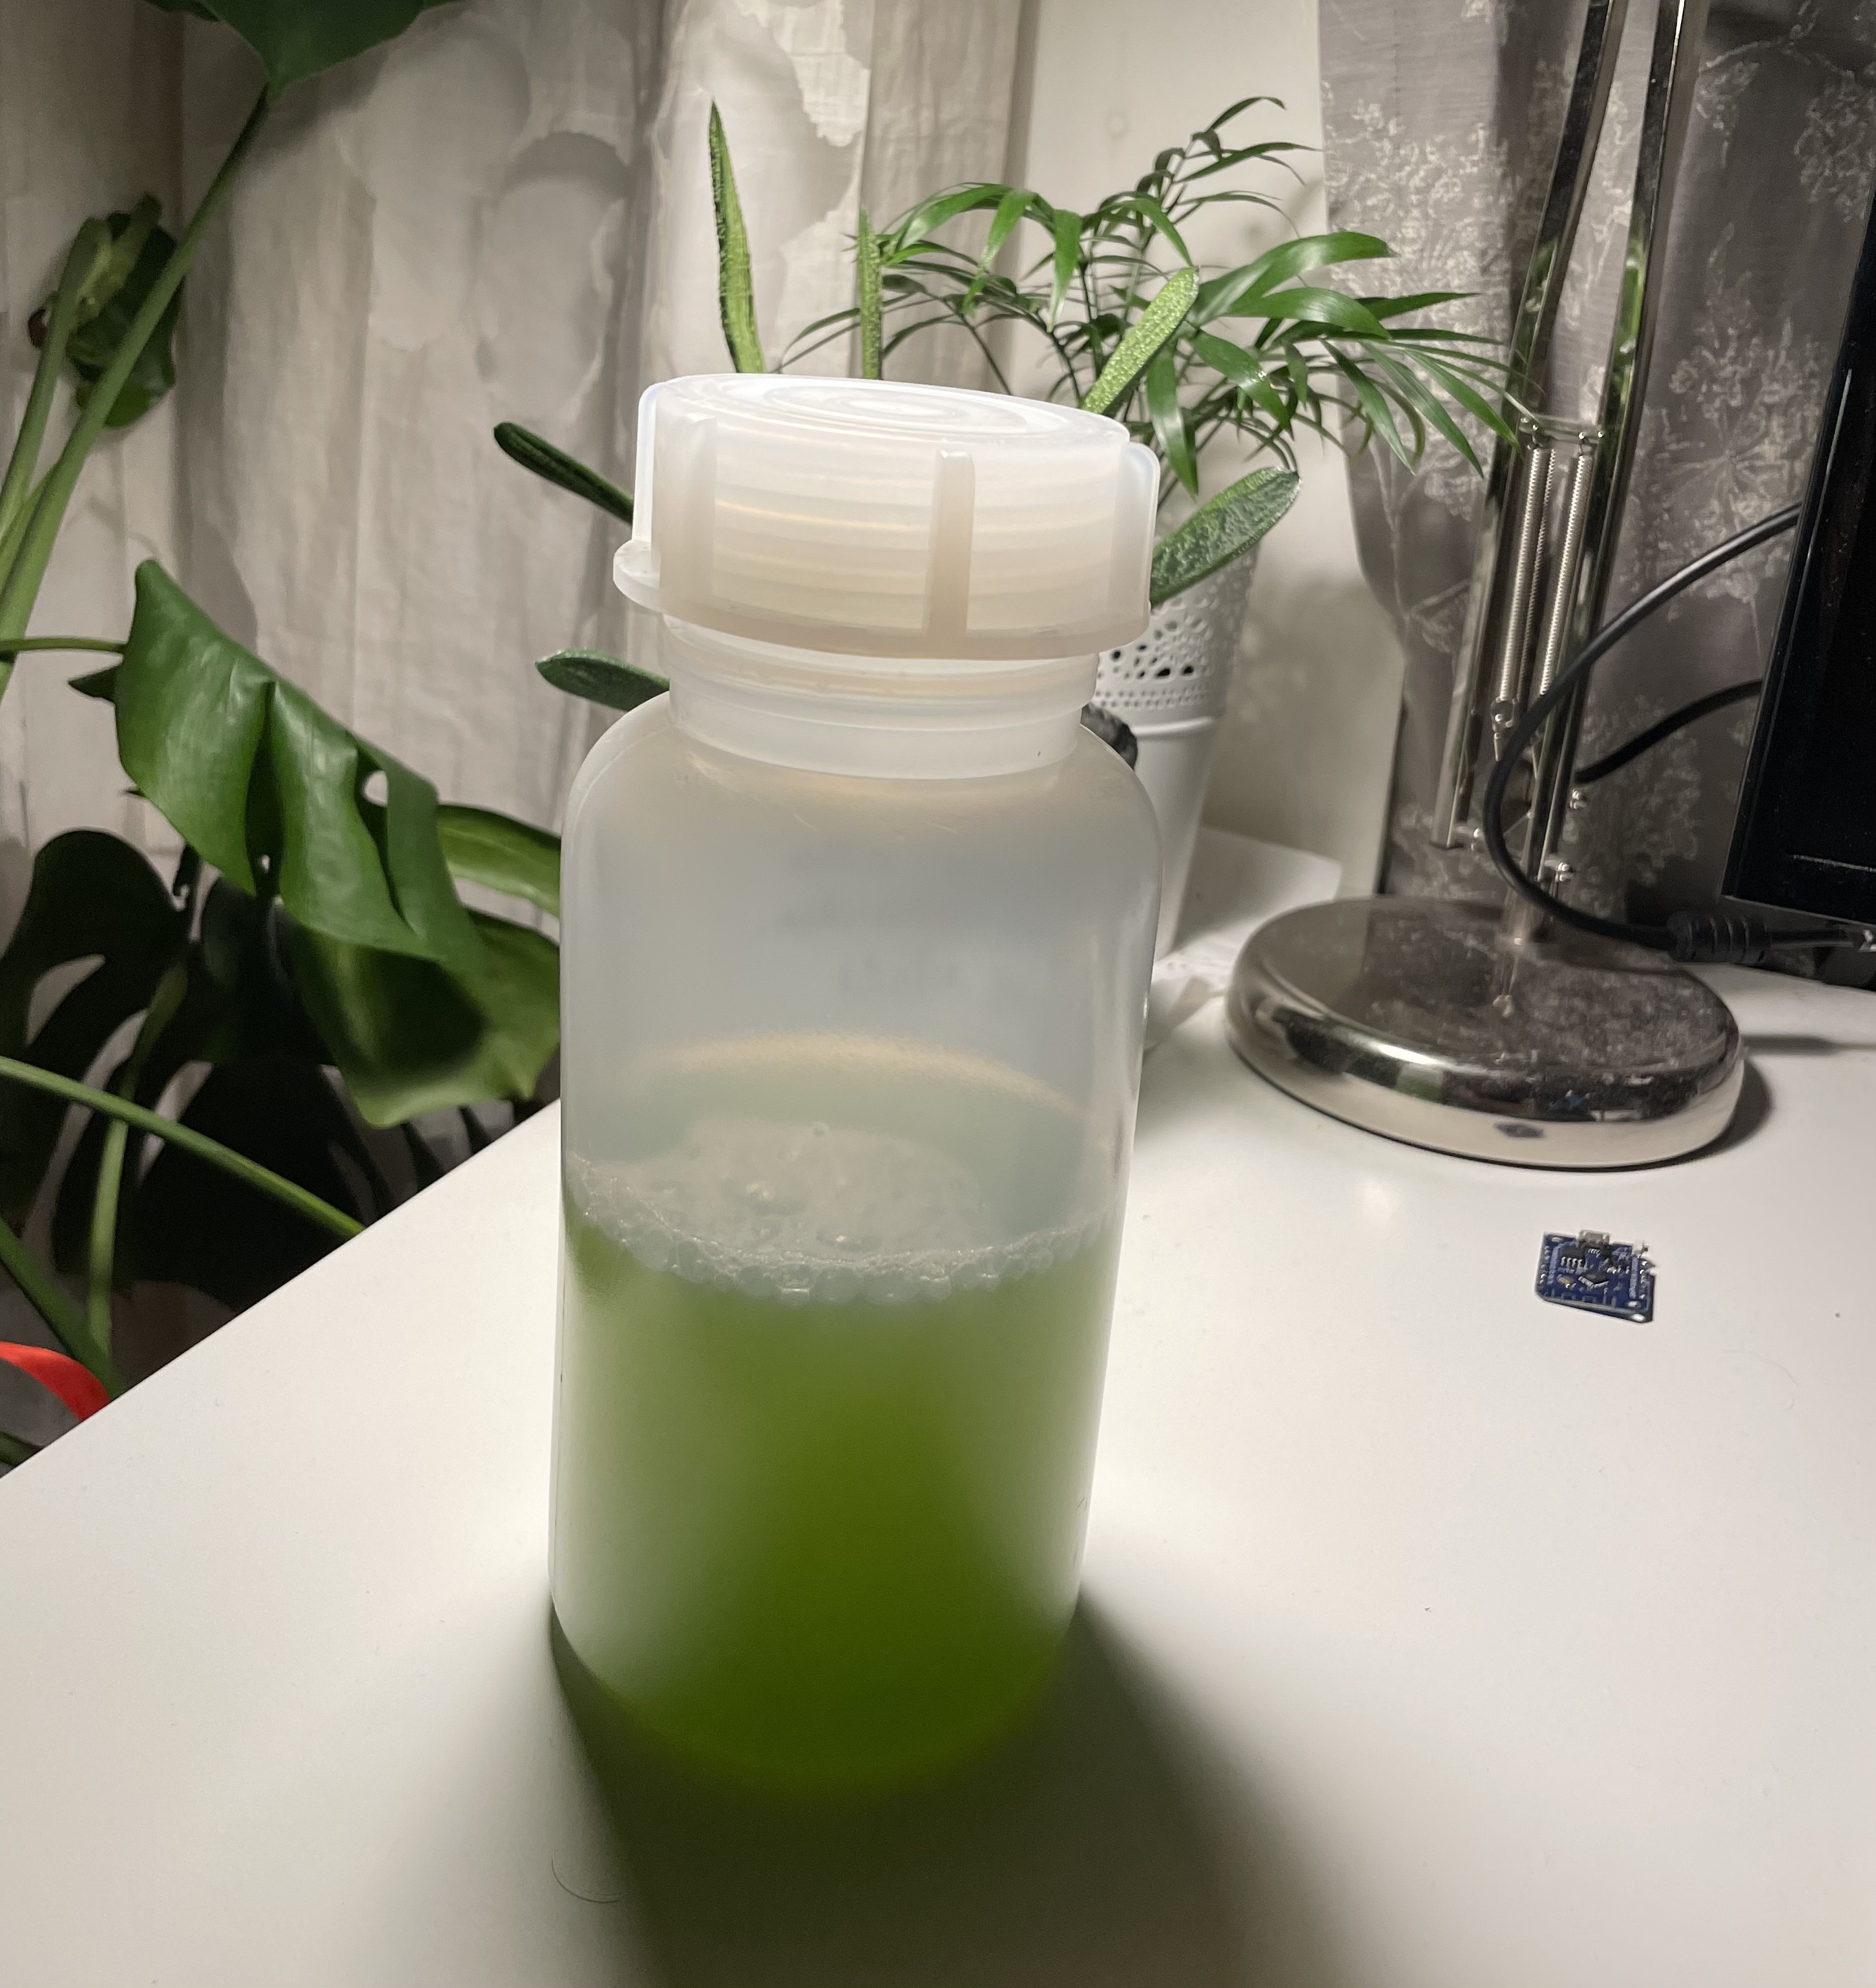
From 2016 - 2018 and till today, Microalgae occupy a special place in my heart. Their ability to serve as a food source, purify air, and act as a feed for food production (both for plants and animals) makes them one of the most circularity-supporting organisms ever. 
For decades, they've been researched heavily for their ability to produce biofuels and have slowly made their way to the mainstream market in the superfood category, but they are not a household name yet. 
This project aims to change that. 


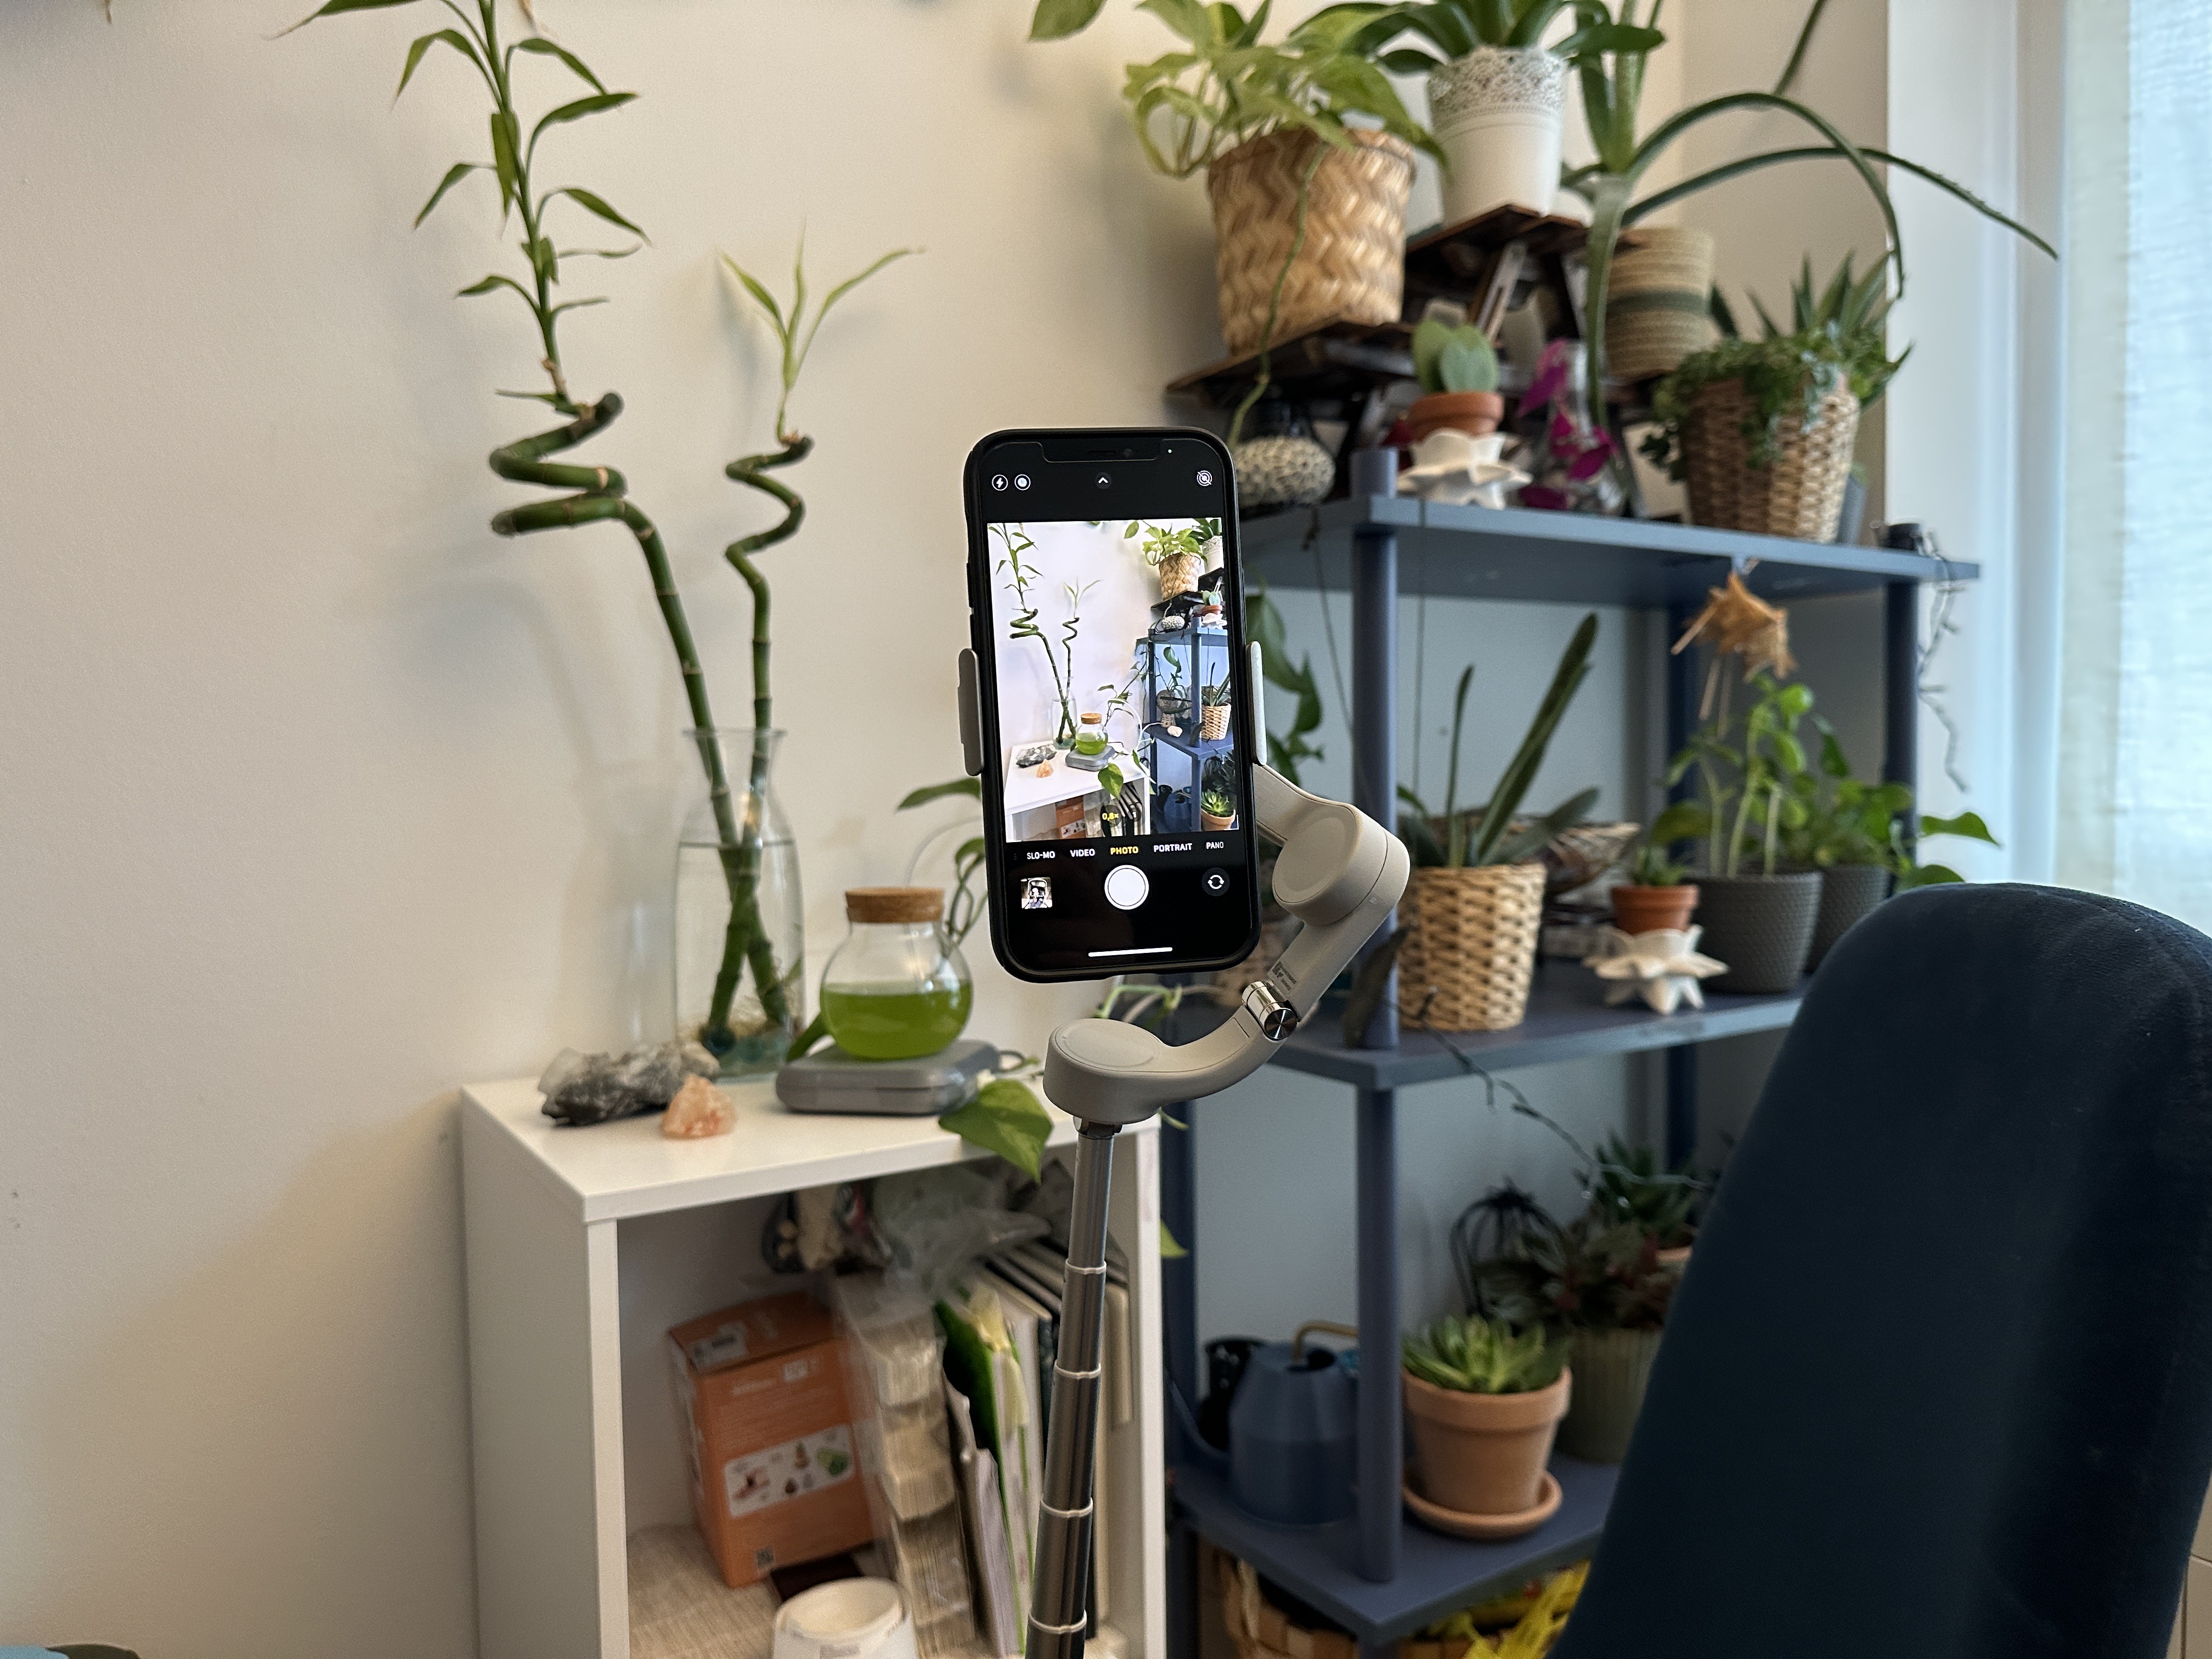
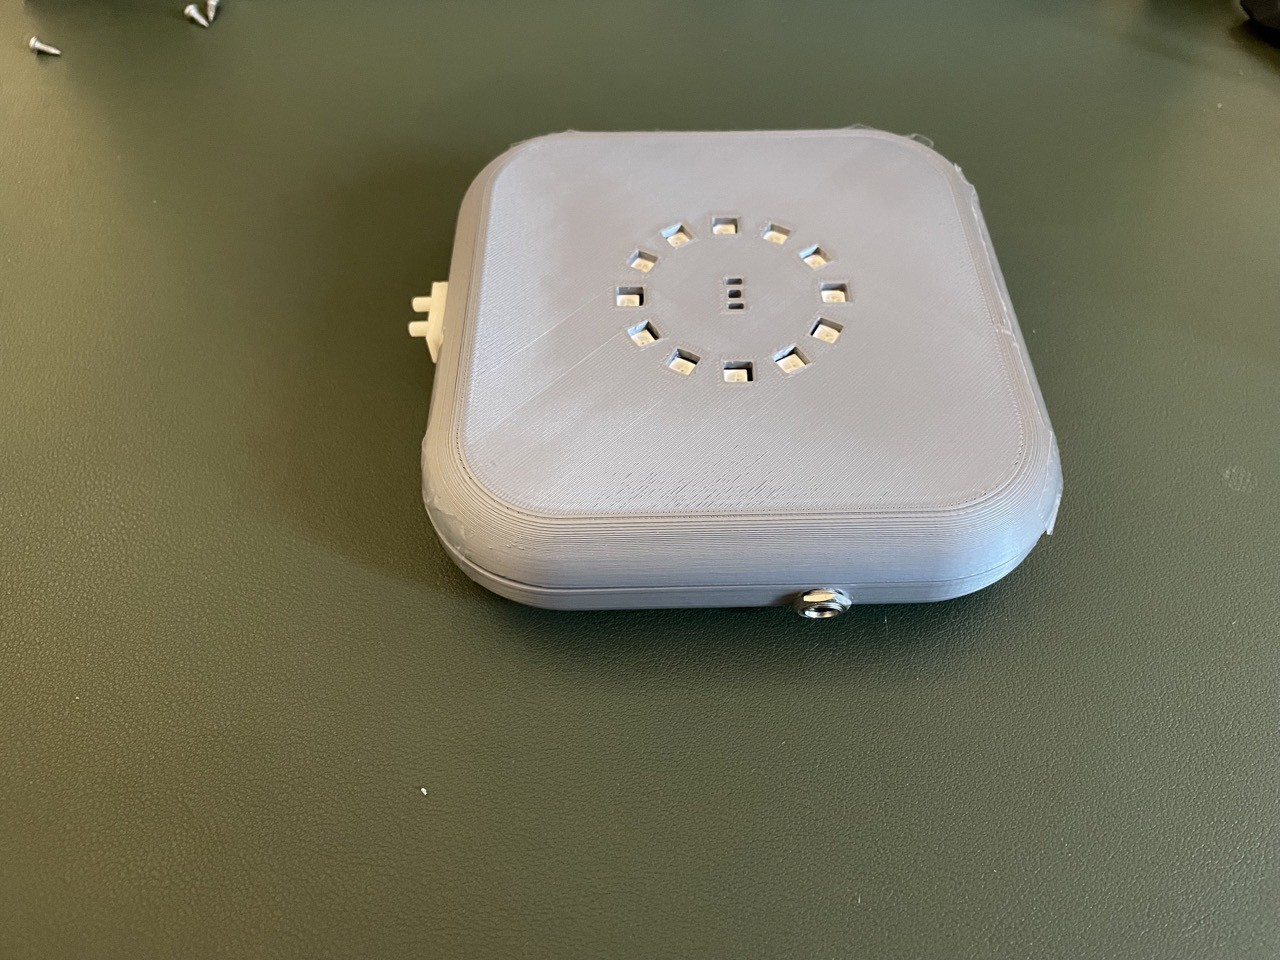
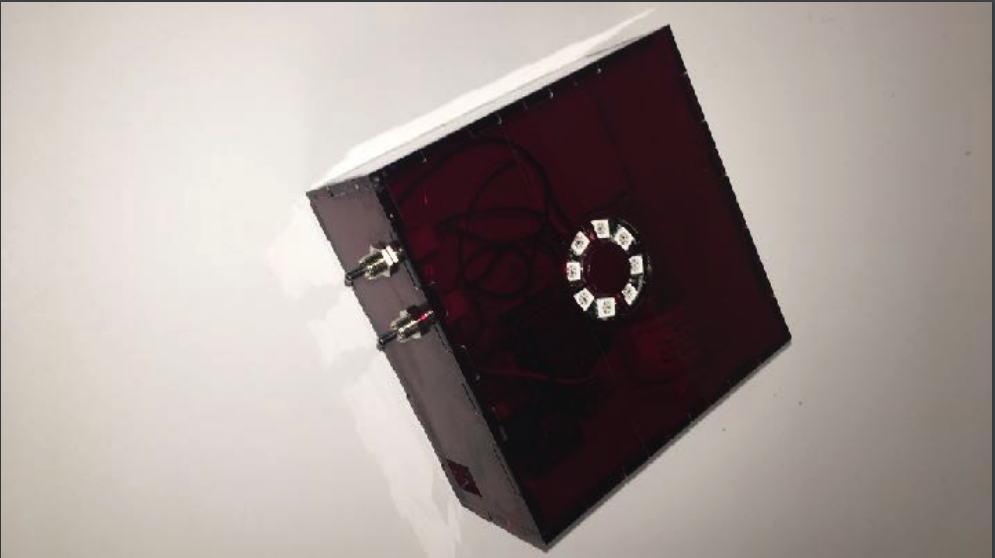
AlgaLite was originally created as a workshop to be delivered to people that wanted to get into the maker movement. 
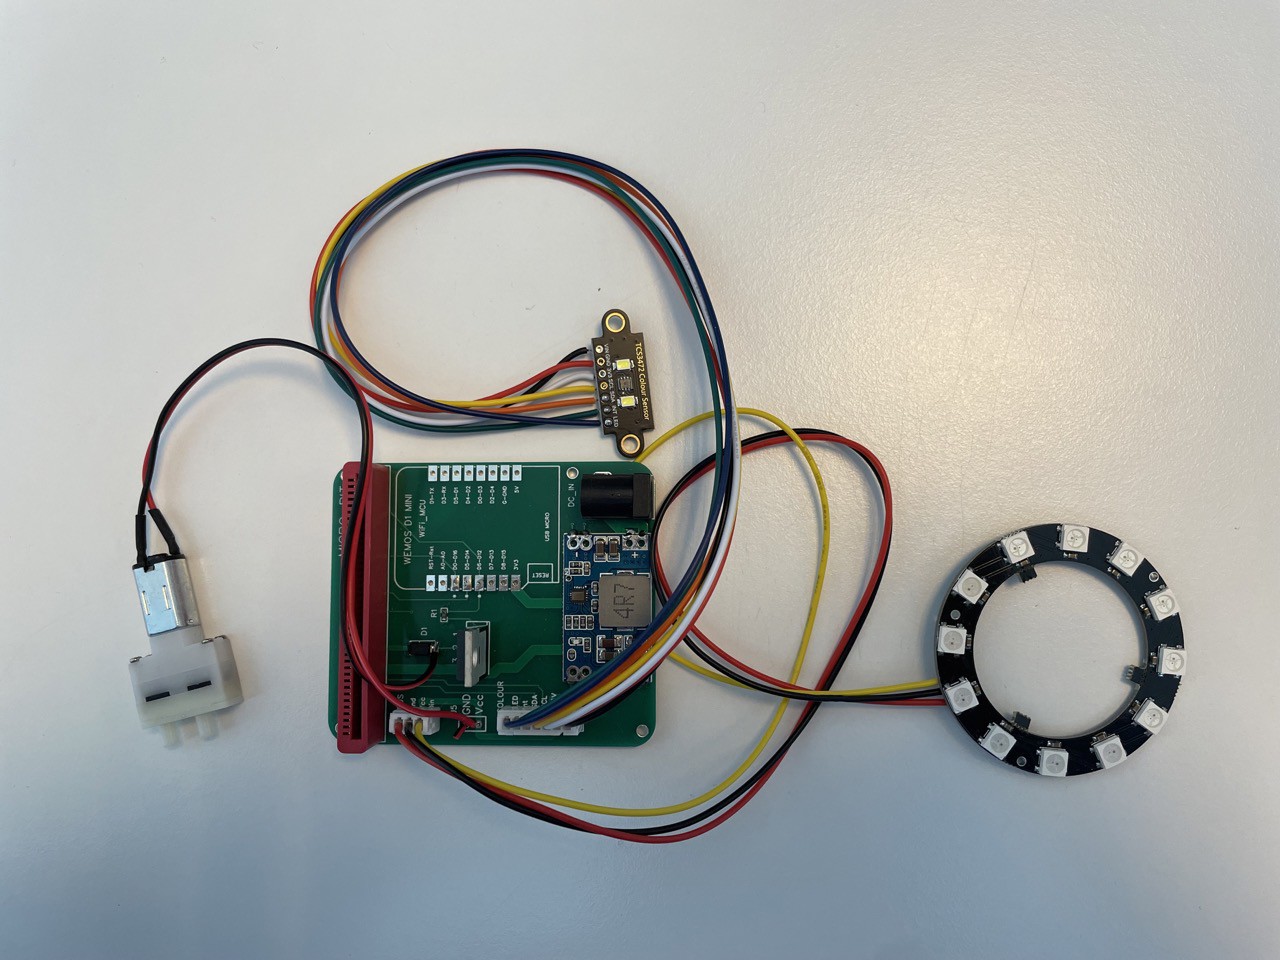
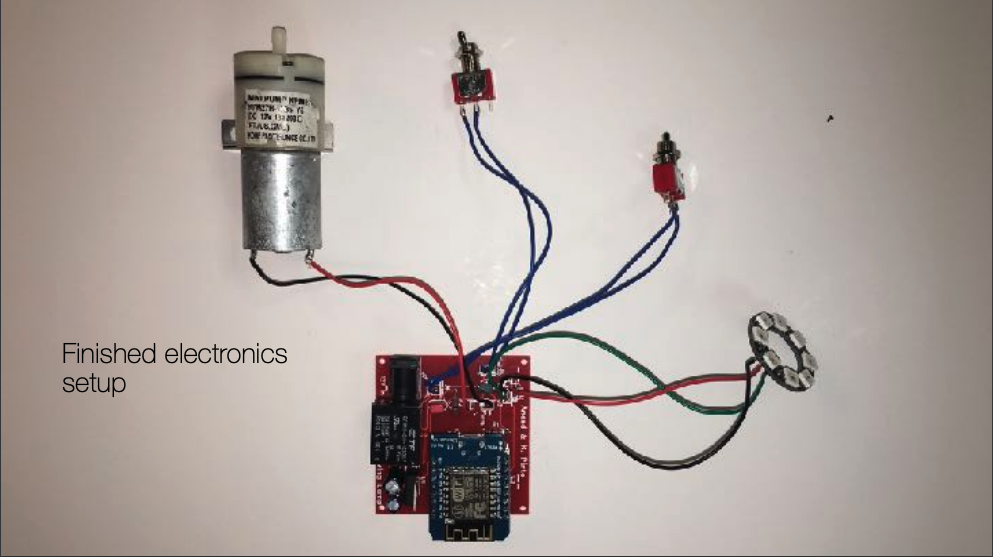
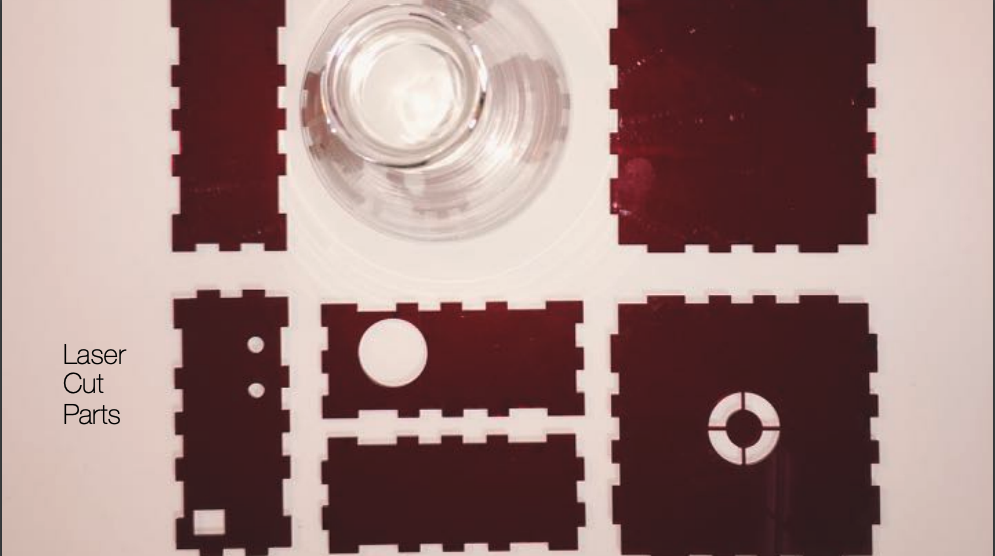
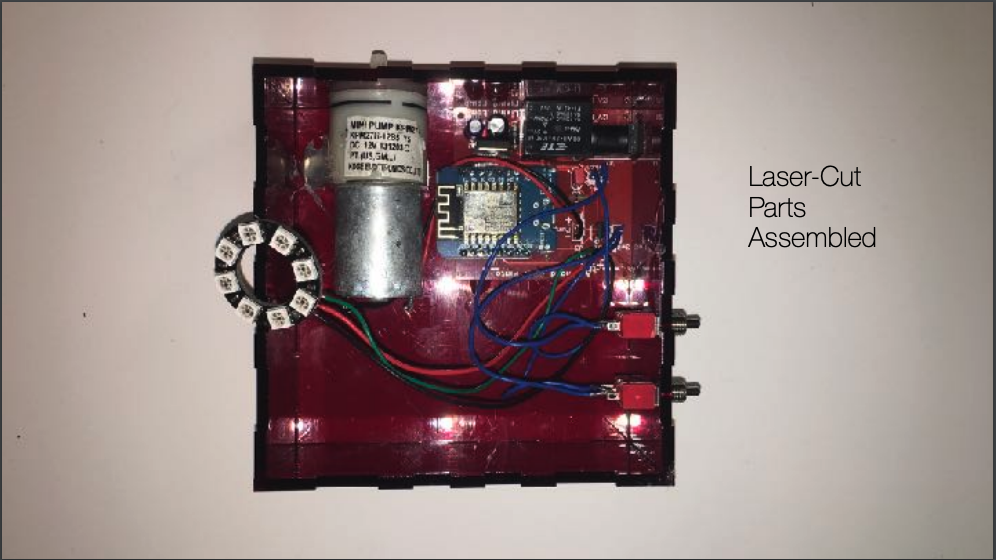
It stood out because it was the only one around (in Denmark at the time) that included the typical maker technologies such as Arduino electronics, basic programming, and laser cutting and merged them with an understanding of biology. 

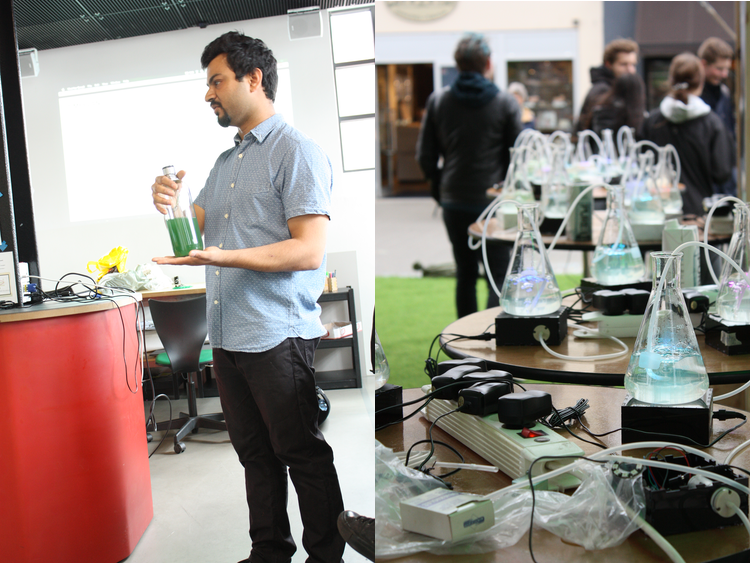
I've personally delivered several workshops and it has been delivered by school teachers and FabLab instructors as well. 

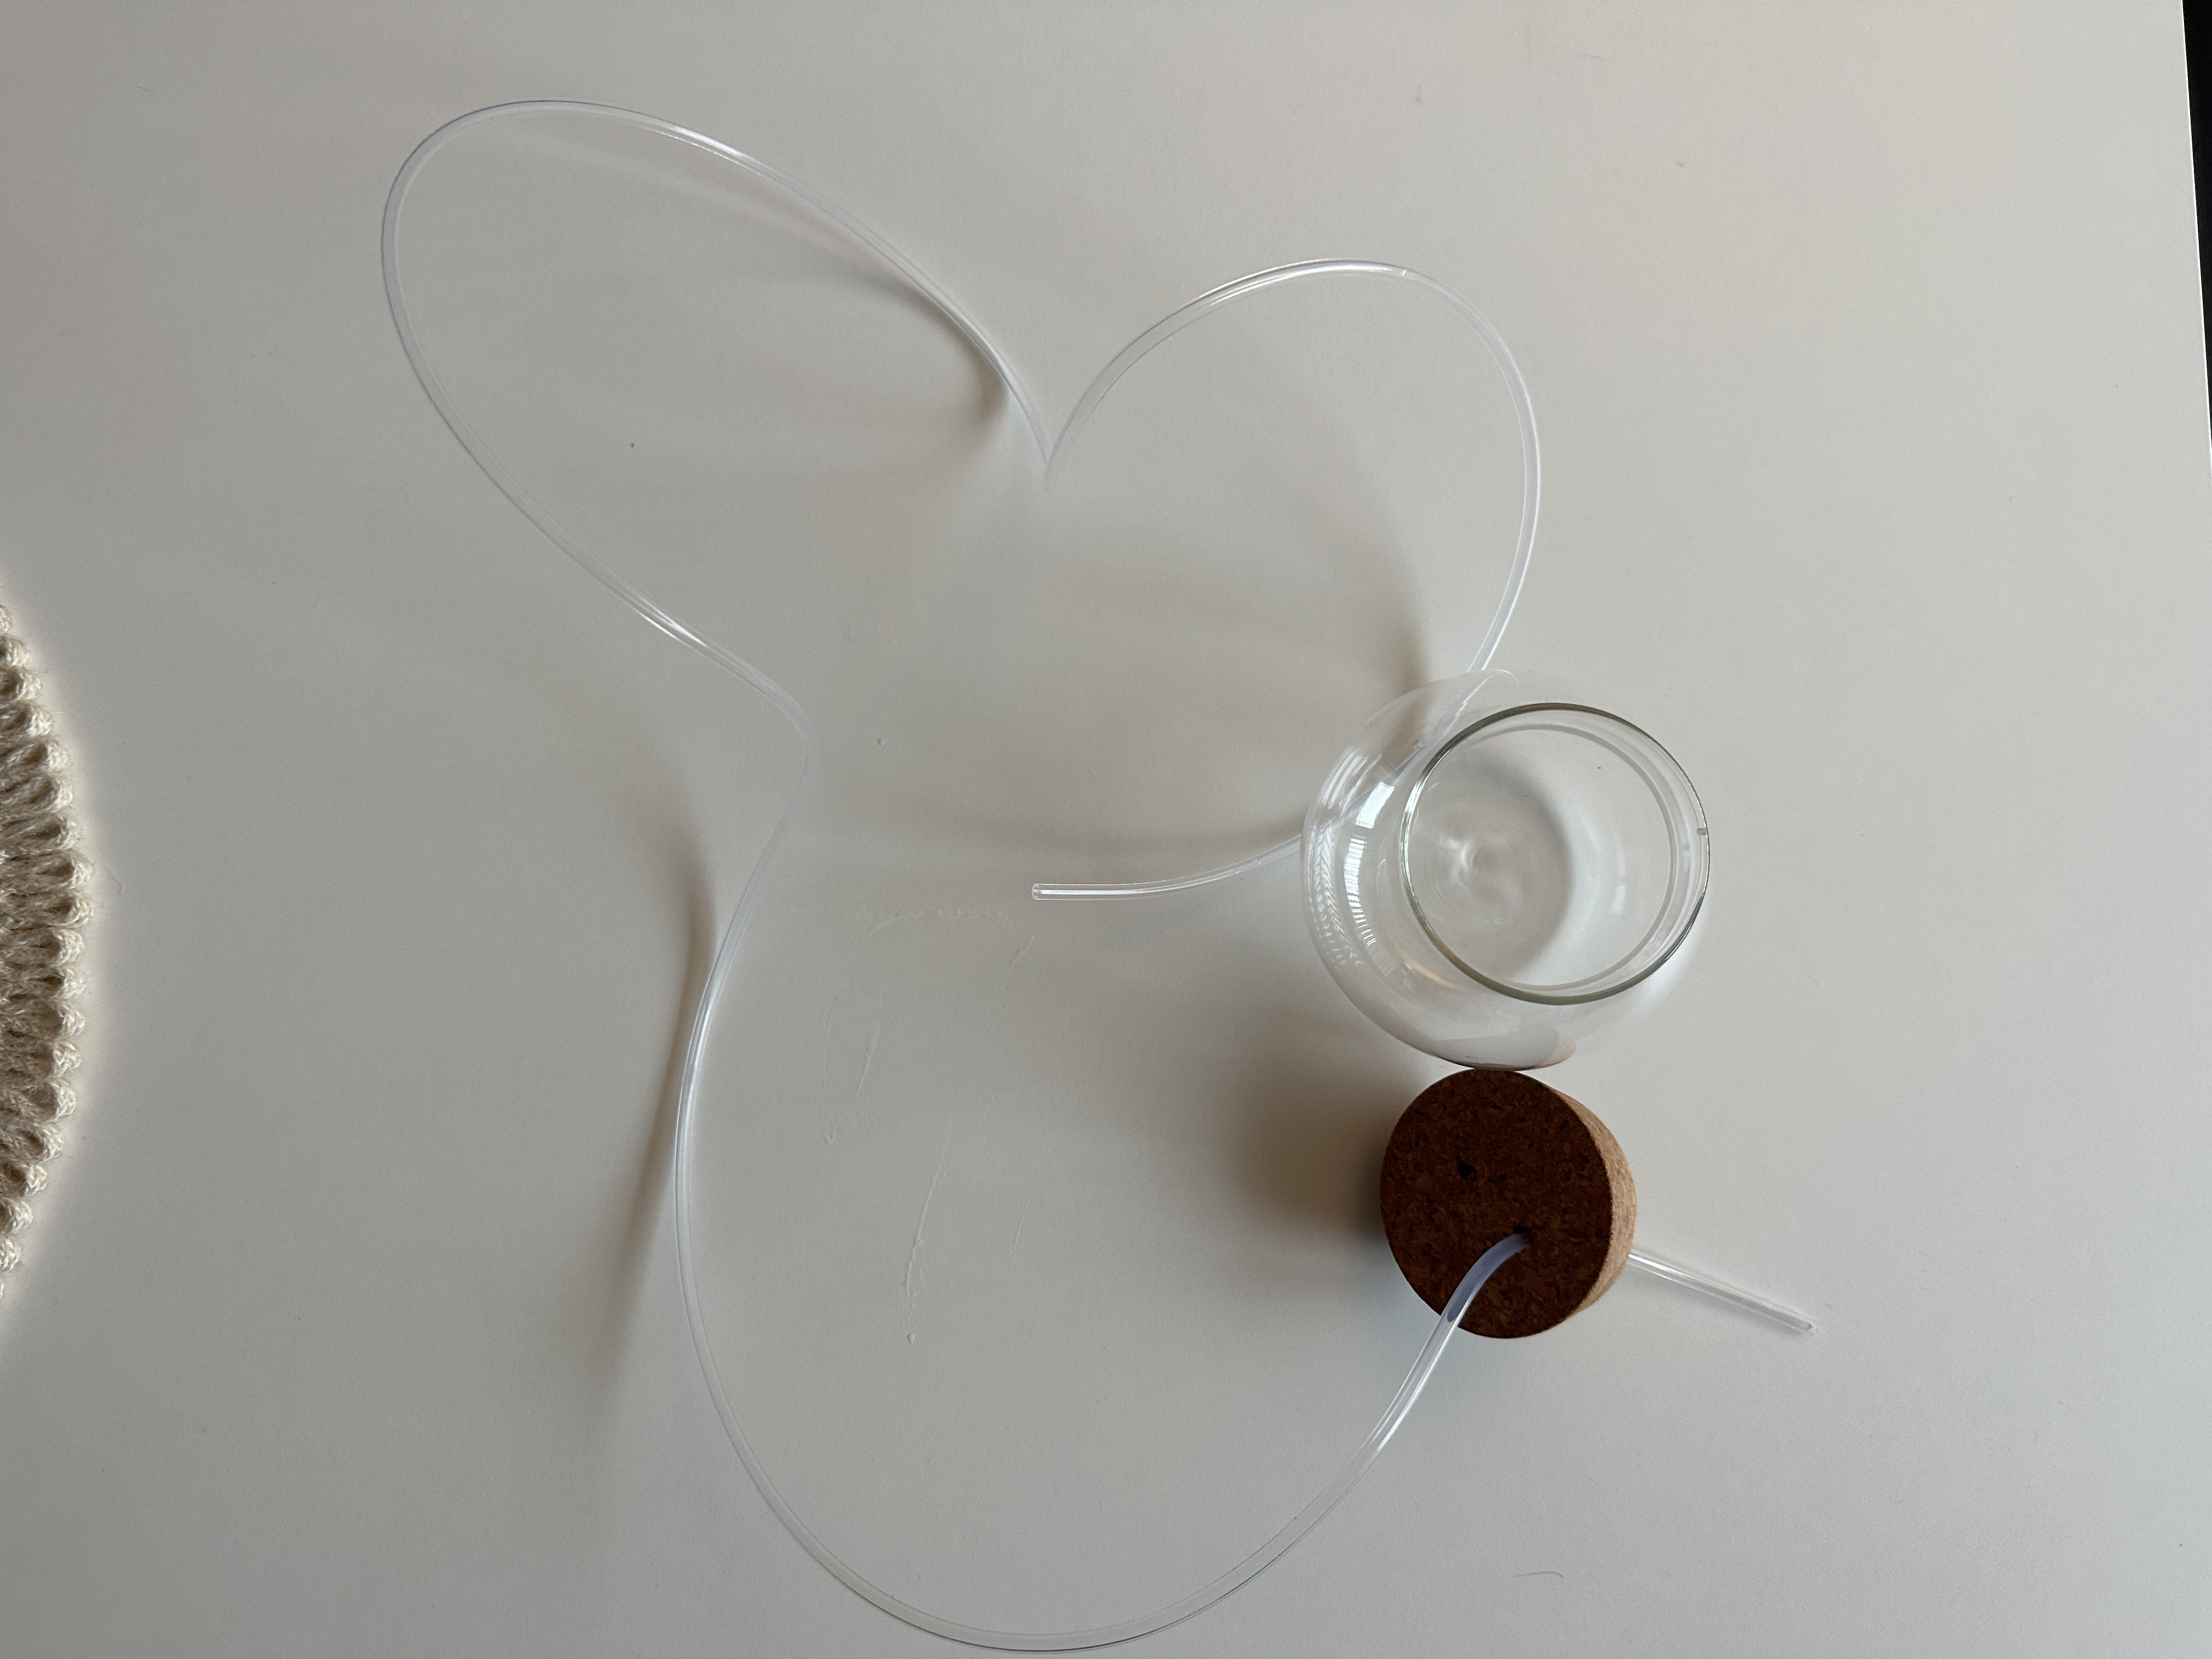
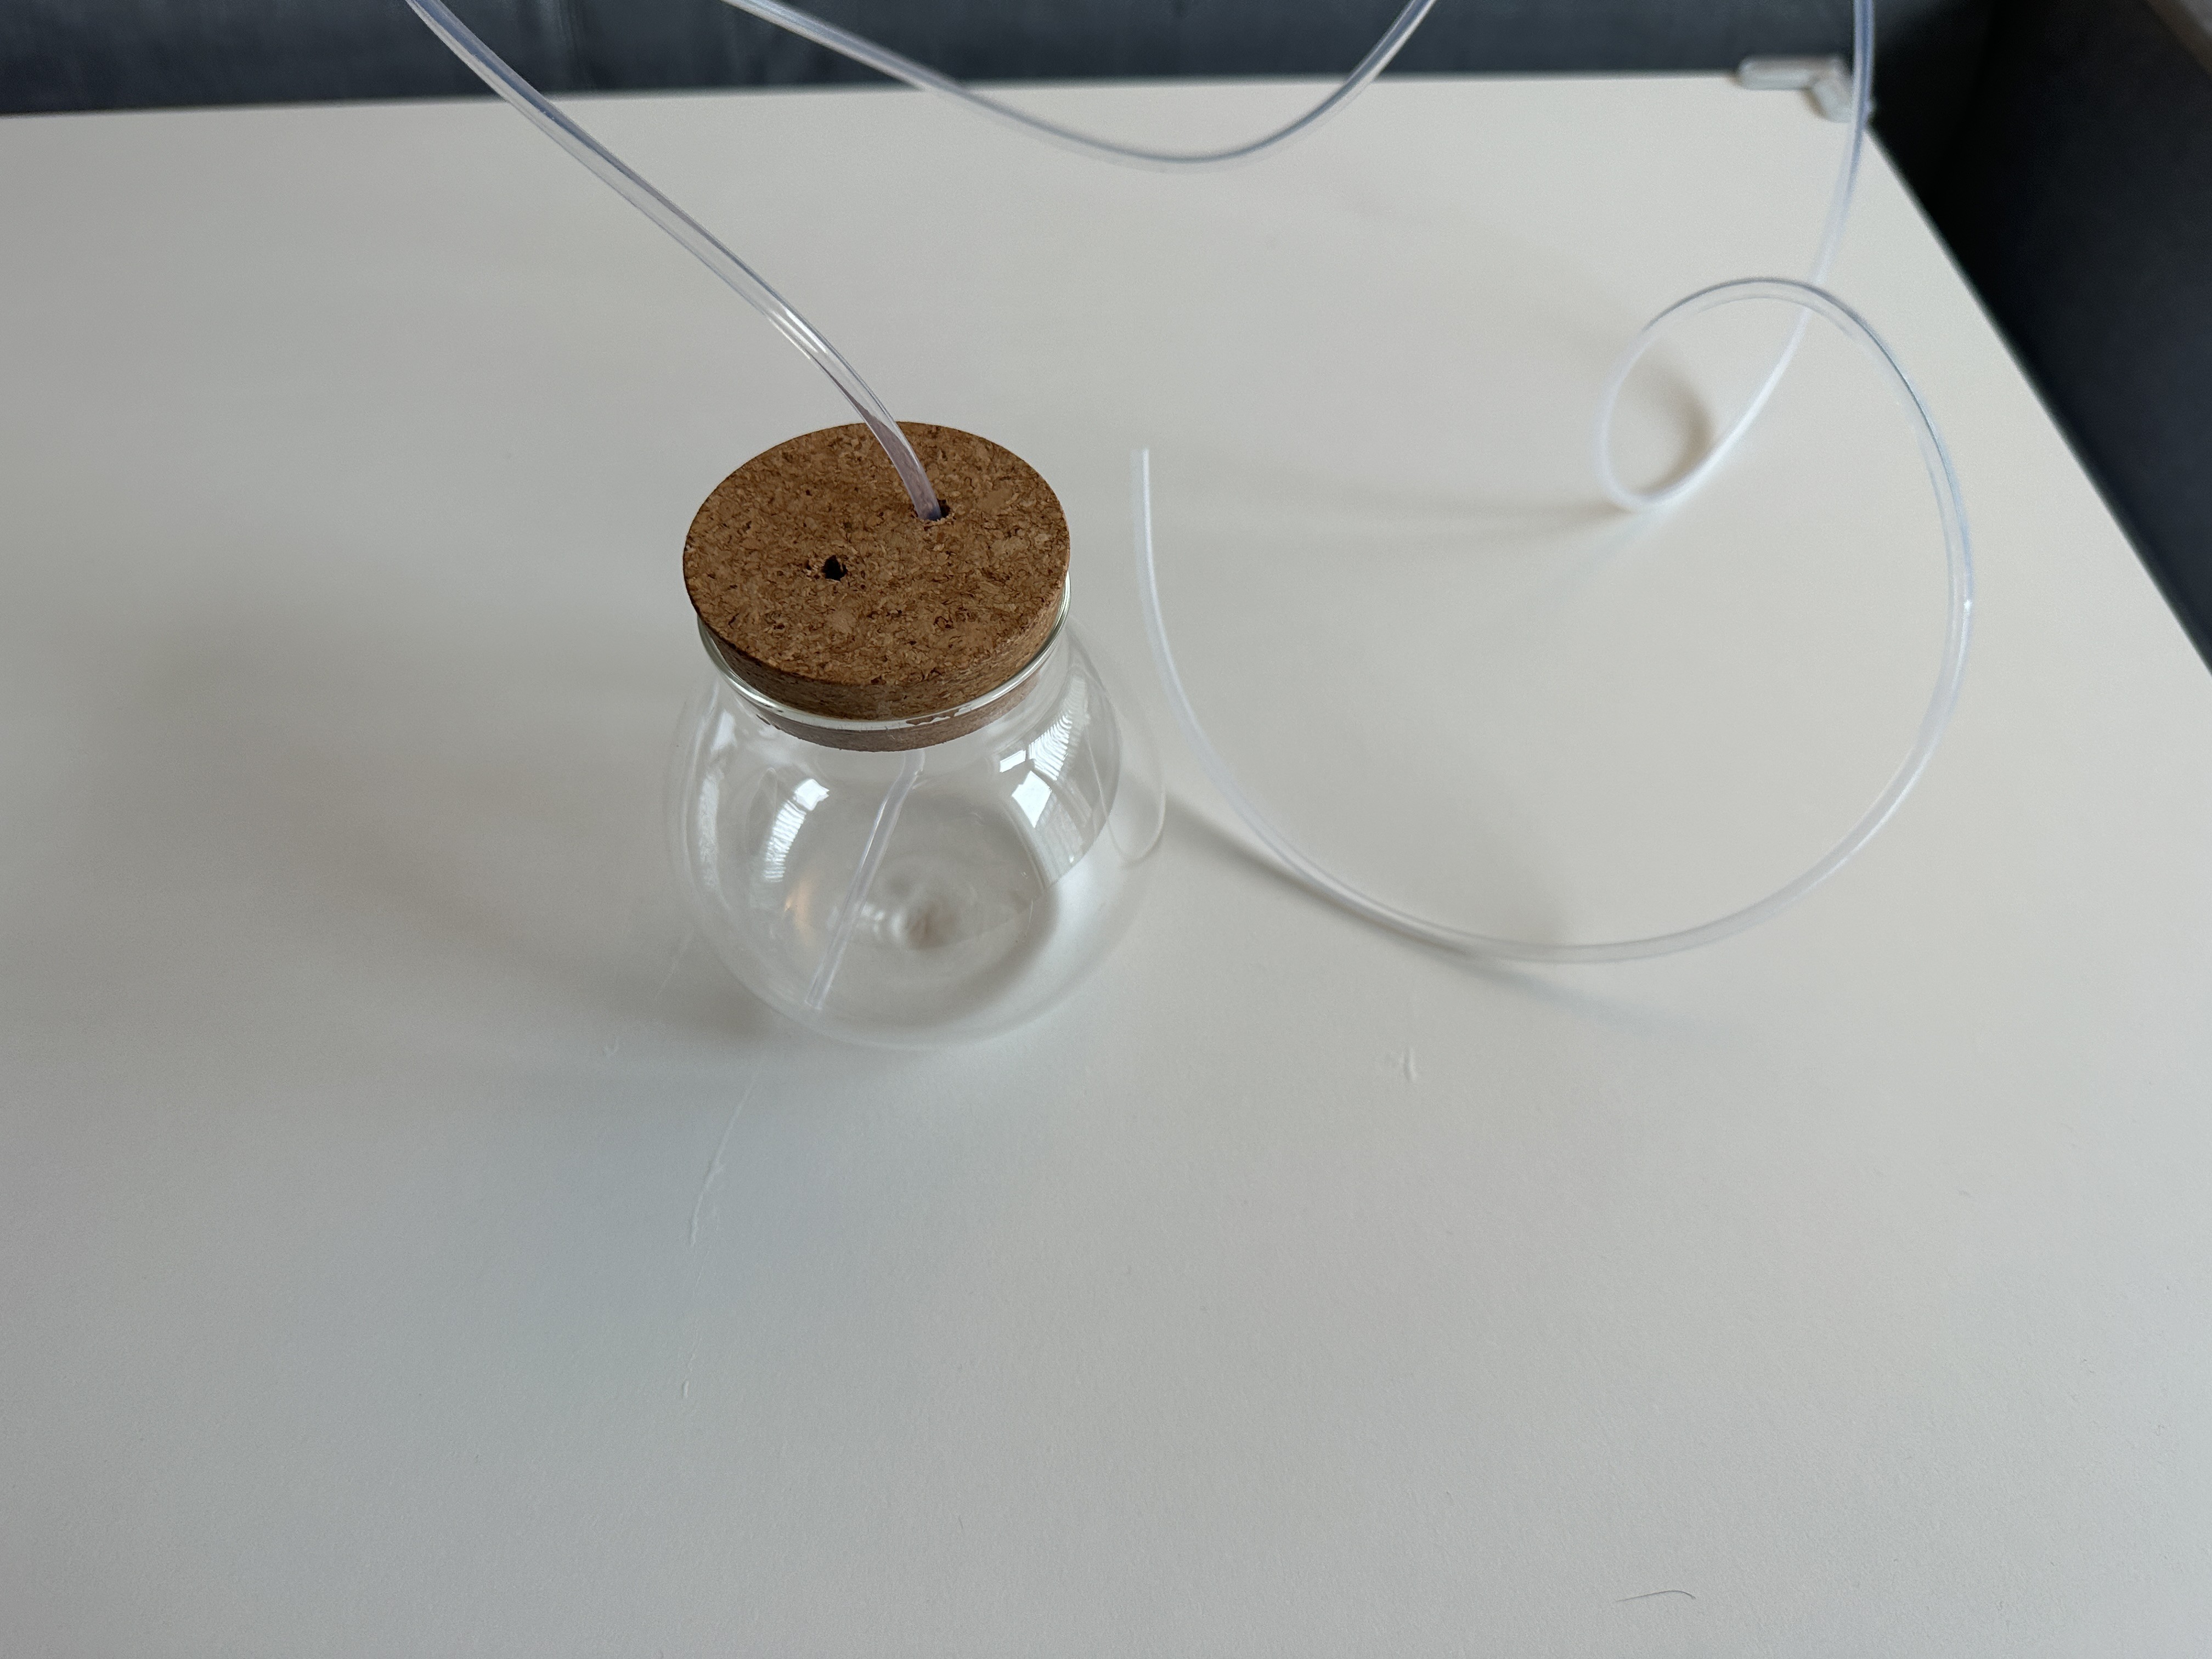
Over the course of the next 3 months, I plan to invest some more time into it to improve the aesthetics, automation, and ease-of-build so that everyone will want to have one at home. 


Aside from the project files stored on Hackaday, I've started a couple of Github repos to host the code. 
The V1 of AlgaLite has its basic Arduino code here: https://github.com/keenan510/biolamp-v1

box.svg

Editable enclosure file

svg+xml - 45.07 kB - 07/03/2023 at 22:41

Download

box.pdf

Laser-cuttable enclosure file

Adobe Portable Document Format - 20.26 kB - 07/03/2023 at 22:41

Preview
Download

Adobe Portable Document Format - 55.87 kB - 07/03/2023 at 22:40

Preview
Download

  • 1 × Wemos D1 mini WiFI MCU
  • 1 × BBC Microbit Alternative MCU for learning/educational setting
  • 1 × 3V air pump
  • 1 × DC-DC converter Step down power converter
  • 1 × Neopixel ring LED board

  • Picture Day!

    Keenan Pinto10/10/2023 at 14:00 0 comments

    Our AlgaLite had it's picture day today! And video of course!

  • WiFi Control

    Keenan Pinto10/10/2023 at 13:51 0 comments

    One of the benefits of using an ESP8266 as part of this is WiFi control. 

    I've setup a simple webserver on the Esp that controls the system.

    This opens up a whole new world of opportunities when it comes to programs and routines. 

    Maybe voice-controlled in the future!!

    Hey Google/ Siri/ Alexa, How's my AlgaLite doing!!!

  • A new home for our MicroAlgae pet

    Keenan Pinto10/10/2023 at 13:46 0 comments

    In the first version, we experimented with a conical flask and used that for growing the algae. We had some issues sealing the top but we used cotton bung/ styrofoam to make the lamp secure with the algae inside. We needed the tube to be stable but that was one of the pitfalls of this flask. Another disadvantage of using a cotton wool bung was that it needed to be sterilized and that is sometimes not accessible.

    We therefore moved on and bought a kitchen flask with a cork top, attached below. This cork is perfect for securing the tube that aerates the algae culture. I drilled a hole in the cork which is the size of the tube so that there is no spillage. This is definitely a great update for the lamp and the algae thrives in it because it gets perfect aeration without being fully exposed to the environment as with the cotton wool bung. Aesthetically this flask looks beautiful and fits perfectly in a modern apartment. Since this is a functional lamp that lives in your house, choosing this enclosure for the algae made it almost production-ready!!!

  • Caring for your Microalgae

    Keenan Pinto10/10/2023 at 13:43 0 comments

    The most important part of this project is the MicroAlgae themselves! 

    I've compiled some resources on how to care for them but just like houseplants, you have to feel your way through it. Each species is different!

    Lets Dive in!

    Choosing the Right Algae Species:

    • Chlorella: Chlorella is a popular choice due to its rapid growth rate and high tolerance to varying light and temperature conditions. Its vibrant green color makes it an aesthetic choice for AlgaLite.

    • Spirulina: • Known for its nutritional benefits, Spirulina also exhibits a fast growth rate. Its blue-green hue can add a different shade to your living lamp. While Spirulina is known for its edible nature and health benefits, I don't recommend growing this to eat before the system is engineered for that. 

    • Dunaliella: Dunaliella is a salt-tolerant algae species, making it a unique choice for those interested in exploring saline or brackish water environments in their projects. This is what I've used as it's the most resilient one of them all and is great for learning. 

      Cultivating Microalgae:

      • Starting Culture:

        Obtain a starter culture from a reputable source or a local university with an algae collection. Ensure that the culture is free of contaminants. I got mine from a local university. They are usually very helpful if its for learning purposes. Otherwise there are sellers on Ebay. 

      • Nutrient Media:

        Prepare a nutrient-rich media for your algae. Commercially available algae growth media or a homemade mix of essential minerals and nutrients will suffice. I've used ordinary plant fertilizer with a 1-1-1 ratio as you just need a small amount

      • Lighting:

        Algae require light for photosynthesis. Ensure your AlgaLite lamp provides adequate light, adjusting the intensity and duration to match the needs of your chosen algae species.

      • Temperature and pH:
        Maintain a stable temperature and pH level within the recommended range for your algae species to thrive. You can use a pH meter if you have one from gardening, o

      • Aeration and Mixing:
        Aeration provides the necessary carbon dioxide for photosynthesis, and mixing ensures even light distribution and nutrient availability.

      • Monitoring and Maintenance:
        Regularly check the health and growth of your algae. Maintain cleanliness to prevent contamination, and replenish nutrients as needed.


    Troubleshooting:

    Poor Growth: Assess light, nutrient, and CO2 availability. Adjust as necessary.

    Contamination: If other organisms invade your culture, you may need to start anew with a sterile setup.

    How to acquire algae for your lamp:


    • Local Universities or Research Institutions: Many universities and research institutions maintain collections of microalgae cultures. Contacting the biology or environmental science departments may yield leads to obtaining a starter culture.
    • Online Suppliers: There are various online platforms that sell microalgae cultures. Websites like Algae Research Supply or Carolina Biological Supply Company are reputable sources. Ensure to check the reviews and possibly get in touch with the supplier to discuss your project and the most suitable algae species. You
    • Aquarium Stores: Some aquarium stores carry microalgae cultures as they are used in aquariculture for feeding zooplankton and other marine organisms. They might have a limited species selection, but it's a good local option.

    •  Algae Culture Kits: Some online suppliers offer algae culture kits that come with everything you need to start growing algae, including the algae culture itself. This could be a convenient option, especially for beginners.

    List of online suppliers:

    • Algae Research Supply:

      • They offer a variety of algae cultures suitable for experimentation, ...

    Read more »

  • First test

    Keenan Pinto10/08/2023 at 21:51 0 comments

    With the new enclosure and sort-of new PCB, I was excited for the Hello world.
    In this case, it was making sure all the components played nicely together. 

    I normally worked in the Arduino IDE (as seen from previous logs) but since earlier this year, I've started using Platformio in VS code. The code is pretty easy to transfer, but I haven't tested it with the Arduino IDE yet. Something to add to the list of things to do while cleaning up this project. 

    I've also gotten a new repo going on GitHub which will serve as the main repo for the AlgaLite project going forward. 


    GITHUB REPO LINK

    The first test took a bit of tinkering with to get right. Mainly due to the use of the Lolin 32 lite board instead of the Wemos D1 mini for which the PCB was designed. 

    But in the end, I got everything working using a basic test script. 

  • New Mechanical Enclosure + Assembly

    Keenan Pinto10/05/2023 at 07:01 0 comments

    With the updated larger PCB, I had several ideas for how a Ready-to-Use (RTU) version would take form. 

    Given that the DIY version had a laser-cut enclosure, I decided that the RTU version should be something that does not need much tinkering with to assembly. A few screws and that's it. 
    So I got cracking with Fusion360. 

    With the RTU version, the ideal user is not necessarily a maker or hobbyist and so the visual and functional appeal is expectedly greater than the hackability or flexibility of the setup. 

    In the first revisions of the project, I had used a conical flask to grow the algae, but as I started thinking about the aesthetics of things, it became obvious that I'd need better looking glassware for the final revision. 

    For this design revision though, I stuck with the conical flask. 

    Here's the outcome!

    Let's focus on the enclosure though. 

    As with most folks, a lot of this work is done after work hours and sometimes late into the night. The downside of late-night work is that you sometimes miss things. 
    Let me know if you spot the mistake I made!

    For the first print, I decided to go with an FDM setup to move fast. Here are a few picture of the outcome. 

    Lots of learnings from the first print, that's for sure. 
    But also a sense of satisfaction with the direction I chose. 

    With a few minor updates, this could be it!

    Here's a link to check out the enclosure on Fusion360 Online.

    Now on to the assembly part. 

    Disclaimer: It's been a while since I've done a CAD model. So I've messed up the sizes of the screw holes between the PCB and the enclosure. So I ended up using hot glue to bring the parts together. 

    I definitely overdid it with the length of the wiring. Especially with the Air pump. 

    And if you hadn't caught it till now, the pillars on the bottom part are hollow all the way thought :P
    Meaning, I couldn't seal the two parts together. 

    Hot glue was out of the question as I'd need to keep opening things to program it for now. 

    So I ended up using another prototyping staple :) Tape!

    And there you have it!

    AlgaLite has a new enclosure and the first steps towards a Ready to Use version.

    Next steps, bring this to life!

  • PCB Update

    Keenan Pinto10/01/2023 at 13:40 0 comments

    The whiteboarding/brainstorming session was helpful in identifying that there are two particular Users or Customers or "people who could find this interesting". 

    To ensure that it appeals to both types, the project requires a DIY version and Ready-to-use (RTU) version. However given that they both do the same thing on a fundamental level, there is an opportunity to have common parts at the PCB stage and then fork things at the enclosure stage. 

    The last revision of the PCB which would probably have been V2 if I had been naming versions consistently, was a smaller size than the potential enclosure. This wouldn't be an issue for the RTU version, but for the DIY version (especially if using the MicroBit) it would make the footprint of the enclosure smaller than I would have liked. 

    The functional elements of the board are

    - Microcontroller - BBC Micro:Bit or Wemos D1 mini (Esp8266)

    - DC-DC step-down converter (12V to 3.3V)

    - NeoPixel ring (12 LEDs)

    - DC air pump (3V)

    - TCS3472 colour sensor board with white LEDs

    Here's the schematic

    The PCB design was fairly straightforward. One of the choices made to simplify the assembly process was the use of JST connectors.  The idea behind this was that it would make the electronics part of the DIY version a bit easier if it was being used in a workshop context. 

    I was also interested in having the functional blocks be added like LEGO so I chose to use a module for the DC-DC converter rather than building the circuit onto the board. 

    Here's an image from the EasyEDA editor.

    Followed by 2D views...

    Since I manually created most components, the 3D view wasn't too different from the 2D. 

    In the next revision, I'll make use of the components that EasyEDA have in their library so the 3D view looks better. 

    After getting the boards fabbed from JLC PCB and purchasing the BOM, I received the parts and settled down to assemble the board. 
    After everything was done, when I went to test it, I found out that my Wemos D1 mini was no longer working :( 
    Rather than dive headfirst into the wormhole of trying to fix the Wemos board, I chose to replace it with a Lolin 32 that I had lying around. It needed jumper wire to match the connections of the Wemos bit was a pretty good drop in replacement. 

    Finally, an electronic setup that's ready to test. This is what it looked like.

    So what comes next? I think I will do another revision of this board but for now, it works. 
    Once the mechanical enclosure is completed, I will post an assembly and test log. 


  • Hackaday Prize Finalist + Brainstorm

    Keenan Pinto08/30/2023 at 12:30 0 comments

    Here's a pleasant update after a couple of months. 

    I entered this project in the Hackaday Prize Green Hacks category without really thinking much about competing. But wow was I surprised when It was SELECTED AS A FINALIST!!!

    In the article where the finalists were announced, a theme of "Green Home Helpers" seemed to emerge which articulated the essence of the Algalite project perfectly. 

    So now, with this small victory, I figured its time to give this project a second think. 

    The original concept was developed years ago. And so much has changed in the world since then. 

    And rather than jumping into the many ideas I had about what I could build, I took a step back. 

    Some good old-fashioned white boarding was in order, so I set up a Miro board and started brainstorming. 

    Good products solve problems! 

    But in my day job I learn that solving problems of the plant is a hard sell. 

    Even if the solution is free. People have to spend time on the implementation.

    So I considered who the Ideal target profiles were for this project. Who would gain value from it and what that value was. Of course, this needs to align with my own vision for the project so I reflected on that too. Why did I even think of this concept in the first place. 

    You can view the Miro Board here. It's publically accessible but unfortunately, the free tier does not support comments! If you have any ideas or thoughts, please do write to me using the public chat on the main AlgaLite project page. 

  • Electronic design iteration

    Keenan Pinto07/04/2023 at 12:40 0 comments

    One of the main learnings from the first version of AlgaLite was that students and makers had a limited time at a workshop to get acquainted with all the different tech stacks related to building the project.
    While the mechanical and electronic assembly of the box was fairly straightforward, the programming of the microcontroller in the Arduino environment was not the easiest thing for people who had never experienced it before. 

    I conducted feedback sessions with the teachers who tried to conduct the workshops themselves and this was the hardest part for them. 
    They told me that they had a lot of fun with the BBC microbit and that it would be a much easier development environment for them. 
    They were also unsure about how, what, and when to do when the microalgae grew thicker. 

    This formed the basis for an improved revision of AlgaLite that tackled the challenges faced. 

    The major changes were
    - Addition of a colour sensor to know when to subculture the algae

    - Addition of a header so that the BBC Microbit can be used as the controller board

    - Removal of the switches that controlled the air pump and power

    - Changes to the air pump component to reduce the noise level

    - Changes to a larger LED ring 

    - Changes to the mechanical structure to fit the new air pump, light sensor, MicroBit, and LED ring


    Another issue that I've addressed with this version is the excessive time taken on soldering. By using JST connectors, the only soldering needed is the main headers/functional components. 

    This resulted in a slight redesign to the PCB that brought all the components together. 

    In this way, workshop holders can pre-solder some components to reduce the overall time taken by that activity and focus on areas of their choice. 

  • Initial commit

    Keenan Pinto07/04/2023 at 09:39 0 comments

    Hi everyone, 

    This initial commit is years in the making. 

    The AlgaLite project, formerly known as the living lamp of the biolamp project was conceived in 2017. I was asked to create a concept for Resilience Week in Vejle, Denmark that could merge the biological and technological fields with a FABLAB learning experience for high school kids. 
    That's where the original form factor was developed that took advantage of the laser cutter available at the FABLAB. 
    The insides of the project had the basic parts such as the air pump and the LED with switches to control the pump and the lights. 

    The mechanical components were generated using MakerCase. I highly recommend them for simple enclosures when you have access to a laser.  For the original workshop, we had to cut around 20 of these enclosures for students so 3D printing was not an option. 
    As the project matures and becomes less of a workshop and more of a piece of furniture, I will design a new enclosure that brings in the right aesthetic. 

    Once put together, there was a bit of dead space. I thought that it could be filled with some insulating material to dampen the sound of the air pump.

    The LED ring was glued on to the top face and that's what it looks like when it's shut. The electronics are ready to go!

    And finally the algae were subcultured into their new home and the lamp was put together. 

    This build had over 50 units made between the original workshop at Resilience Week which I delivered myself and the additional workshops that the teachers delivered in their own schools after that. 

View all 10 project logs

  • 1
    Download files from github

    Clone the github repo from the link below

    https://github.com/keenan510/algalite

  • 2
    Produce parts

    Depending on your enclosure, you can produce the enclosure and PCB parts from JLCPCB and source the BOM as well

  • 3
    Assemble

    Assembly guide to be added soon!

View all 3 instructions

Enjoy this project?

Share

Discussions

ASHISH wrote 10/10/2023 at 17:32 point

interesting concept 

  Are you sure? yes | no

Jumpifzero wrote 08/04/2023 at 22:20 point

This is great! Where can we find details about which type of algae and how it works? Thanks in advance

  Are you sure? yes | no

Keenan Pinto wrote 08/26/2023 at 20:17 point

That's a great idea for a project log! Coming soon :)

  Are you sure? yes | no

Does this project spark your interest?

Become a member to follow this project and never miss any updates