 Nick Scratch
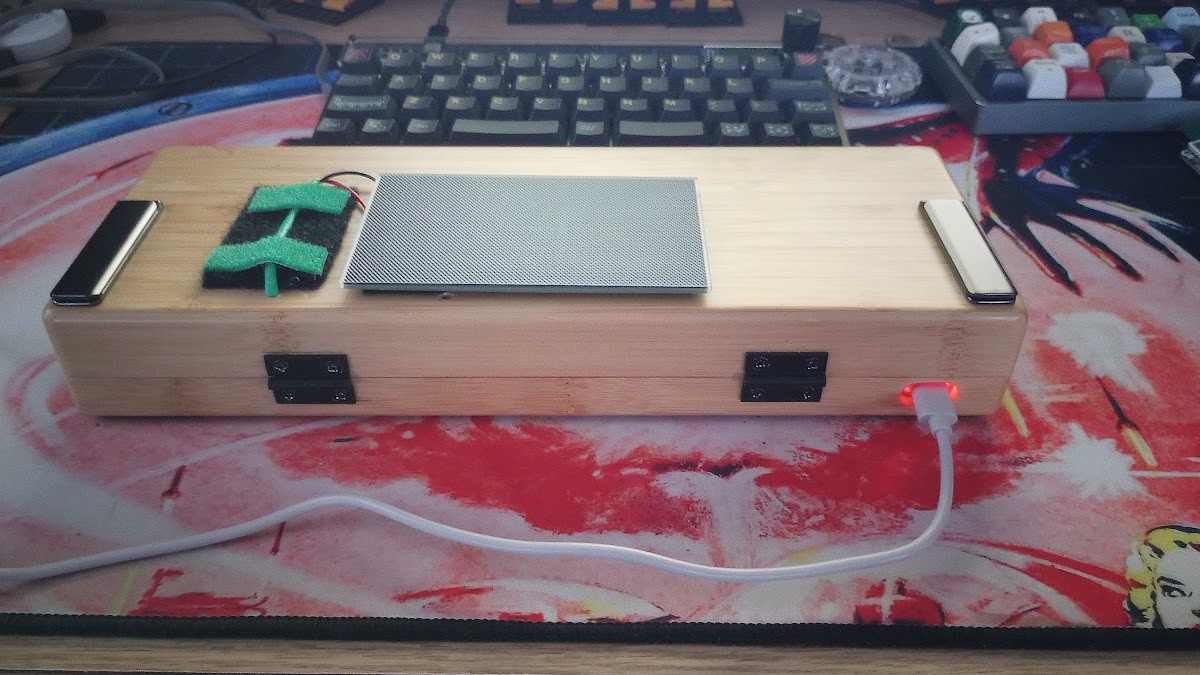
The goal of this project is to have a portable linux terminal for hacking that can be easily used outdoors on a nice day (but is still usable inside as well) that is powered primarily with solar power (but that also has the option to plug it in if necessary).
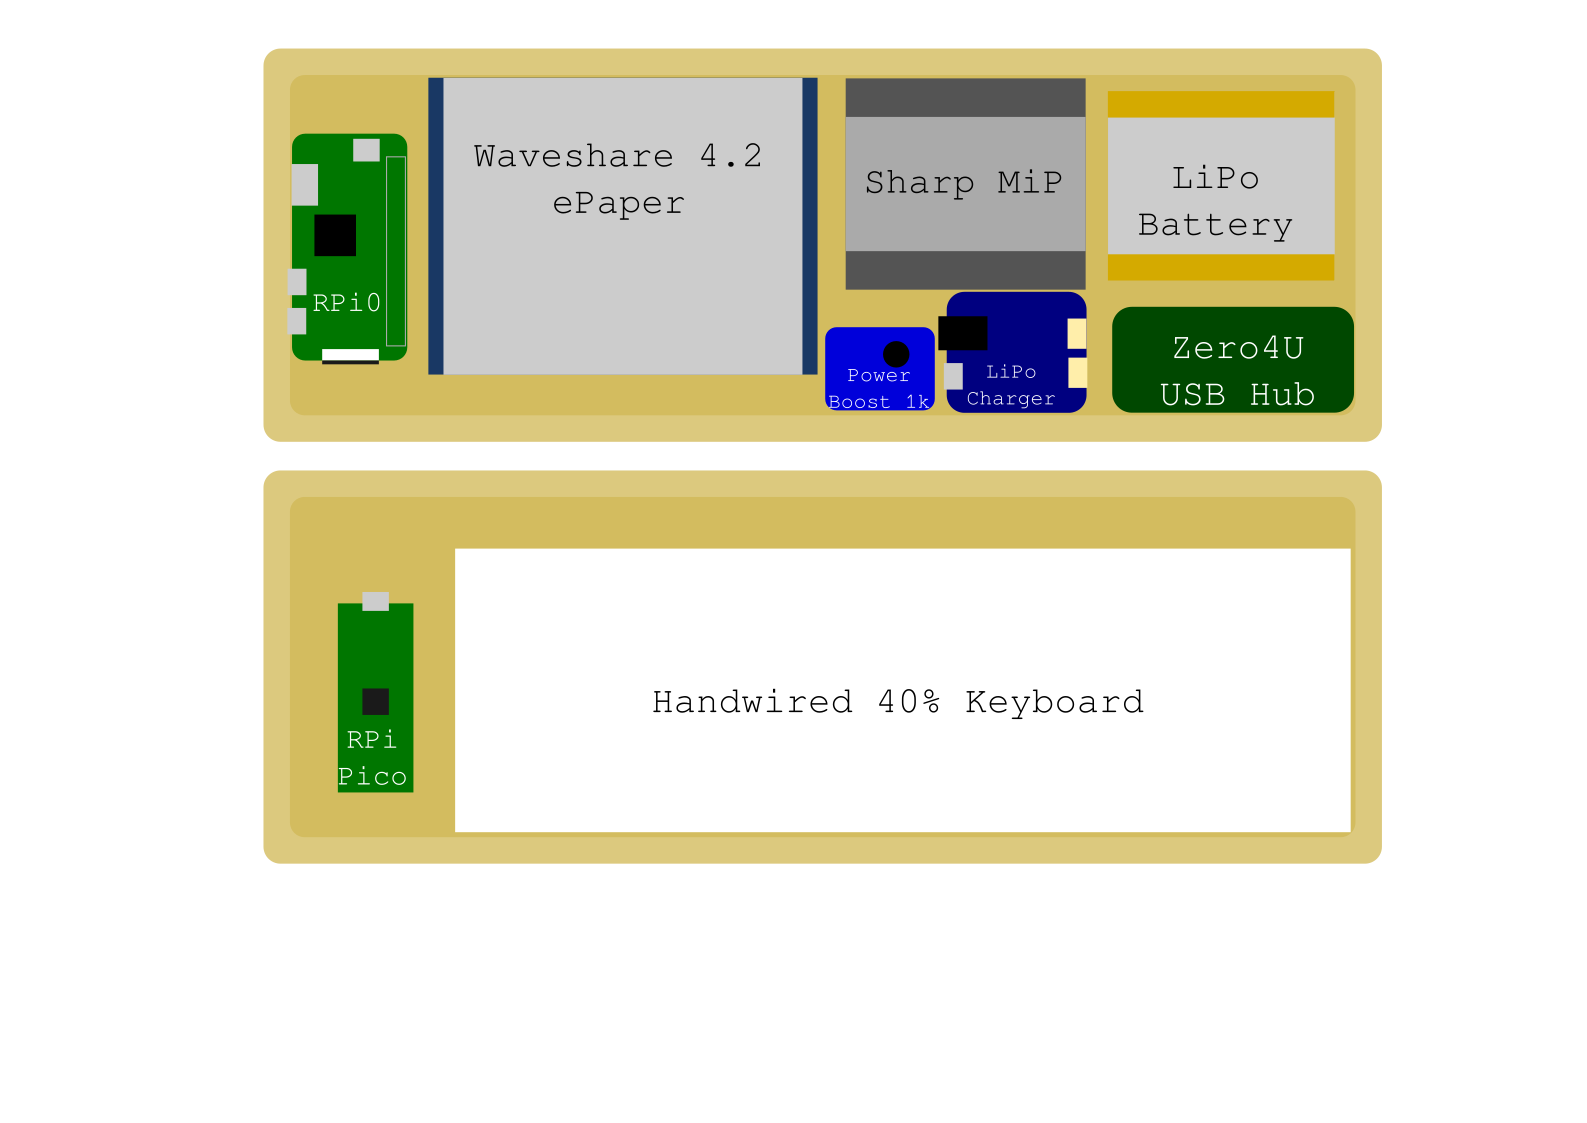
The challenges of this project are going to be space constraints, power, and cooling. I'm using an old, second-hand monochrome 240x64 dot-matrix lcd a Sharp 2.7" MiP LCD and a Waveshare 4.2" ePaper for the display and a raspberry pi zero w for the "brains" so power and cooling shouldn't be a huge issue there. However, the solar panel and the charging of the battery I expect will add some heat to the equation.
Space constraints will be tricky but hopefully doable. I have, altogether between the space in the bottom and the lid of the case, about 282x90x2.5 cm to work with (give or take a couple mm).
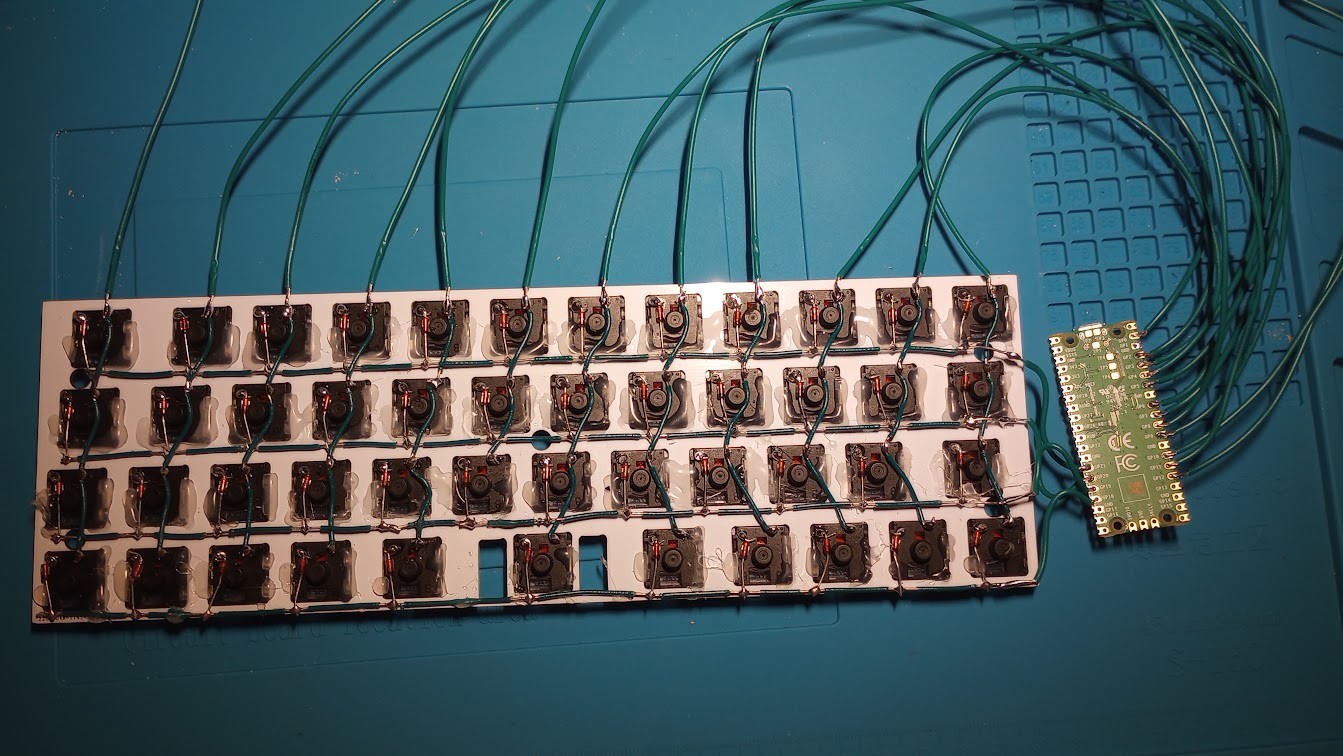
Aside from a couple of custom mechanical keyboards, this is my first major electronics project. I taught myself to solder for this project (with tips from my retired telephone engineer father-in-law) and am learning everything else I need as I go.
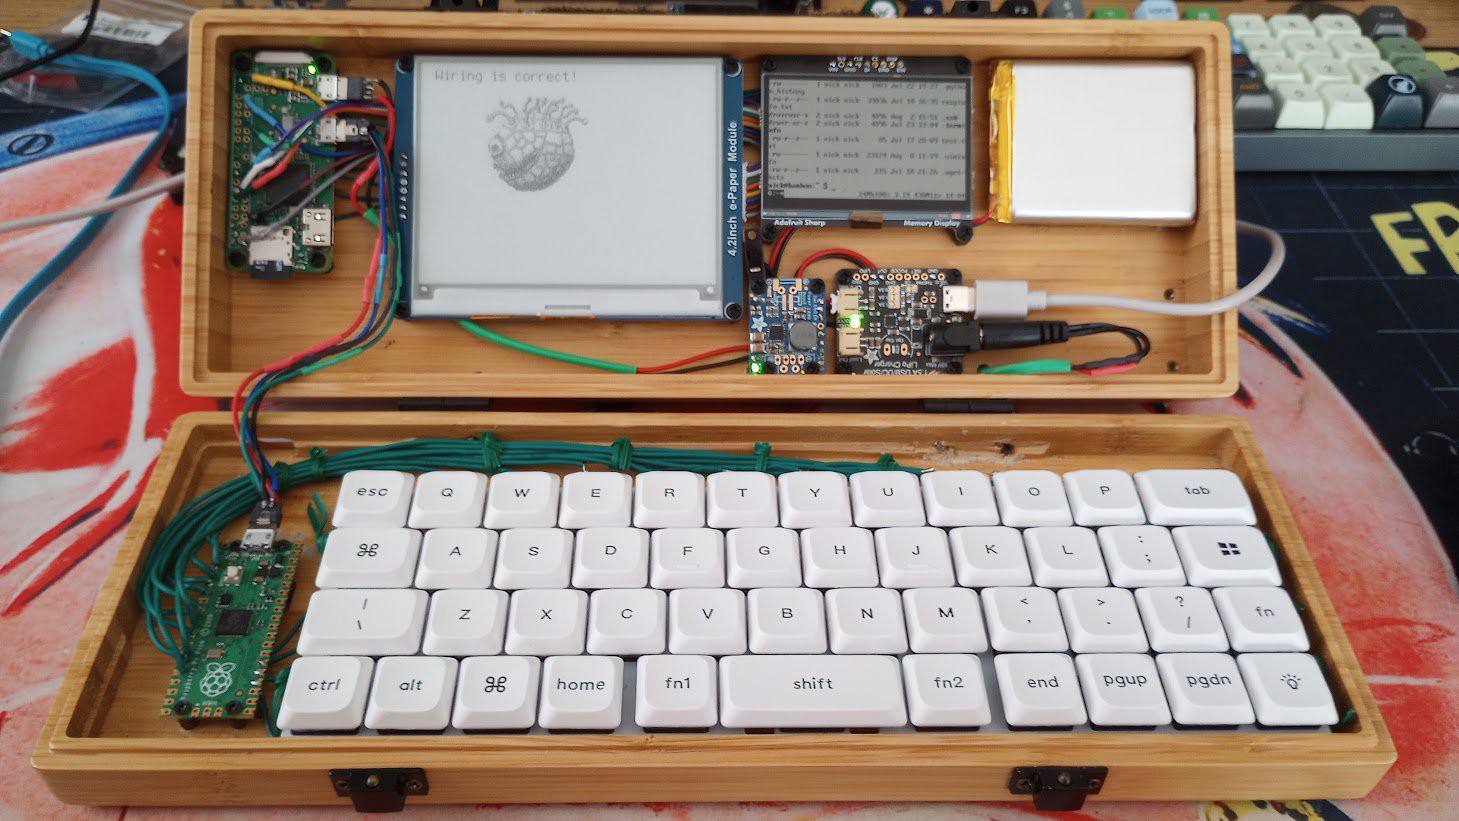


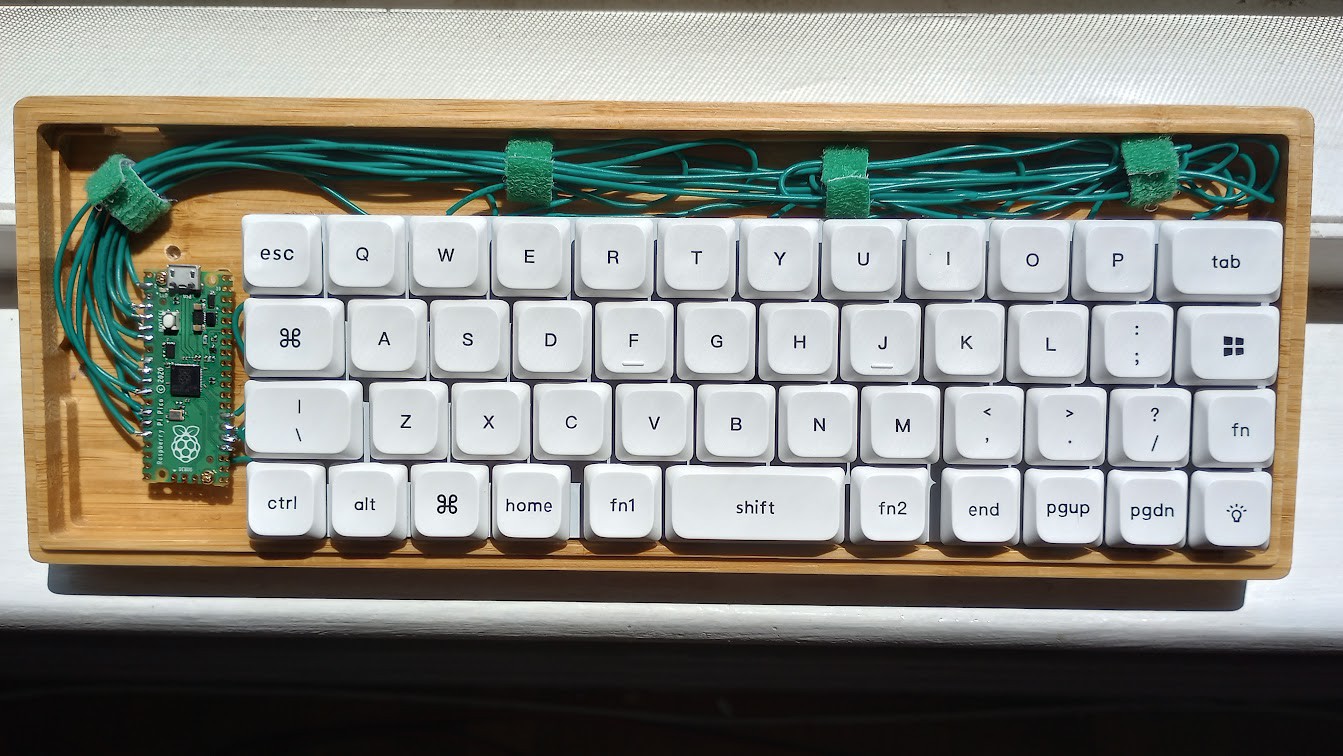
 Found a way to mount everything in the bamboo case. I'm using knurled insert nuts with shallowly drilled holes. It works great, as you can see in the above picture.
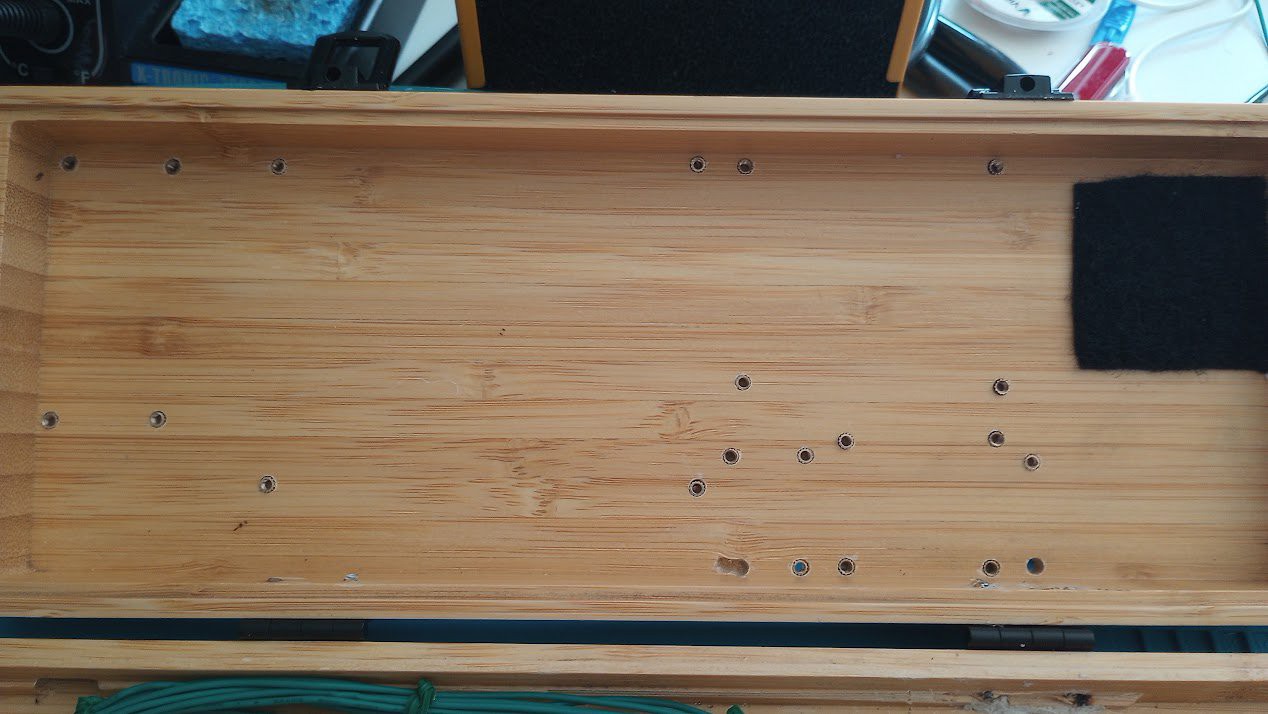
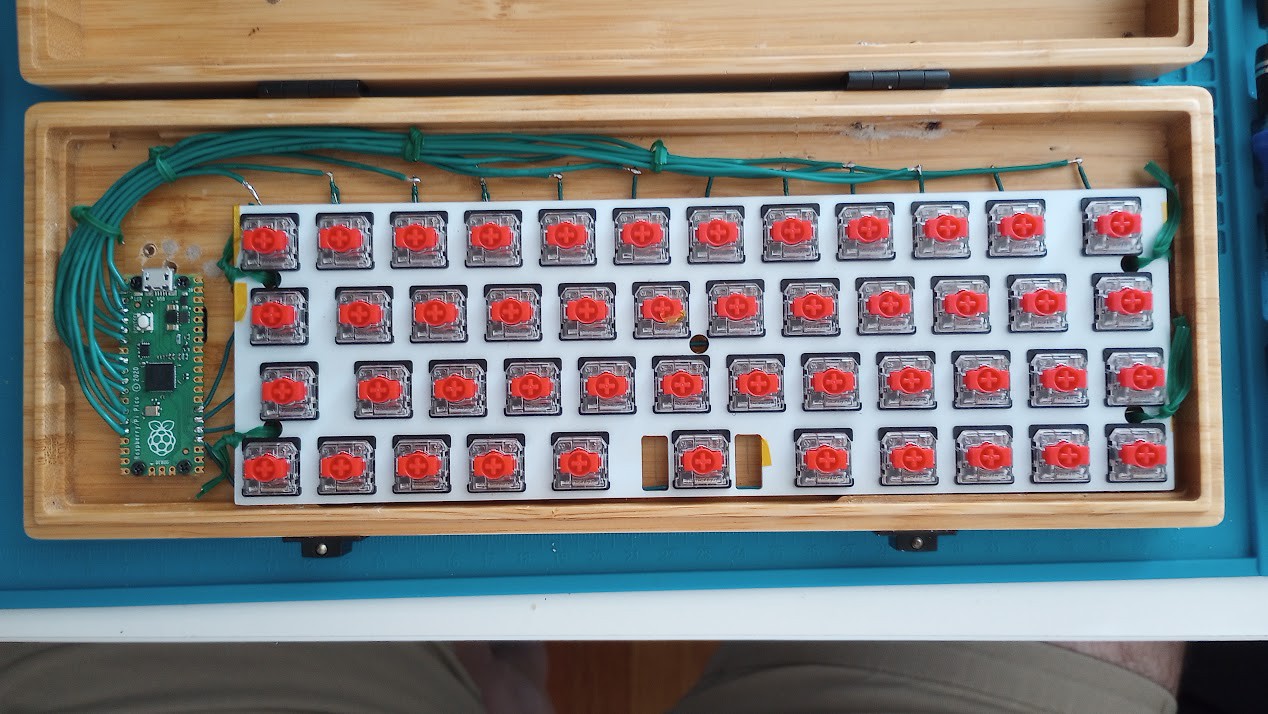 Also ditched the velcro cable ties for the less bulky and thematically appropriate garden ties. I drilled some holes in the bottom and threaded more cable ties through in order to secure the keyboard plate to the case. It all worked out pretty well.
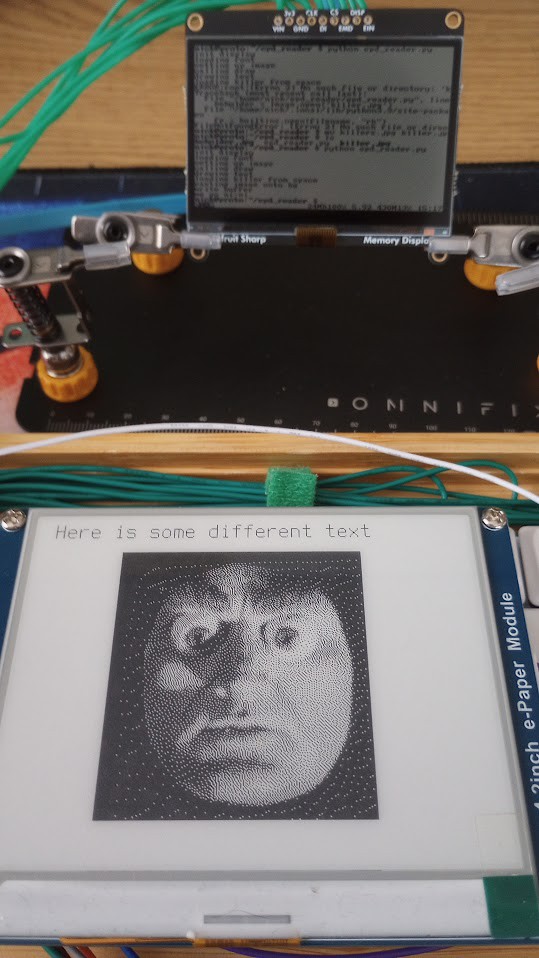
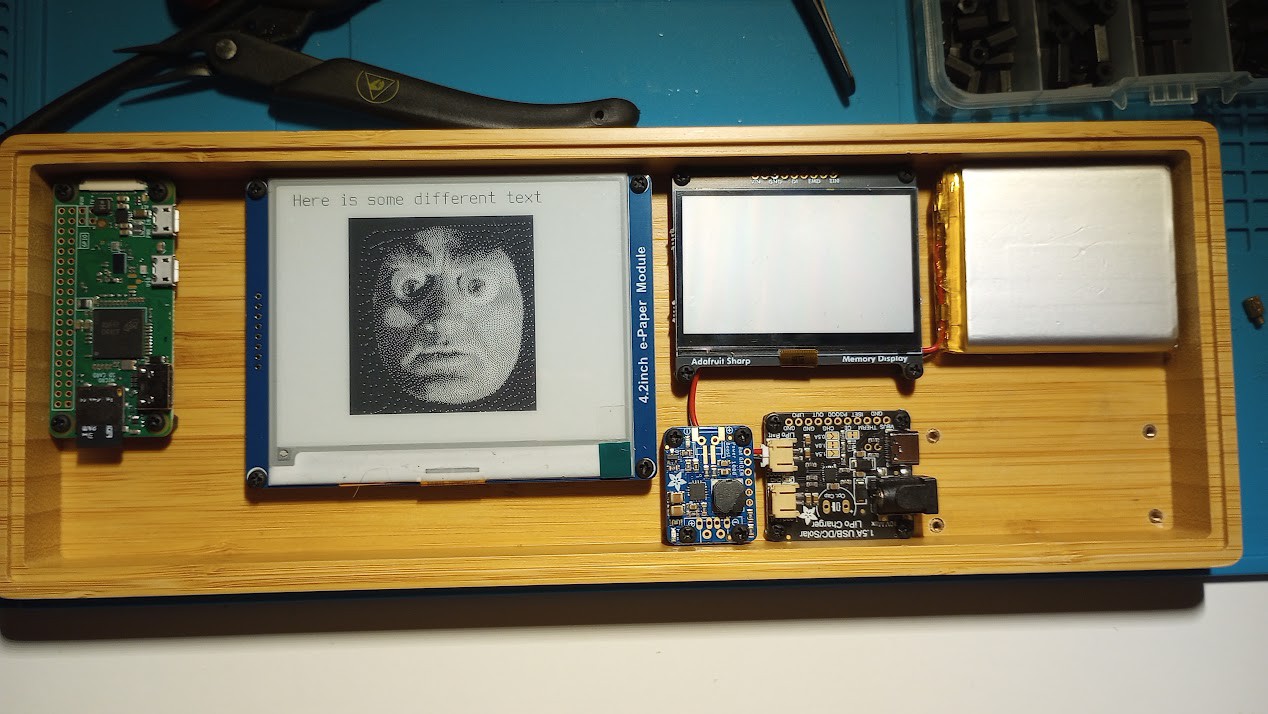
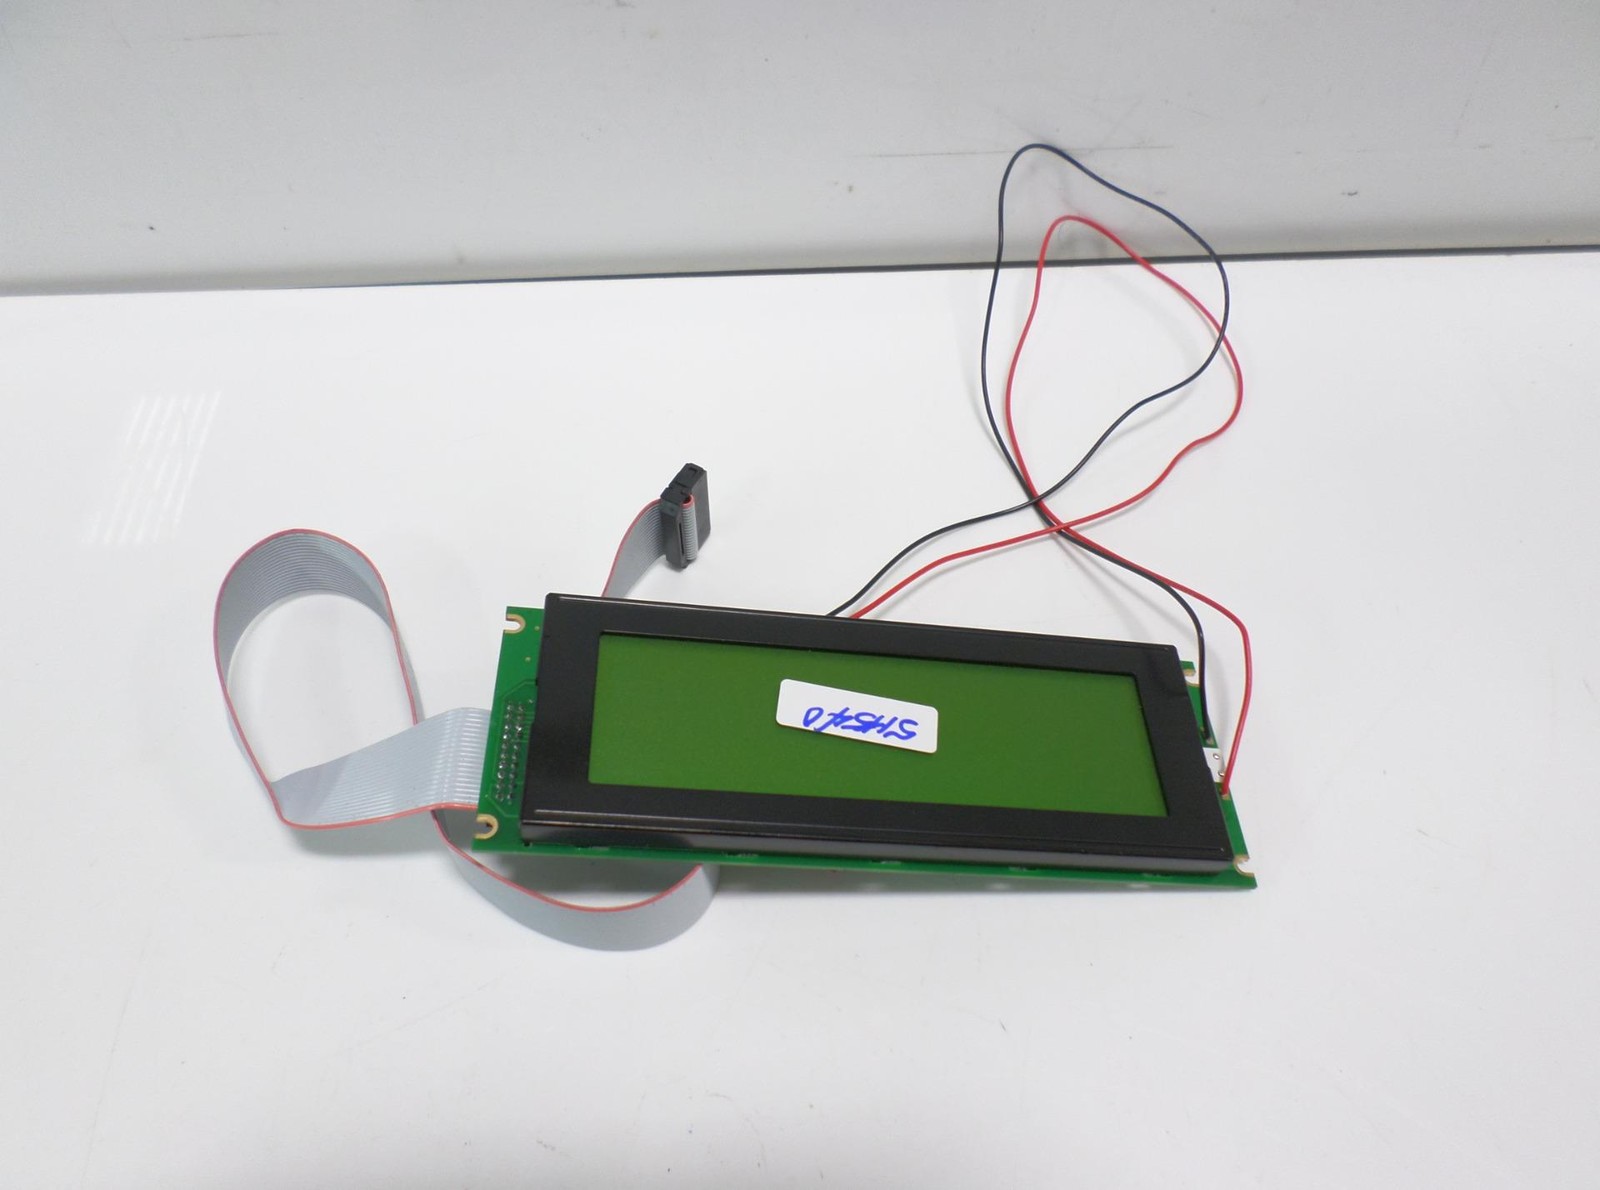
 I got the Sharp Memory-in-Pixel LCD working. Forked an old kernel module on github and made one small change to get it to compile and it worked. The future plan is to hopefully add an escape character that I can add to the keyboard firmware that will invert the display on command. The white-on-black is hard to read on this display. It also might be too small to work with comfortably... ls -l wraps around in an ugly way using the VGA8x16 console font. Anything smaller and I'm afraid my old, busted eyes will have a hard time with it. We'll see once I get the color inversion code in there.

 Auron
Auron
 Tom Nardi
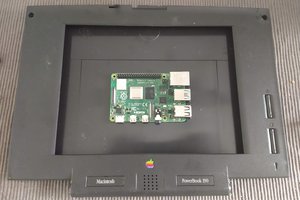
 Dan Jilek
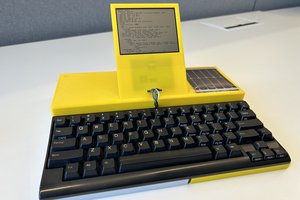
 Andreas Eriksen