In our fast-paced world, where space and time are valuable, our self-watering plant container offers a smart solution. It's designed for simplicity and DIY enthusiasts, making plant care effortless by combining modern tech with timeless plant care wisdom. The self-watering system ensures plants thrive without constant watering concerns. With mifactori Trikka's open-source approach, we make innovation accessible, providing instructions to create your customized container that fits your style and space. This DIY journey promotes sustainability by using reusable materials, reducing ecological impact. Join us to transform indoor gardening, where tech and nature meet, and creativity knows no limits. Cultivate thriving plants and a greener lifestyle, embracing self-sufficiency and innovation, one DIY project at a time.
0%
0%
GPE's take over Trikka
Our indoor self-watering plant holder, a DIY creation inspired by the forward-thinking website, Mifactori Tikka
Become a Hackaday.io member
Already have an account? Log in.
Just one more thing
To make the experience fit your profile, pick a username and tell us what interests you.
Pick an awesome username
hackaday.io/
Your profile's URL: hackaday.io/username. Max 25 alphanumeric characters.
Pick a few interests
Projects that share your interests
People that share your interests

 Theodor Hillebrand
 tlankford01
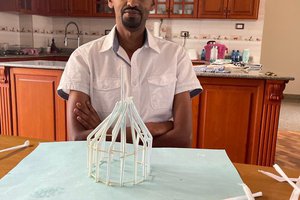
 Anteneh Gashaw
 Bart.remans