 NuclearPhoenix
Short demo video:
Read more »0%
0%
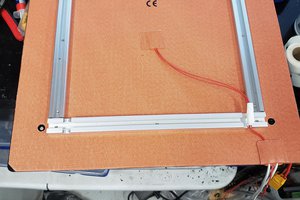
Peltier Cloud Chamber
DIY cloud chamber using a beefy CPU cooler and a single Peltier module too see ionizing radiation with your own eyes!
Become a Hackaday.io member
Already have an account? Log in.
Just one more thing
To make the experience fit your profile, pick a username and tell us what interests you.
Pick an awesome username
hackaday.io/
Your profile's URL: hackaday.io/username. Max 25 alphanumeric characters.
Pick a few interests
Projects that share your interests
People that share your interests


 matseng
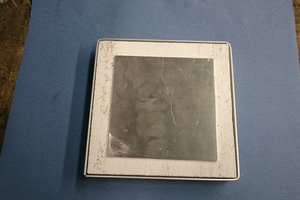
 Christoph
 CriptasticHacker
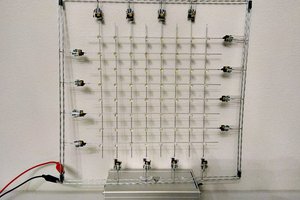
What a wonderful detector! It looks like a very clean build.
If you cover the LEDs from the top, so they shine only in the middle, your eyes (and camera) sees more contrast of the traces. If you need even more light i used a strong laser (green) as line laser (shining it sideways through a LED)
best wishes, j