 Julian Blanco
Bottom Unit: Acoustic DAQ: Applied Ocean Science's PAMELA DAQ (Portable Acoustic Monitoring Electronic Logging Apparatus)
DIY recorder using an SGTL5000 codec and a op-amp based pre amp
Aquarian AS-1 Scientific hydrophones
Lipo pack: 3s5p 18650s
Blue robotics Pressure Sensor for depth (MS5837-30BA)
Blue robotics Temperature Sensor (TSYS01)
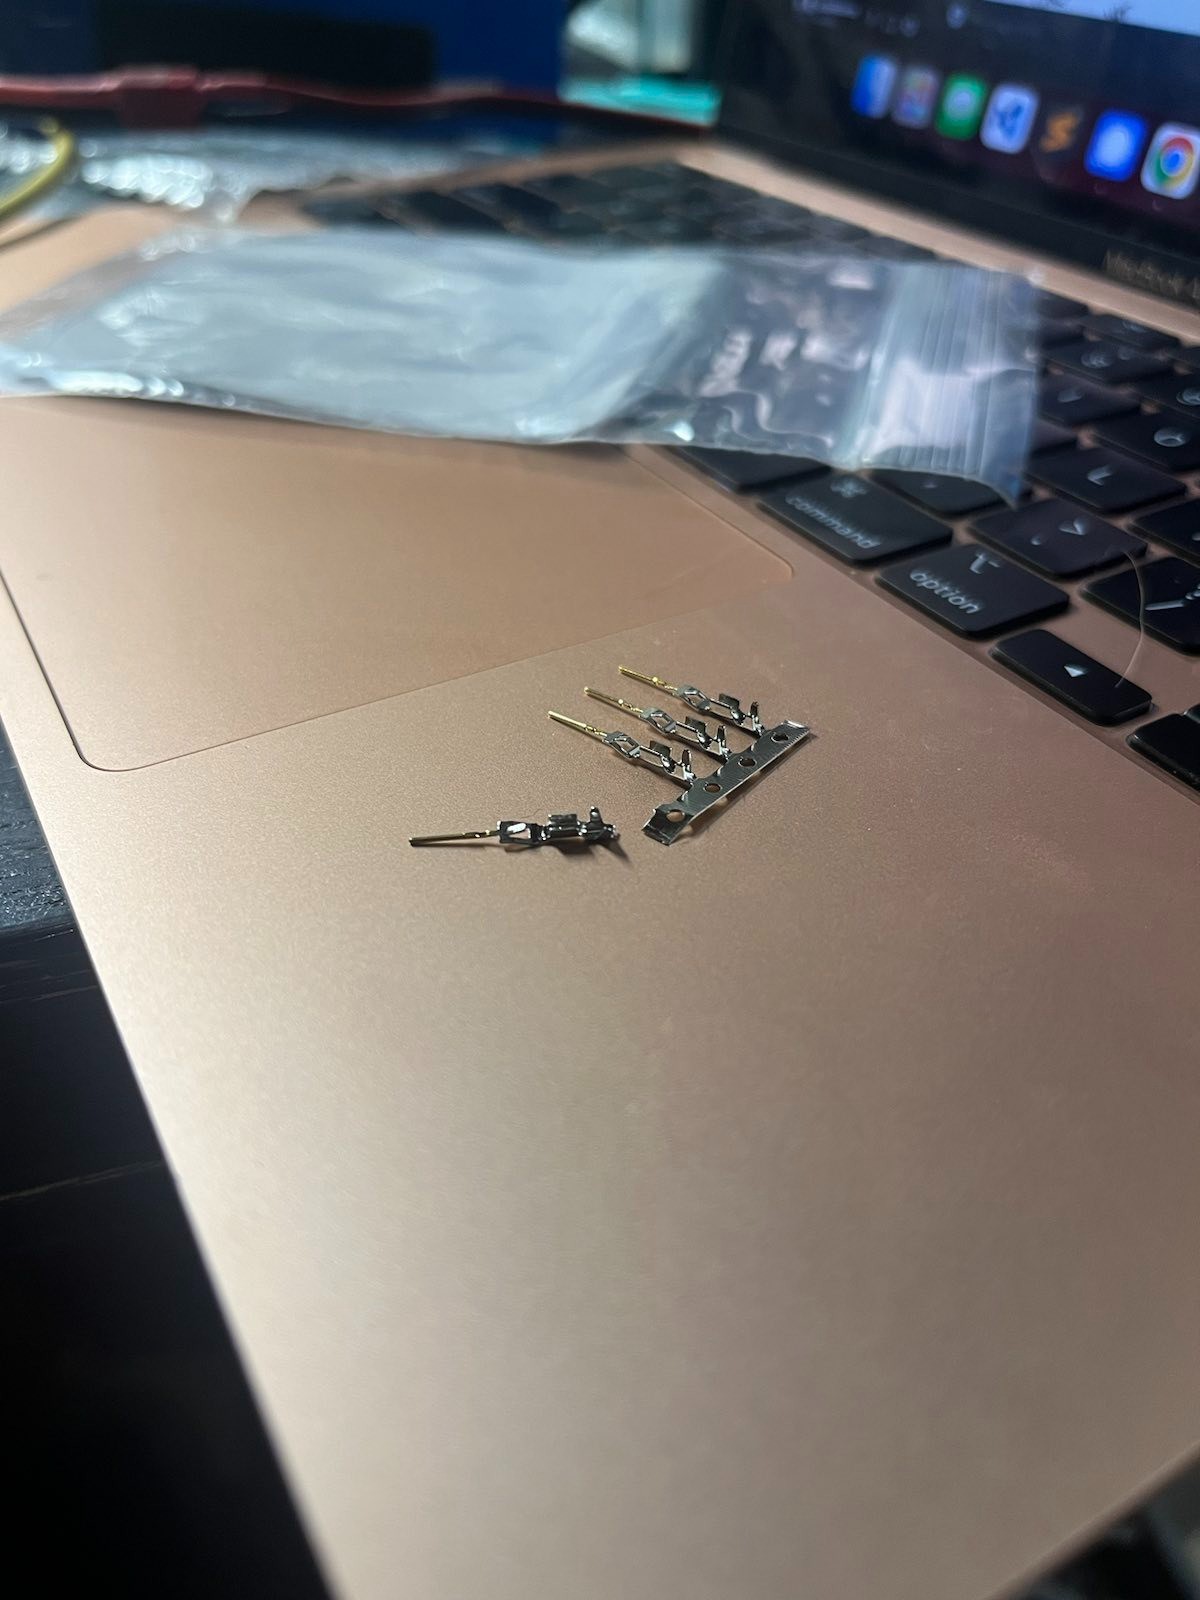
Sparkfun Single Pair Ethernet transciever
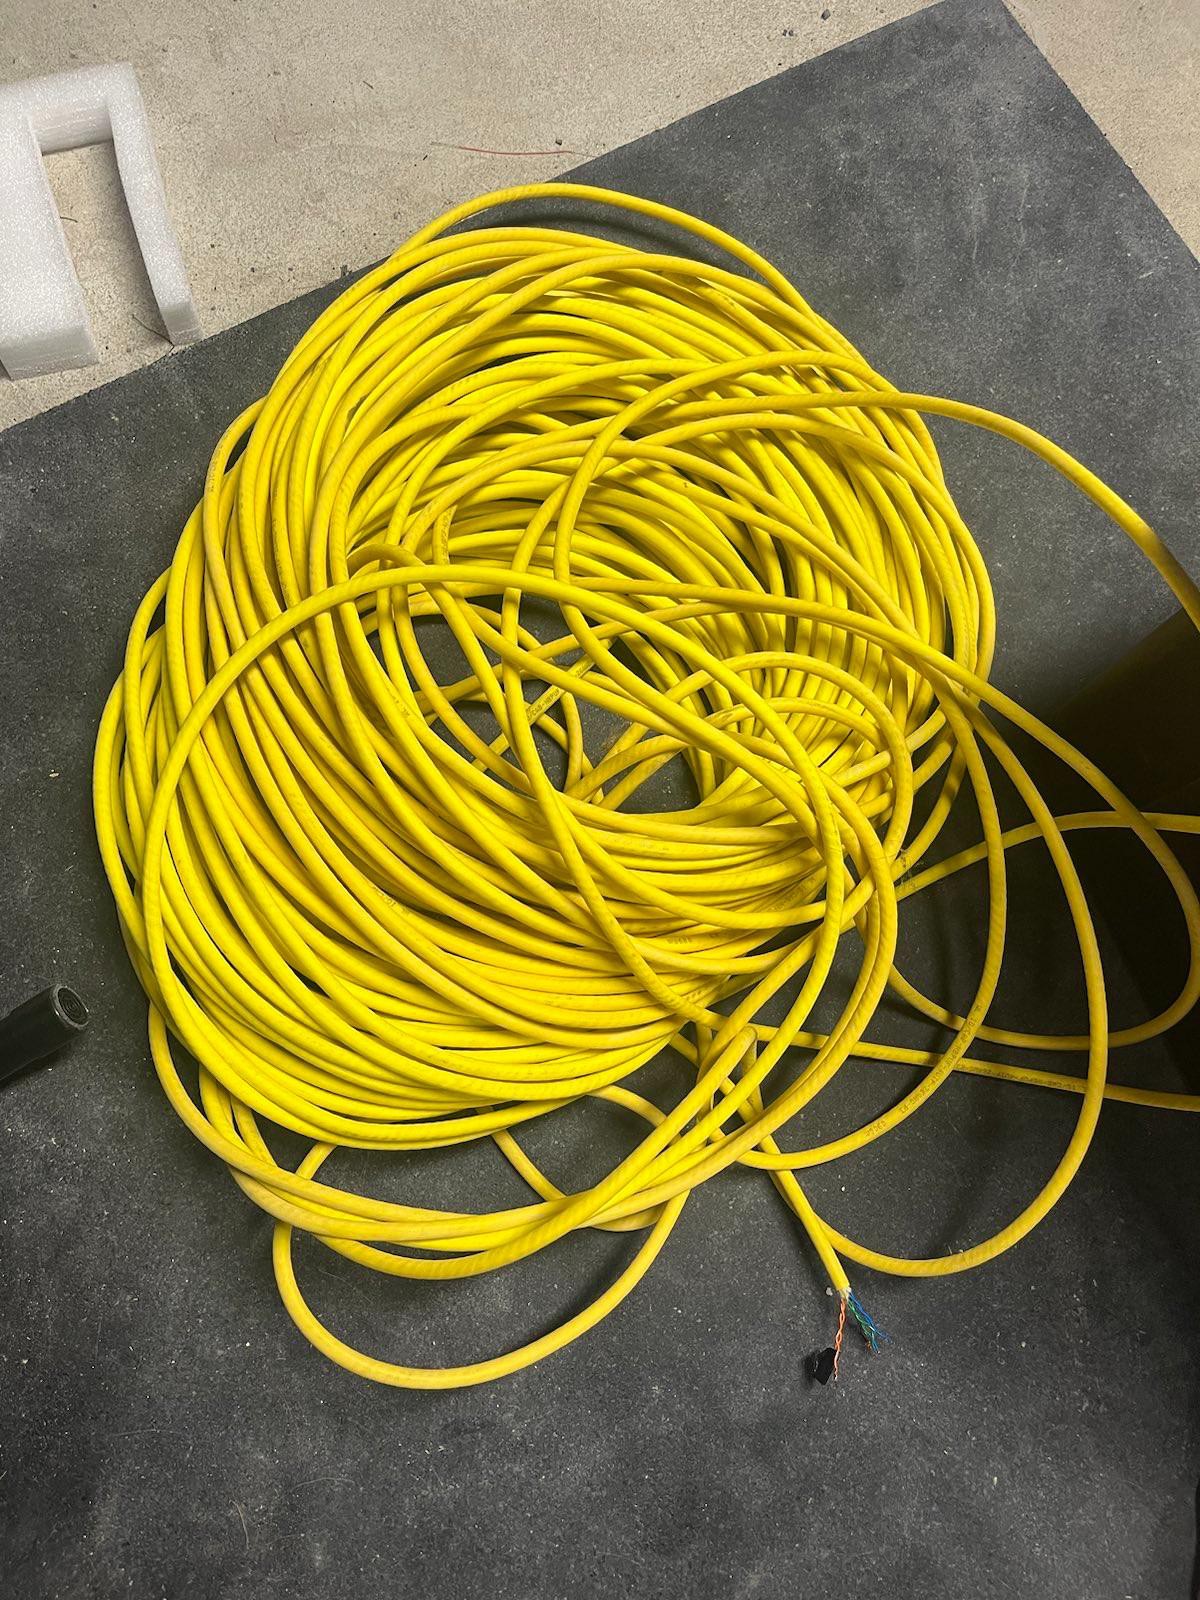
Tether: 300 feet of Blue Robotics Fathom ROV tether for 4 twisted pair
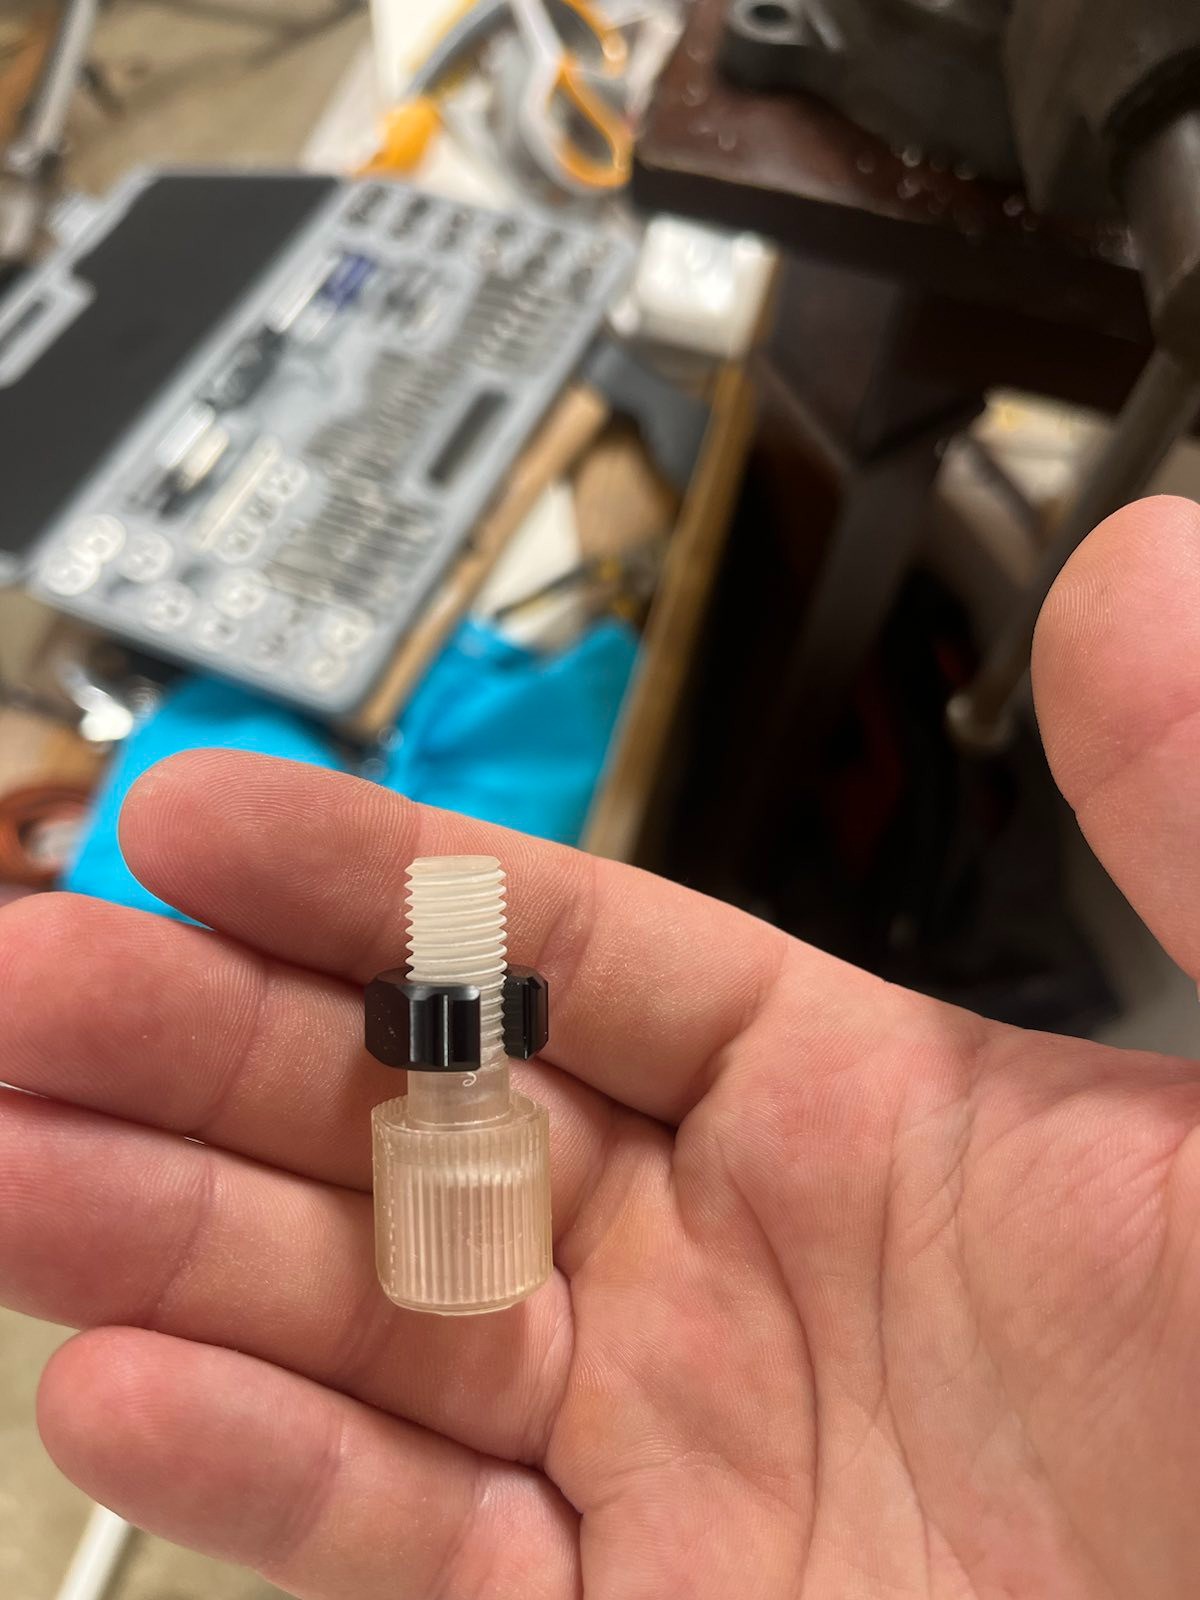
Blue Trail 8 pin waterproof connector
Topside:
Radio unit
Spot tracker


 Samuel Wantman
 Naveen Sridharan
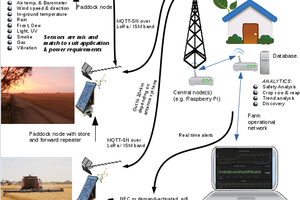
 pastcompute
 Param Aggarwal