 deqing
Hardware for debugging
There are 3 hardware options. Firmware for CH552 can be found in the github repo. Source code is located in the CH55xduino repo.
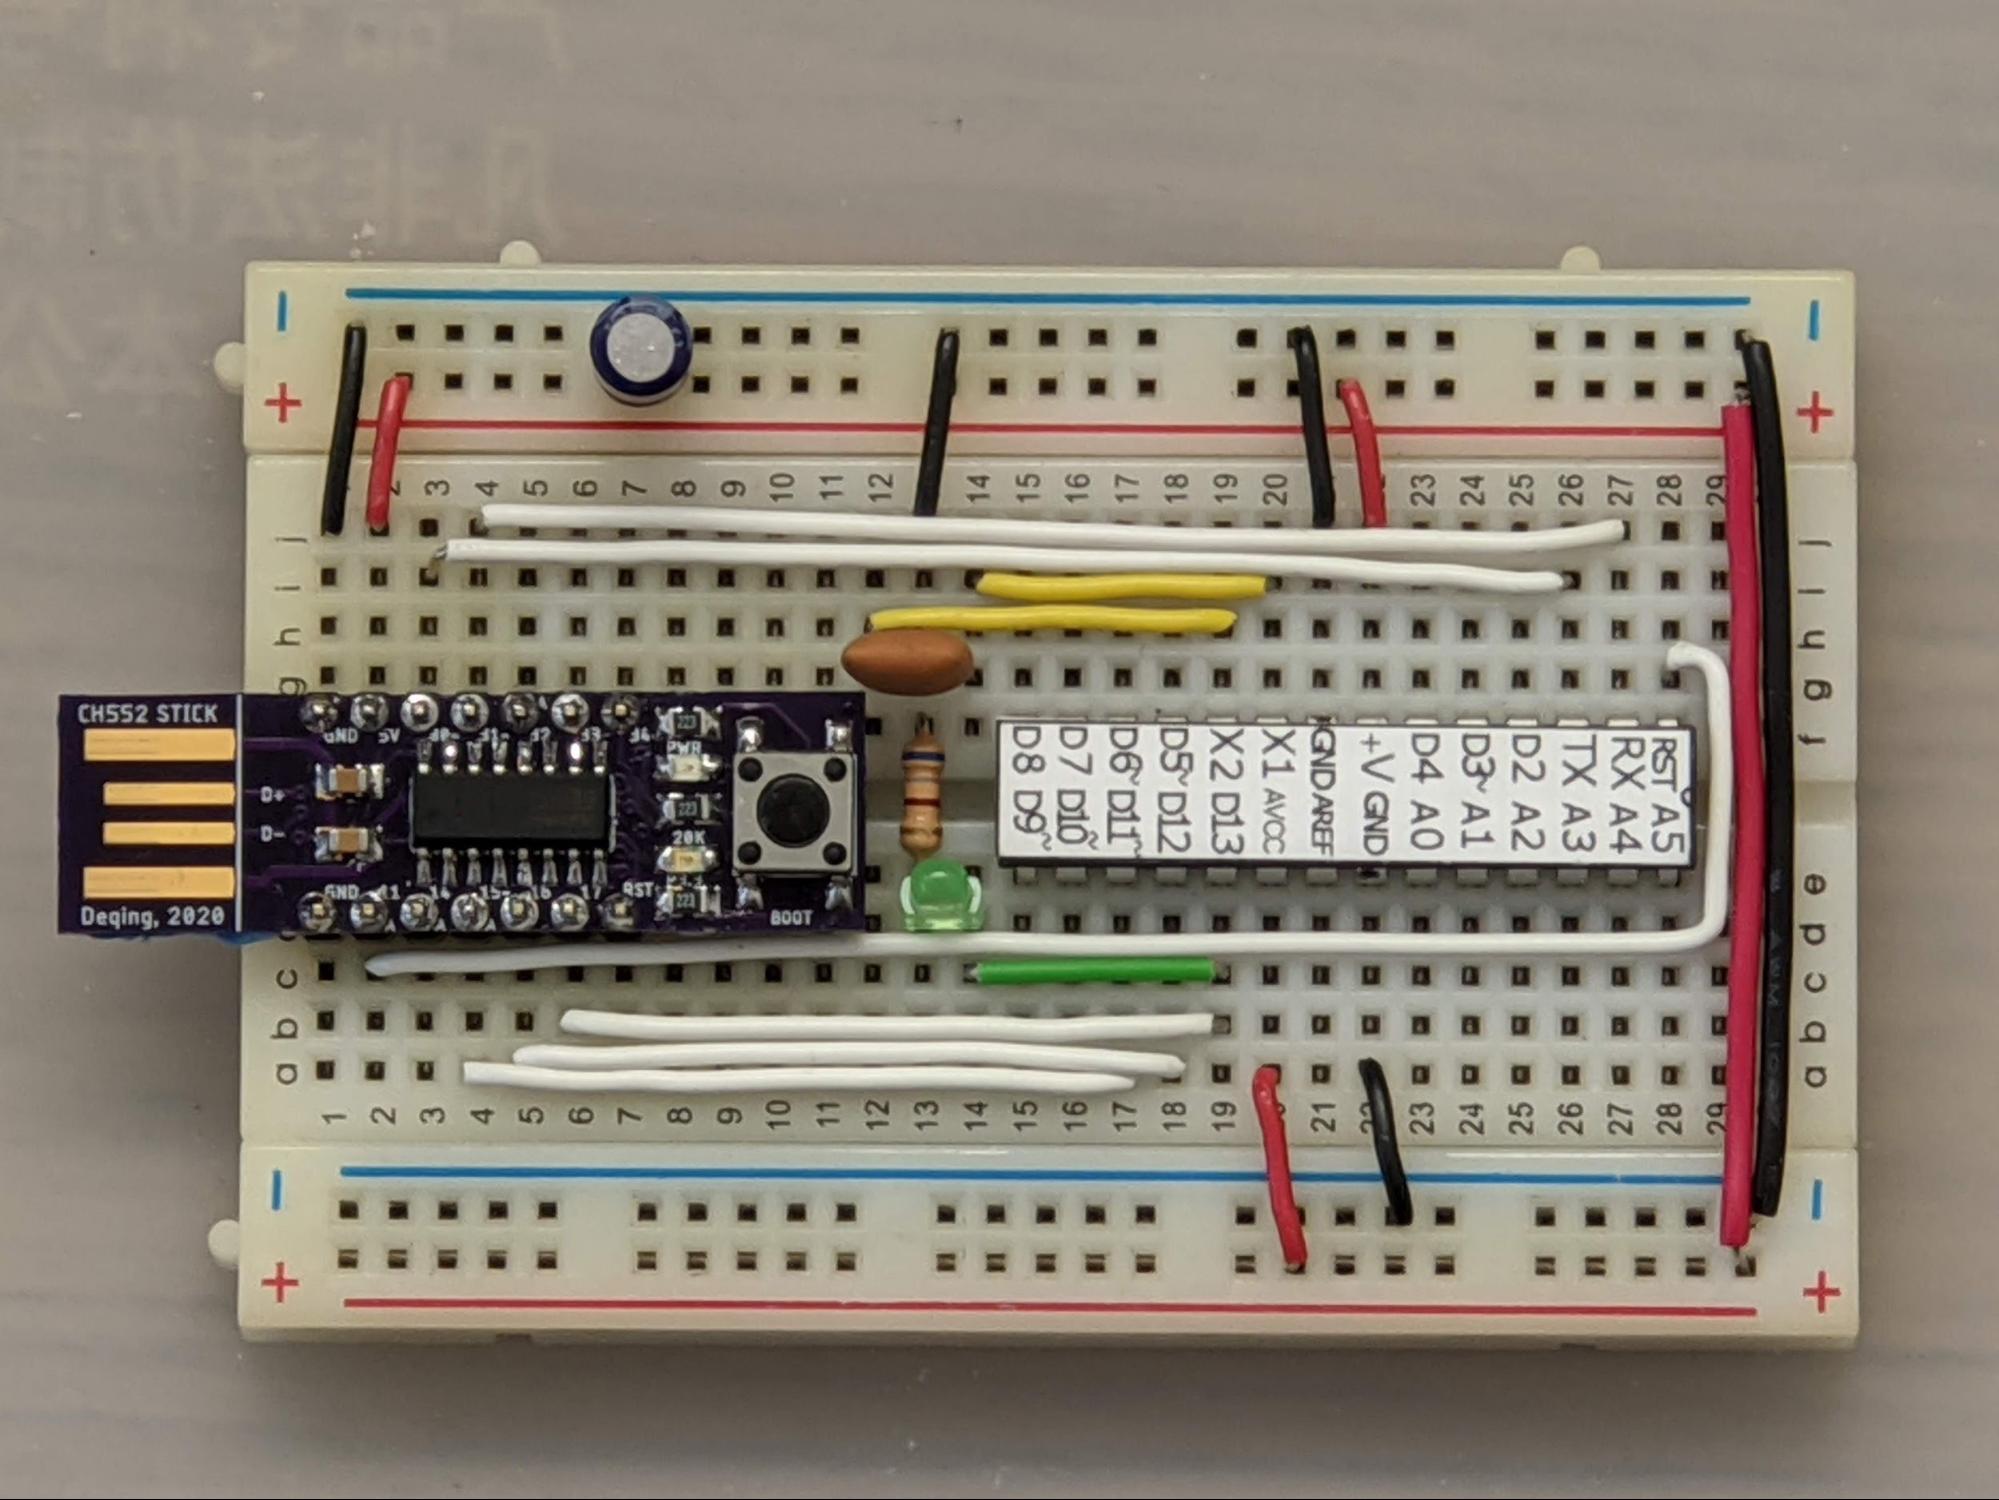
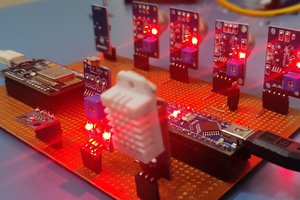
Using CH552 breakout board and ATmega328P on Breadboard
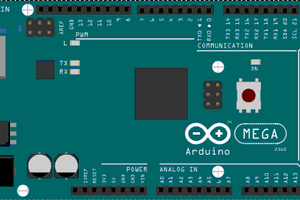
Using CH552 breakout board and Arduino Uno board
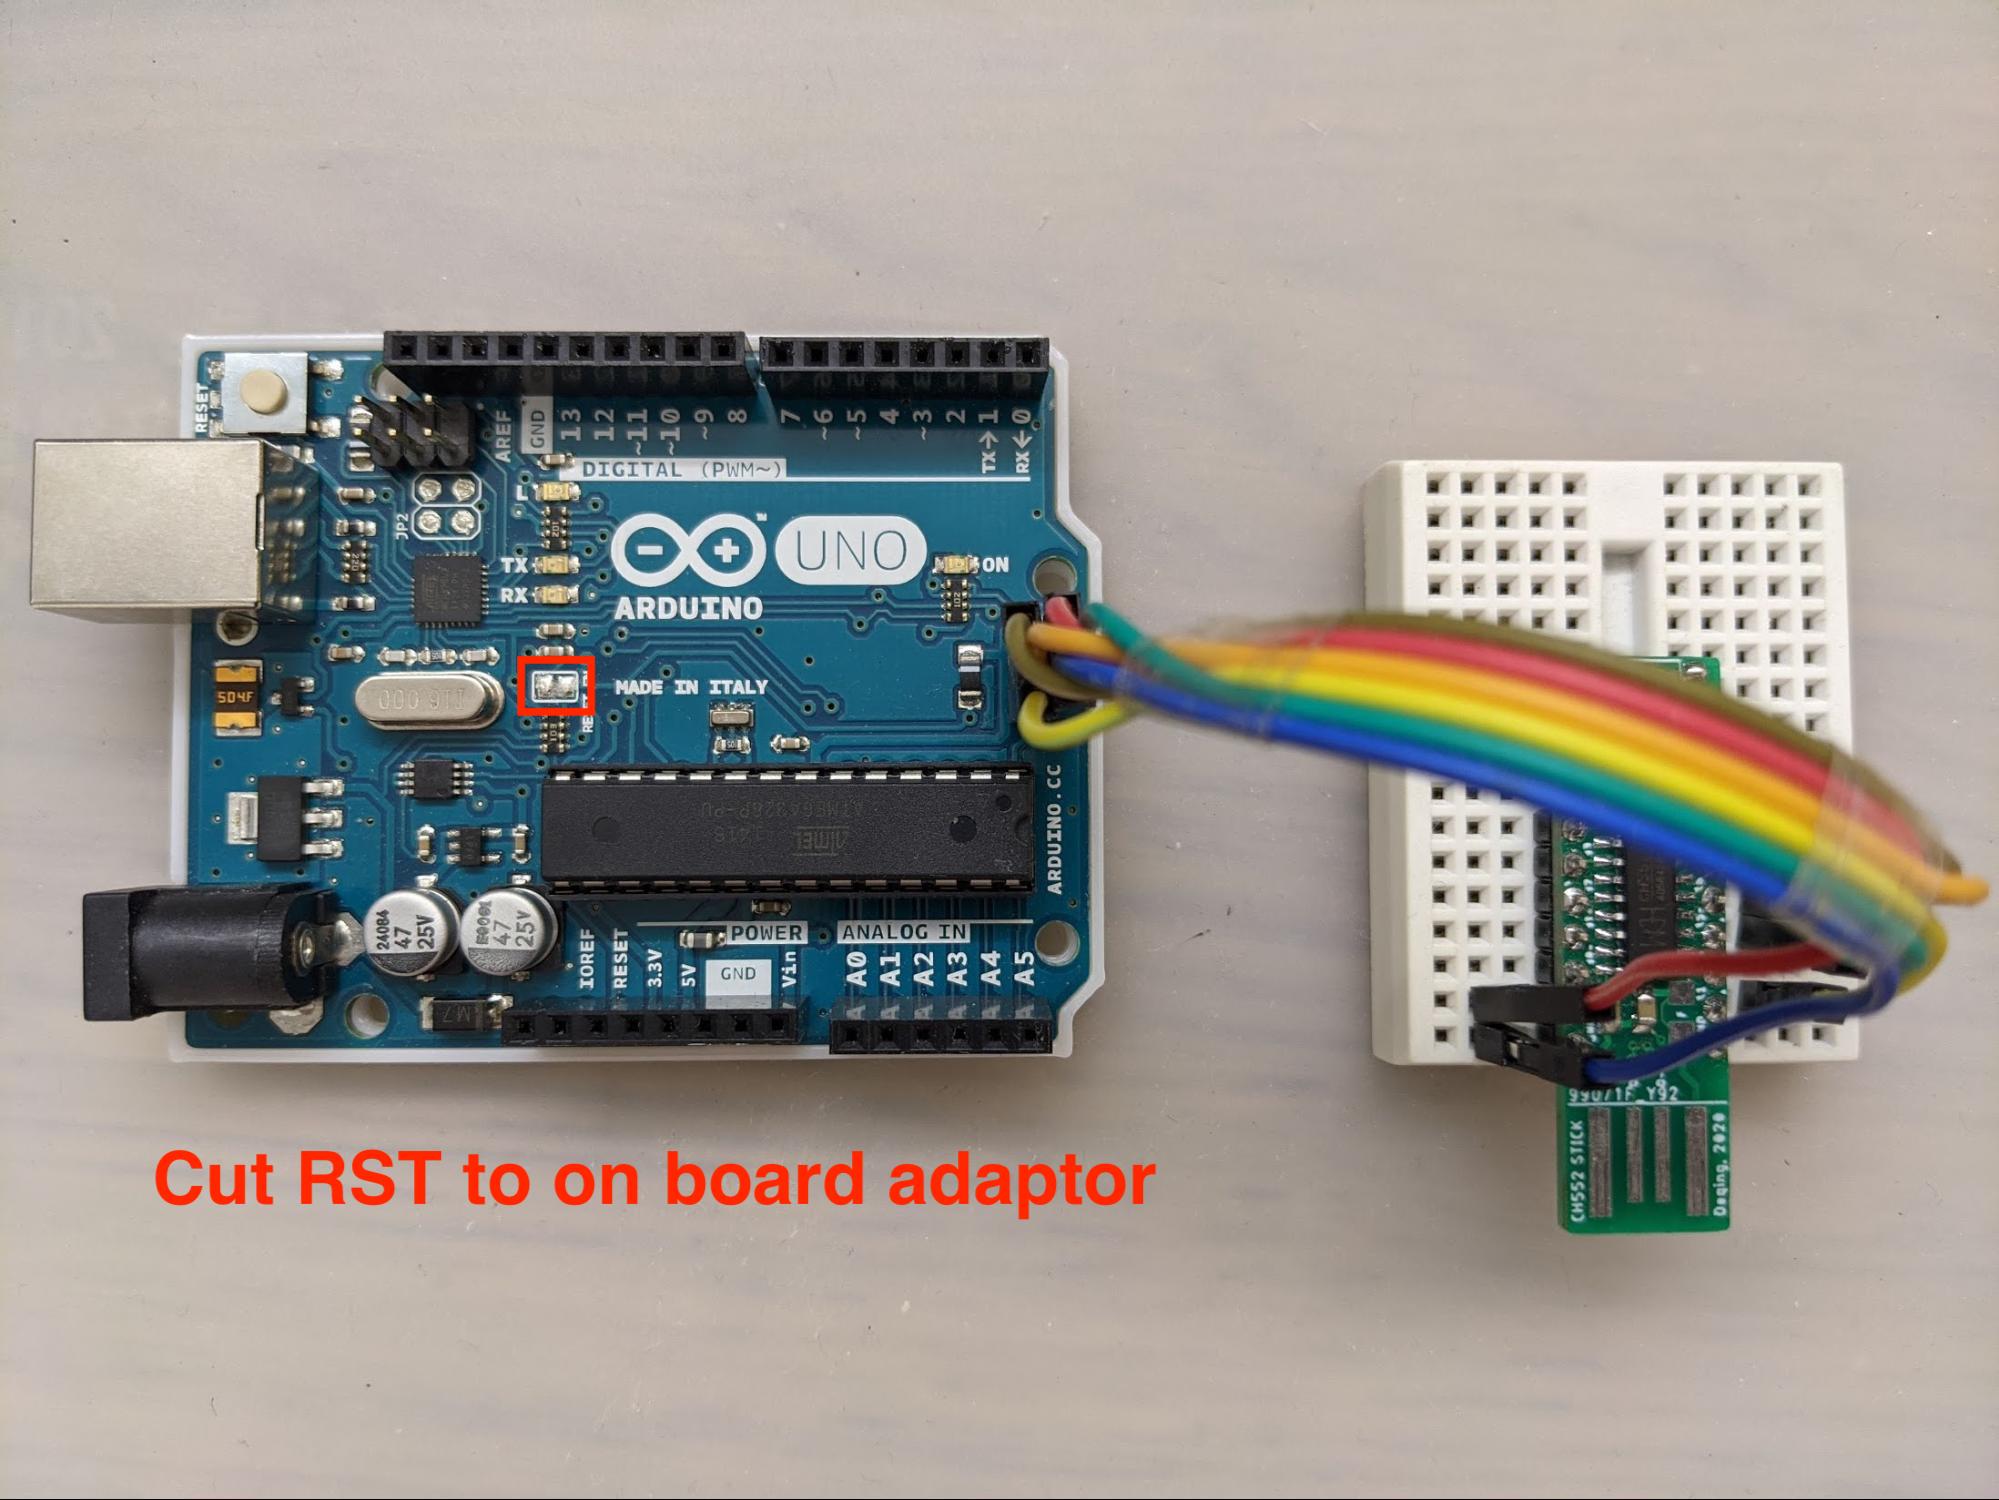
There is a 100nF auto-reset capacitor on the serial adapter side of the jumper. And that capacitor will absorb the high frequency debug signal. So we need to cut the jumper for debugging. The jumper can be connected with a drop of solder after debugging to restore the auto-reset feature.
Using All in One board
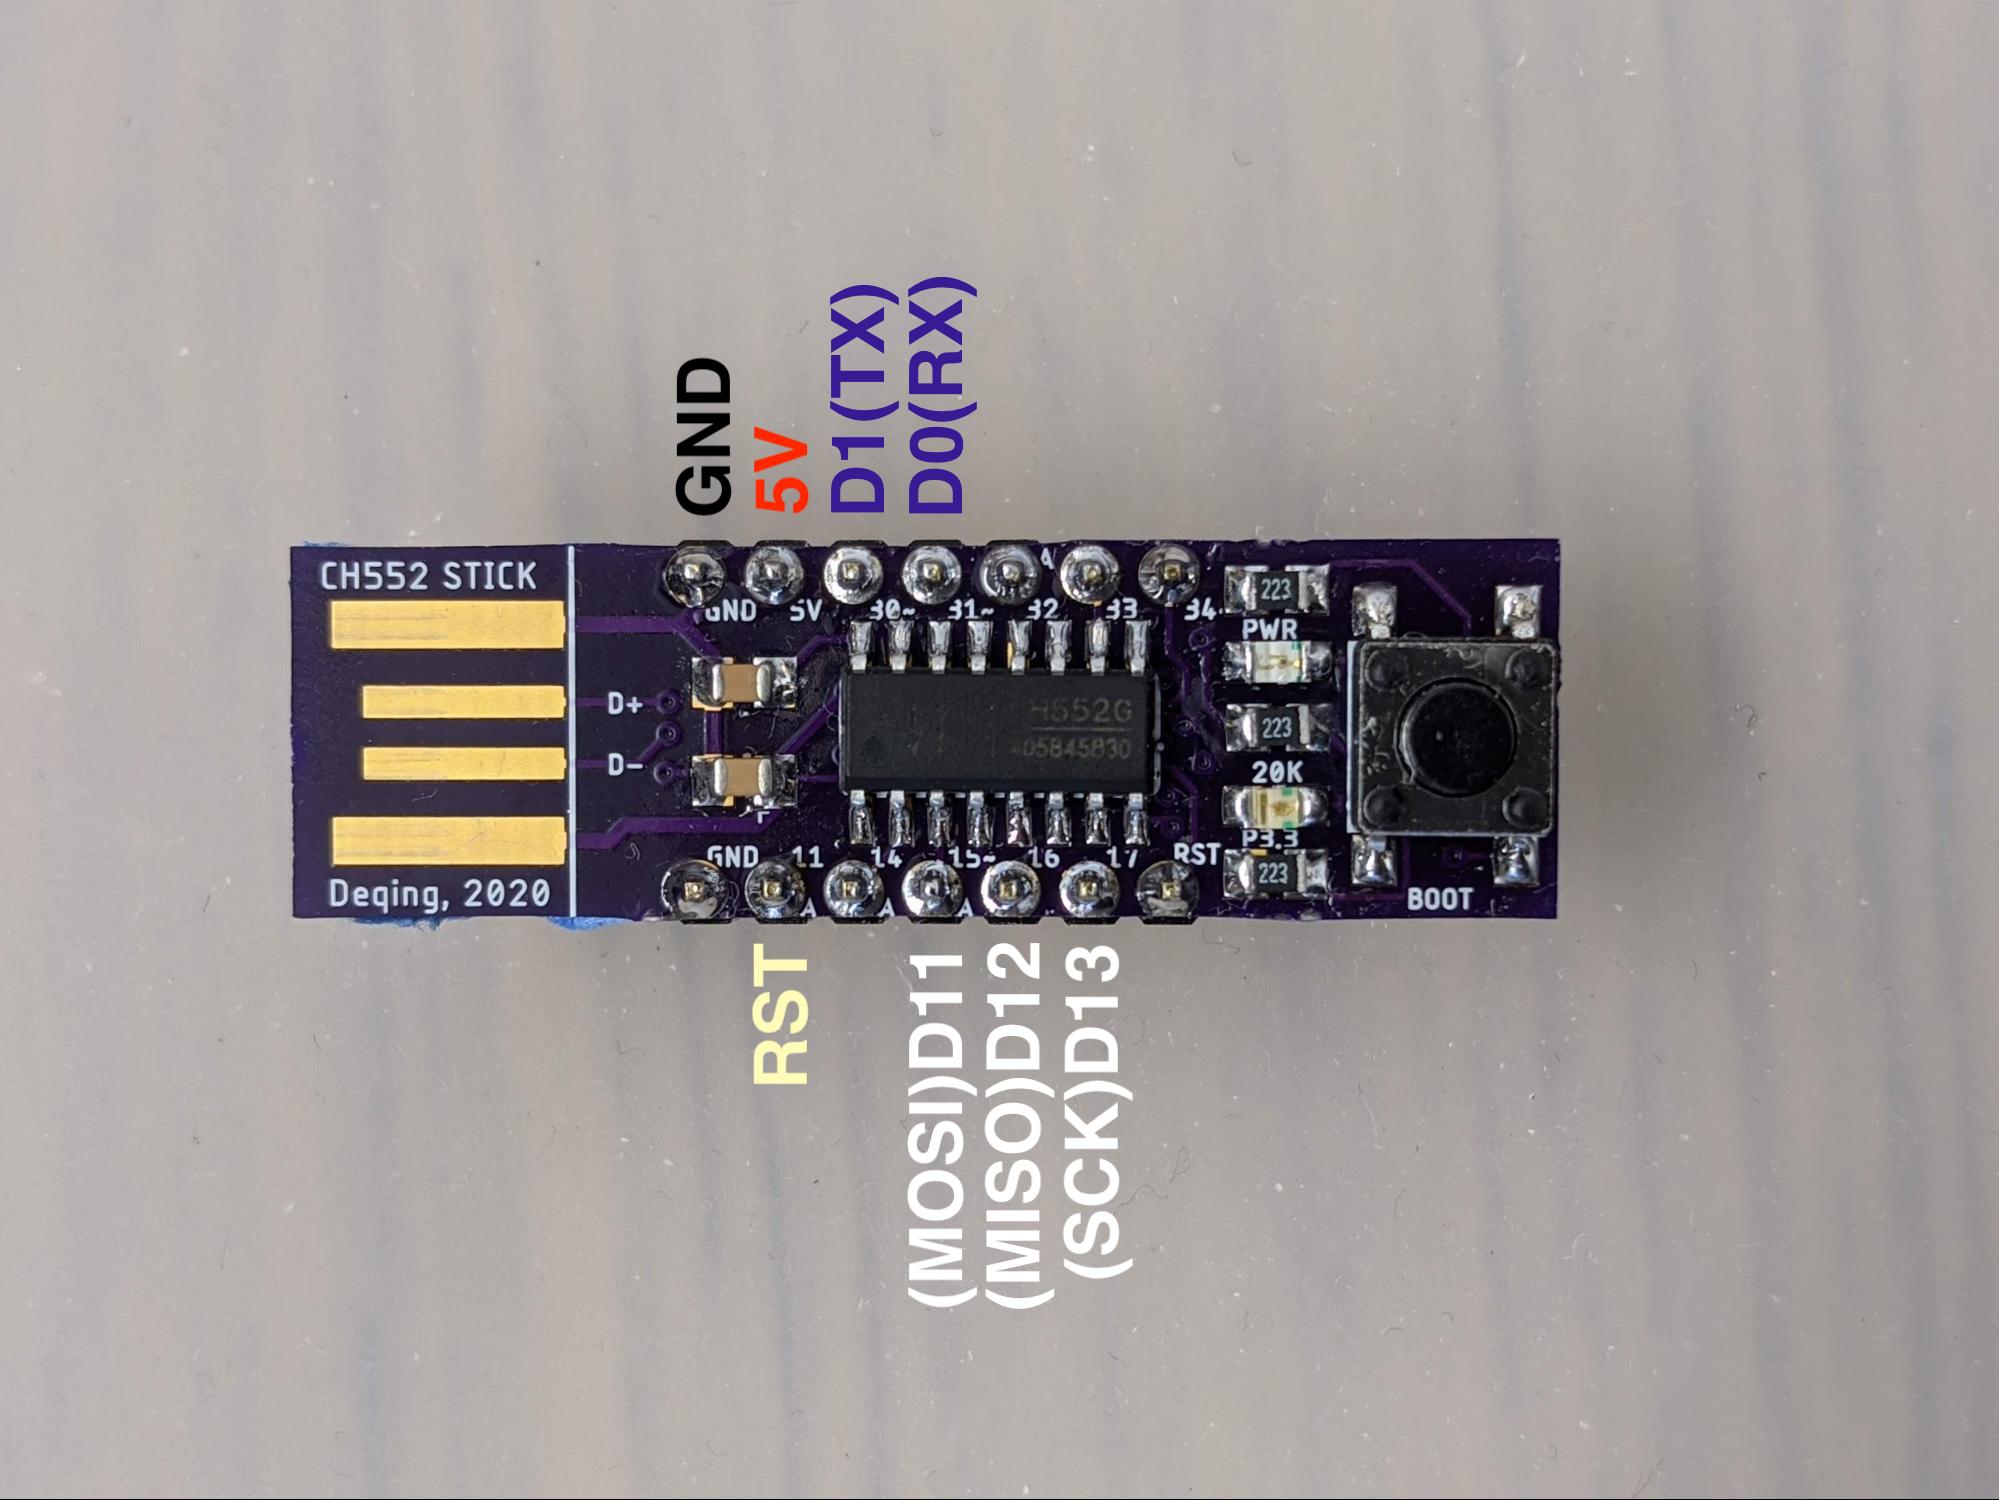
CH552 pinout and ATmega328P connection
| CH552 | ATmega328P | Functionality |
|---|---|---|
| P11 | RST | ISP/DEBUG |
| P15 | D11 (MOSI) | ISP |
| P16 | D12 (MISO) | ISP |
| P17 | D13 (SCK) | ISP |
| P30 | D1 (TX) | Serial |
| P31 | D0 (RX) | Serial |
| 5V | 5V | Power |
| GND | GND | Power |
Software for debugging
Install driver for Windows user
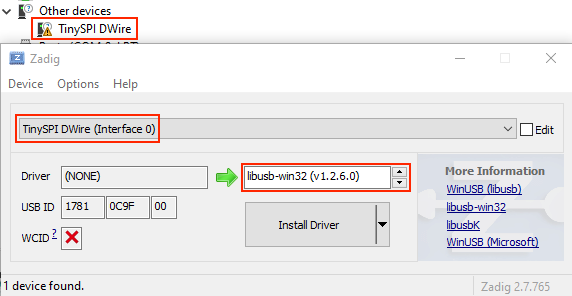
The debugger does not need any driver for Mac OS. But it does need LibUSB driver for the debugging/programming interface on Windows. Using Zadig to install the libusb-win32 driver.
Burn the bootloader to reset Arduino firmware and fuse
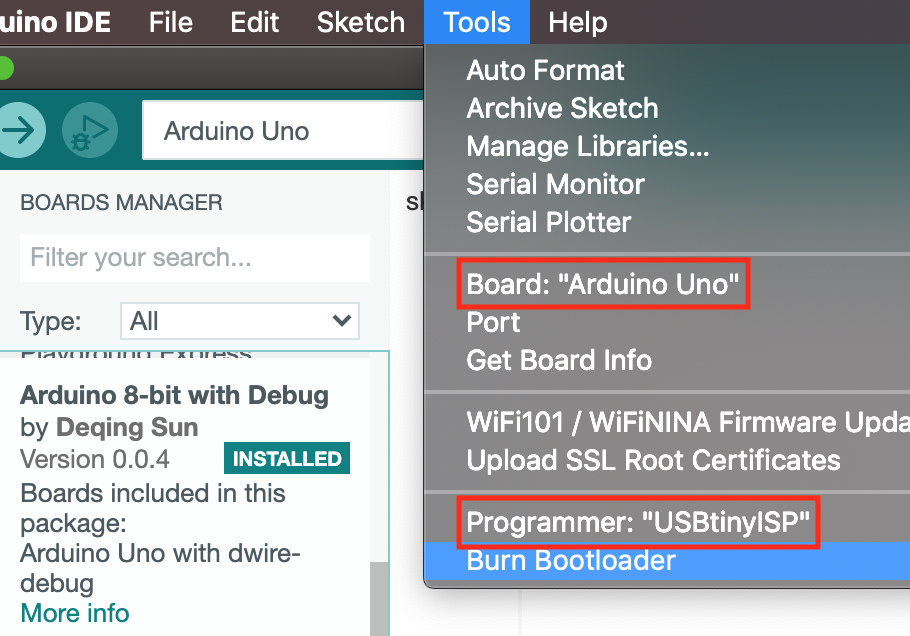
Select Arduino Uno from the Tools->Board menu, and USBtinyISP as the Tools->Programmer
Then select Burn Bootloader.
If you are able to burn the bootloader, it means the hardware set is ready to be debugged. Your Arduino is also ready to be used as a regular Arduino Uno.
Note if the Arduino has been debugged before burning the bootloader, your first burn attempt will fail, but the debugger will kick the Arduino out of debugging mode. Your second attempt will be successful. Also replug your board afterward, because Arduino can not enter debug mode again in the same power cycle that you unprogram the DWEN fuse.
Add board support
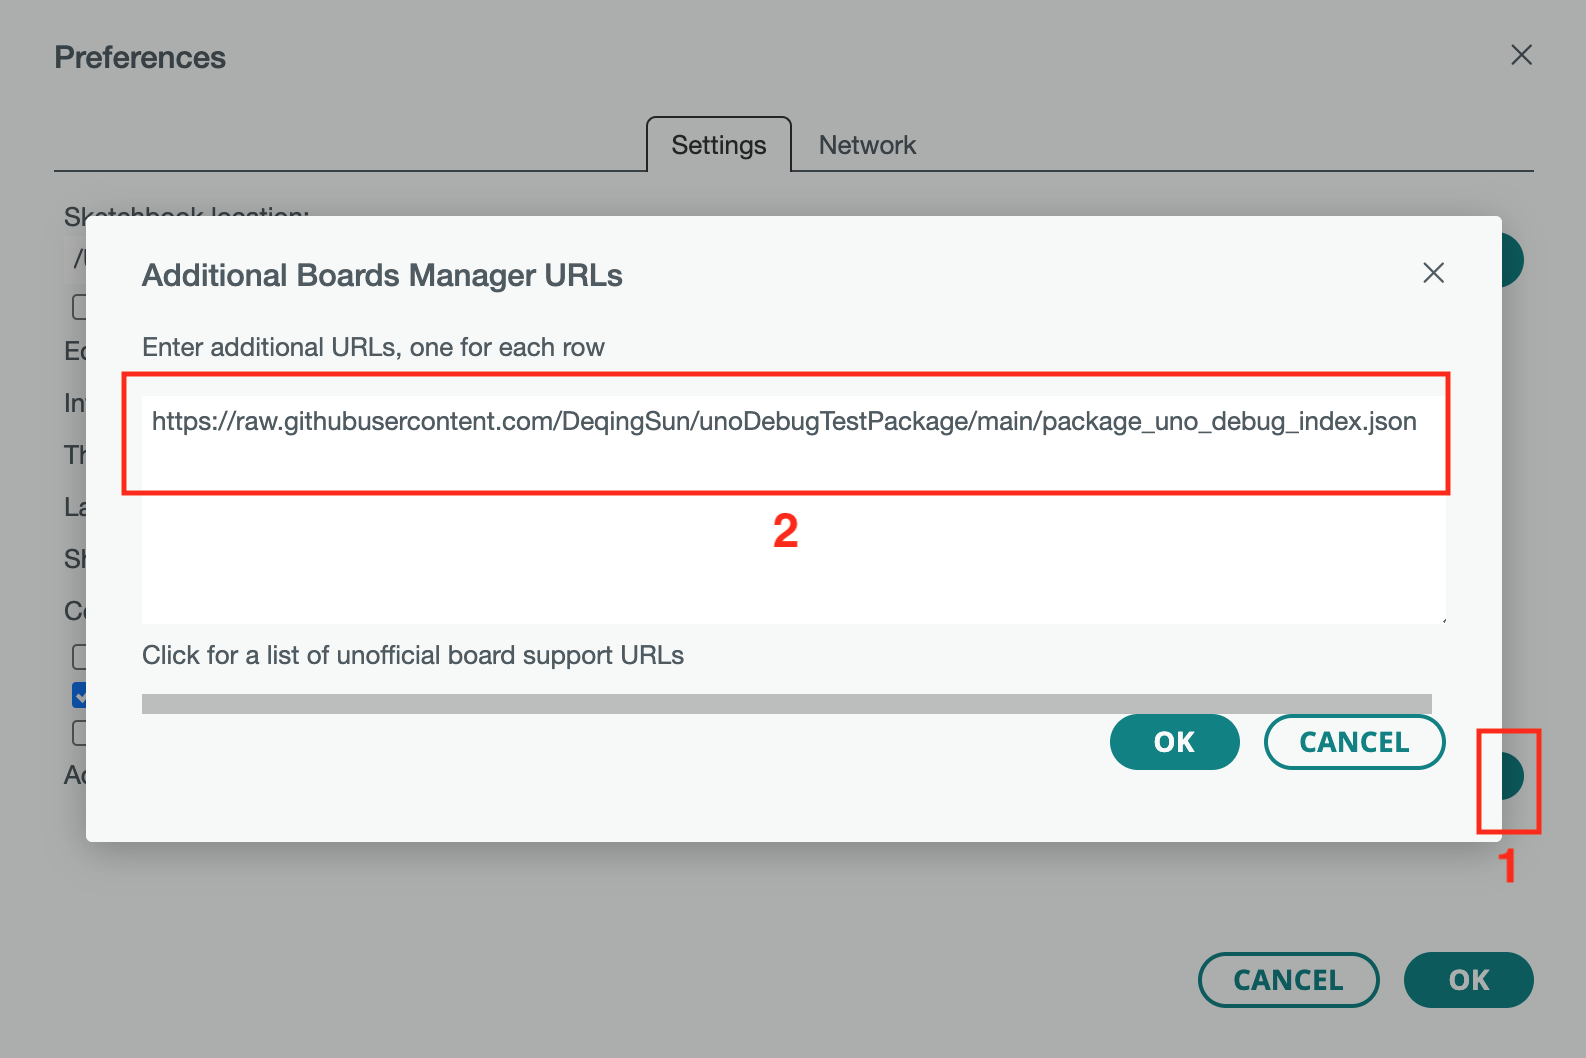
In Arduino Preferences, Click button on the right of the Additional Boards Manager URLs
Add:
https://raw.githubusercontent.com/DeqingSun/unoDebugTestPackage/main/package_uno_debug_index.json
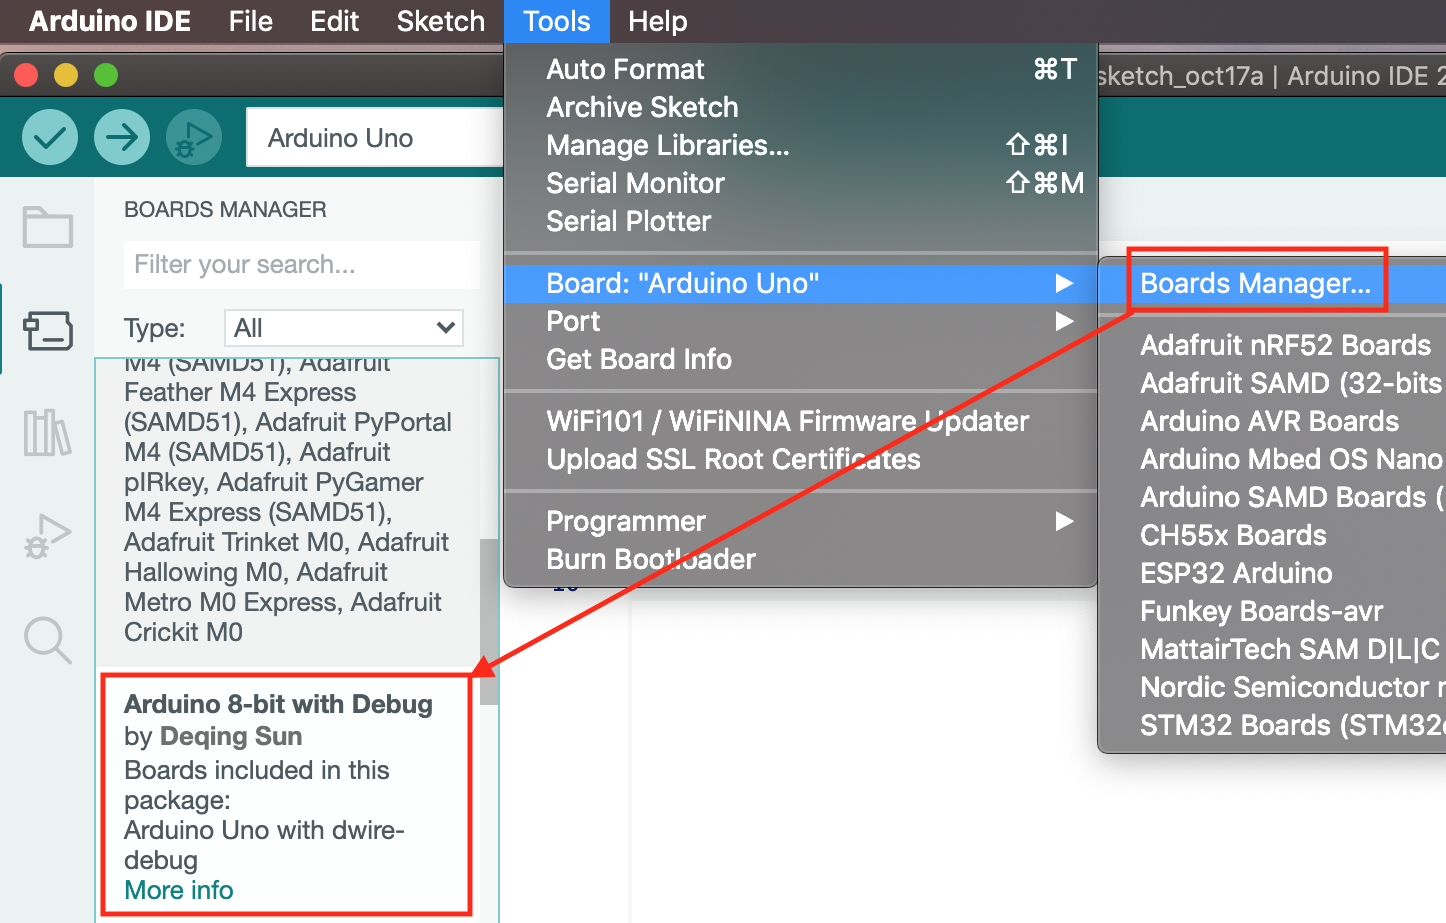
Open Boards Manager from Tools->Boards: "Whatever"->Boards Manager
In the Boards Manager, Find Arduino 8-bit with Debug. Install it.
Start Debugging
Open BlinkUno.ino with Arduino IDE 2.0.0.
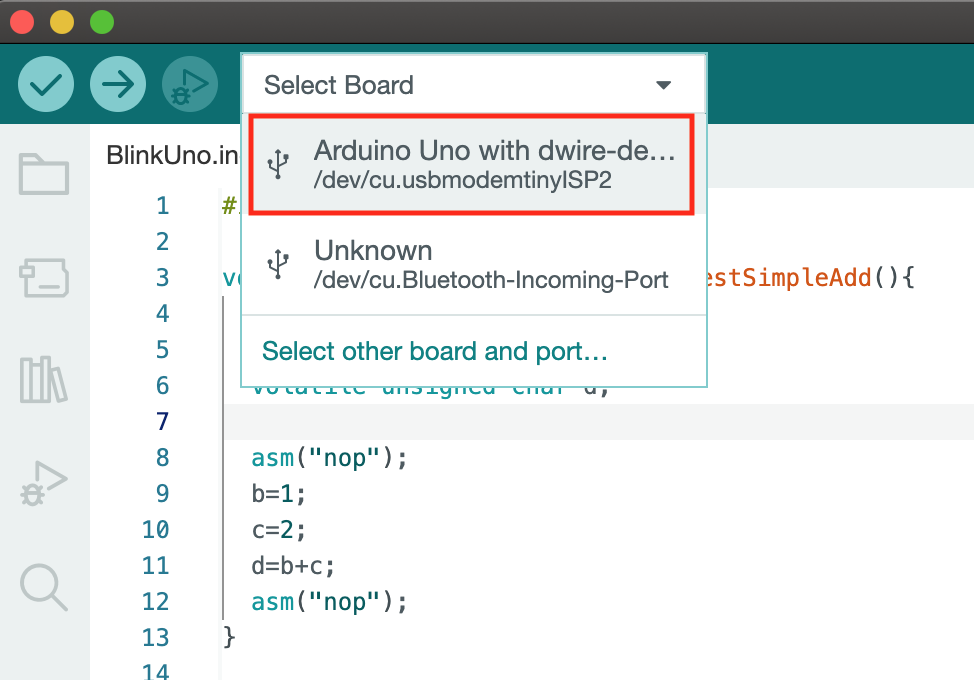
Click Select Board, if your board is already plugged in, you should be able to set the board and port automatically.
Or you can manually set the board and port.
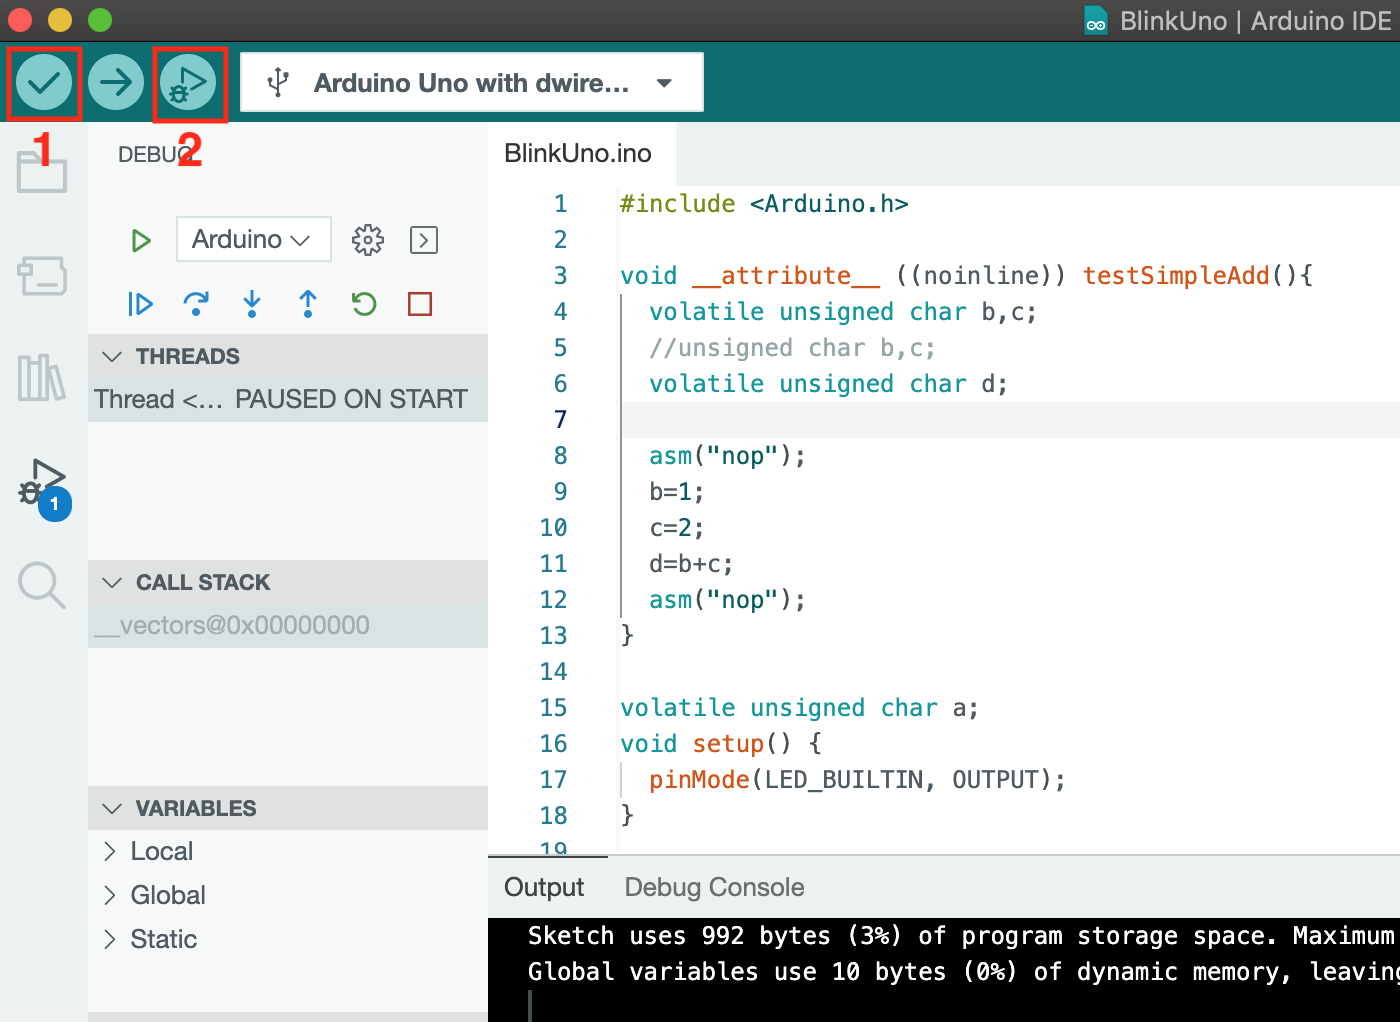
Click Verify icon then click the Start debugging icon.
Your board should be able to enter debug mode and pause on start.
If you encounter an error. Try to replug the board and debug again.
If it still does not work, try to:
- Replug the board.
- Try to burn the bootloader again. (try 2nd time if debugged before).
- Replug the board.
- Try to debug again.
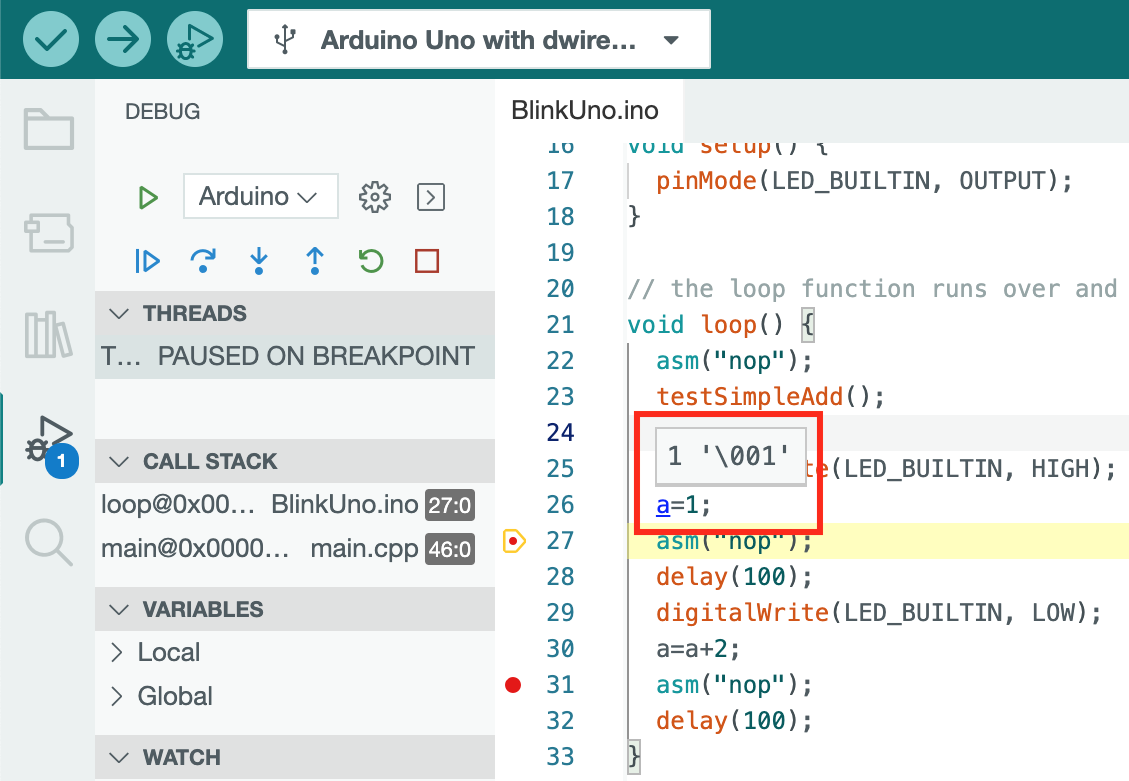
Then you should be able to debug the code.
Update Code in Debugging
When you modify the Arduino code and want to update the code within the Arduino chip, you can stop debugging, click Verify icon then click the Start debugging icon. The debugger will automatically send the new compiled binary to the Arduino chip through the debugging interface.
Note you can not use the regular upload button in Debugging mode, because the bootloader is disabled.
Quit Debugging and restore bootloader
When you finish debugging, first stop debugging. Then burn the bootloader twice and the board will quit debugging mode and restore the regular Arduino Uno bootloader.
The first bootloader burn will fail for sure, but the debugging probe (CH552) will send a quit signal to ATmega328P and enable the ISP interface, then the second bootloader burn will be successful. A power cycle is recommended after the successful burn if you want to debug again later.
Acknowledgment
The DebugWire protocol investigation and documentation by RikusW. The DebugWire protocol is the foundation to debug the ATmega328P.
dwire-debug project from David C W Brown. The dwire-debug acts as debugger server for avr-gdb. The dwire-debug binary in this repo was compiled with...
Read more »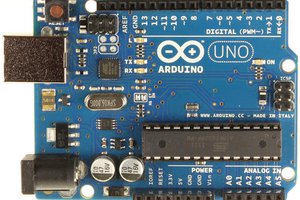
 dsnider0909
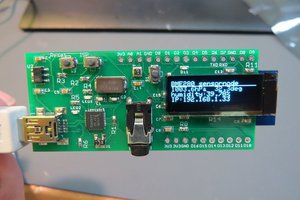
 kodera2t