Close
0%
0%

Astro-chan Badge

An cute astronaut sitting on your shoulder.

Similar projects worth following

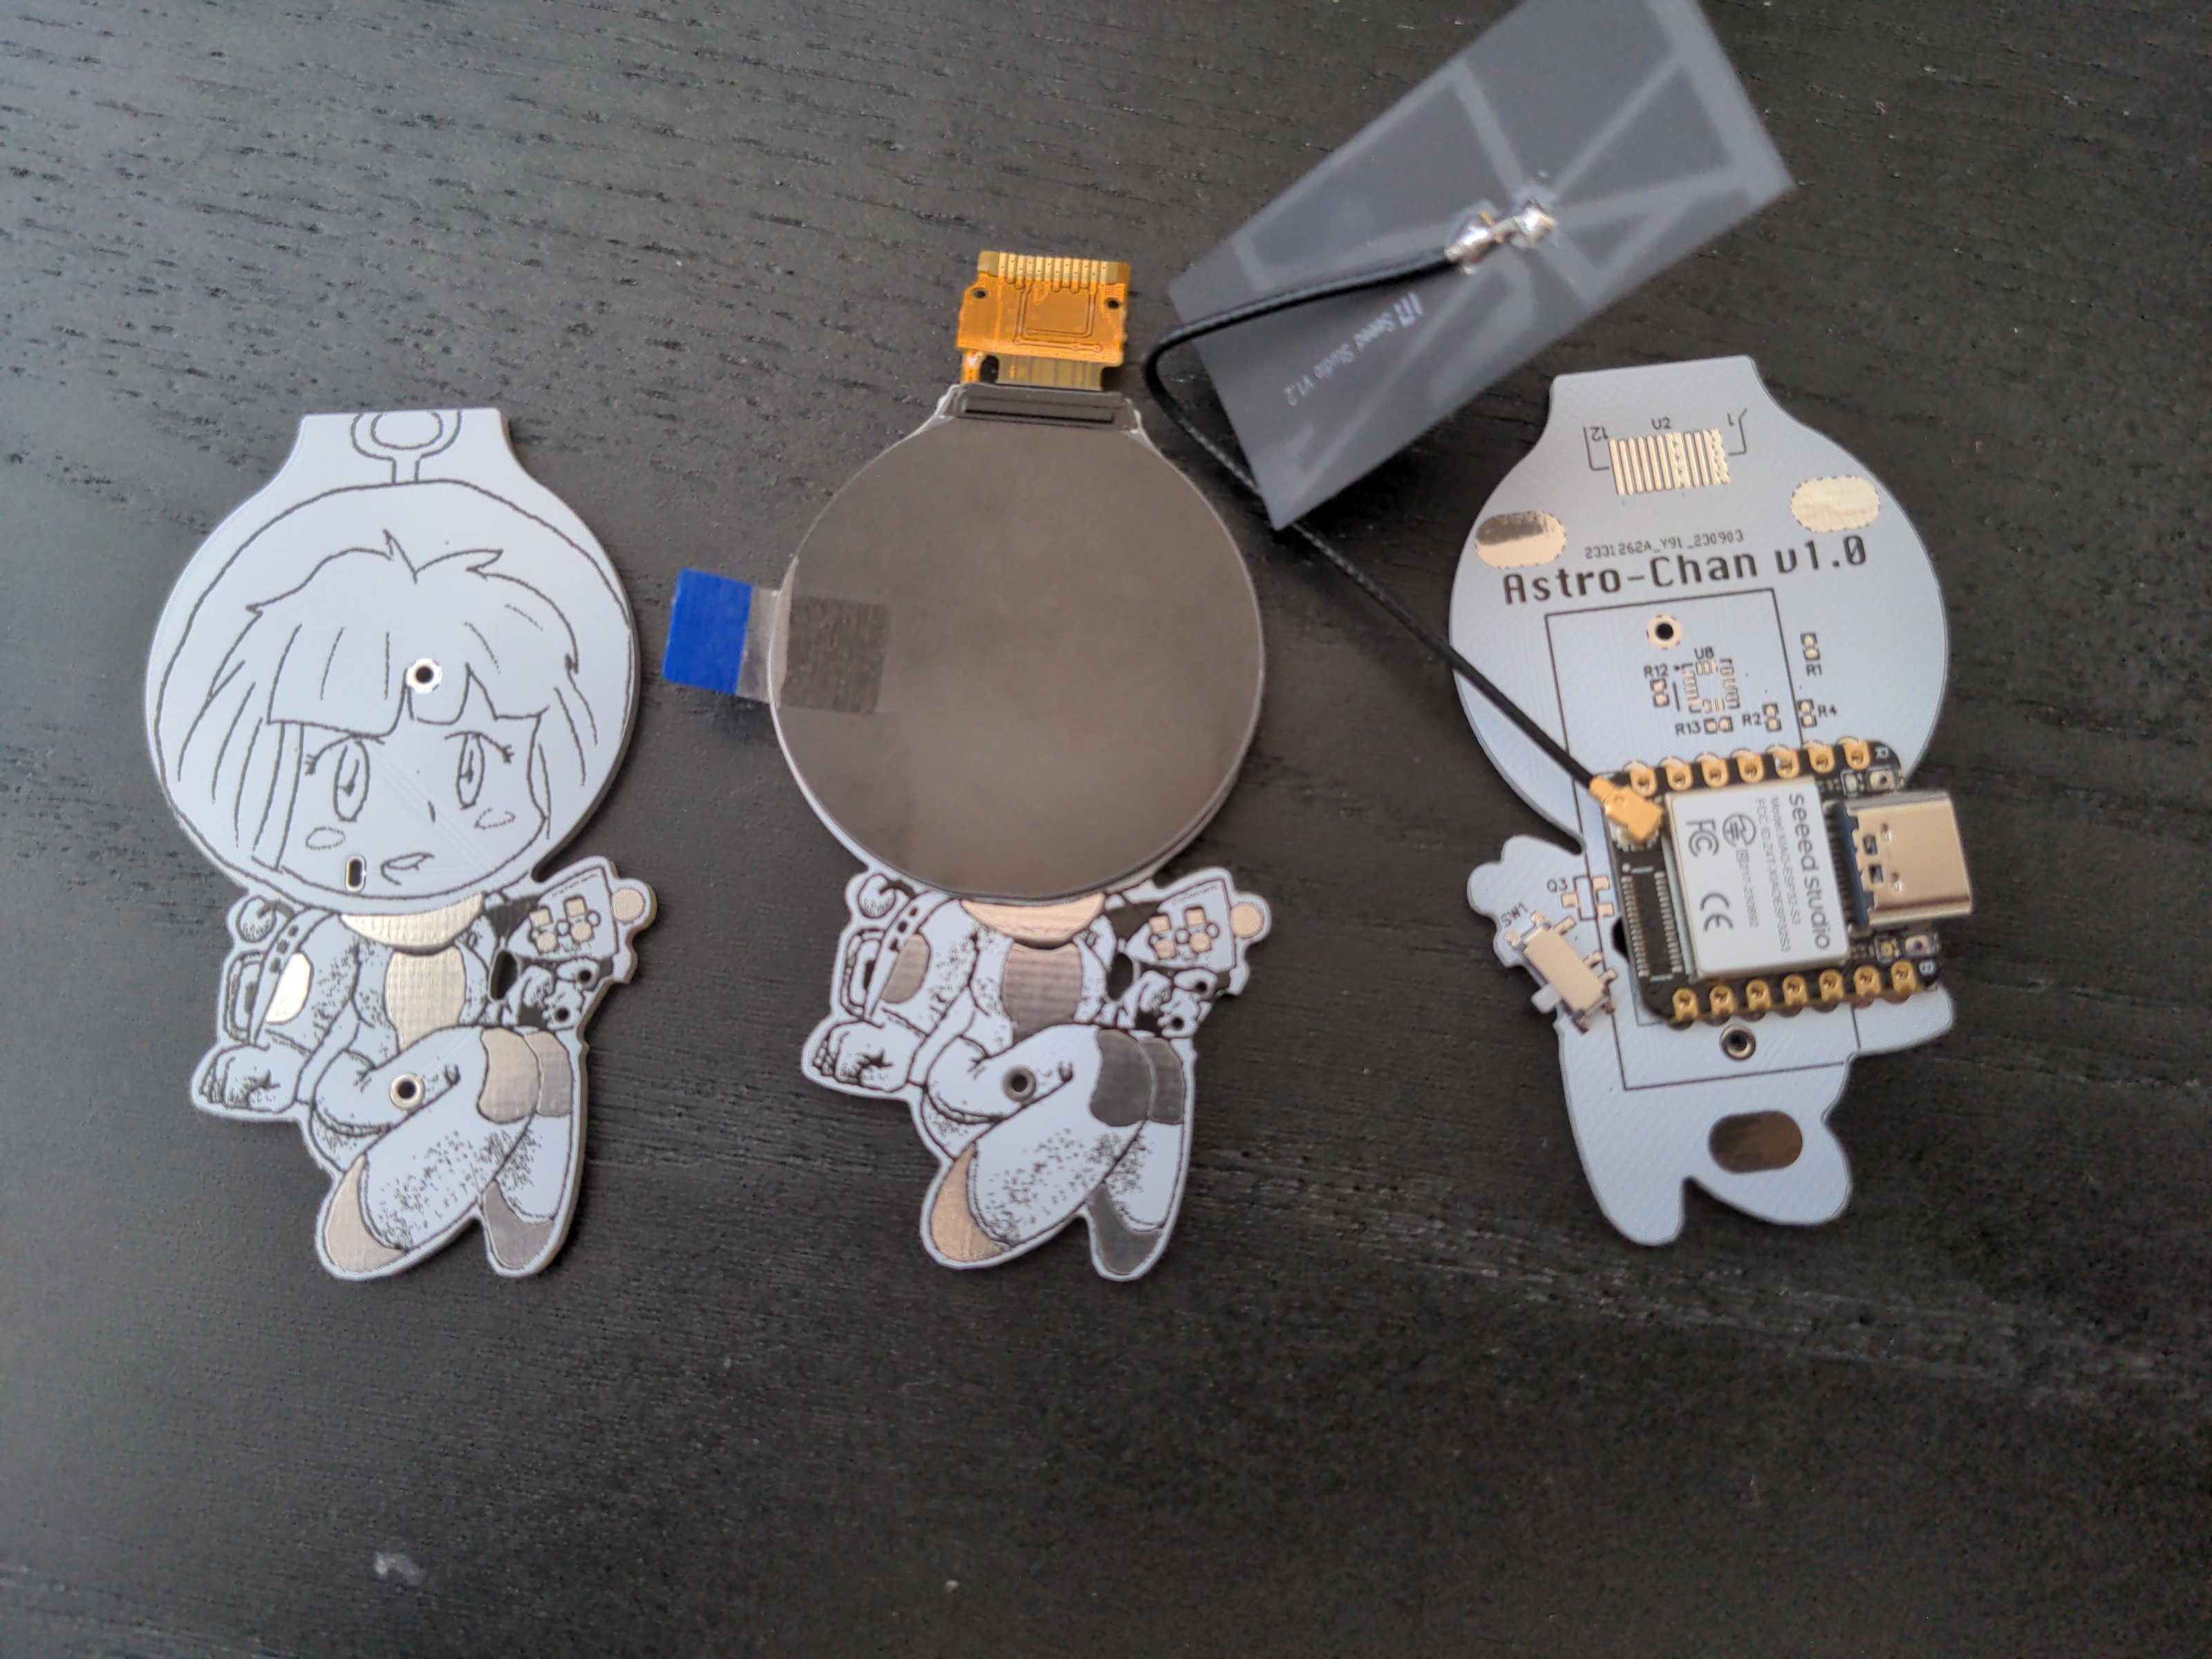
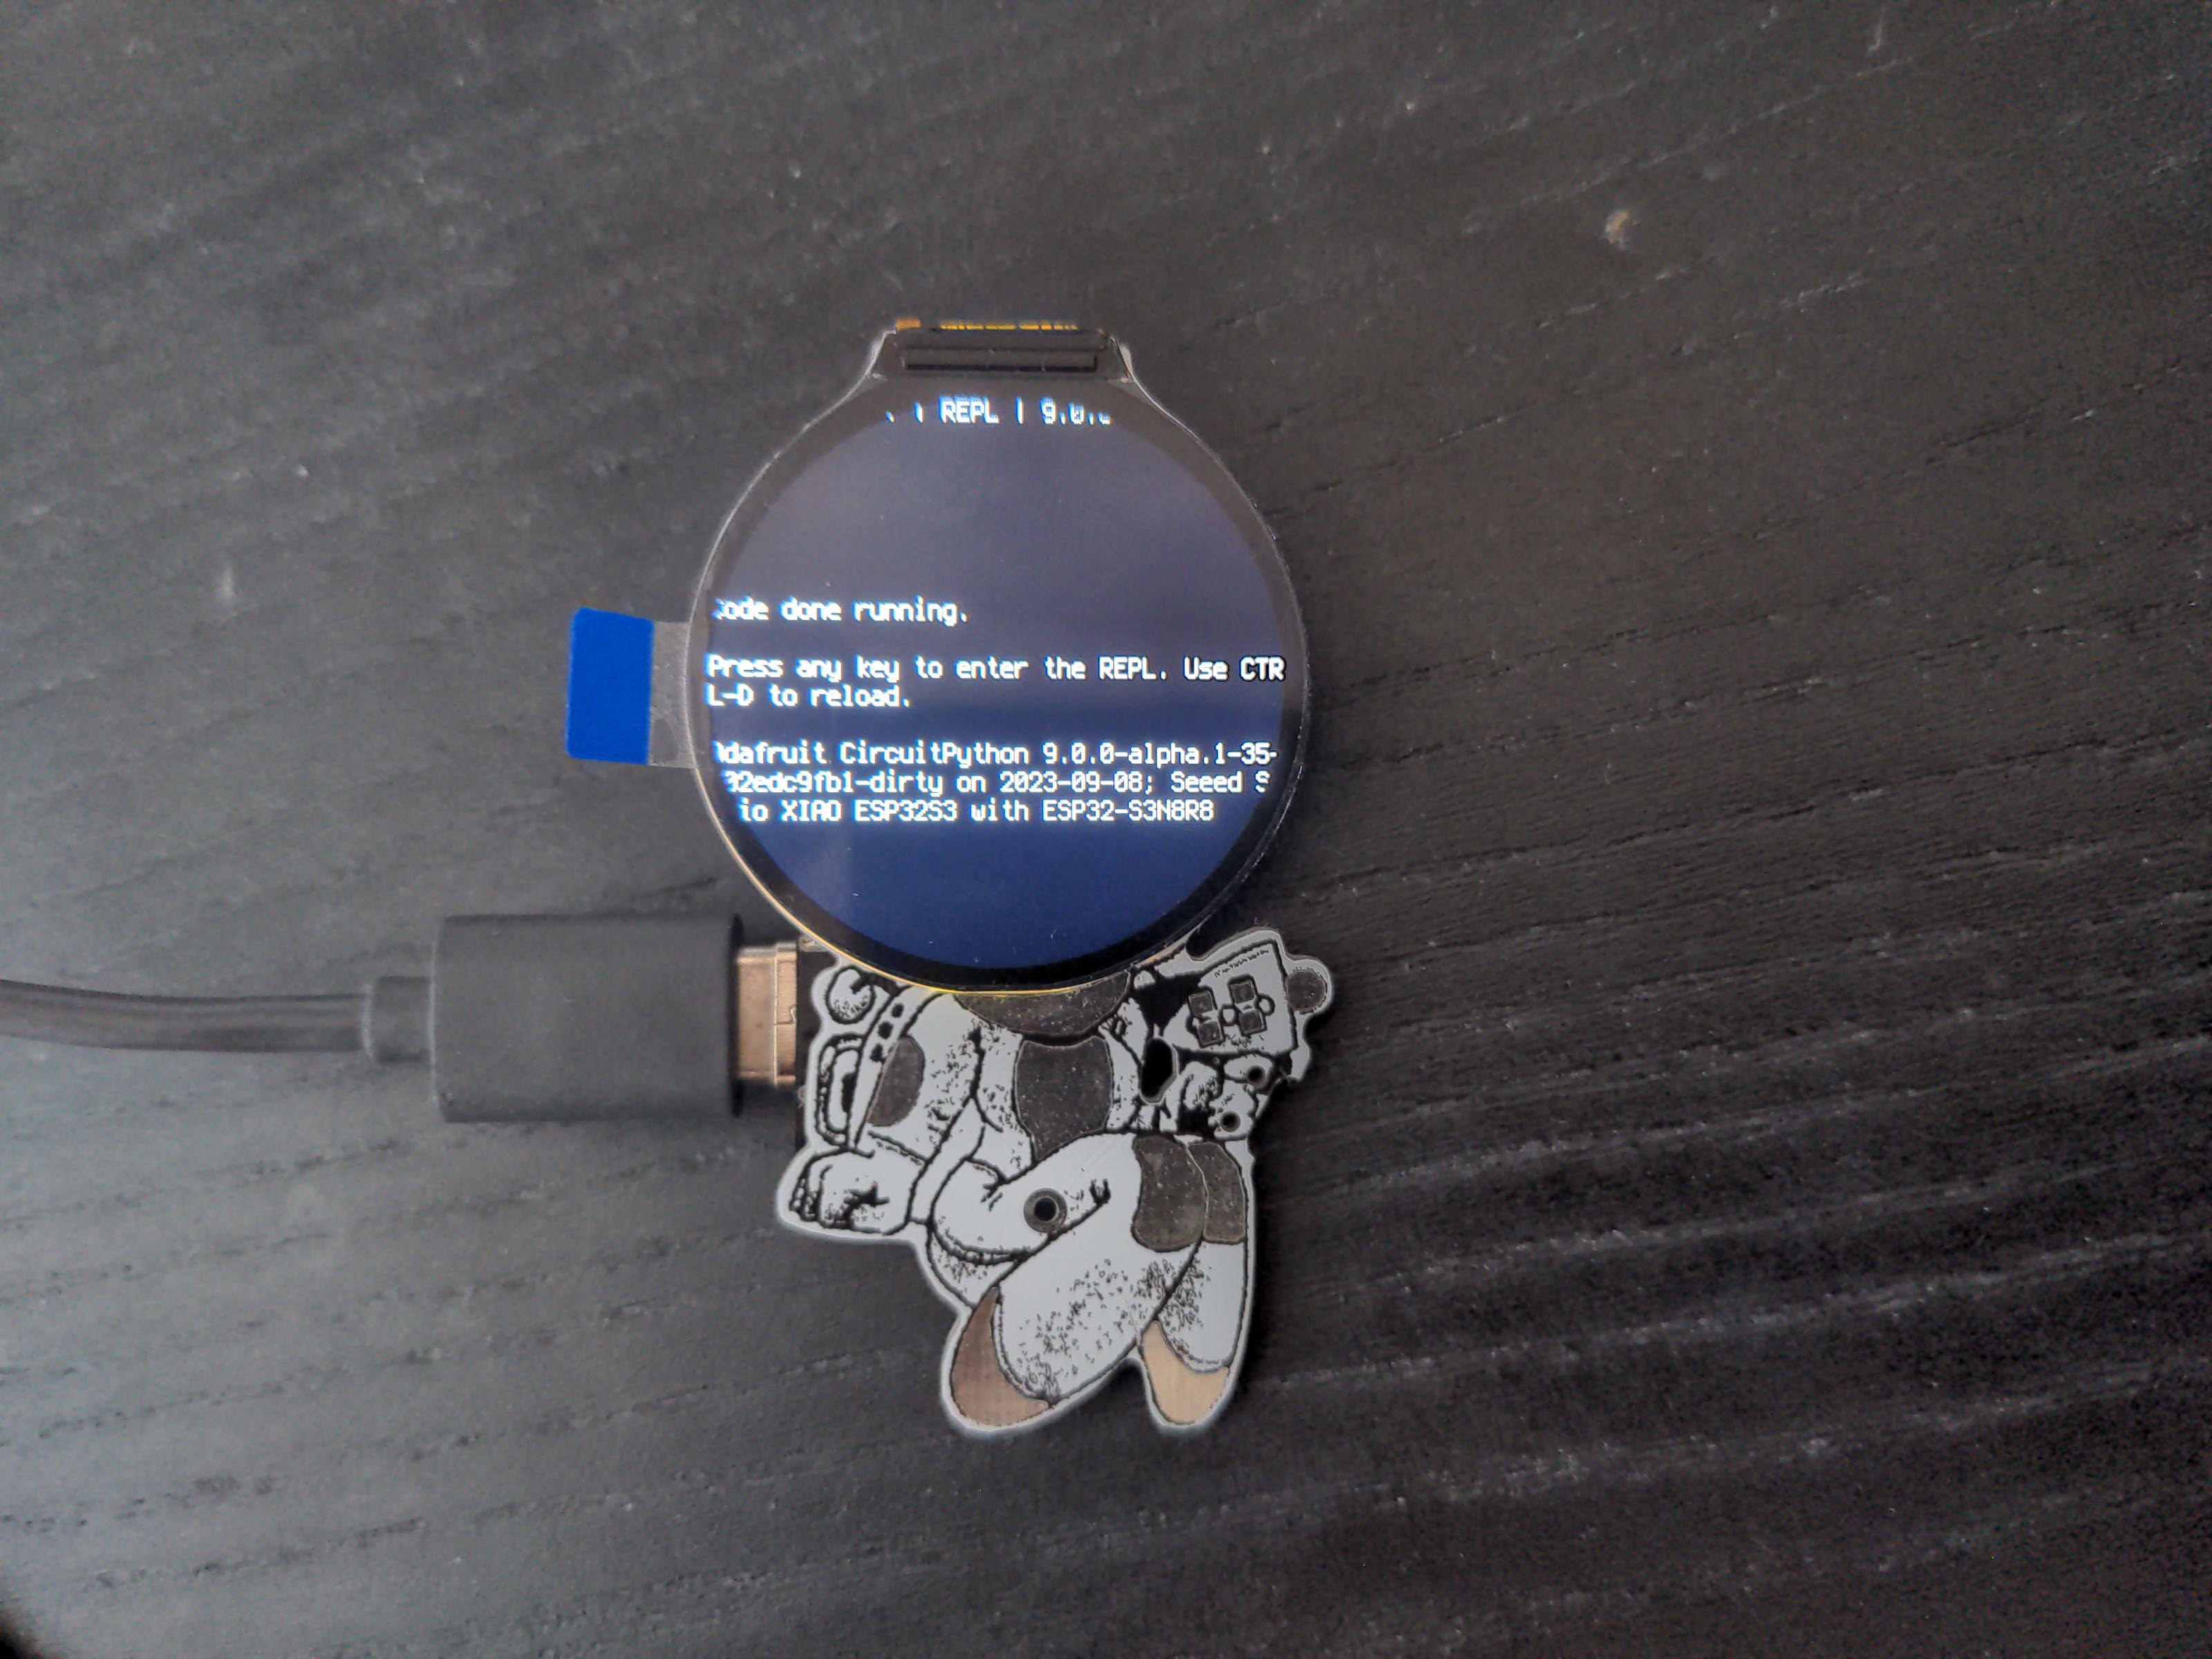
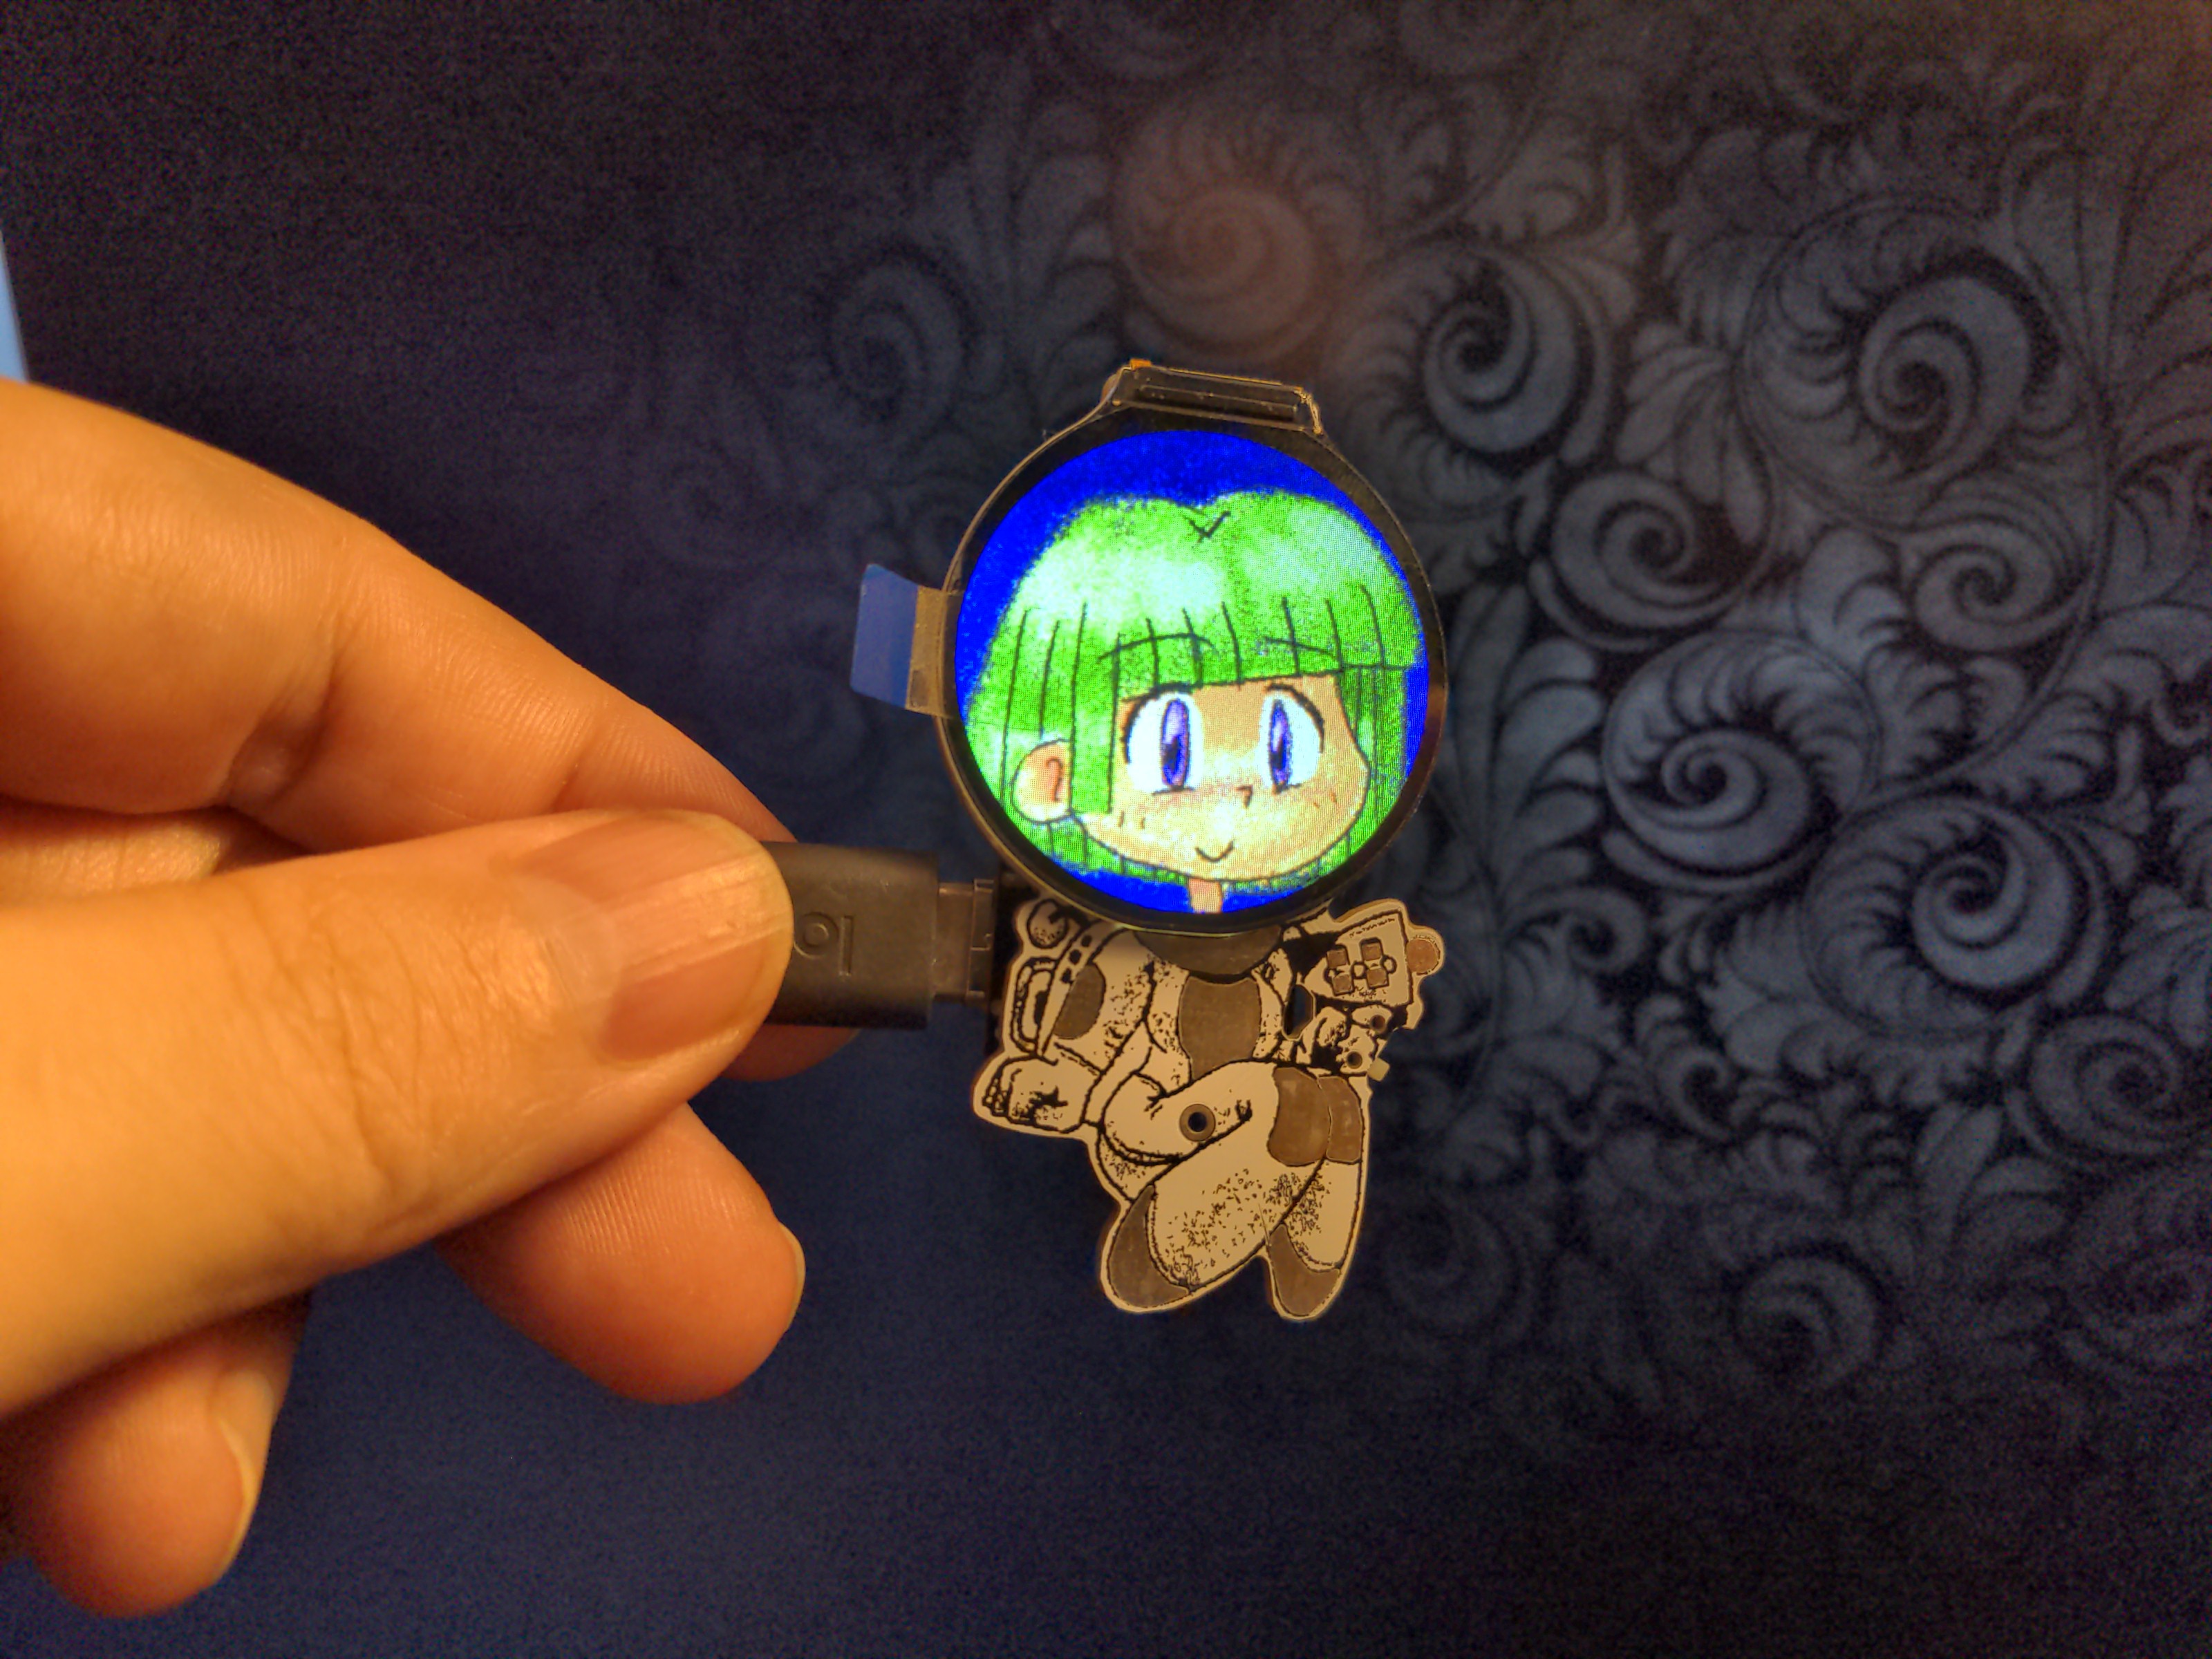
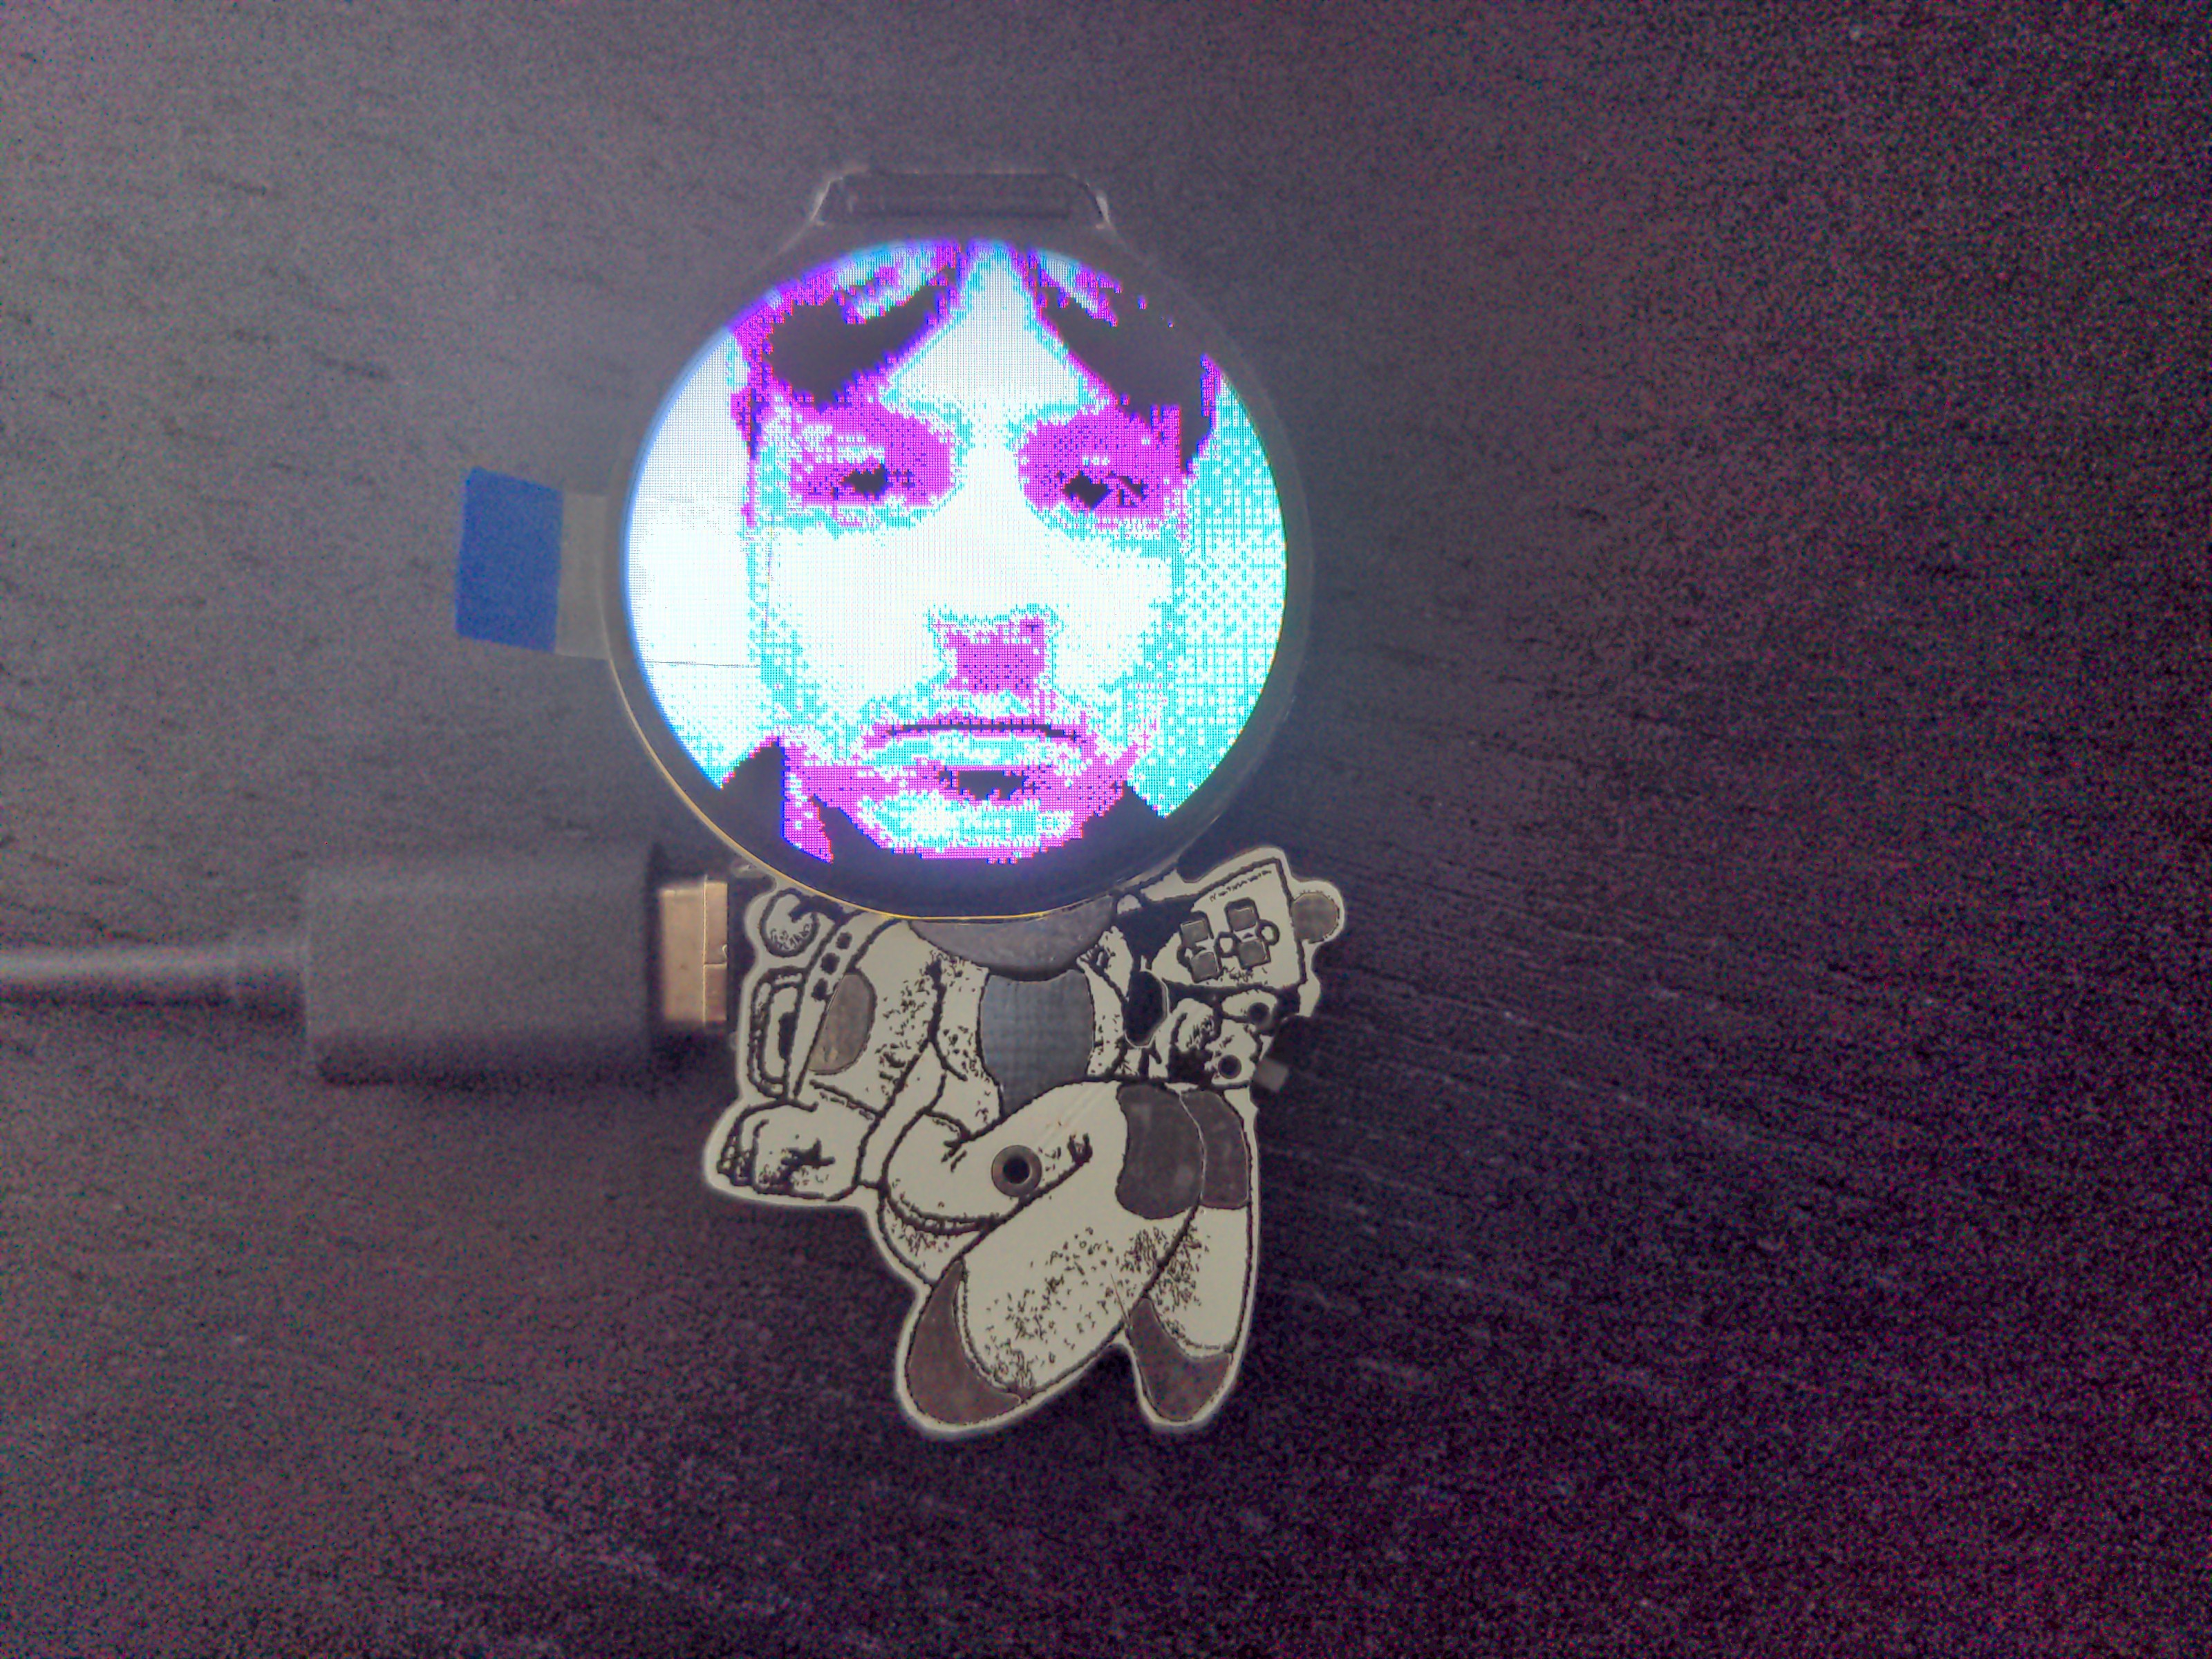
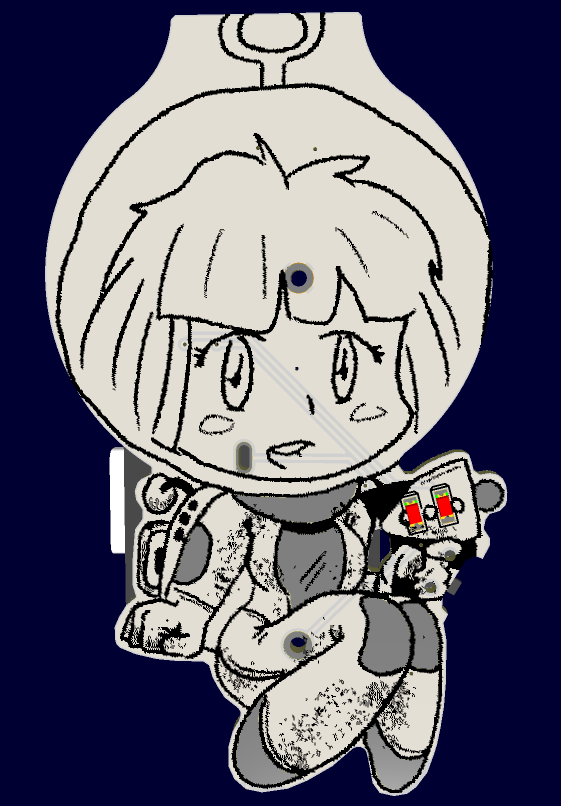
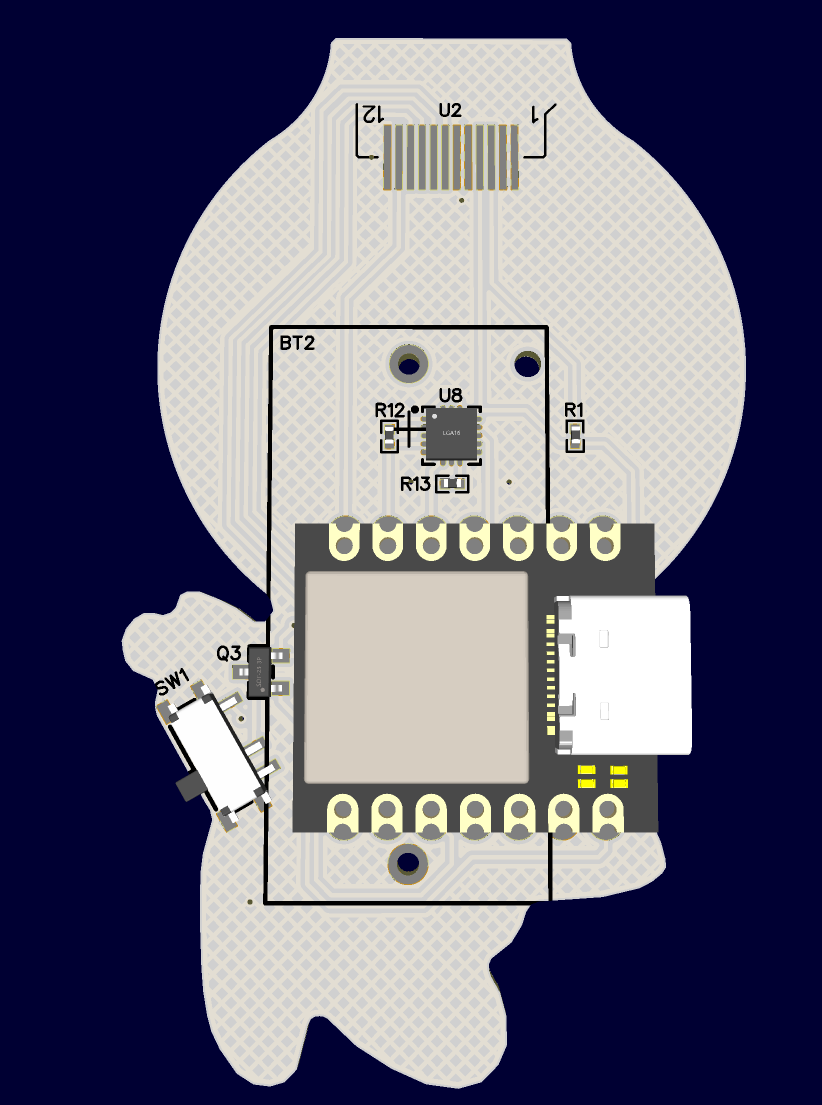
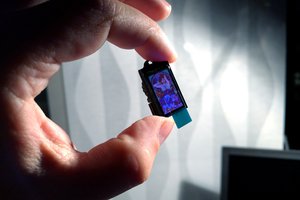
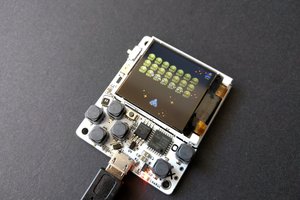
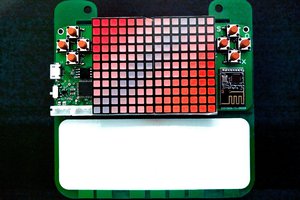
Ever since I saw those round display, I wanted to make an astronaut badge like this, with the display as the helmet. So I finally went ahead and did it. There isn't really much to it, just the display, a footprint for a Xiao-compatible dev board on the back, a battery holder and an accelerometer, so that I can make it react to movement.

  • Second Animation and Accelerometer

    deʃhipu09/30/2023 at 21:47 0 comments

    I had a little bit of time today, so I quickly made a second animation for this badge:

    I also added the code to read the raw x, y, and z values from the accelerometer, and play this animation if the x component is greater than 5000 – which basically means that the badge is tilted to the left. Of course adding a similar animation for the right tilt is trivial. I also want to make a "stunned" animation, to be displayed after the board has been shaken – but to detect that I will need to keep some previous values and calculate the variance.

  • Missing Components

    deʃhipu09/19/2023 at 09:25 0 comments

    Today I finally added all the missing components: the resistor for the backlight, the accelerometer with its i2c pull-ups, and the two red LEDs on the gun, with their matching resistors as well. I was waiting for the right sized resistors to arrive from LCSC, but they seem to be stuck at the airport for the last three weeks, so I squeezed the bigger resistors I have in those footprints instead. I also improved the idle animation a bit, adding random eye movements and improving the timing of the blinking:

    Now I need to figure out how to process the data from the accelerometer to make it detect the events that will trigger different animations. And of course to draw all those different animations. It will probably take a while.

  • First Animation

    deʃhipu09/13/2023 at 21:52 0 comments

    It took me a few days to decide on the style I want the image to be. On one hand I want it to be a cute astronaut girl, but on the other hand I want to keep it as simple as possible, so that I can animate it easily, and so that it's recognizable from a distance. After some experimenting with different techniques and programs, and looking at different cartoons, I finally decided on a style that is inspired by the Swiss Familienwagen decorations. It's very cartoonish and simple, but stil pretty cute. I got the first, easiest animation done: blinking.

  • Assembly

    deʃhipu09/11/2023 at 23:27 0 comments

    The boards arrived today, and I assembled one. Well, partially, since I don't have the resistors for the I2C pullups on the accelerometer yet, and the battery holders should arrive tomorrow...

    I got the display working with CircuitPython.

    Then I went ahead and used the gifio module for directly displaying animated gifs on the display. I think I need to simplify the graphics a bit if I want to be able to produce several matching animations for the different accelerometer movements, but I'm getting close.

    Of course you could also just put your avatar on the display and call it a day, maybe add some rotation for accelerometer reactions...

  • Design

    deʃhipu09/11/2023 at 23:21 0 comments

    I went with EasyEDA for the design, because I'm trying to move away from Fritzing, but I still can't stand KiCad. Plus I get all those footprints for free. The basic PCB was done in a single evening. I drew the body using a graphic tablet, imported it as the silkscreen layer, and made the board outline and all the rest manually.

    It took me a while to figure out the positions of all the components on the back, especially the battery and the Xiao module. Initially I tried to use a coin cell battery, but the people on the badgelife discord talked me out of it. I ended up with a 14250 lipo battery, and I put the battery holder over the module, so that it can act as a backpack.

    Electronics wise there is the display, the Xiao module, the battery with a power switch, two LEDs on the gun, and a LIS3DH accelerometer chip. Oh, and a transistor to do power switching between USB and battery, but since I plan to use the Xiao ESP32-S3, that already comes with its own power circuit and battery charging, I will just short the pins on the footprint.

View all 5 project logs

Enjoy this project?

Share

Discussions

davedarko wrote 09/13/2023 at 15:54 point

now that's a cute idea! :)

  Are you sure? yes | no

deʃhipu wrote 09/15/2023 at 10:44 point

I initially wanted a spacehuhn, but this is more general.

  Are you sure? yes | no

Similar Projects

Does this project spark your interest?

Become a member to follow this project and never miss any updates