Integrating the PCB with a water reservoir and plant pot would be the best solution, but I haven't quite figured out how I wan to do that yet. So lets just at least put the PCB into a simple enclosure to look a little better since there's been a bare board sitting around for a while now. The board already has mounting holes in it, so I can export the STEP from KiCAD to a CAD program:
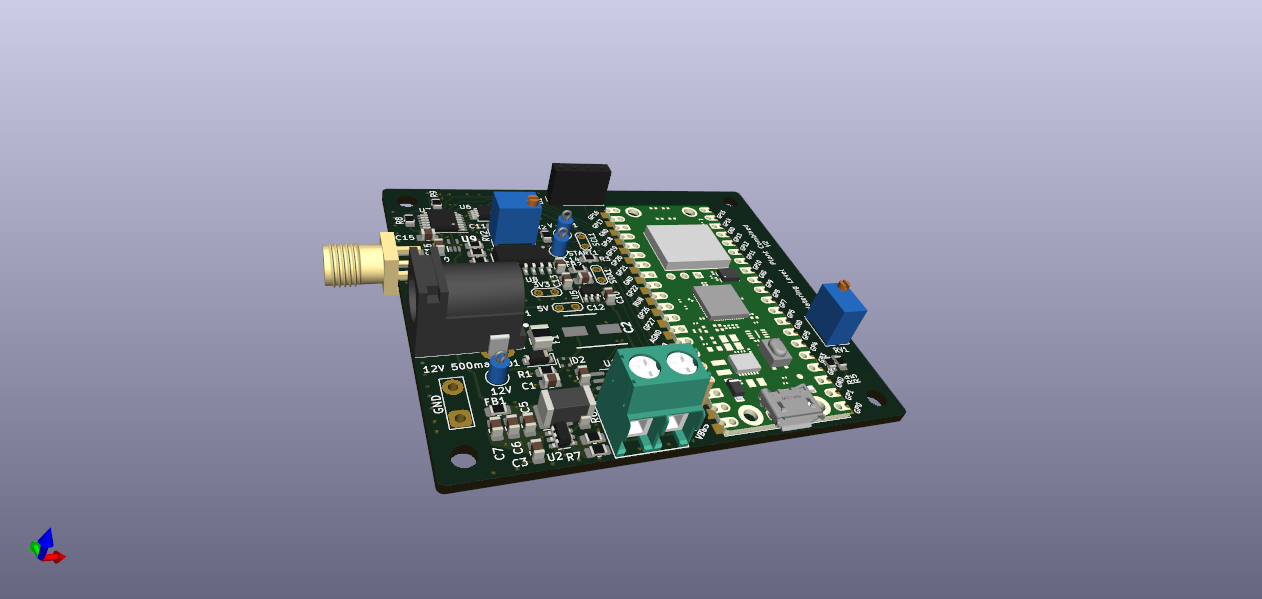
I populated most of the footprints with 3D models mostly via DigiKey or the default models in KiCAD. The only really important ones are the off board connectors so that I can put holes in the right place in CAD.
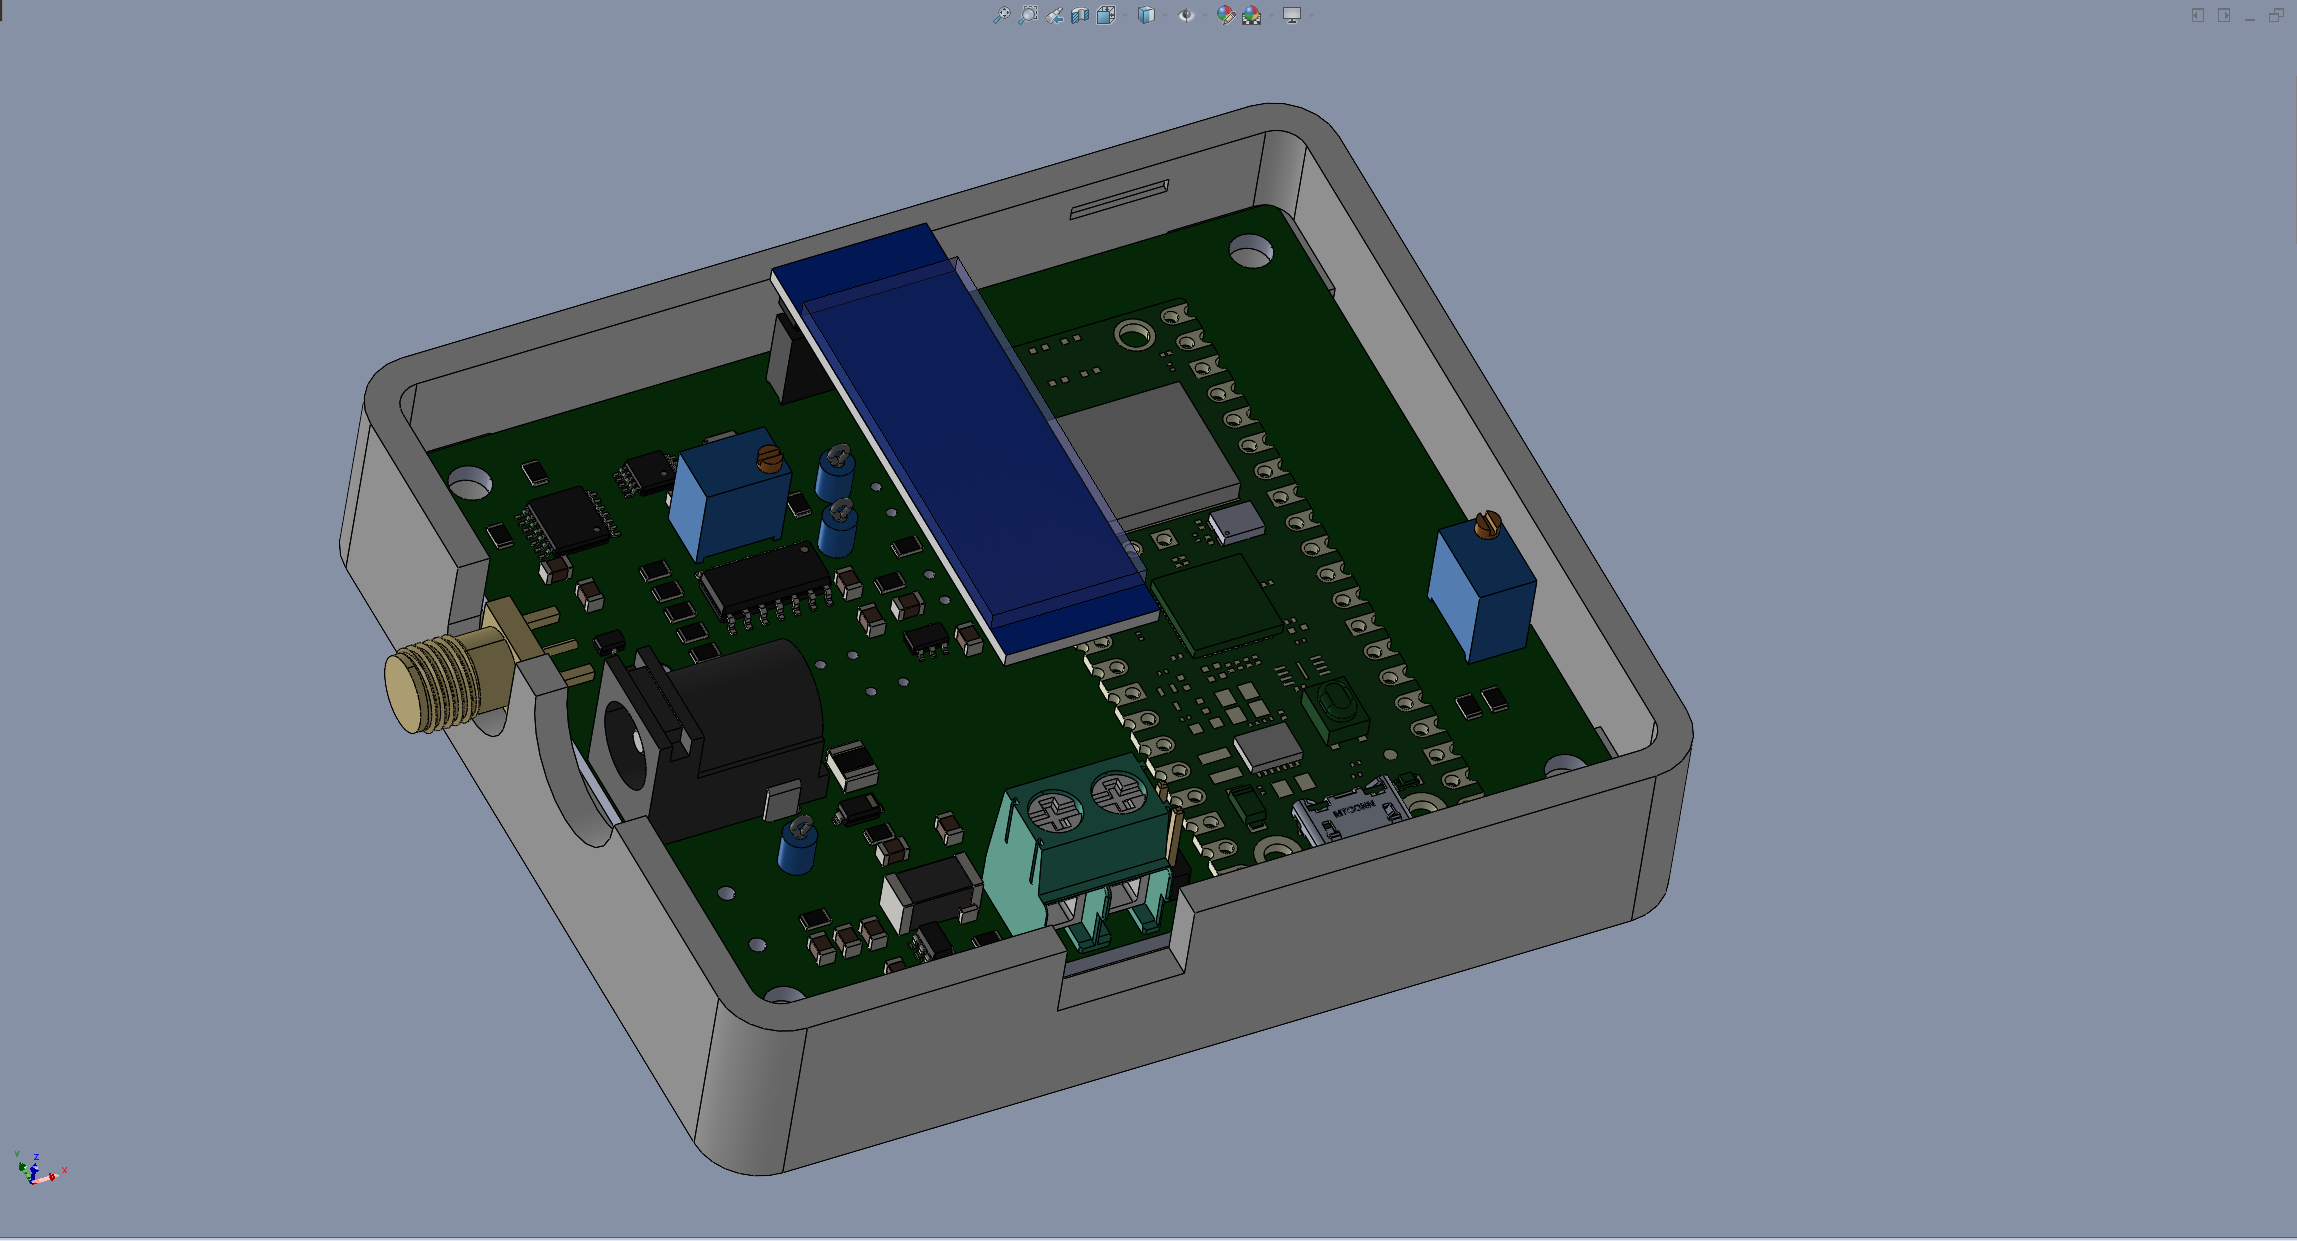
I also added a simple model for the OLED module I'm using. This is to make sure I put the hole in the top at the right place and have clearance. To make it look actually good, it would probably be best to actually attach the OLED module to the top and use a ribbon cable to connect it to the PCB, but these OLED modules are so cheap on ebay that I just keep a few around to use in these projects.
Under each mounting hole I put in a M3 heat set brass insert and these are easily installed with a soldering iron. If you want a really secure way to hold on the top of the enclosure, use a threaded standoff instead of a screw and then use screw into the standoff to hold on the top. However, a snap fit top will work here and make it easer to get to the adjustments if needed.
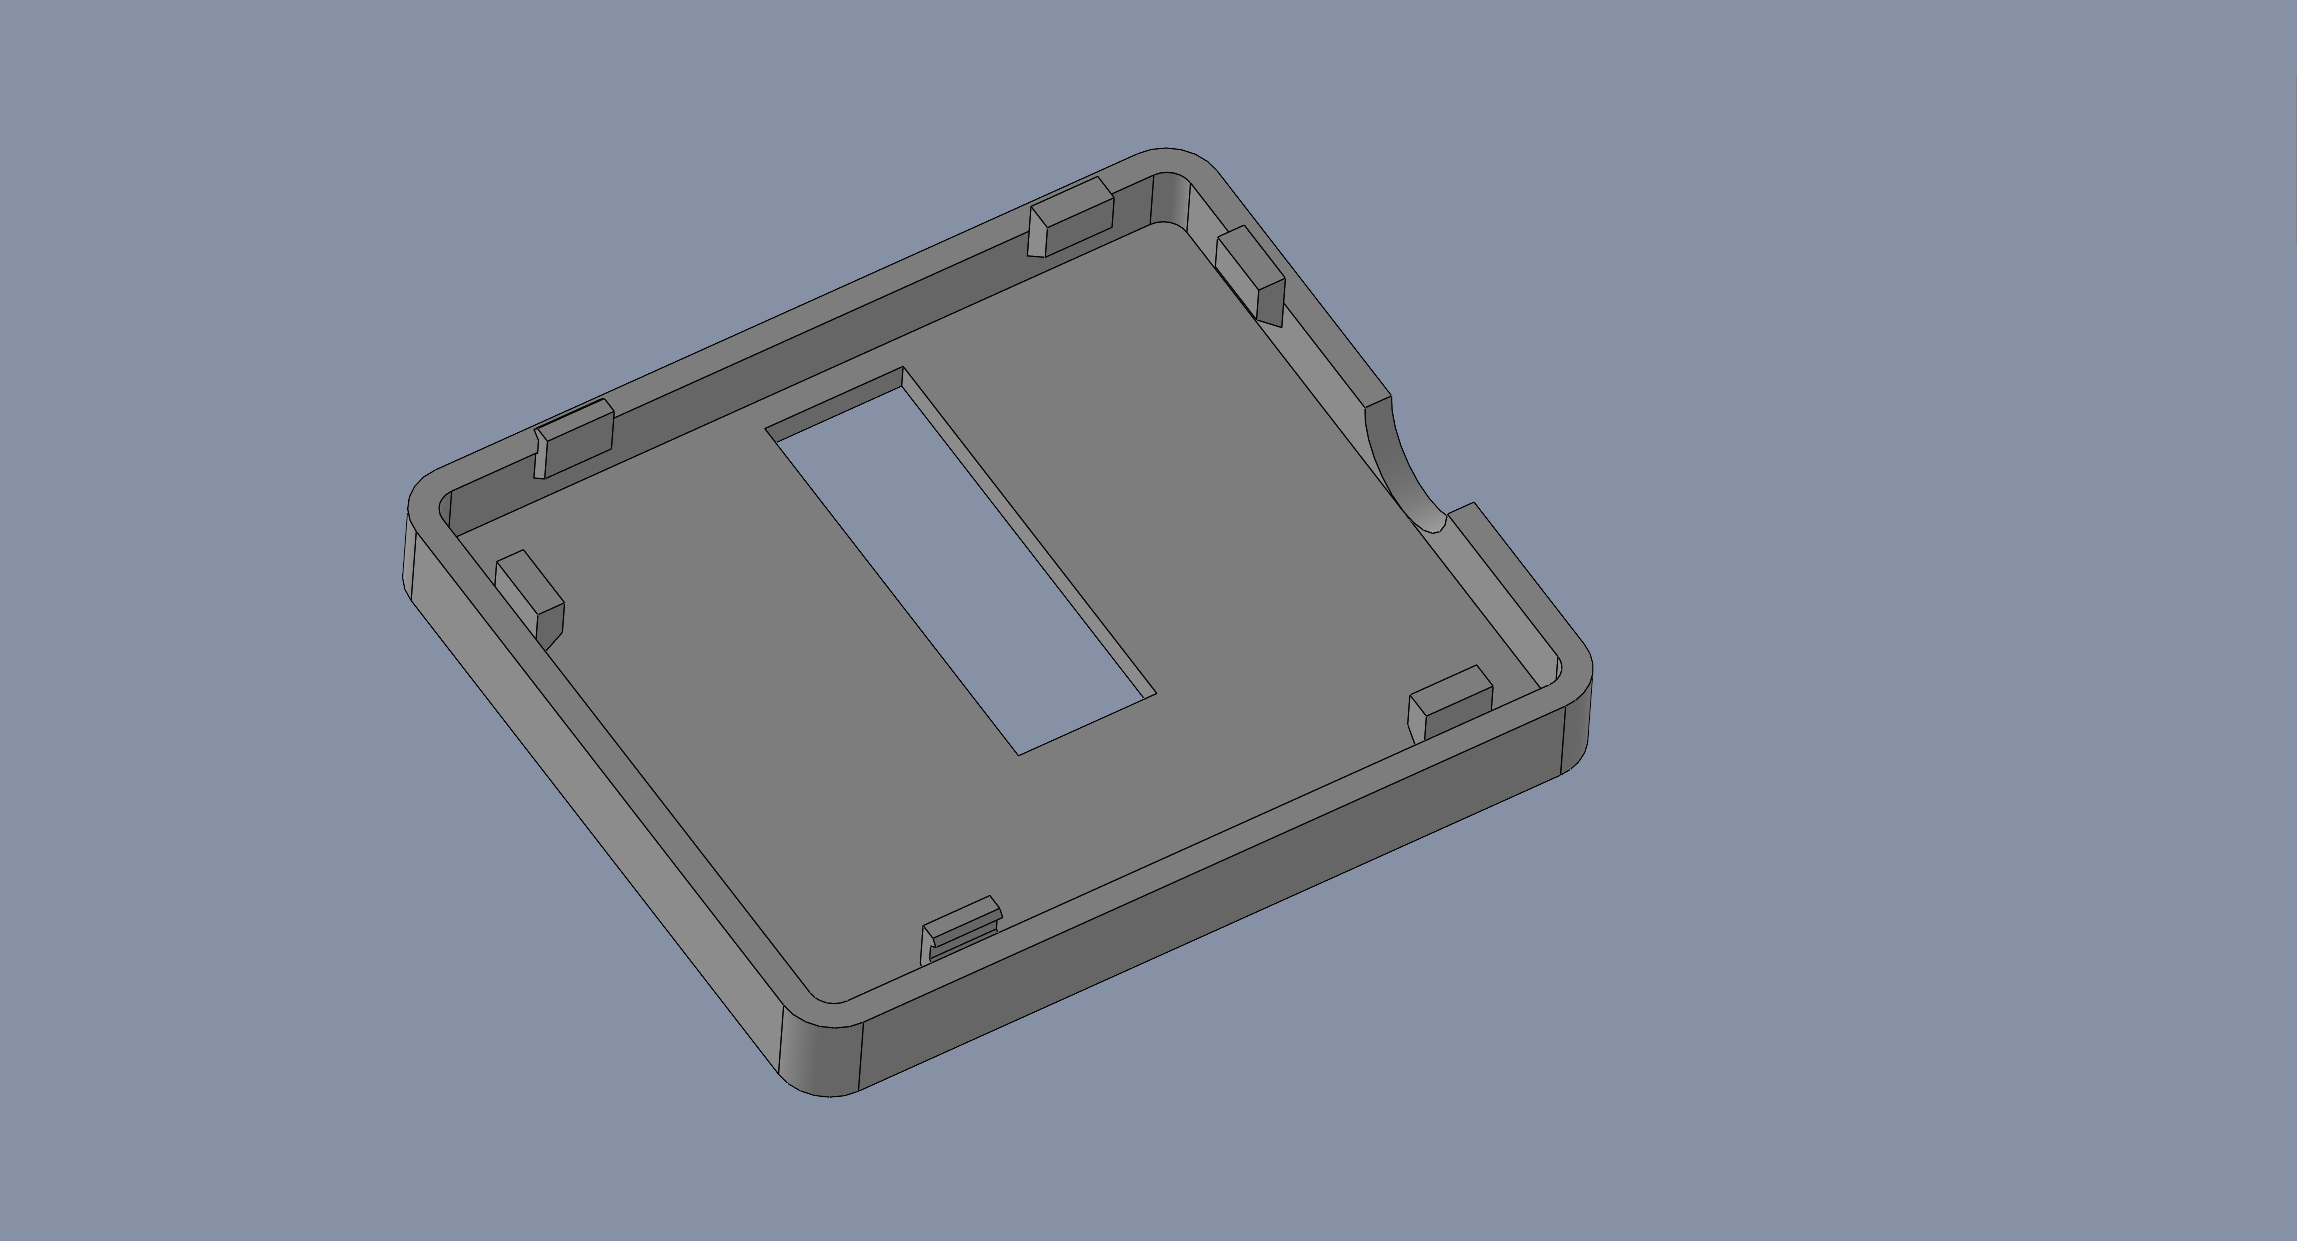
After the first iteration, I moved all the lugs/snaps to the lid so that I could drop the PCB in without having to slid it past things. The snap is only .020" interference as the lid is pushed on and fits into a matching slot in the bottom so that it's not under strain after the lid is closed.
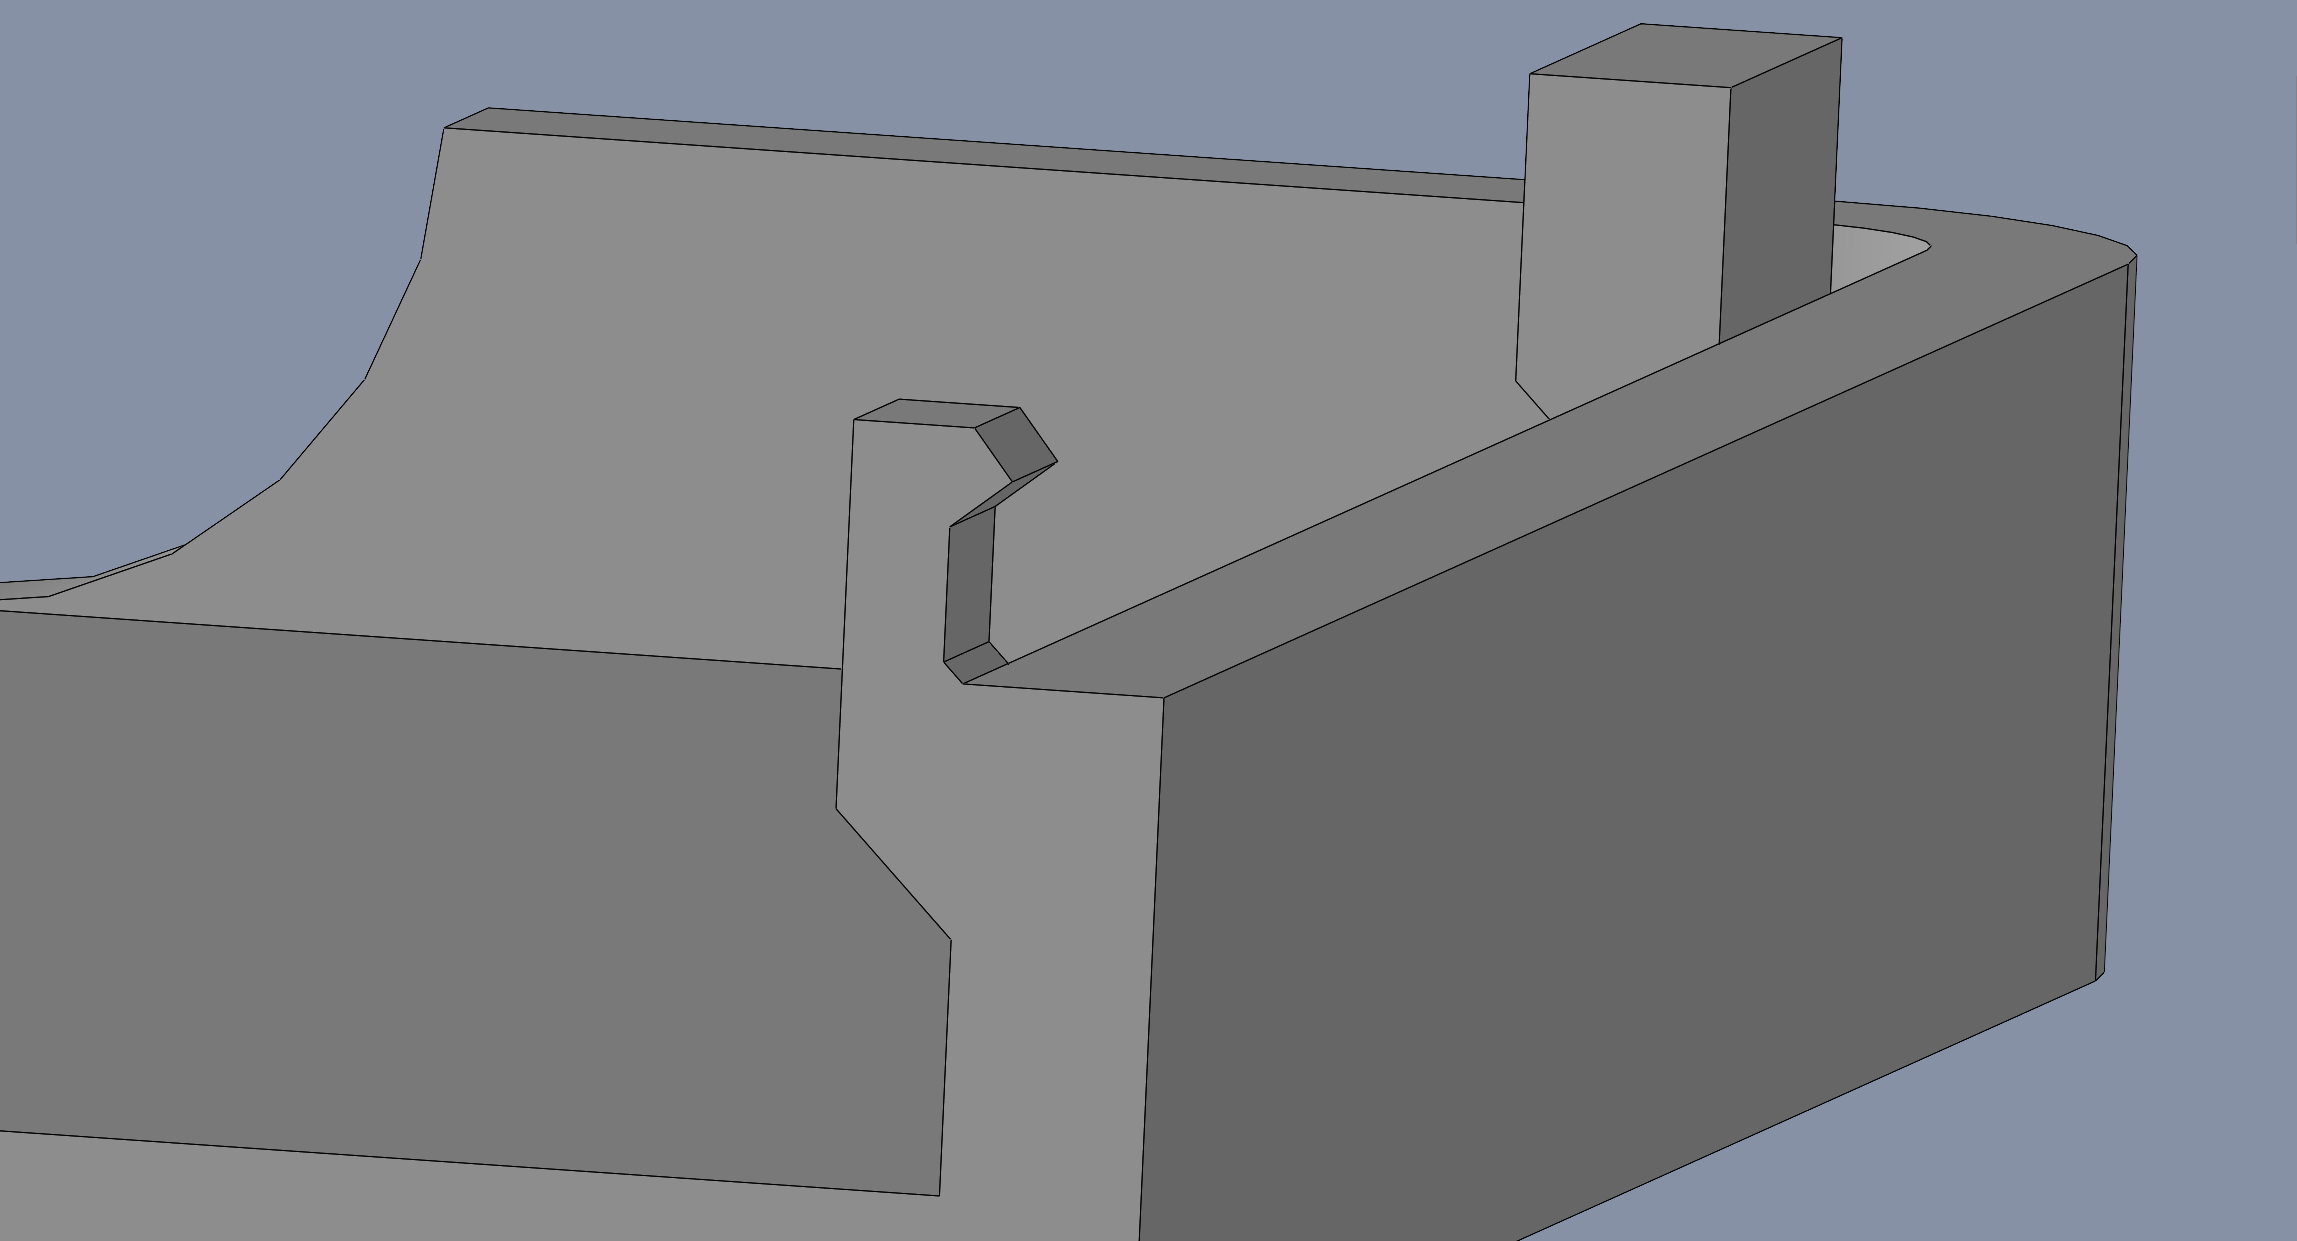
Also make sure to make the snaps fairly wide since 3D printed in this orientation isn't that strong.
An hour and a half later and the 3D print is done:

Discussions
Become a Hackaday.io Member
Create an account to leave a comment. Already have an account? Log In.