Differents parts are presents here:
Electronics:
Build the Arduino circuit with the system of leds and sound on a Nano
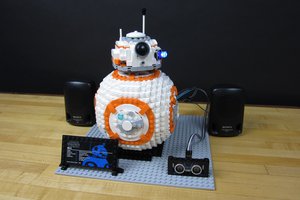
Mecanics:
Modelising several parts for assembling them after
It started when an alien device did what it did
And stuck itself upon his wrist with secrets that it hid
Now he's got super powers...
Already have an account? Log in.
To make the experience fit your profile, pick a username and tell us what interests you.
 BrownDogGadgets
 Mario Lukas
 JessupAdam
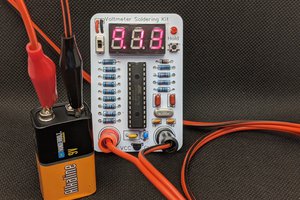
 Jim Heaney