 Zegar
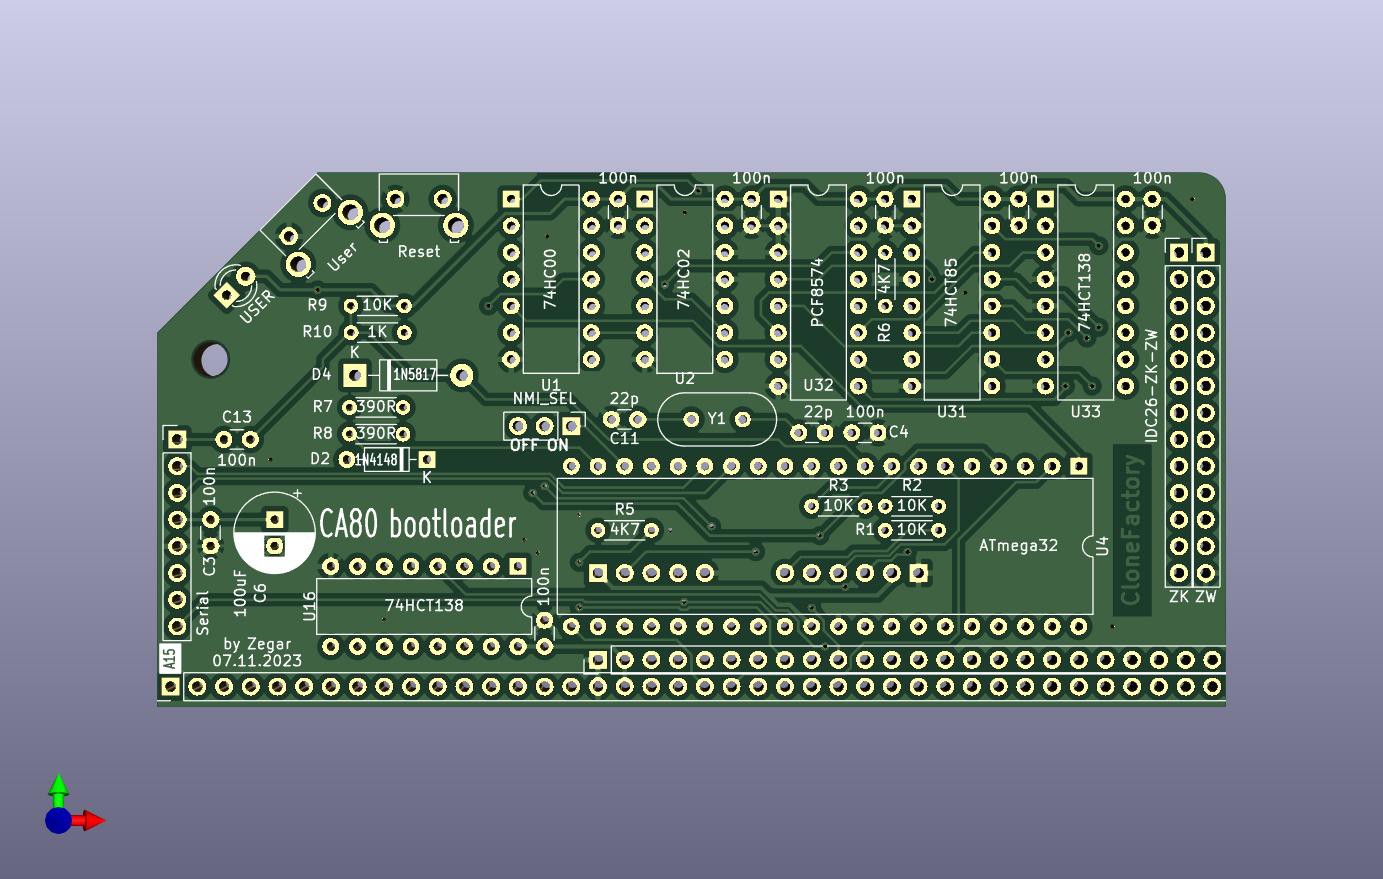
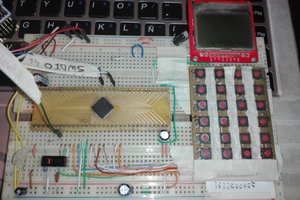
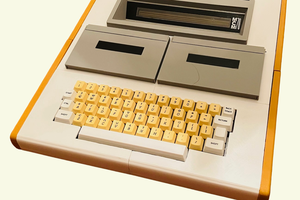
ZegarI designed the CA80 from scratch. Initially, I used SMD, but I changed the assumptions and adapted the project to RCbus. I used the Z80-MBC2 project and with its help I developed an additional data loader. I also made an additional mass memory module that stores programs in flash memory. The data format is compatible with that recorded on the tape recorder. LCD 2004 modules and a touch keyboard were also created. I also have a VFD display and a keyboard from an old calculator.
0%
0%
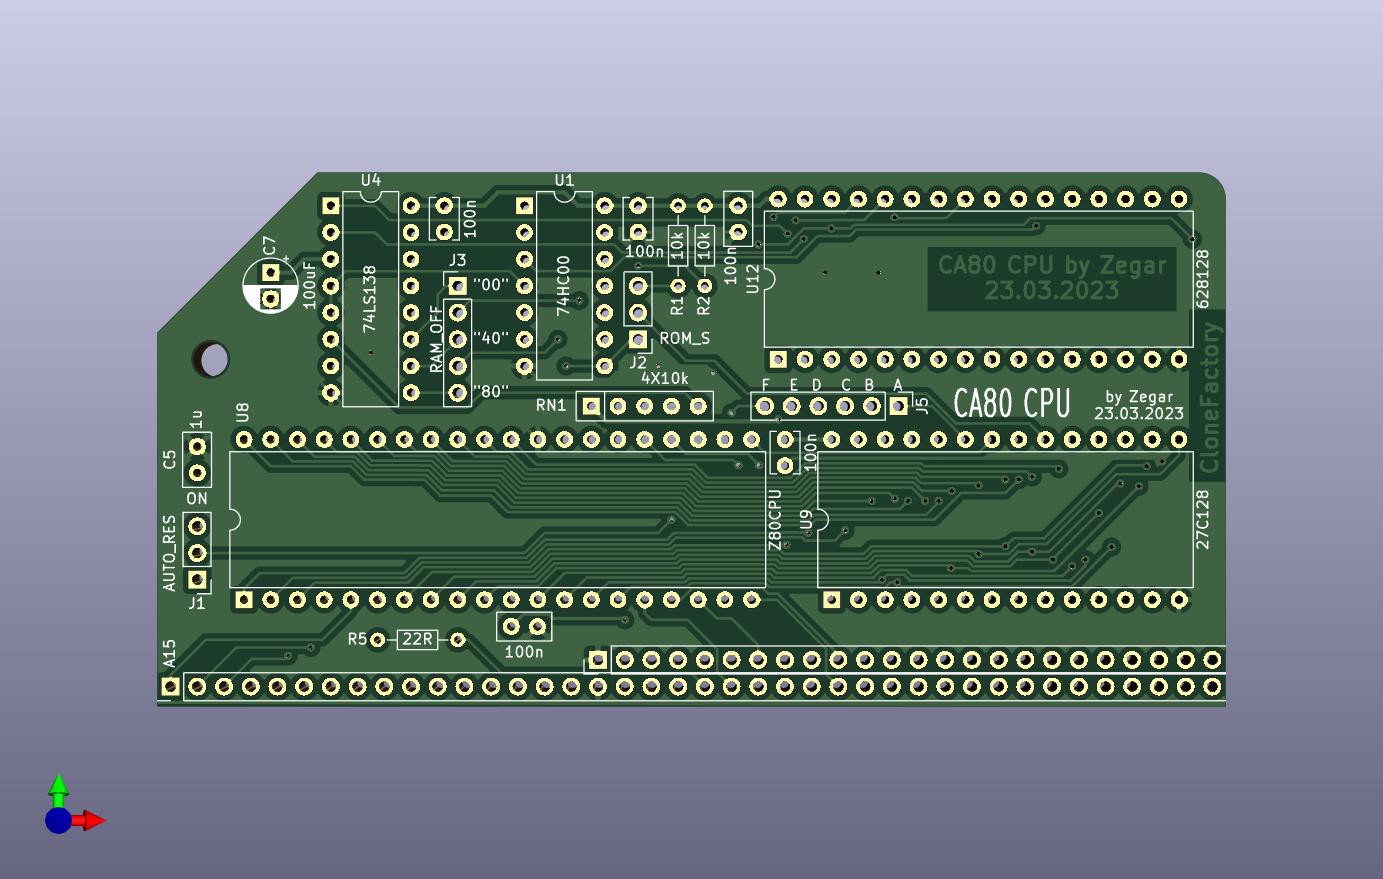
Clone of CA80.
It is based on the Z80 processor, built with the cheapest parts available.
Become a Hackaday.io member
Already have an account? Log in.
Just one more thing
To make the experience fit your profile, pick a username and tell us what interests you.
Pick an awesome username
hackaday.io/
Your profile's URL: hackaday.io/username. Max 25 alphanumeric characters.
Pick a few interests
Projects that share your interests
People that share your interests

 josephvoss
 Michael Gardi
Creating an interface for a cryptocurrency exchanger with a user-friendly and clear design is not an easy thing to do if you're trying to start on your own. It is better to turn to a [https://medium.com/coinmonks/top-web3-design-agencies-bb87c7c4370e](blockchain branding agency), because who better than they know what will suit you and how to bring any idea to life. To create a successful cryptocurrency business, you need to have a unique and memorable web project design, which is exactly what such an agency is able to give you in a short period of time. If you are interested, then write me in private messages, I will help and give contacts of good agencies with which I myself cooperated.