 Makerfabs
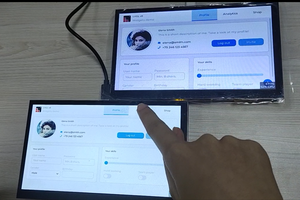
7 "screen which has 2 versions of resolution, 1024*600 and 800*480, the different resolutions will affect the display on the same size screen, and the 1024*600 is used in this project.
0%
0%
Wireless Relay Controller With Integrated HA
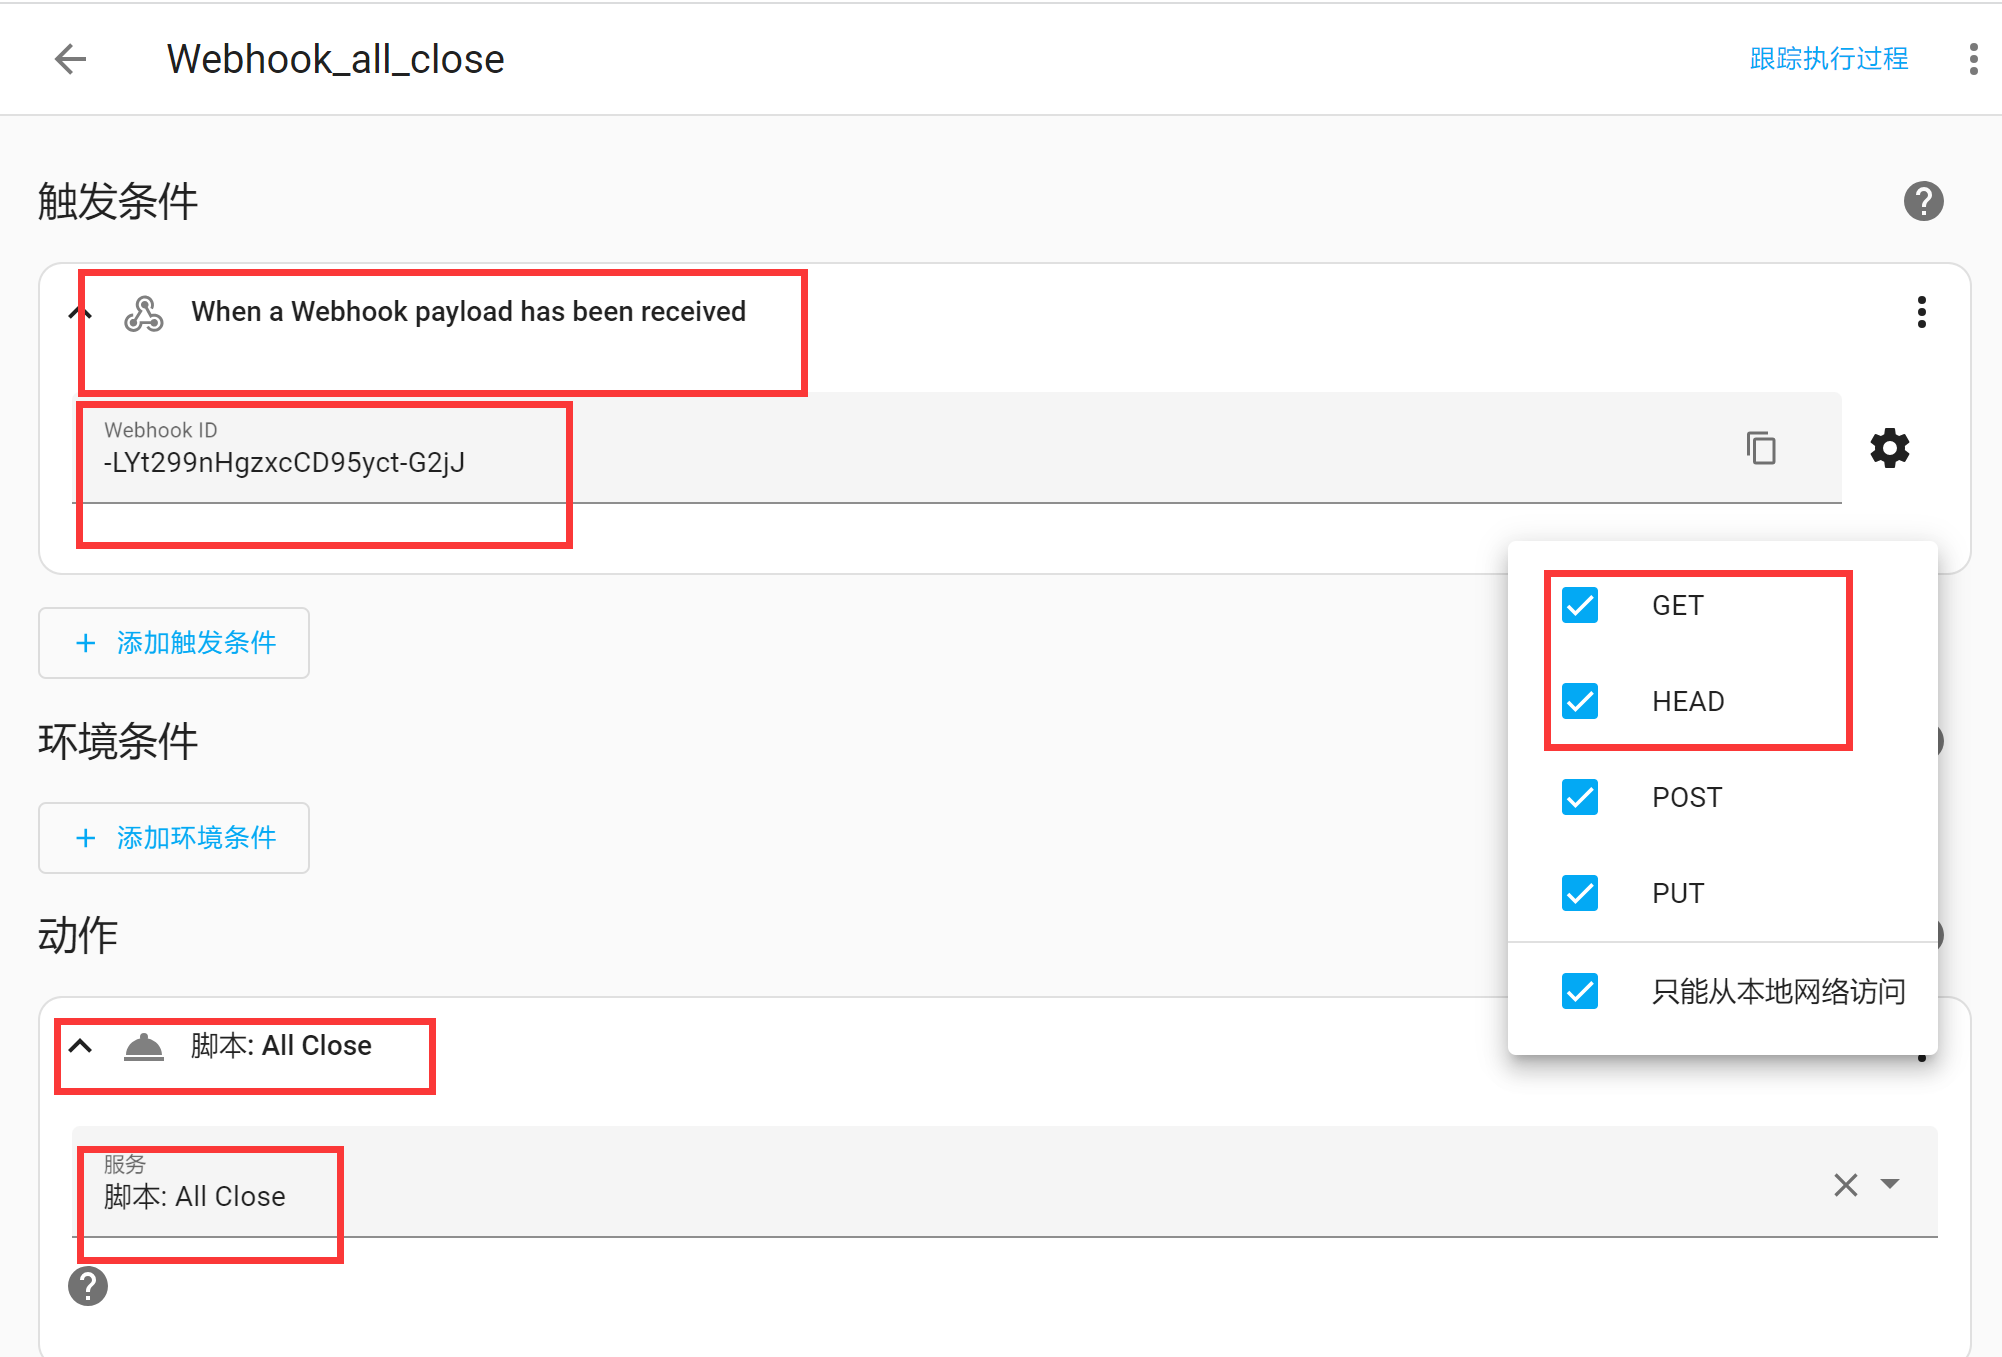
In this article, I'm going to make a Relay Controller, which integrated LVGL and Home Assistant, based on ESP32-S3 Parallel TFT with Touch 7
Become a Hackaday.io member
Already have an account? Log in.
Just one more thing
To make the experience fit your profile, pick a username and tell us what interests you.
Pick an awesome username
hackaday.io/
Your profile's URL: hackaday.io/username. Max 25 alphanumeric characters.
Pick a few interests
Projects that share your interests
People that share your interests


 kutluhan_aktar
 Stefan-Xp