Close
0%
0%

TG6502

A 6502 based single board computer project

Similar projects worth following

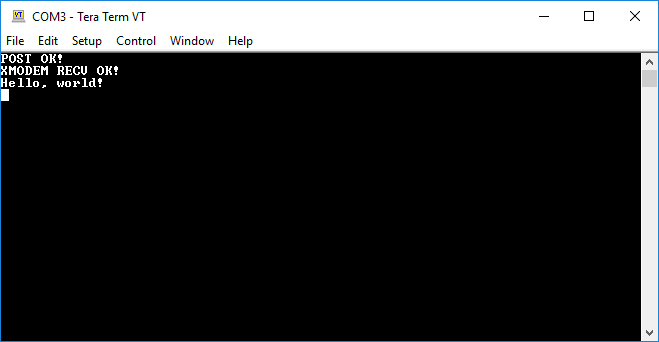
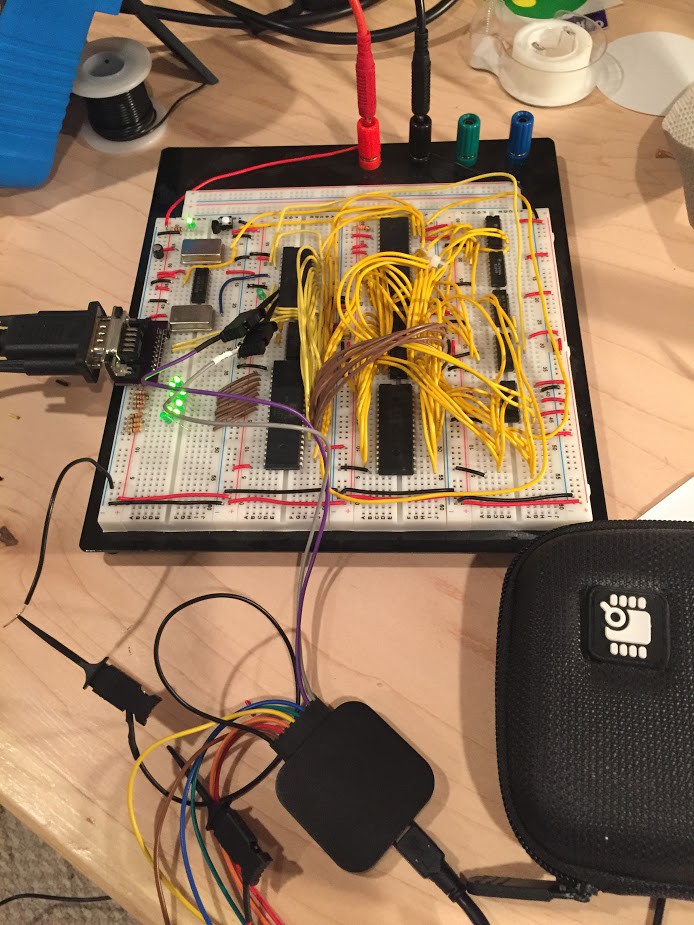
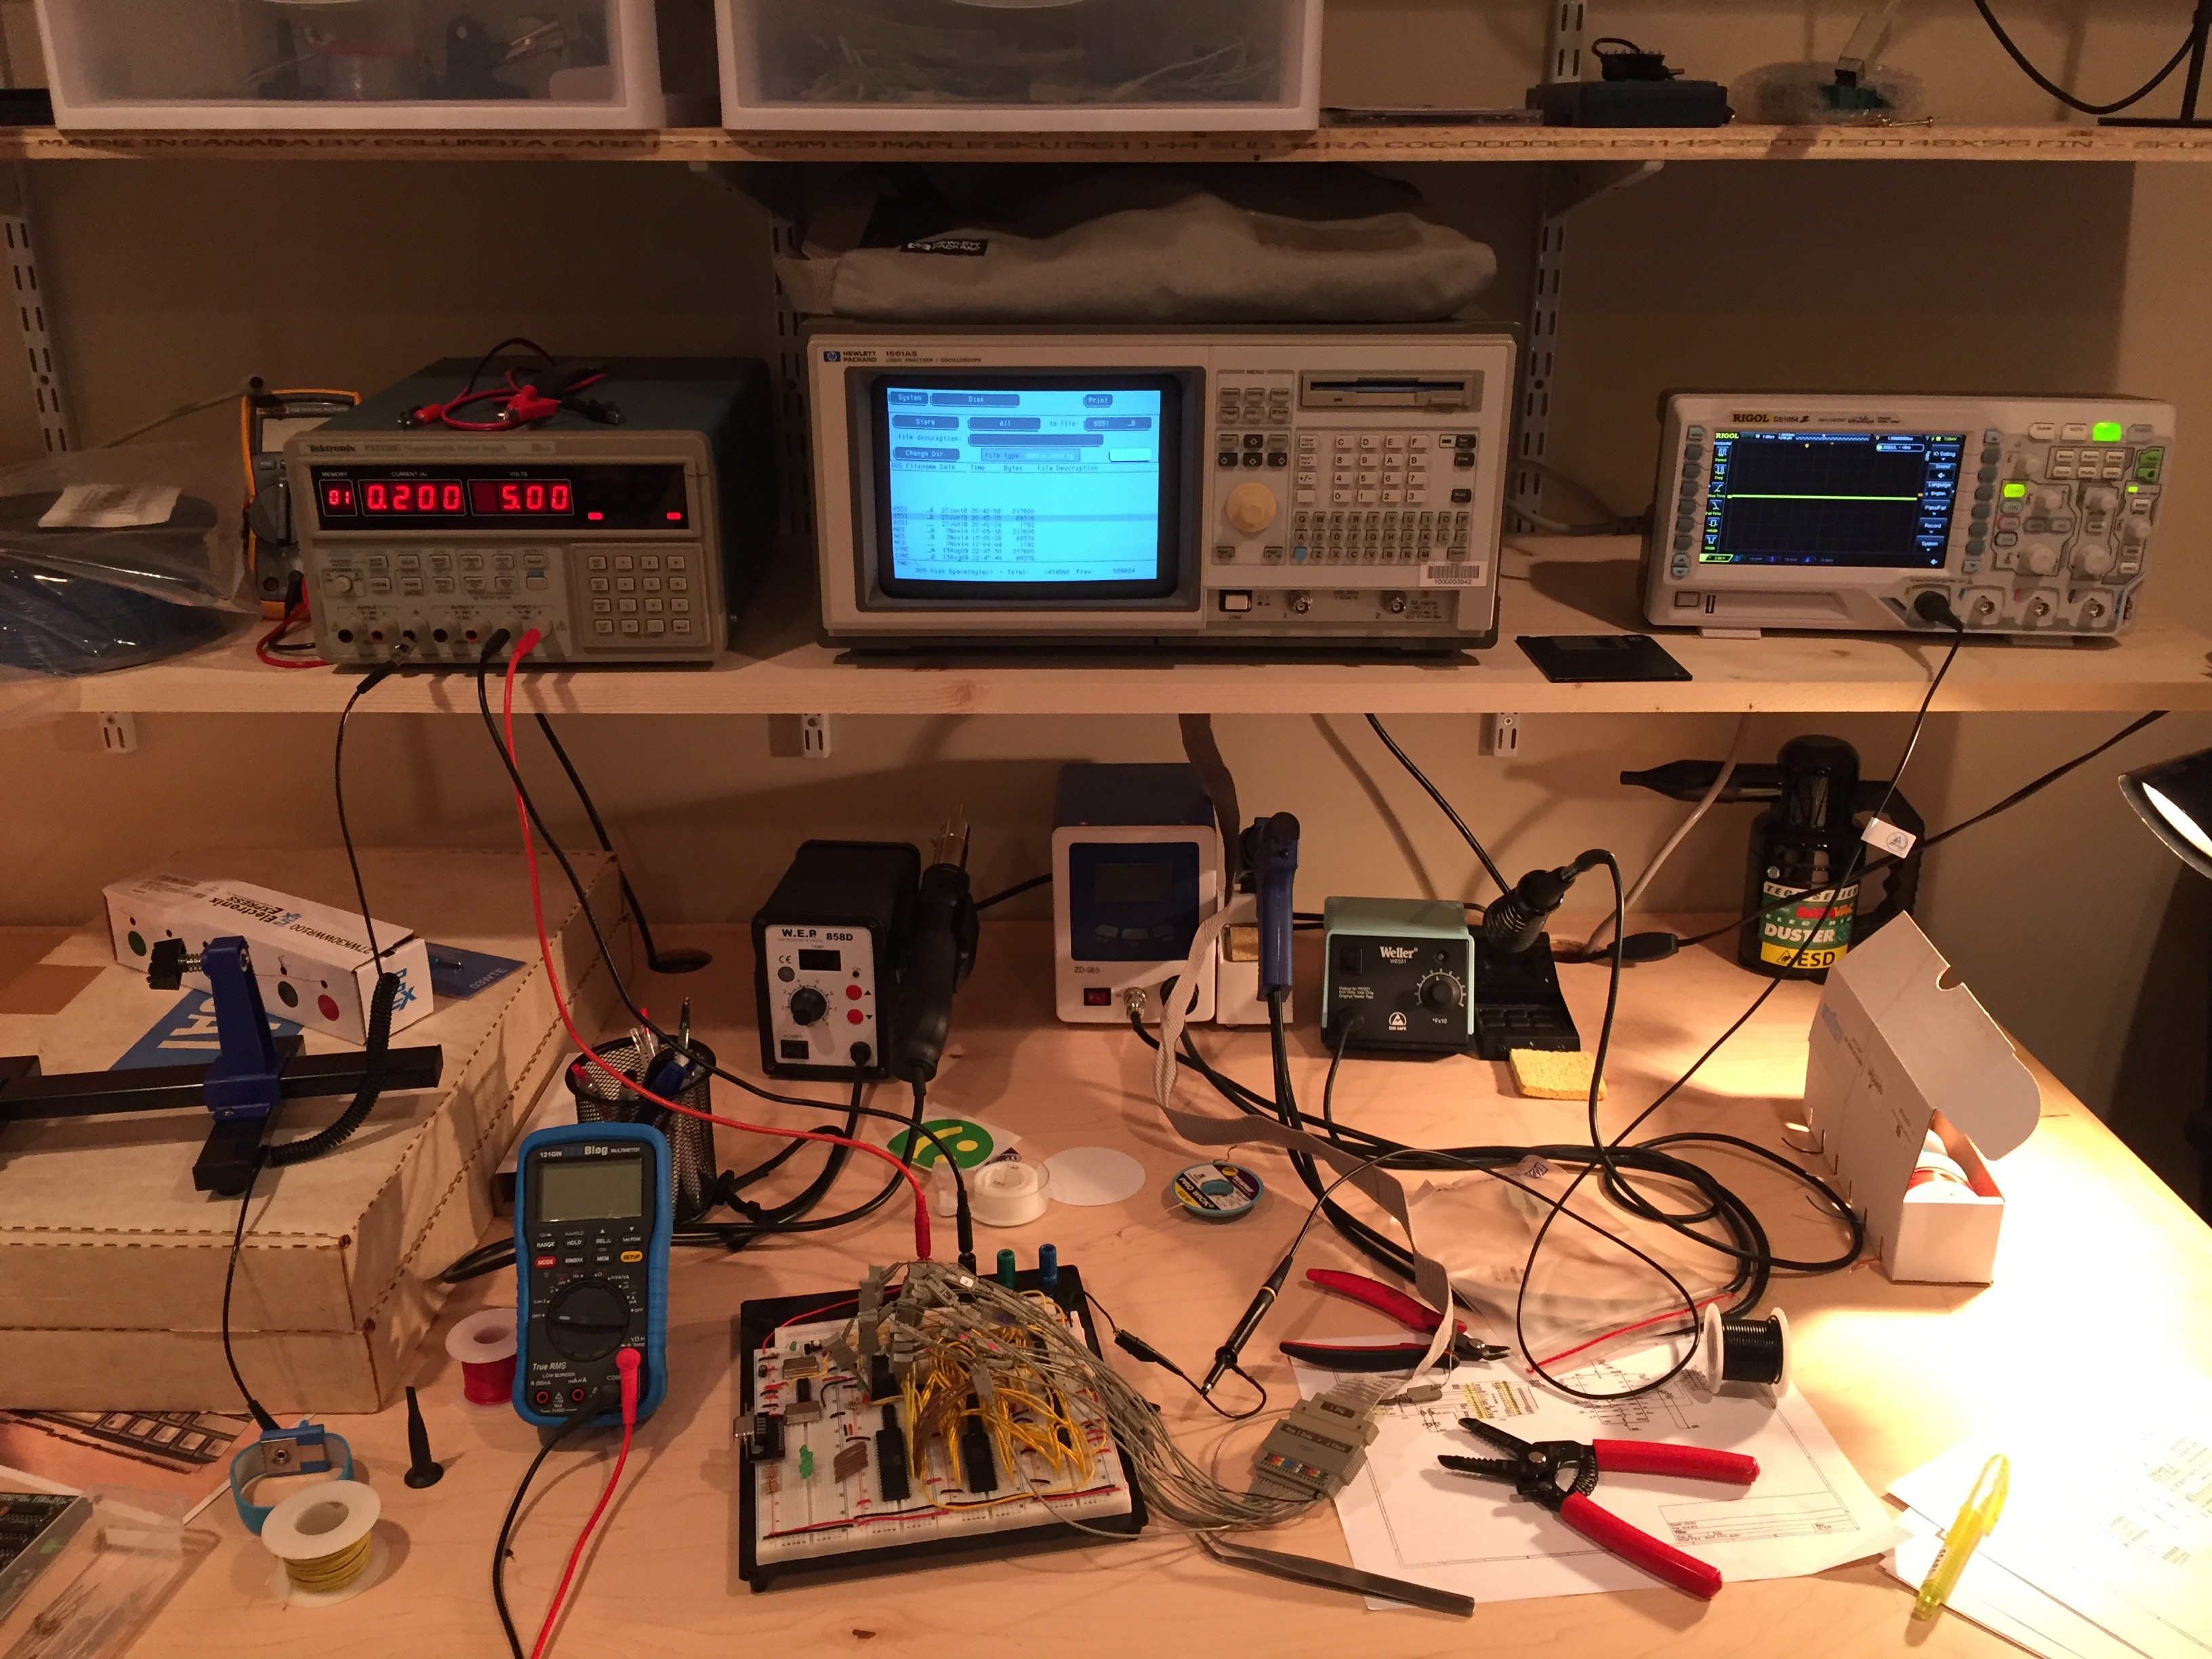
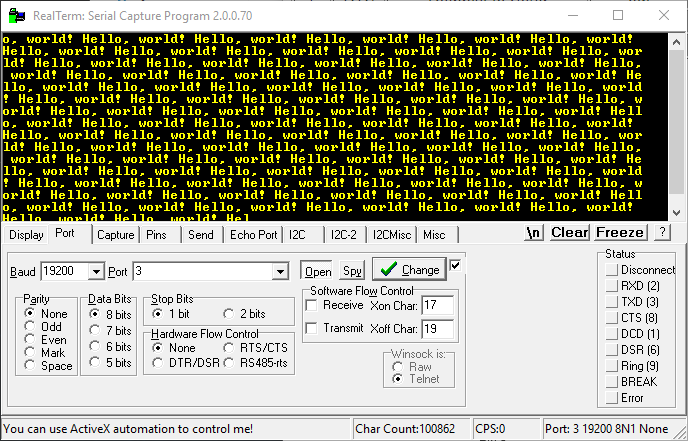
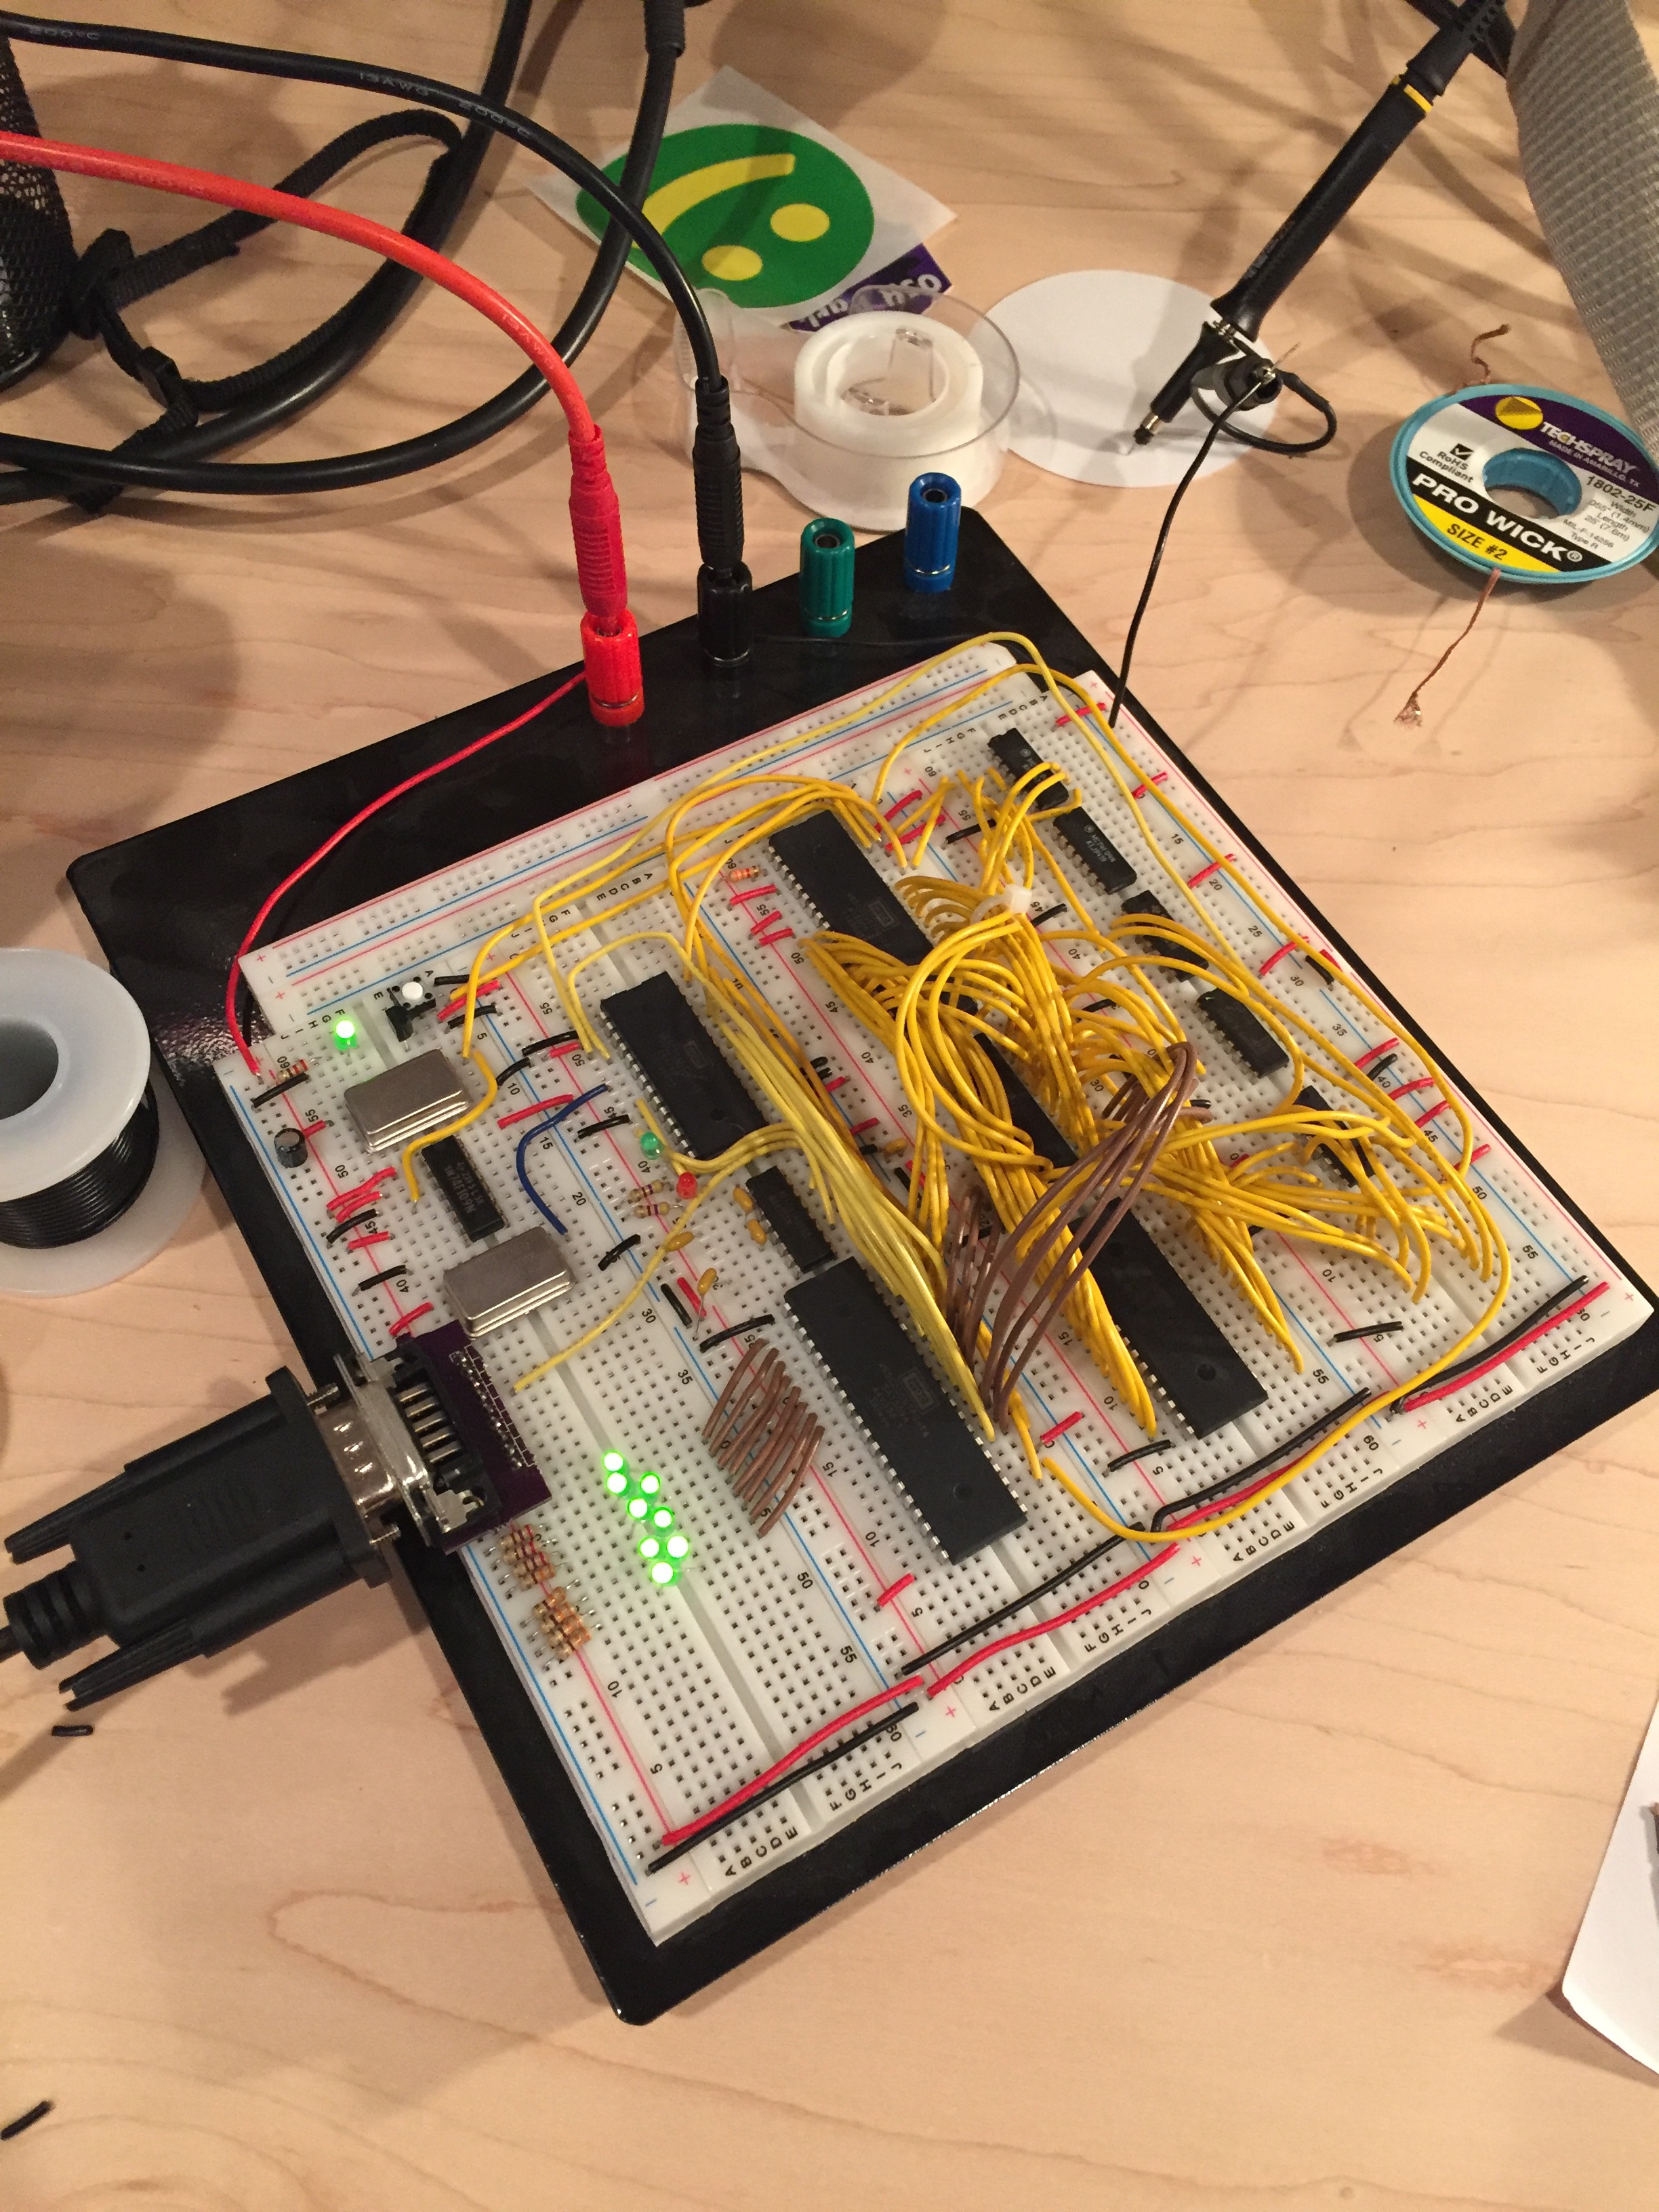
TG6502 is a simple single board computer built around the 6502 CPU. It is still in development, but the ultimate goal is to have roughly the following features:

  • 32k of RAM
  • 128K of EEPROM, bank switched
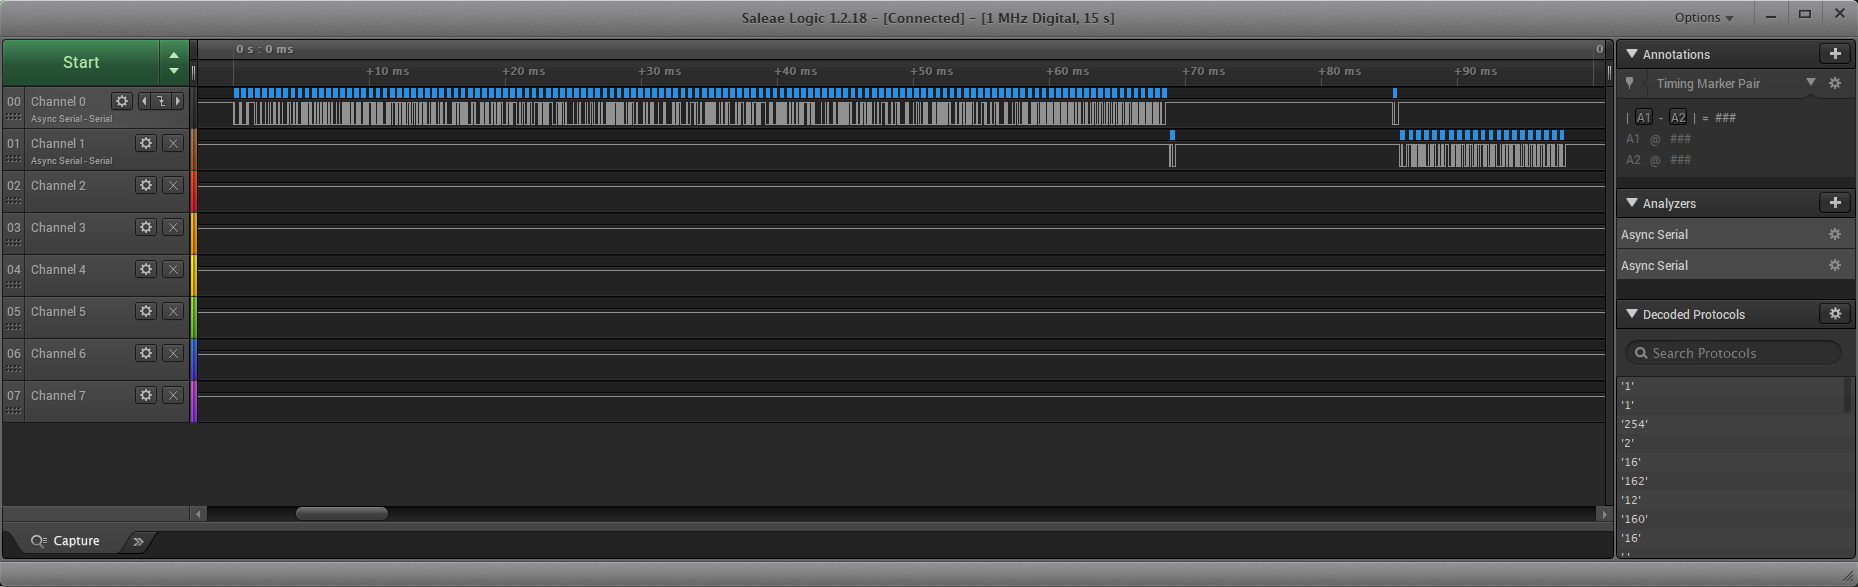
  • RS-232 serial port
  • VGA interface
  • Some kind of keyboard interface (possibly PS/2 or USB)
  • SD-Card for data storage

IMG_0609.JPG

Progress - March 18th

JPEG Image - 169.68 kB - 04/20/2017 at 16:52

Preview
Download

  • 1 × 65C02 65C02 CPU

  • XMODEM!

    Tom Gwozdz07/06/2018 at 02:52 0 comments

    In my last update, I had just gotten my serial routines working, and my memory sanity check complete.  I am now able to write some simple software, but having to re-flash the EEPROM for every code change was wasting a lot of time.  To fix this, I wrote an XMODEM receive routine which will allow me to send code to the computer over the serial port.

    I chose the XMODEM protocol because its super simple to implement.  My routine gets called on boot and waits for an XMODEM transfer to start.  I then write the data I receive to memory starting at address $1000.  I set up a linker file to write the start address as the first 2 bytes of the linked file, which show up at address $1000, $1001.  I then do a jump to the address at that location to execute the code.

    Below is an image of this in action.  I created a very simple test program which just prints out "Hello, world!" and then loops forever.  I booted the computer, uploaded the binary over XMODEM, and success!

    It took me many hours to get the protocol implementation correct.  Having no debugging capability made this very difficult.  And since I'm using the serial port for data, I couldn't even do printf style debugging over the serial port.  My Saleae Logic proved extremely useful in being able to see what was happening.  The built in protocol decoder made debugging possible.

    Logic attached to the TG6502:

  • Memory Sanity Check Complete

    Tom Gwozdz07/01/2018 at 00:34 0 comments

    Until now, I haven't yet had a chance to test any of the RAM, so I had no idea if reading or writing to RAM would work.  This meant that any code I wrote had to live completely within the registers.  This is hard on the 6502, as I only have 3 8 bit registers to work with.  So getting the RAM online was a priority.

    Now that I am able to get some output from the serial port, I added a quick Power On Self Test (POST) routine that runs on boot up.  It goes through the zero page and the stack page, writes some data to each byte, and verifies that I can read it back correctly.  I can now confirm that I can successfully read and write to RAM!

    Since I was limited only to registers, I wasn't even able to call any subroutines, since that requires writing to the stack.  My POST routine is therefore just a single block of code that doesn't perform any subroutine calls.  It means that there are some duplicated serial routines in the POST code, but that's a small price to pay to get a reliable POST.

    Now that RAM works, I was able to write and test some real serial routines.  Next step will be to come up with a simple monitor program that takes over on boot.  From there I will be able to test the rest of the hardware, and have a way of uploading code over the serial port.  Having to re-flash my EEPROM on every code change is slowing me down quite a bit.

    My initial serial port testing was causing me issues.  It simply wouldn't write to the serial port.  It took me a while to figure out what was going on, but it was simply a mis-wiring of one of the chip select lines on the 6551 chip.  It was permanently unselected, and hence wasn't responding to anything on the bus.  Here's a picture of the epic debugging session:

  • Serial port works!

    Tom Gwozdz06/28/2018 at 02:43 0 comments

    After a long time away from this project, I finally had some time to come back to it and wire up my serial port!  I am now able to transmit data from the TG6502 to my host computer at 19200 baud.  The classic "Hello, world!" message:

    I have not yet connected the receive line.  That'll be the next step.  Thus far I have only verified that the ROM, VIA and ACIA are working.  I haven't yet tested the RAM, so once I can verify that I can send and receive data correctly, I will write some simple memory test routines.

    Here's how things look at the moment:

  • Phase 1 Build

    Tom Gwozdz04/20/2017 at 17:02 0 comments

    I'll be building this computer in a few phases. The first phase will consist of:

    • 65C02 CPU
    • RAM
    • ROM
    • RS-232 serial port to act as a terminal
    • a 6522 chip for some additional I/O and timers
    • memory decoding and other glue logic

    I currently have all of this built, except for the serial port. I hooked up some LEDs to one of the ports on the 6522 so that I can see that the code is running. Here's the result so far:

    It worked on the first try!

    Next step is to get the serial port wired up, and then to write some simple test programs to make sure the hardware is working as expected. Currently I'm only using the CPU, ROM, 6522, and a bit of address decoding to make things work. I will need to test the RAM, the ROM bank switching, and a few other things before I'm comfortable calling this stage done.

    Once the hardware is built and tested, I will focus on writing a simple terminal monitor program so that I can easily upload code to the computer without having to re-flash the ROM chip each time.

View all 4 project logs

Enjoy this project?

Share

Discussions

Similar Projects

Does this project spark your interest?

Become a member to follow this project and never miss any updates