 Nick Bild
Mario Kart Wii is a great game, but the controls are awkward. So, I built an alternative controller to play the game with a D-pad.
How It Works
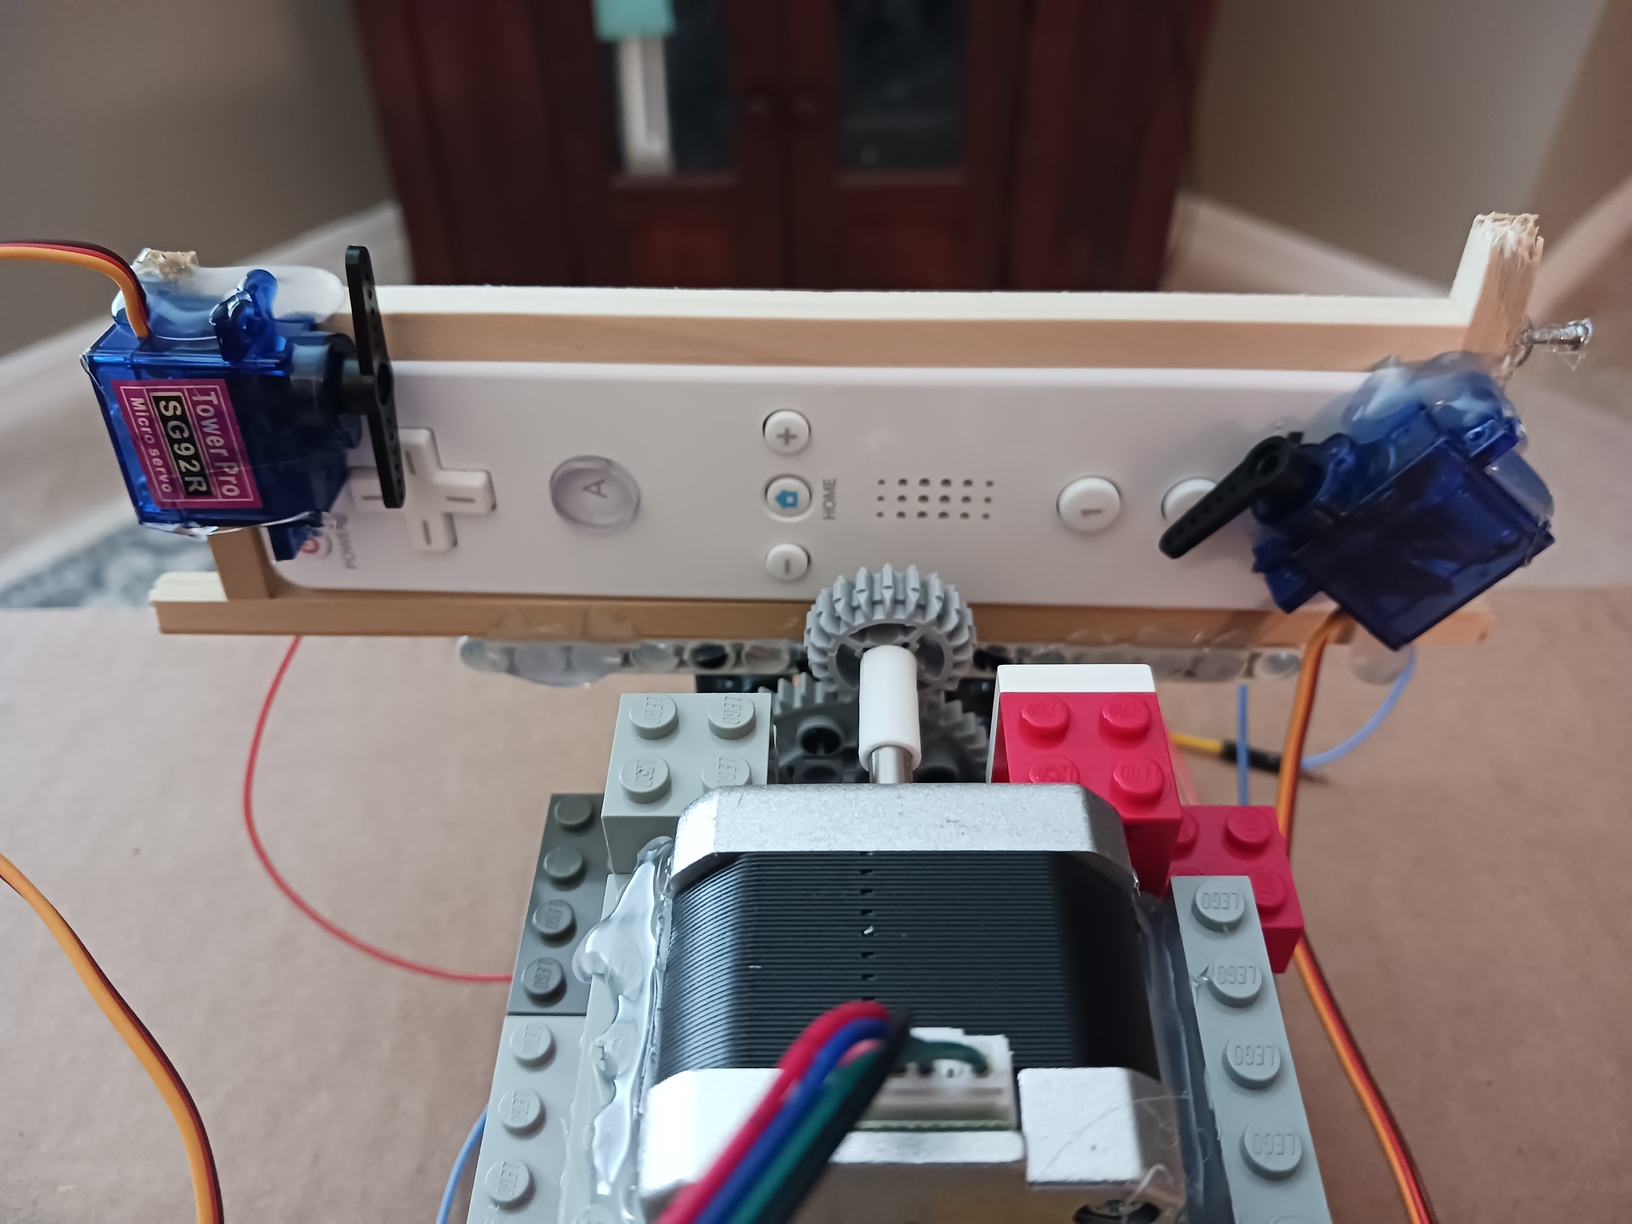
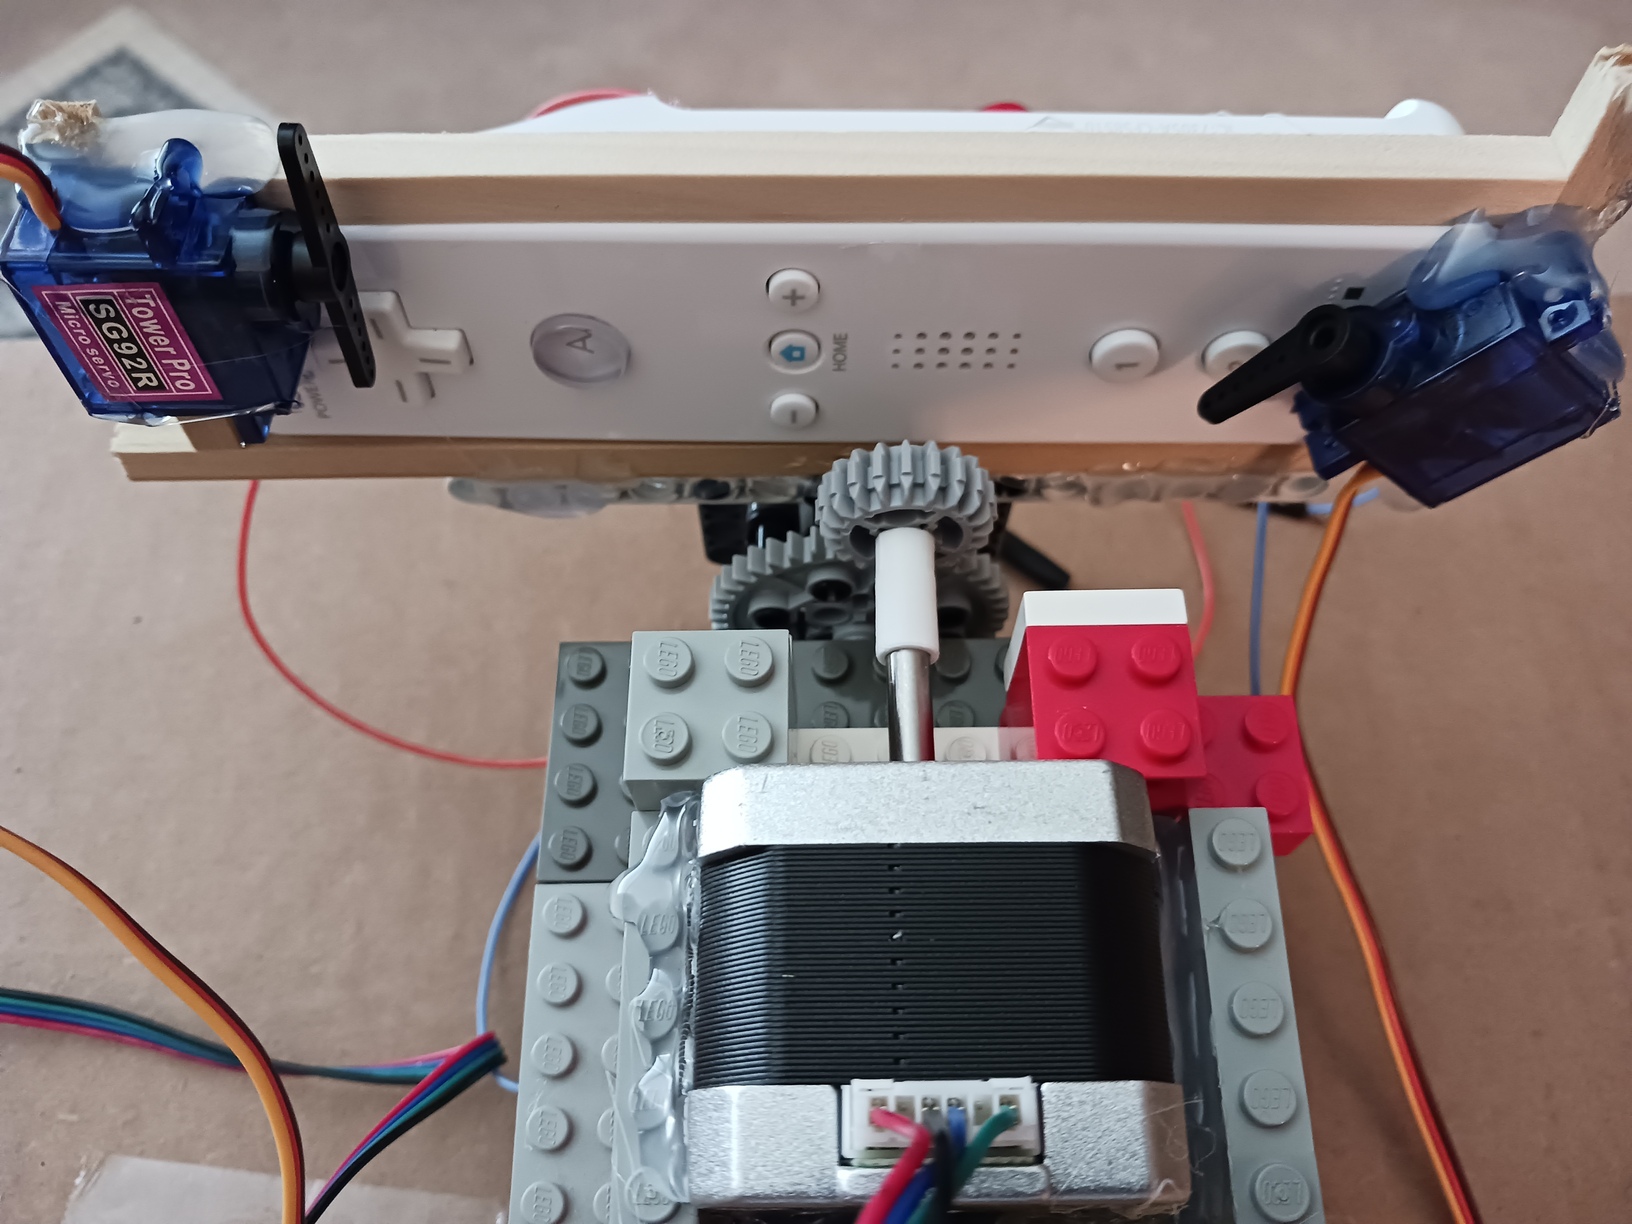
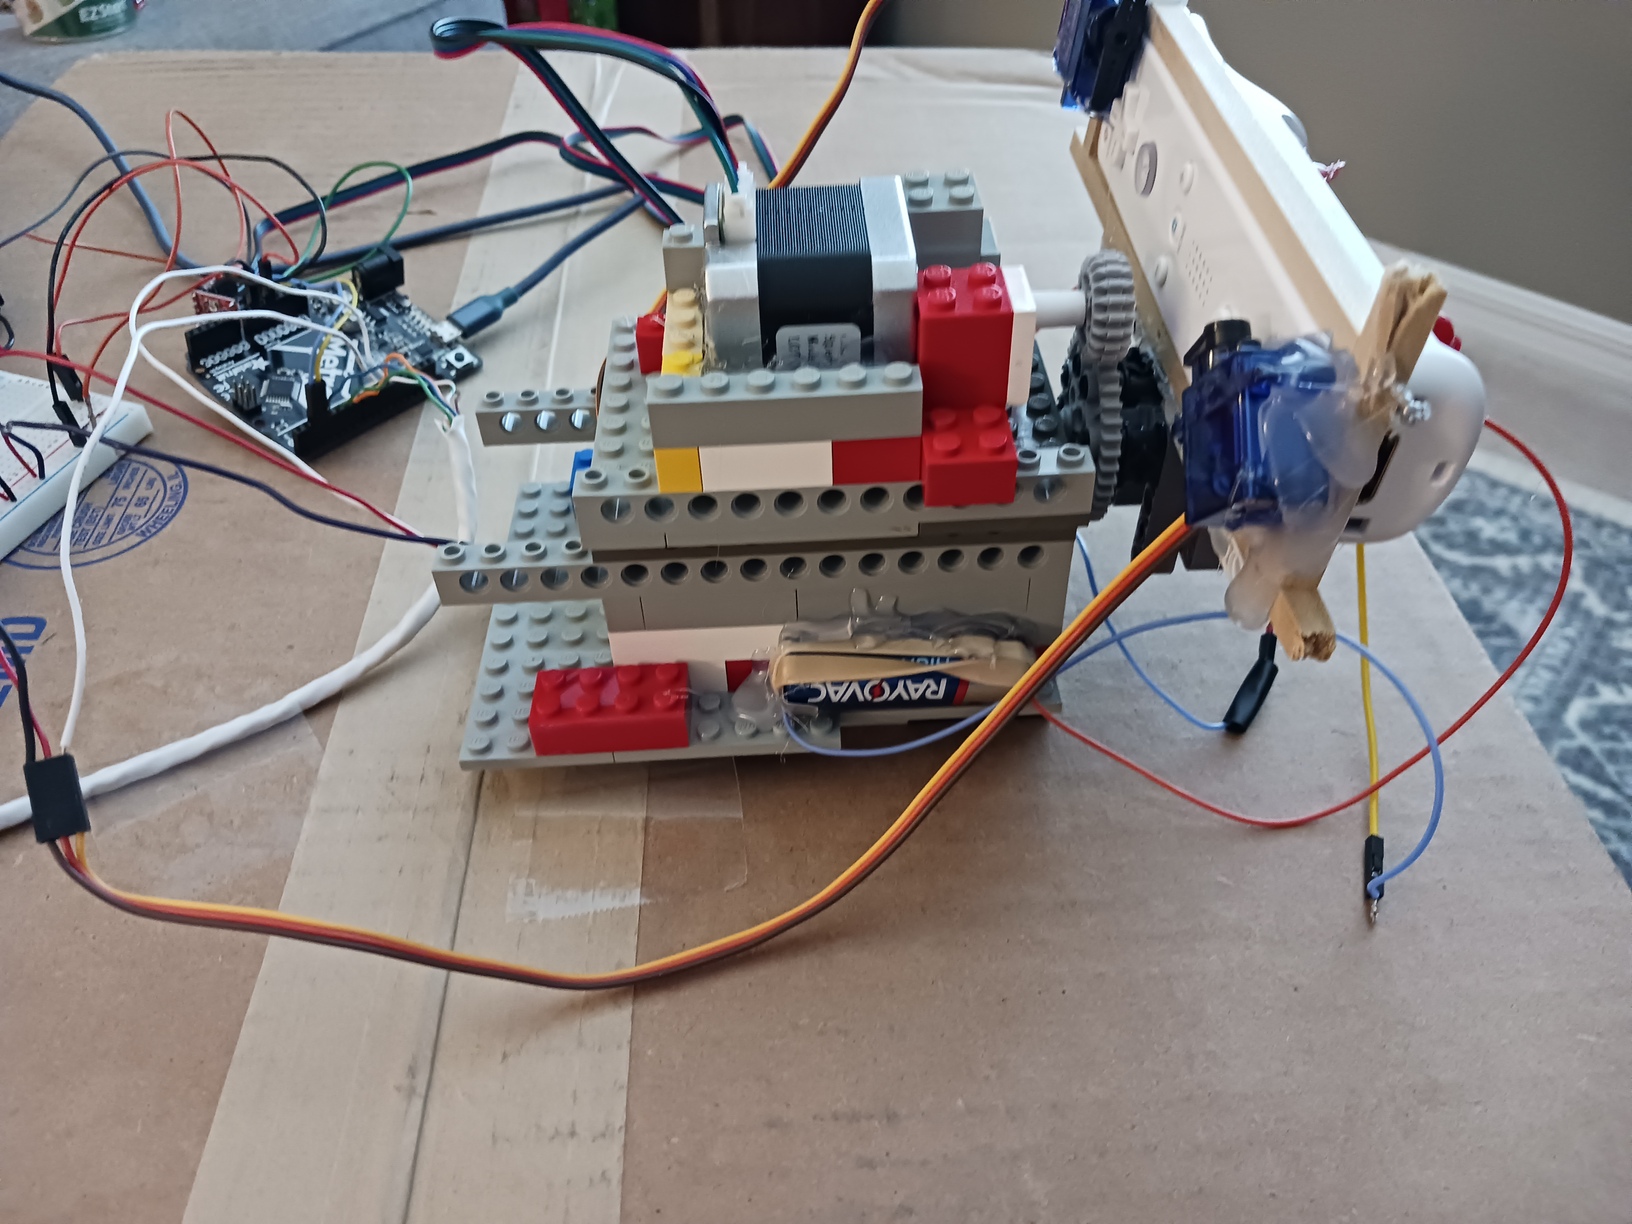
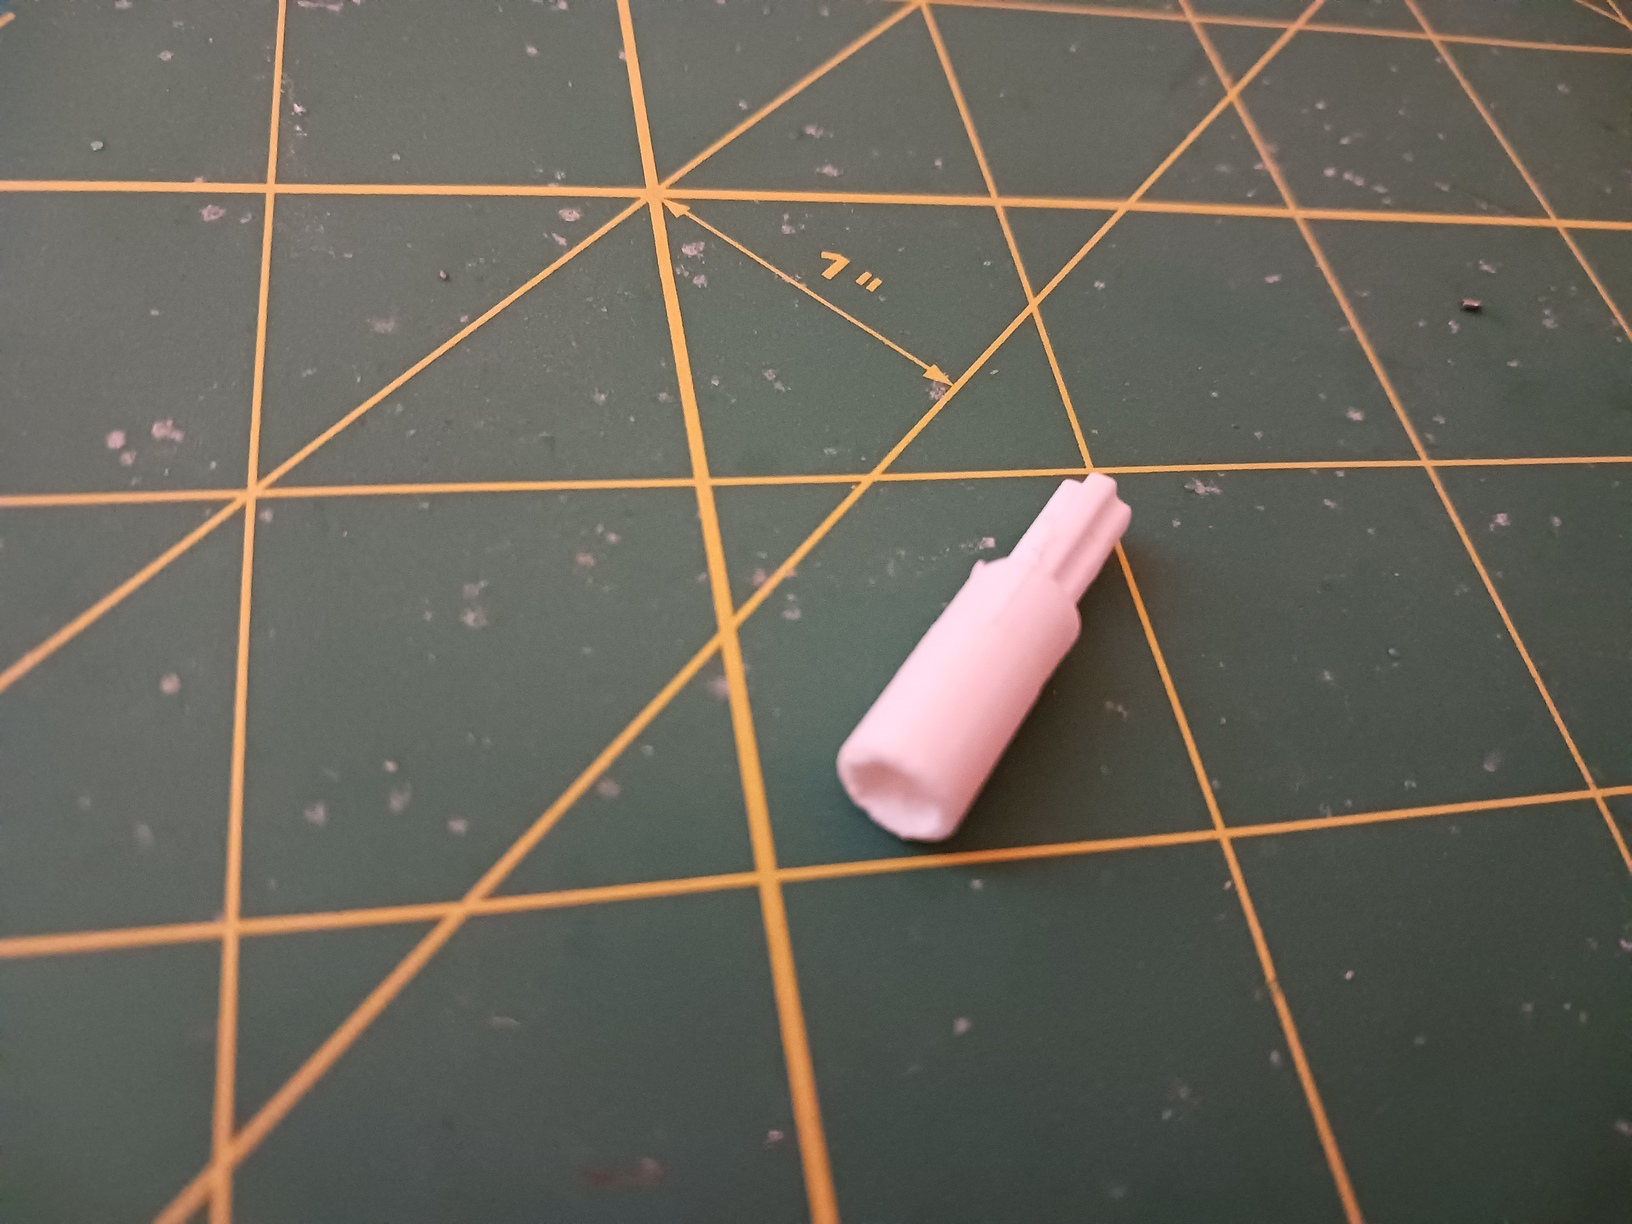
A Lego base with a rotating platform was built. The Wiimote sits on the rotating platform and is turned by a stepper motor via a pair of gears that reduce the load on the motor. A 3D-printed adapter was created to attach the keyed shaft of the stepper to a Lego axle. Two servo motors are attached to the Wiimote such that they can press the accleration and use item buttons on command.
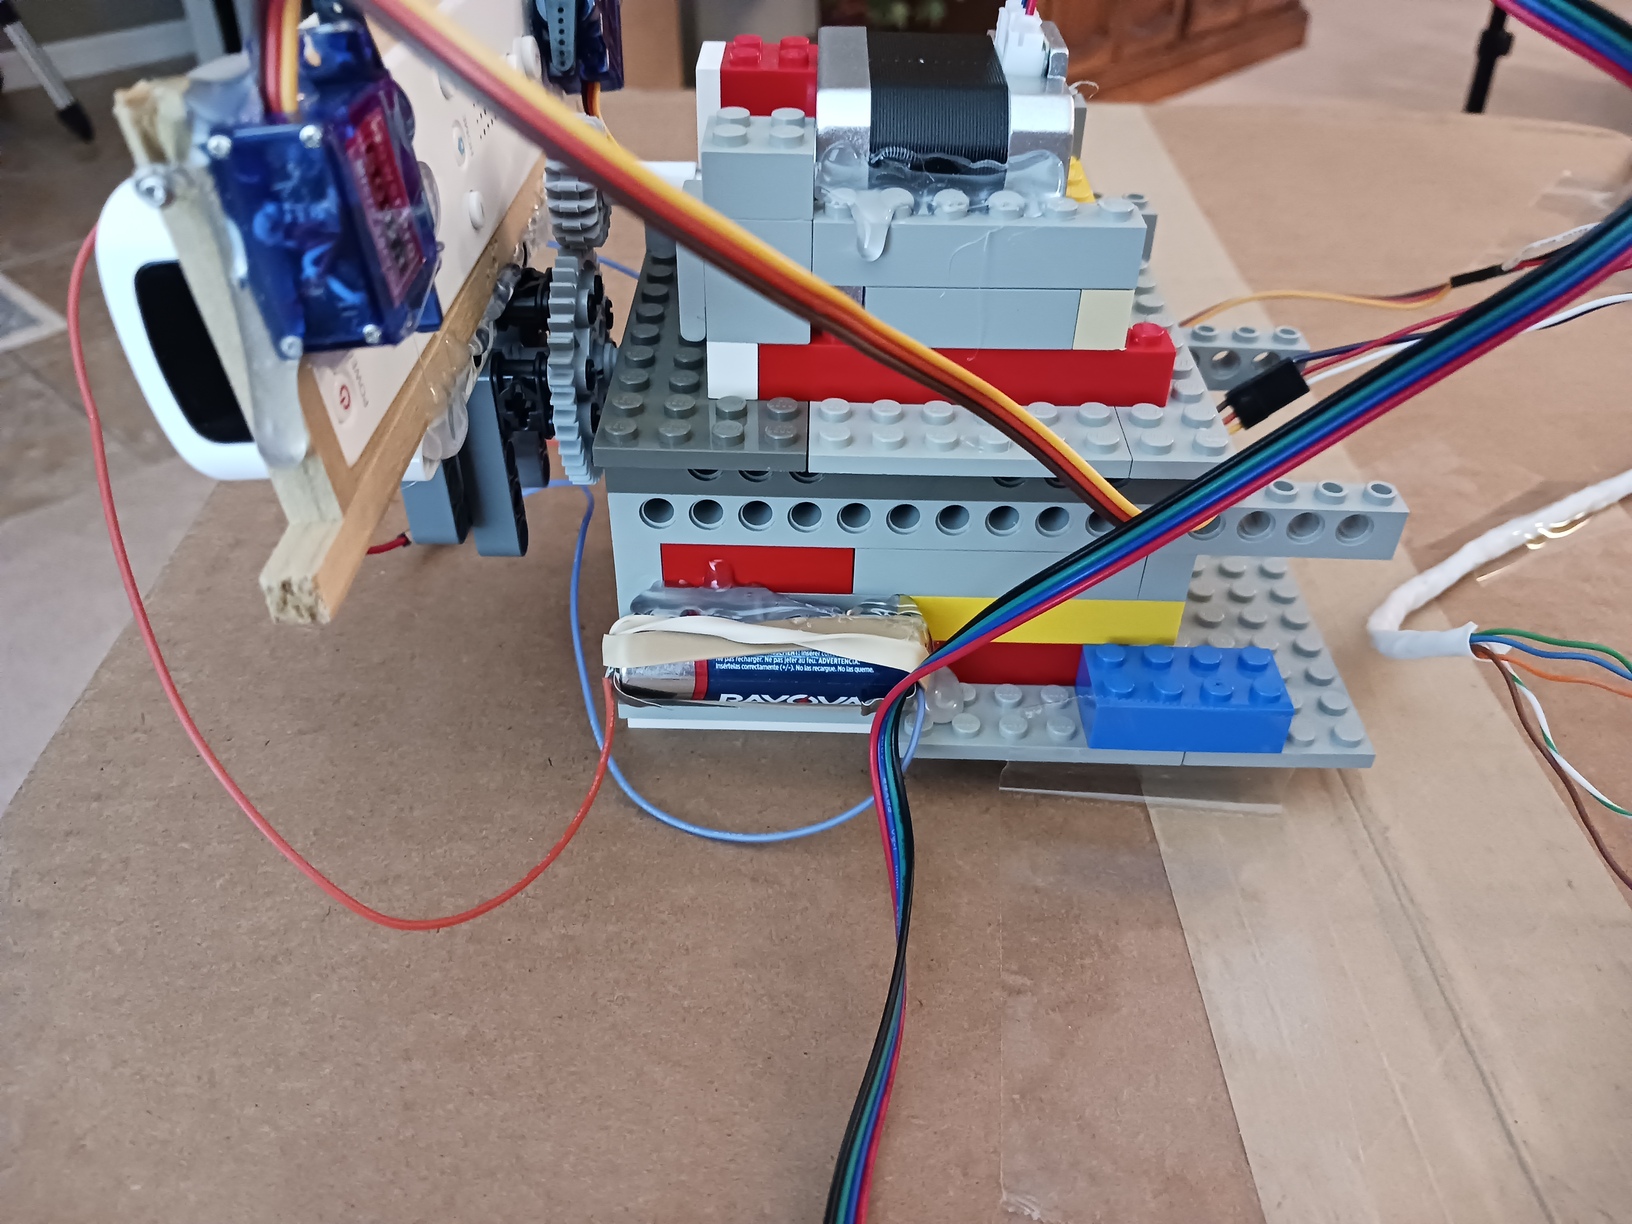
A lightweight frame was built around the Wiimote with wooden dowels to give more surface area for the servos to attach to the controller. The batteries were removed from the Wiimote and wires were attached to the contacts such that the batteries can be positioned in the base to reduce the load on the stepper.
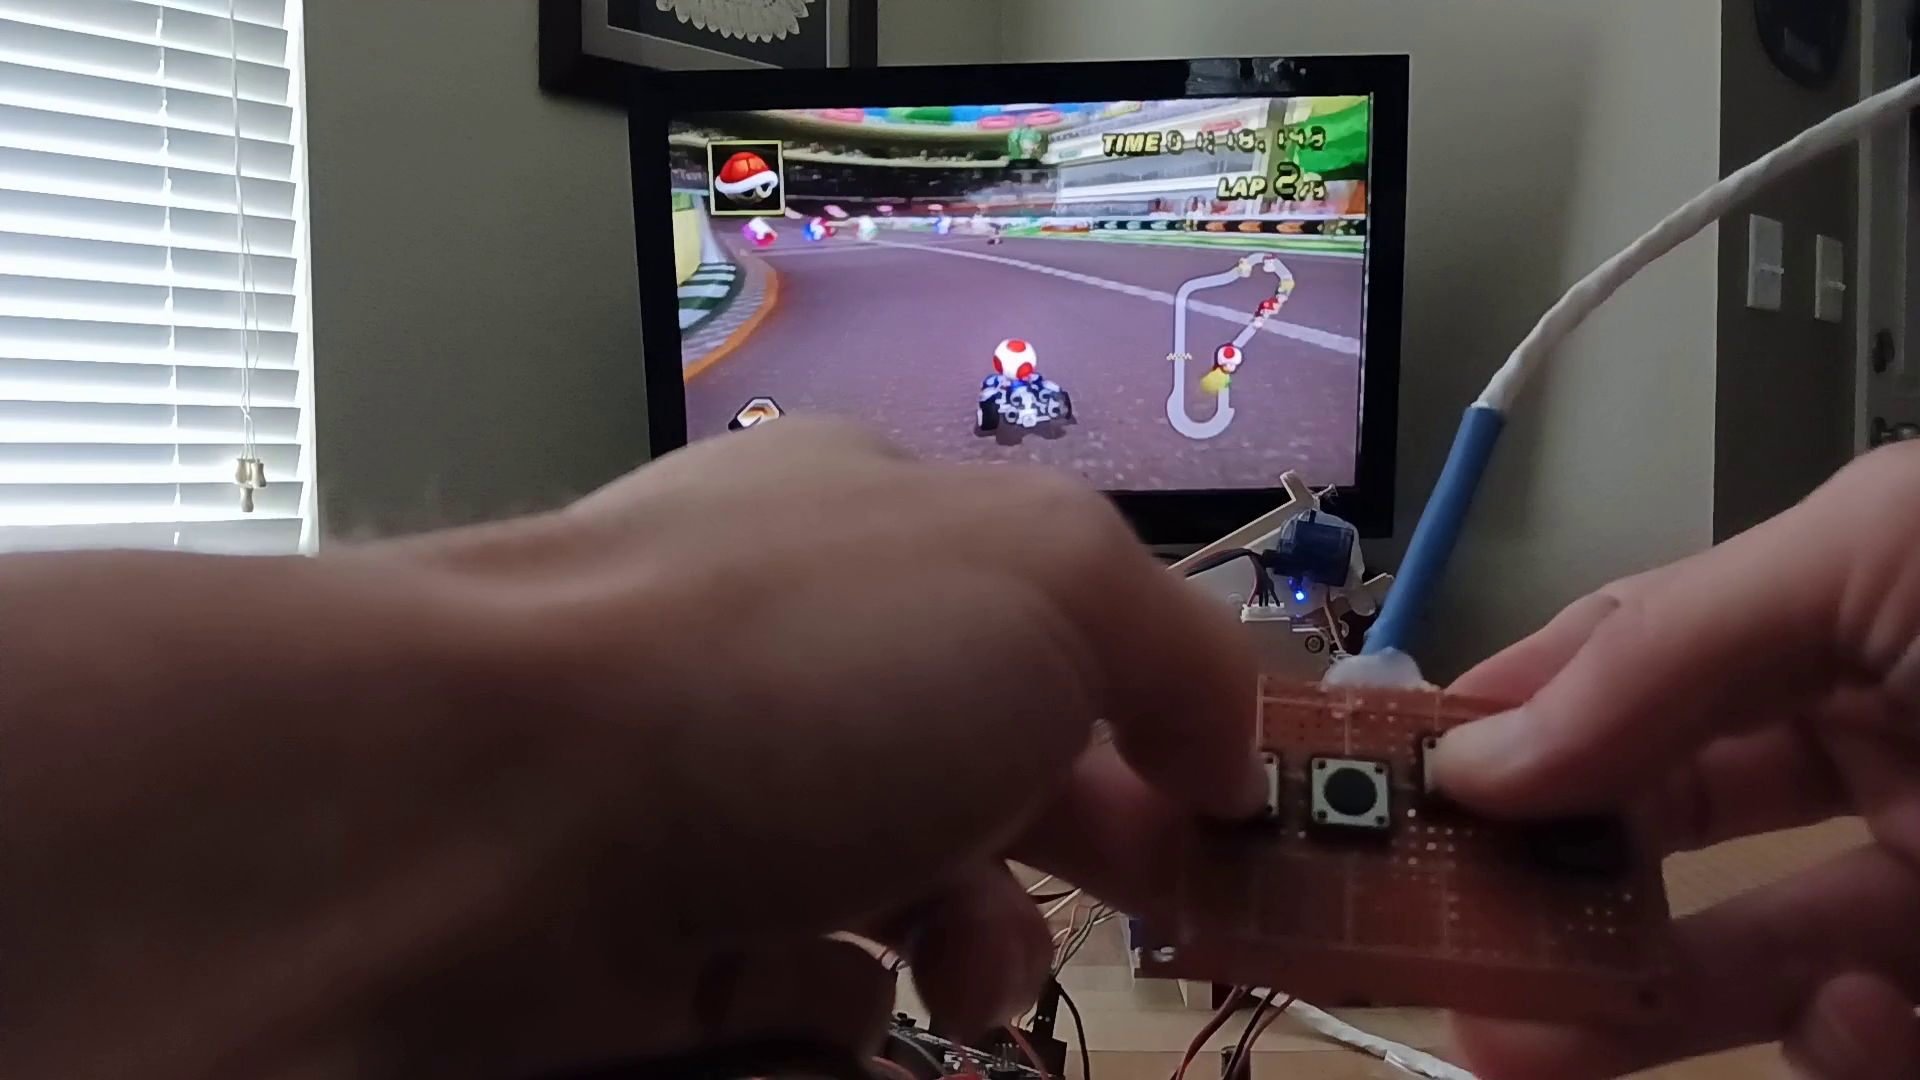
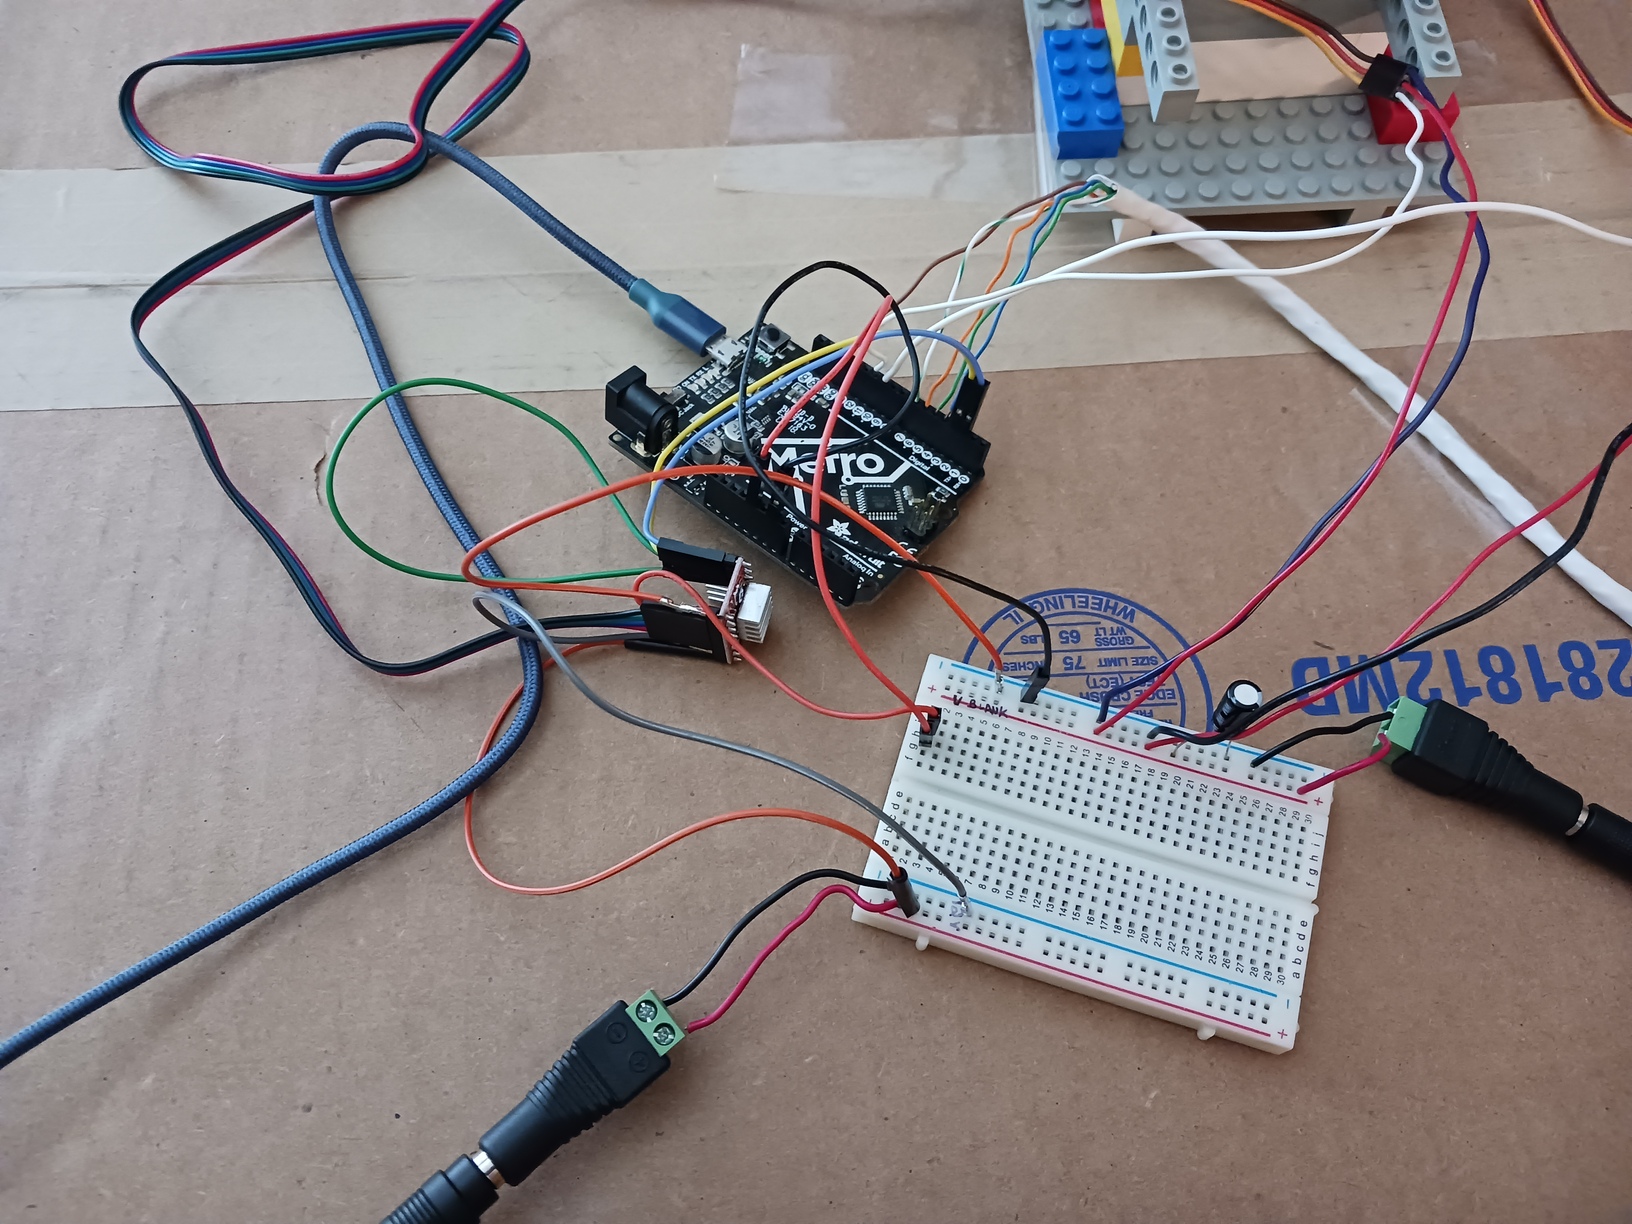
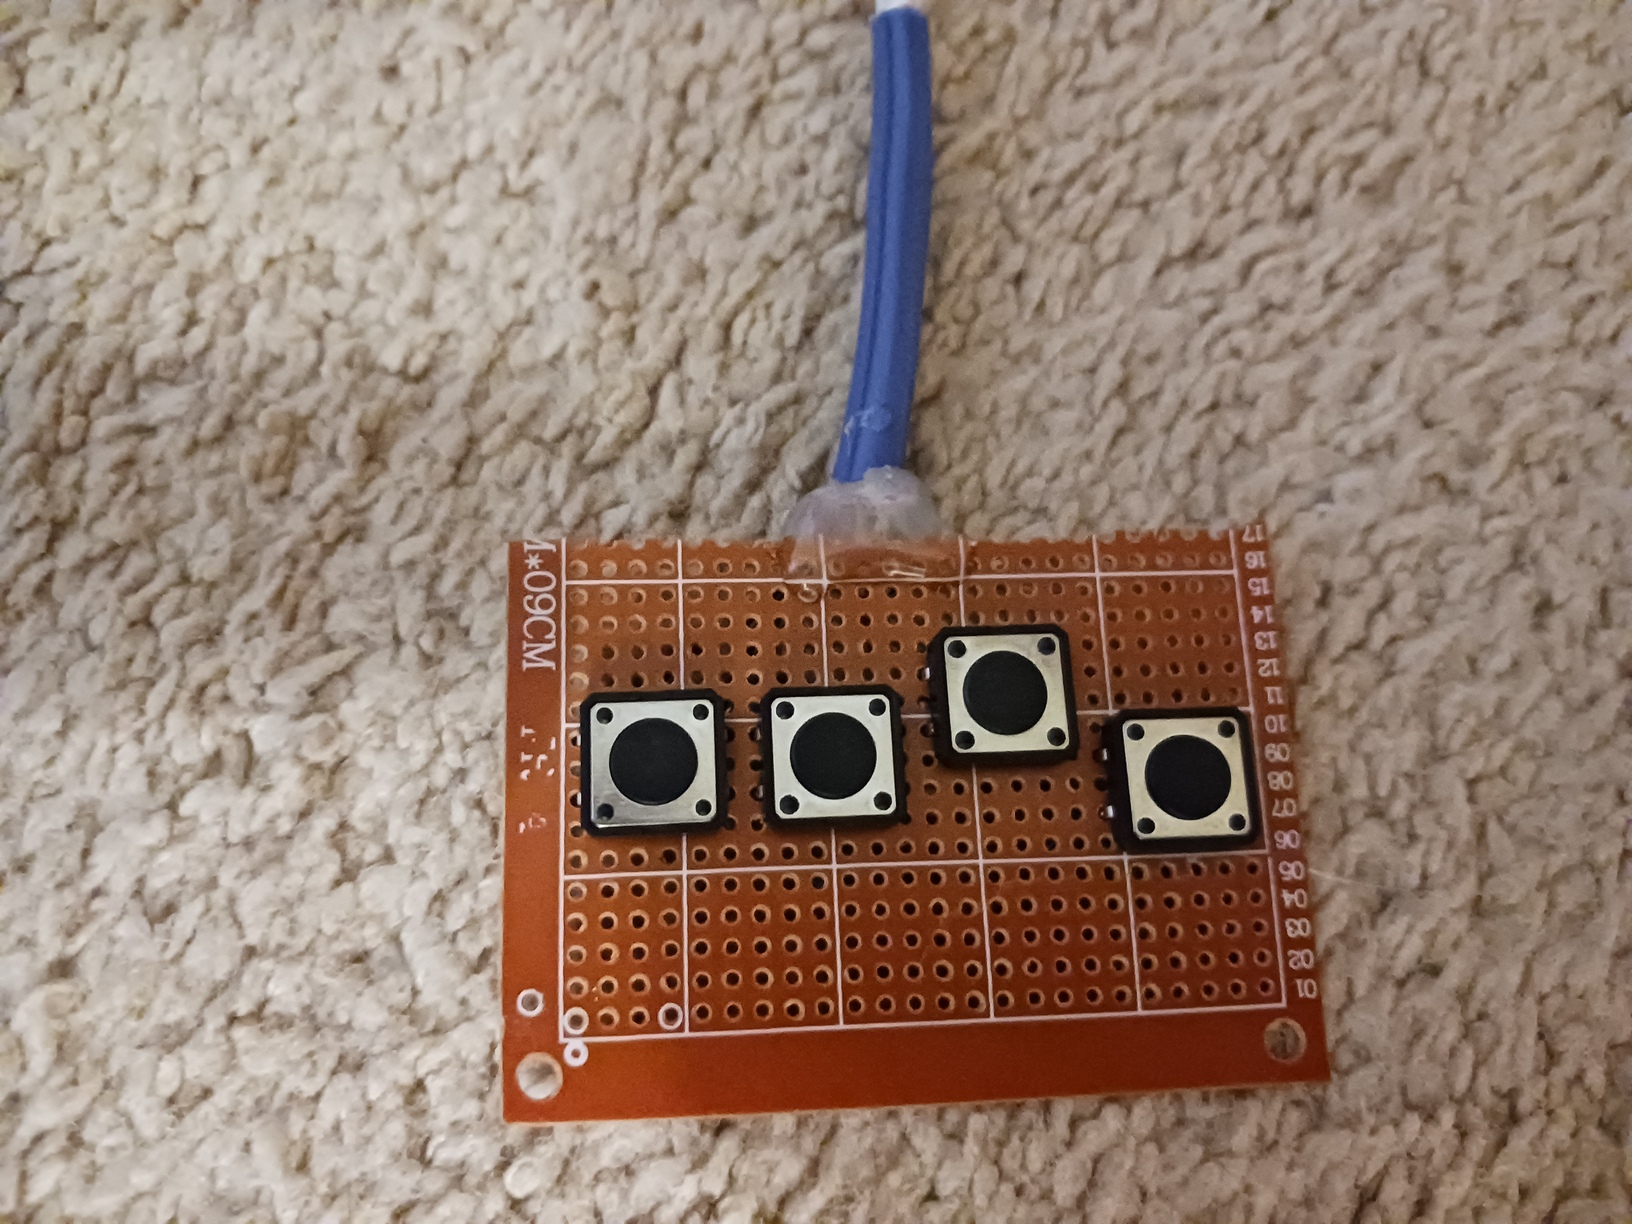
An Adafruit METRO 328 (Arduino Uno clone) takes inputs from a simple D-pad that I built from push buttons and perfboard (sketch here). The left and right buttons turn the stepper motor to tilt the Wiimote and trigger a turn in the game. The other buttons trigger the accelerate and use item buttons via servo movements.
Media
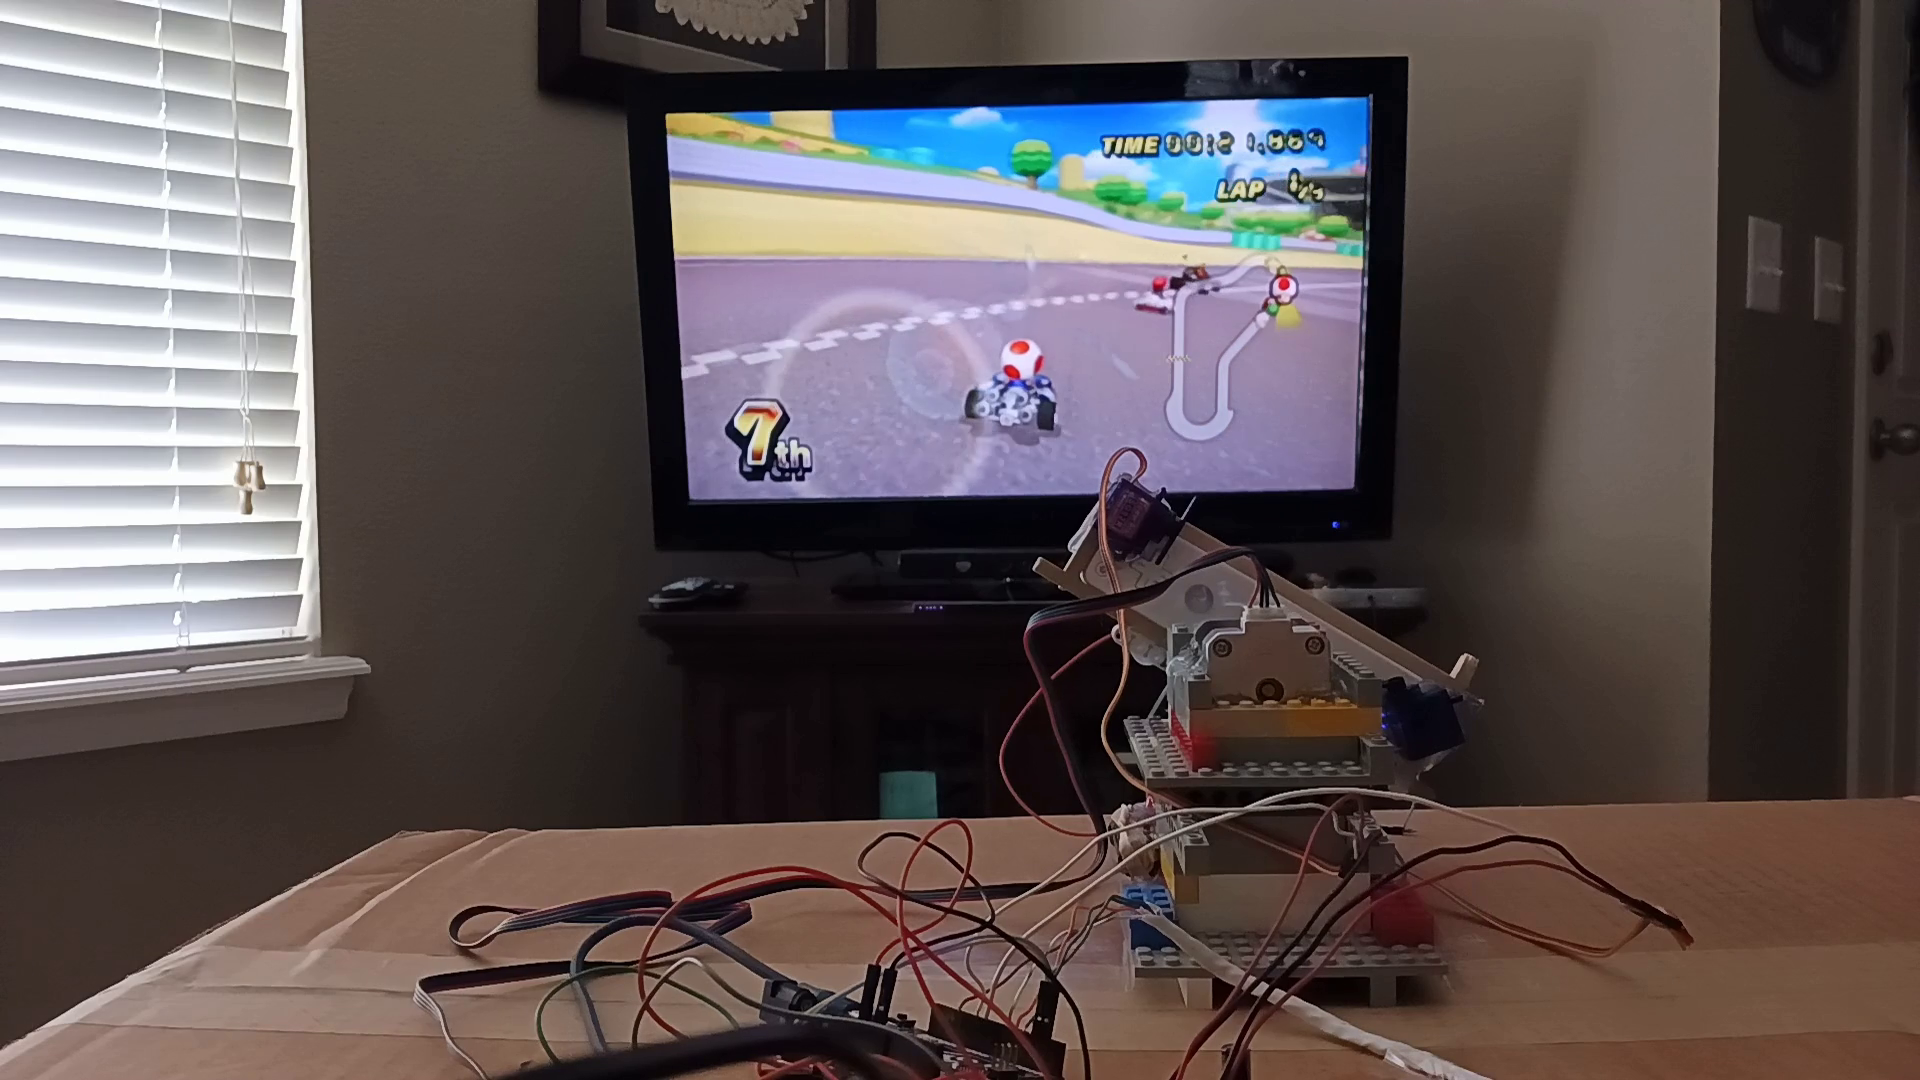
Finally, a D-pad!
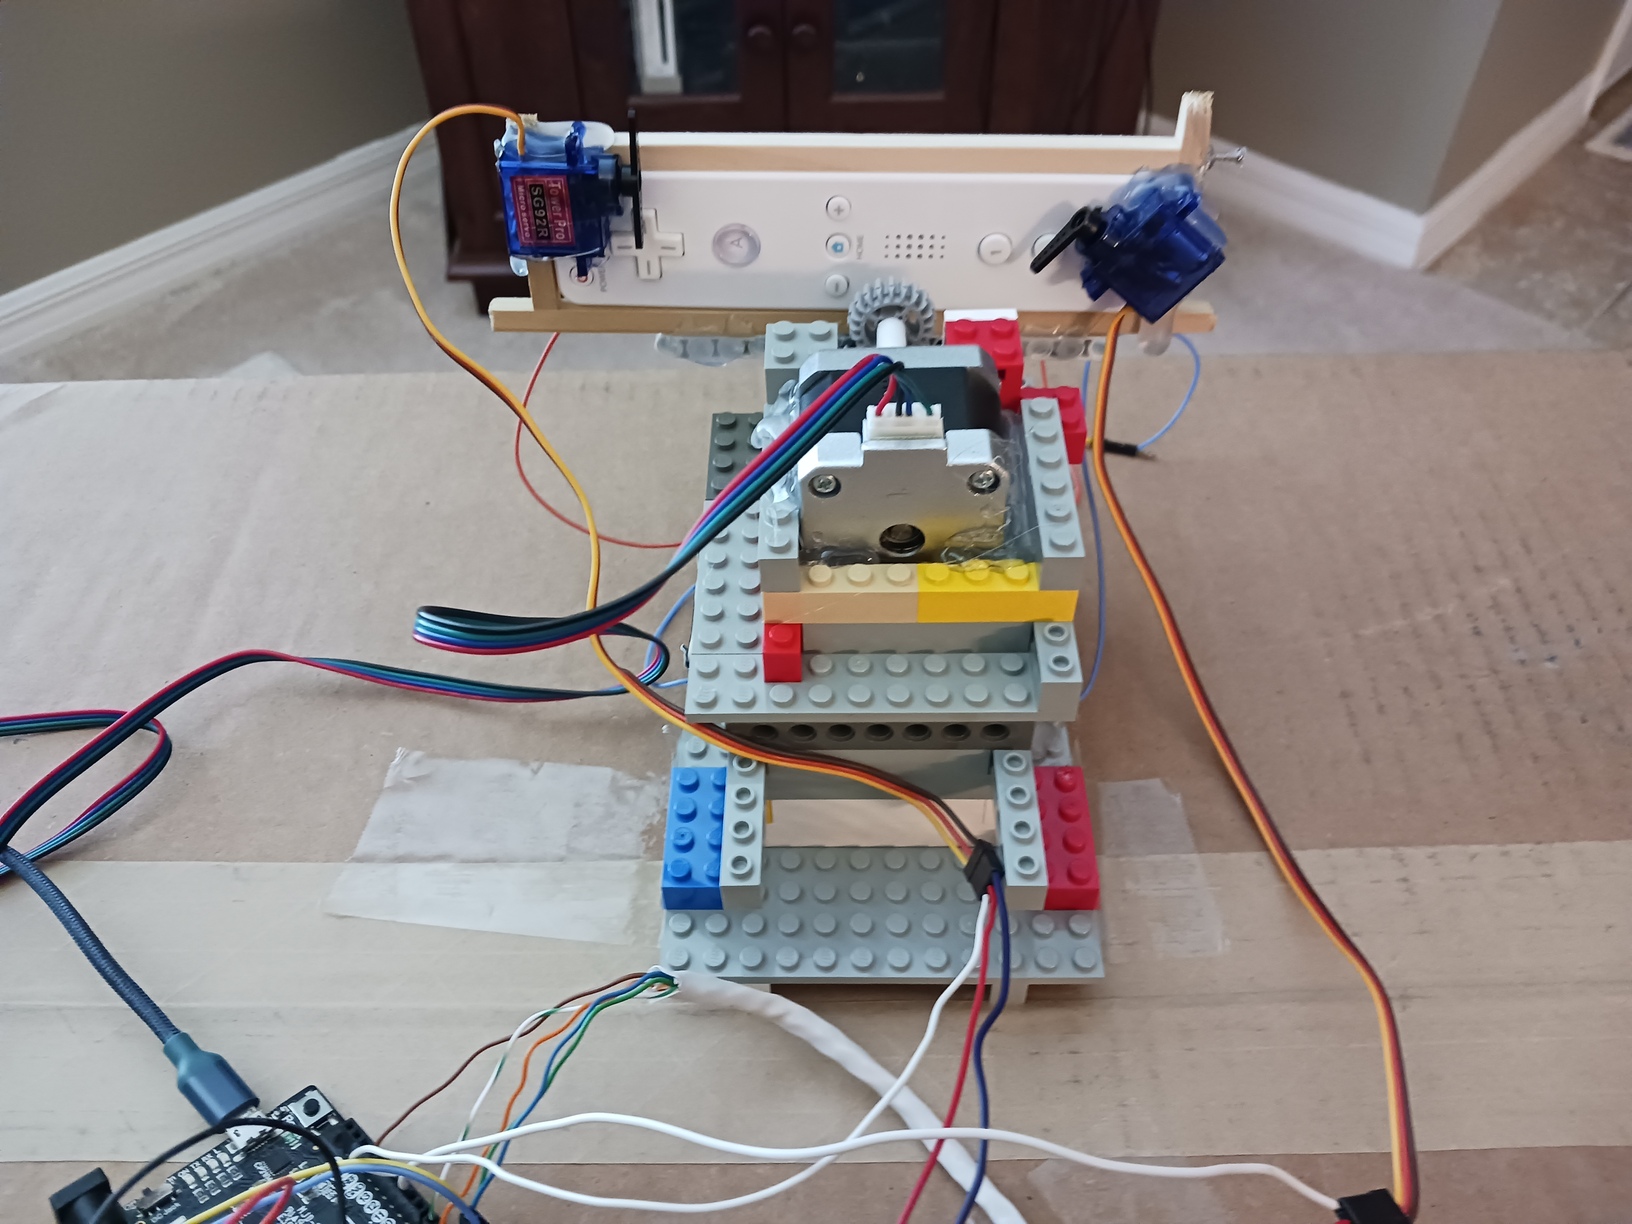
The stepper tilts the Wiimote for steering. The servos press the accelerator and use item buttons:
The batteries are heavy, so I moved them outside of the Wiimote to take the load off of the stepper:

The control system:
A 3D-printed adapter to go from keyed stepper shaft to a Lego axle:
Bill of Materials
- 1 x Arduino Uno or compatible (Adafruit METRO 328 in this case)
- 1 x High-torque stepper motor, Nema 17, holding torque 42Ncm
- 2 x TowerPro SG92R micro servos
- 1 x A4988 stepper motor driver
- 4 x Push buttons
- 1 x 3D-printed adapter - from keyed stepper shaft to Lego axle
- 1 x Perfboard sheet
- 1 x 12V power supply
- 1 x 5V power supply
- 1 x Wiimote
- Assorted Lego bricks and Technic gears
- Miscellaneous wires
- Hot glue
- Wooden dowels
About the Author
 Jbarlow1007
 Ampeater

 Troy Cundy