 Sean Francis N.
CONTEXT
After creating v1.0 of the Companion Light (check it out: https://hackaday.io/project/194589-the-companion-light-v10), it seemed that I was able to reach a wider audience for the project. Successful indeed! Now, with the upgrades planned and the PCB designed, I present the Companion Light v1.5!
UPGRADES
- The PCB
Given the small nature of the project, I was able to design a relatively compact PCB, roughly 40 x 40 mm in dimension. I simply followed the schematic from the first version, and of course took component placement into consideration. I placed the LED near the edge of the PCB such that mounting it onto the reflector is easier, and followed the same principle for the switch and solar panel's solder pads. The final design looks like this:
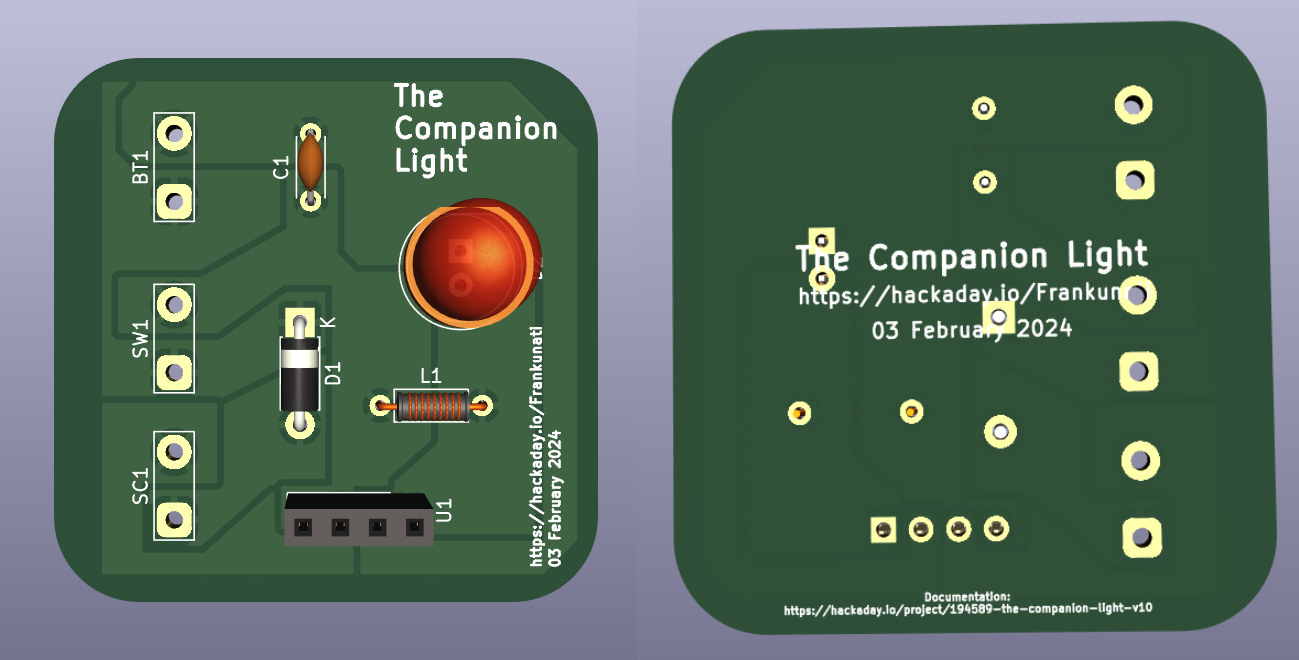
The PCB design in KiCad 7.0
After designing the PCB, I had it manufactured, and it came within 4 days of having it fabricated. My manufacturer of choice is PCBWay. At a starting price of $5 for 10 boards, I was able to have my PCB printed and sent straight to my door packaged neatly, and manufactured with great quality! Because of this I could say, I am proud of what I was able to make.
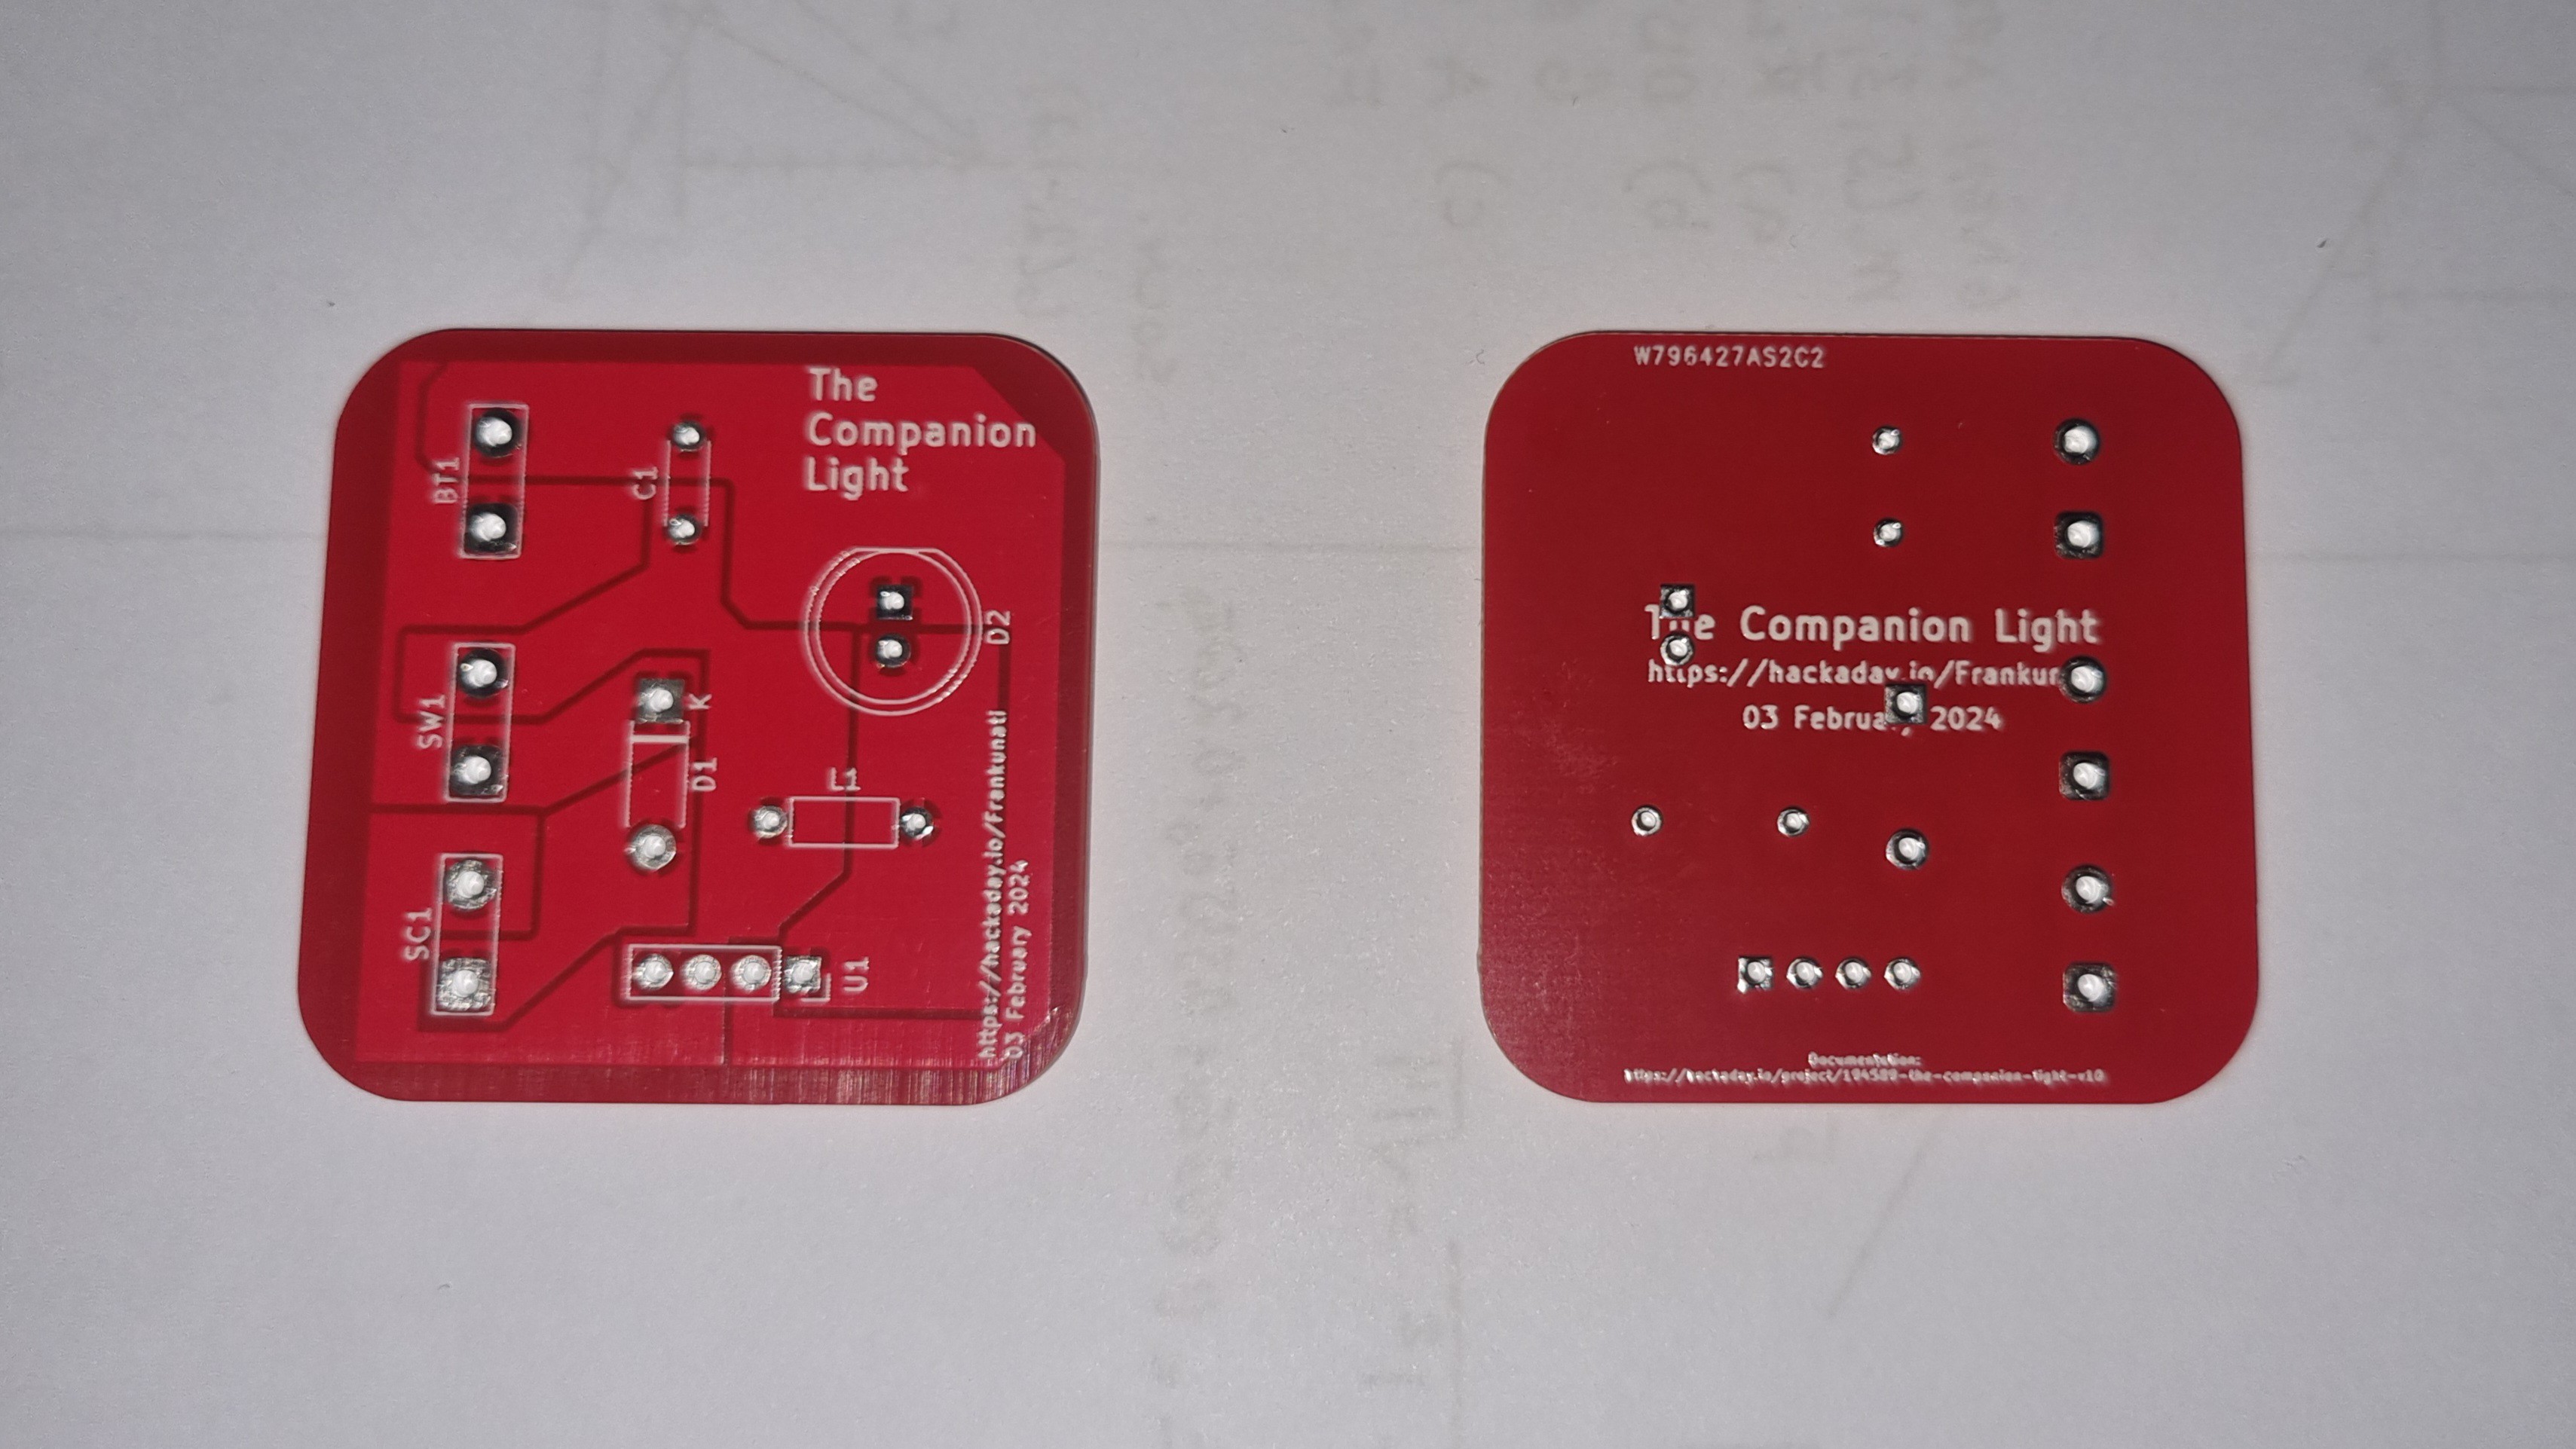
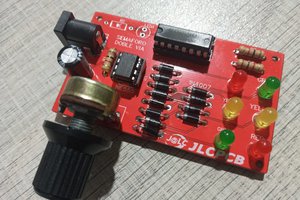
The Companion Light's PCB, front and back
After making sure that my PCB was produced without error, I proceeded to solder the components to check if it functioned as intended. No surprises, it works fine!
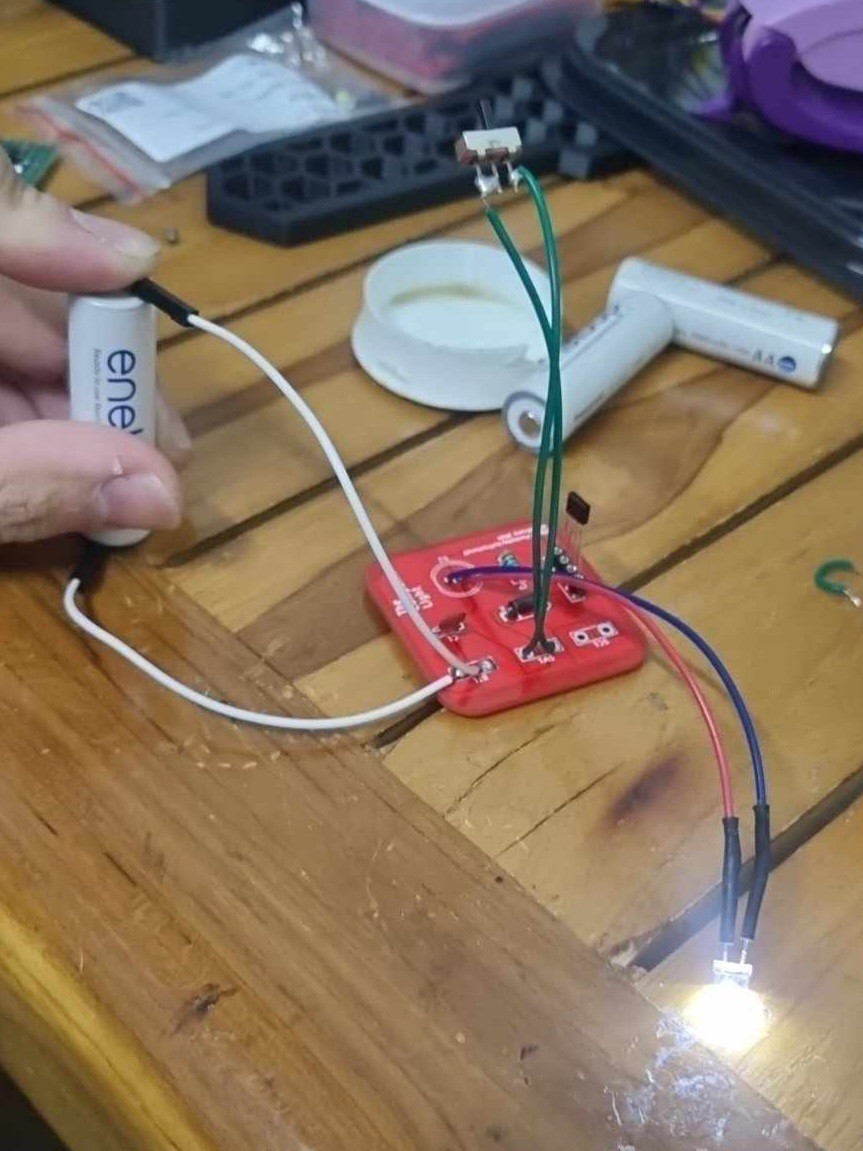
PCB Testing
- The Enclosure
After the PCB, I proceeded to design and print the Enclosure. I designed it in such a way that it would be mounted on a wall like a lamp. I printed a separate enclosure and mounting bracket to adhere to specification, and I have to say, I think it turned out well.

The Emergency Lamp-Like Enclosure
- A Discovery
After everything else, I assembled the components into the enclosure, and proceeded to test if the project works as intended, and it did. However, I noticed that from time to time, the light would turn off even if the switch is on. I thought something was coming lose but after repeatedly hovering and removing my hand over the solar panel, the light would turn on and off. I then discovered that the CE (3) pin in the YX8018 IC acted in such a way that detects whether the solar panel is actually generating voltage or not. If light passes through the solar panel, the light turns off, and vice versa if light does not pass through the solar panel. I made this discovery late into the project as the datasheet did not explicitly mention this function in the IC. :P
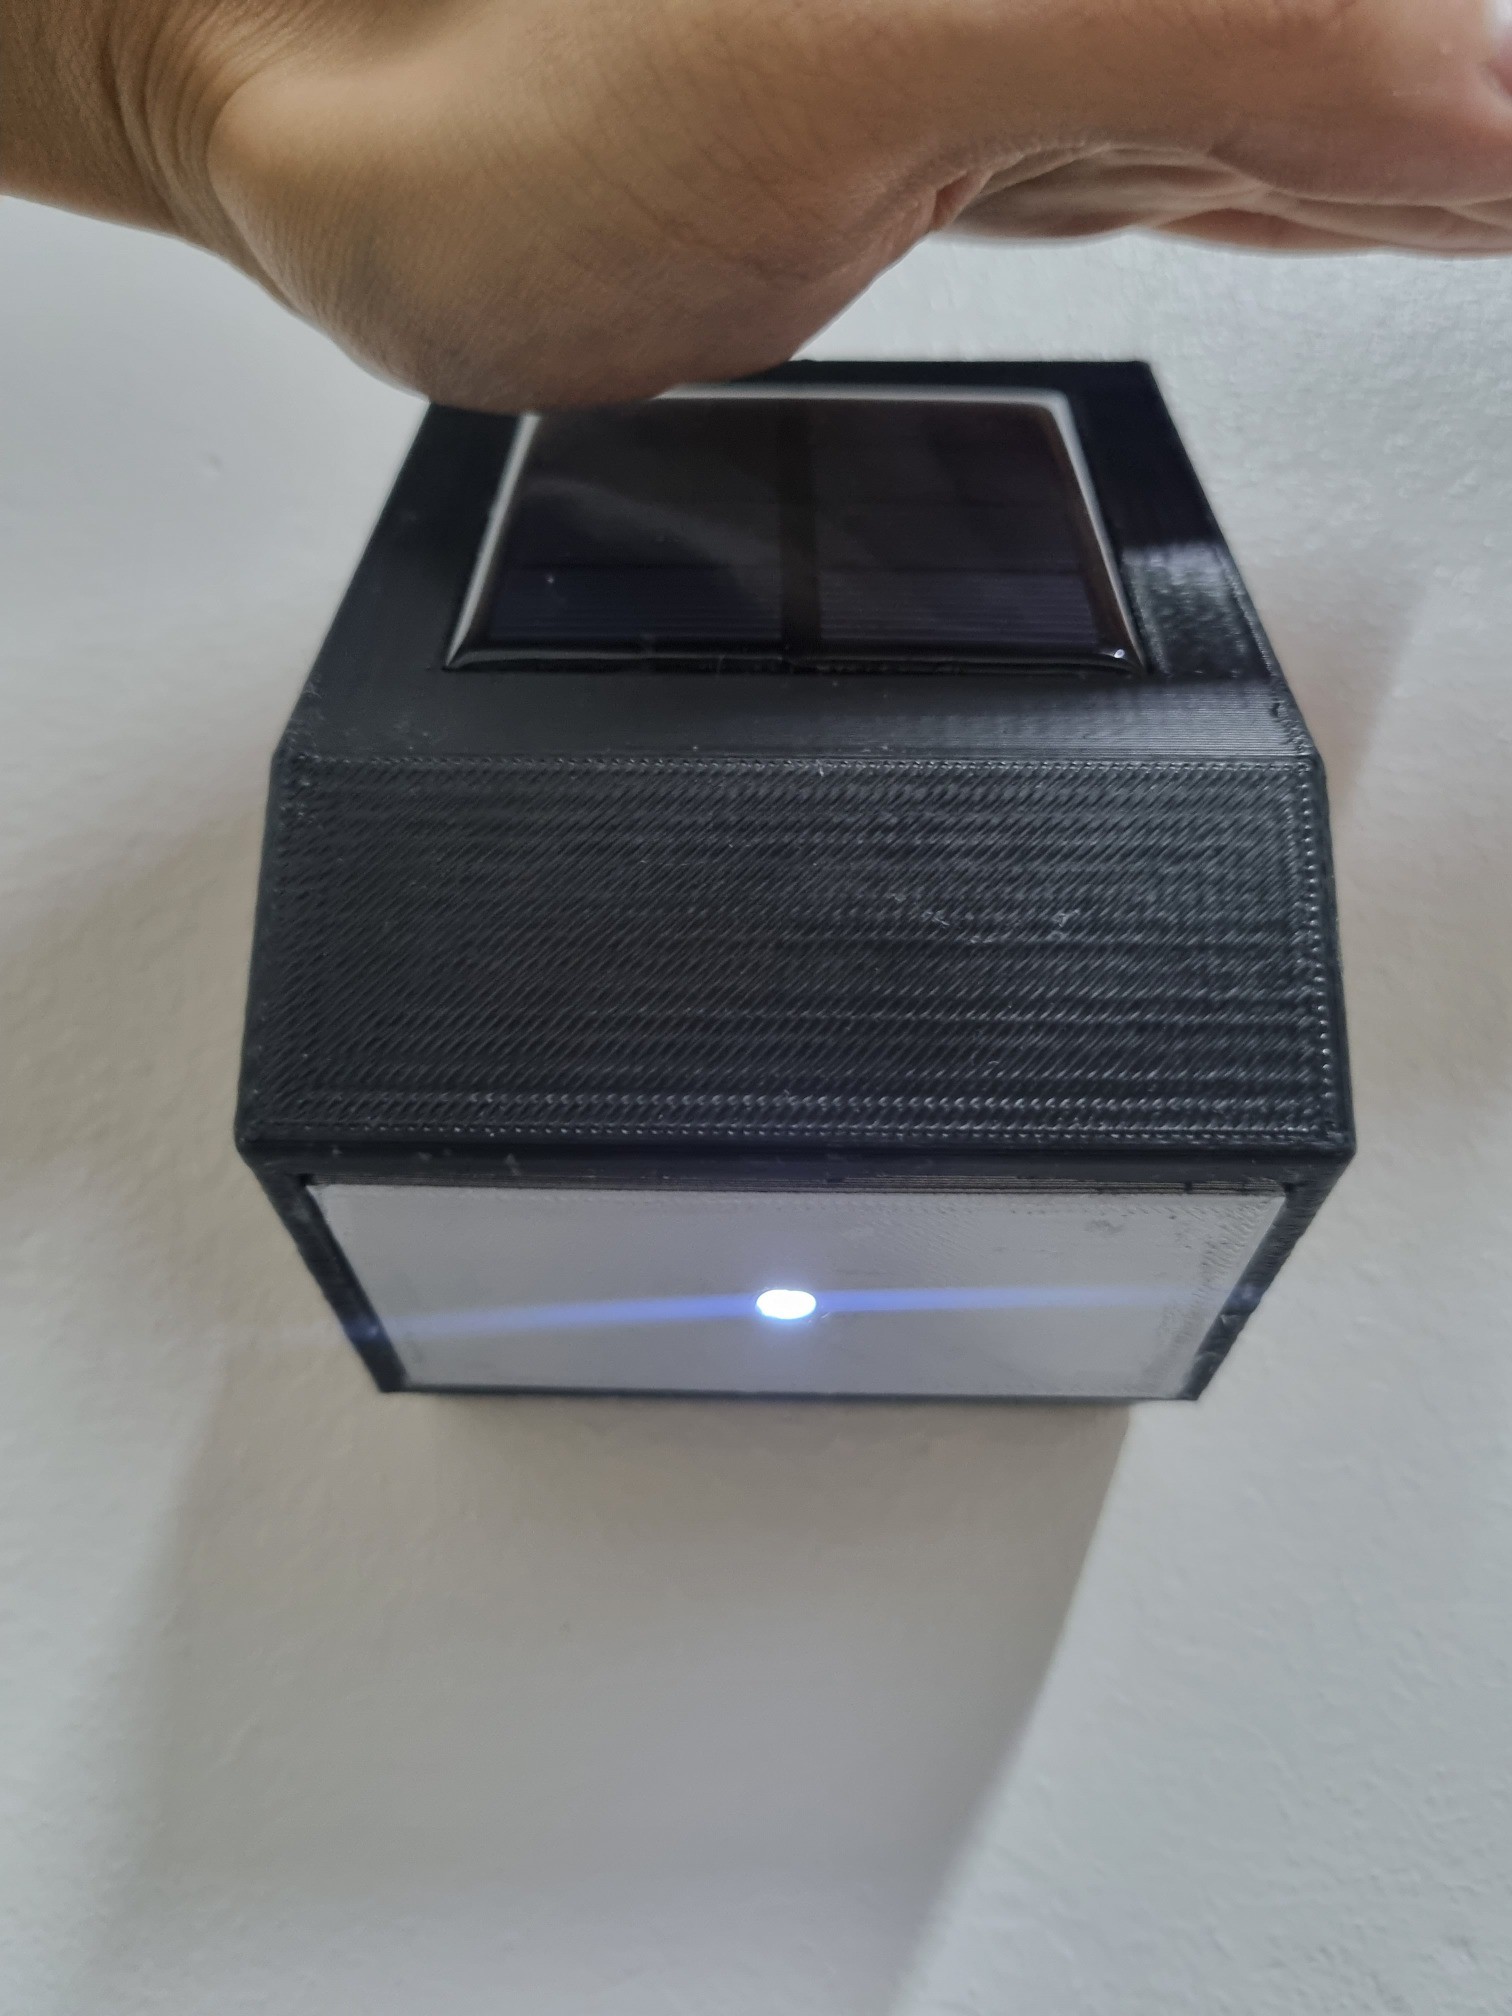
The solar panel under shade
But still, a good discovery to make. Because of this I was able to create an emergency lamp!
A GIF of the Companion Light working
CONCLUSION
Overall, I would say the project was a success! I was able to design...
Read more »
 ElectronicABC
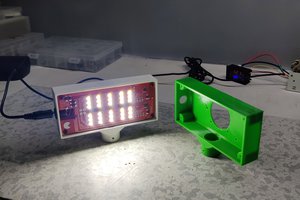
 Arnov Sharma
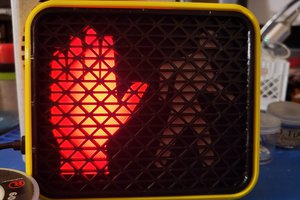
 sjm4306
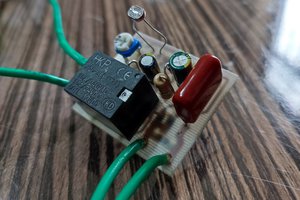
 setCREATE
and add meshtastic station inside ;)