 Aswinth Raj
POV Display using ESP32
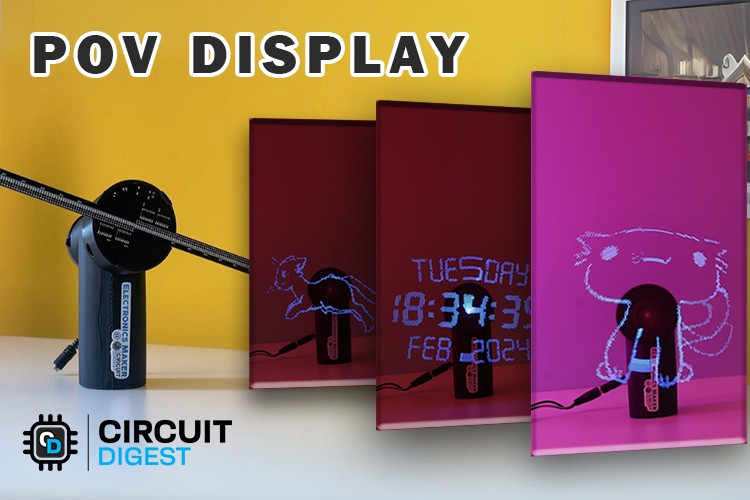
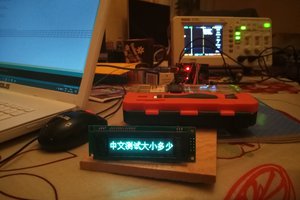
We settled on the ESP32 module as the brain of this display, because it is cheap, easy to get and powerful enough to run the display. The display will have two rotating arms, each outfitted with 64 LEDs, to create a total resolution of 128 pixels. The display will rotate at a constant speed, with the LEDs flashing in meticulously orchestrated patterns, controlled by the ESP32 microcontroller. This synchronization allows the display to generate images or text that appear to hover in mid-air, producing a smooth, continuous visual experience. Those who follow us regularly will also know that we built a neopixel POV display earlier, this is an improved version of that project.
POV Display using ESP32 - Circuit Diagram
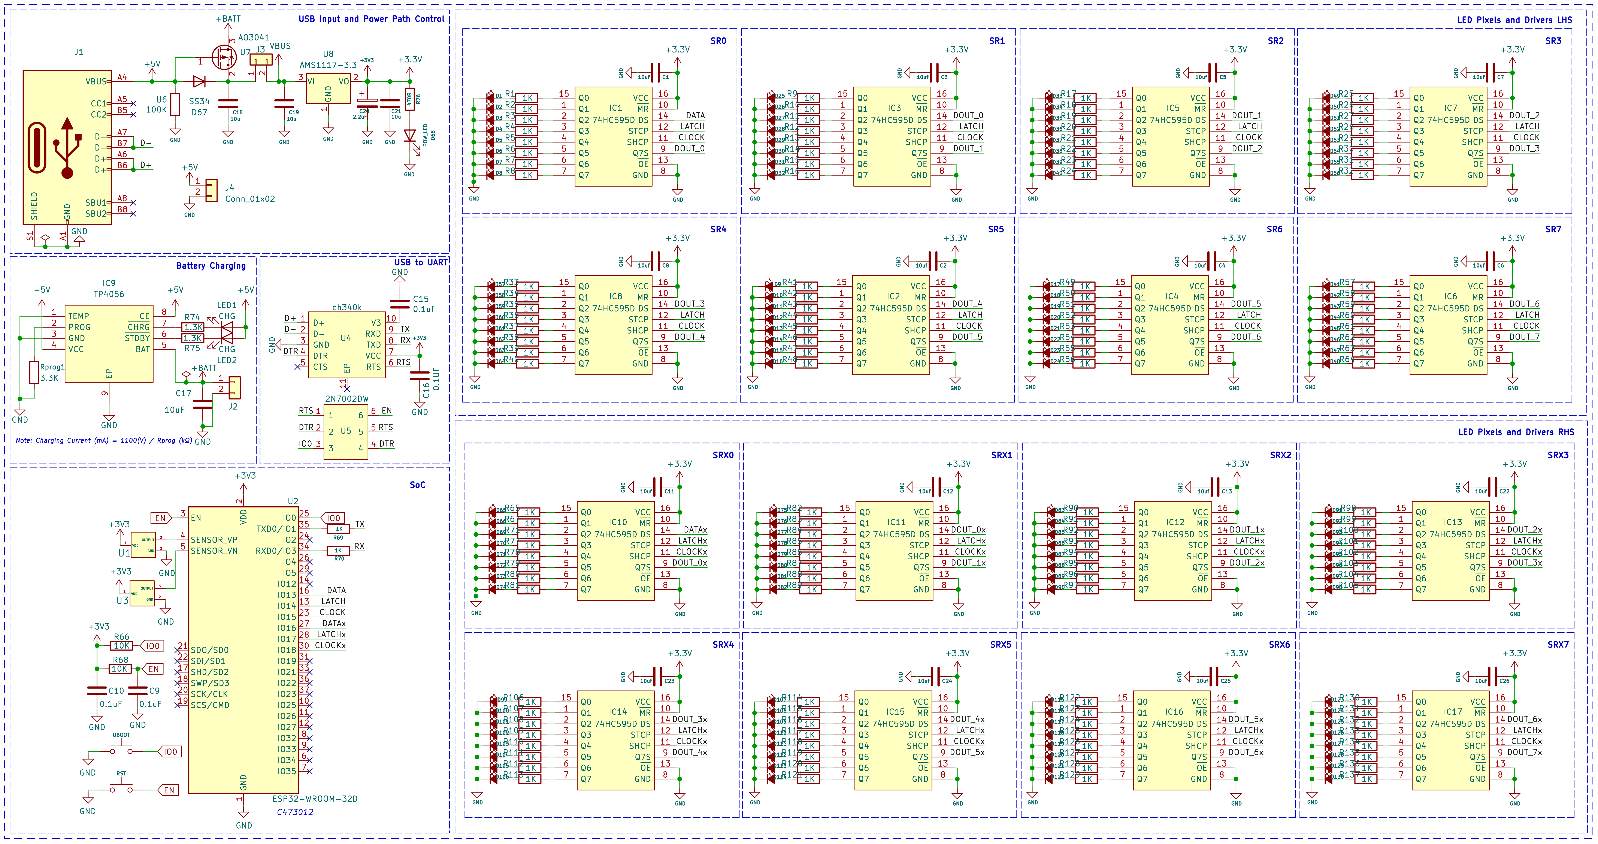
The complete circuit diagram for the POV Display is shown below. It can also be downloaded in PDF format from the link given at the end.
PCB for POV Display
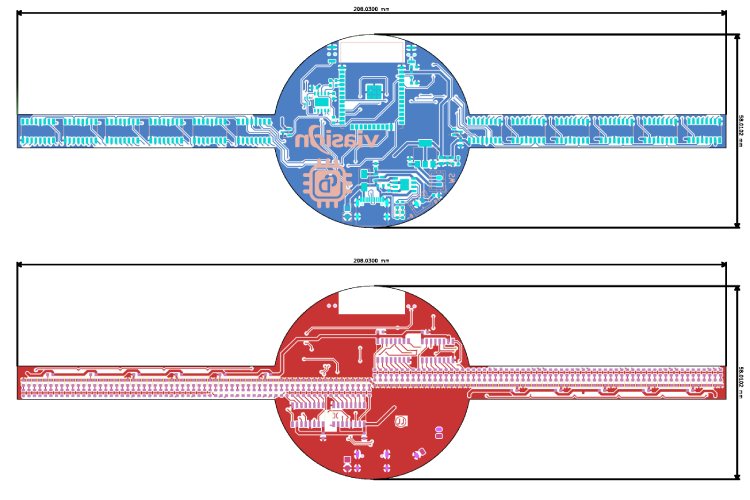
For this project, we have decided to make a custom PCB using KiCad. This will ensure that the final product is as compact as possible as well as easy to assemble and use. The PCB has a dimension of approximately 210mm x 60mm. Here are the top and bottom layers of the PCB.
 Here is the fully assembled PCB.

3D Printed Parts for POV Display
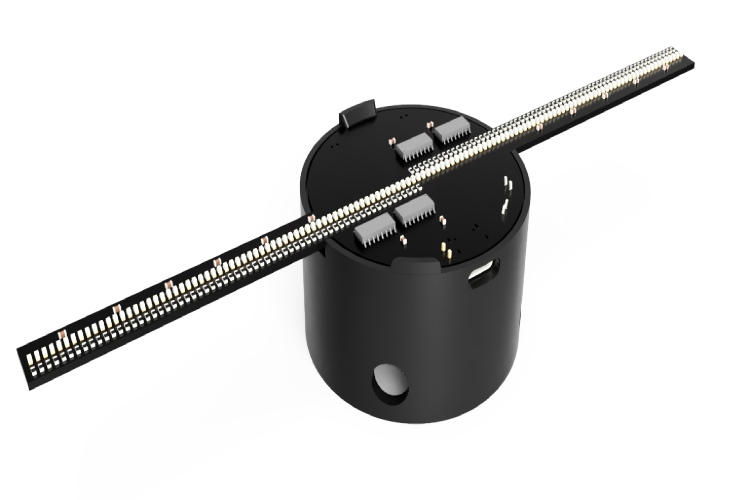
We have designed a cool-looking 3D-printed POV Display using Fusion360. The files for all the 3D printed parts can be downloaded from GitHub link provided at the end of the article along with the Arduino sketch and bitmap file. Learn more about 3D printing and how to get started with it by following the link. Here is the PCB holder with the PCB
How to Convert Image to Code for POV display?
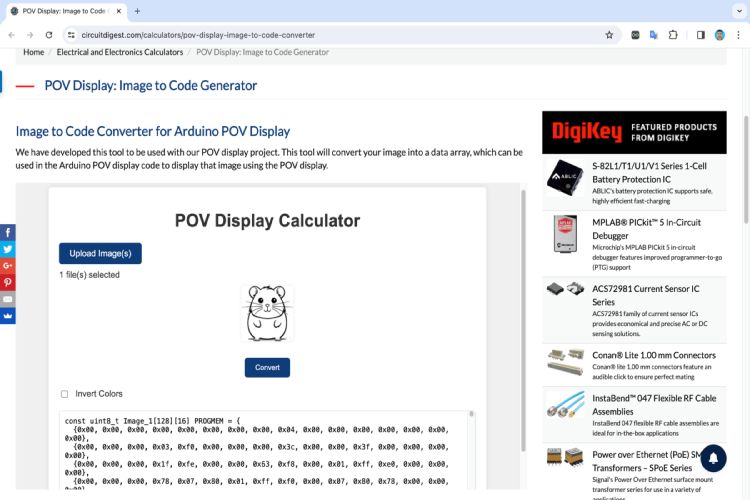
To convert the image, first, make sure your images have a resolution of 128x128 pixels and are in black and white format. Grayscale may not be processed properly. You can convert as many images as you like. To do so open our image converter tool. Once the images are selected click on convert. It will create the corresponding arrays. If you select multiple images the output will have the same number of arrays with the naming like Image_1, Image_2, Image _3 etc… You can copy and paste this array into your code to use them. There will be a check box for inverting colour if you want to. To do so, check the check box and click on the convert button again. It will create new arrays for you to copy.
Arduino Code for POV Display
Now let’s look at the POV display Arduino Code. As usual, we have included all the necessary libraries to the code using the include function, with this code the only third-party library that needed was the MultiShiftRegister that is used to control the 74HC595 shift registers. You can also see that we have also included two header files. The first header file Images.h contains all the images, stored as an optimised data arrays. The Precompute.h header file contains the lookup data, that is used to compute the pixel data using polar coordinates. You can download all these necessary files from the GitHub repo linked at the bottom of this article.
/*
 * Project Name: POV display
 * Project Brief: Firmware for ESP32 POV Display. Display resolution 128 pixels
 * Author: Jobit Joseph
 * Copyright © Jobit Joseph
 * Copyright © Semicon Media Pvt Ltd
 * Copyright © Circuitdigest.com
 * Originaly published on: https://circuitdigest.com/microcontroller-projects/diy-pov-display-using-ESP32-Arduino
 * This program is free software: you can redistribute it and/or modify
 * it under the terms of the GNU General Public License as published by
 * the Free Software Foundation, in version 3.
 *
 * This program is distributed in the hope that it will be useful,
 * but WITHOUT ANY WARRANTY; without even the implied warranty of
 * MERCHANTABILITY or FITNESS FOR A PARTICULAR PURPOSE. See the
 * GNU General Public License for more details.
 *
 * You should have received a copy of the GNU...
Read more »
 muzi
muzi
 otterpopjunkie
 Robert Poser