Aneesh1111
Energy Logging of the Turtlebot3 WafflePi
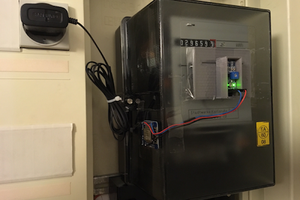
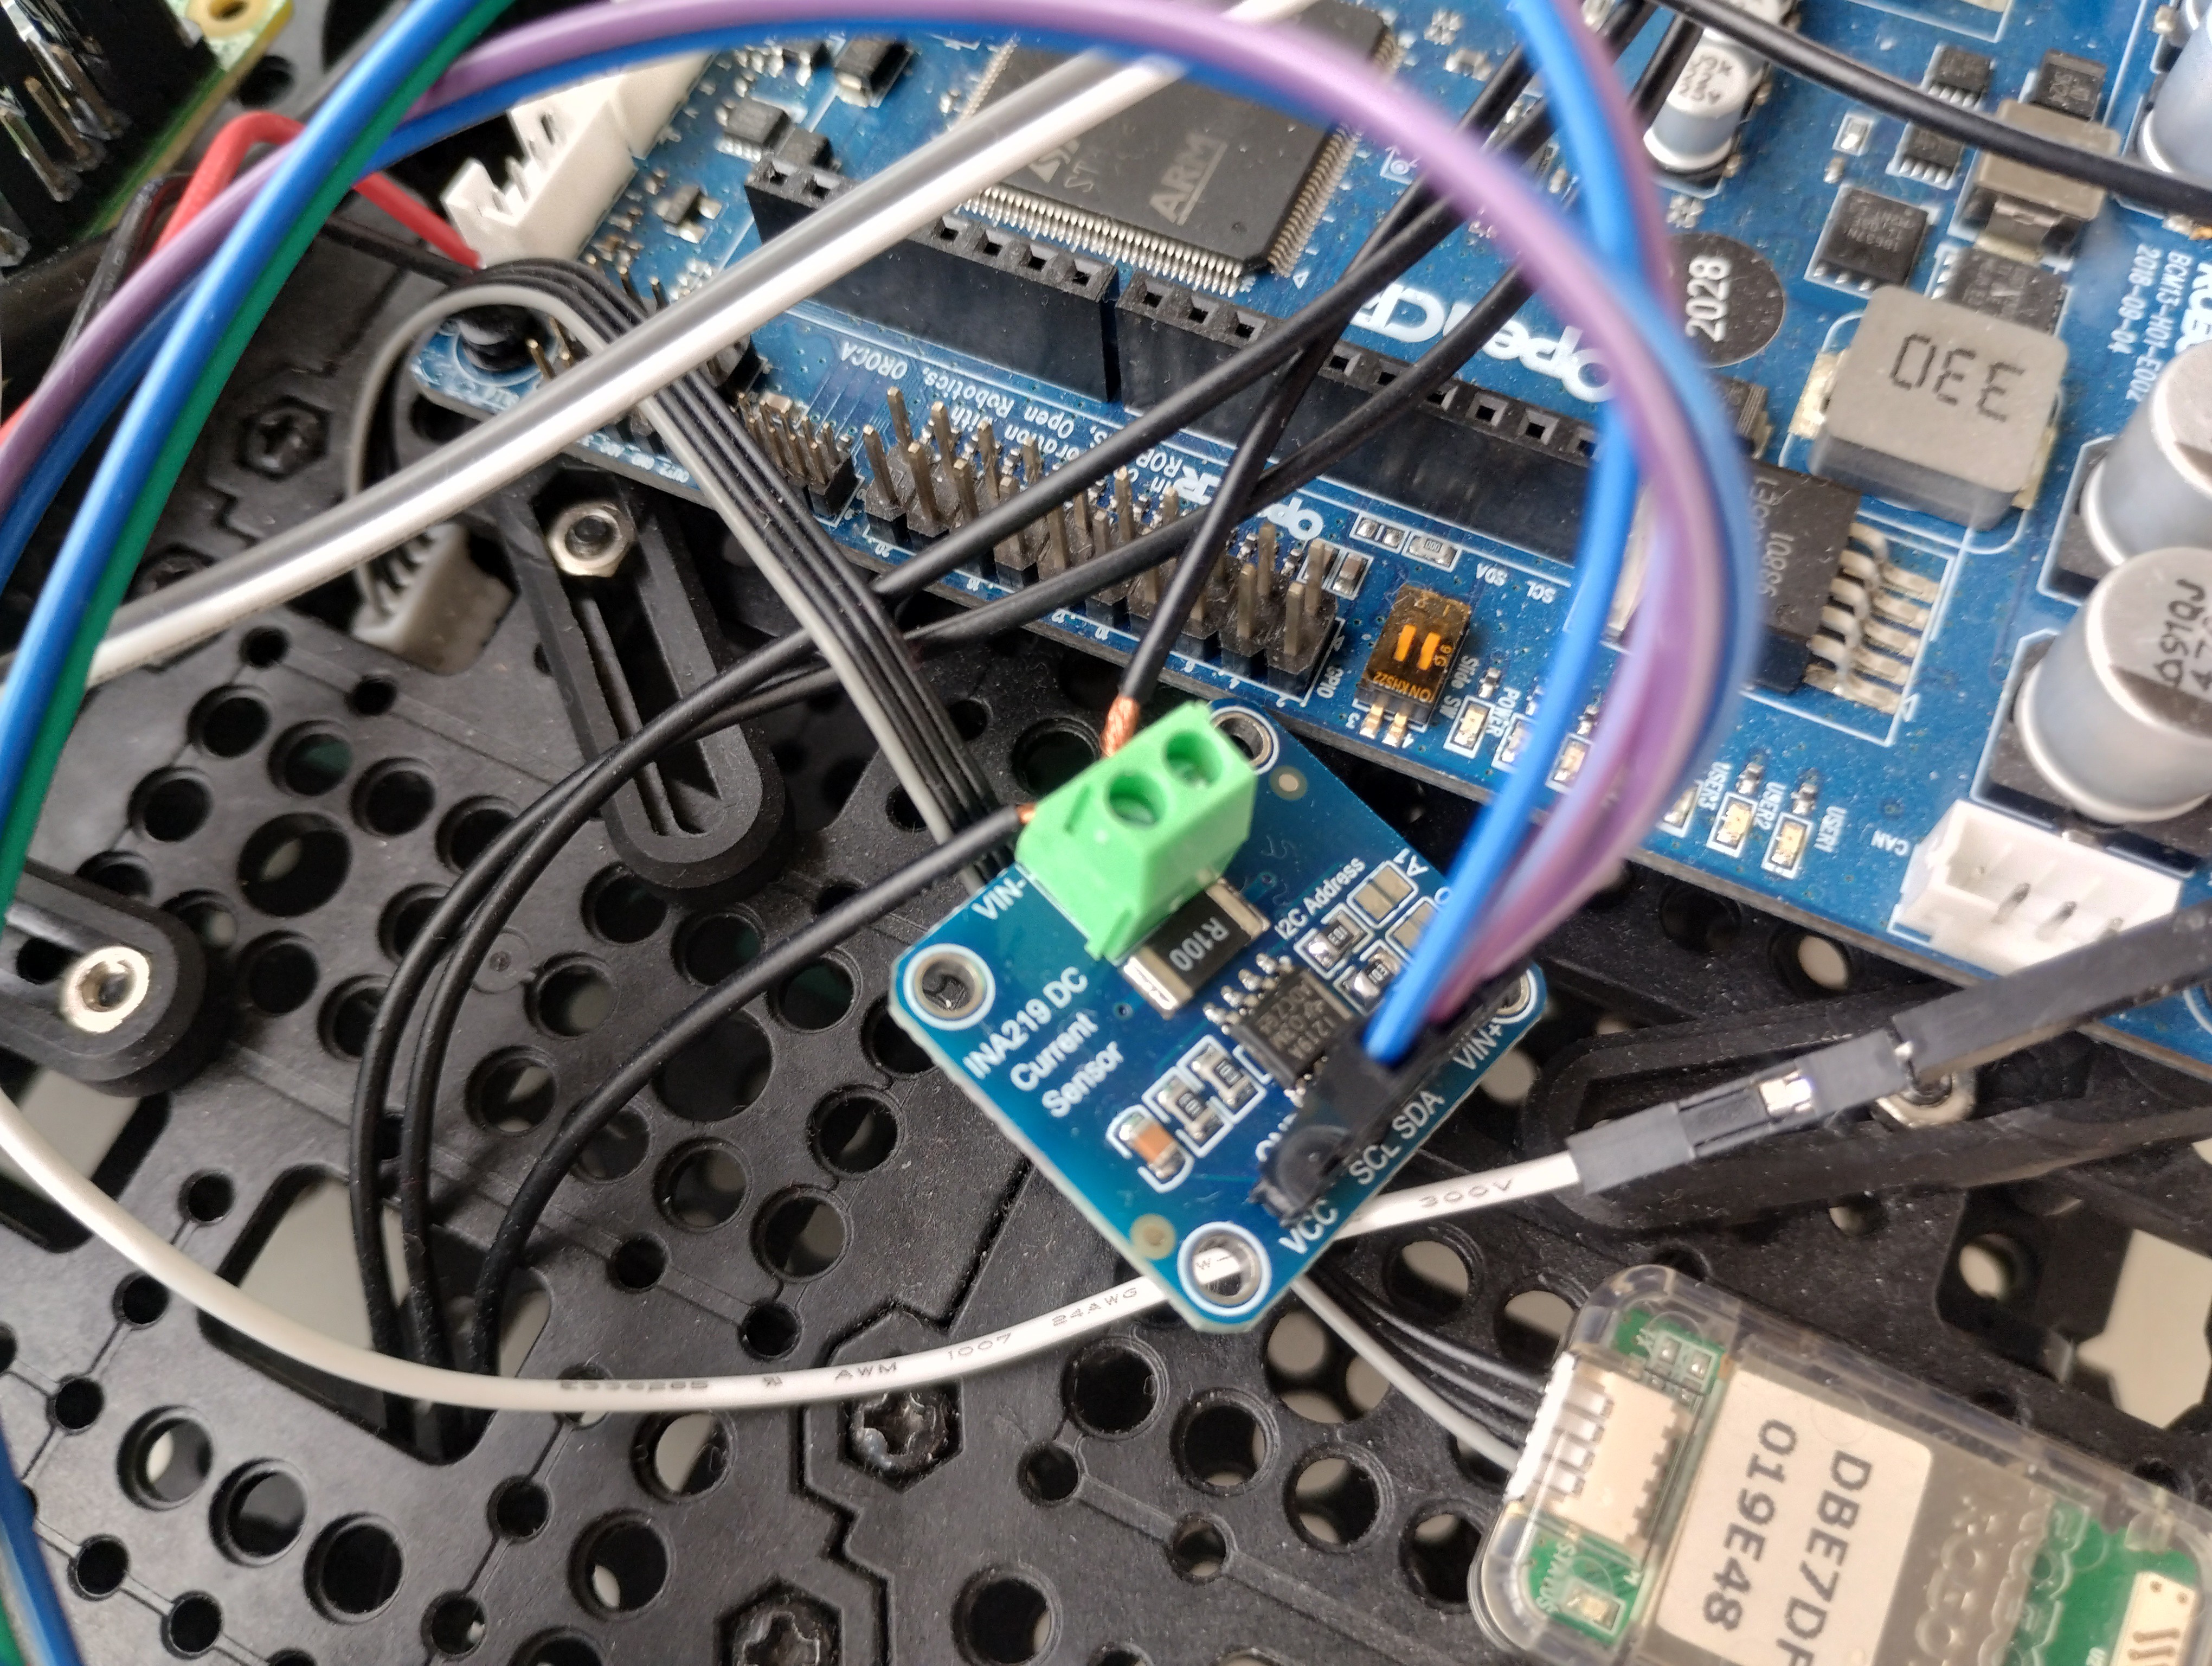
Logging the energy usage of all components on the turtlebot3 wafflePi. Measurements are taken using INA219 current (and voltage) sensors. We use one of the two i2c ports on the RaspberryPi 3B+, by using an i2c multiplexer (tca9548a). These measurements are stored in a file and processed on the robot. The MQTT protocol is used to transfer the processed data from the robot to the end user.
- The RaspberryPi tells the multiplexer to measure the power of each INA219 power sensor
- The multiplexer measures the power for each sensor, one-by-one
Luckily, the sensor takes into account the power usage of itself (the shunt resistor - since we use an external battery supply to power the sensors) - so we don't need to account for the sensor in the the power measurement readings.
Limitation
The measurement readings are too slow with the multiplexer - so we miss information (it takes 23 ms for each sensor to be read and stored in a file - and we use 7 sensors!)
- Measurements without the multiplexer (only the INA219) takes around 4-5 ms
Future work
The RaspberryPi 3B+ has two i2c ports. So we can get away with not using the i2c multiplexer, which should hopefully increase the measurement reading speed.
We can do this because we use 7 sensors. Each sensor can have 4 different addresses. Meaning we can connect at most 4 i2c devices to the same pin on the RaspberryPi (same bus). Therefore, we can have at most 8 sensors connected to two i2c ports on the RaspberryPi.
- Get rid of the i2c multiplexer to increase measurement speed (sampling rate)
- Make new hardware from scratch
- New current sensor which has a built in integrator (op amp) - so that we average the measurements in analog (real-time)
- Then we can just sample this averaged measurement, saving computational time

 Danie Conradie
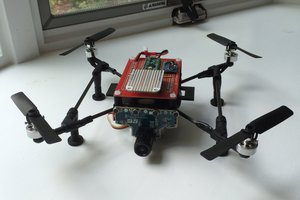
 Mihir Garimella