Nick Bild
![]()
How It Works
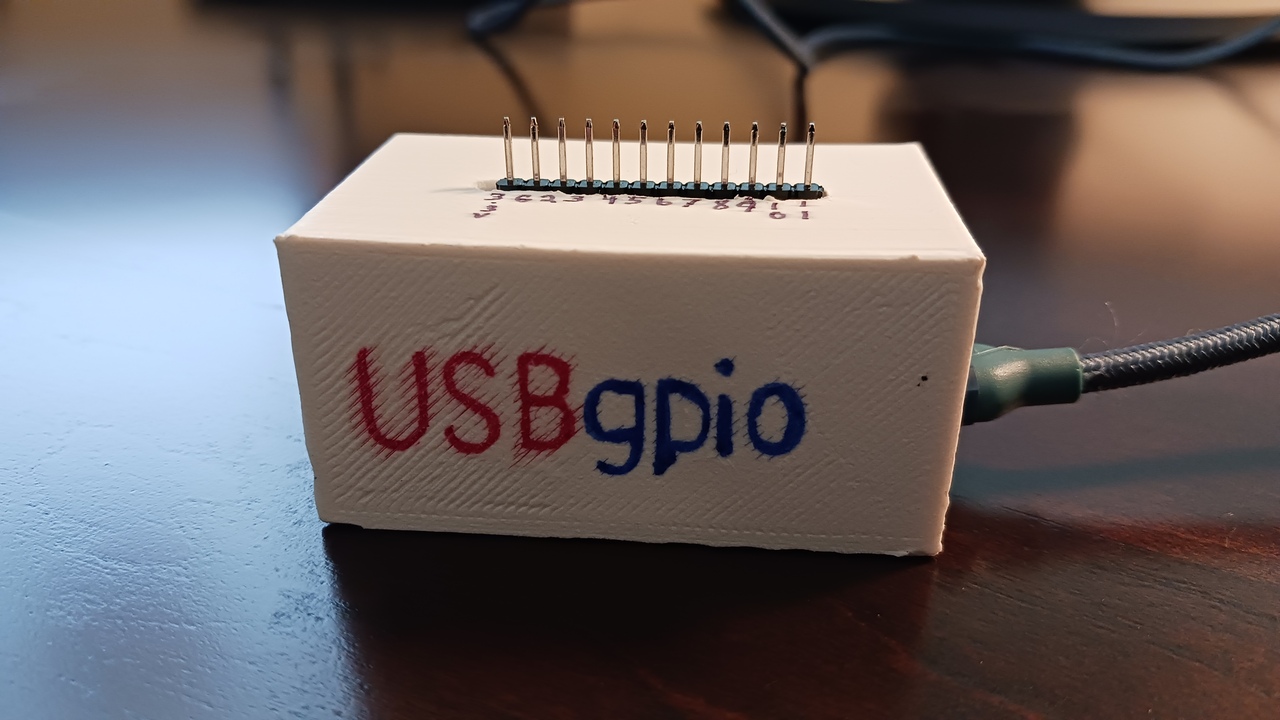
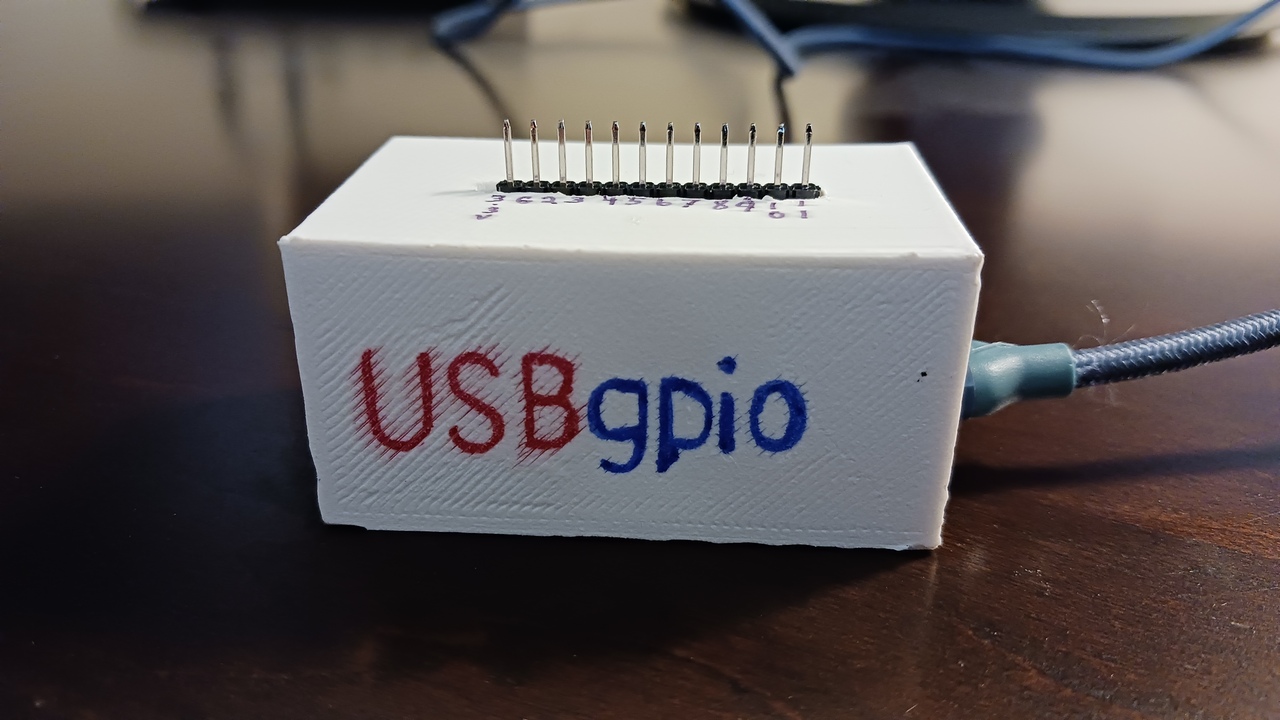
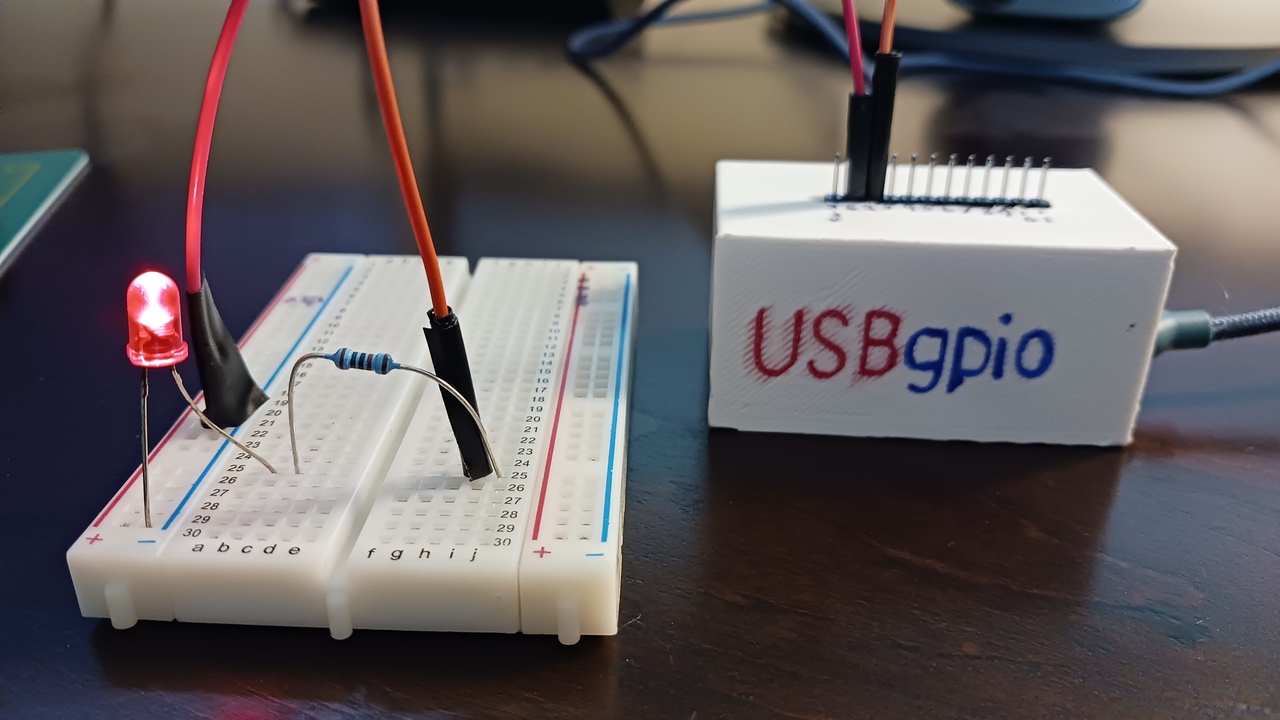
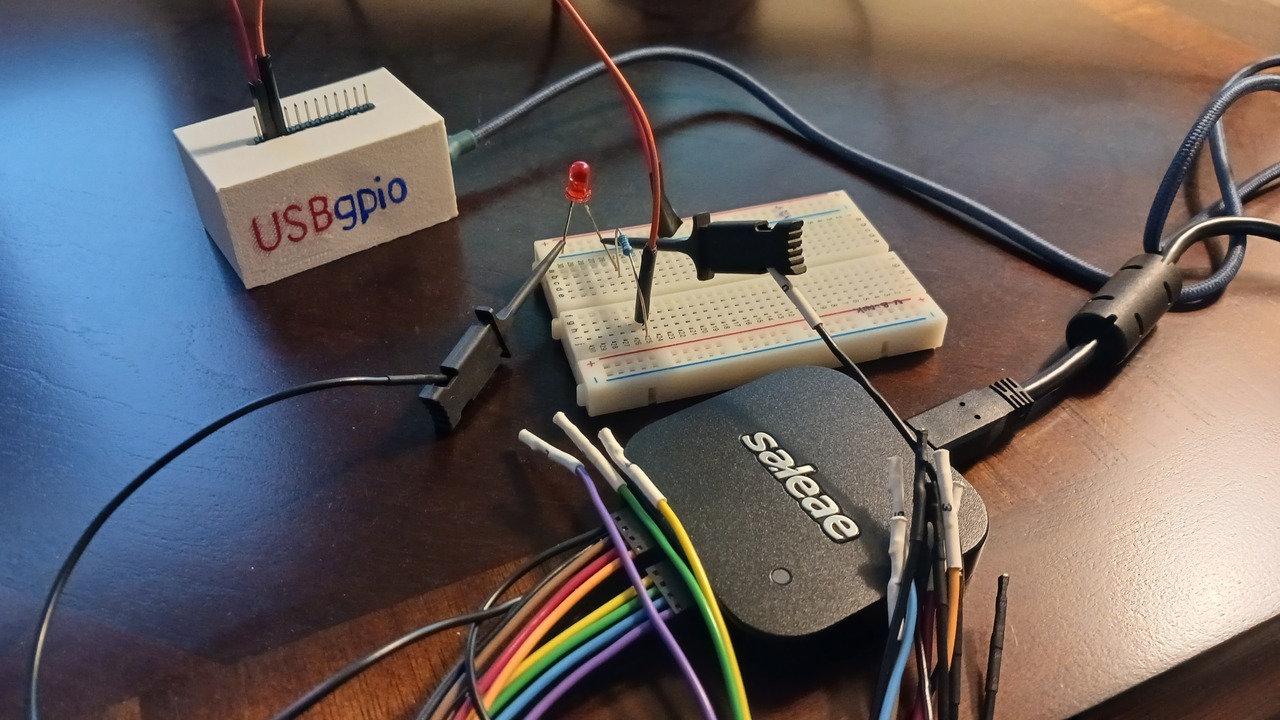
USBgpio is a physical device with 12 header pins (10 GPIO, 3.3V, GND) that hooks up to any modern computer via a USB port. There is also an accompanying Python library that controls the GPIO pins with simple commands.
This brief example demonstrates the basics of using USBgpio:
from usbgpio import USBgpio
import time


# Establish a serial connection to the device.
gpio = USBgpio('/dev/ttyACM0', 115200)

# Set GPIO directions.
gpio.set_output(2)
gpio.set_input(3)

while True:
    # Alternate between high and low voltage levels to blink an LED.
    gpio.digital_write(2, "HIGH")
    time.sleep(1)
    gpio.digital_write(2, "LOW")
    time.sleep(1)

    # Read the value of a pin and print the result.
    print(gpio.digital_read(3))
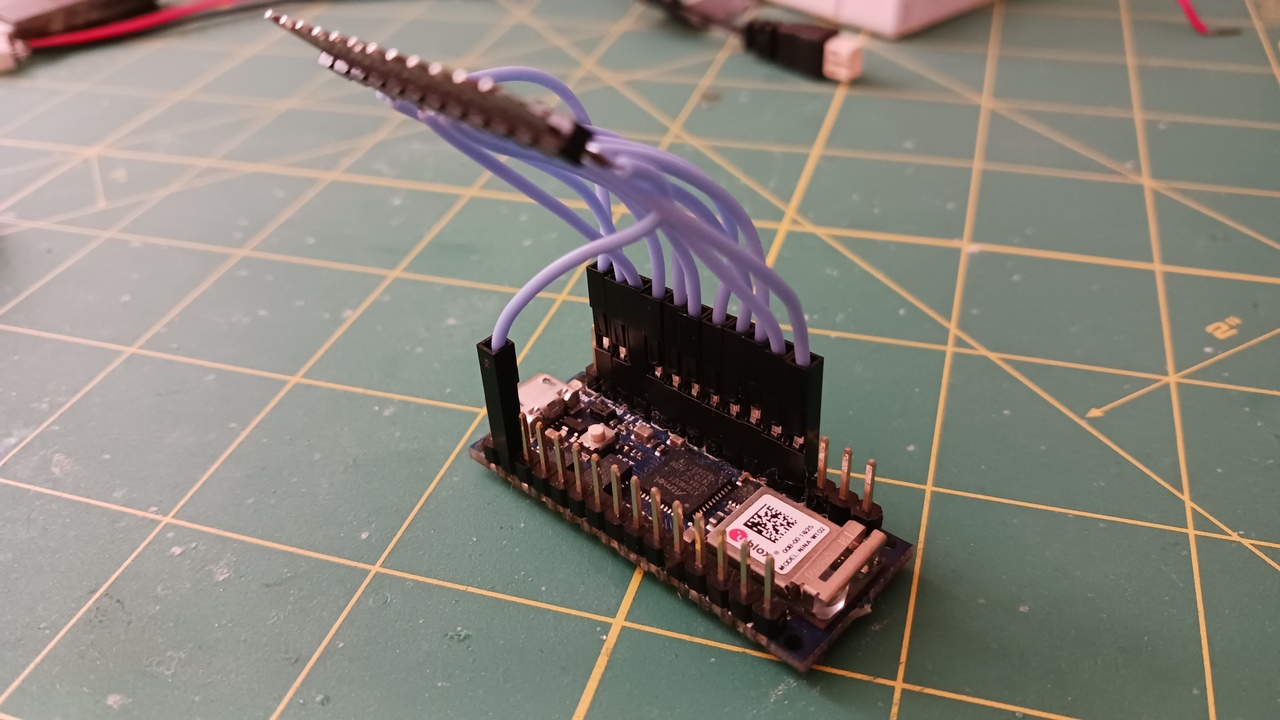
Inside the device's case, there is an Arduino Nano 33 IoT. Header pins on the device are internally connected to pins on the Arduino. This microcontroller development board runs firmware that listens for serial data coming in over USB, as triggered by the Python program. The firmware then decodes the data it receives and takes the requested action, whether it be to set a pin direction or voltage level. If a pin is being read, the Arduino also sends that value back to the Python program via the serial connection.
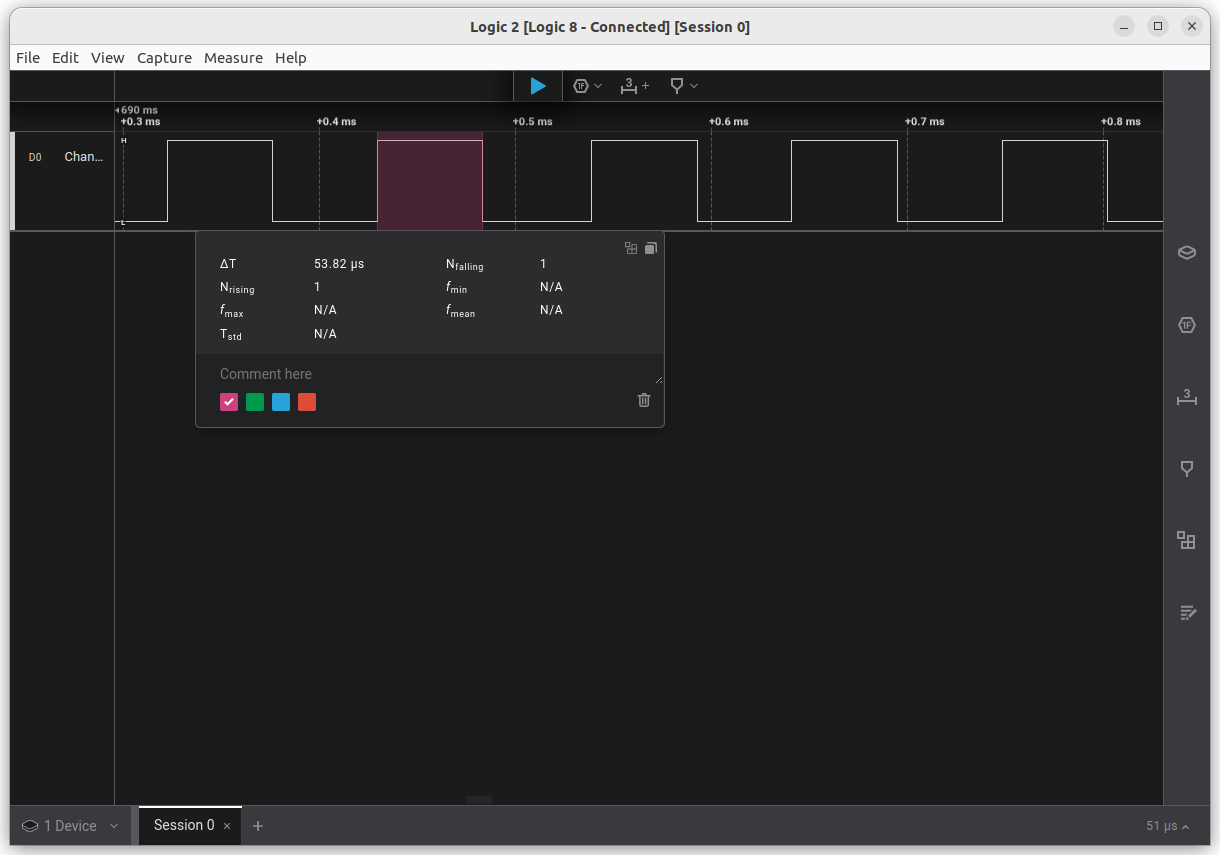
USBgpio is a quick and easy way to do some prototyping without getting out your development boards, setting them up, connecting to a network, remotely accessing them, etc. It is pretty fast at ~54 microseconds to change a pin state, so it will work for many use cases. However, an Arduino UNO, for example, is about 16 times faster, so for high-speed applications, USBgpio would not be appropriate. That is not the intended use case for this device, however — USBgpio is meant for convenience, not squeezing out every last ounce of performance.
This trace shows a pin flipping between high and low voltages in a tight loop:
Media
Blinking an LED with USBgpio:
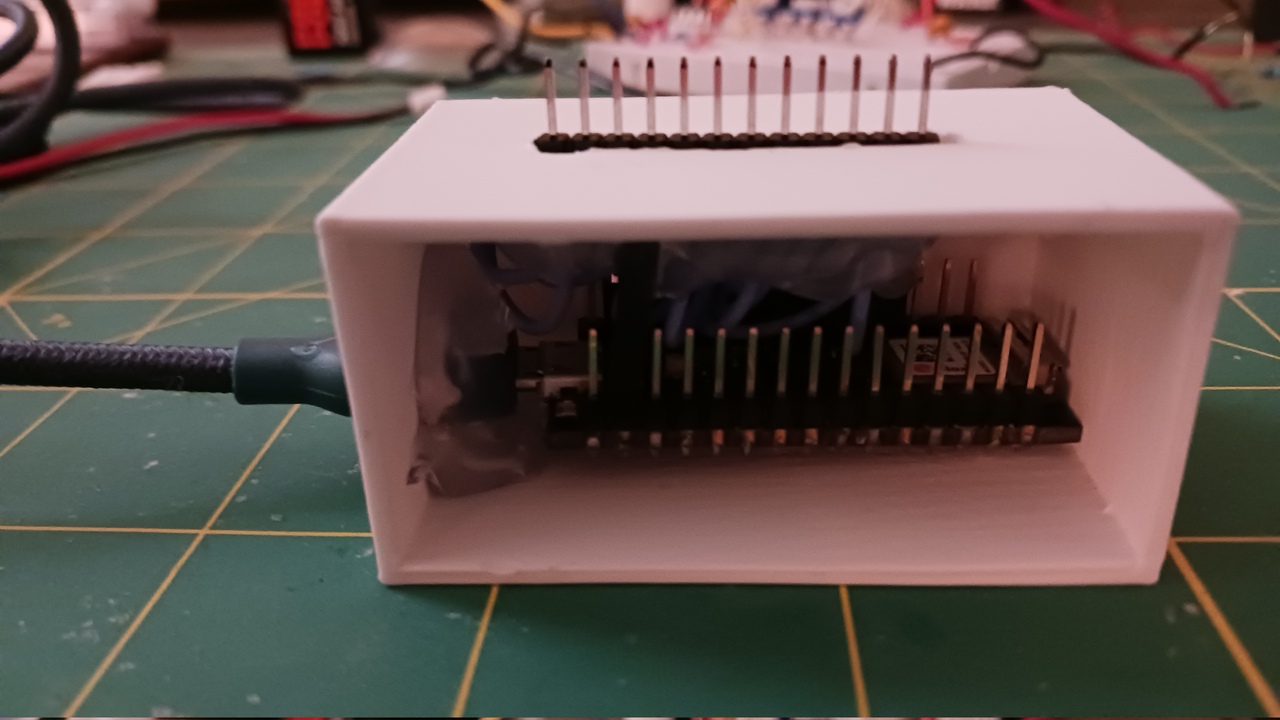
The back of the unit:
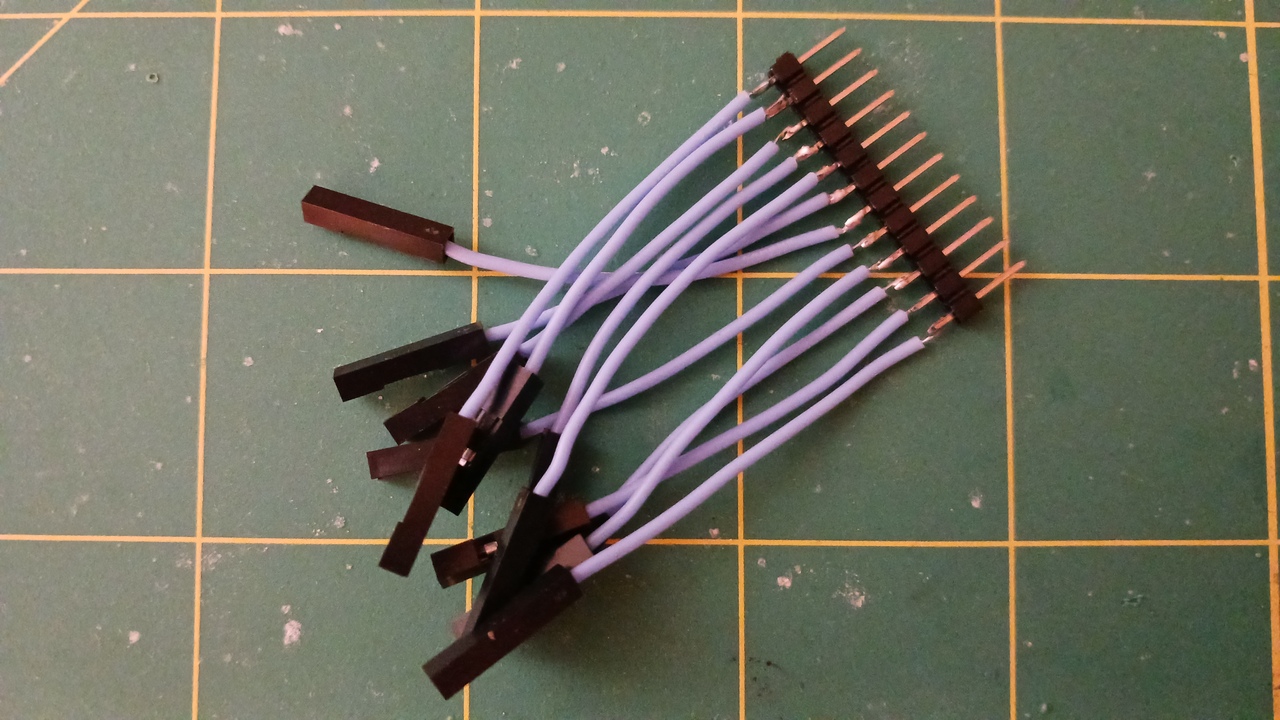
The wires that run from the header to the Arduino:
The Arduino with a header designed to fit in the case:
Testing the device:
Bill of Materials
- 1 x Arduino Nano 33 IoT
- 1 x USB-A to micro USB-B cable
- 1 x 3D-printed case
- 12 x Header pins, wires, DuPont connectors
 Michele Perla
 adria.junyent-ferre
 ober
ober