Close
0%
0%

NES Ledtris (LED Tetris)

Classic NES version of Tetris on a DIY LED Matrix Display

Similar projects worth following
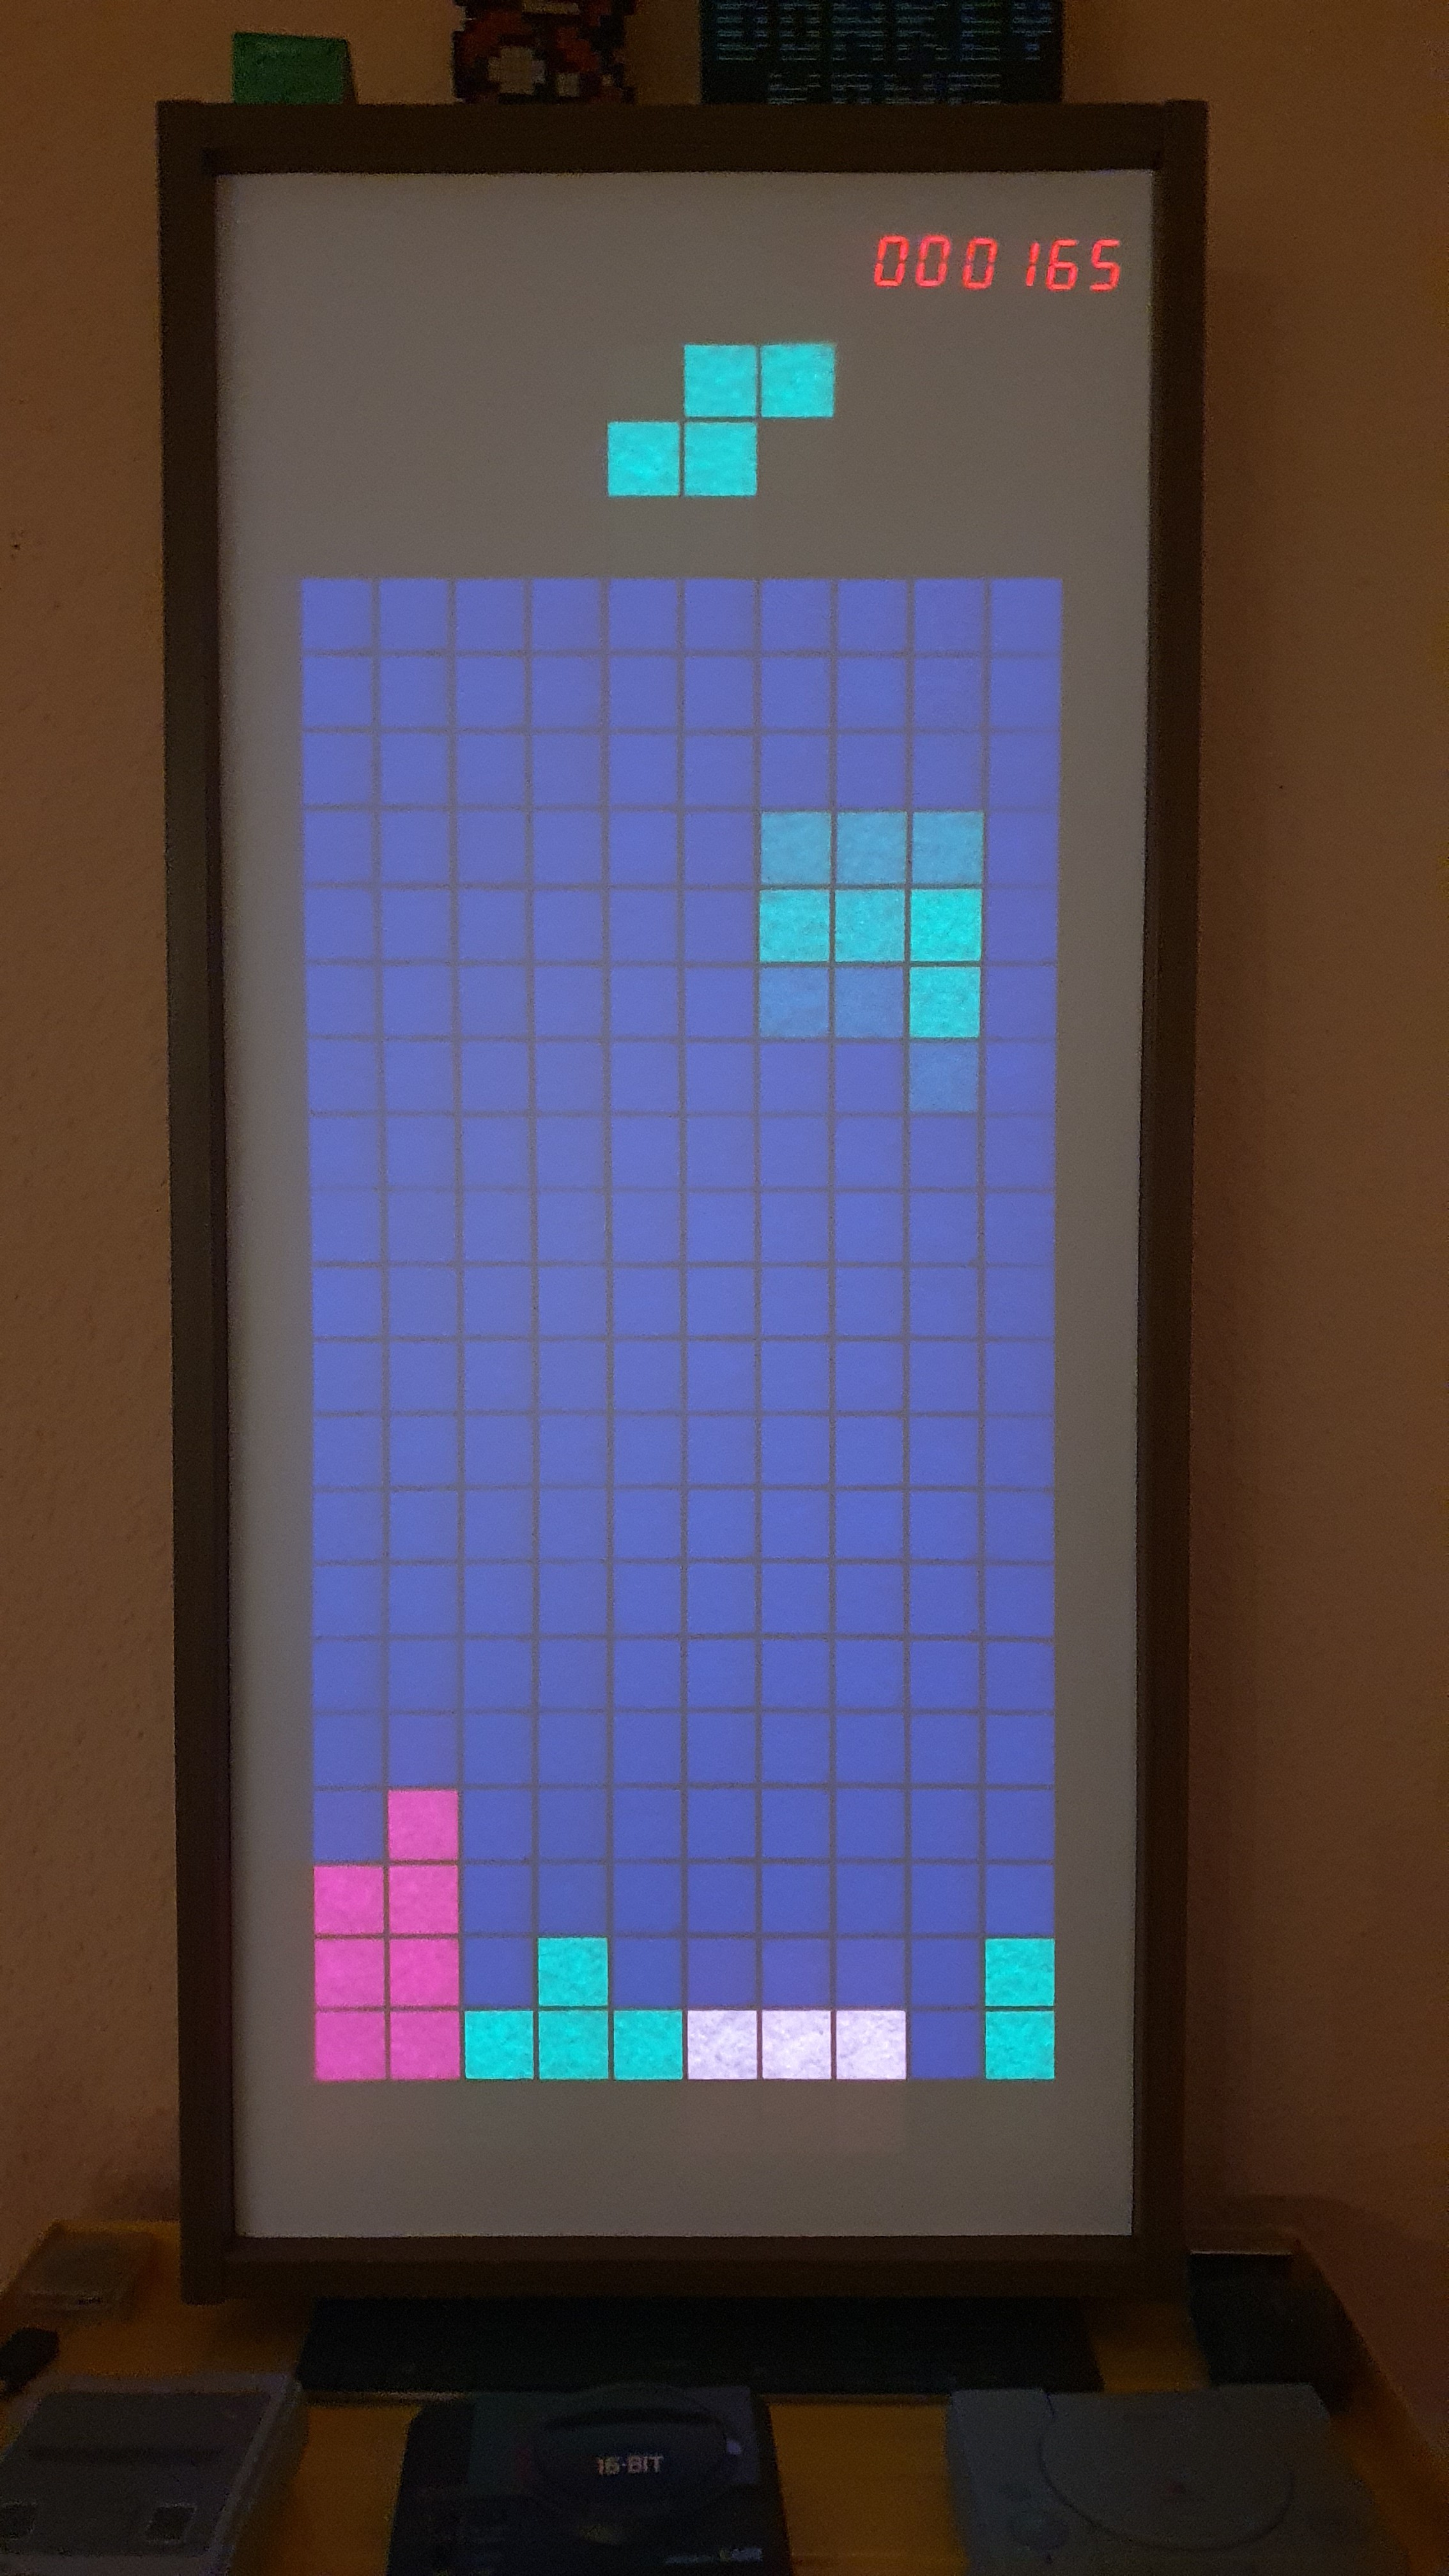
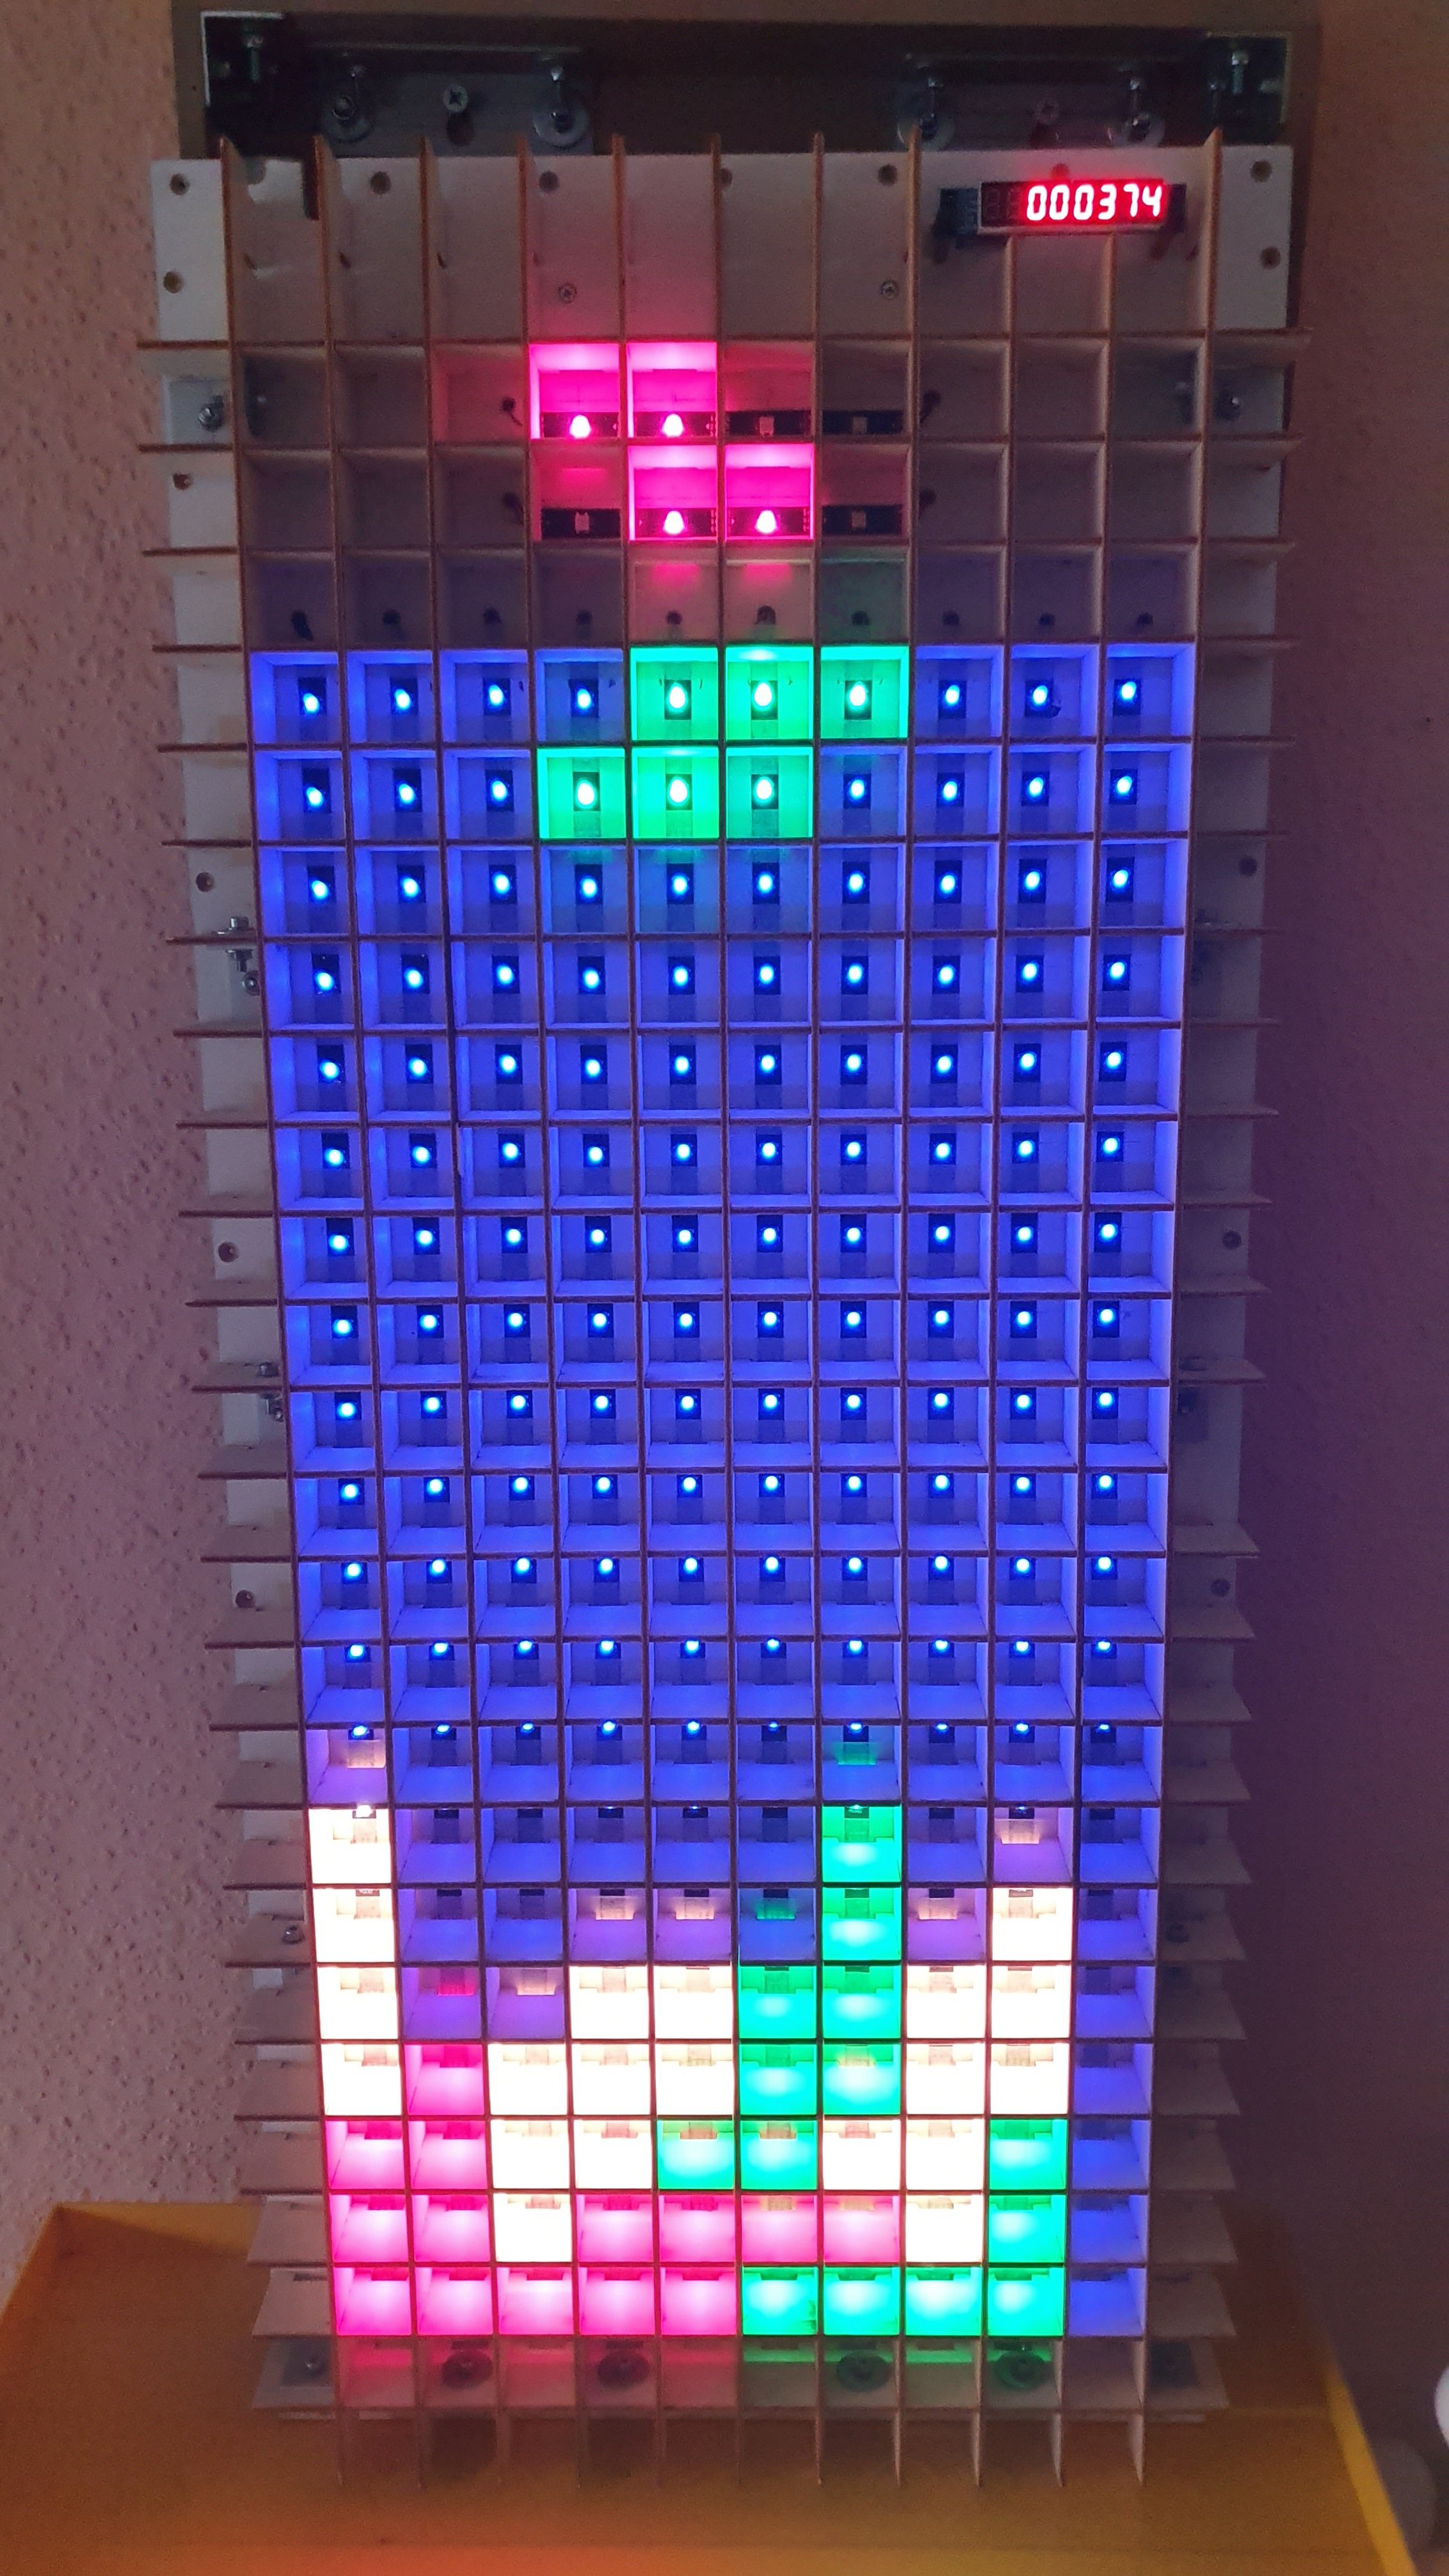
Play the classic NES Tetris on a WS2812b LED matrix display with optional next block display and score display using the Fceux emulator and an Arduino or AVR display driver.

Features

  • Use as a display for an NES emulator. (Works with LUA plugin in FCEUX NES emulator.)
  • Custom LED Matrix Display using WS2812B led strips.
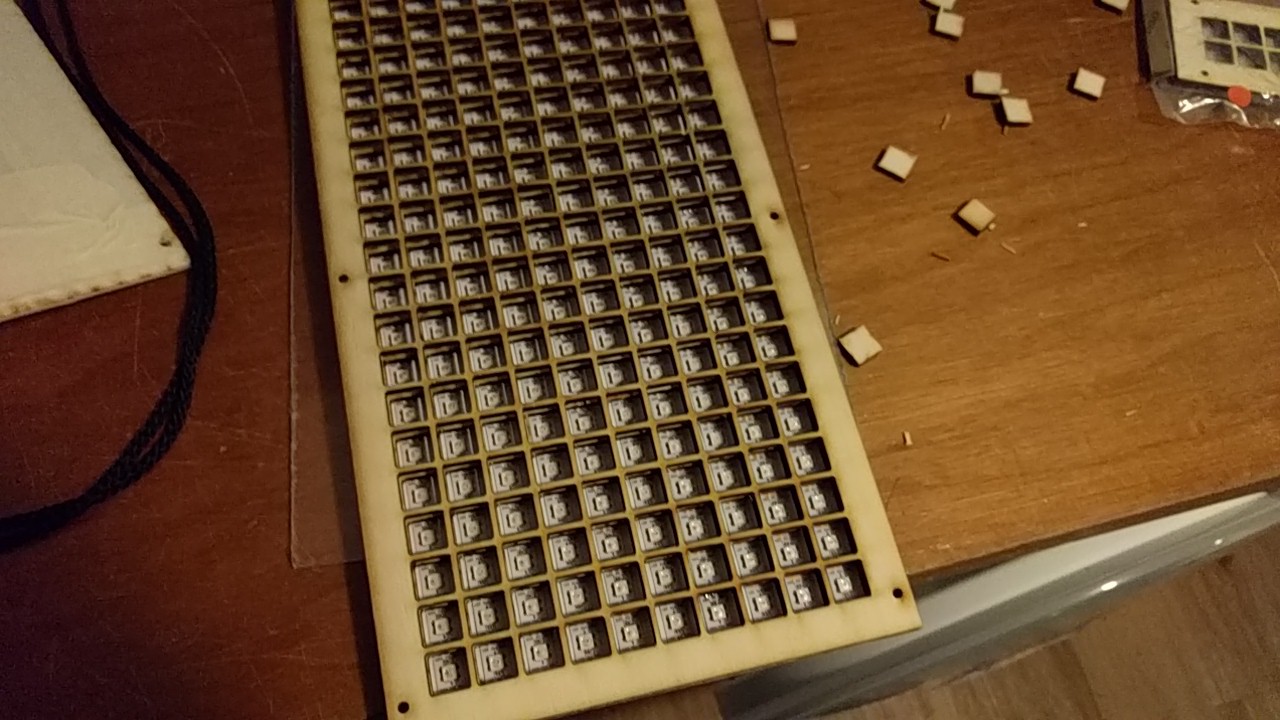
  • Laser cut grating to prevent pixel bleeding and improve sharpness.
  • Arduino or AVR8 display driver code.
  • Optional "next block display"
  • Optional score display

Design

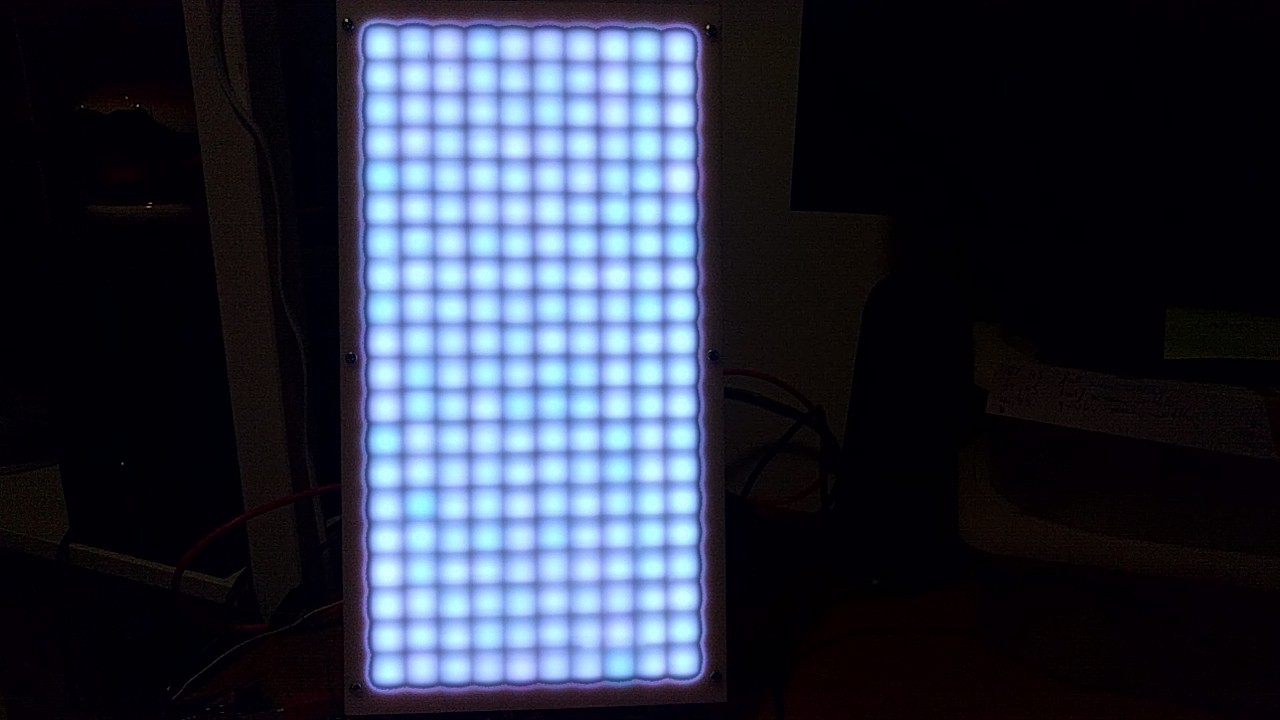
The basic idea is to have led strips stuck on a plate with a diffuser on top. These are driven by a micro-controller which receives data from a laptop/computer running emulator and some kind of custom script.

Emulator

For the emulator I choose FCEUX, because it has a built in Lua interpreter which allows me to read pixels from the screen and send them to a serial port.

LED Strips

I used WS2812B LED strips, because they are widely available and fairly straightforward to drive. They generate quite a lot of heat, so I decided to stick them on a sheet of aluminium to act as a heat sink.

Micro-Controller

People have written libraries for driving WS2812B chips for almost every platform, so I had a lot of options. In the end I settled with Arduino/AVR8. For the Arduino I used the Neopixels library and for the bare-metal AVR I used the light_ws2812 library. I had some ATMega16's so I used one of those. It has just enough RAM to hold 200 pixel values and then some.

Power Supply

There are really cheap 5 V power supplies designed specifically for powering these LED strips. Each LED draws 60 mA at full intensity, so a 12 A power supply is required for powering all 200 LEDs. I will also power the micro-controller, the score display and the Block Preview display from this supply, so max power will be a little over 12 A. I don't plan on running the display on max brightness, so it will probably draw around 4 - 6 A.

Score Display

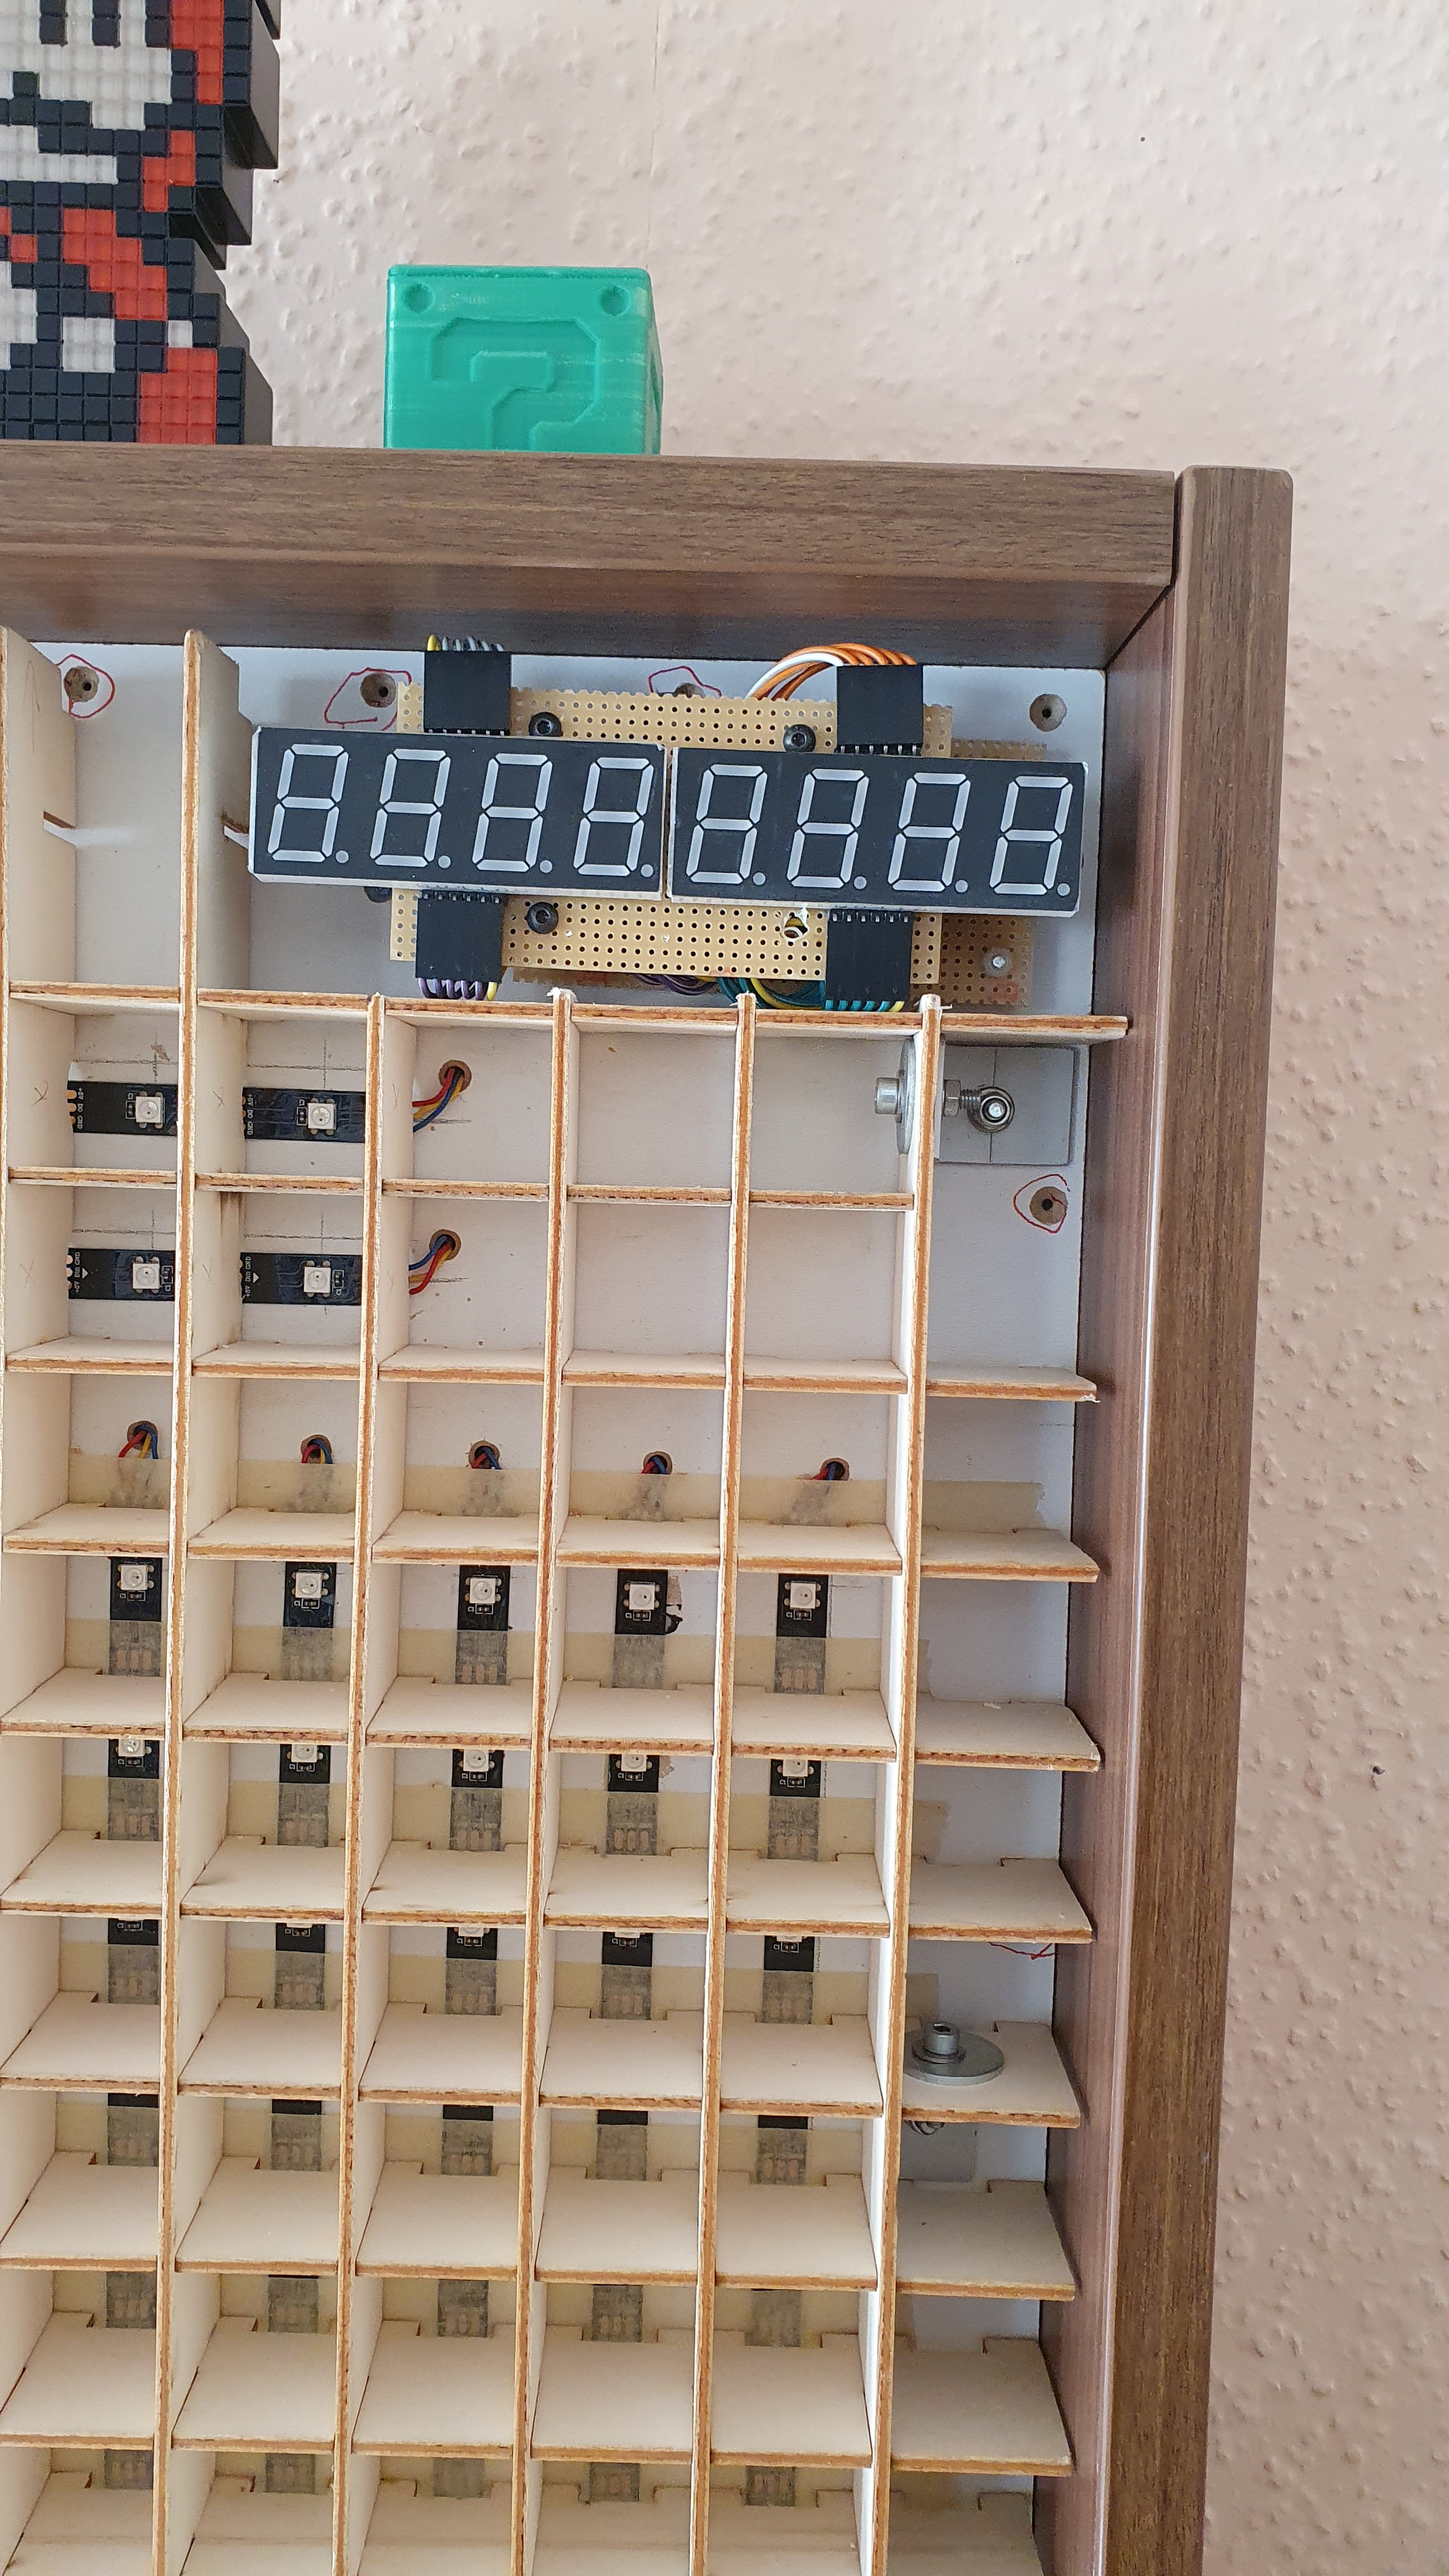
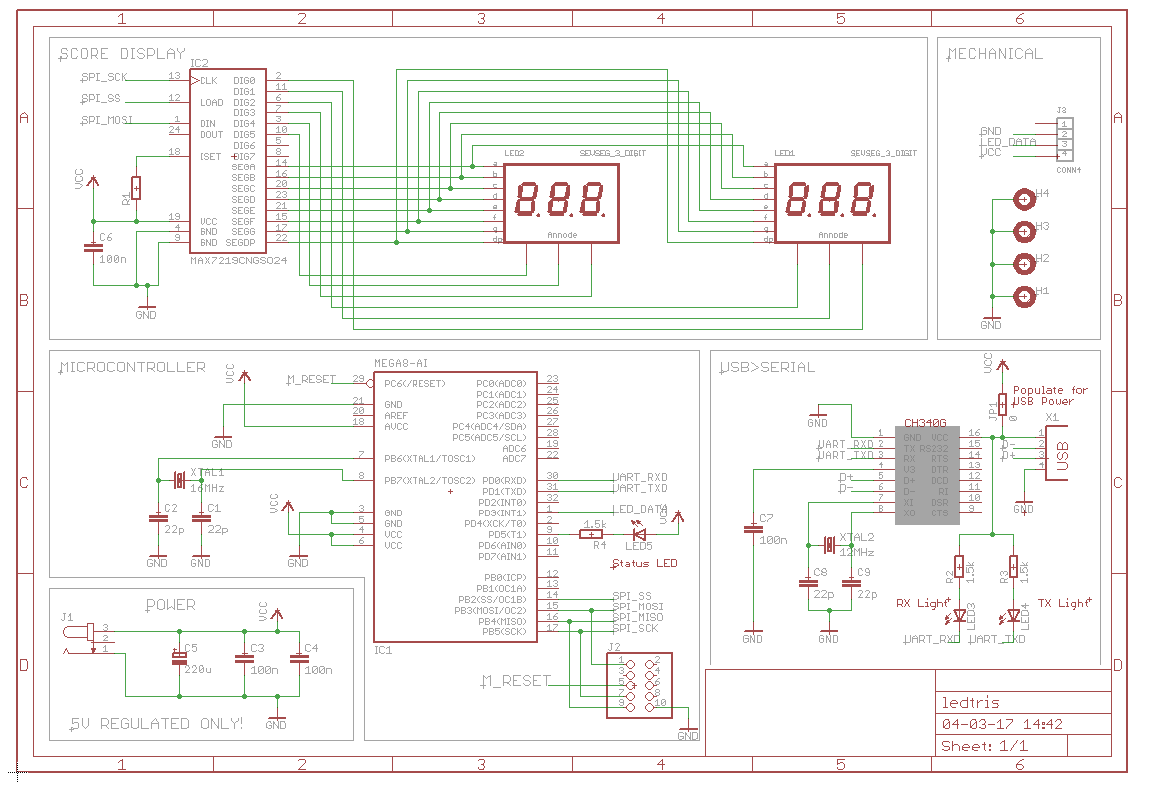
I used a 6 digit seven segment display with a MAX7219 display driver chip. The microcontroller could drive the display directly, but then I would need a buffer IC, so it would not save on part count. The MAX7219 has an SPI interface for writing digits to the display.

Block Preview Display

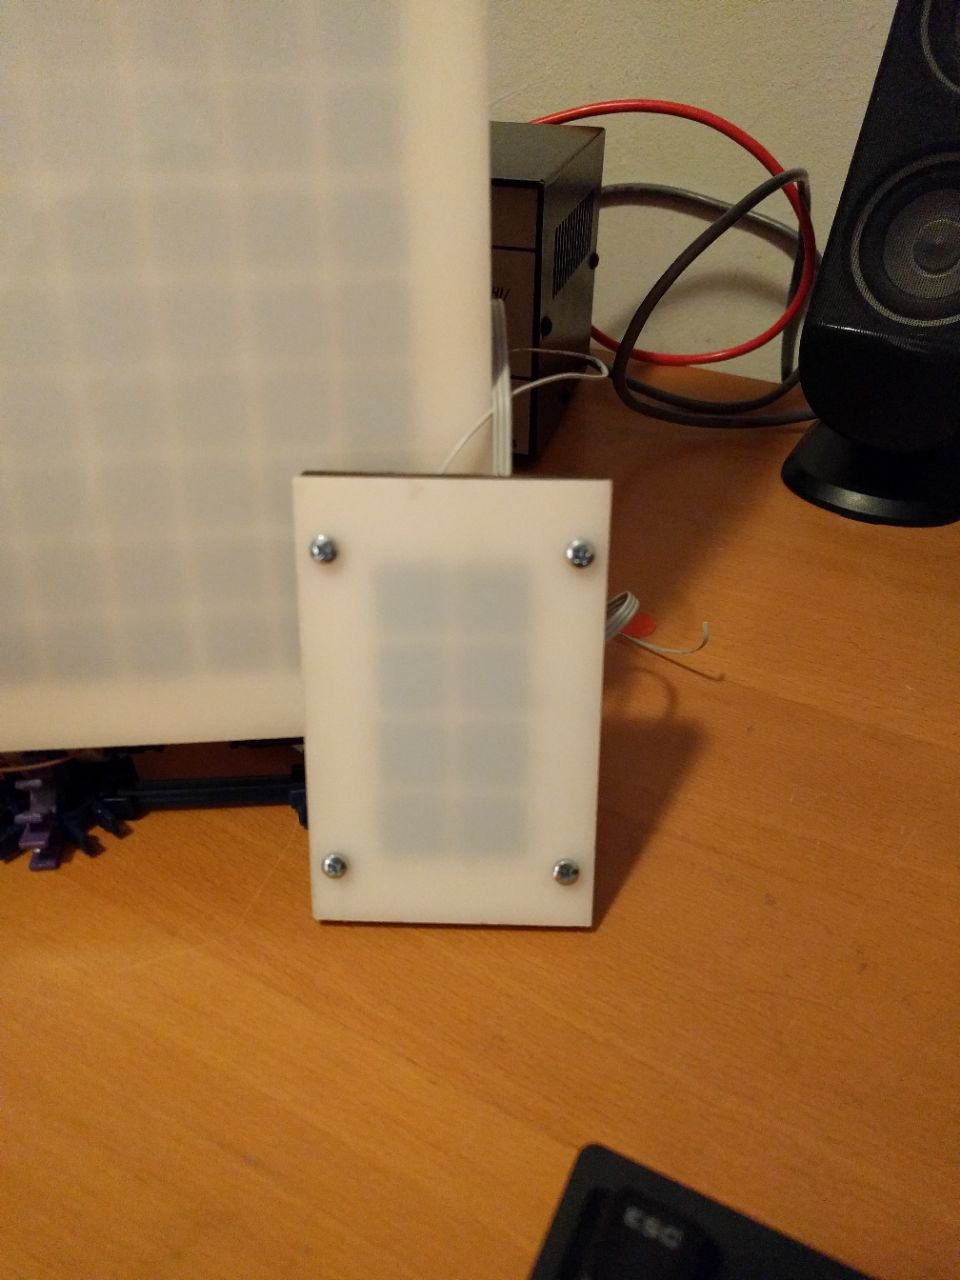
In Tetris you can see the shape of the next block on the side of the playing field. To replicate this I made a 4x2 LED matrix using the same structure as the large matrix. It is wired in series with the main display. I basically extended the LED strip.

  • 1 × LED strip WS2812B 300LED 5M (important for the spacing of the LEDs)
  • 1 × Microcontroller Arduino Compatible _or_ ATMega16
  • 1 × Power Supply 5 V @ 12 A

  • Making a Frame

    Koen van Vliet06/04/2020 at 13:35 0 comments

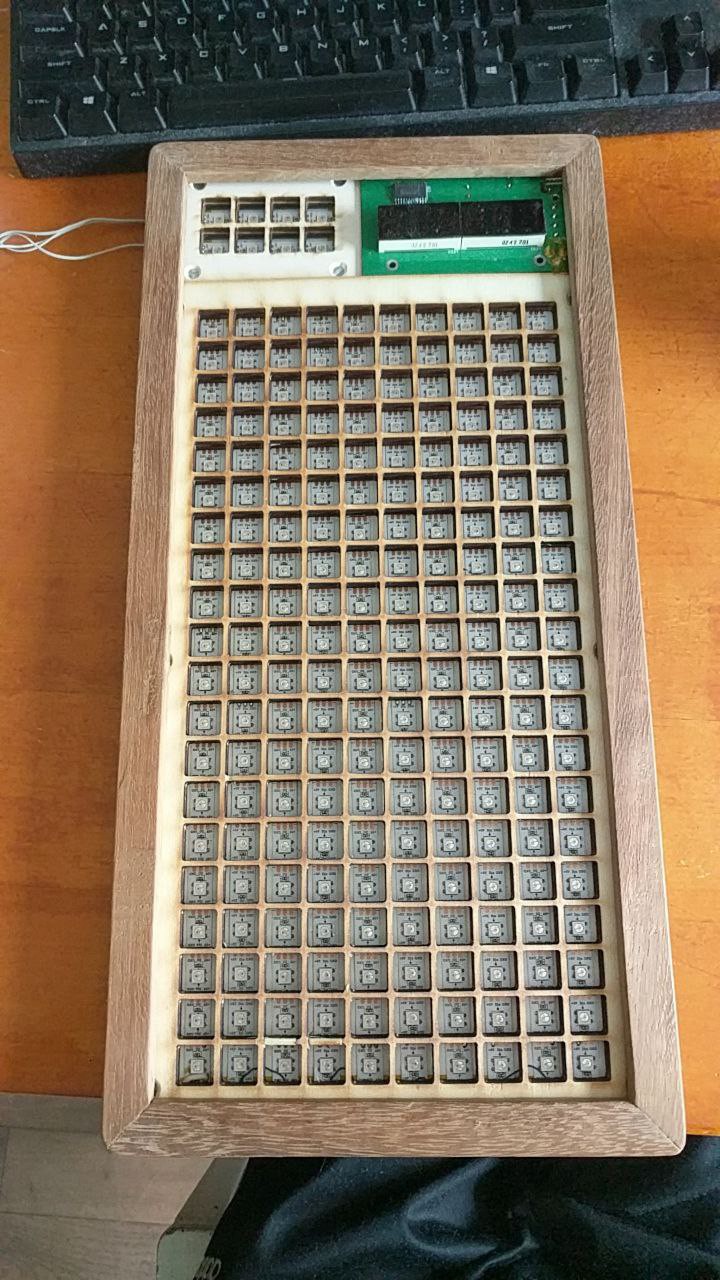
    I took a break from digital manufacturing and made this hardwood frame using a table saw and hand tools. It's a shame the grating will be covered by a diffuser, because I really like the contrast of the different types of wood. Perhaps I can use a very thin sheet of birch veneer as a diffuser?

  • A bigger display

    Koen van Vliet01/19/2020 at 10:36 1 comment

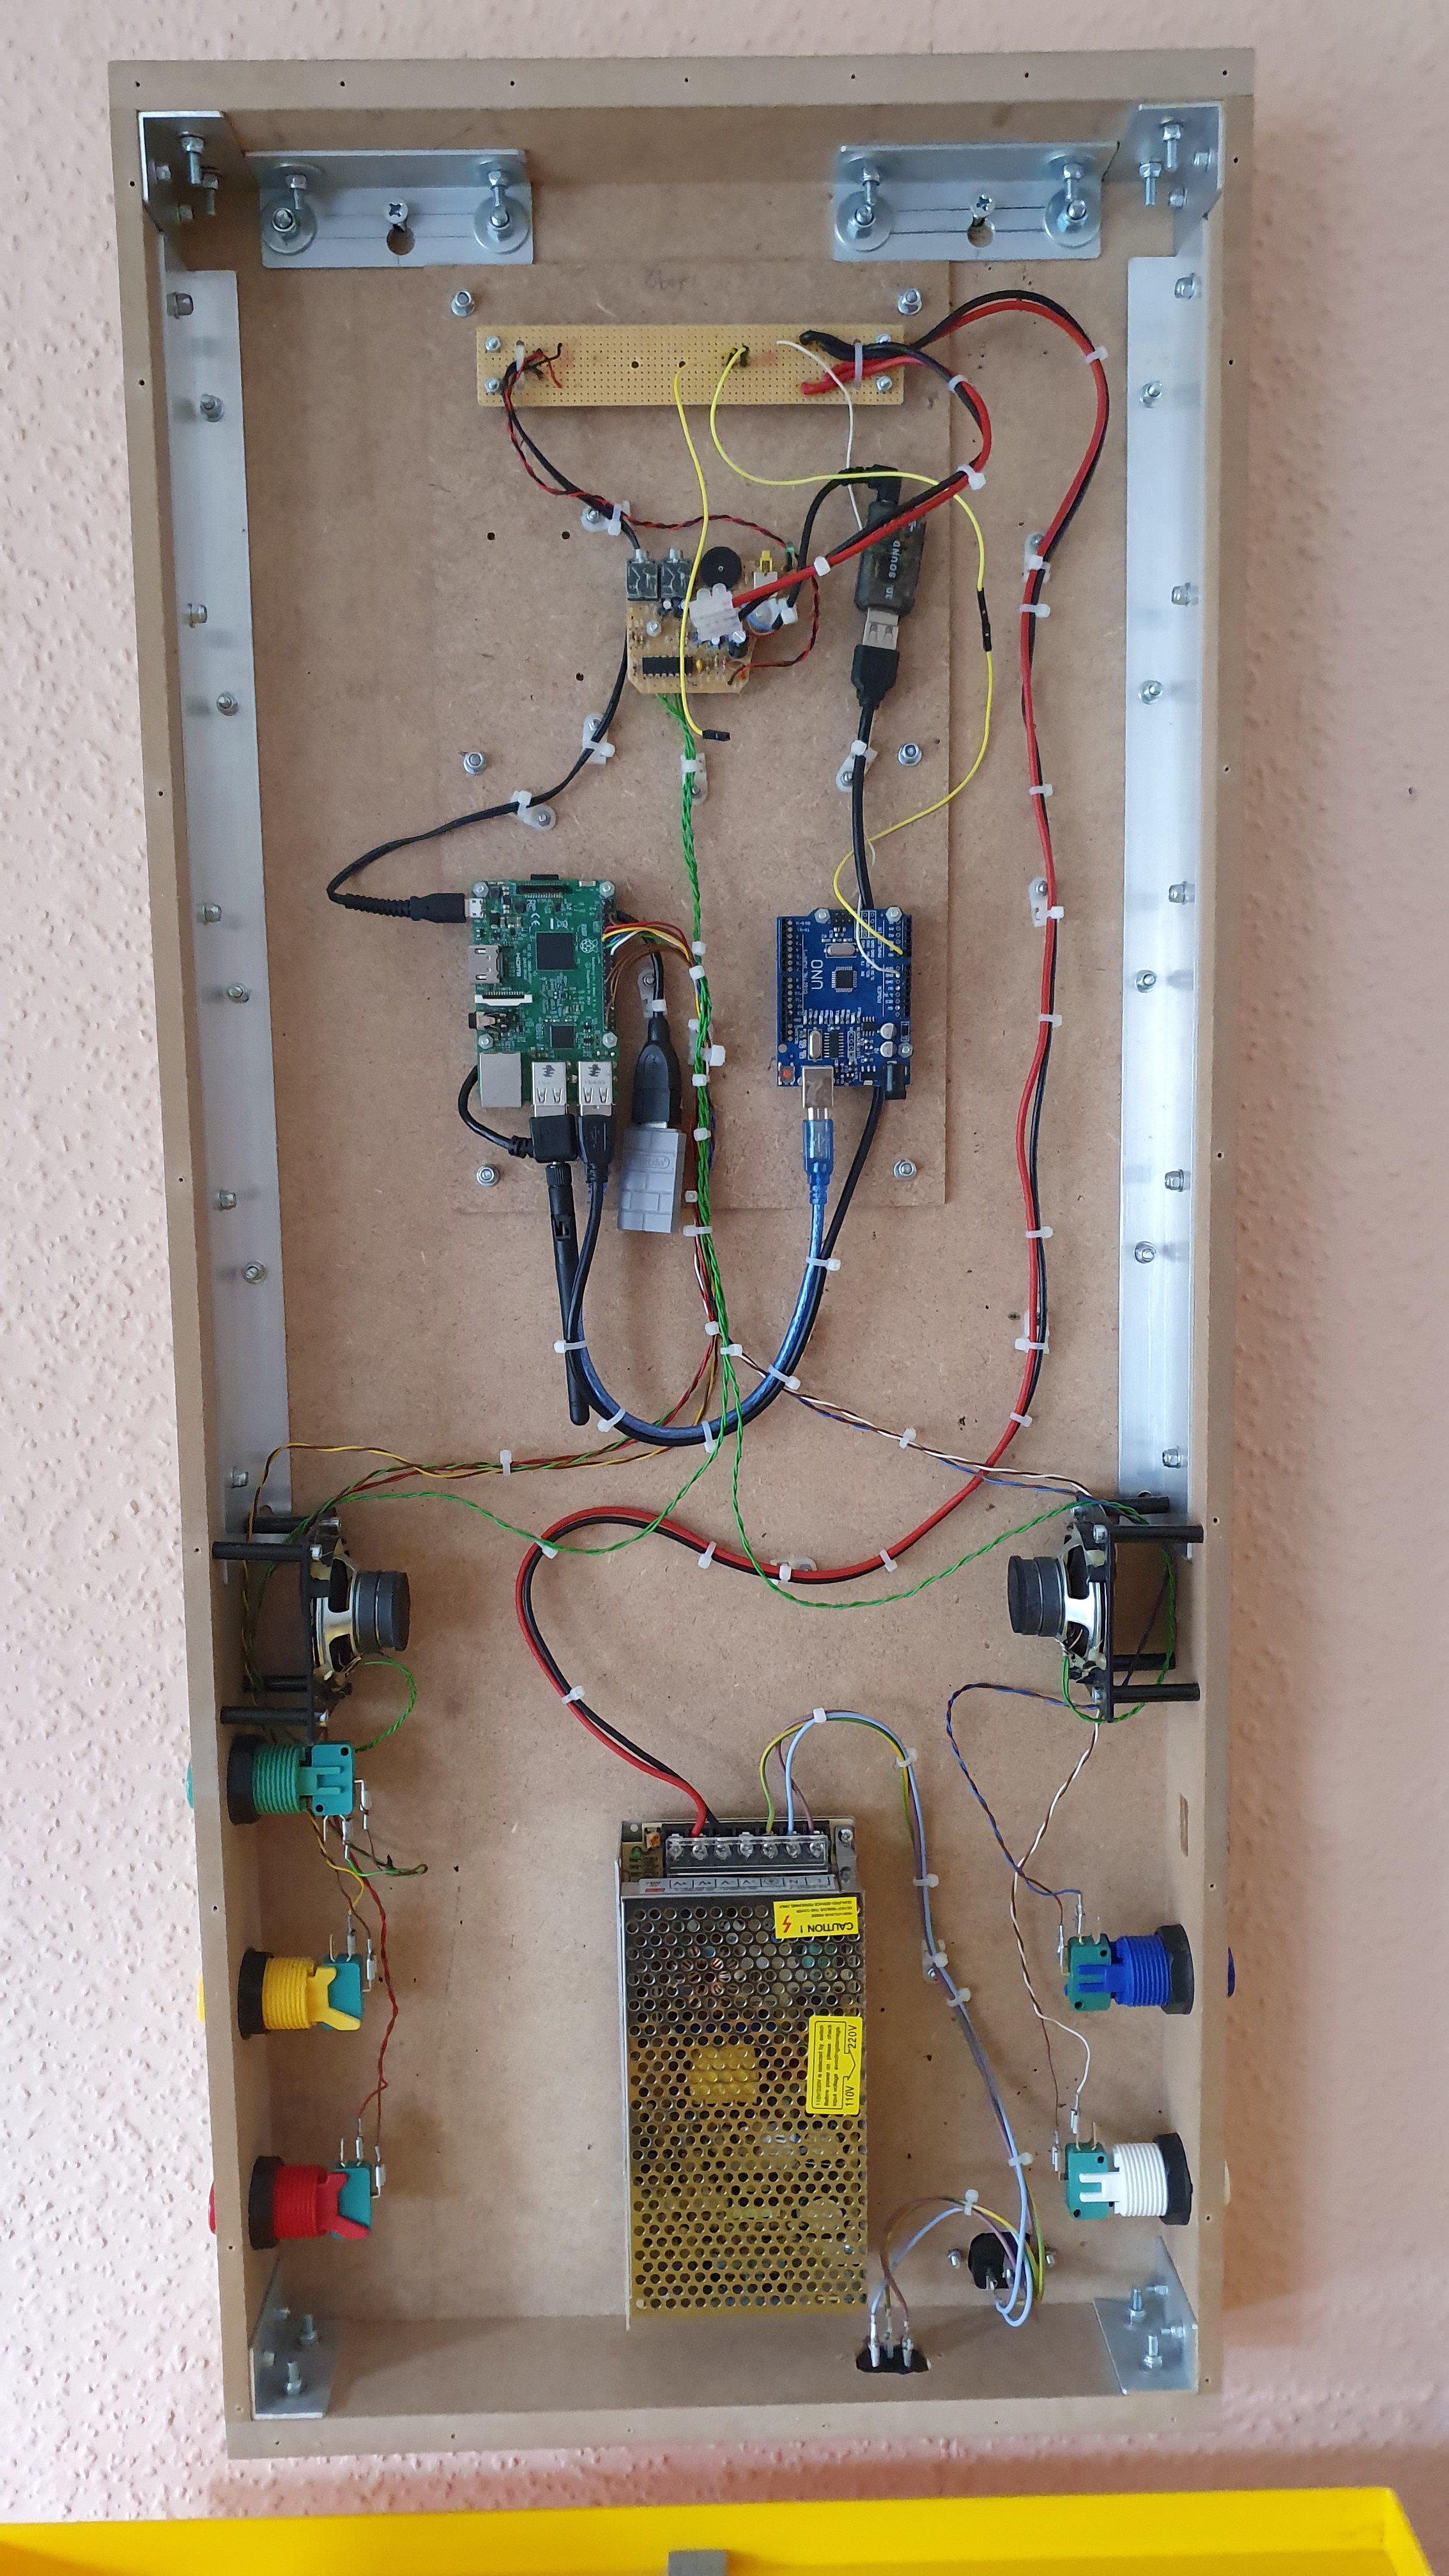
    A few months ago fellow hackaday.io user [Steve] has created his very own Ledtris display. He used a slightly different construction to my original display, also using laser cut parts. After some troubleshooting we got his display to work. Steve did a very neat job on packaging all the electronics inside his display. He has plans to use the display for other games, such as Dr. Mario.

    Edit: Some new pictures.

    Steve's Ledtris display

    Steve's display uses a Raspberry Pi3 with a USB Soundcard and some Speakers to produce the sound. An Arduino connected to the Pi drives the LED matrix. The display is larger than mine (90 x 40 cm), so it used less dense LED strips (30 LEDs per meter) On the side of the display there are 5 buttons to decrease/increase volume and power down the system. The system is powered by a 20A 5V power supply, which is plenty to drive the display at full brightness, run the raspberry pi and the speakers. The score display is an 8 digit MAX7219 module. The game is played using a wireless 8-Bit-Do joystick.


    If you have built your own Ledtris display and would like to have it featured or if you need help with the build, be sure to get in contact.

  • AVR Firmware and Improved Instructions

    Koen van Vliet03/21/2019 at 22:25 0 comments

    I have updated the build instructions and finished the AVR firmware. Changes in the AVR firmware have been backported to the Arduino sketch. Check it out at

    https://github.com/keoni29/ledtris/

  • PCBs are here!

    Koen van Vliet03/25/2017 at 14:03 0 comments

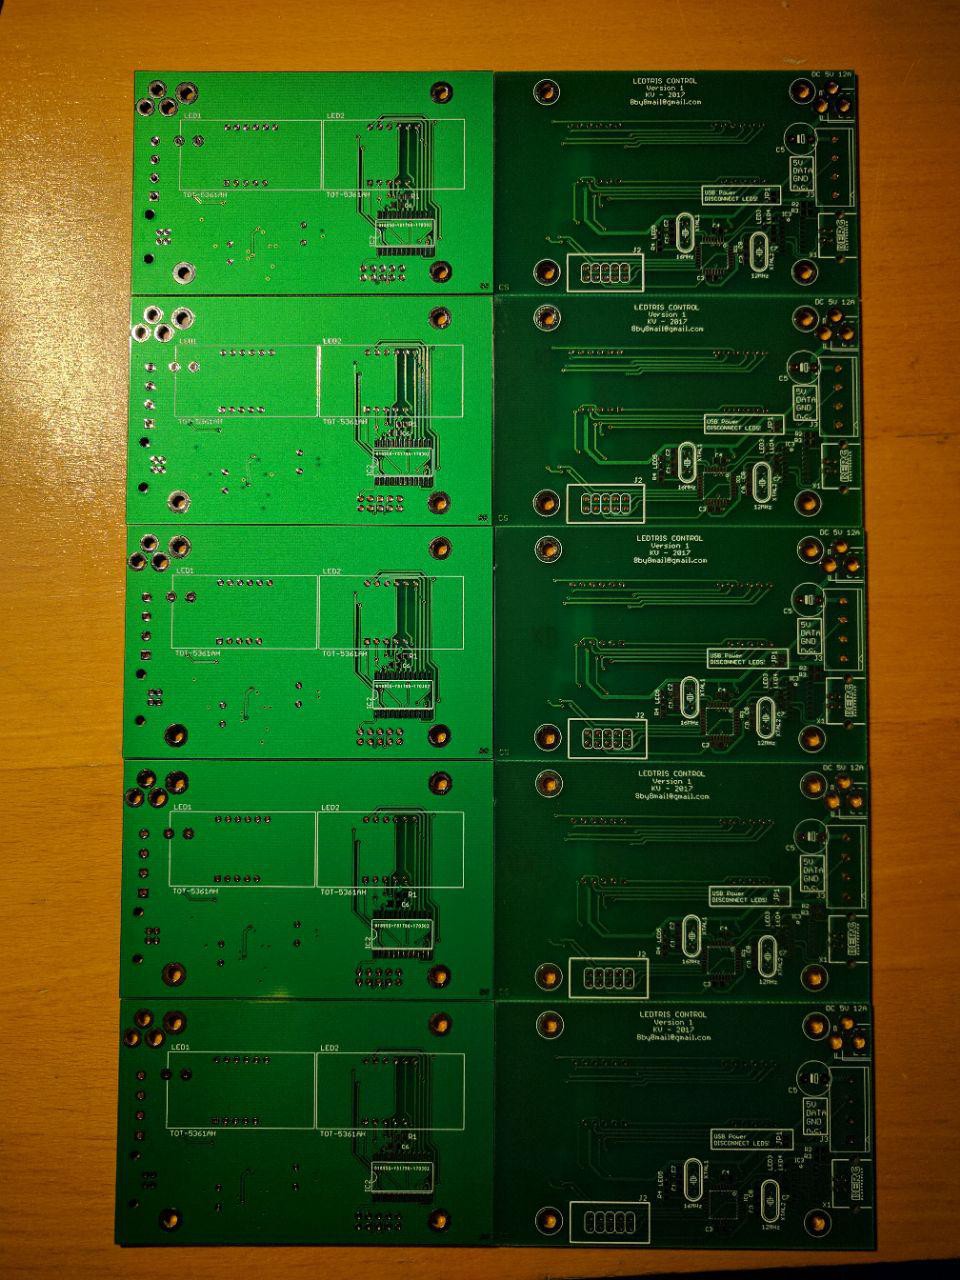
    Today the printed circuit boards came in the mail. I am still waiting for some of the components, which I ordered from various Ebay sellers.

  • Ordering PCBS

    Koen van Vliet03/04/2017 at 13:46 0 comments

    I recently designed a PCB with a score display, ATmega8 and a USB->serial converter (I chose to use a CH-340, because it's ridiculously cheap.) The score display consists of a 6 digit seven segment display driven by a MAX7219. I could have driven it using the ATmega8, but I would still need a bunch of transistors to drive the cathodes of the display, so in the end this was the cleanest solution.

    I will release the gerbers once I have tested these boards.

  • Build Instructions and Source Code Released!

    Koen van Vliet02/20/2017 at 20:30 0 comments

    Today I released the build instructions and source code along with all the required CAD files. You fork this and adapt it to work with your display if you already have one. You will need at least 10x20 LEDs for this to work.

    View source and build instructions at: https://bitbucket.org/keoni29/ledtris

  • Burning some plywood & Square Pixels!

    Koen van Vliet02/17/2017 at 21:31 0 comments

    The led displays are done now. The repo containing all sourcecode and cad files will be public next week.

    I used the lasercutter at school to create a wooden grid. This grid makes the pixels look nice and square. A white diffuser is placed on top and everything is bolted together.


  • It's playable!

    Koen van Vliet02/01/2017 at 11:18 0 comments

    I threw together a quick test setup with the LED matrix on a makeshift stand and an Arduino driving the WS2812B. It appears to be working up to about 20-30fps. I should have about 3ms of left-over processing time at 60fps, but there seems to be an optimization issue here.
    Edit: This appears to be a limitation of the WS2812B.


    Here's a video of the test setup:

View all 8 project logs

View all instructions

Enjoy this project?

Share

Discussions

Steve wrote 11/15/2019 at 18:10 point

Has anybody finished this project with a working score display? I've struggle with the MAX7219 7-Segment-Display since the day of starting this project.

Please contact me

  Are you sure? yes | no

Similar Projects

Does this project spark your interest?

Become a member to follow this project and never miss any updates