River Wang
People who post videos on YouTube are called YouTubers. YouTubers who use animated avatars are known as V-Tubers. V-Tubers who use only four PNG images as their avatars are called PNGTubers. But what about people who use animated avatars in real life?
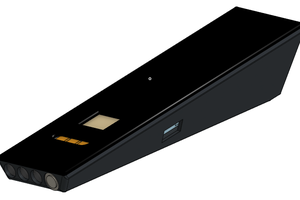
Introducing the CardTuber: an animated avatar on a business card.
The Story
Let's rewind a bit to the beginning. First, the earth cooled. Then came CircuitPython. I created an online IDE for CircuitPython called the "Circuit Python Online IDE" and consider myself a maker. I demonstrated it at the Philadelphia Maker Faire in 2022 and the Long Island Maker Faire in 2023. I was also planning to attend the Long Island Maker Faire in 2024. One thing I always wanted for the Maker Faire is a maker badge, like the fun and powerful one from Supercon. So, I decided to make one for this year.
While thinking about how to design a maker badge, I came across a Business Card Contest on Hackaday. I realized that this was the perfect form factor for a badge:
- Business card size
- Introduces myself
- Does something cool
The design
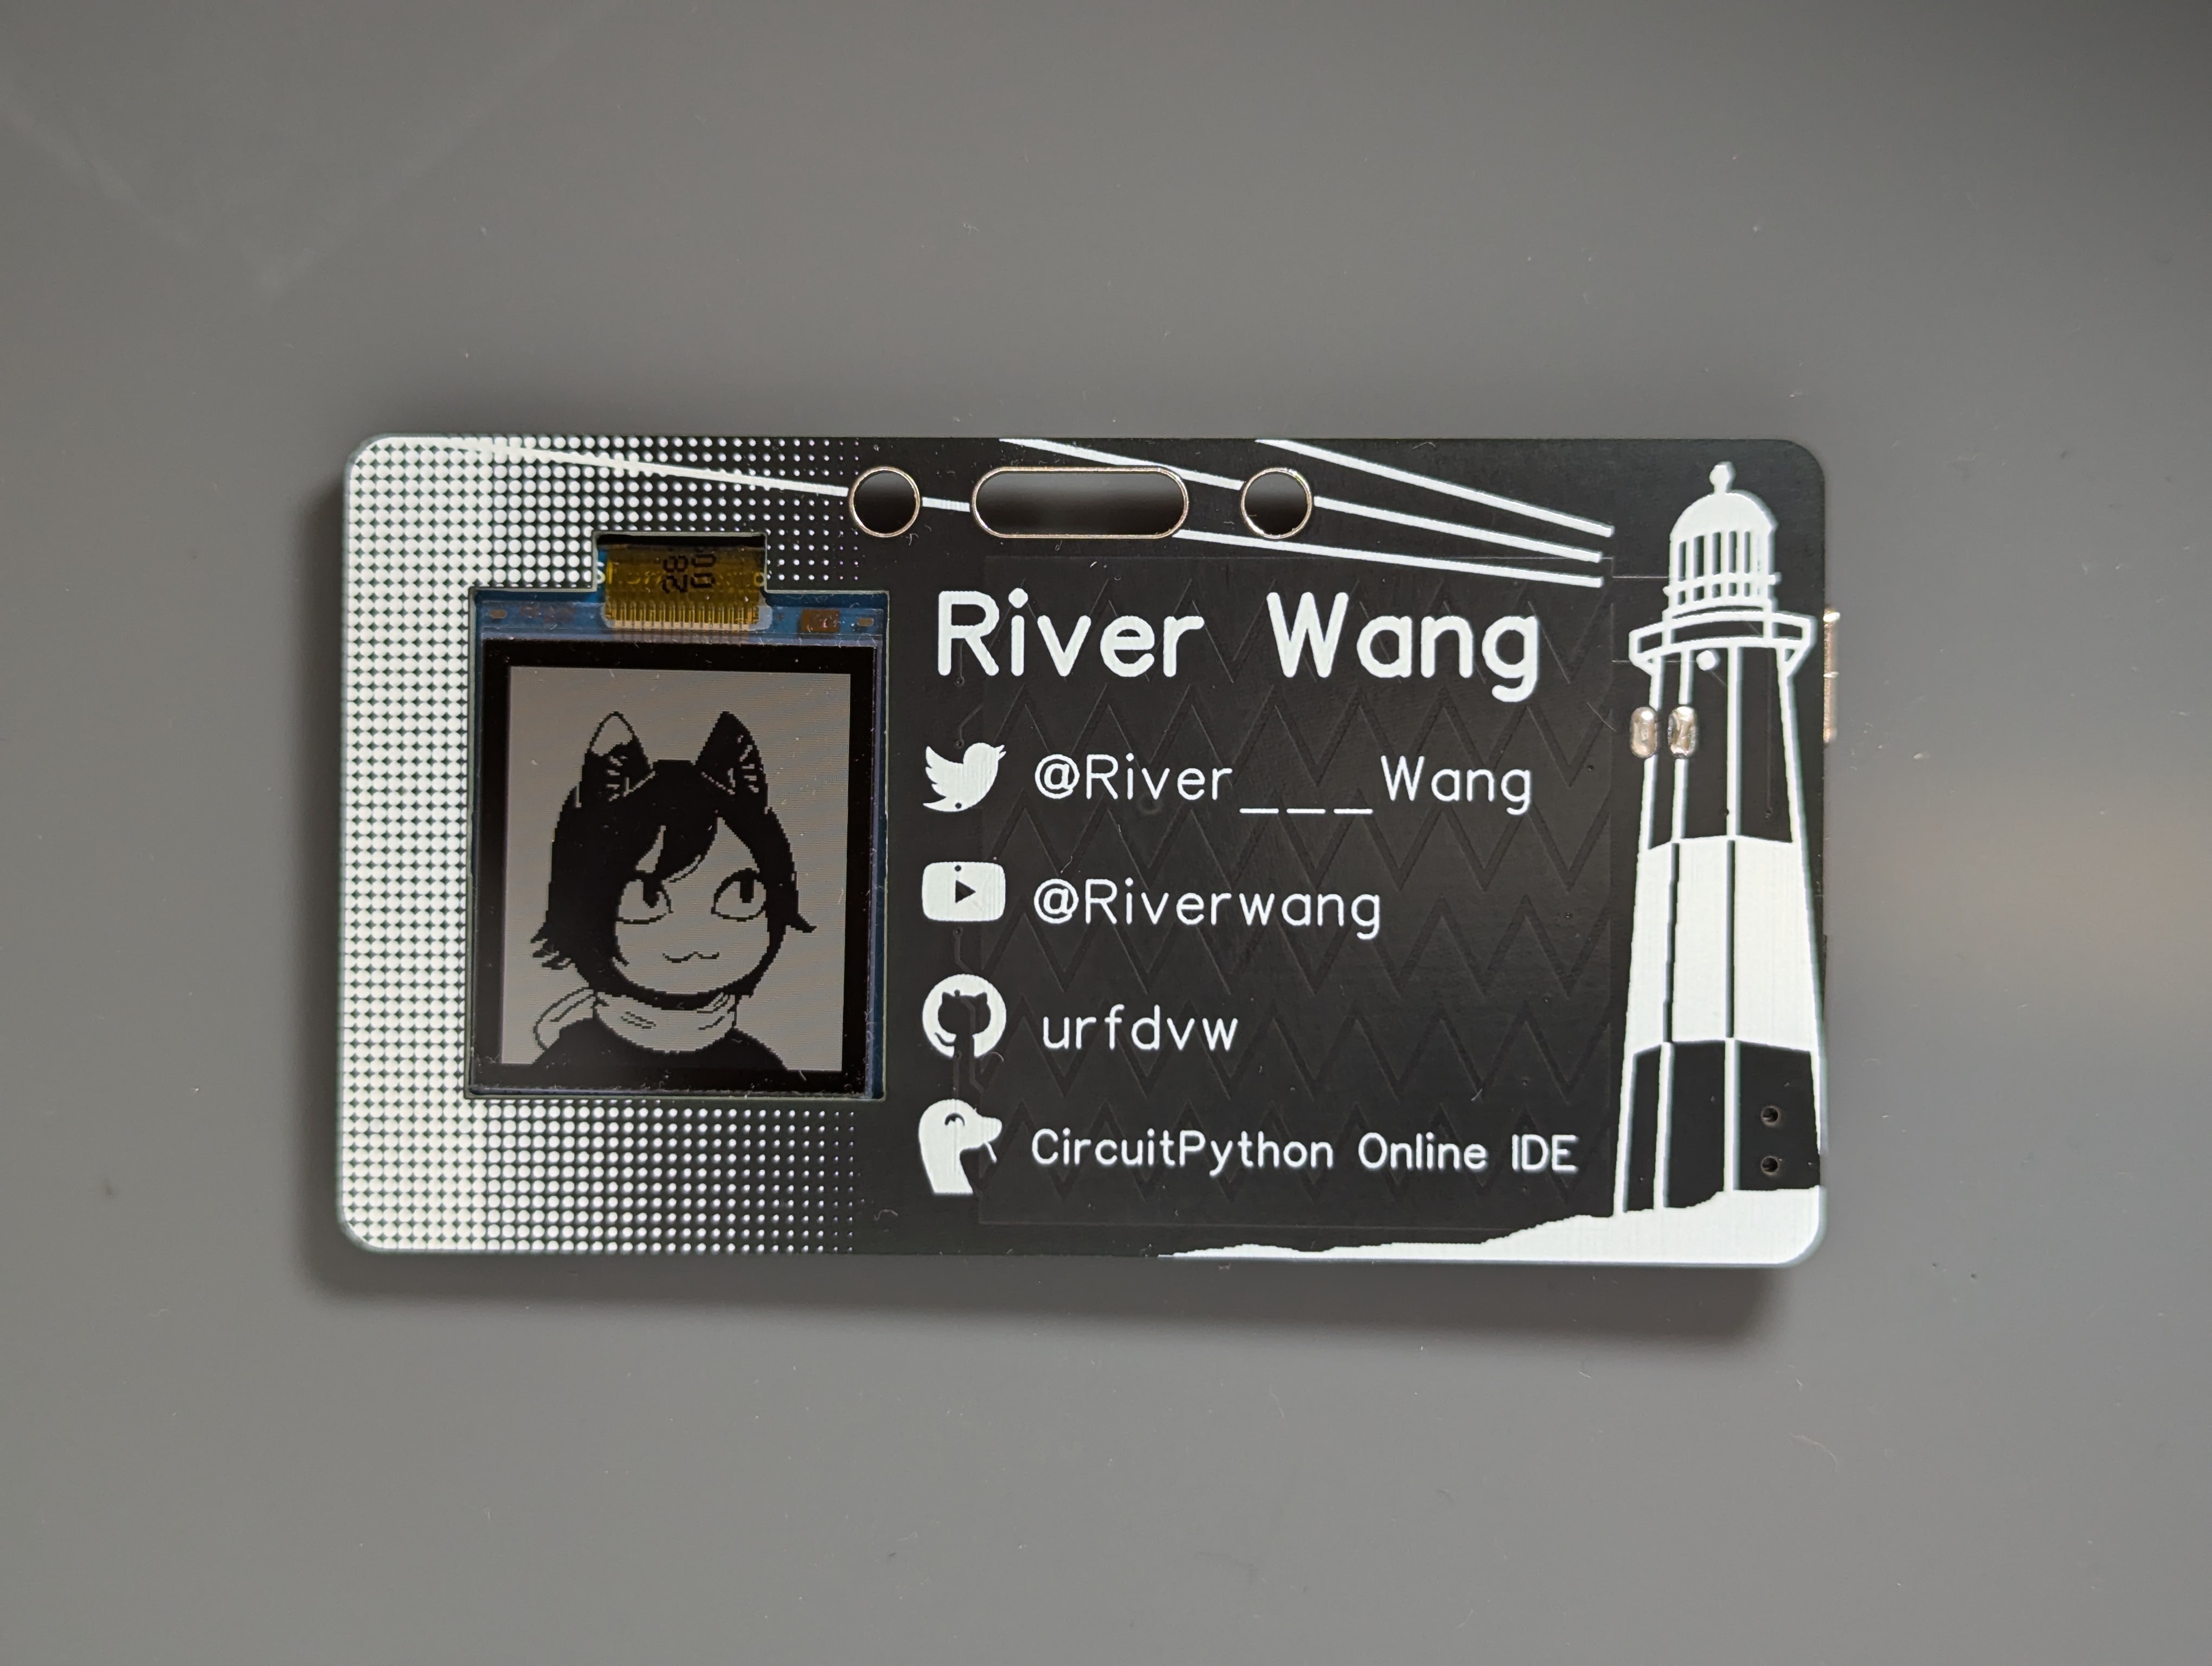
Of course, this is a business card and a badge, so on the right side it has my name on it, along with a brief introduction about myself.
On the left side, people typically include a logo or photo of their business. I could use my YouTube avatar, but that feels too boring. In one of my recent videos, I created an animated avatar by drawing four PNG images (inspired by the character Izutsumi in Dungeon Meshi.) I think it would be a great idea to use that avatar here.
Since this is a maker badge for the LI Maker Faire, I wanted to incorporate elements related to it. The lighthouse in the LI Maker Faire logo is an actual lighthouse in Montauk. As a Long Islander, I’ve visited it several times and really like it. So, I found a good photo of the lighthouse on the MTA's website and drew a sketch of it.
The hardware
PCB can be found at https://oshwlab.com/urfdvw/pod-thing_copy_copy
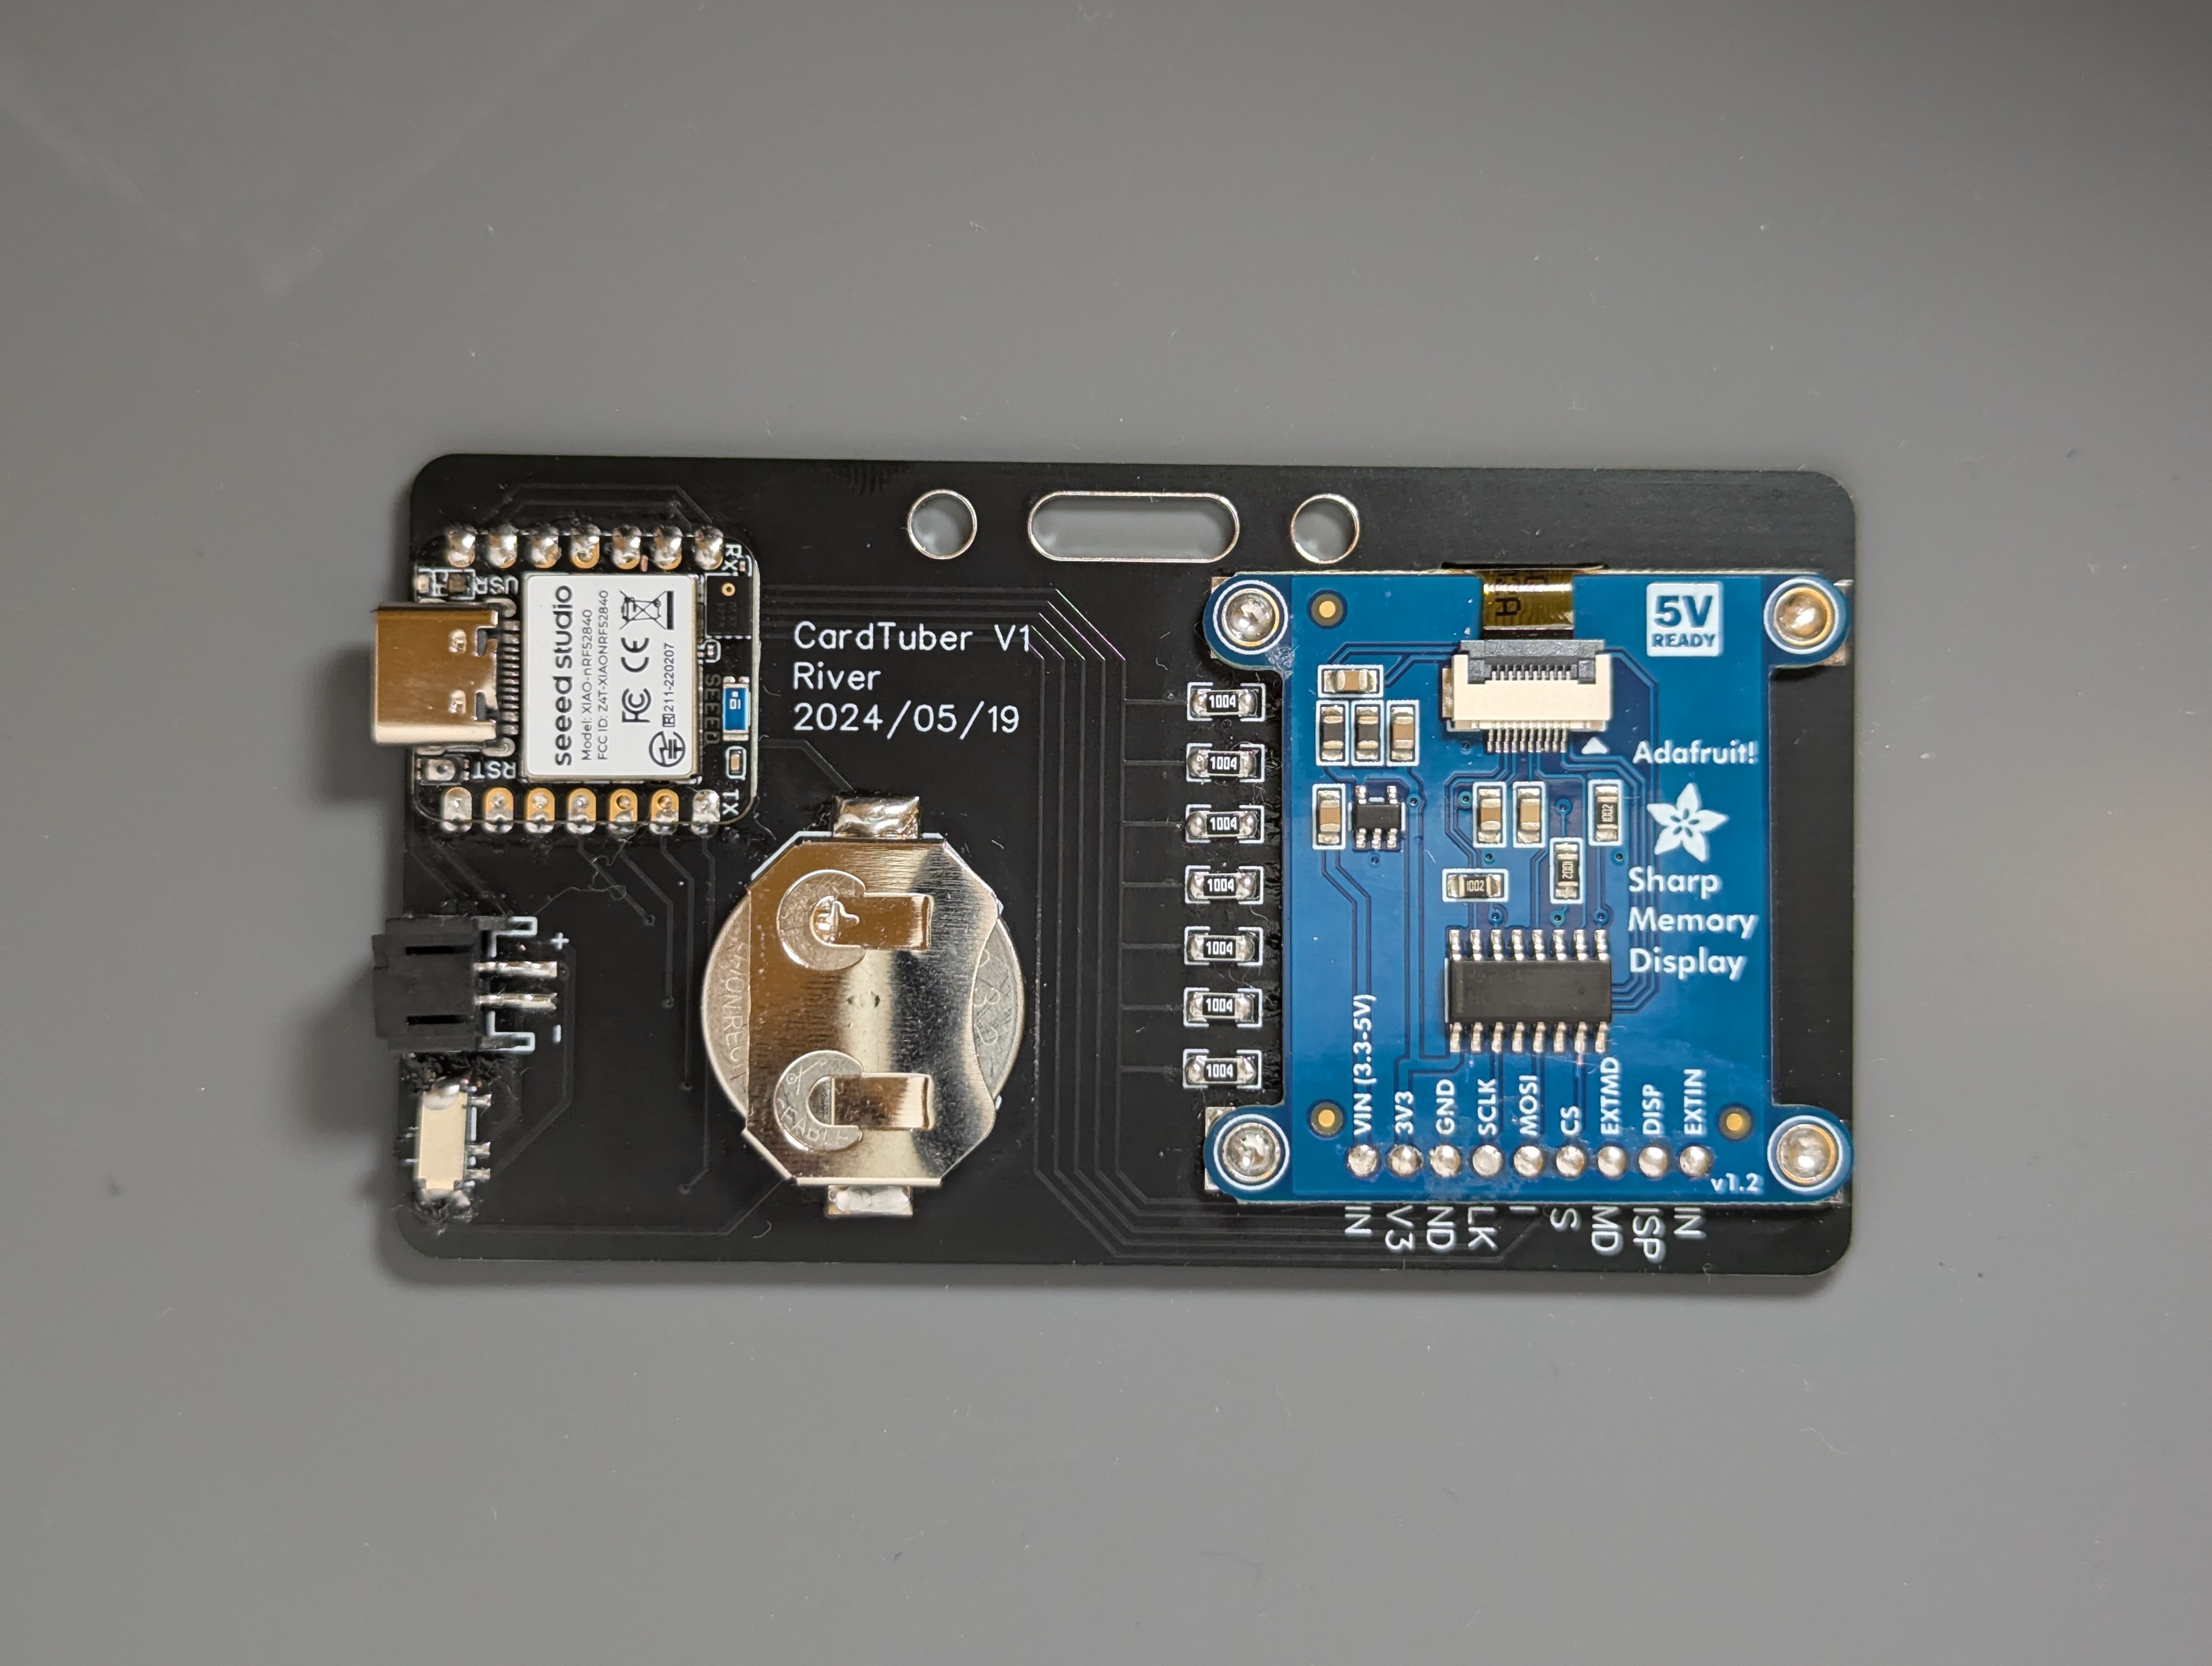
Because the avatar needs to talk when I talk, I need a MIC module to capture the sound. This makes the Seeed Xiao the perfect choice as the microcontroller board. Despite its small size, it includes:
- A powerful computing unit
- A MIC
- A battery management circuit
- (It also has an accelerometer and BLE, which I didn't use for this project.)
The screen I choose is Sharp. I mean it is really Sharp (bad pun).... These Sharp memory LCD are not only power-efficient but also offer excellent image quality.
The Adafruit Sharp Memory LCD module is used here. I used a technique I call "back mounting" to attach the module to the PCB. In back mounting, a hole is made in the PCB for the screen to be visible from the front, while the rest of the module is hidden behind the PCB. There is also a cutout for the cable. The module has four screw holes, but instead of screwing the module onto the PCB, I soldered them together. This way, the module is "stamped" onto the PCB without significantly increasing the thickness, and it looks clean from the front.
If I tell you that this array of resistors is all 1M ohm, you probably know they are used for capacitive touch. Yes, the entire right side of the business card is a linear touchpad. When making capacitive touch PCBs, I usually hide all the traces on the back of the PCB, leaving only the touchpads on the front. And this one is no exception.
There are two battery connectors. A coin cell battery is used to keep the business card thin, but if longer battery life is needed, a LiPo battery can be connected. The Xiao NRF52840 board is in charge of the batteries (bad pun again).
The Software
The code is written in CircuitPython, not only because I am the author of CircuitPython Online IDE, but also because it has excellent support for NRF52840 microcontrollers, MICs, capacitive touch, and Sharp memory displays.
Code can be found at: https://github.com/urfdvw/cardtuber
Blink and Speak
The mechanism is very similar to that of a PNGTuber....
Read more »
 William
 Patrick Van Oosterwijck
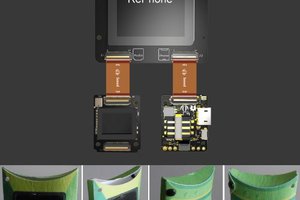
 eDIY
eDIY