 Scott G
Finally, the posts were ready, so I called 811 and got my utilities marked, pulled up the rotting posts, and started to dig my holes. Part of the reason for the digging was that I wanted to move where one of the posts was, but I also needed to dig deeper. I had made these posts extra-long to make sure they wouldn't ever start to slump over in the dirt.
It turns out that there are USPS regulations on where mailboxes should be, and I followed them to the letter. This meant digging a hole about 36 inches deep. I got lucky, and didn't hit any huge rocks or unmarked gas lines.
Once put into the hole, we had to fill in around the posts. It turns out that it's non-trivial to pack dirt back around a post, but we made this a little easier by tamping down the dirt with the end of some left-over rebar as we filled the hole in.
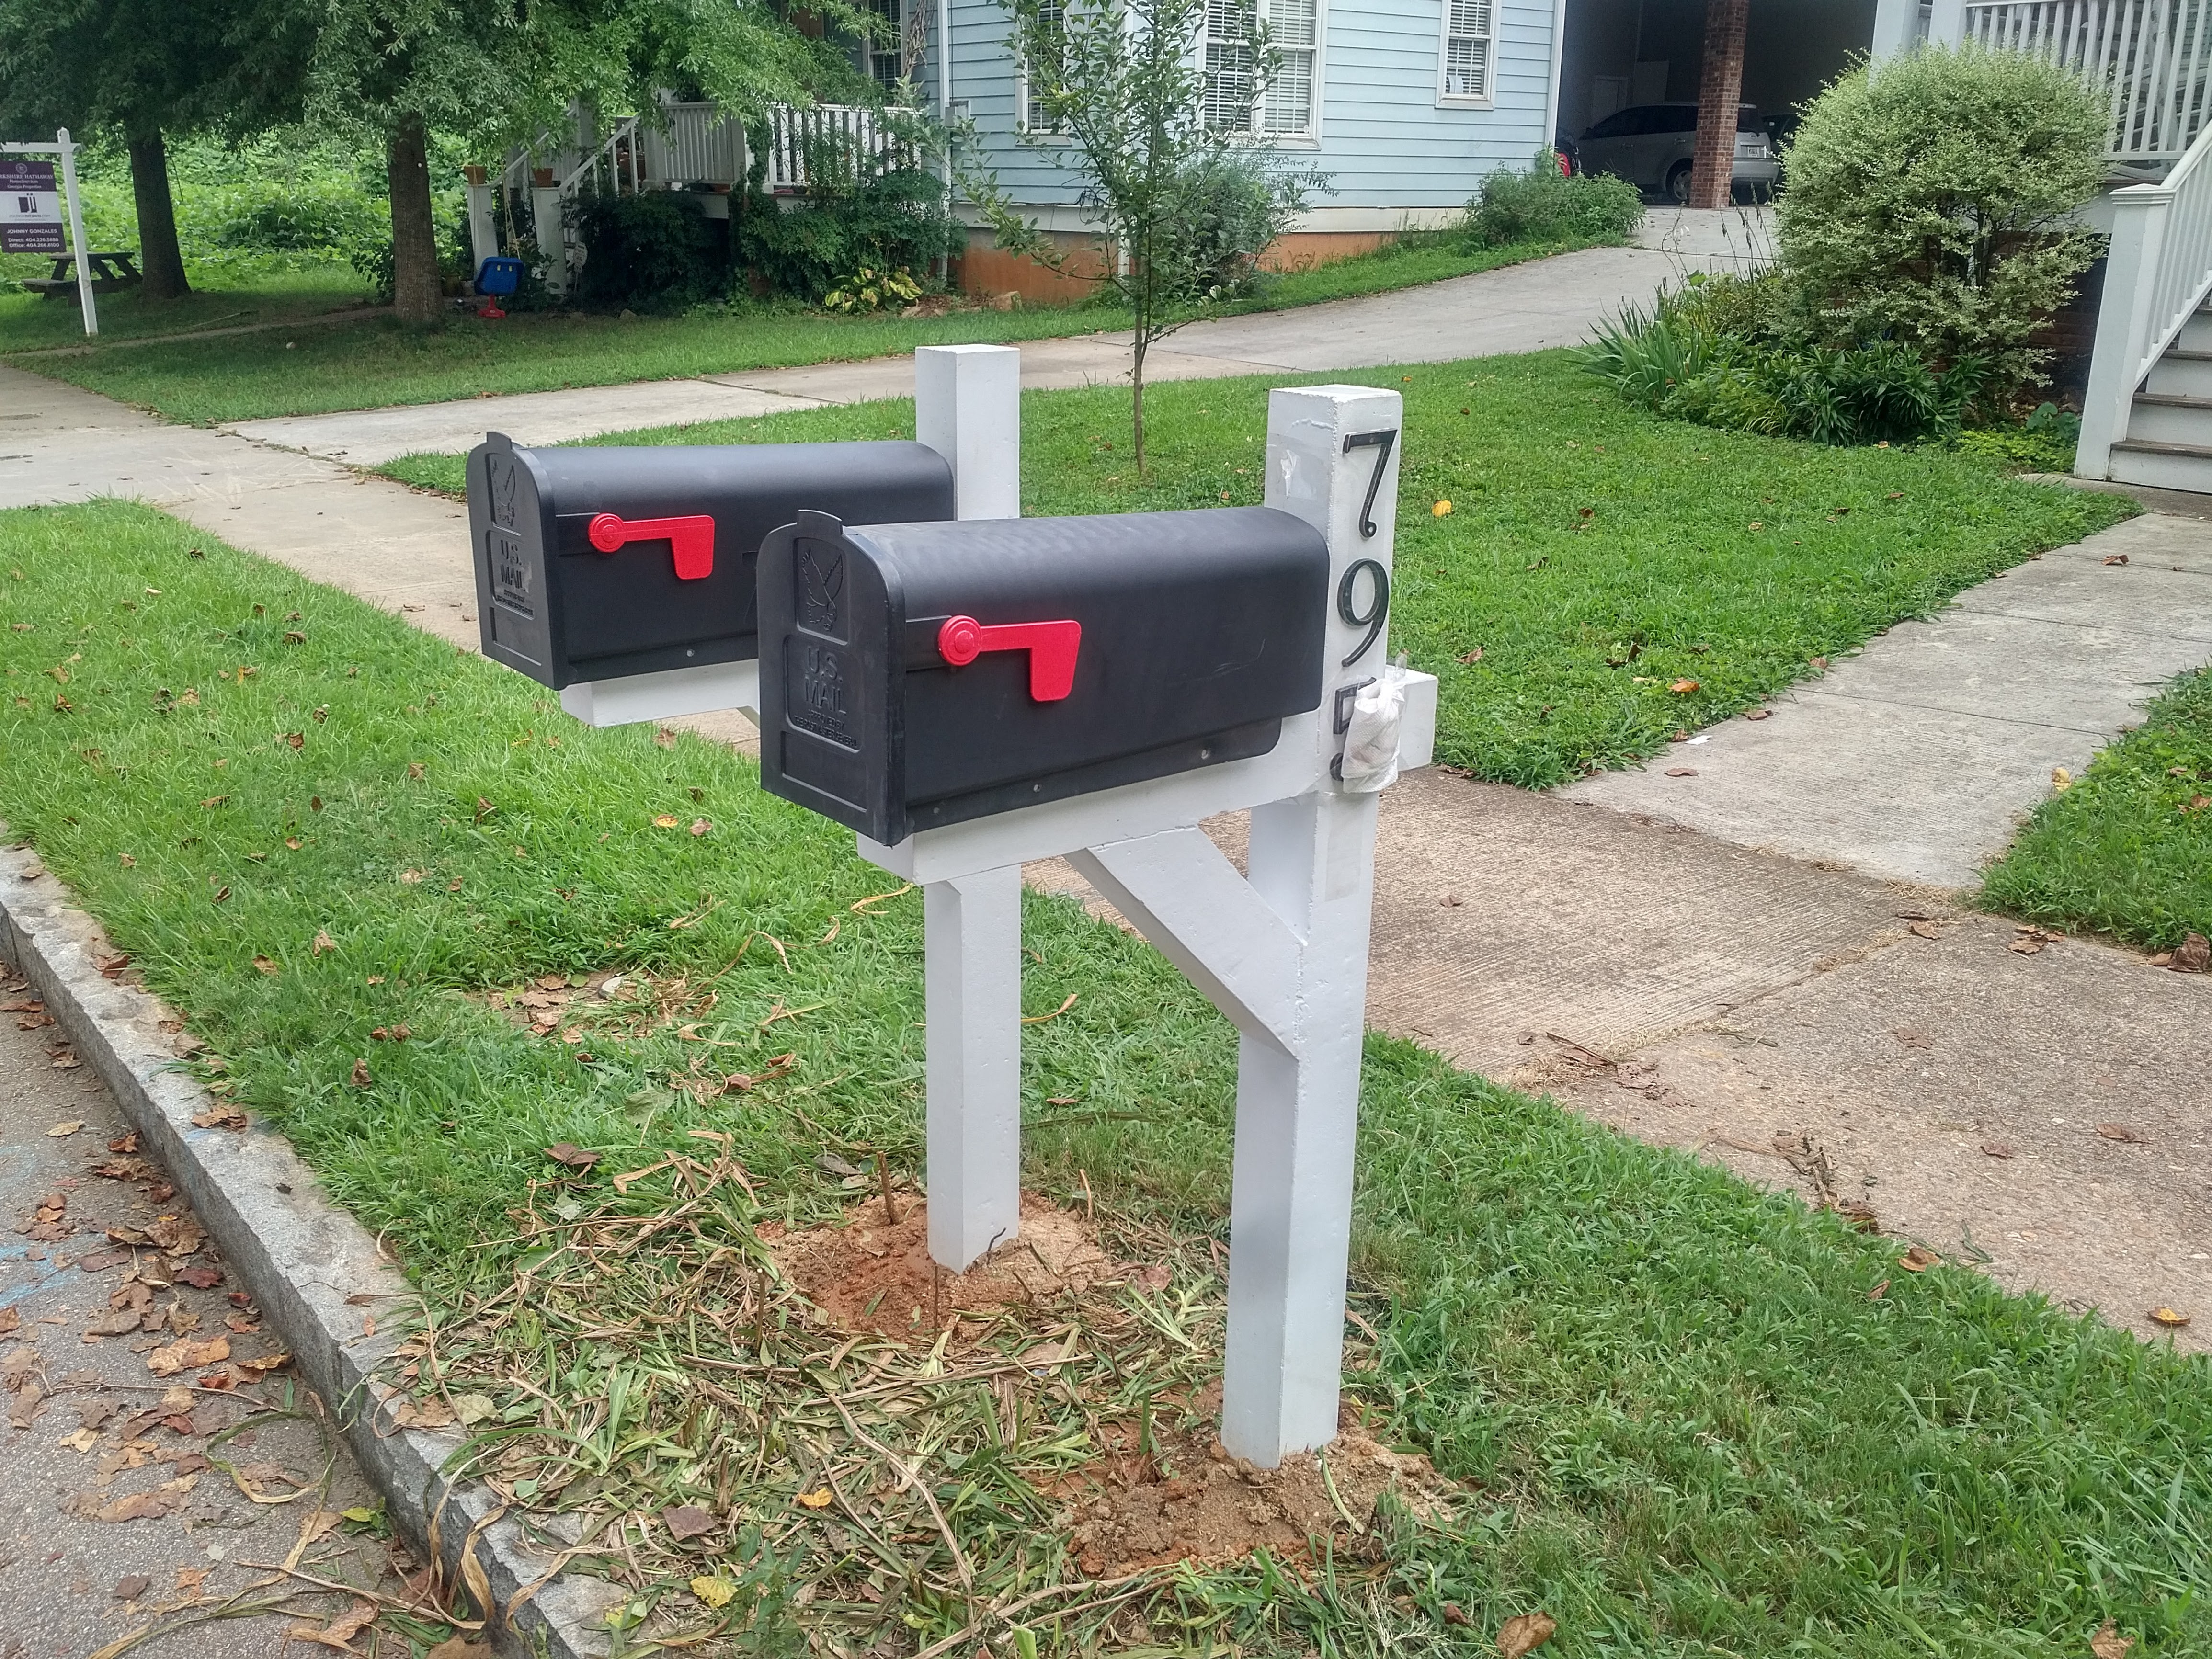
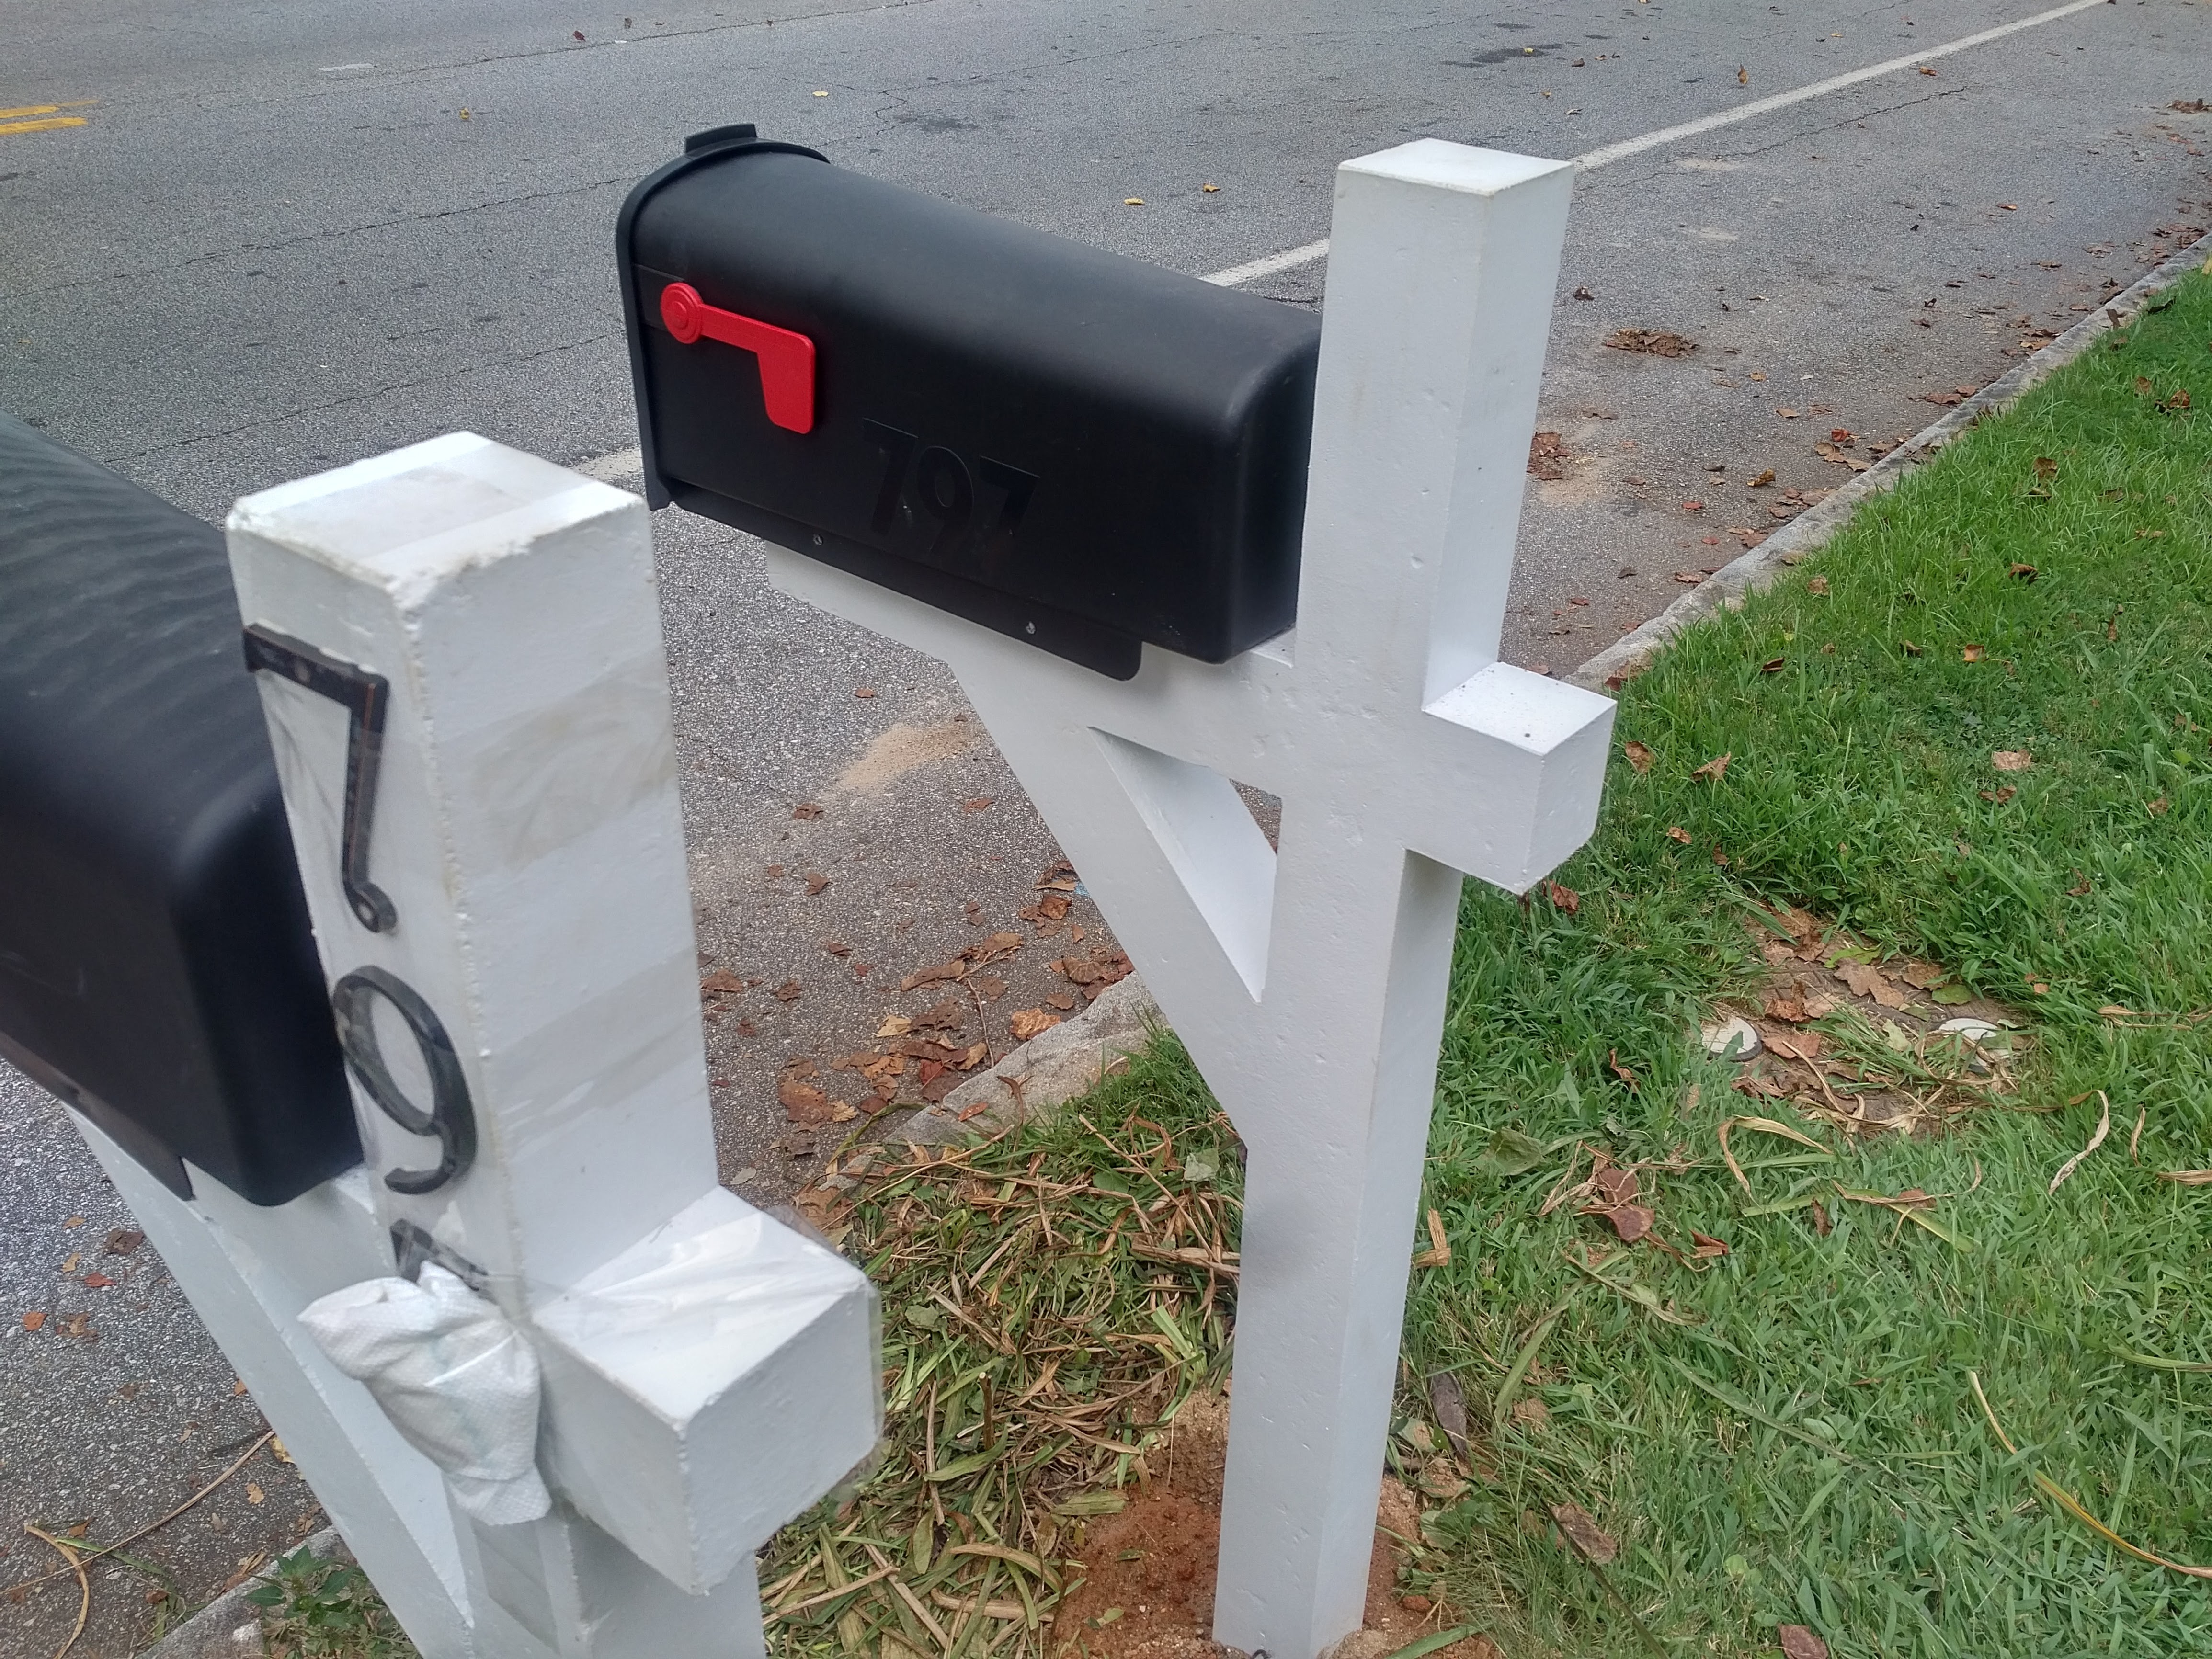
With the mailbox posts secured, I then set about attaching the mailboxes and numbers. Rather than drilling holes in my nicely-painted concrete, I used some thick two-part epoxy to glue everything on. One complication was the polystyrene mailbox material, which almost no adhesive wanted to stick to. With a little trial and error, I eventually got the mailboxes and numbers to stay attached, with some tape to hold things while the epoxy cured.
Overall, I think they look ok, although I do wish I had found a way to get more wood-grain or joint lines into the concrete. They've been exposed to weather for over 6 months now, and they show no signs of coming apart. With an luck, they'll last a long time, or at least until a car drives into them.
Discussions
Become a Hackaday.io Member
Create an account to leave a comment. Already have an account? Log In.