 Hernán Valdés
The Problem
Learning a foreign language is a challenging experience. There is a lot of material available to solve different learning difficulties, not only digital material like Applications for Smartphones or webbrowser (like Memrise, Duolingo, etc) but also written material like Books and Flashcards. Almost every single material available is fundamentally based in visual elements. So, what happened if the person is not capable to see the content itself? Which tools and materials are already in the market for blind people?
That's why I decided to design Neltume, which means in Mapudungun to become free, an Open Source Hardware tool that will help people with low vision or blindness to memorize new words and phrases on a foreign language.
On the first phase of this project I am designing the device for Spanish speakers, who wants to learn English
How the solution helps the World
In Latin America (and mostly in every Third World Country) there isn't a lot of opportunities for blind people in education, work and recreation (among other areas). Most of them haven't the opportunity to go to University or Institutes or even finish High-school, leaving them at the "mercy" of the State or their families.
I want to contribute creating new tools adapted for them. Learning a new Language can give you new Jobs opportunities, access to untranslated material and of course (and no less) a lot of fun and the possibility to meet new people and to form new relationships.
I have used tons of really useful material and applications (most of them open source or free) and now I want to give others an adaptation of what has really helped me.
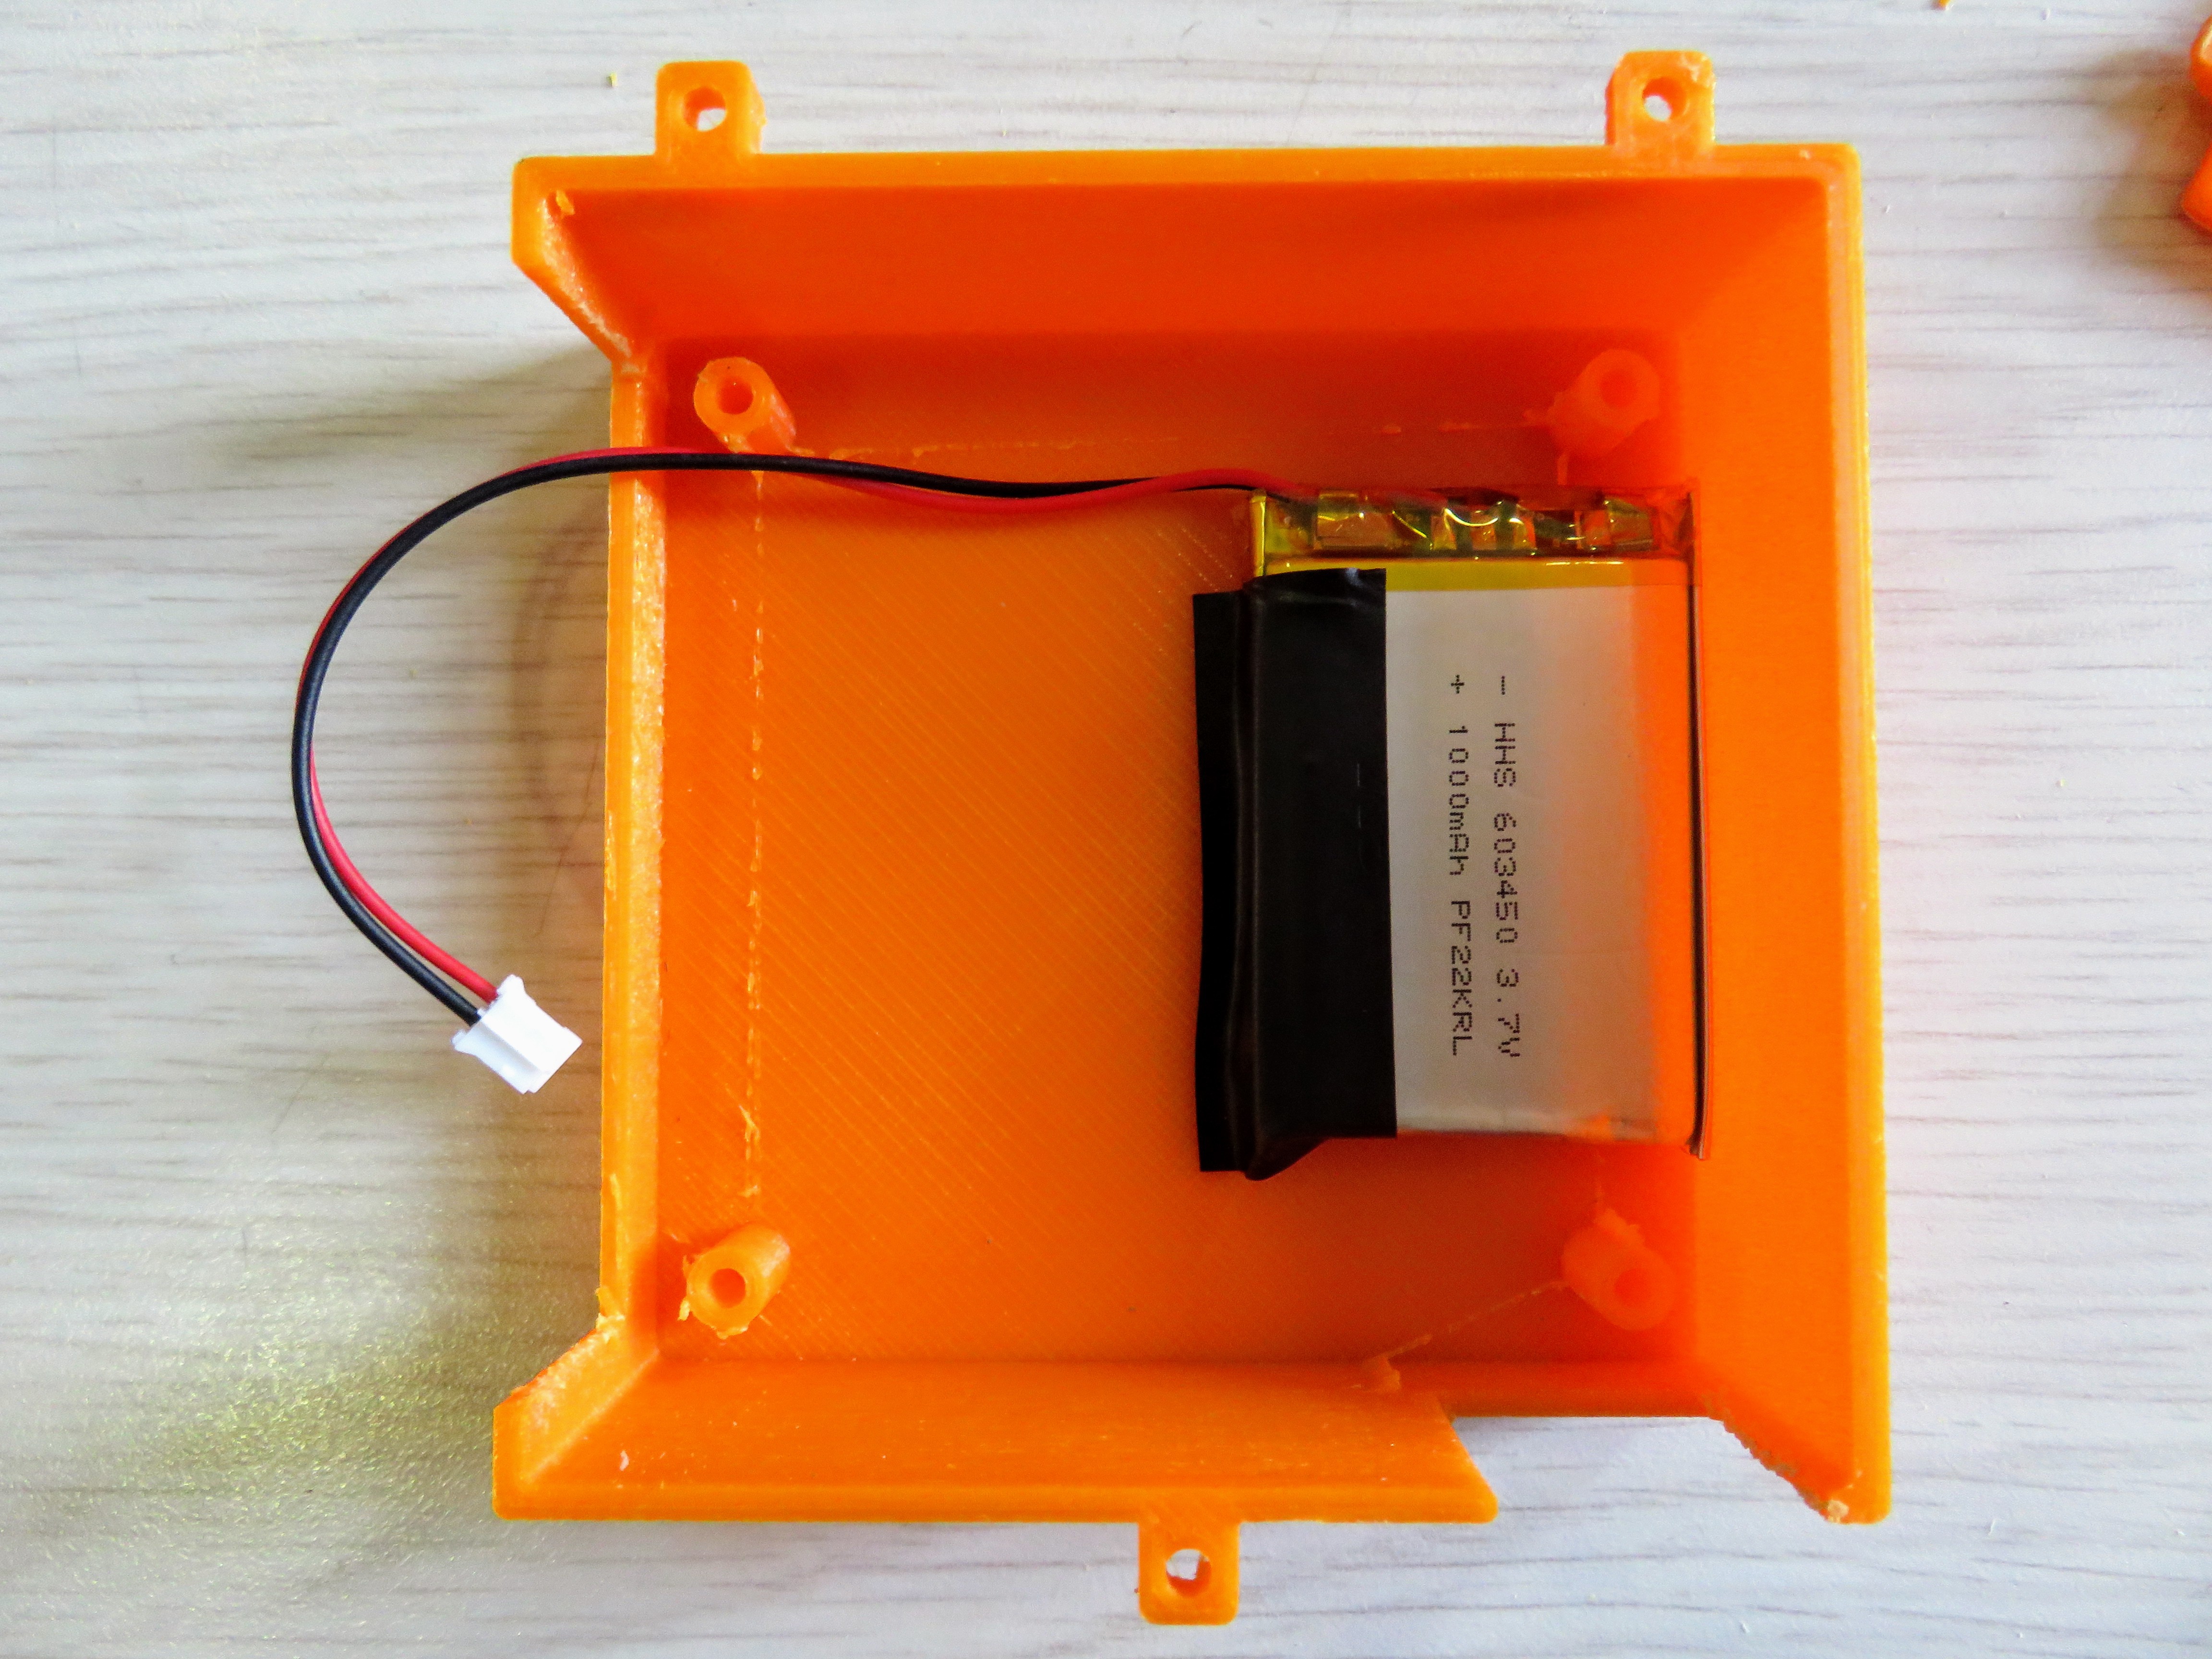
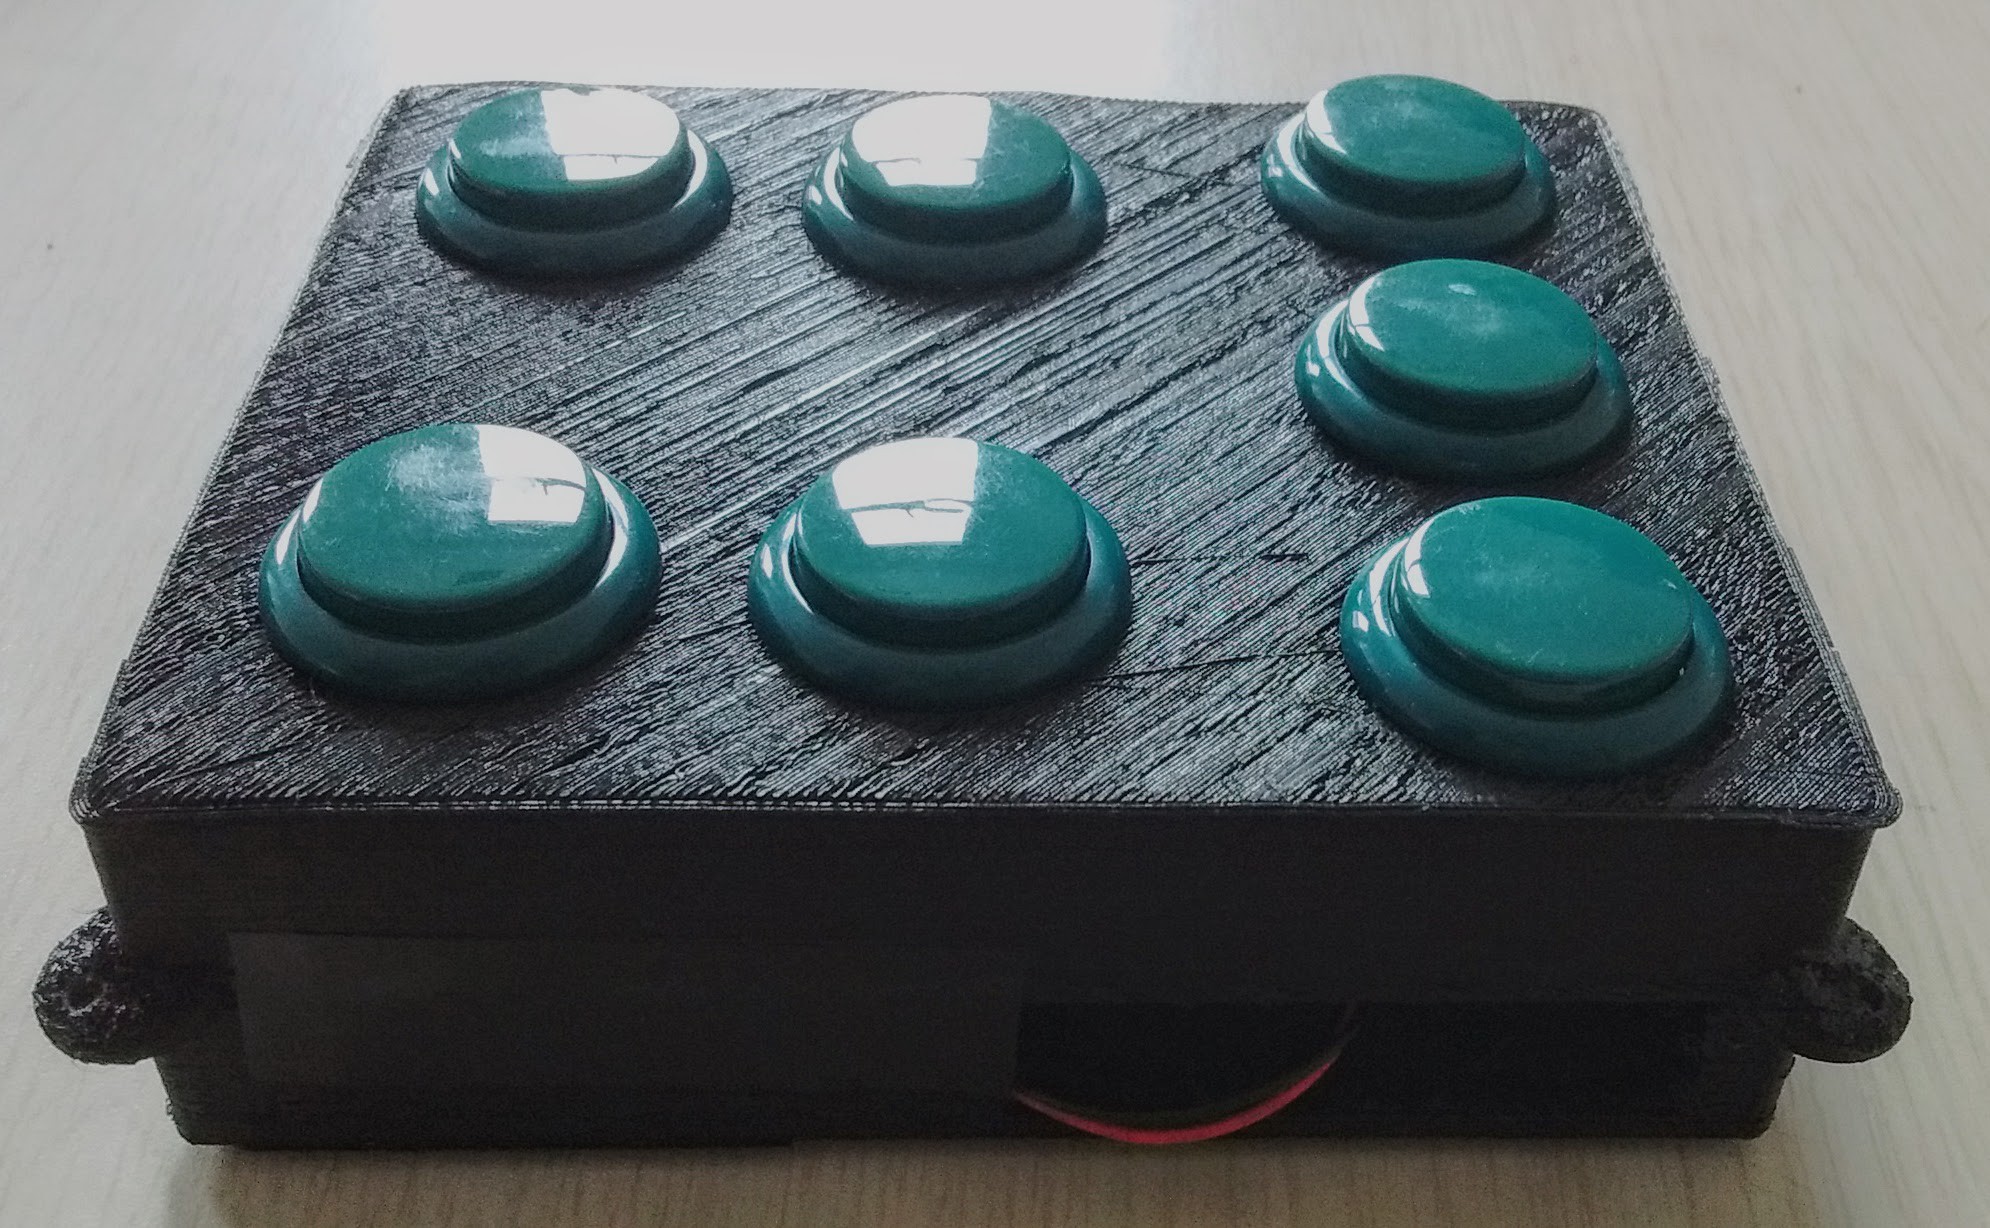
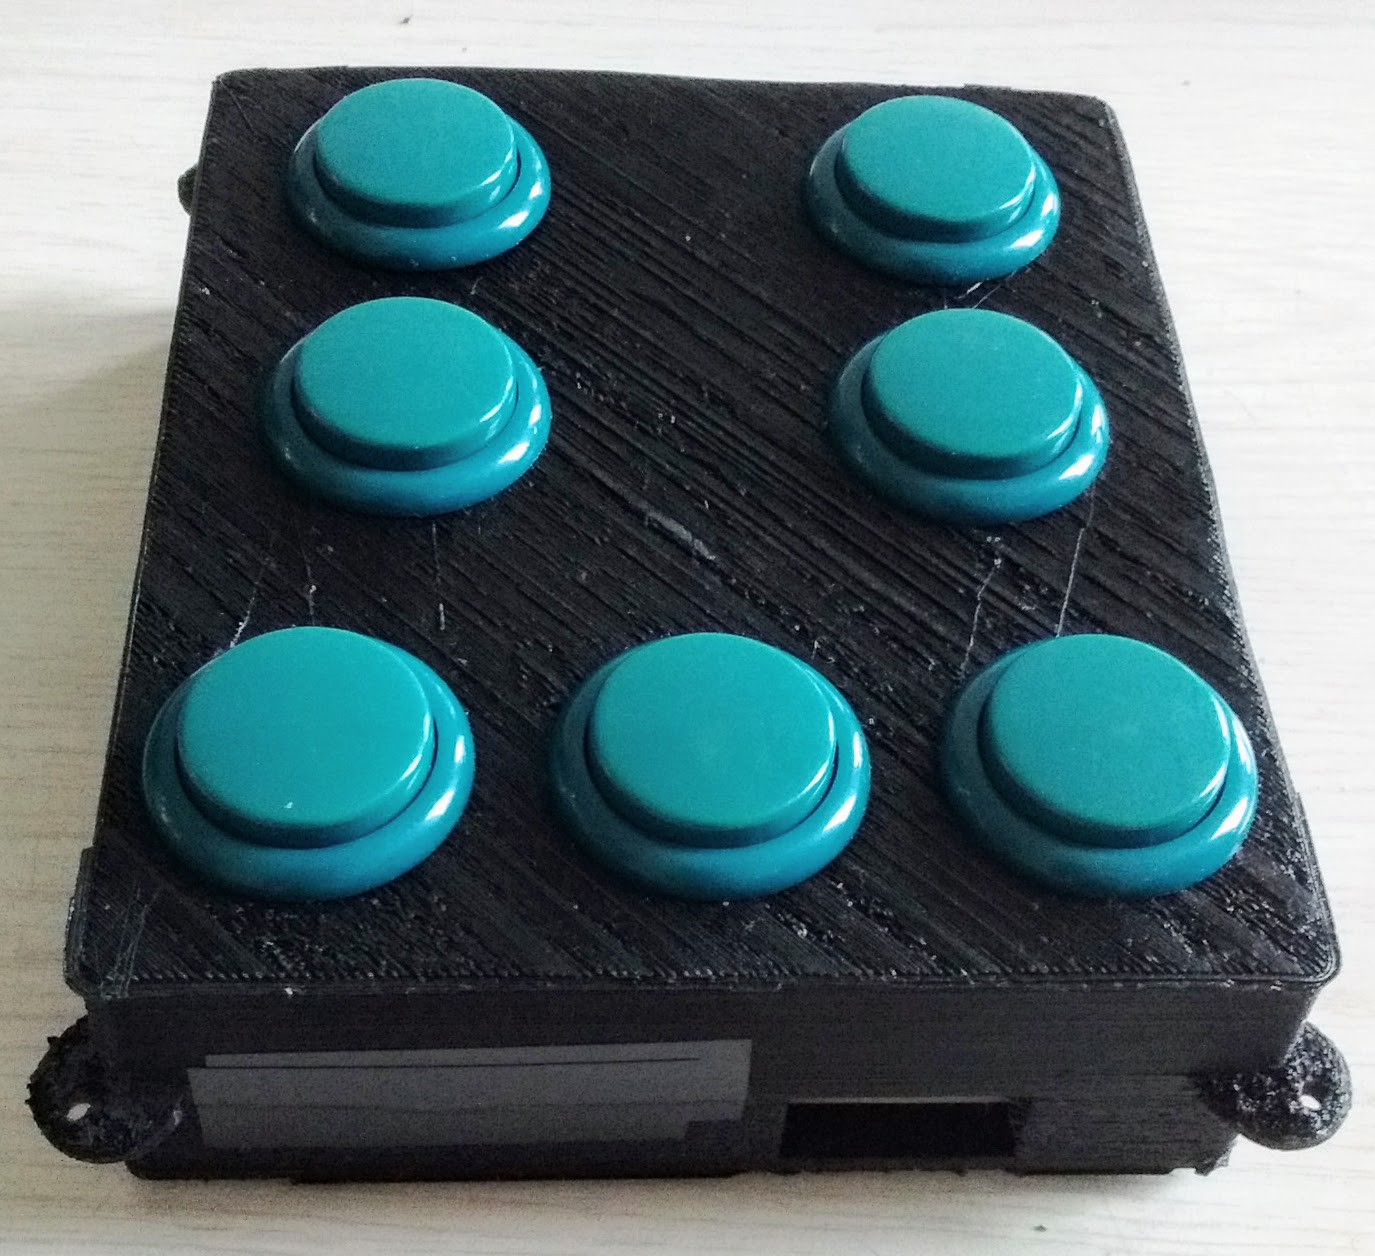
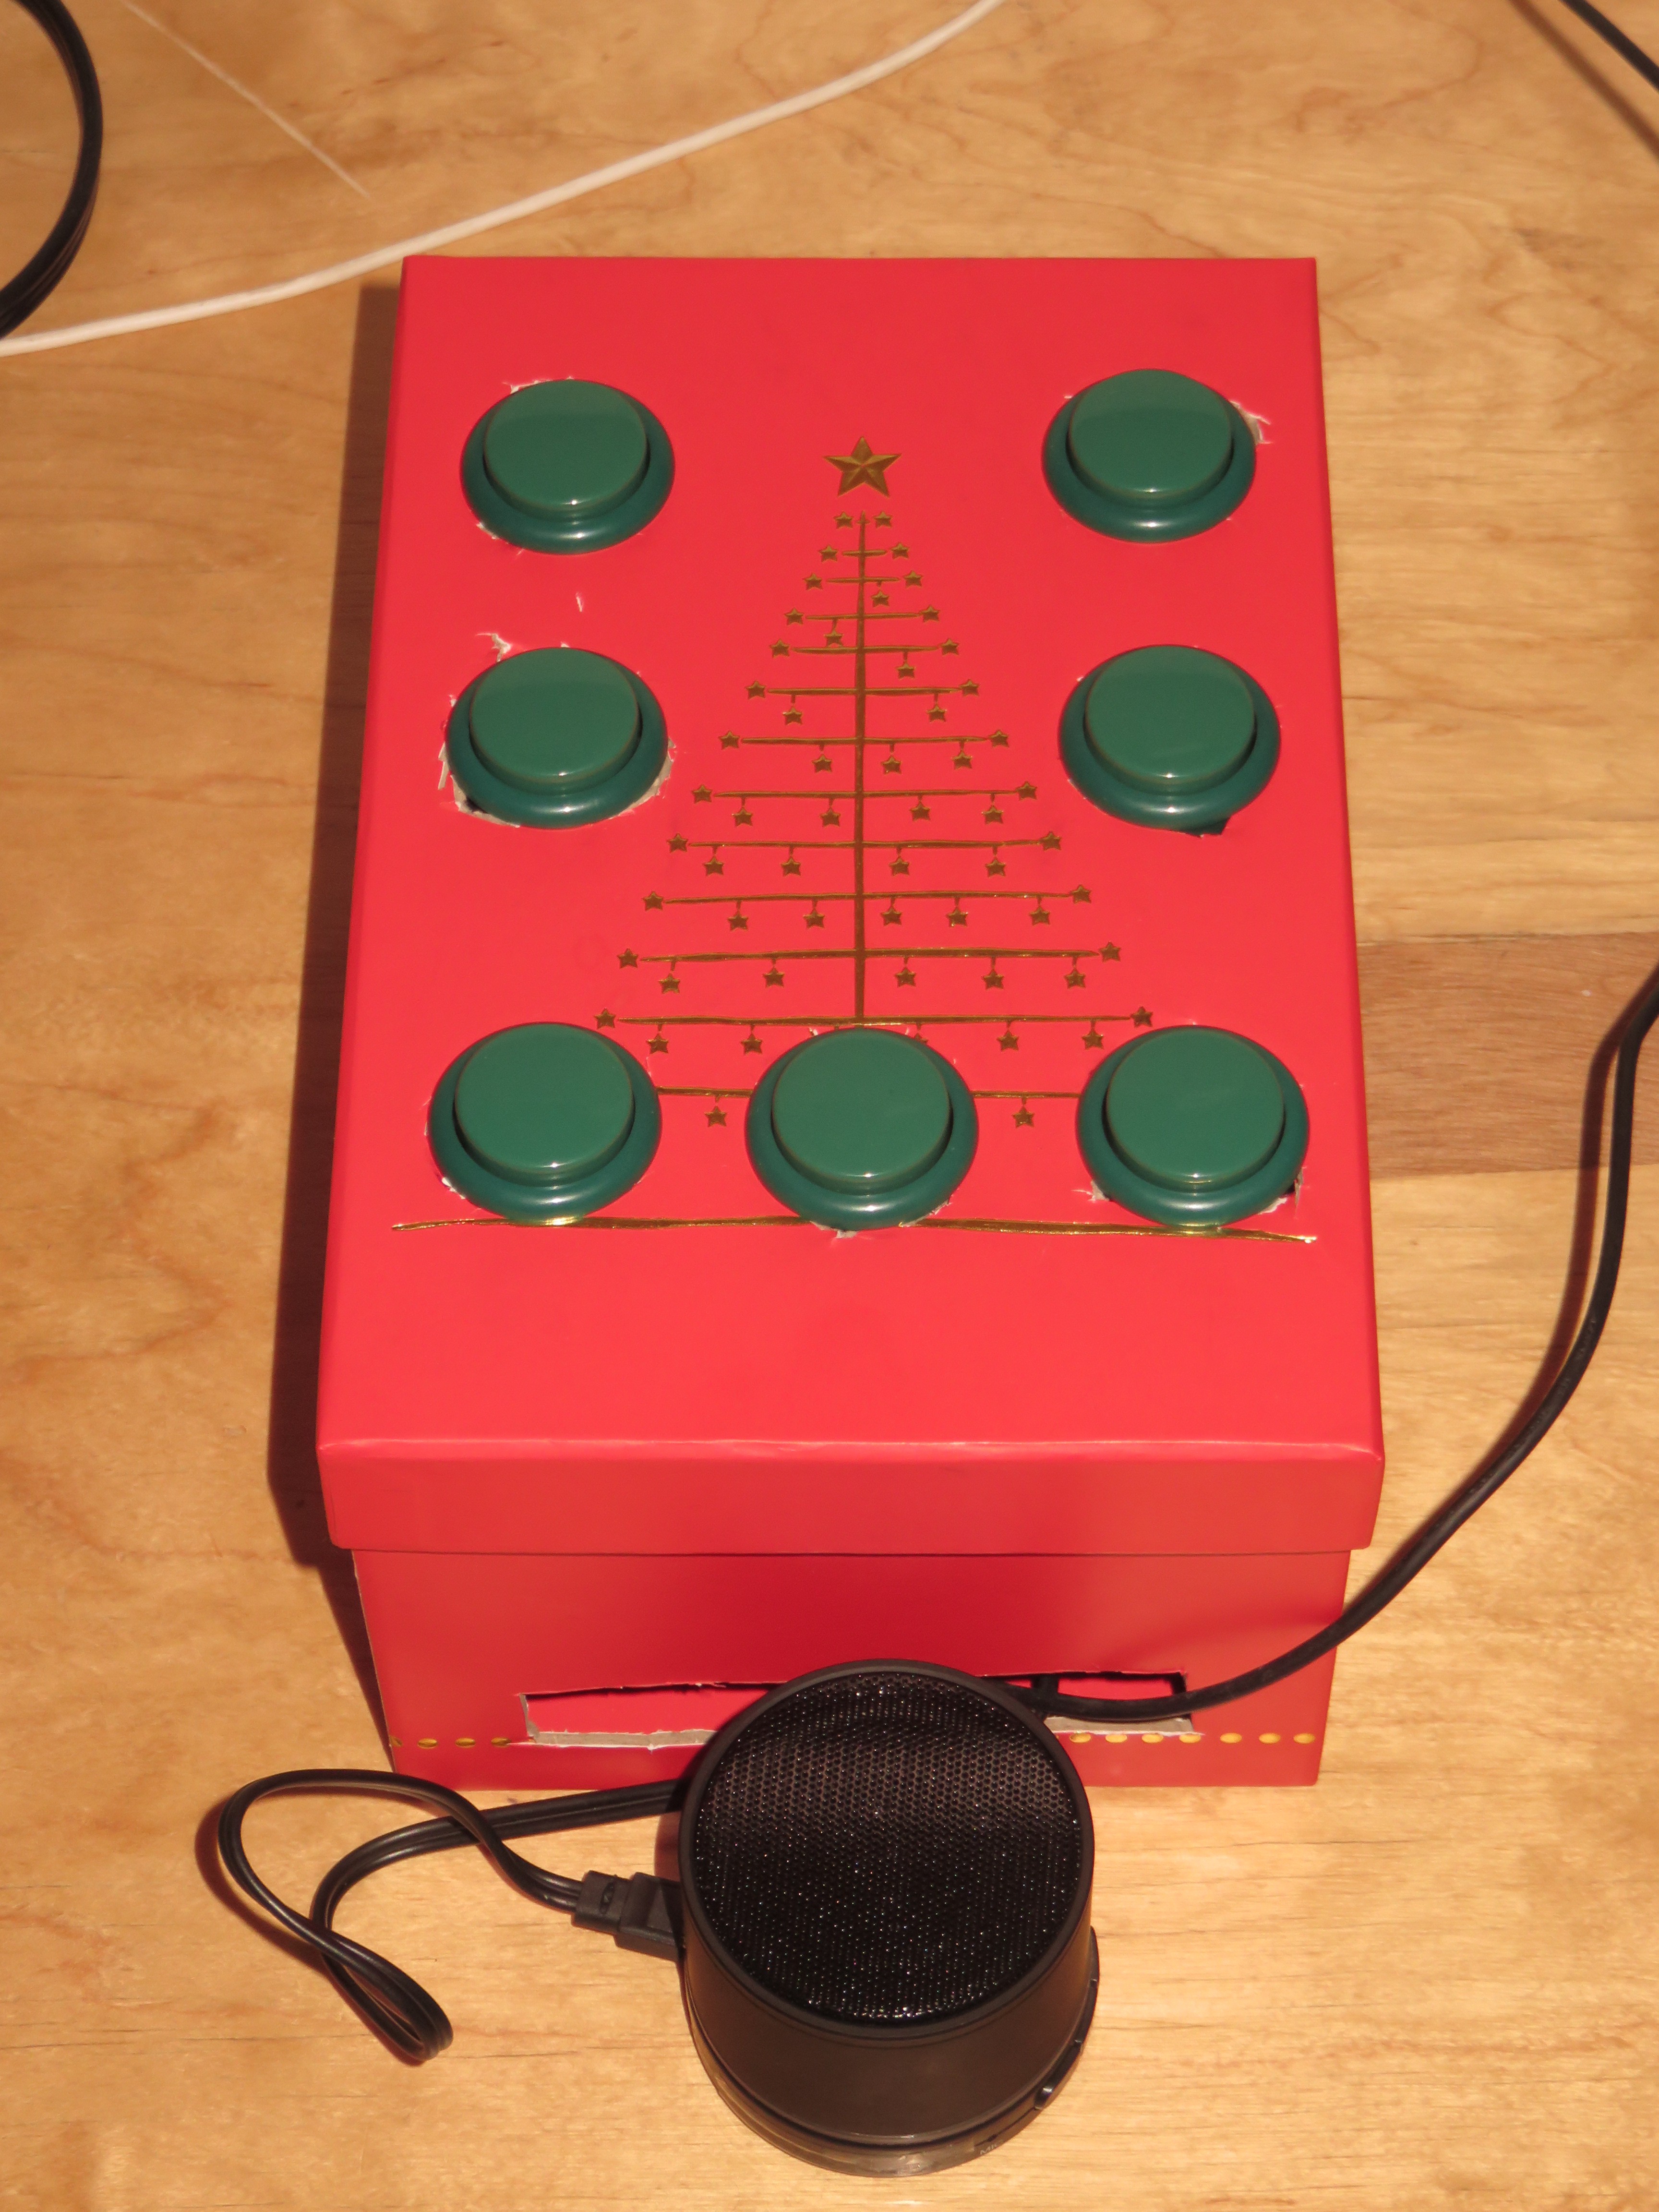
You can use Neltume with earphones or speakers
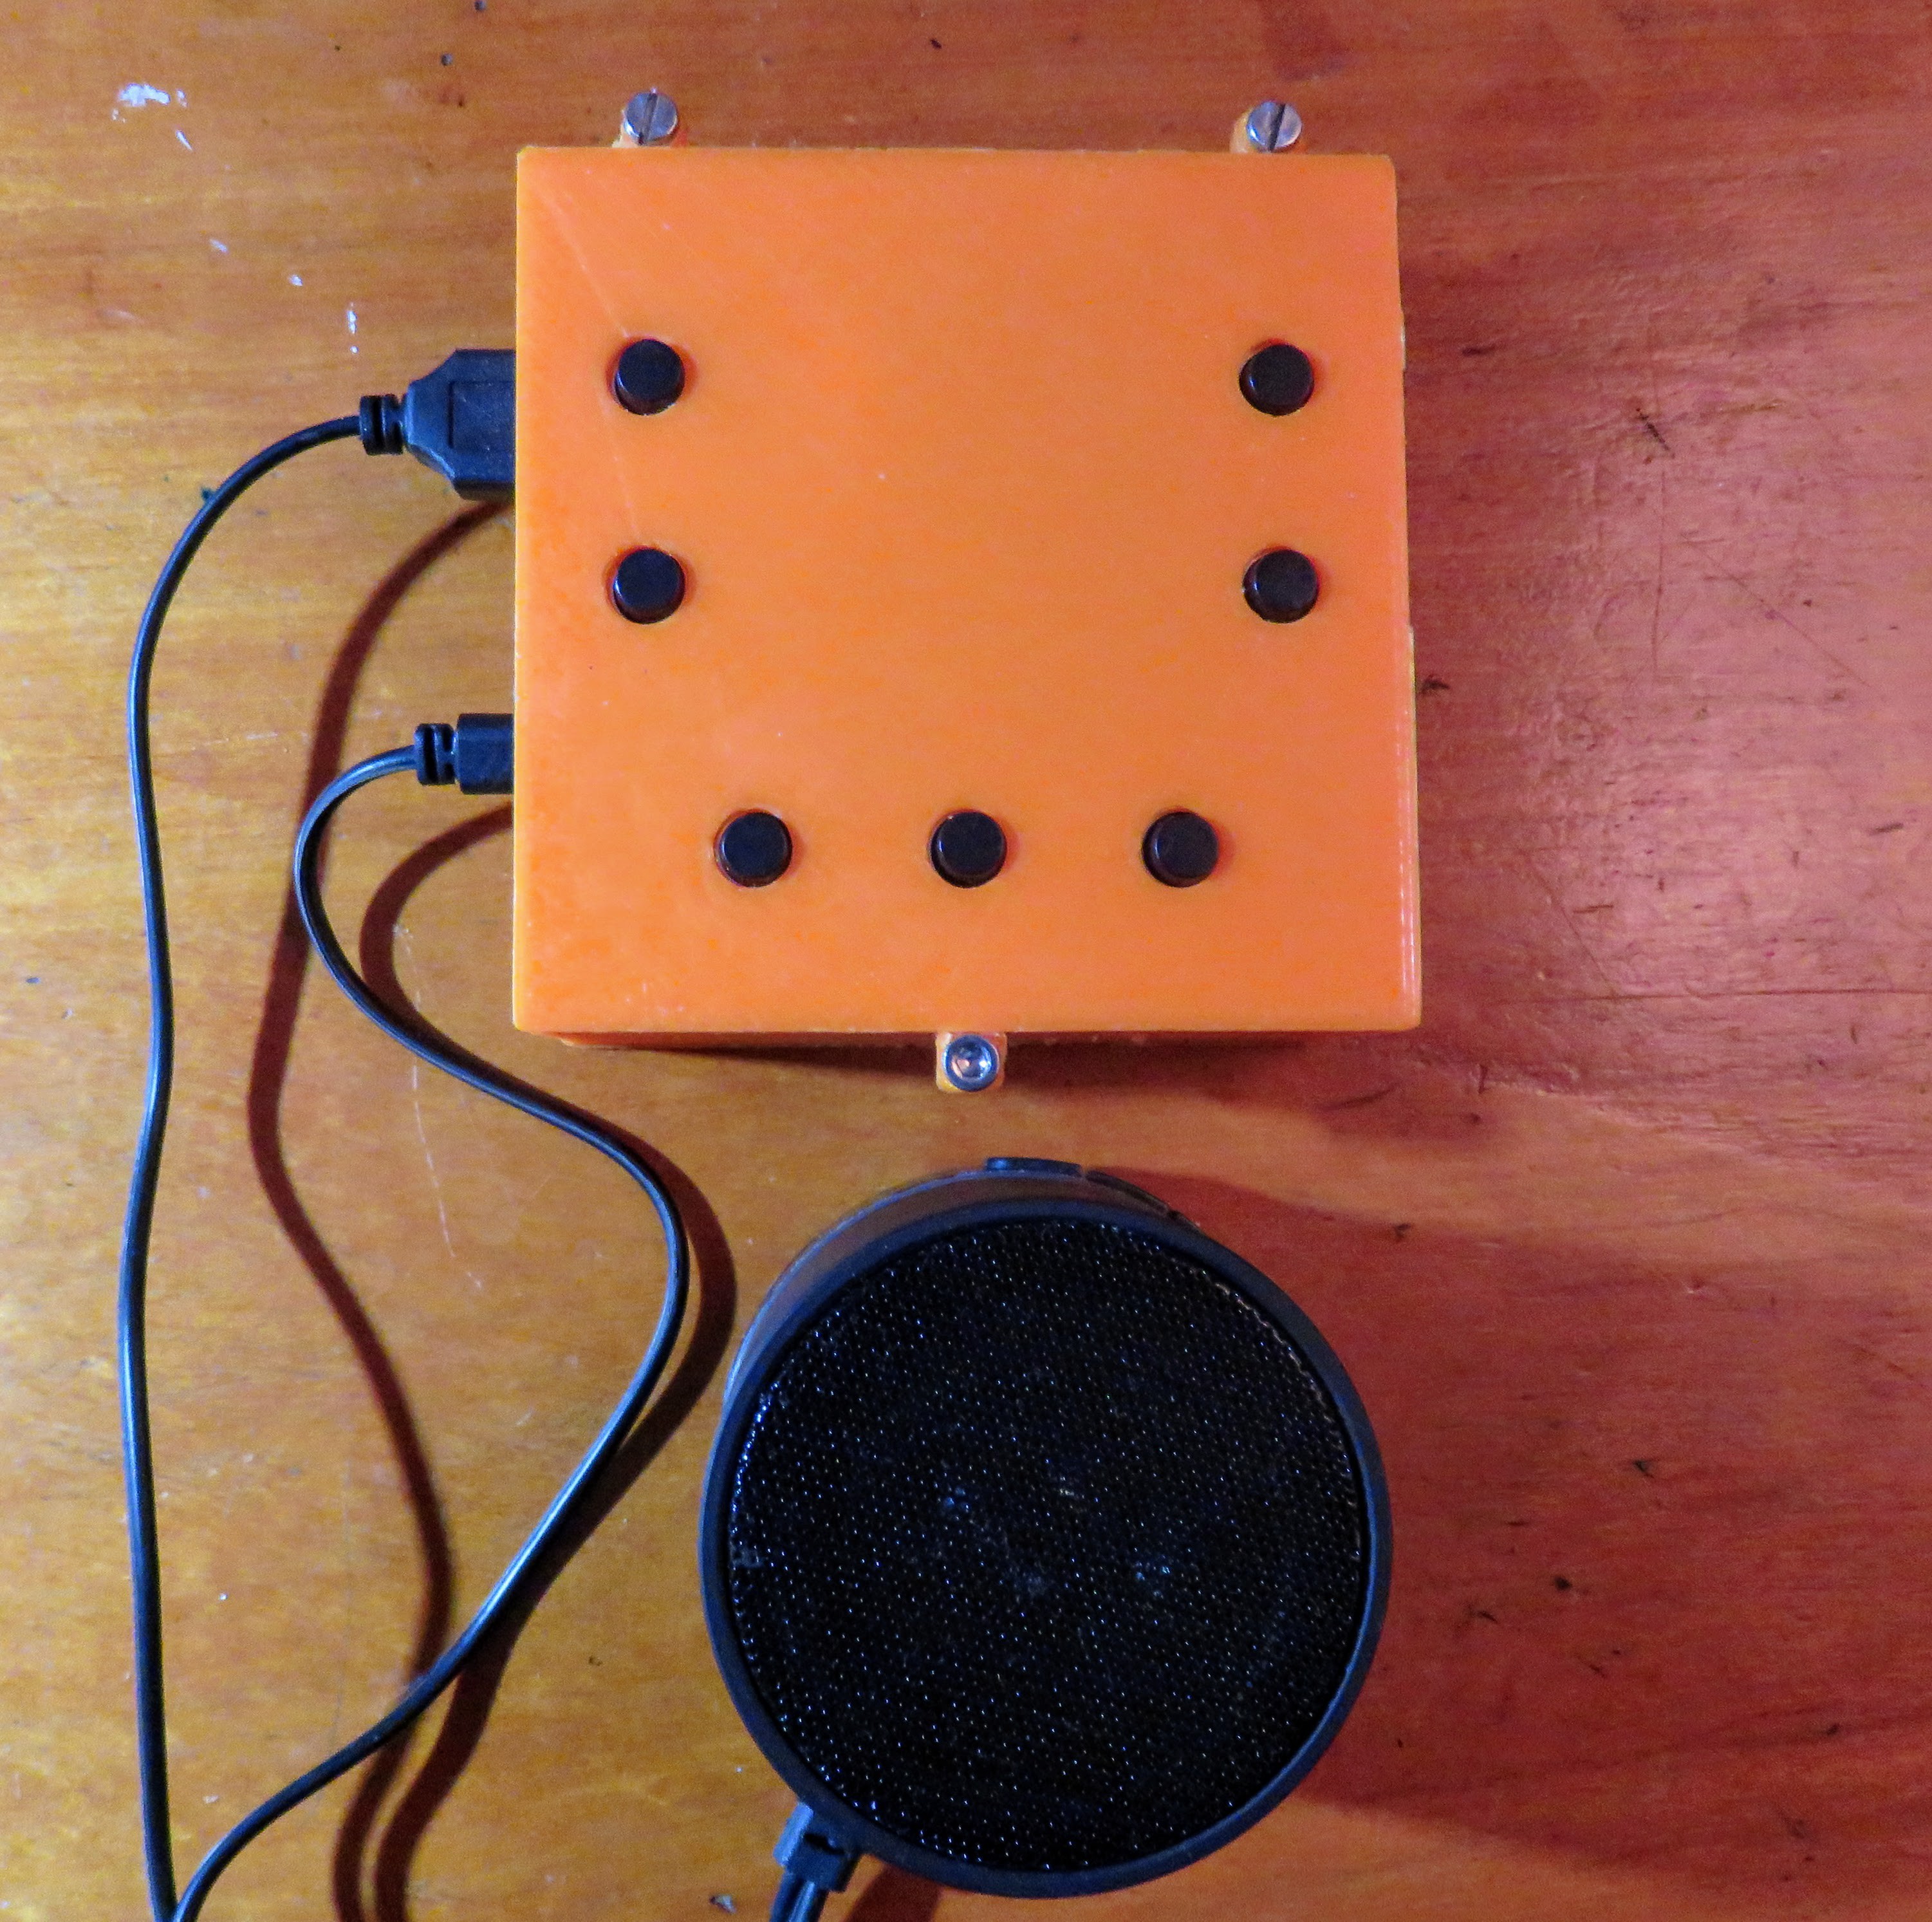 | 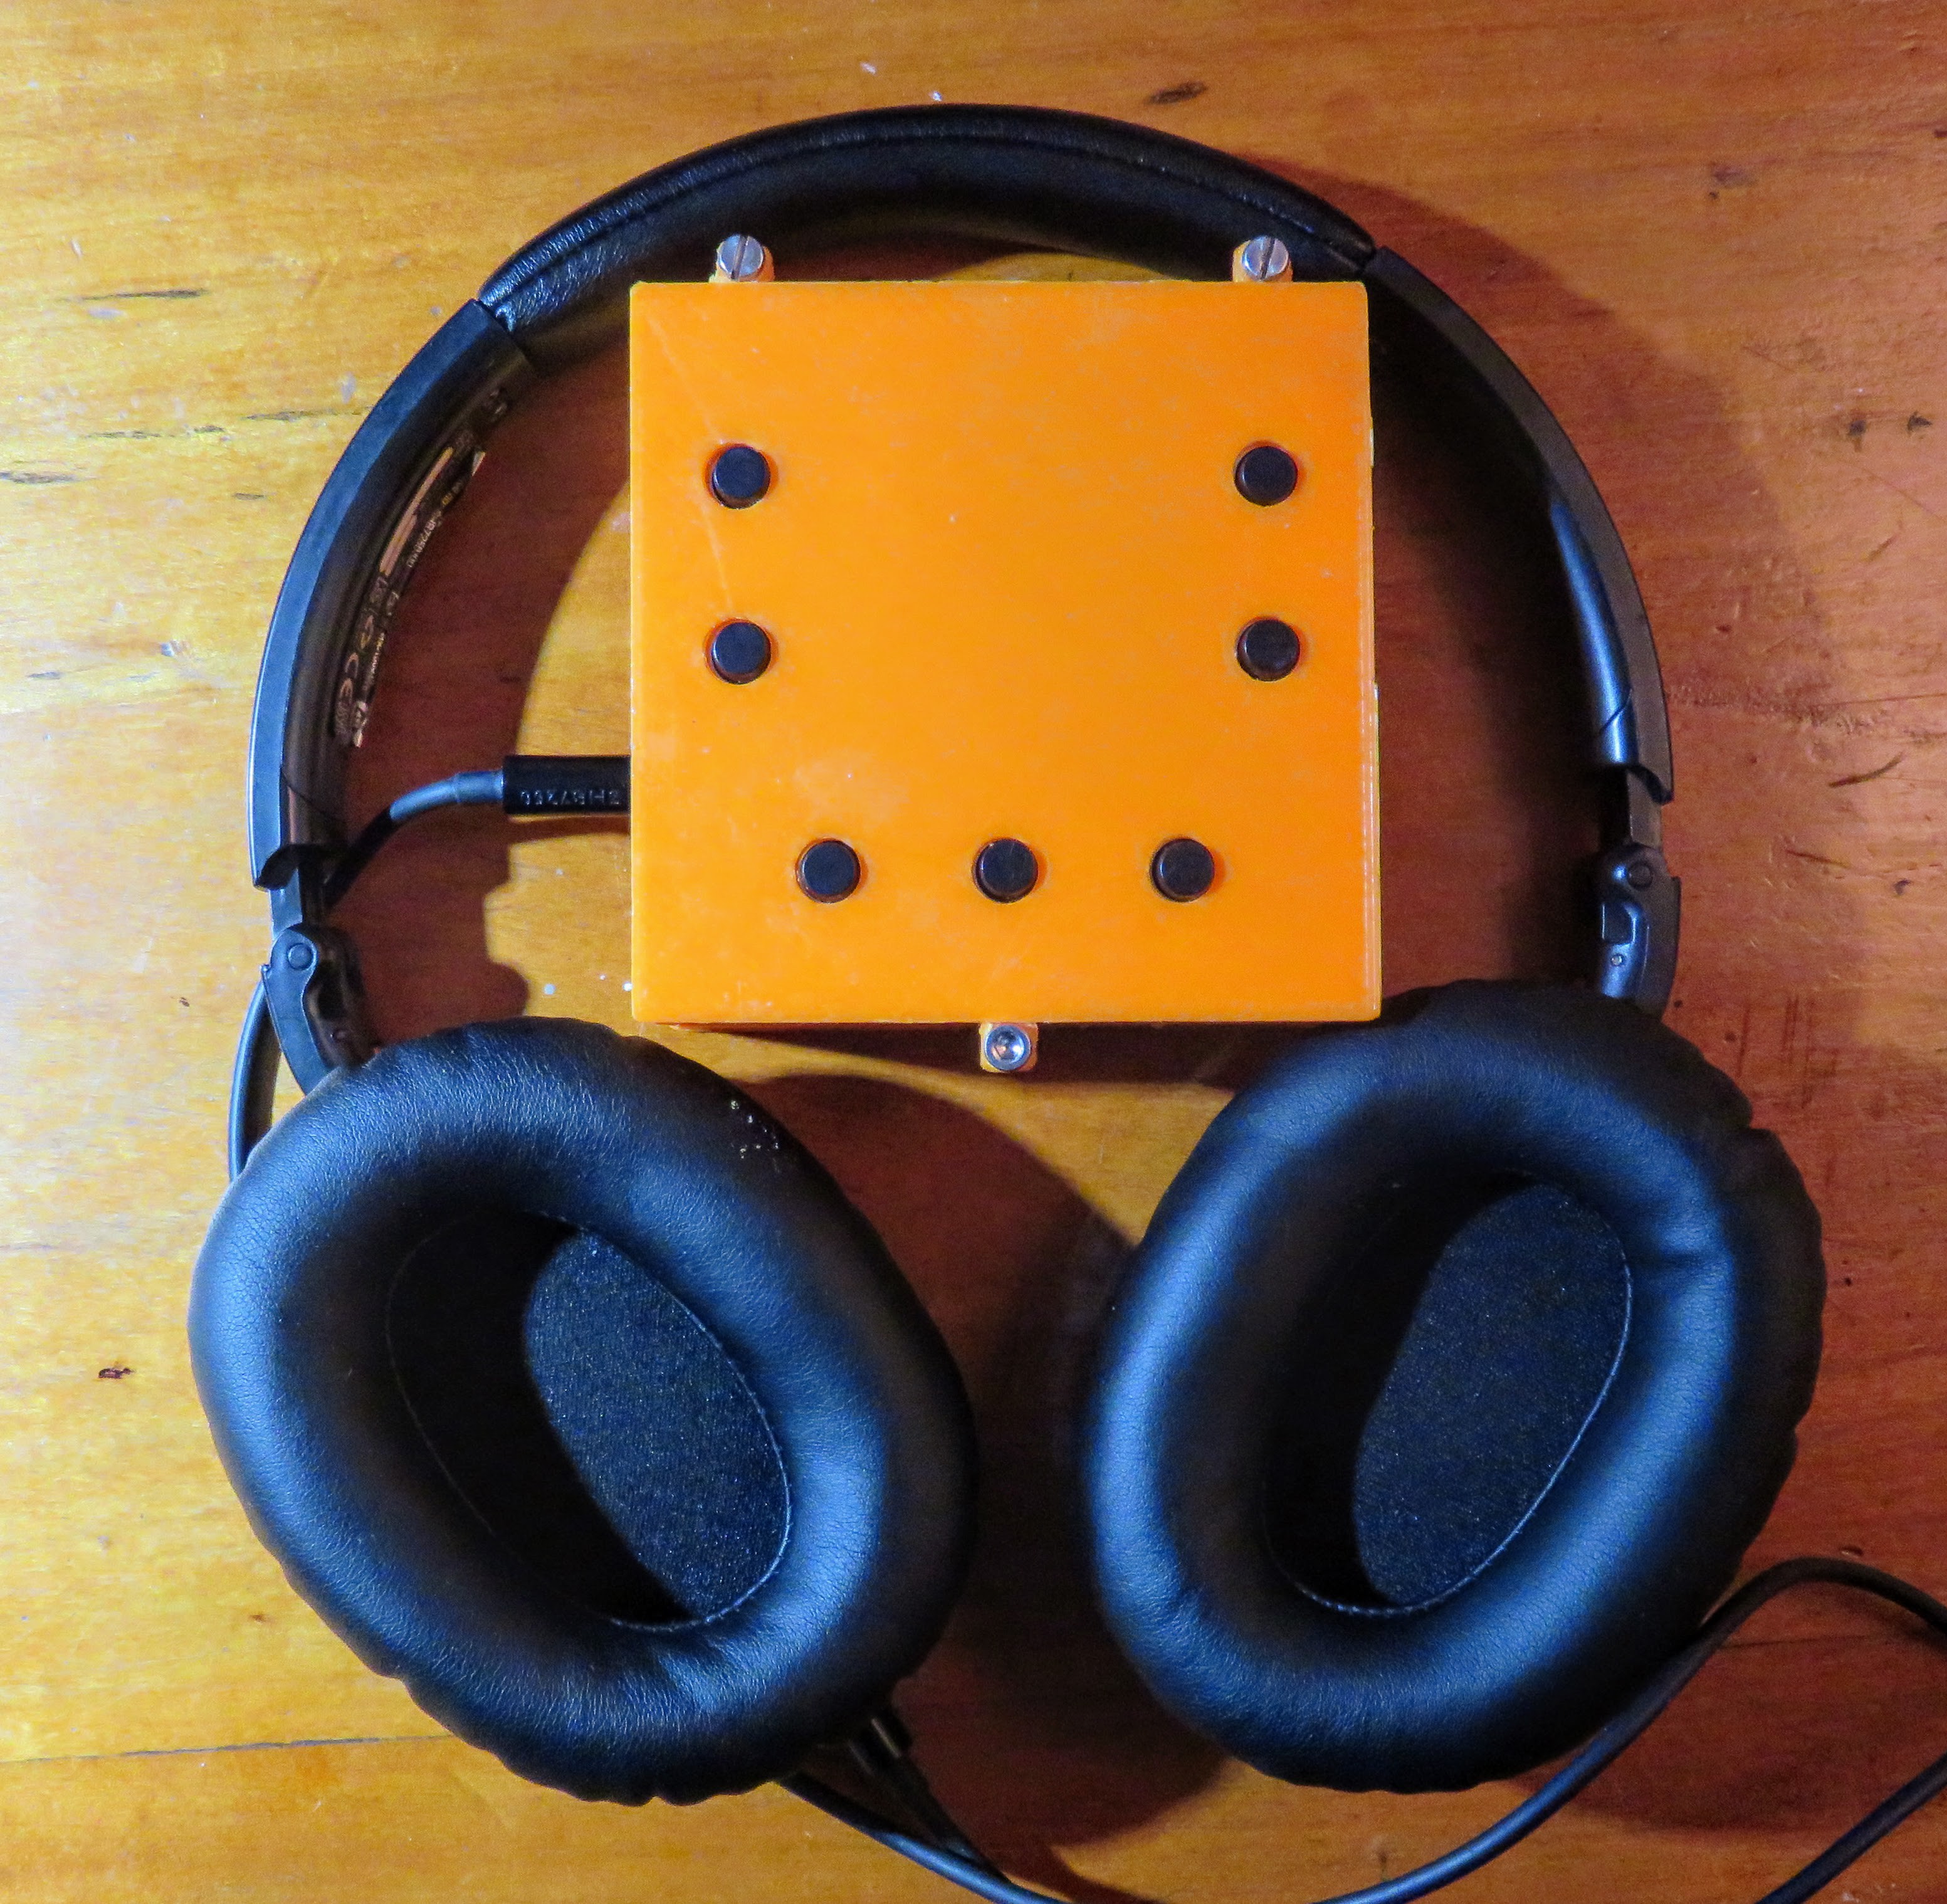 |
How it works
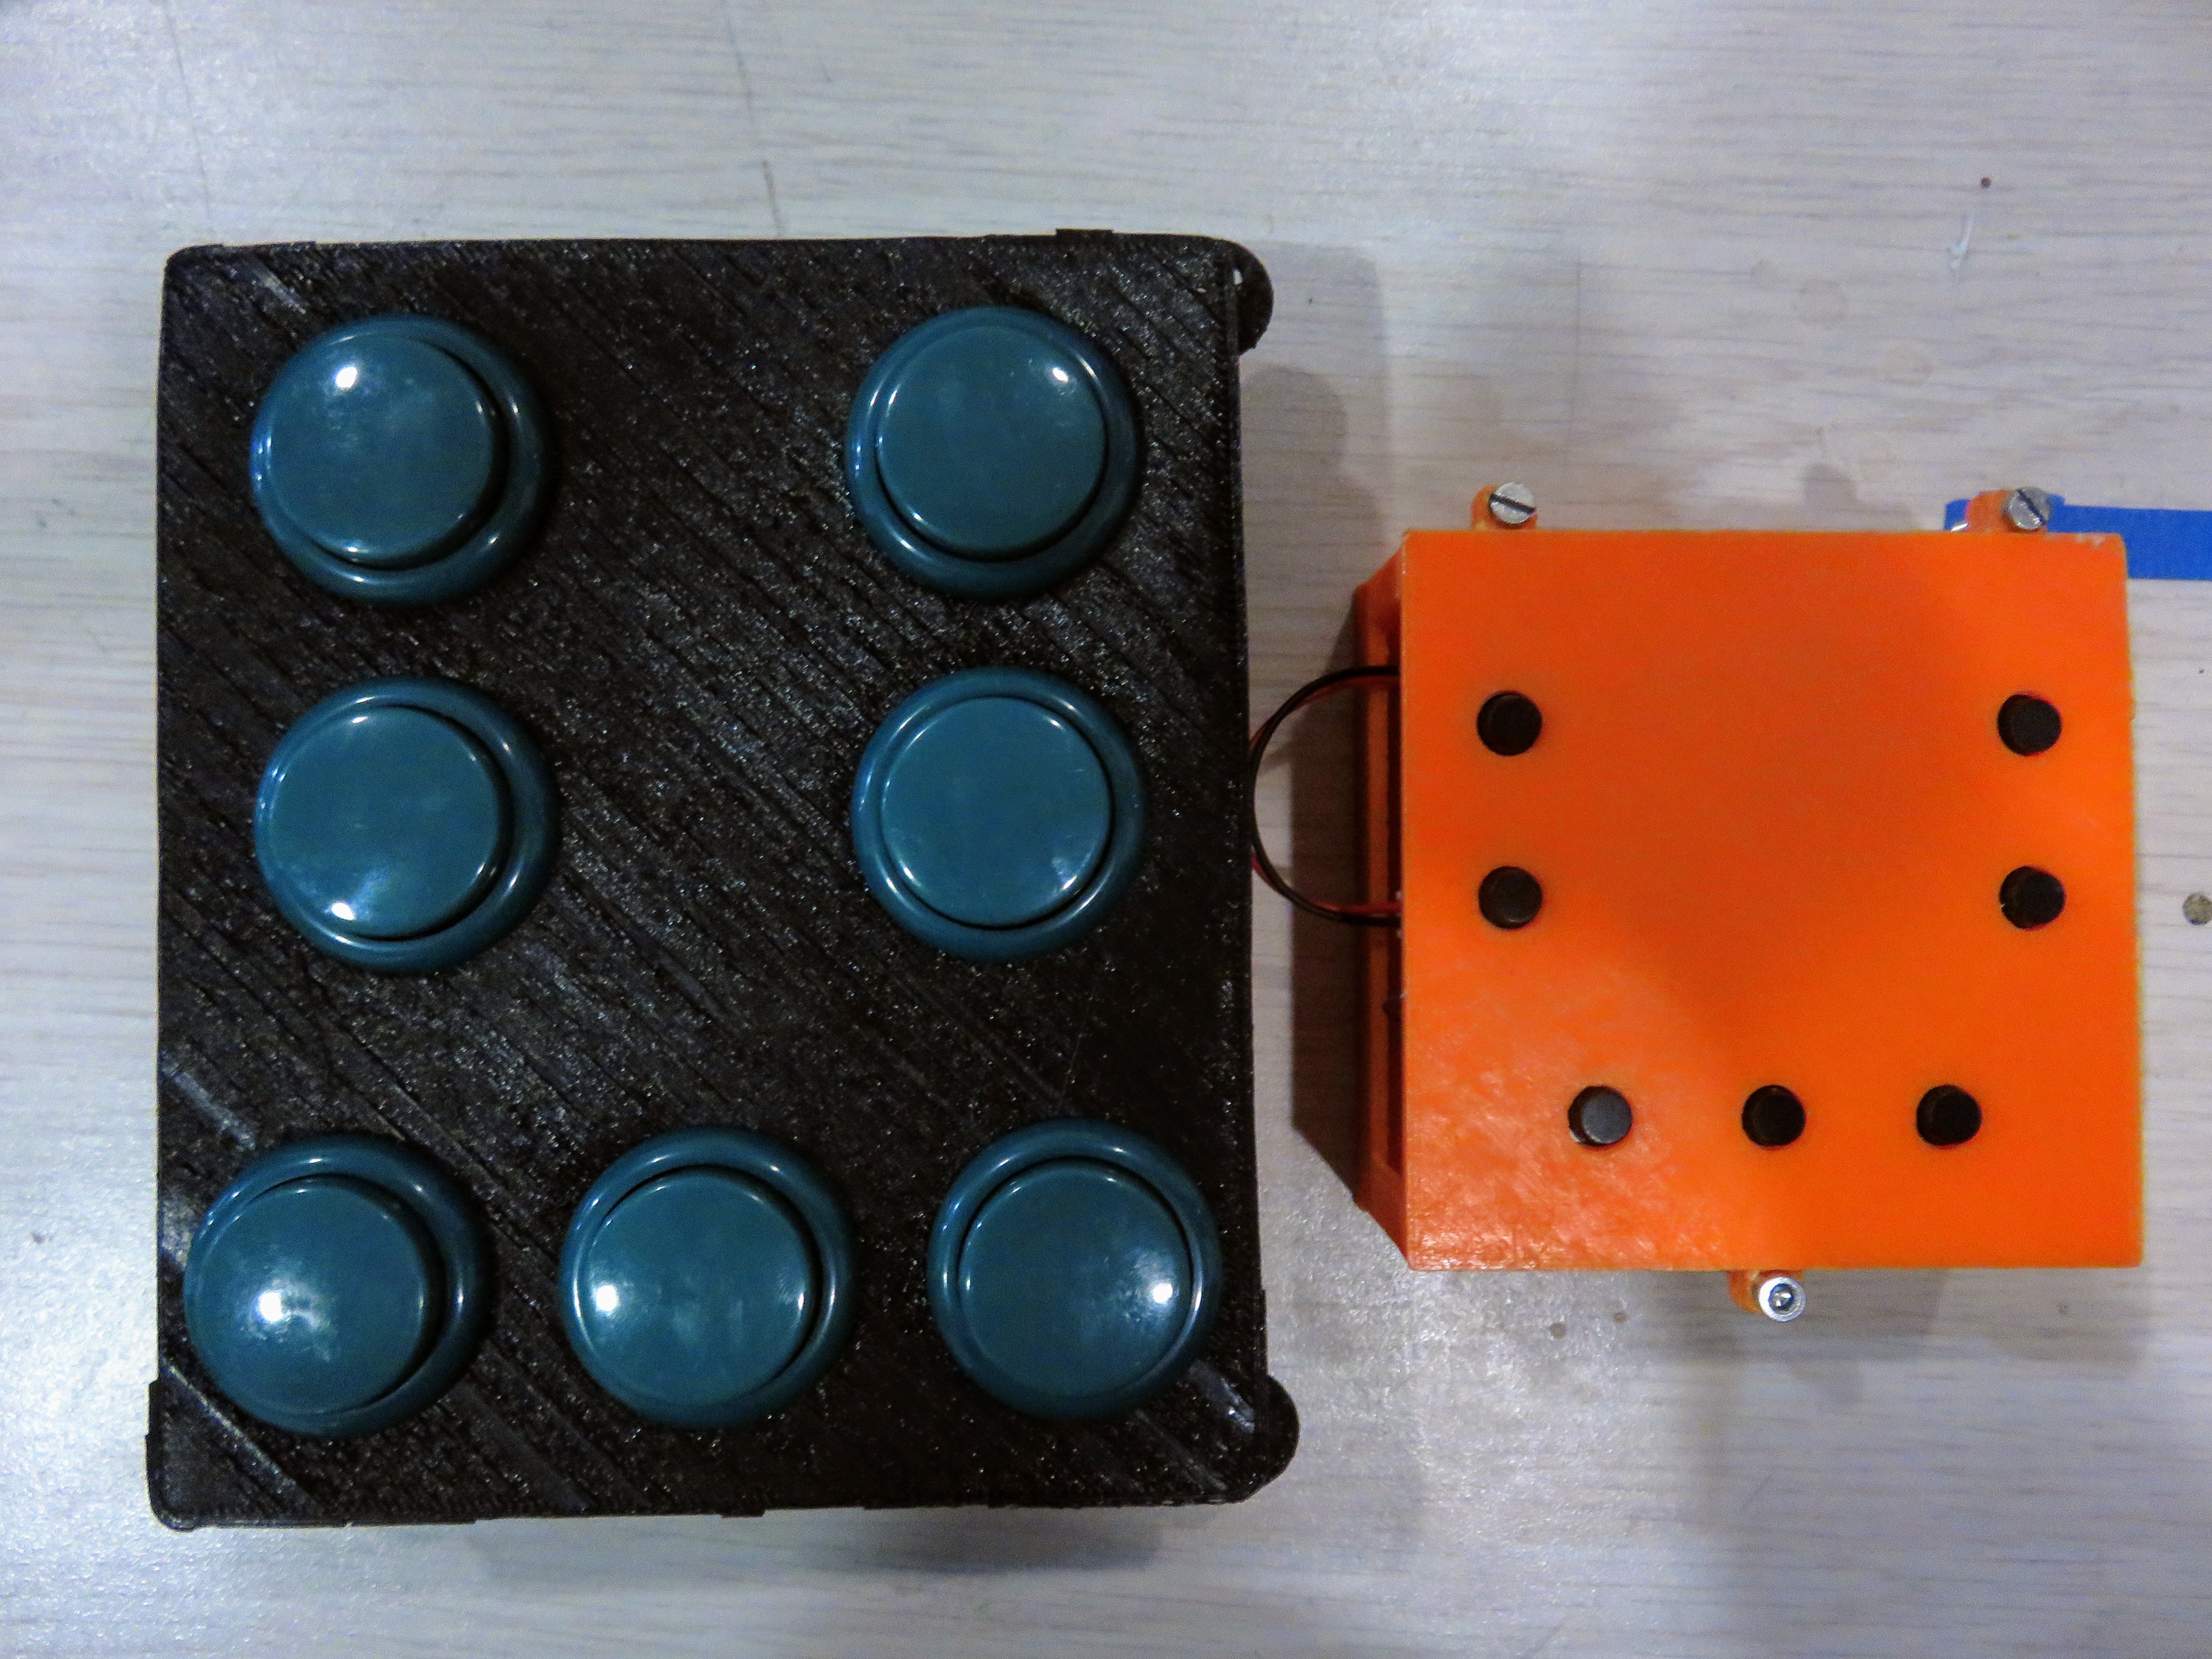
The whole system is based in an audio interface and the learning method is through multiple selection.
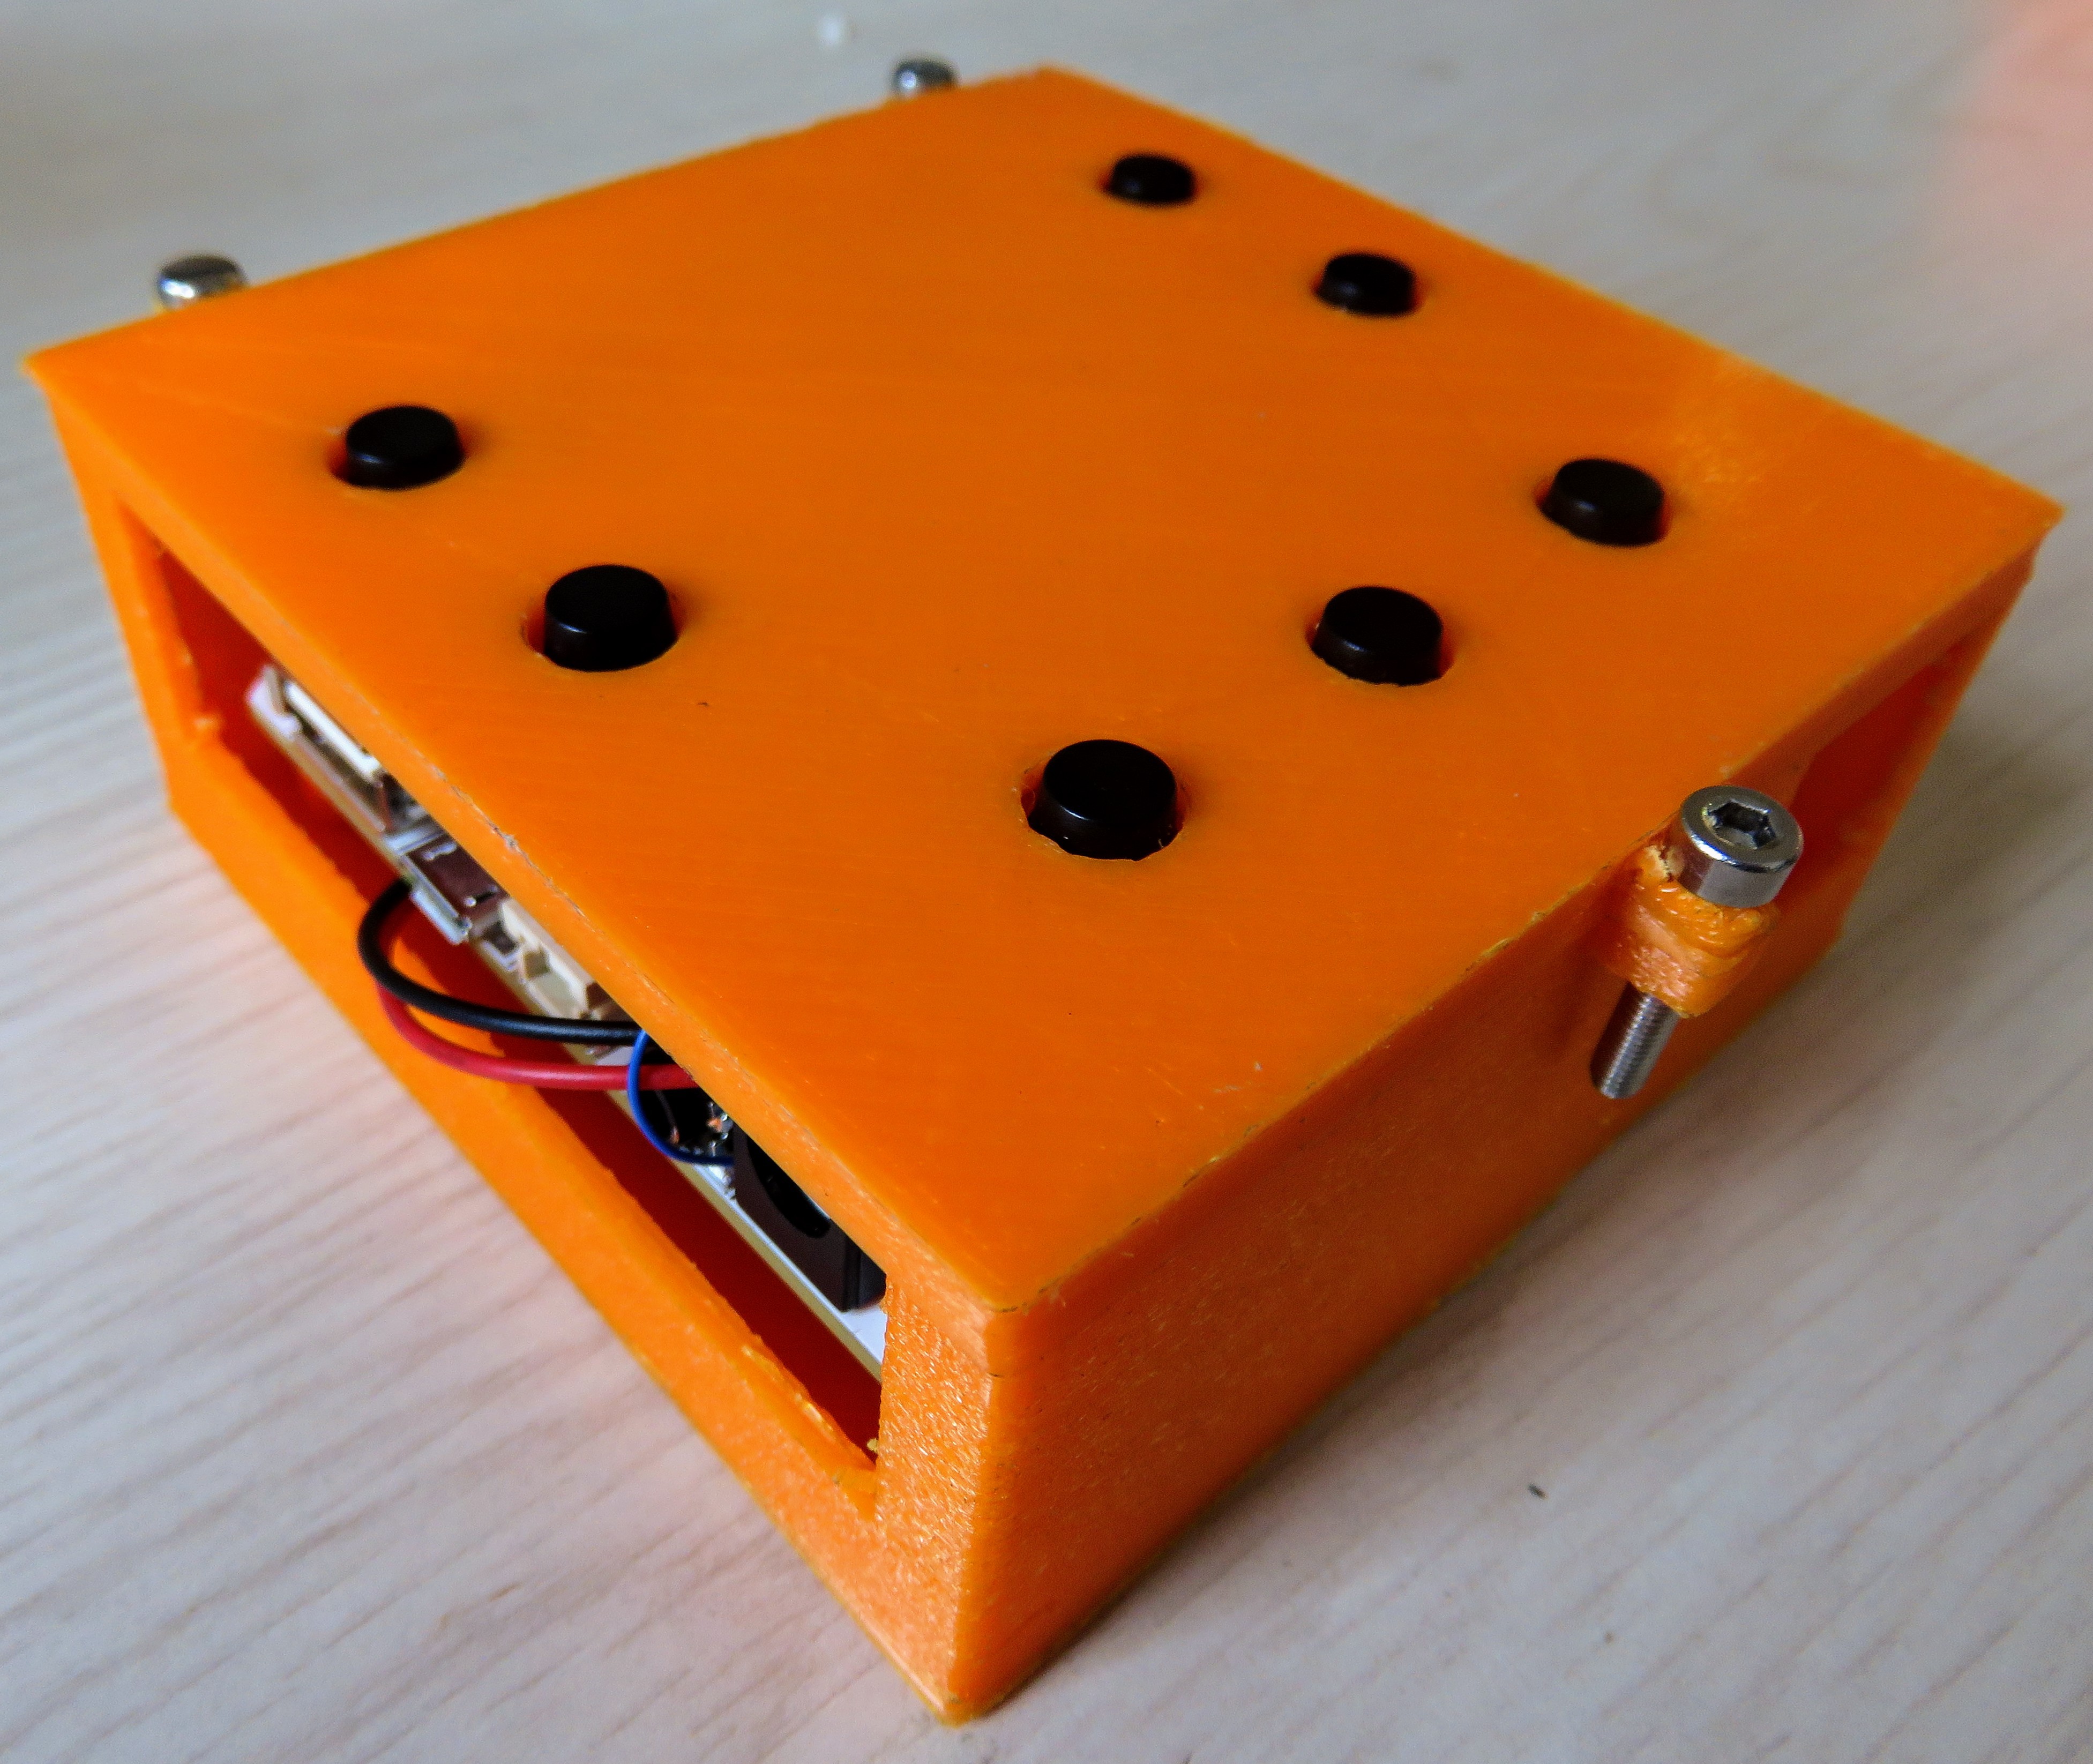
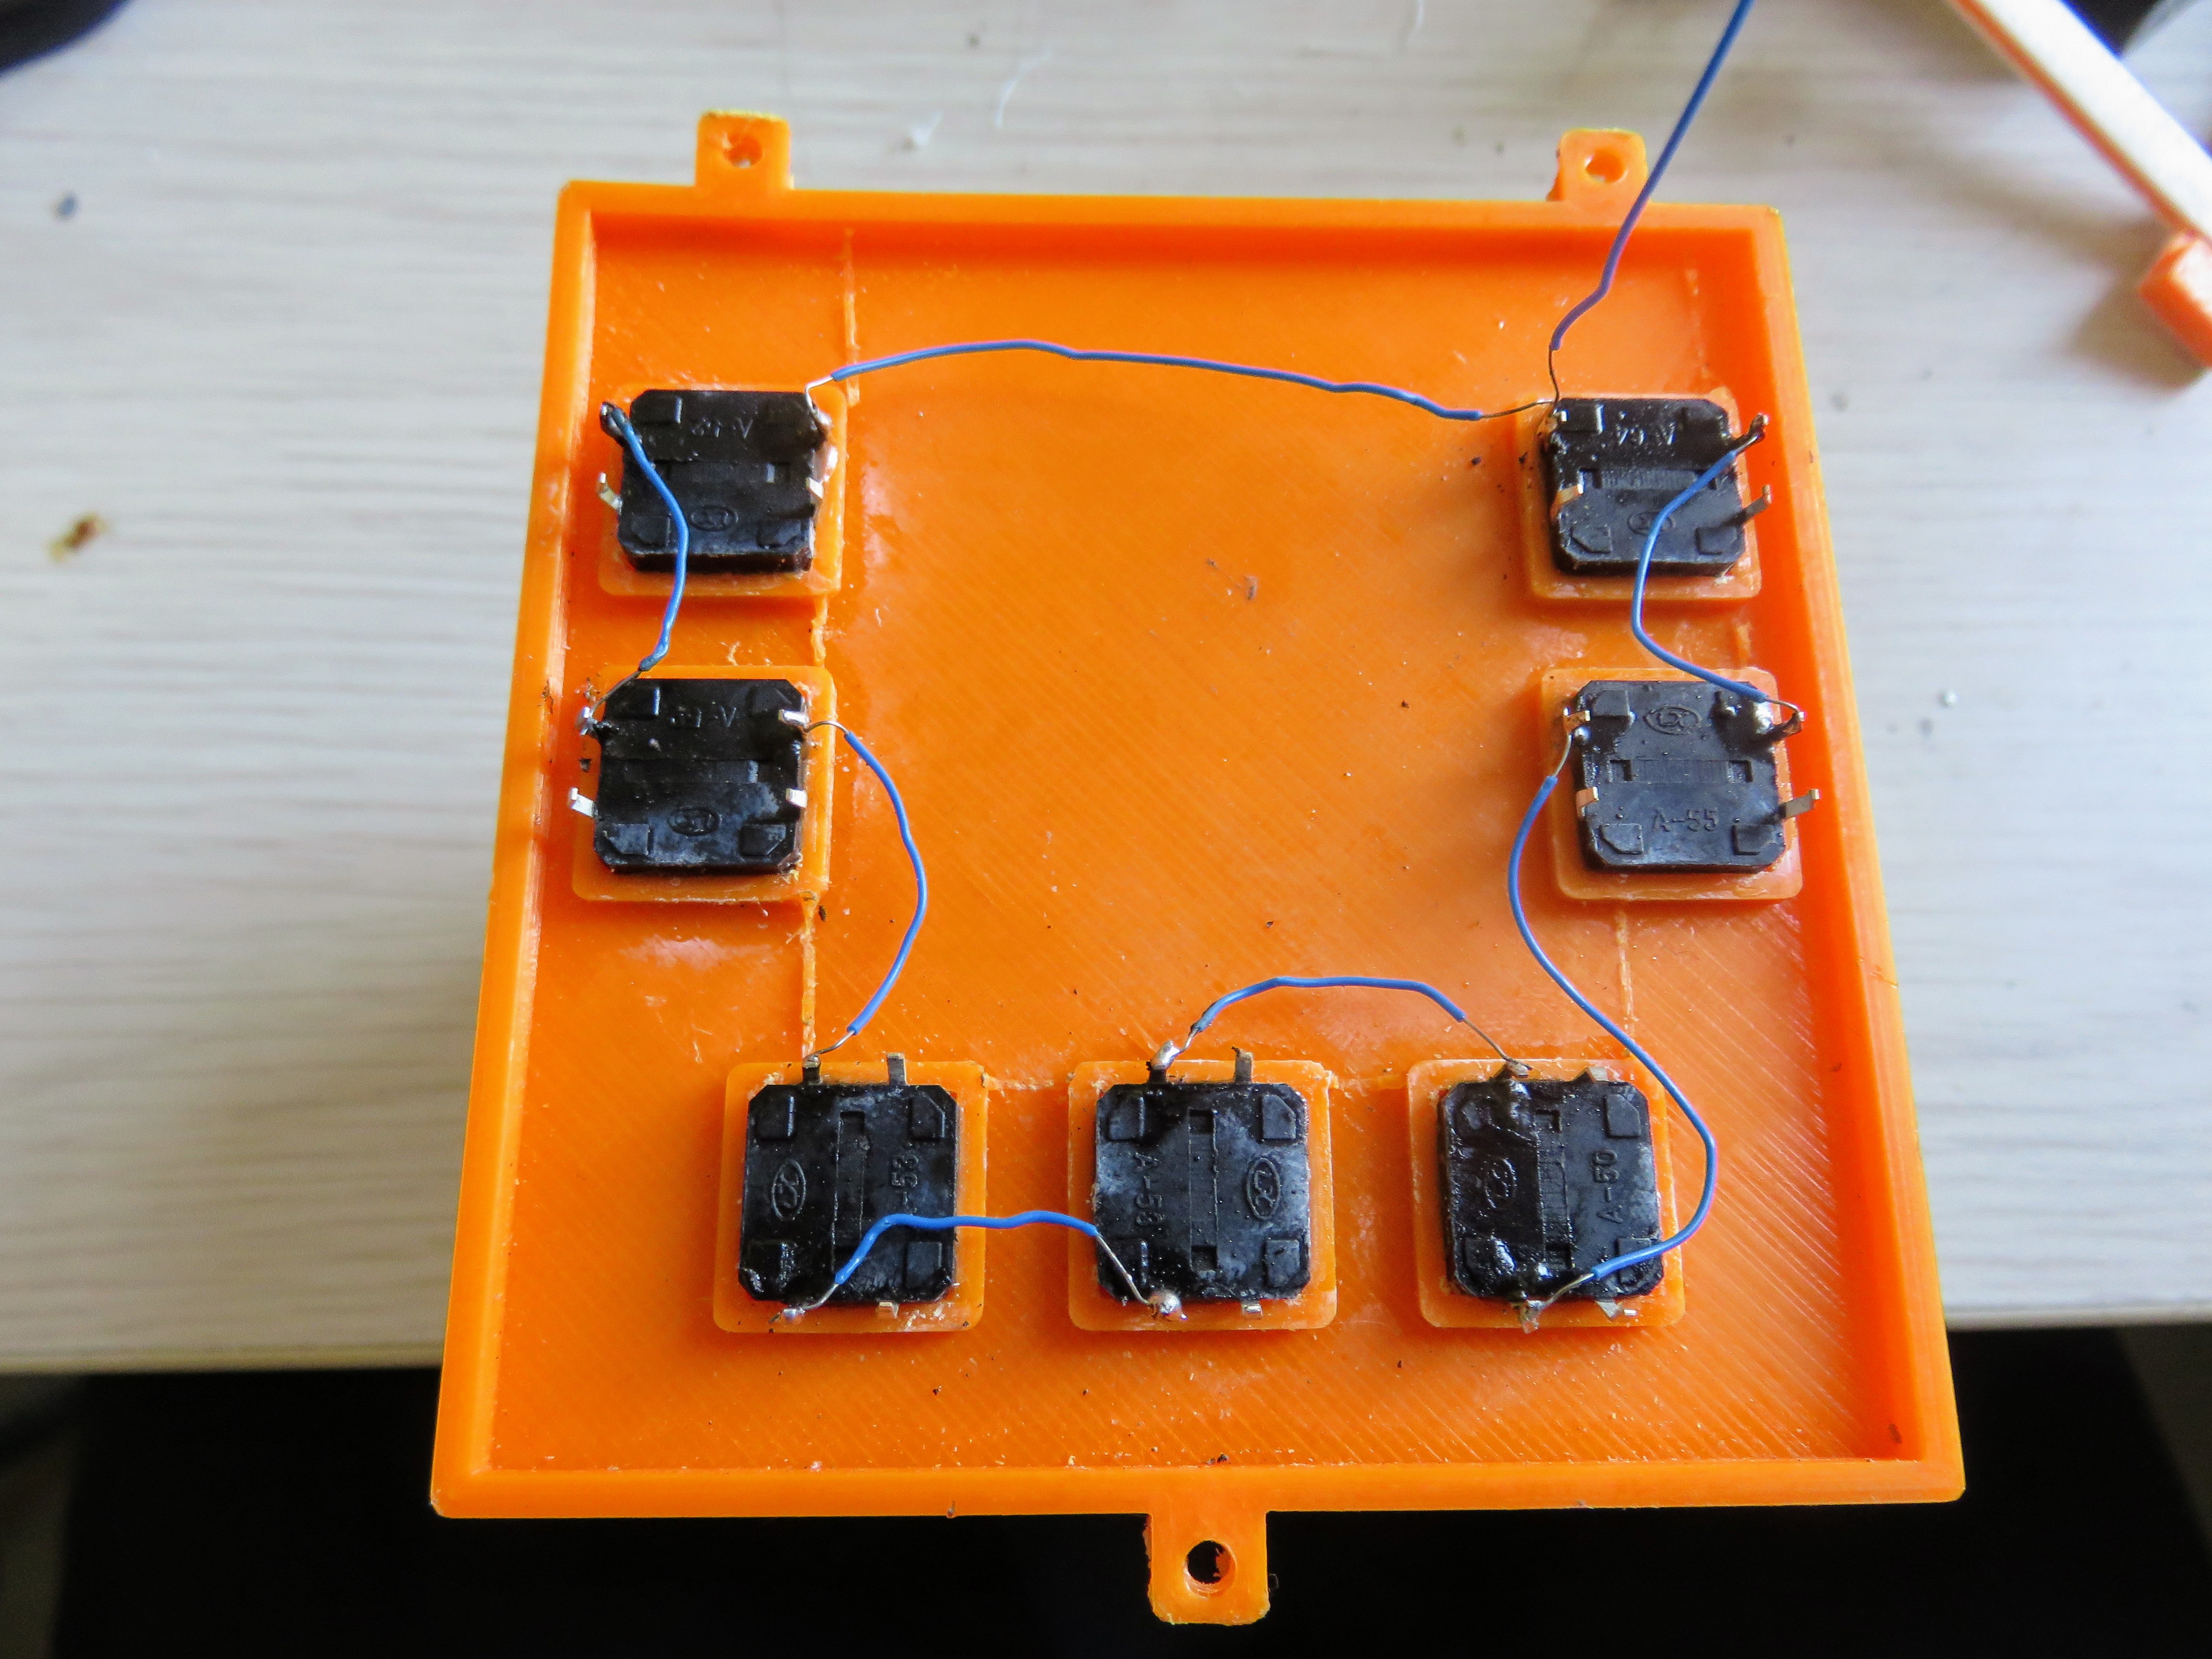
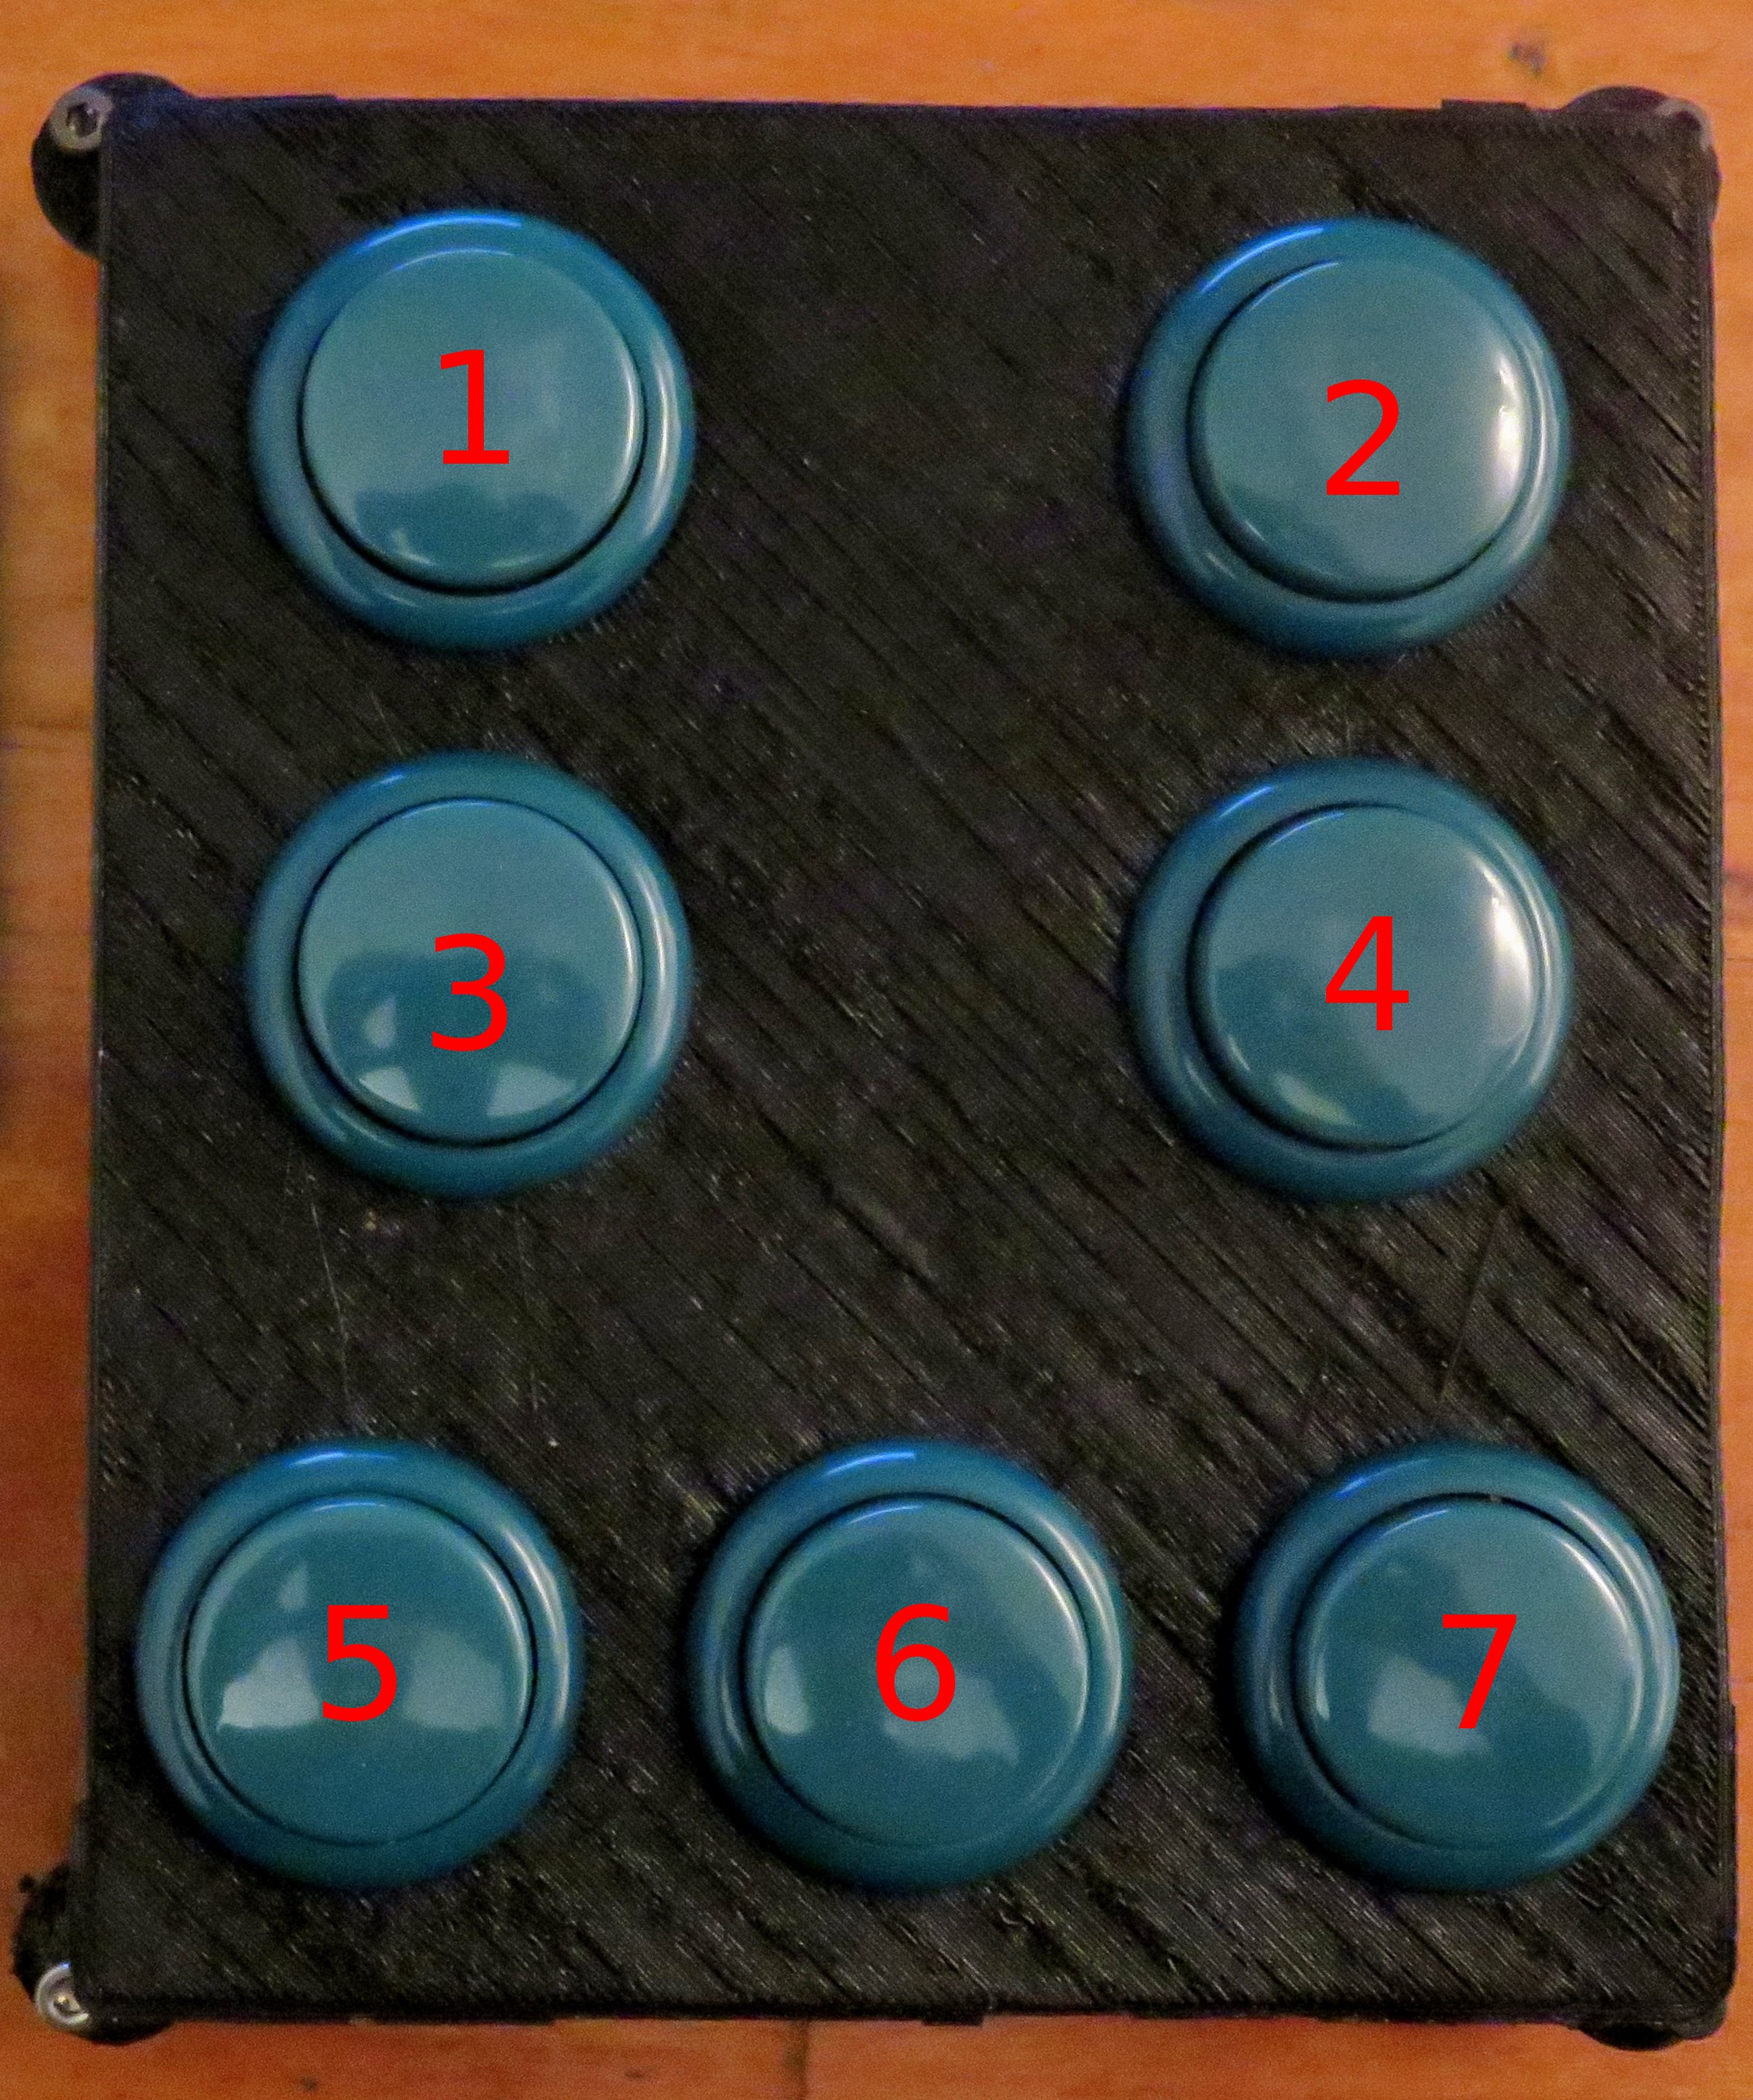 The buttons 1, 2,3 and 4 are for multiple selection and the buttons 5, 6 and 7 are for navigation of the interface. Button 6 is for confirmation and it works for the questions and the navigation itself.
To the date are working the following functions
- Learn and review the pronunciation of the alphabet
- Learn and review of vocabulary in English.
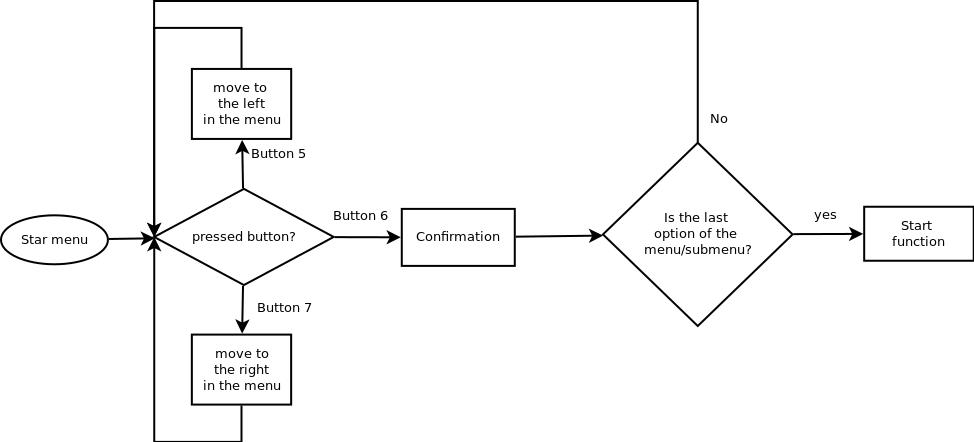
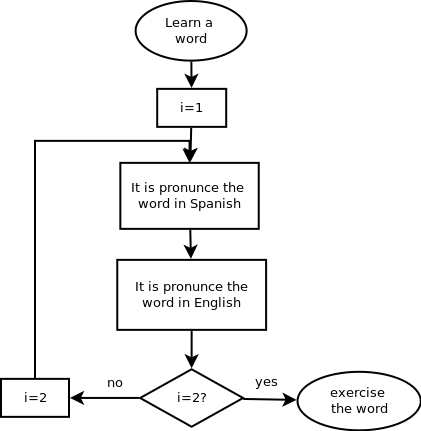
How the menu works
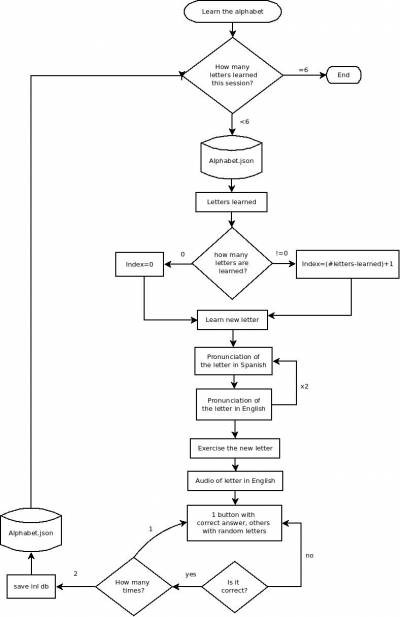
How is learned a new word
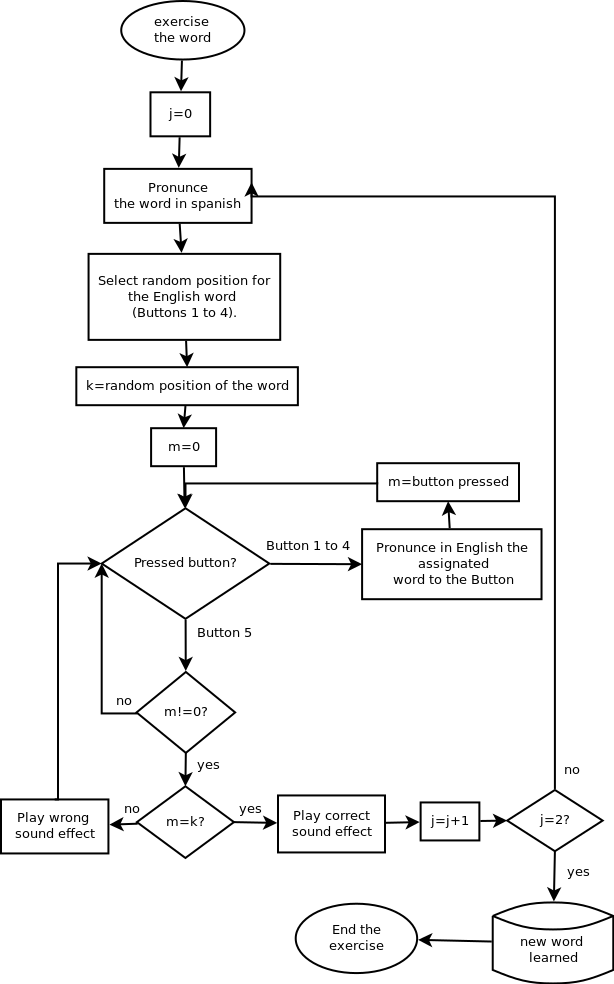
 How is exercised a word
Educational principle (not completely implemented) : Spaced repetition learning
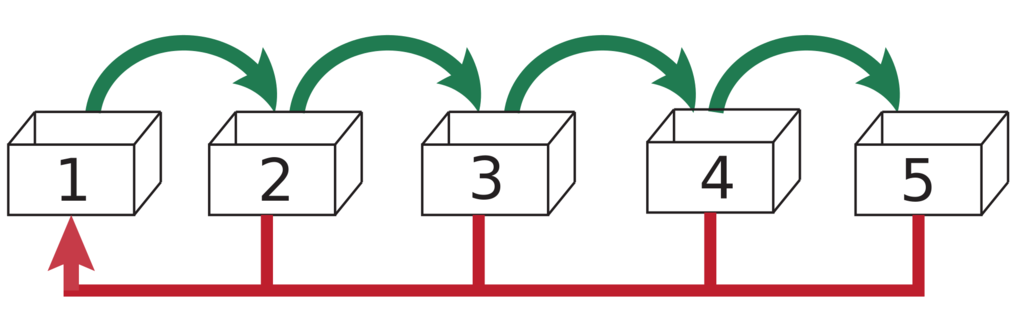
Neltume is currently using a different system, but the idea is to use in the future a system called Spaced Repetition. In this system every box symbolized the frequency in which every word needs to be exercised and reviewed.
For example, for the words in the first Box, they are need to be exercised one time during the day. For the words in the second Box, they are need to be exercised one time every 2 days, etc.
What is currently used is reviewing the words through a list of conflictive words. The conflictive words are those whose ratio between the good answers/total answers is lower in the list of the words already learned.
Specs
The Software has been programmed with Python 3, which will be execute it in a C.H.I.P. Pro (Previously I was using Raspberry Pi A+ ).
The voices of the menu, options and vocabulary (Spanish and English) are from IBM Bluemix Text to Speech Software.
Test Video


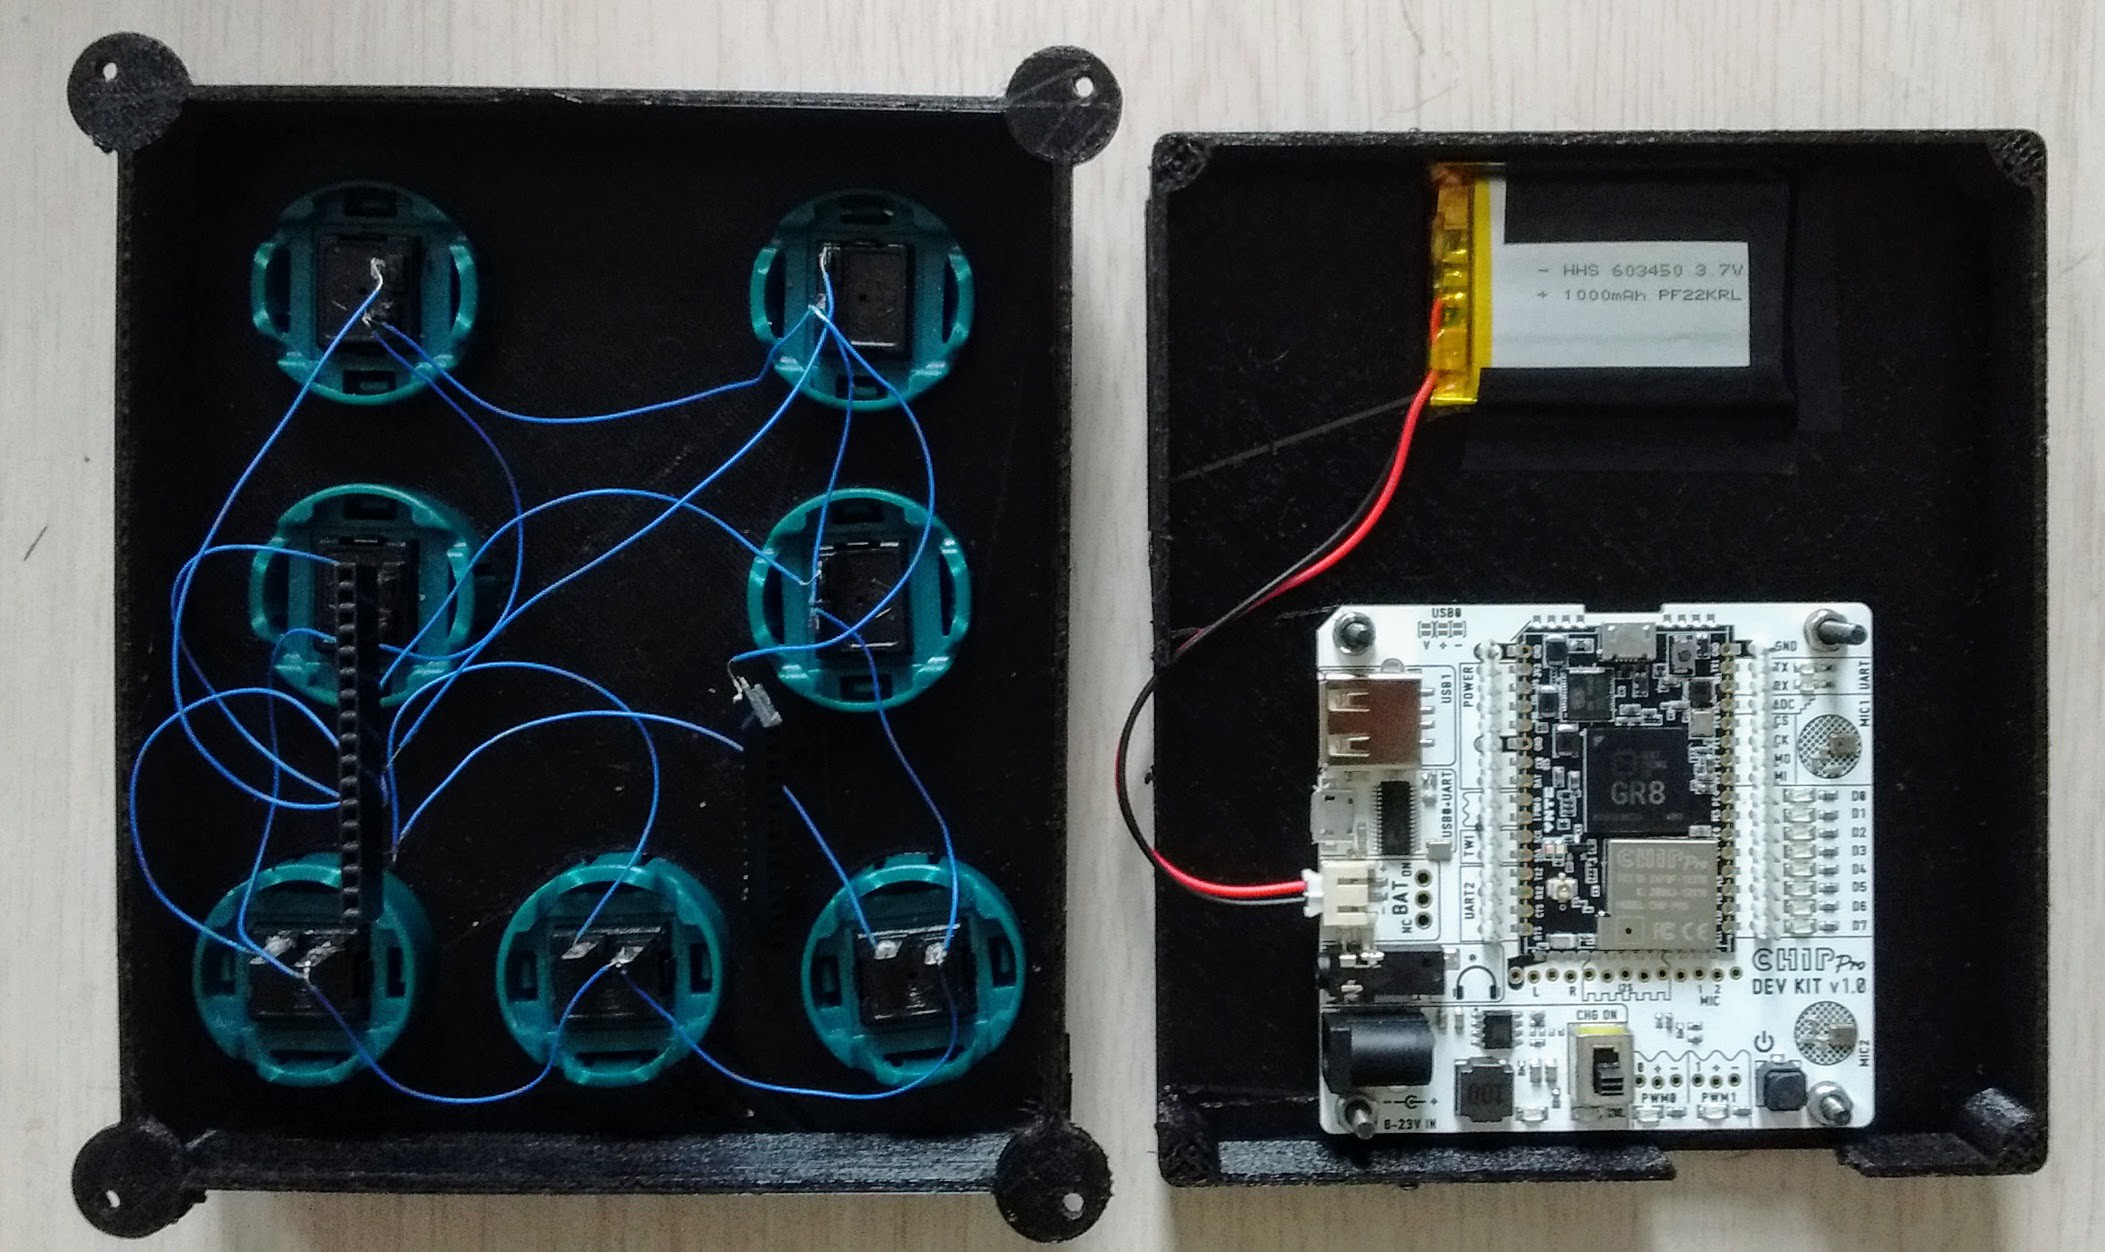
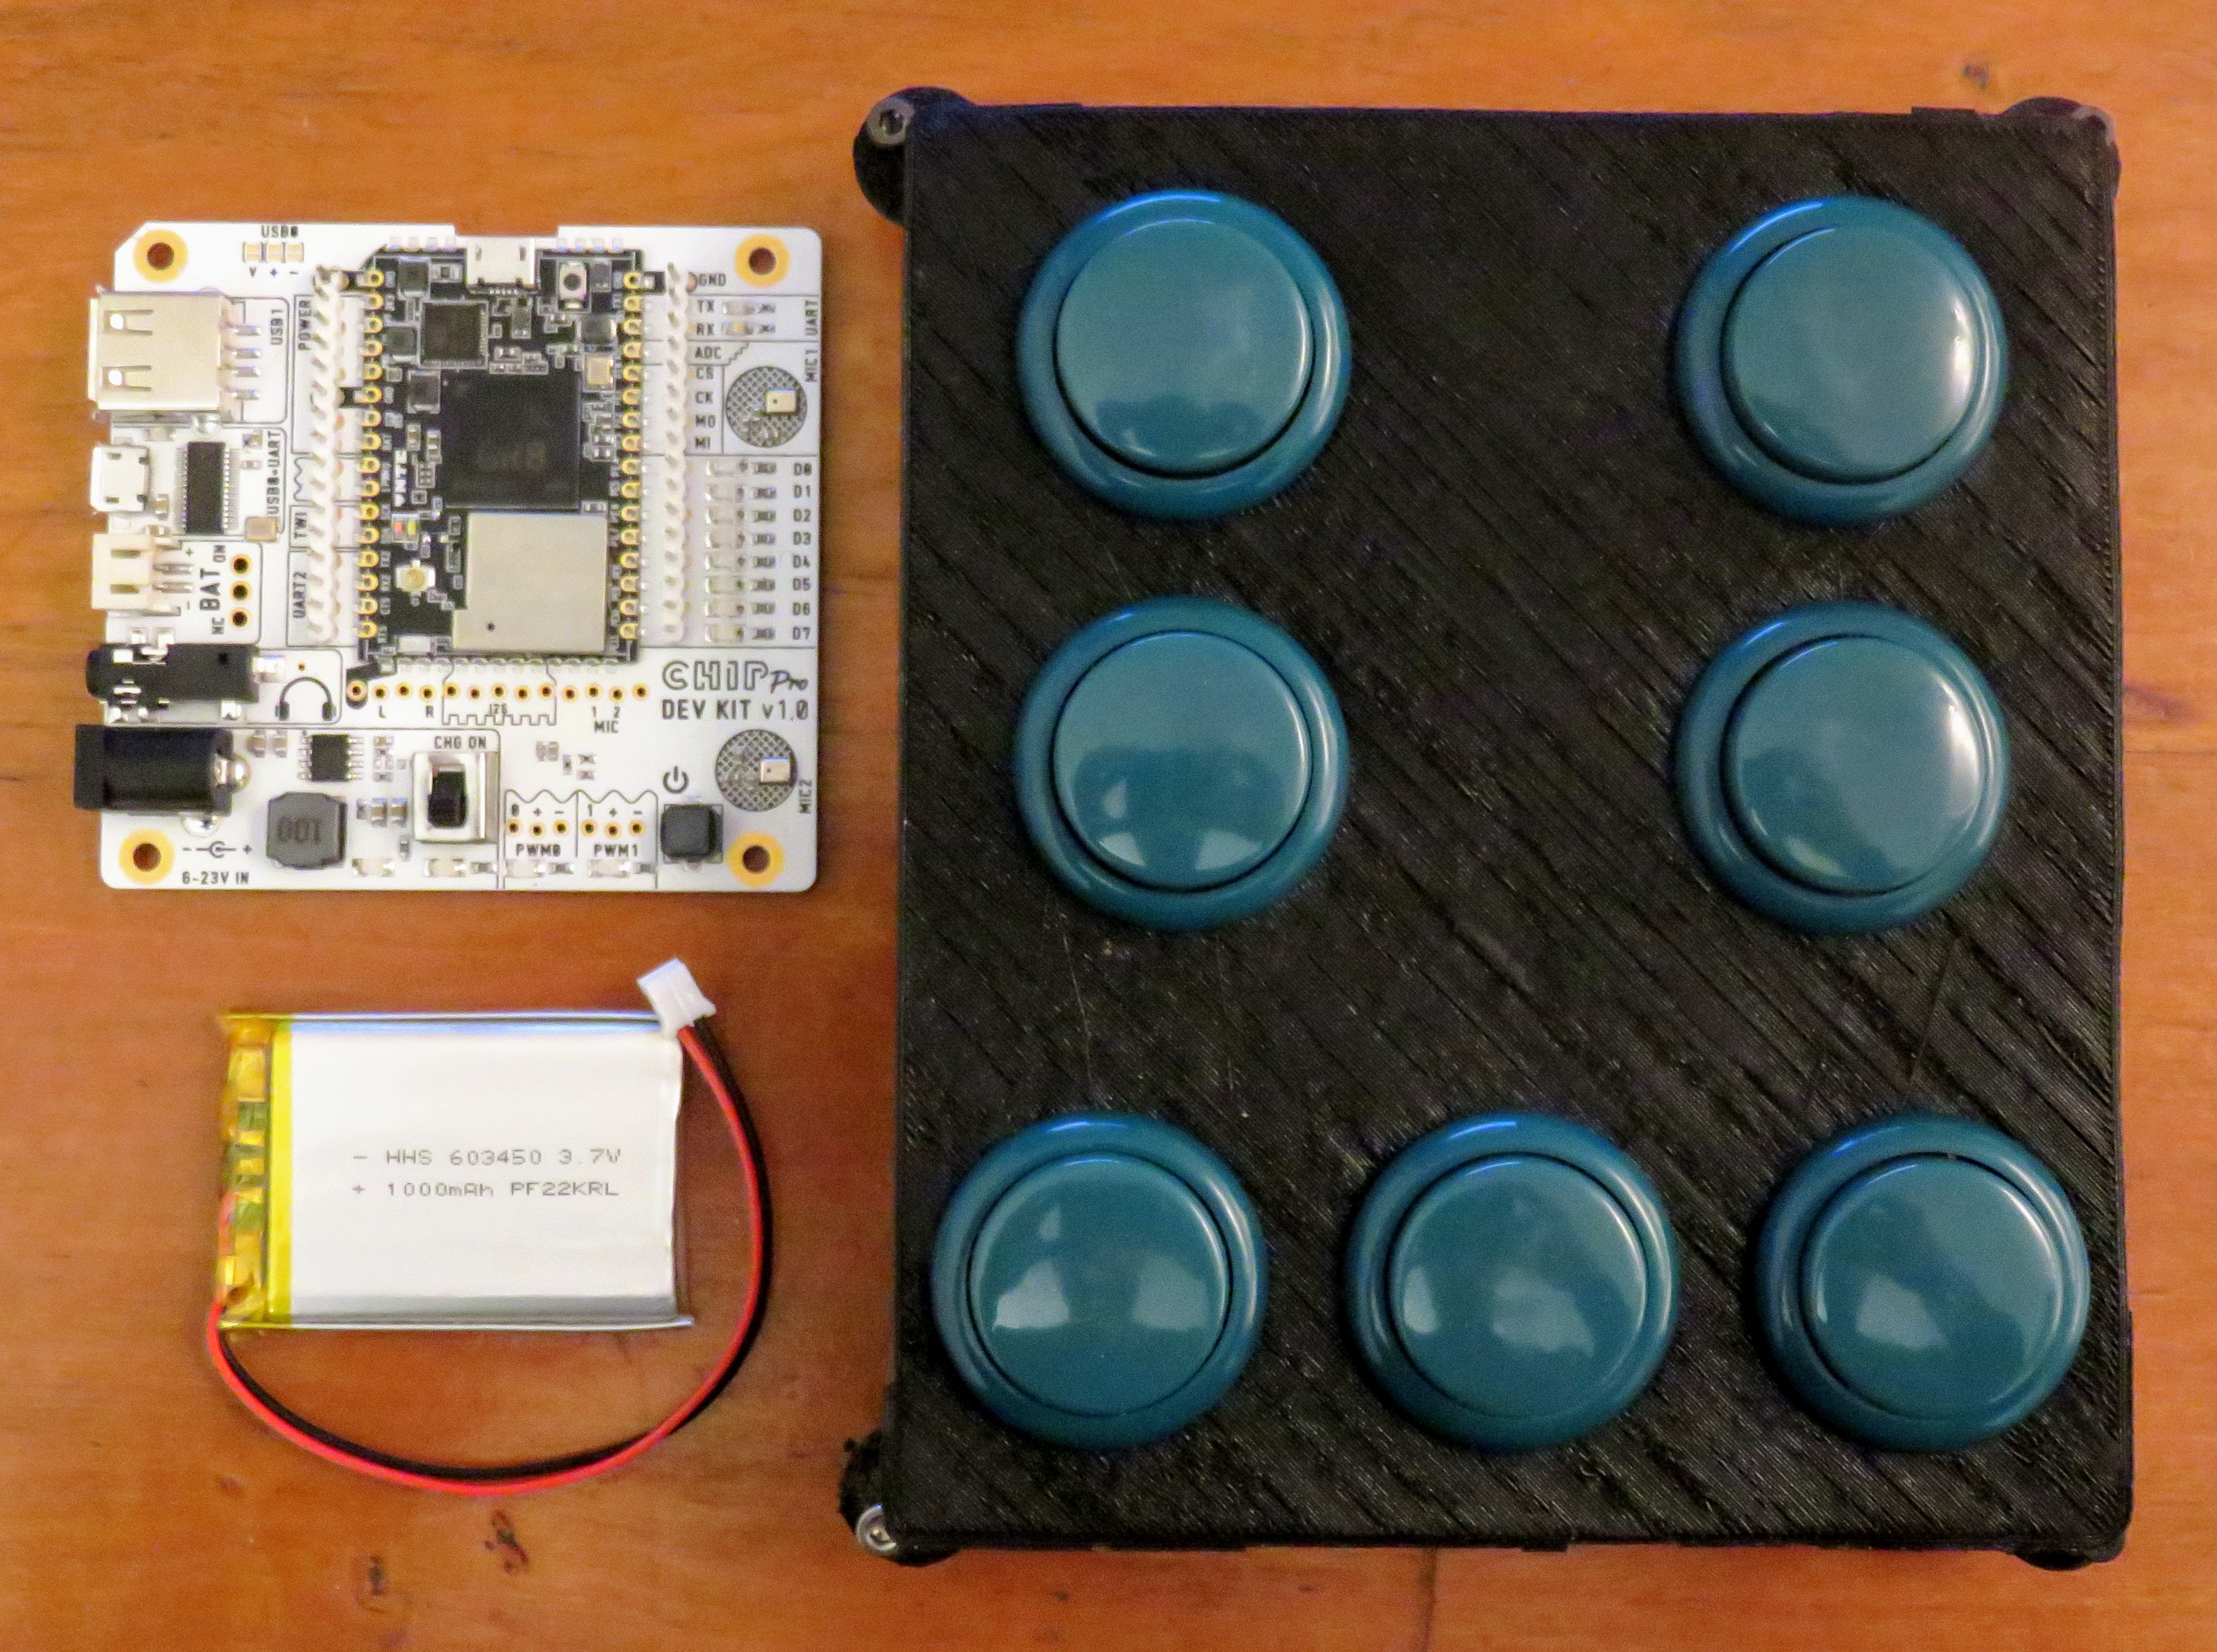 Also I tested the C.H.I.P. Pro and after some changes in the the button controller script (that was initially thought for the Raspberry Pi) I could make it work perfectly.
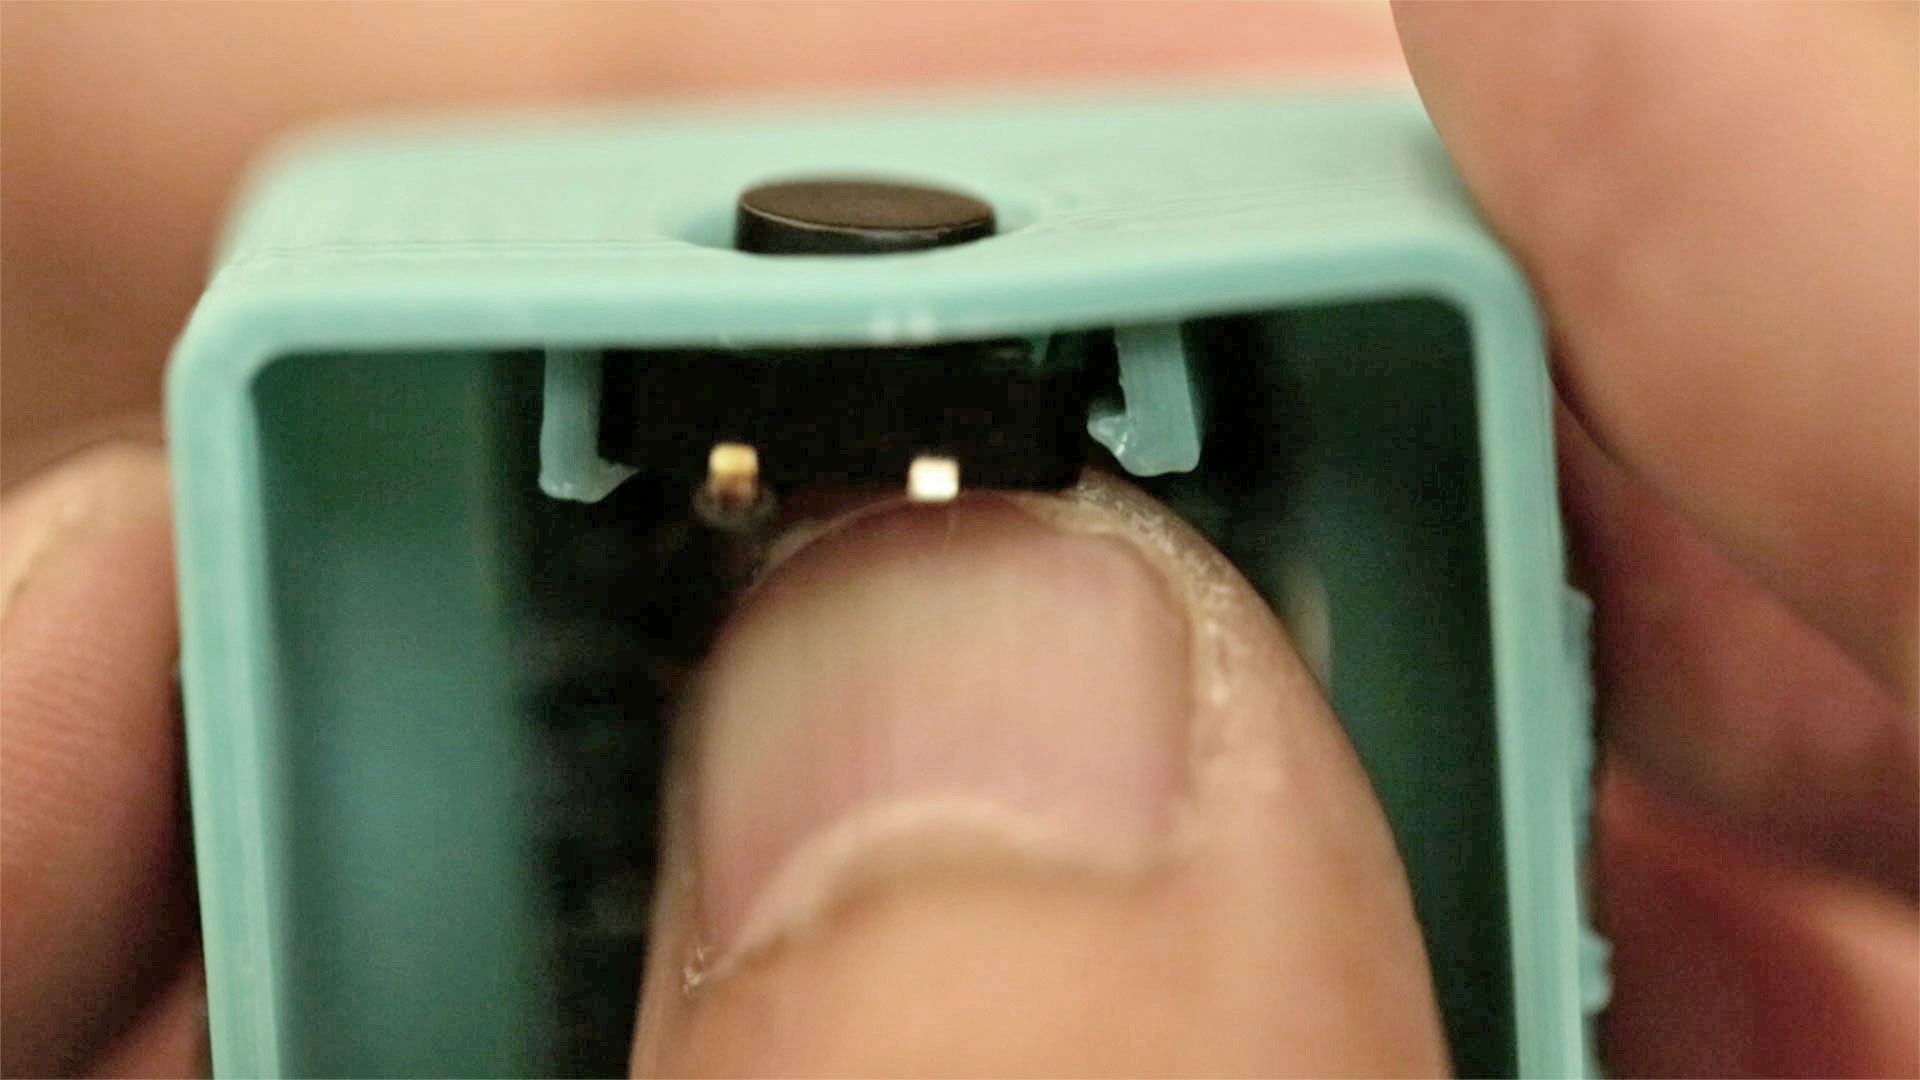
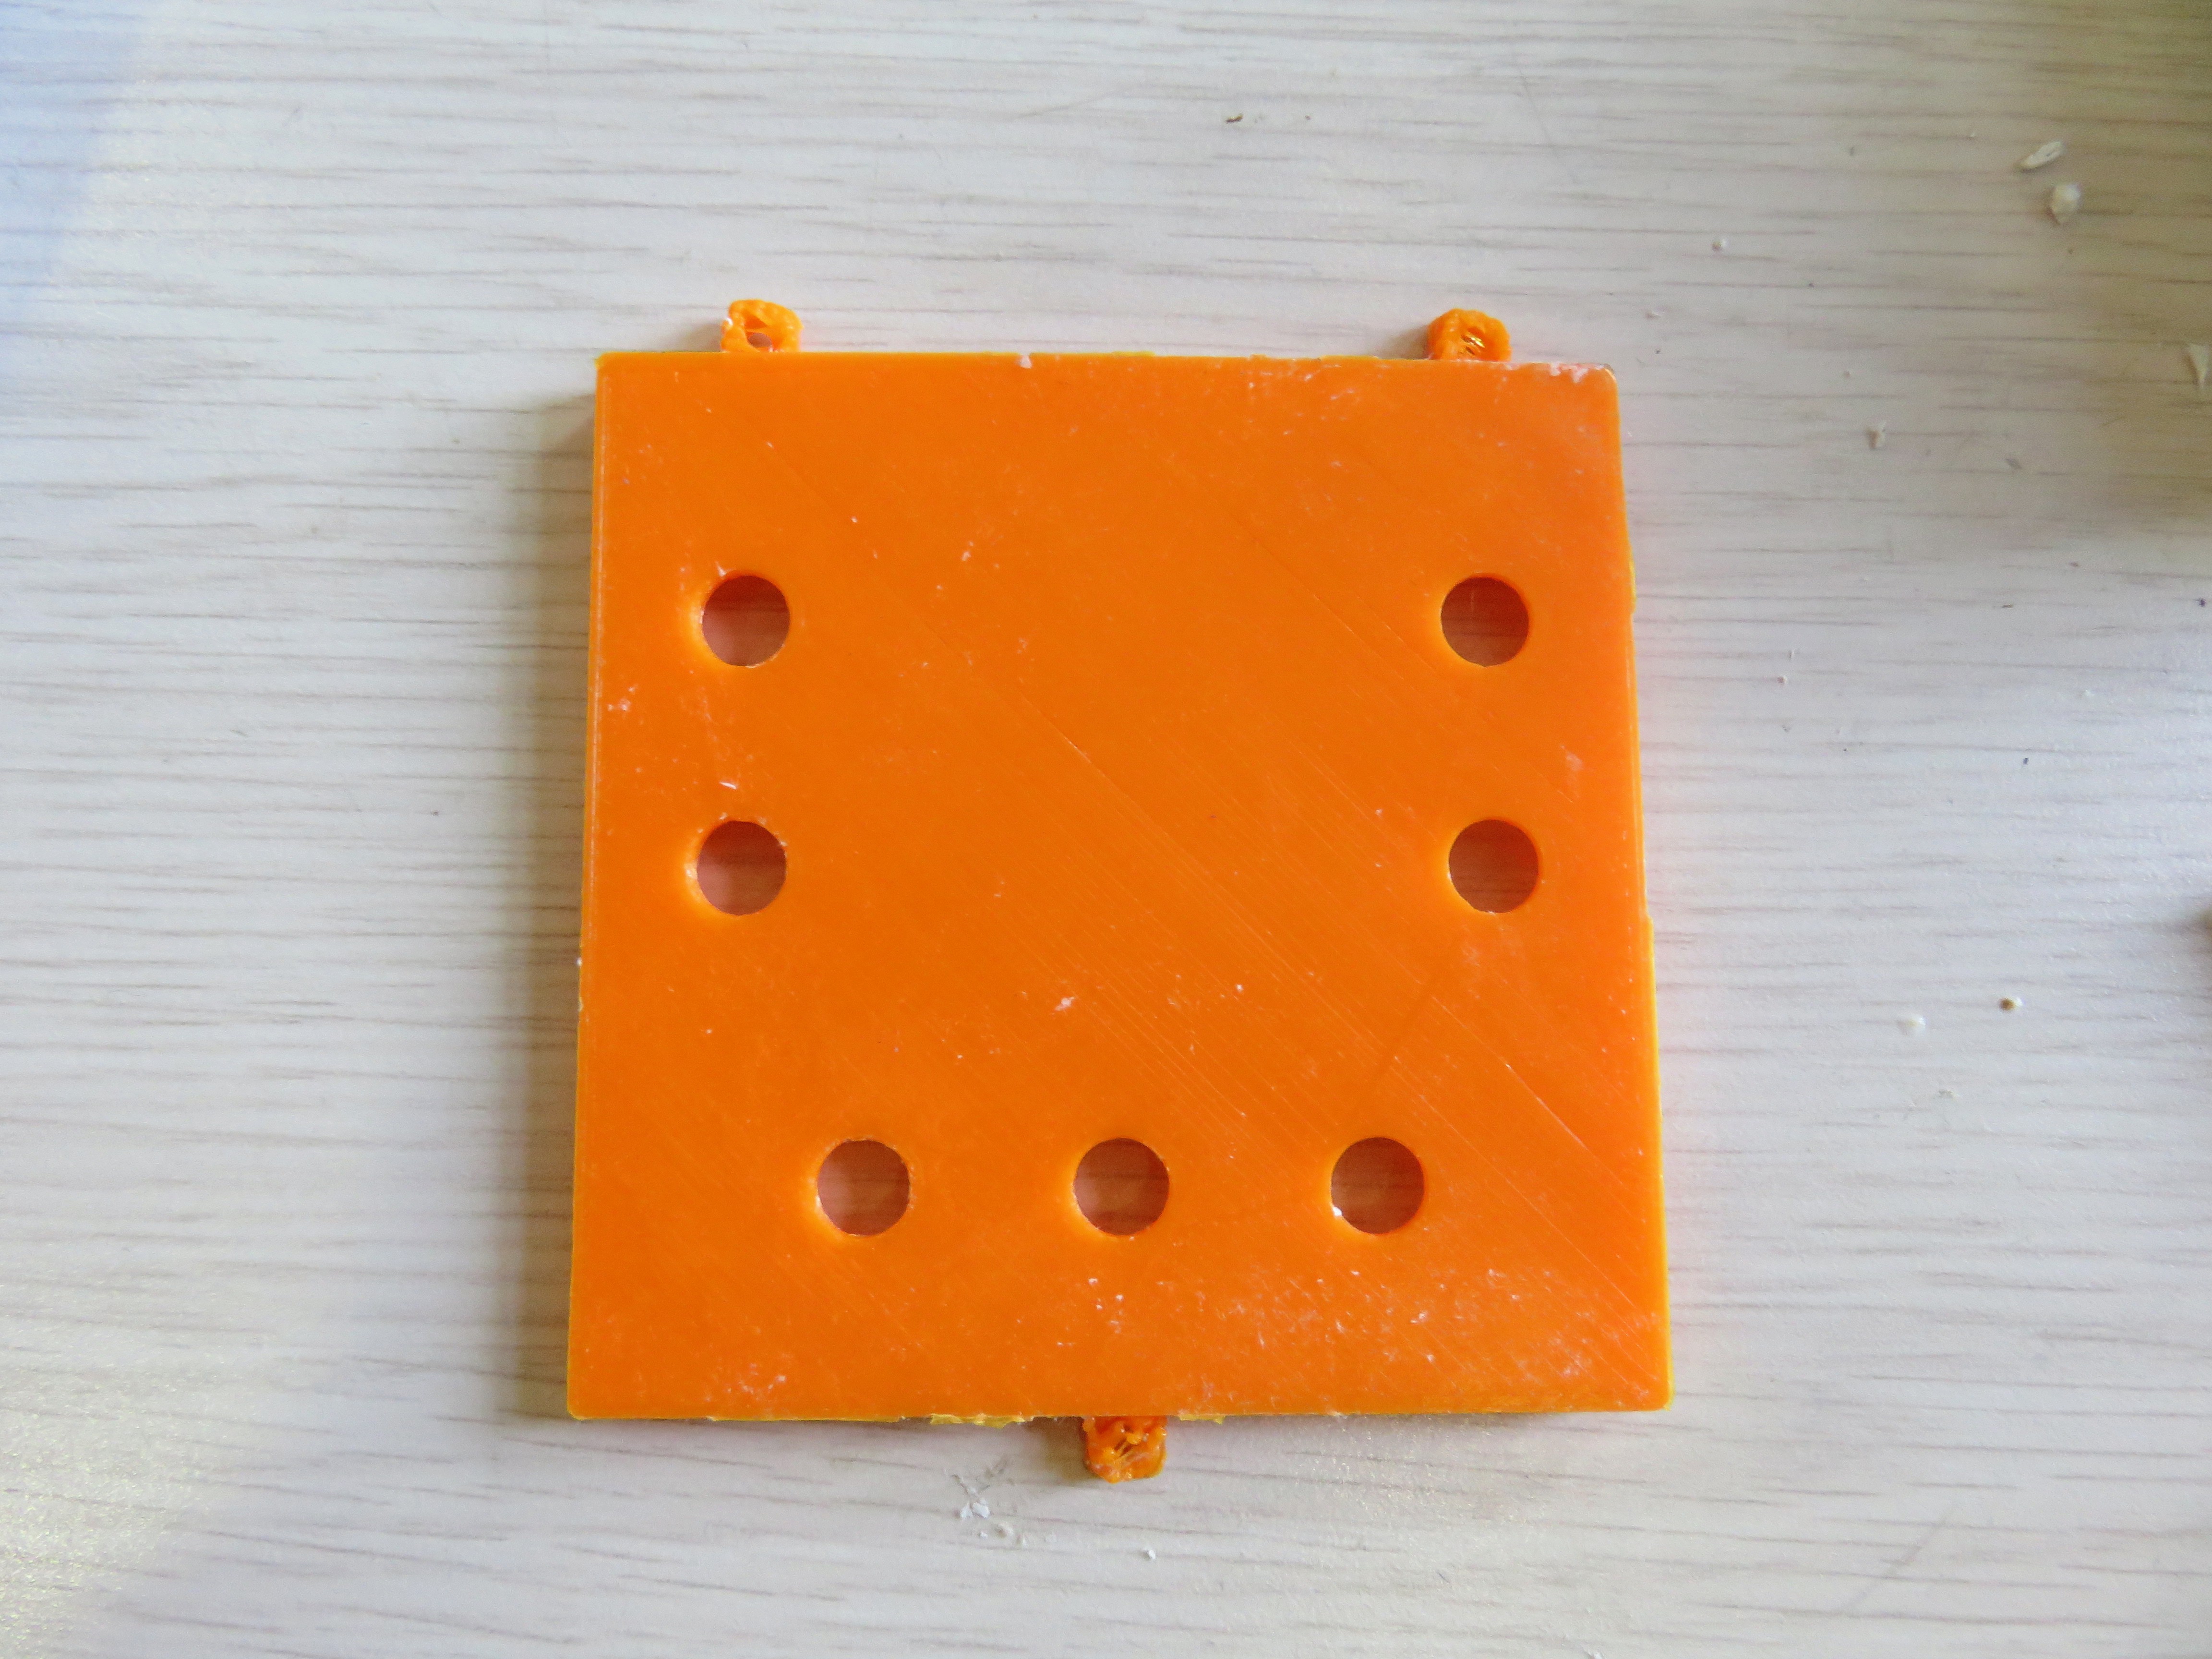 1.stl
1.stl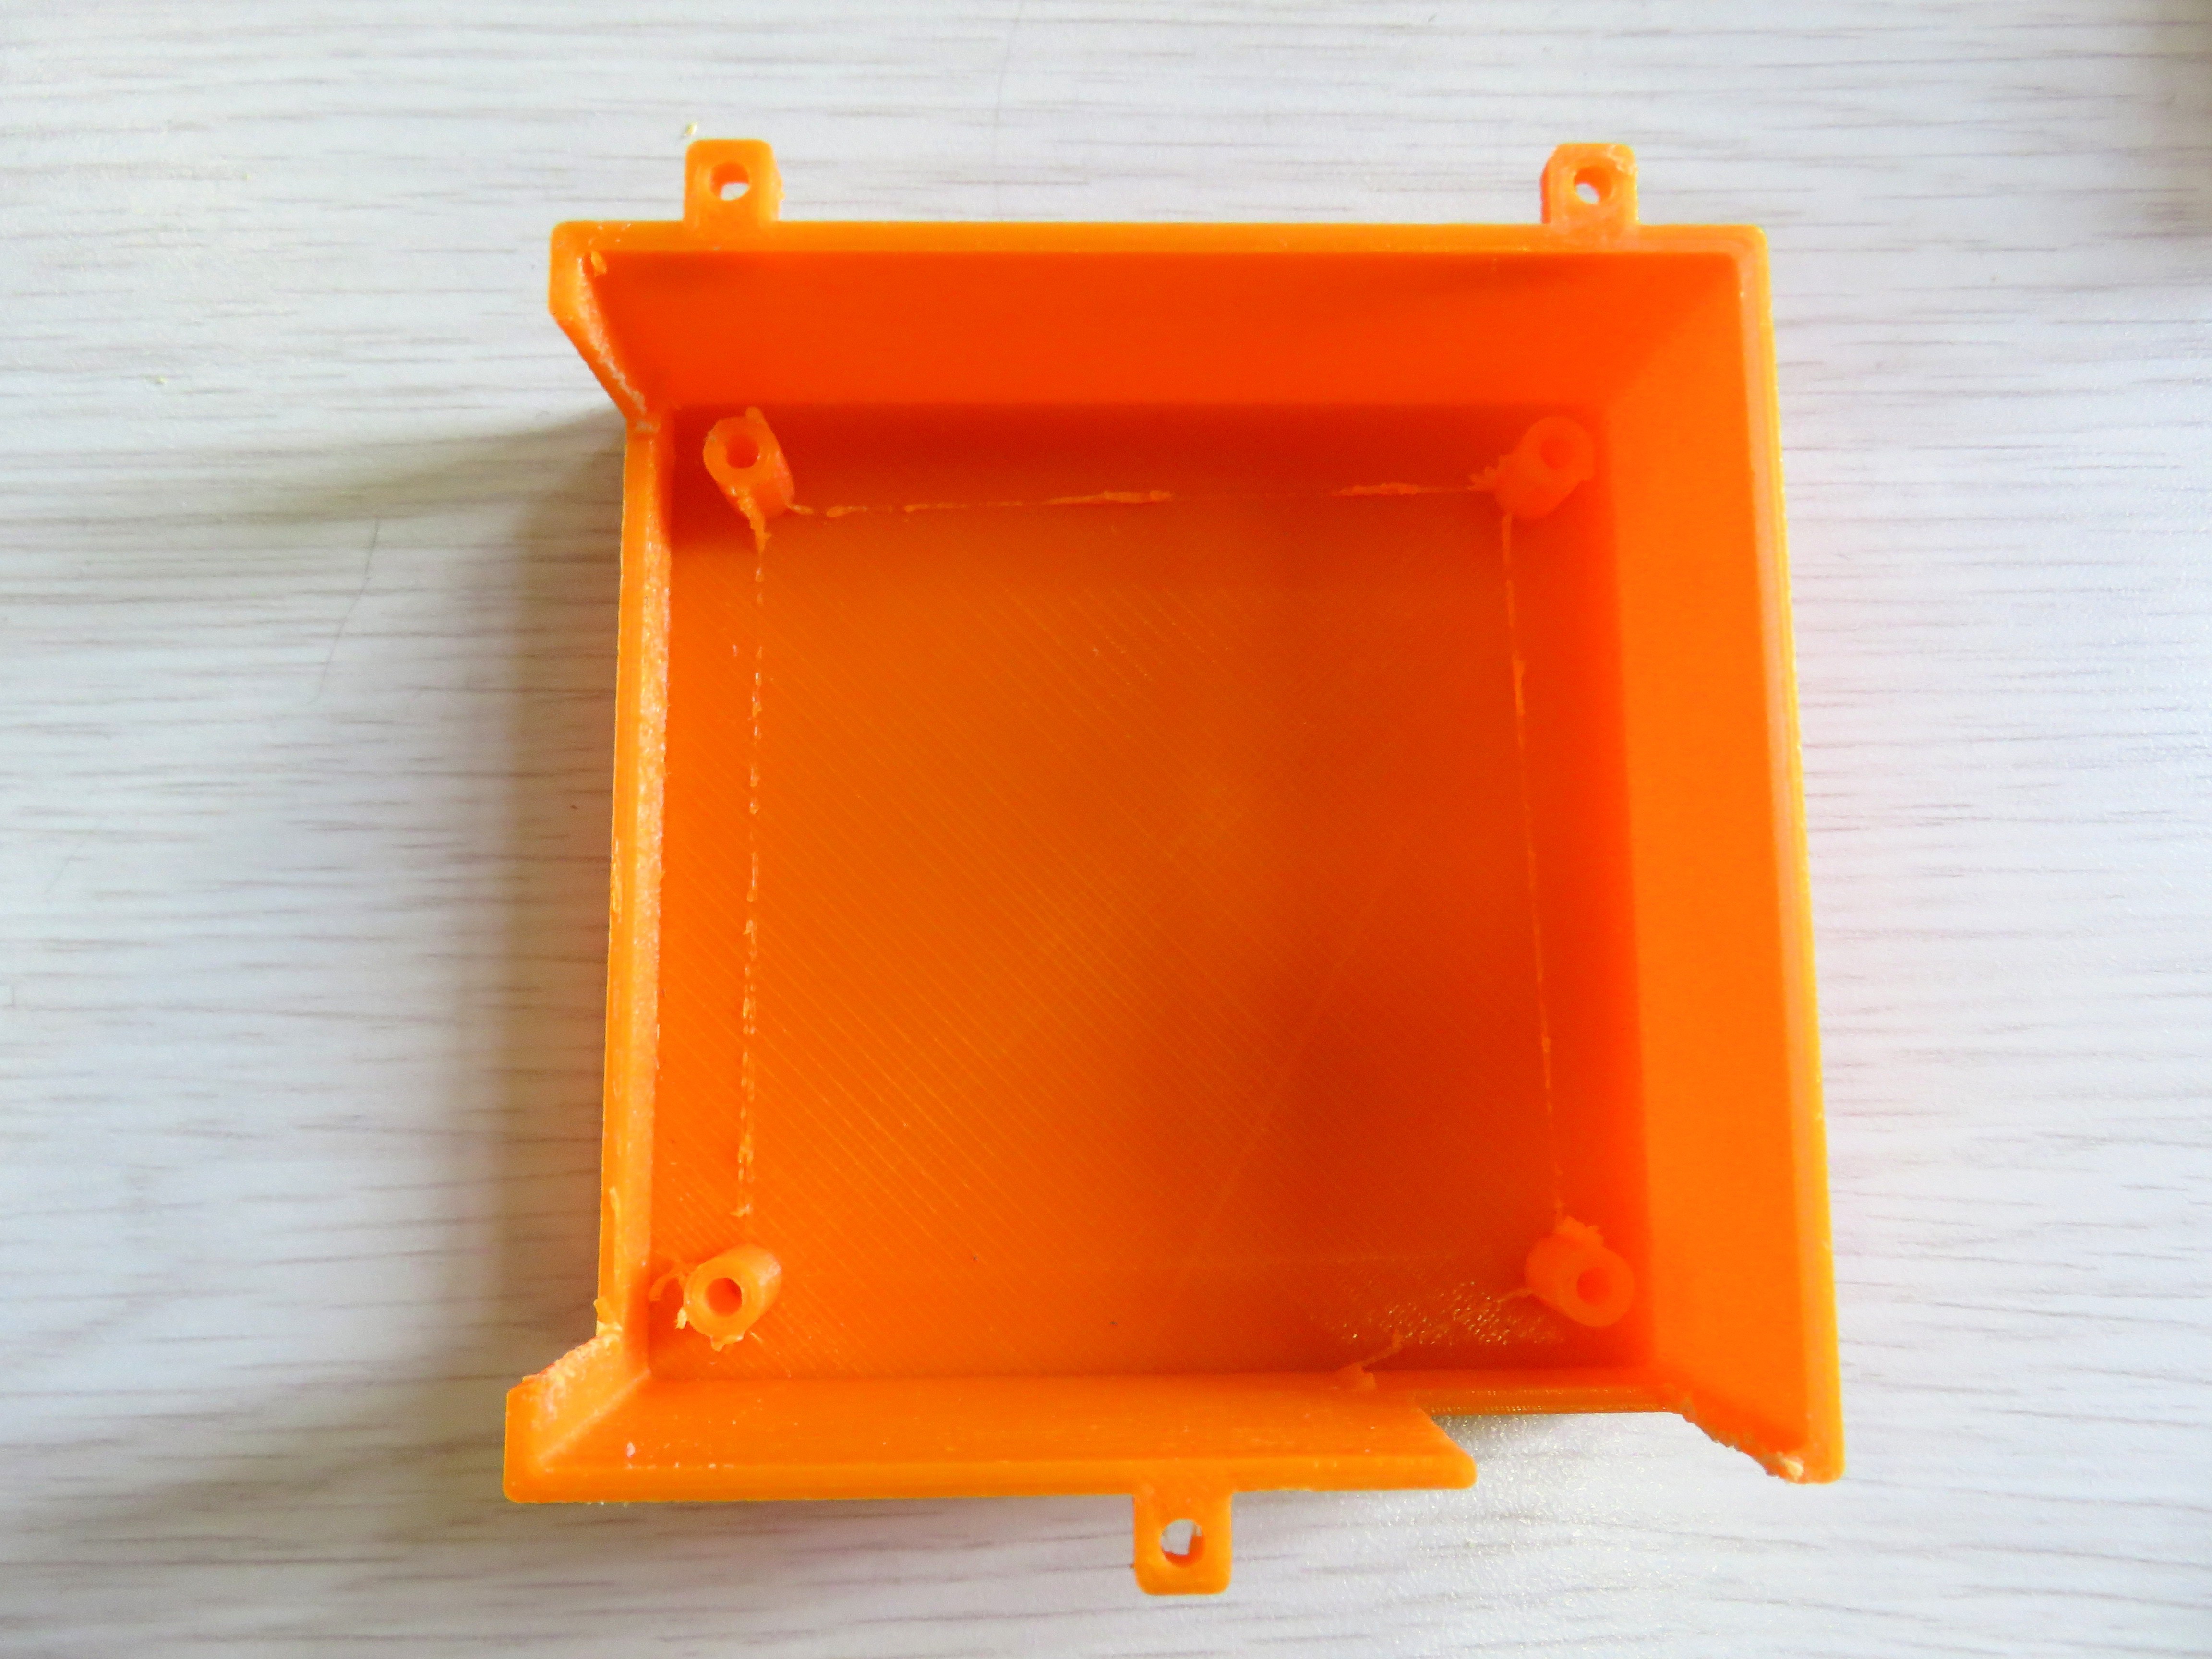
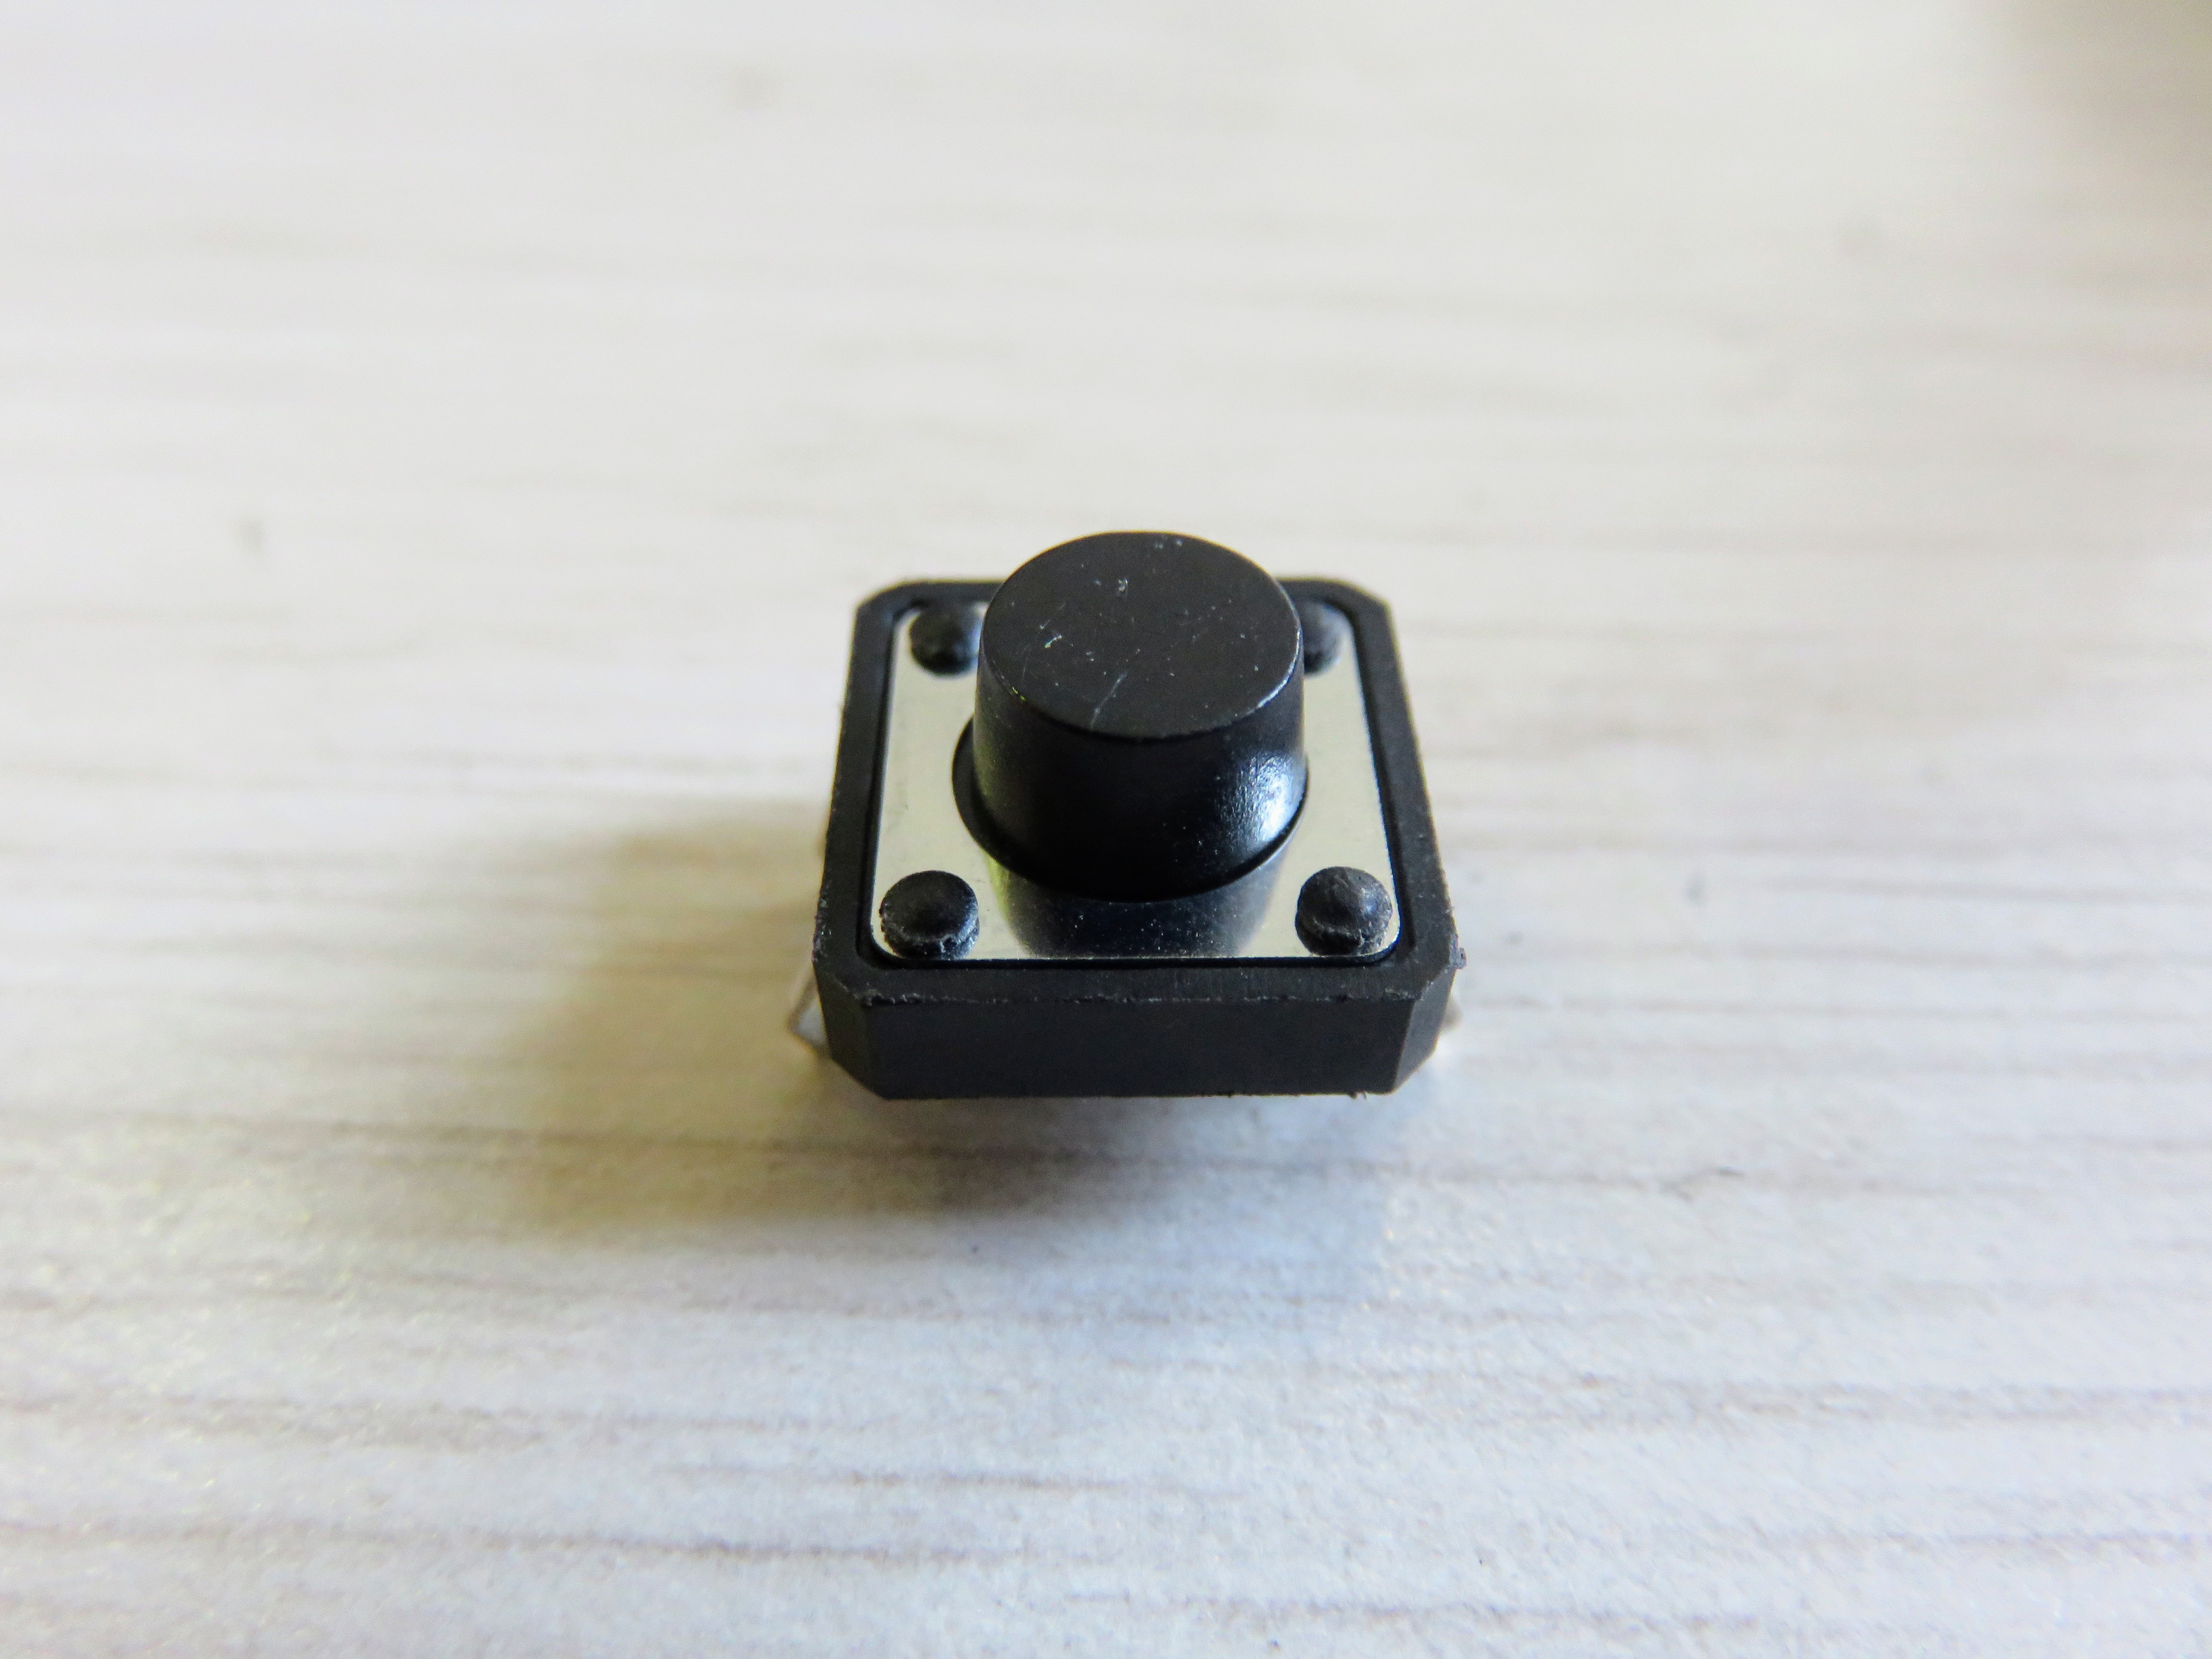
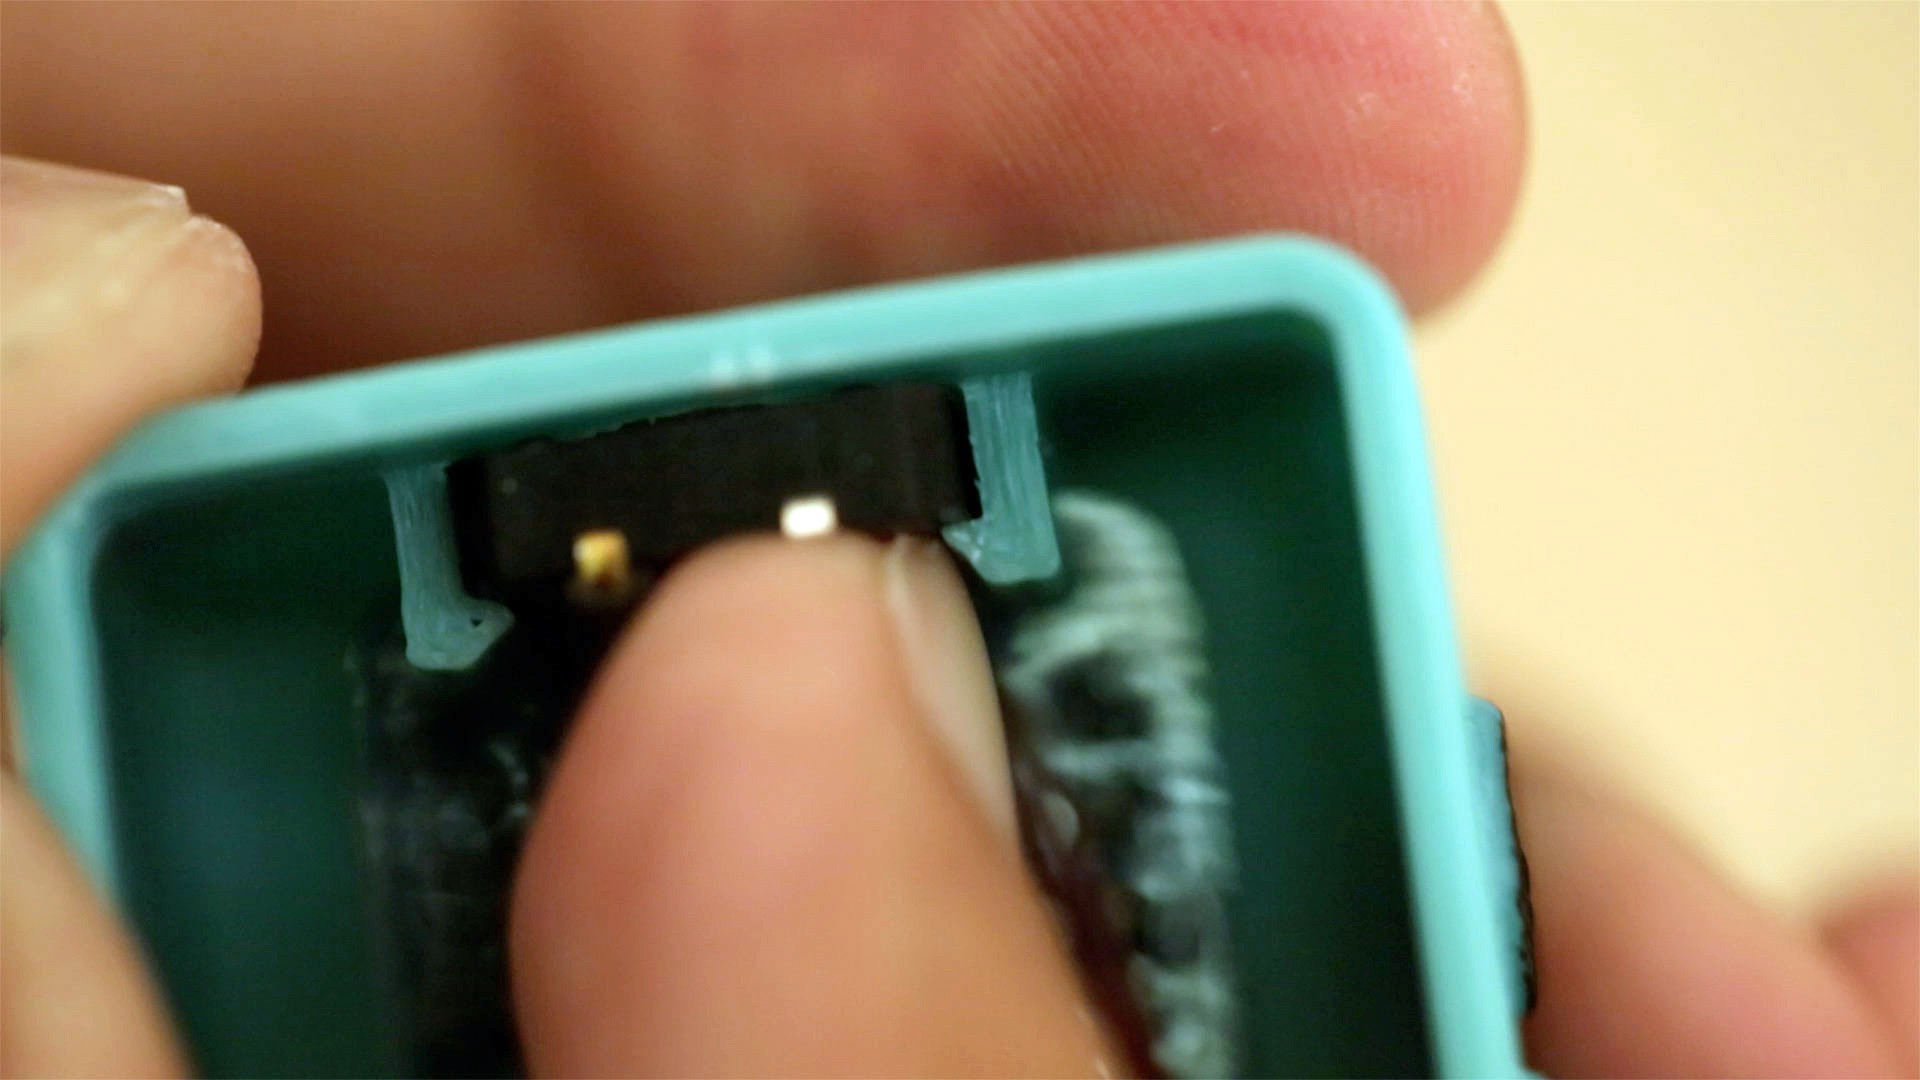
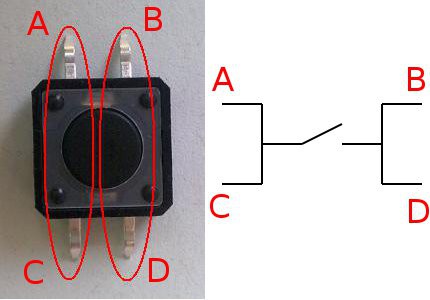
 The dimensions of the microswitch are 12x12mm and 6mm height.
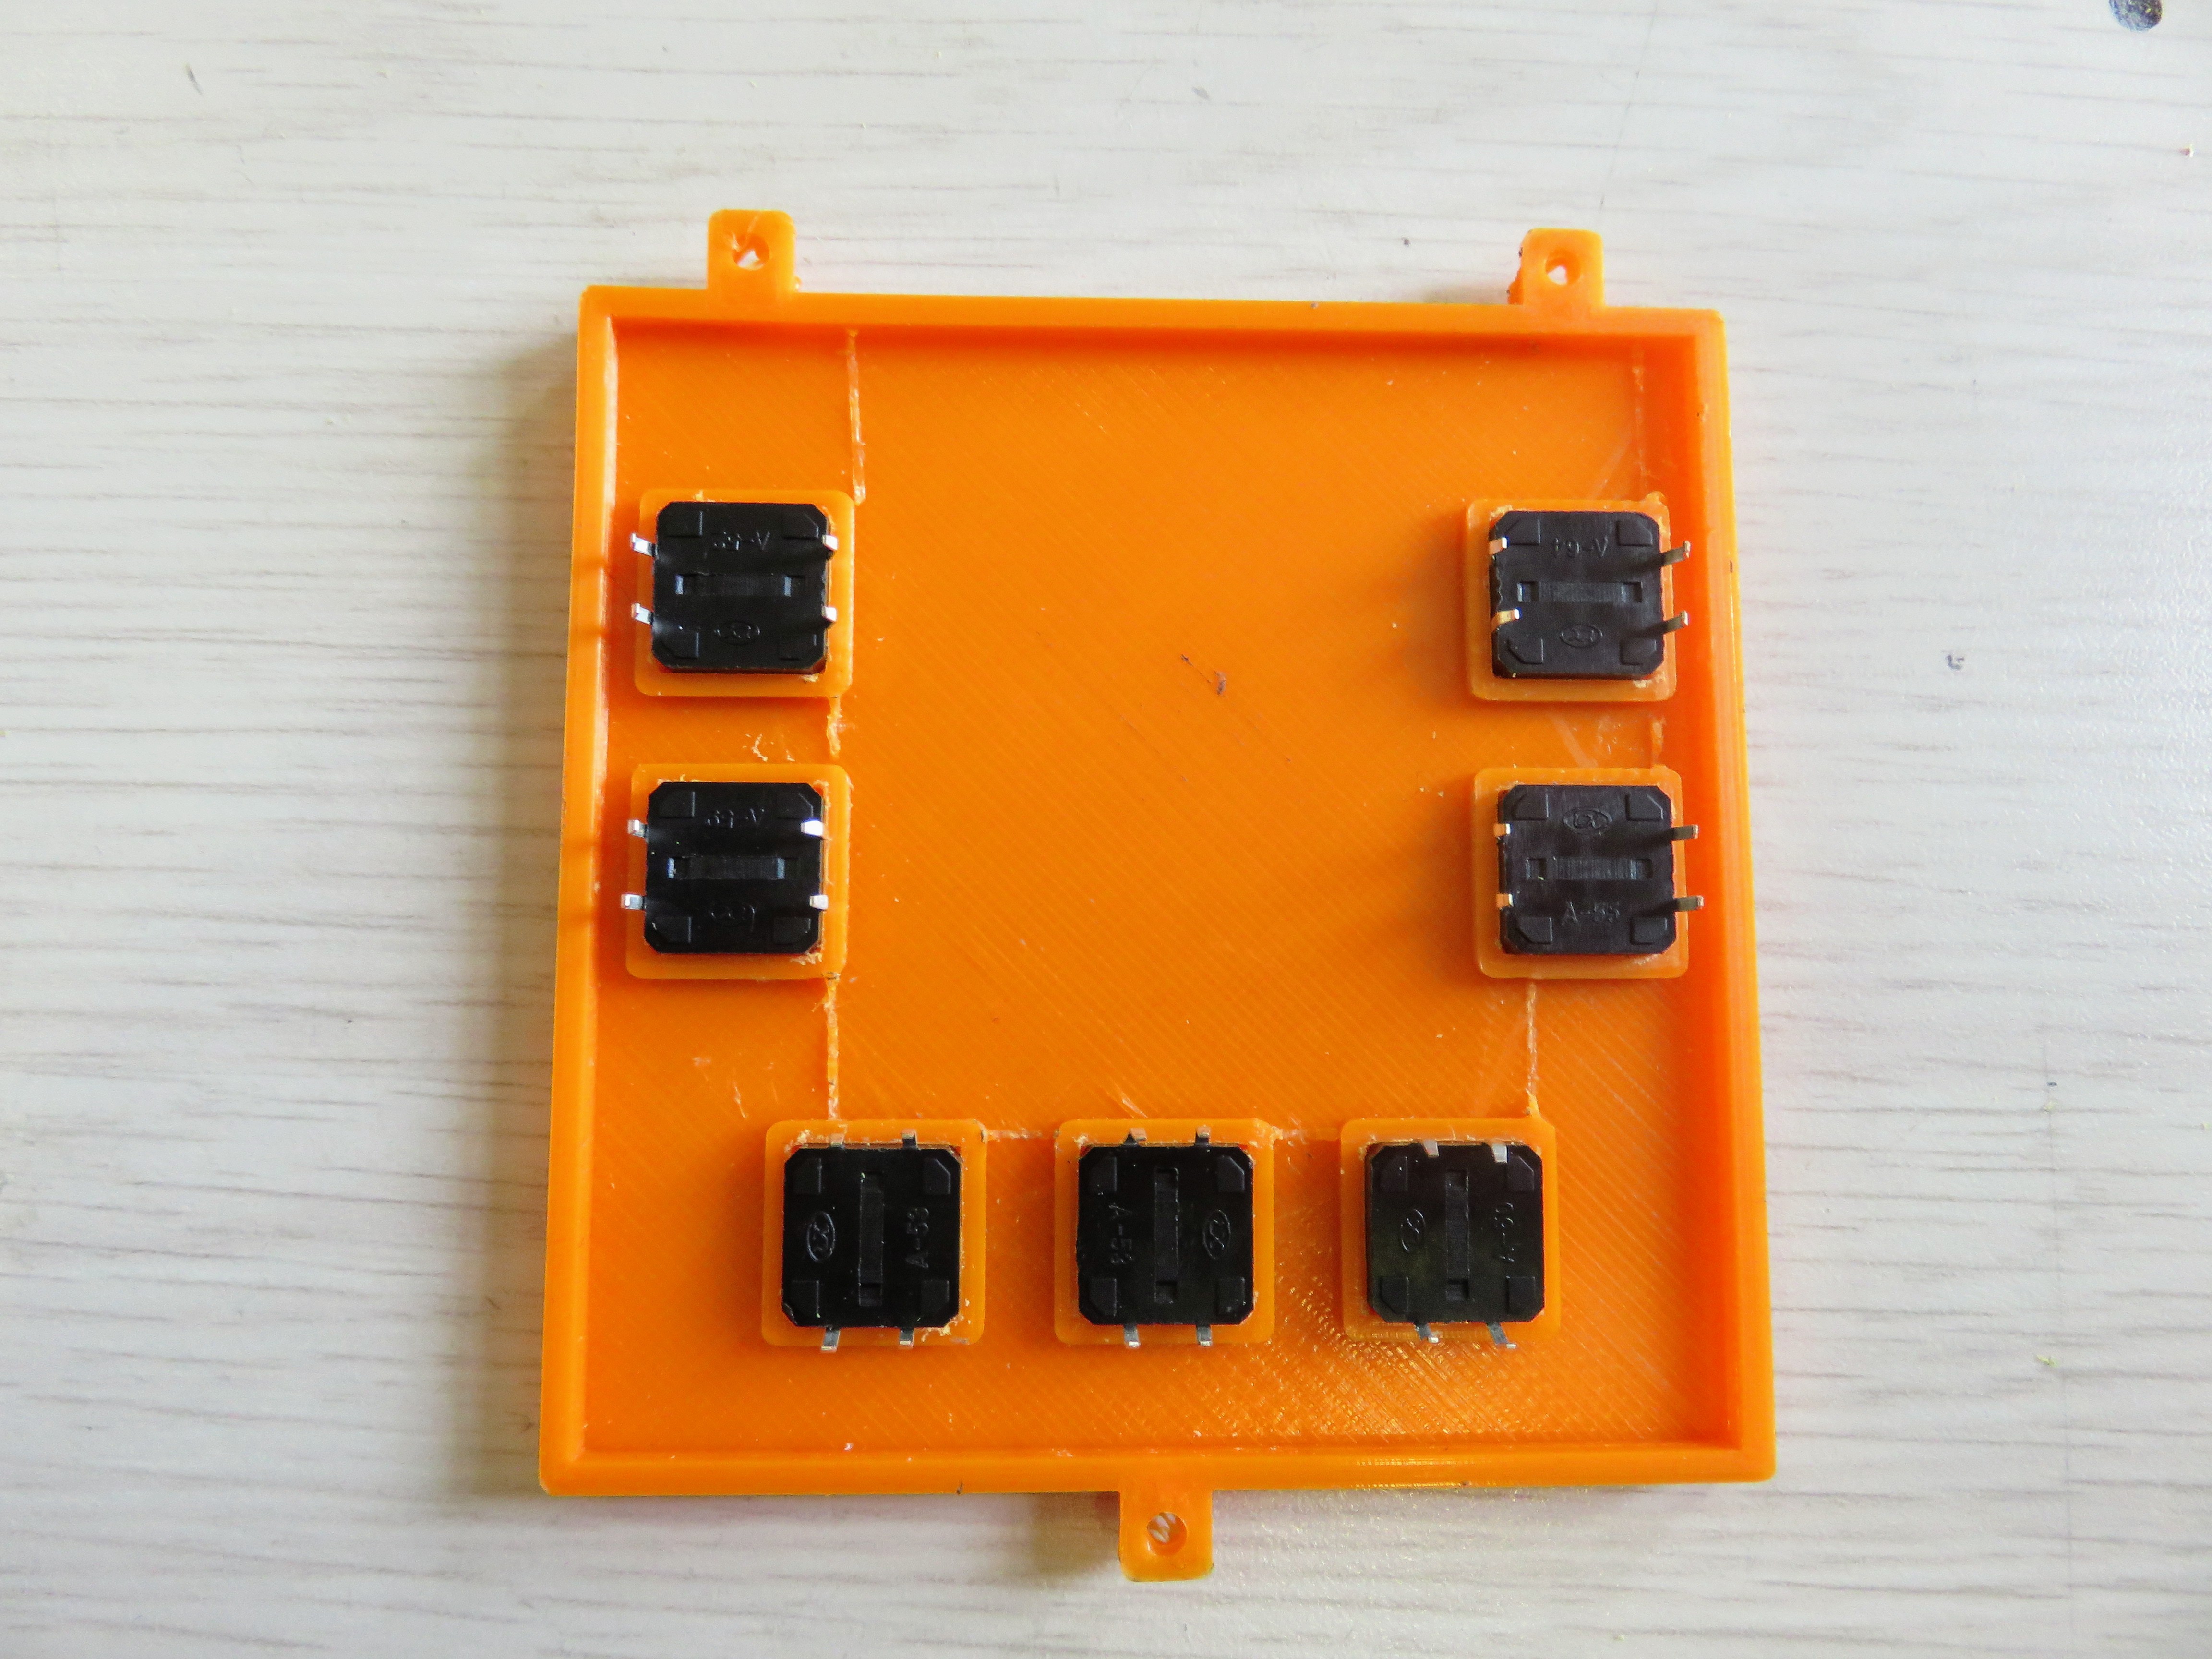

 Jean Pierre Le Rouzic
 Supplyframe DesignLab
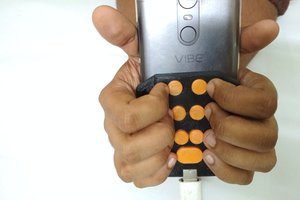
 Vijay
Vijay
 dariocose
It is a general purpose computer. I wish this thing has some programming capabilities for blind people. You know, input some code using buttons and then execute it.
upd: or maybe monofonic melody sequencer, like in old Nokia phones.