mmiscool
-
Just found out that my project was acepted for a booth at Maker Fair New York
07/13/2017 at 00:55 • 2 commentsSo it looks like I will be setting up a booth at Maker Fair New York. Wooooooooooooo!!!
-
Made some changes tonight. Fixed some issues. We have a working machine.
07/11/2017 at 02:50 • 0 commentsSo there were several problems each compounding the other.
I had removed some code from the gcode sender to reset the serial connection between prints. This has been added back in.
The extruder had a loose wire for the heater so that caused some head ache. That has been corrected now.
As of tonight there is a functional printer that can work continuously. I will be working on getting the documentation updated with dimensions to build the printer.
Hopefully some one will be brave enough at that point to replicate the machine. Then the fun begins.
-
Working but have problems.
07/08/2017 at 17:22 • 0 commentsSo I have a problem with the usb cominucation with the printer cutting out if i toggle the io pins or attempt to operate a servo :-(
-
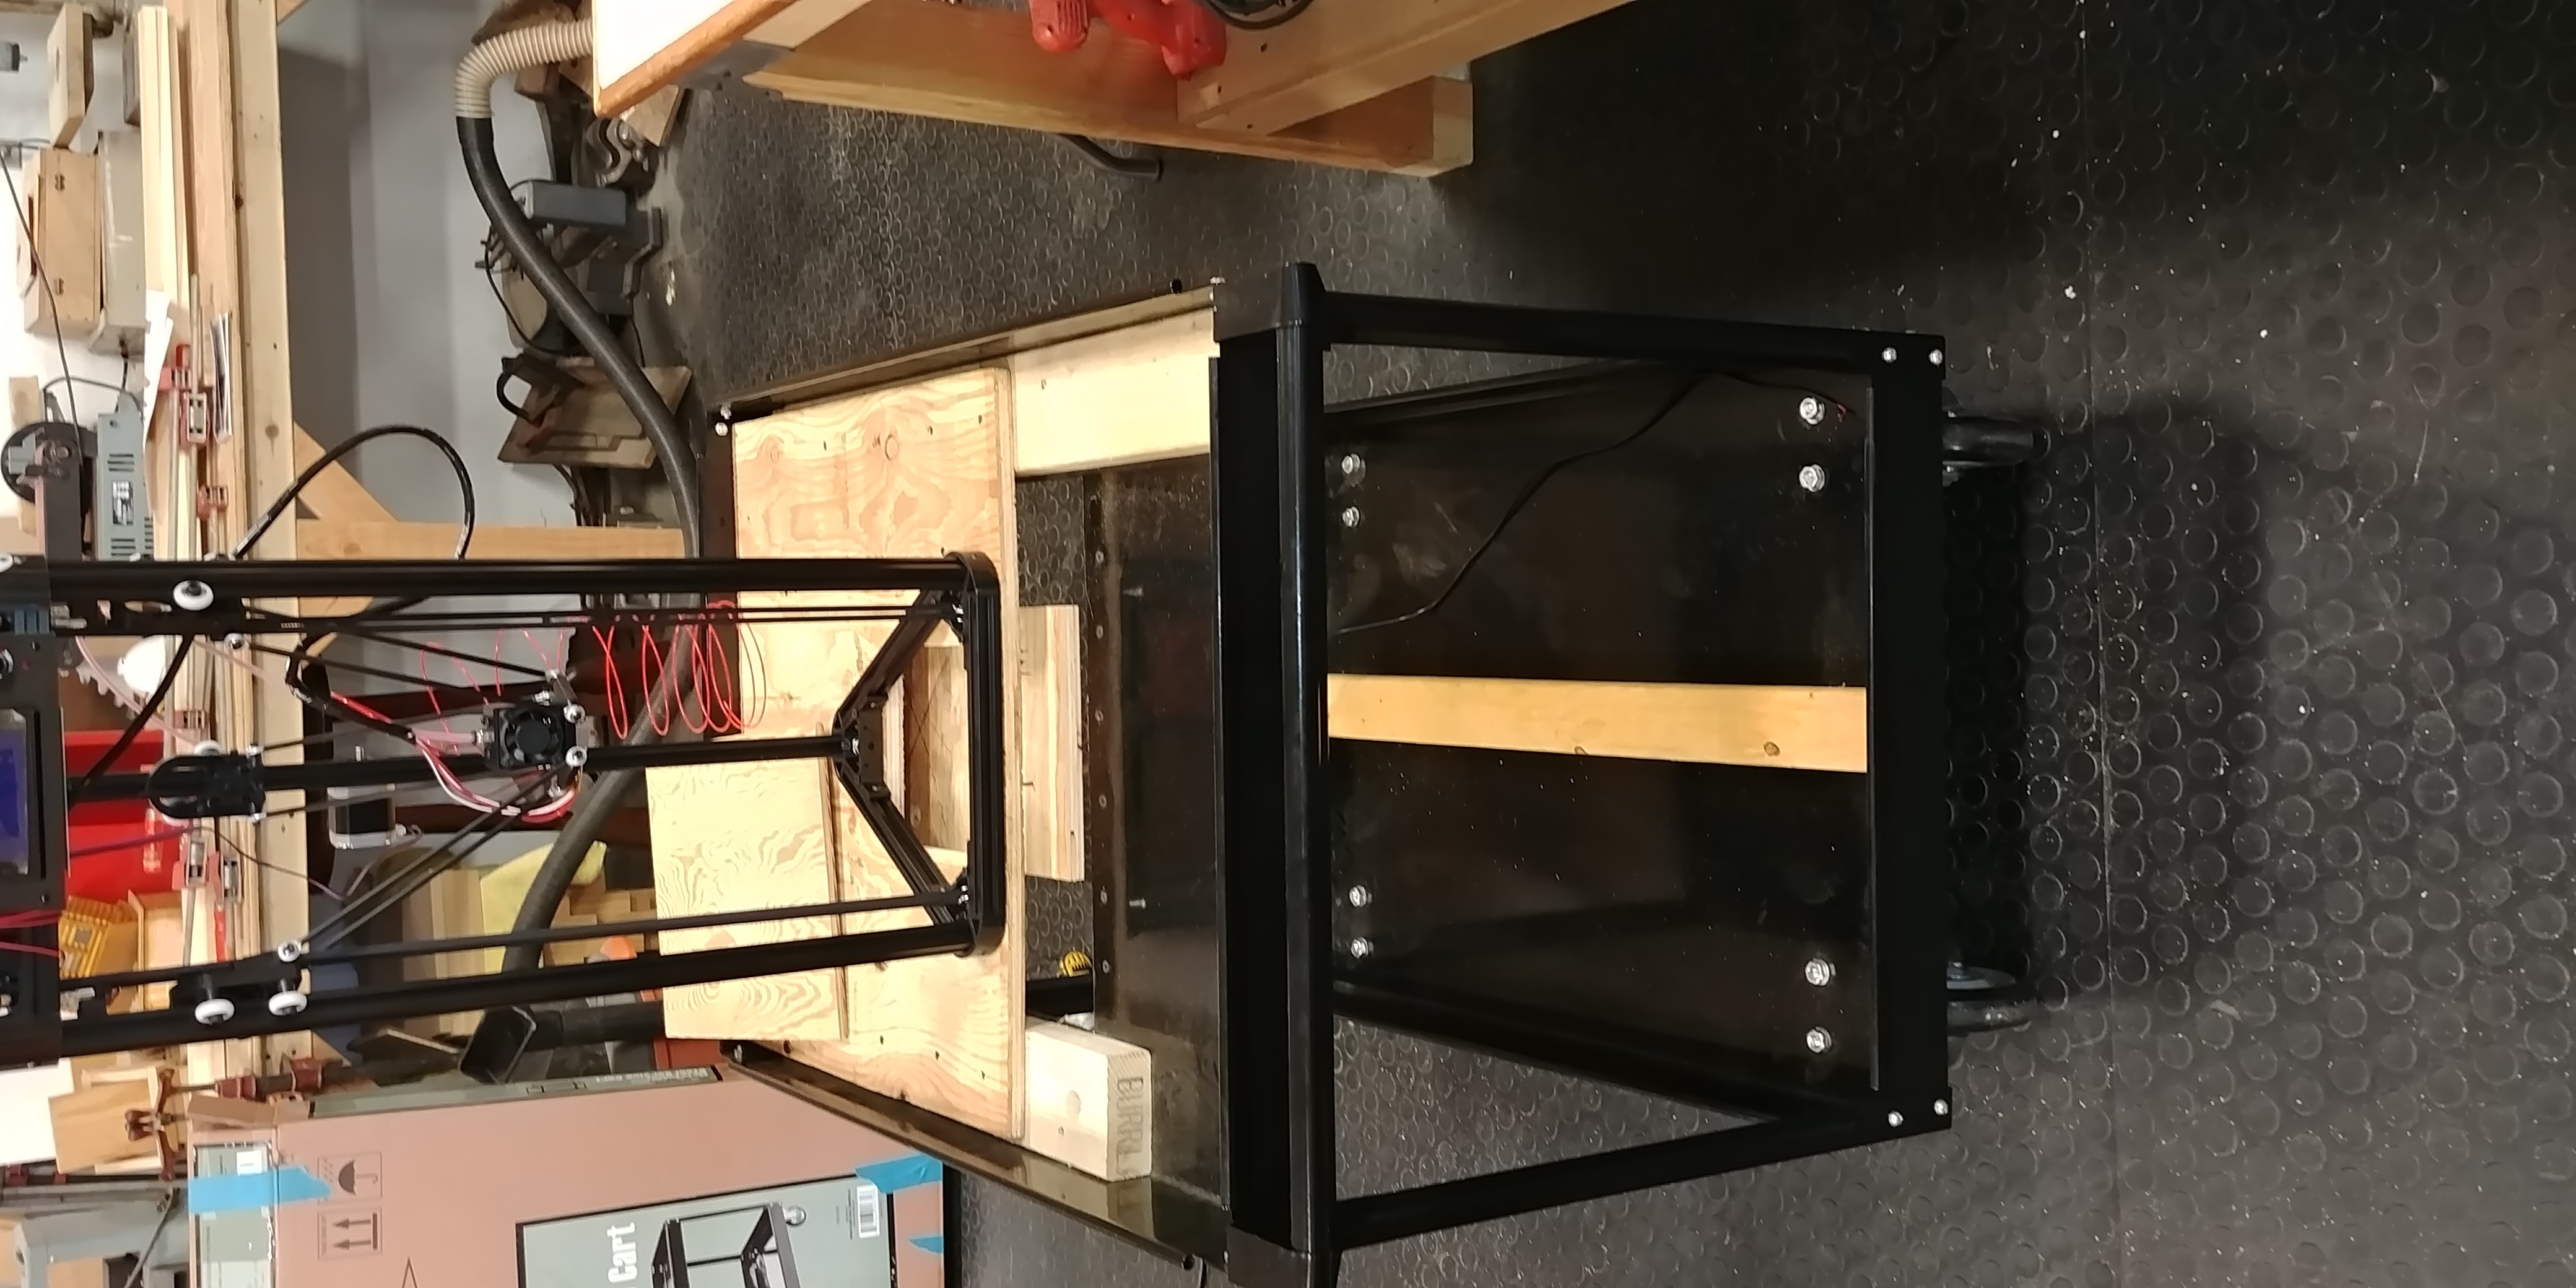
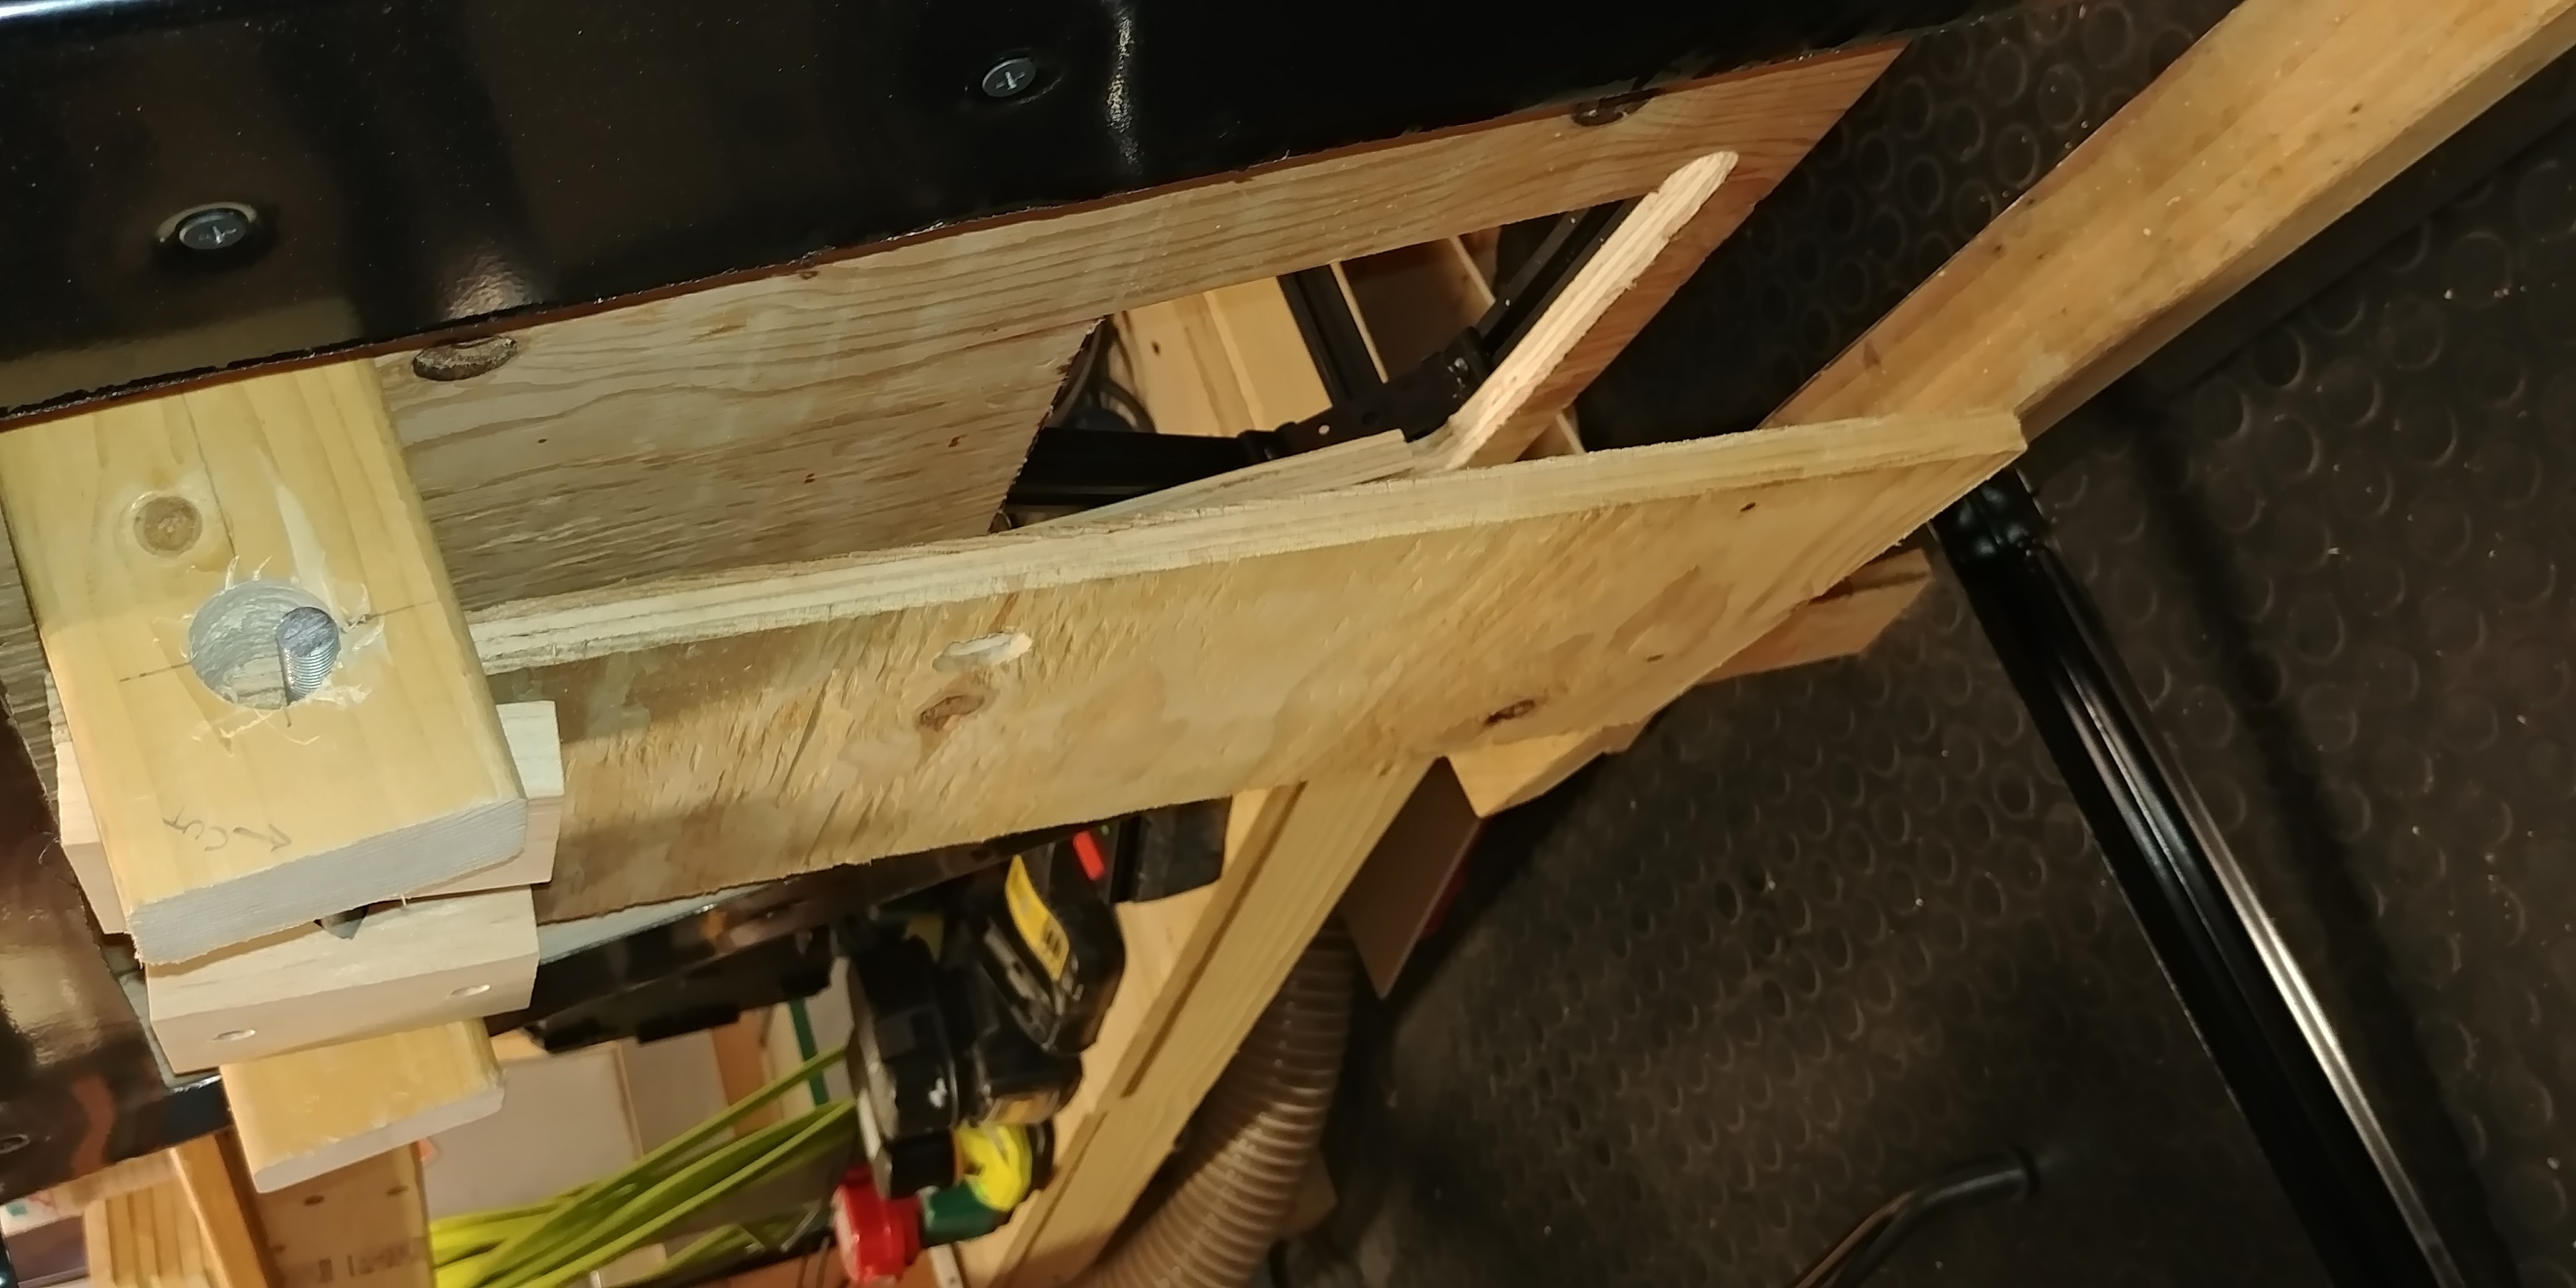
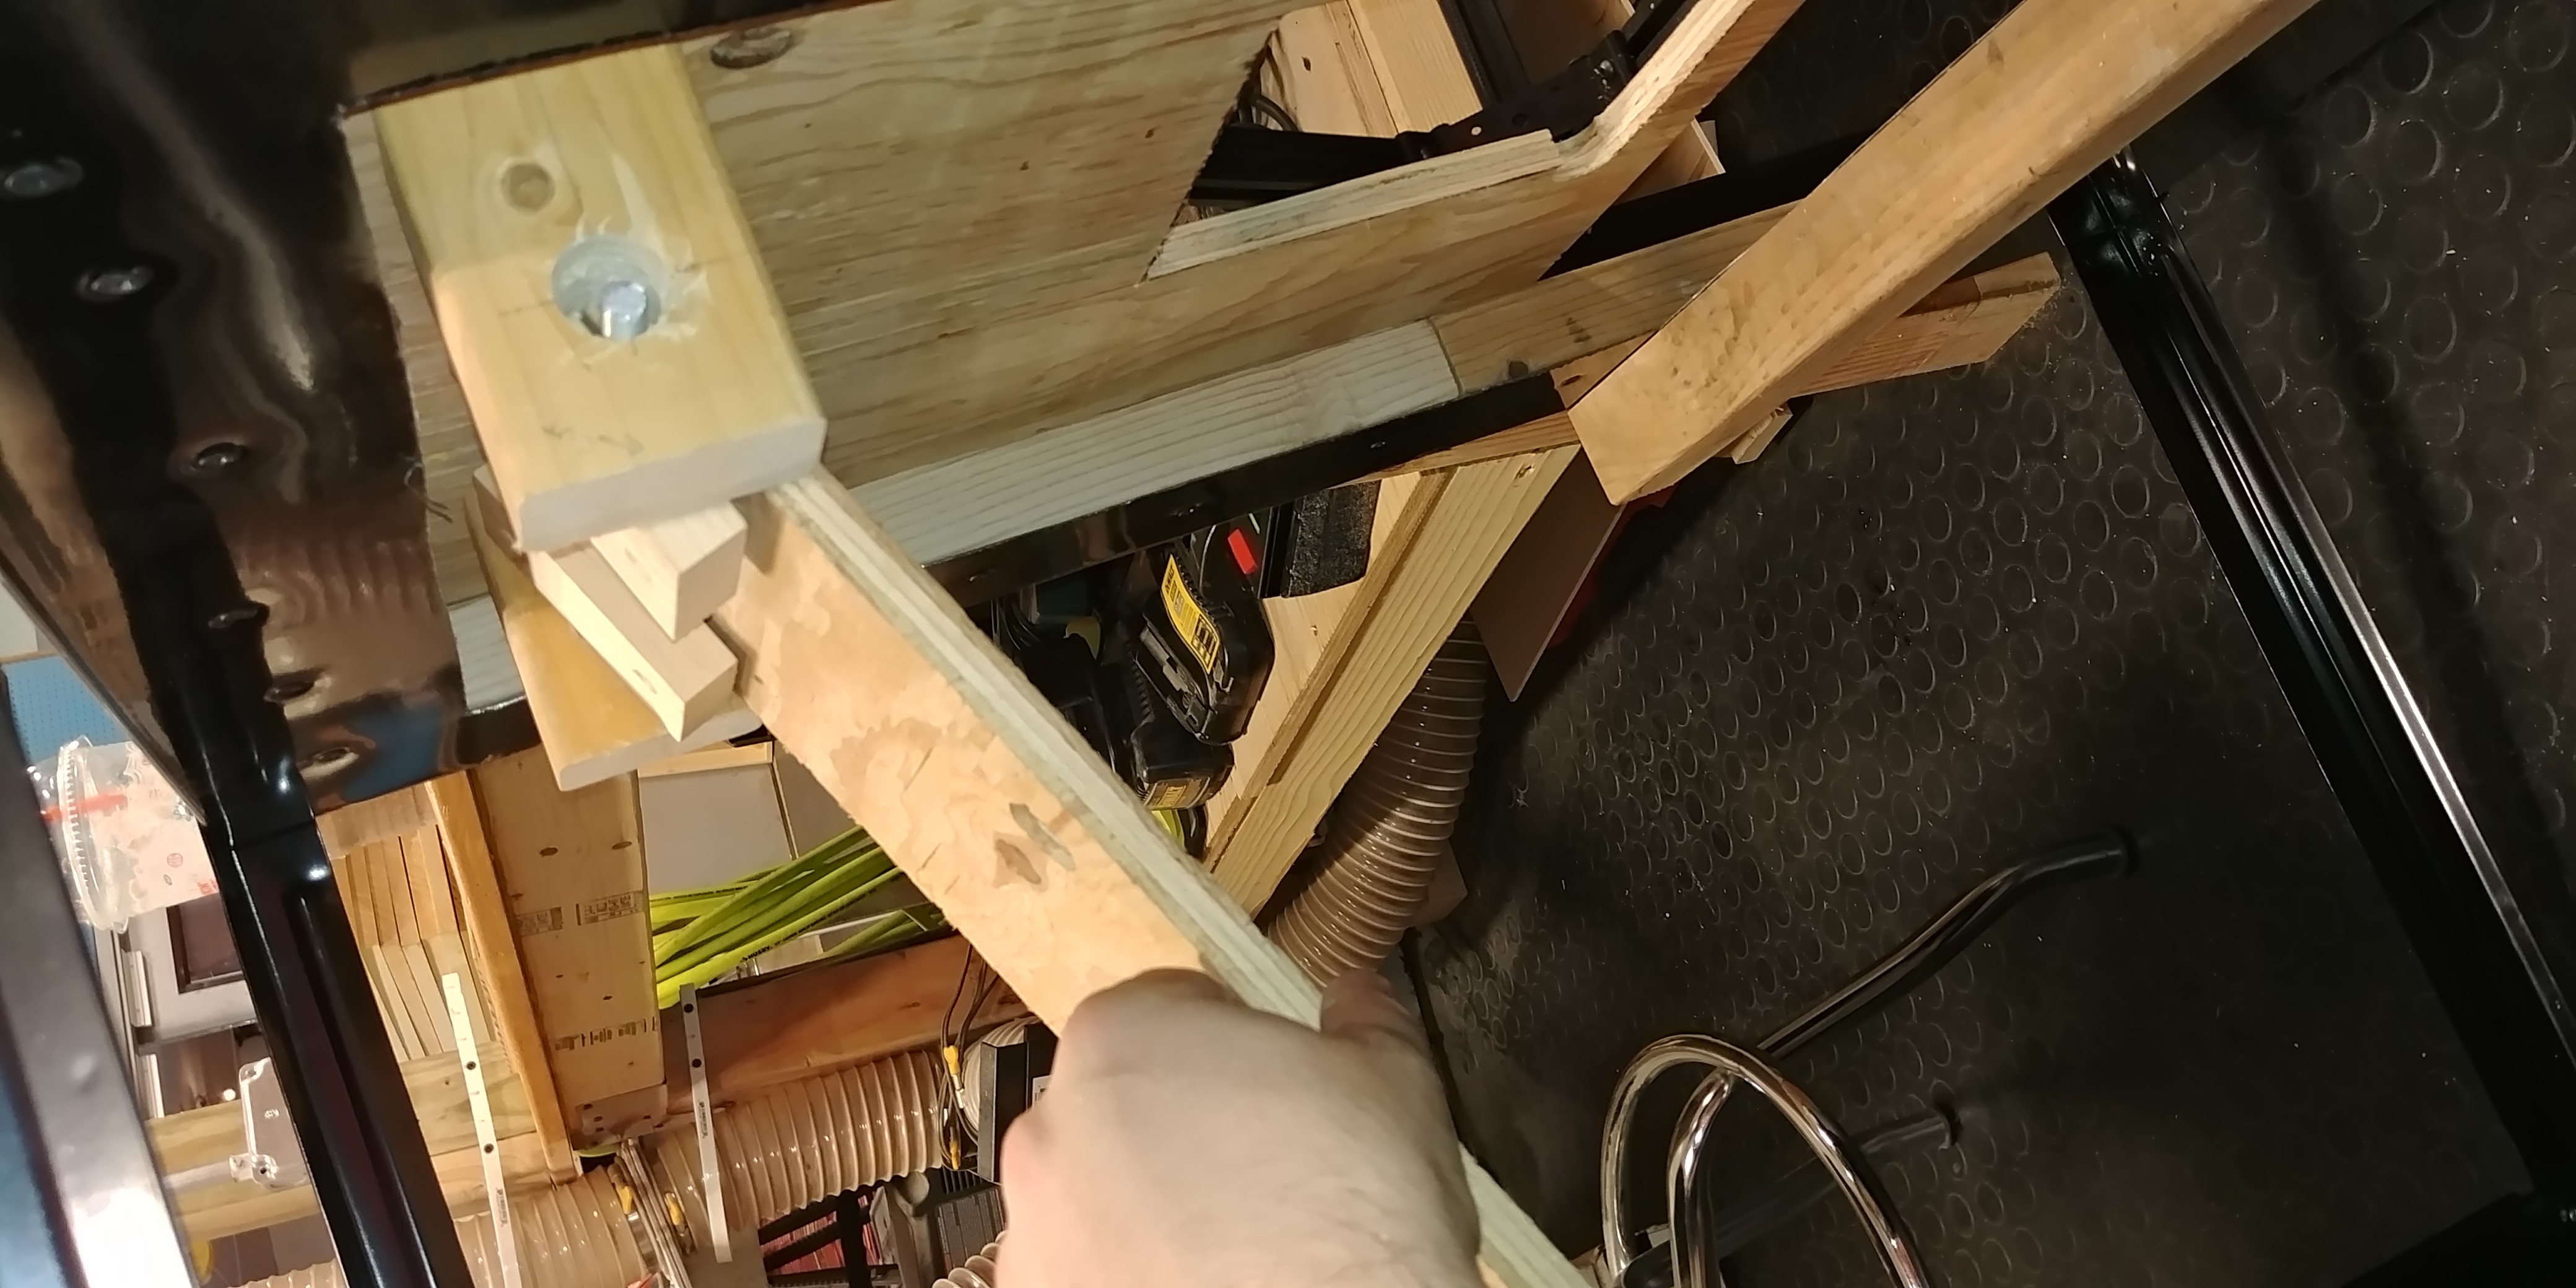
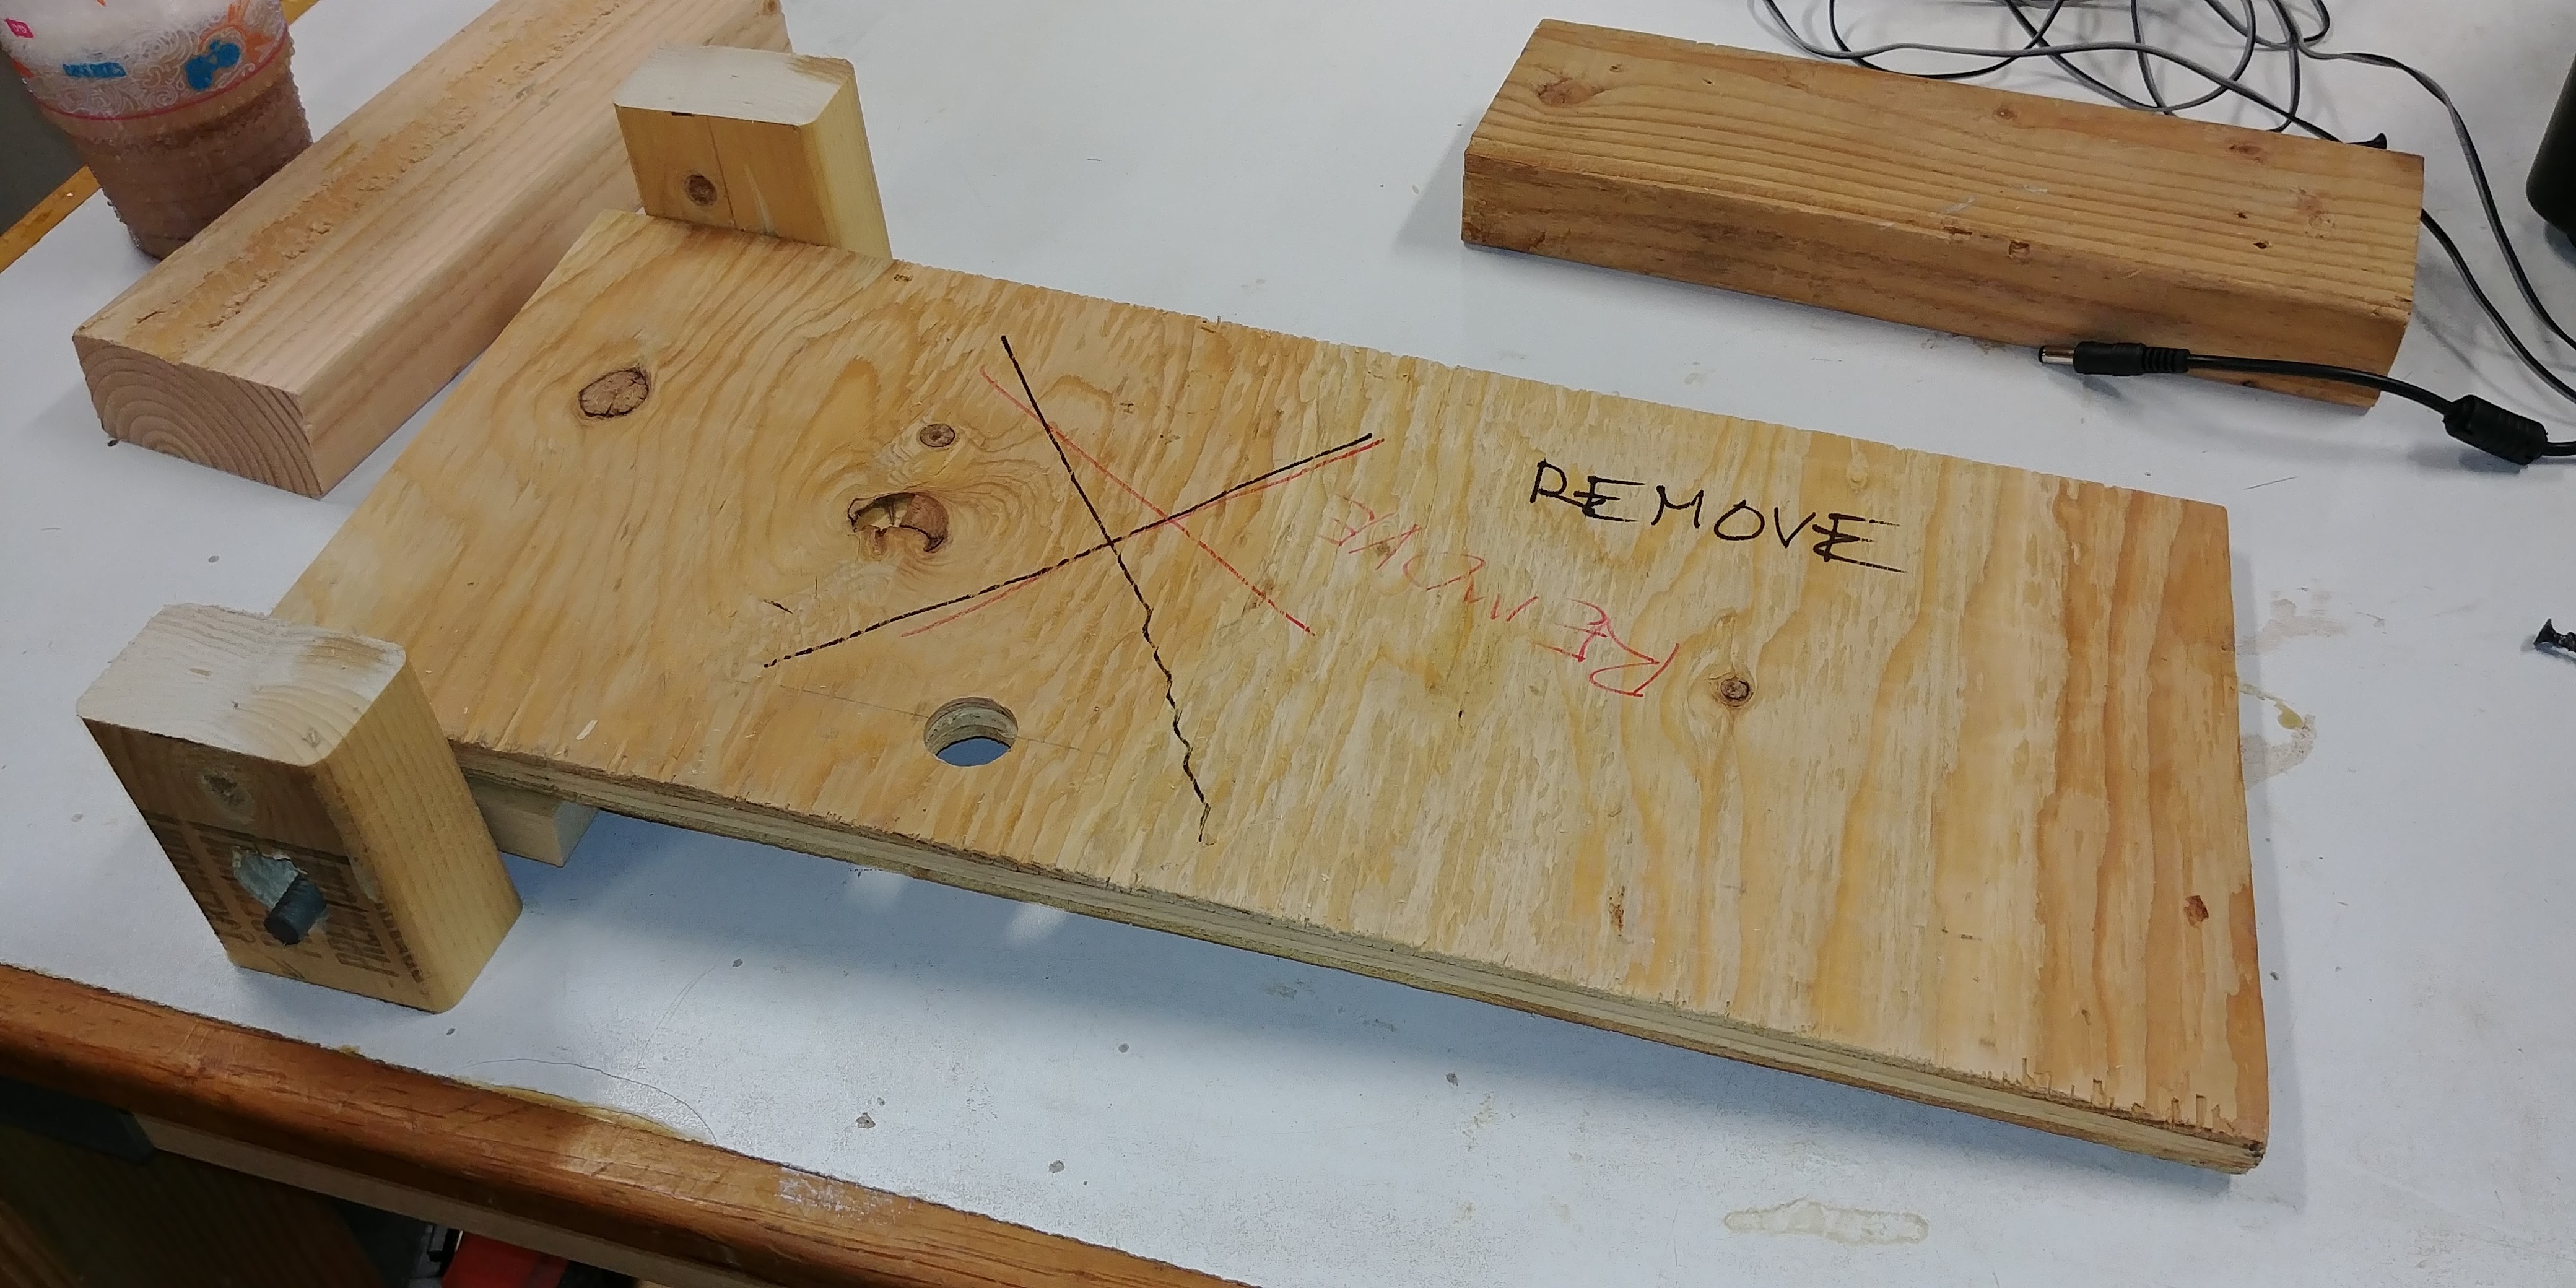
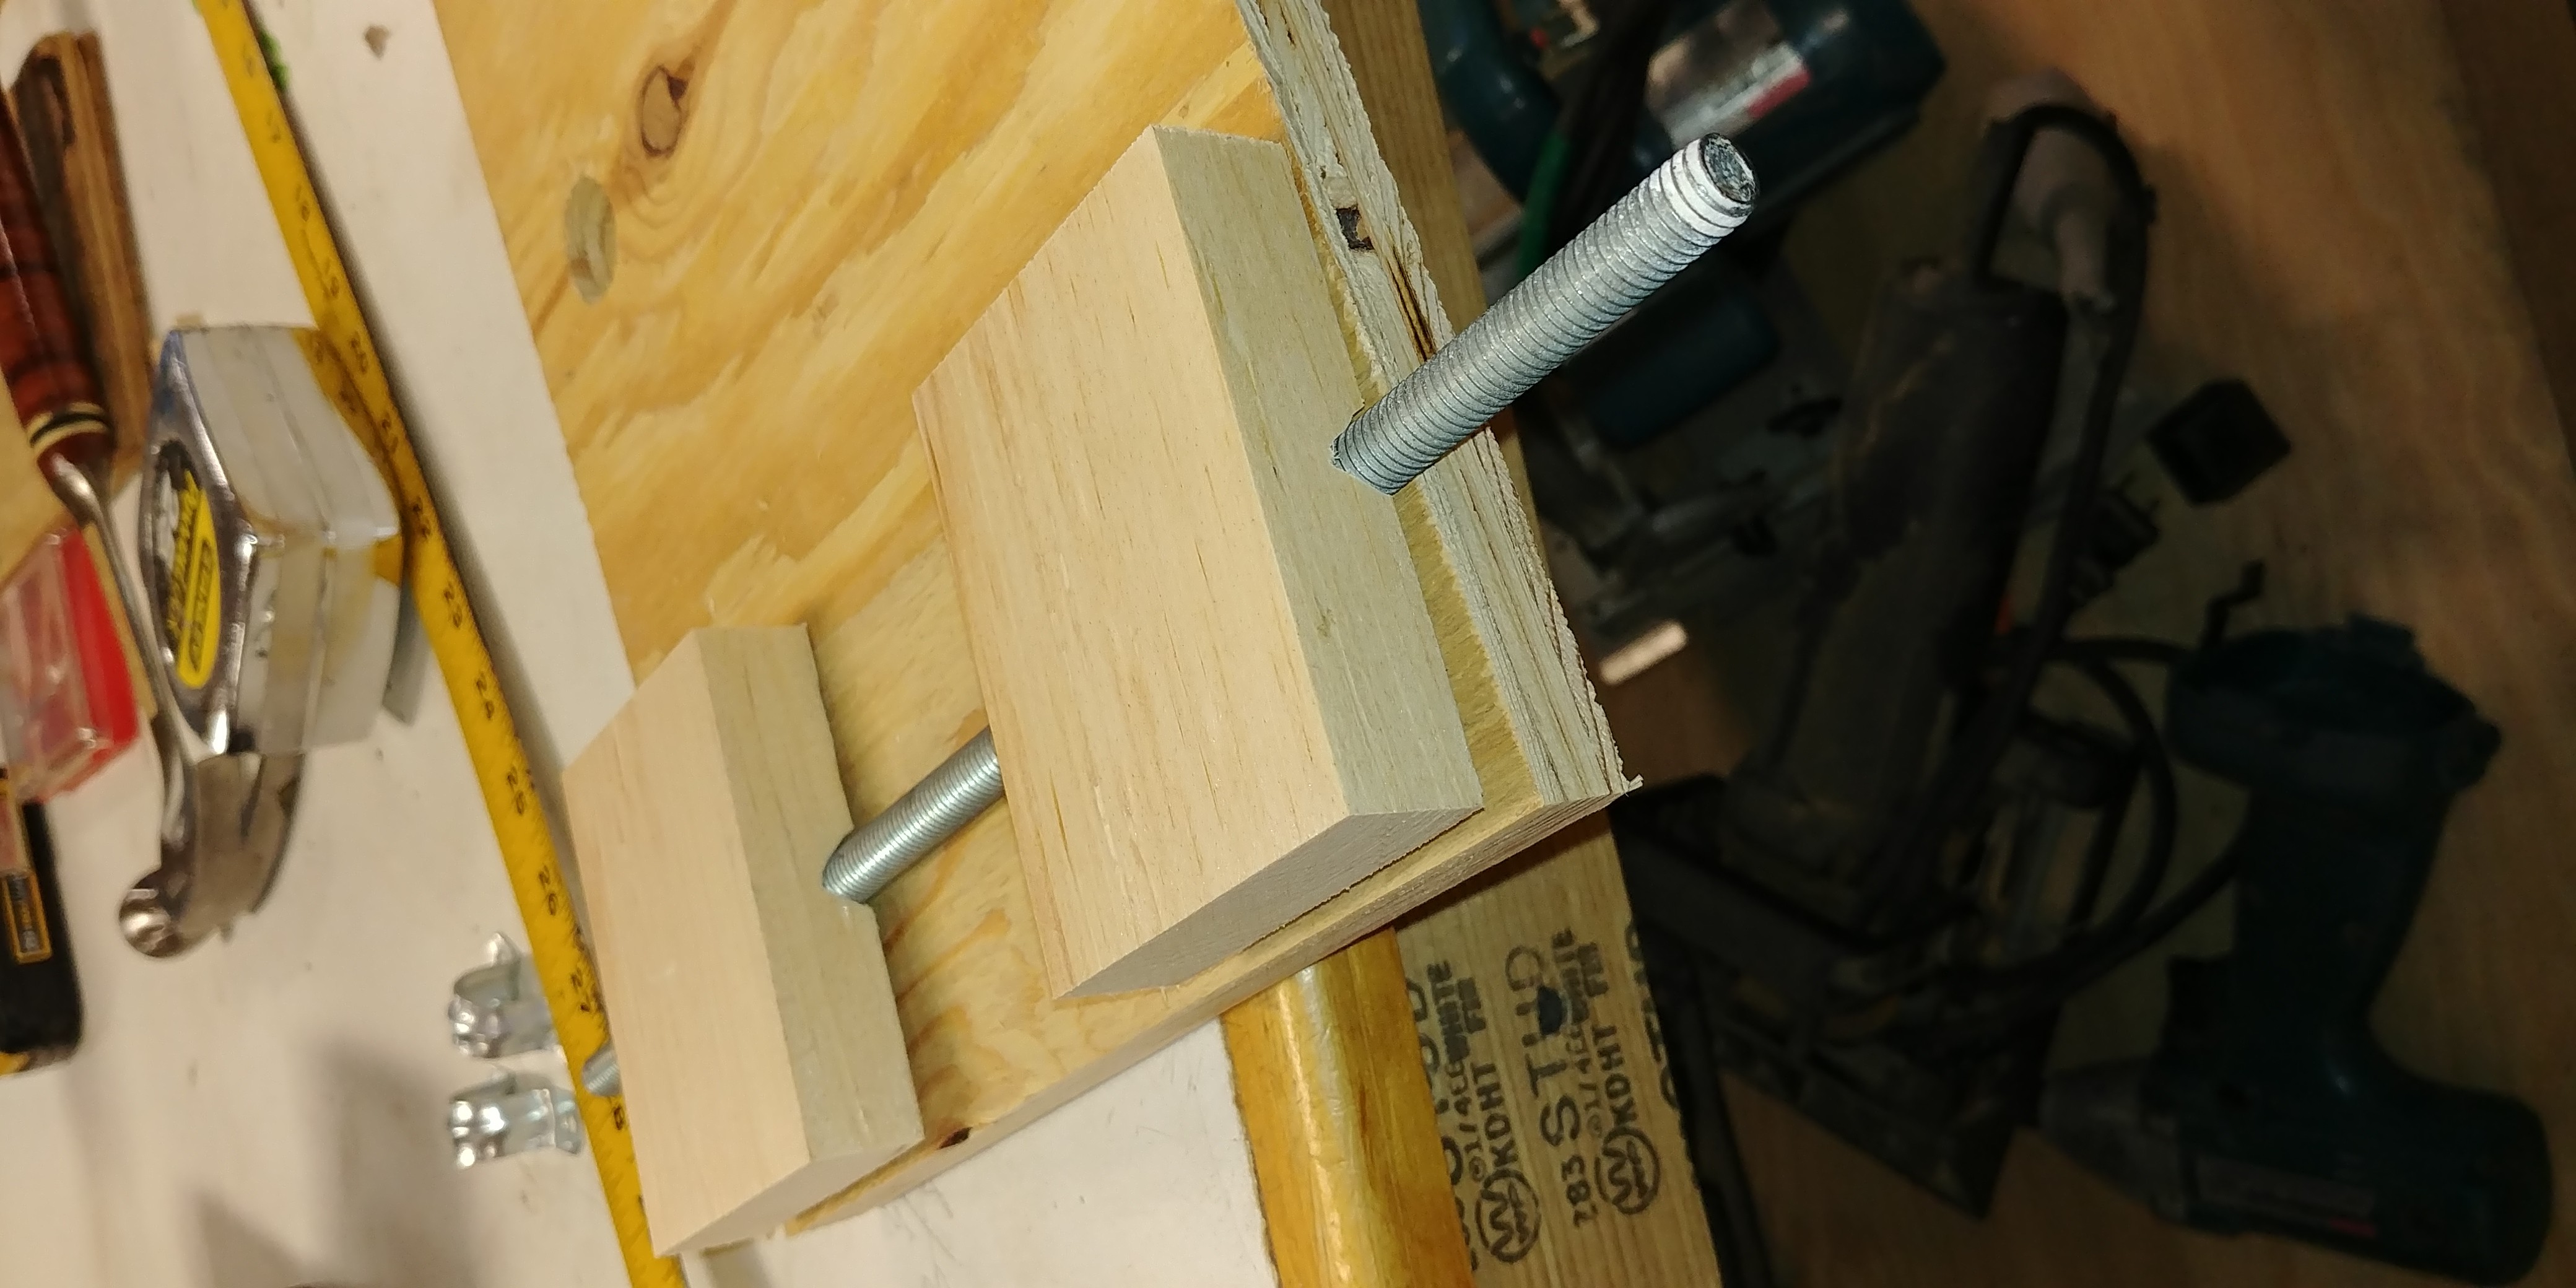
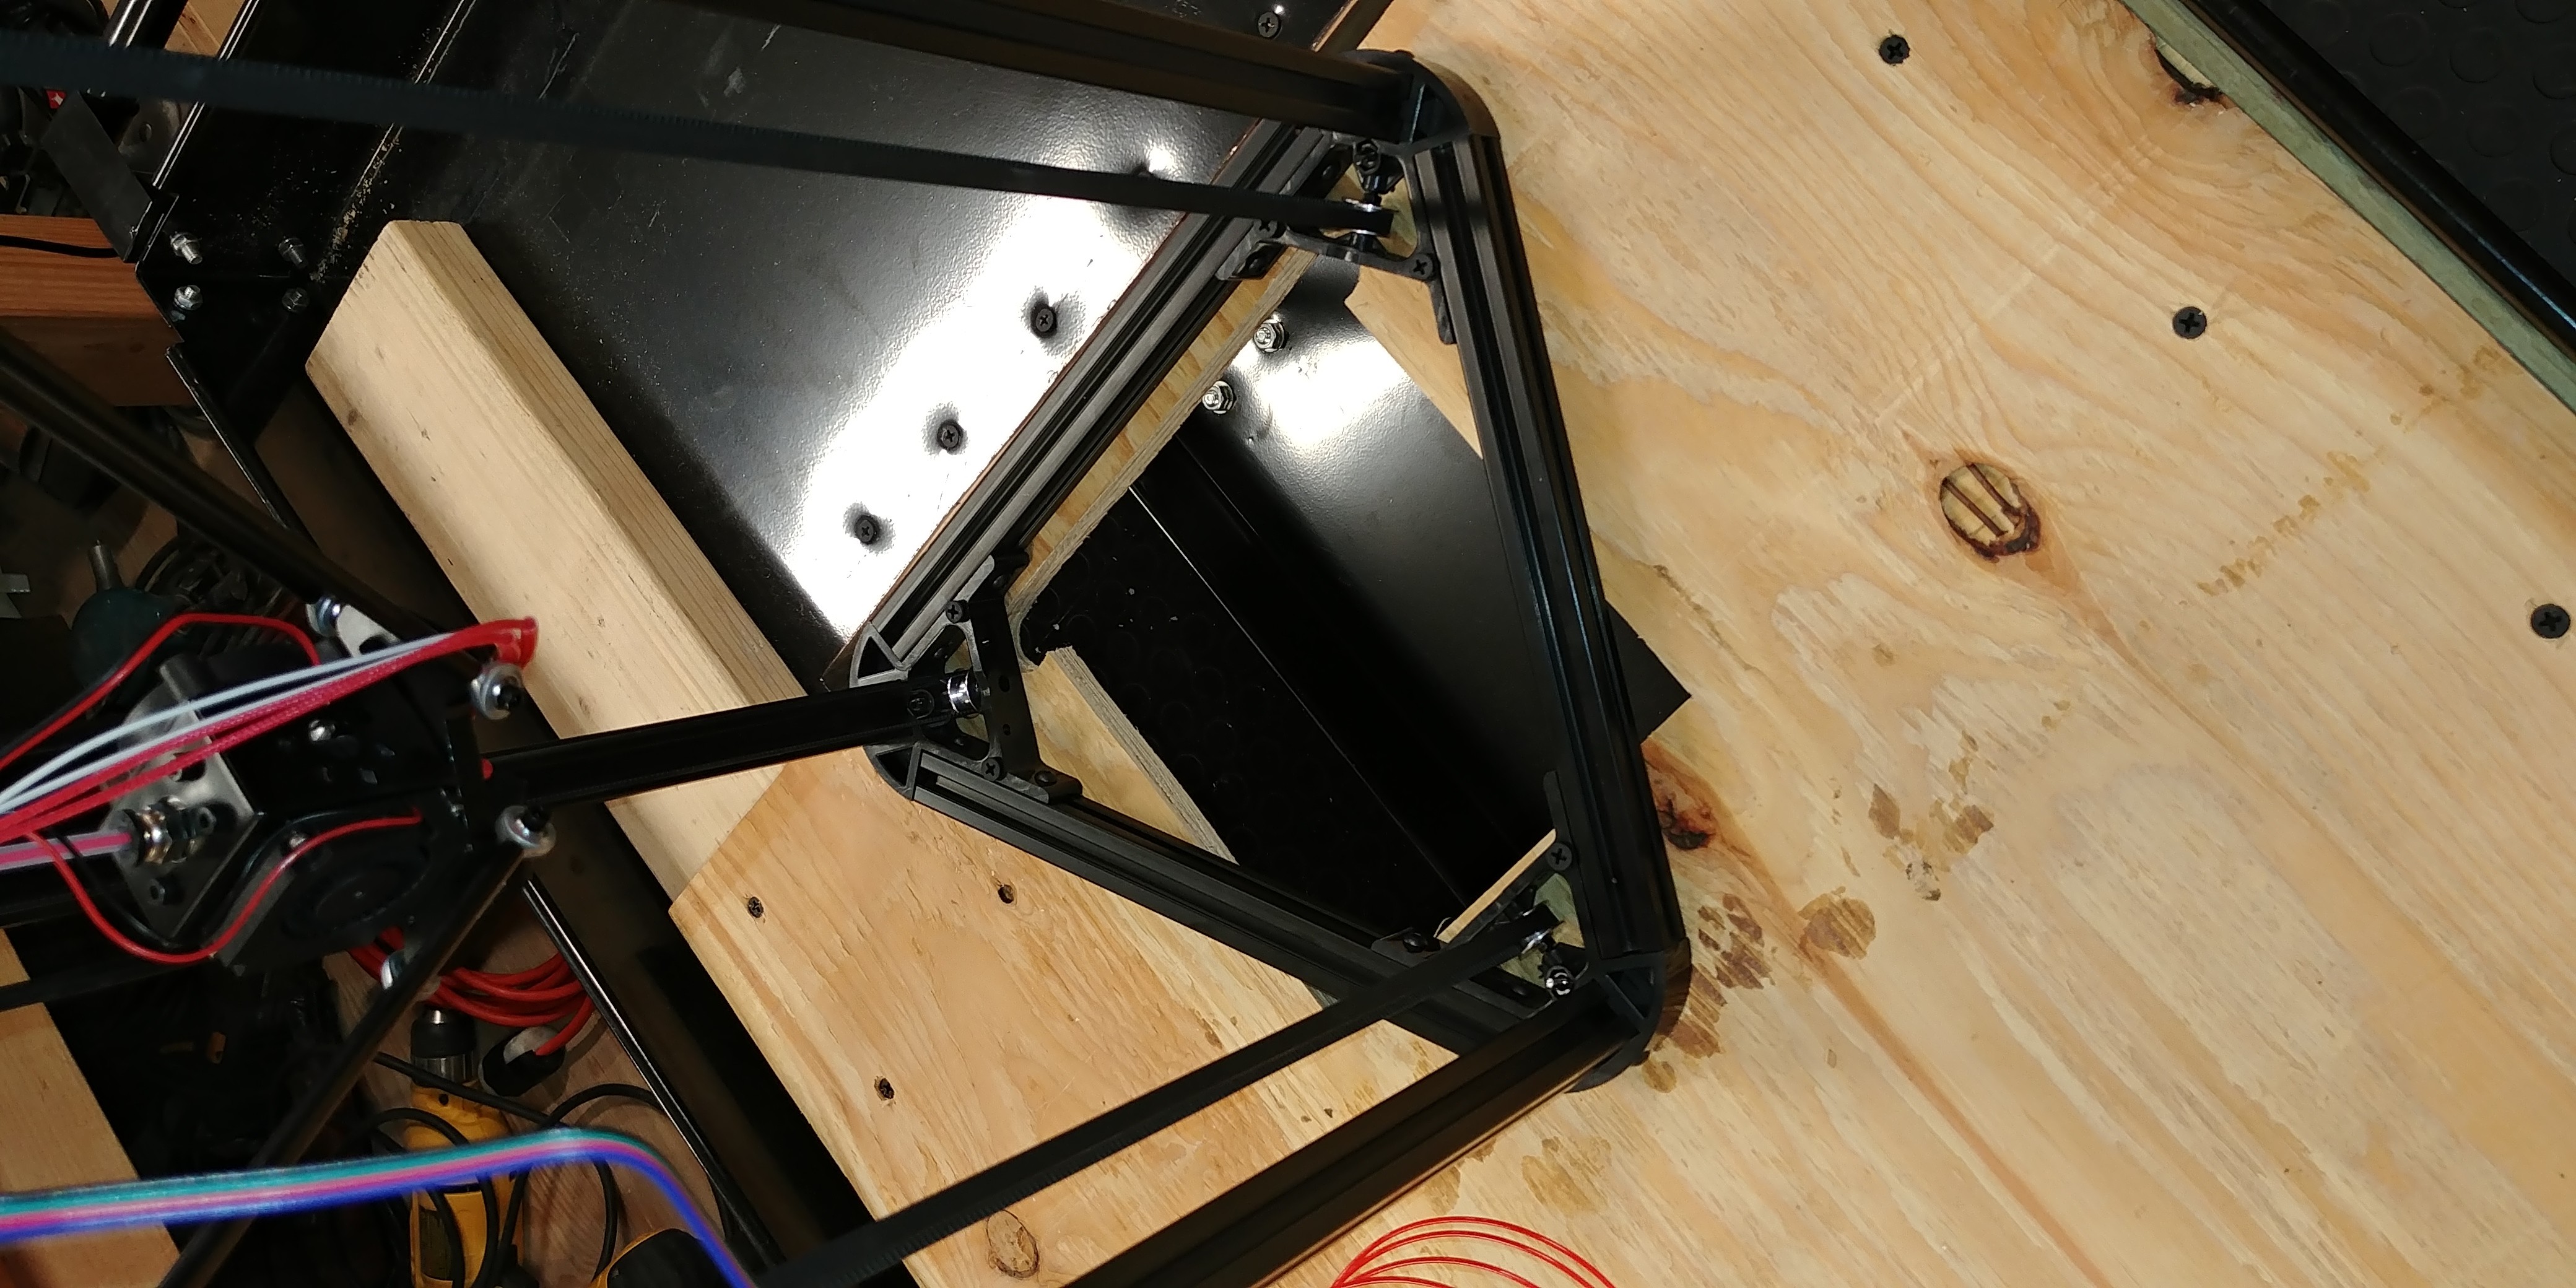
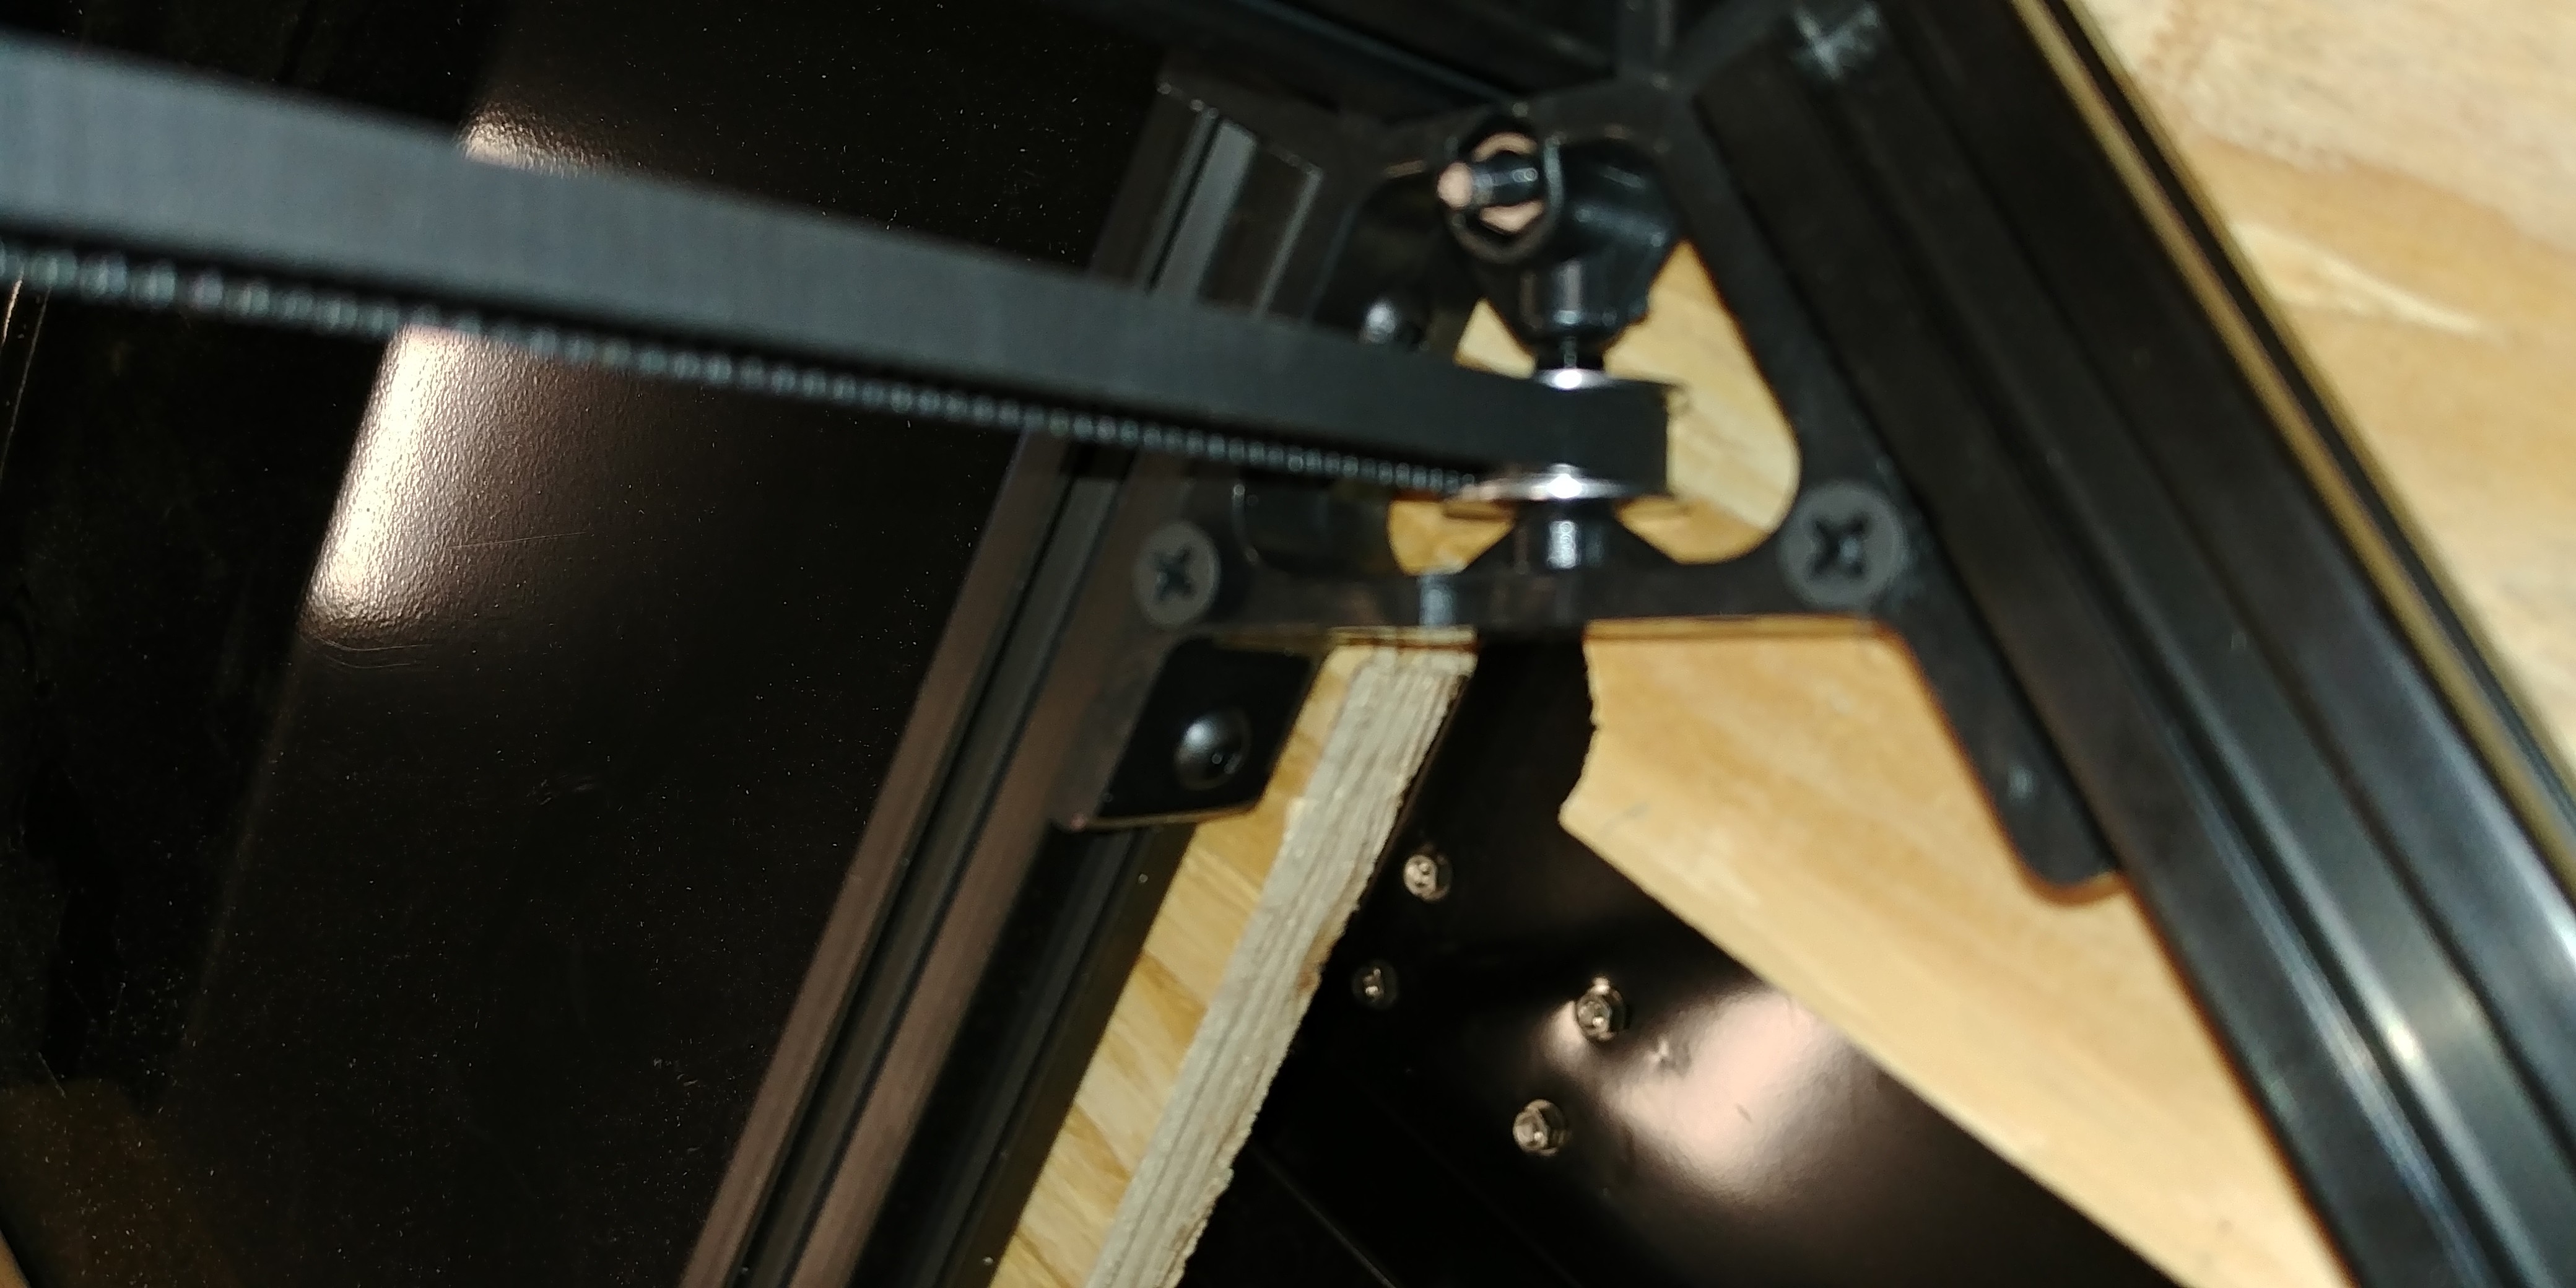
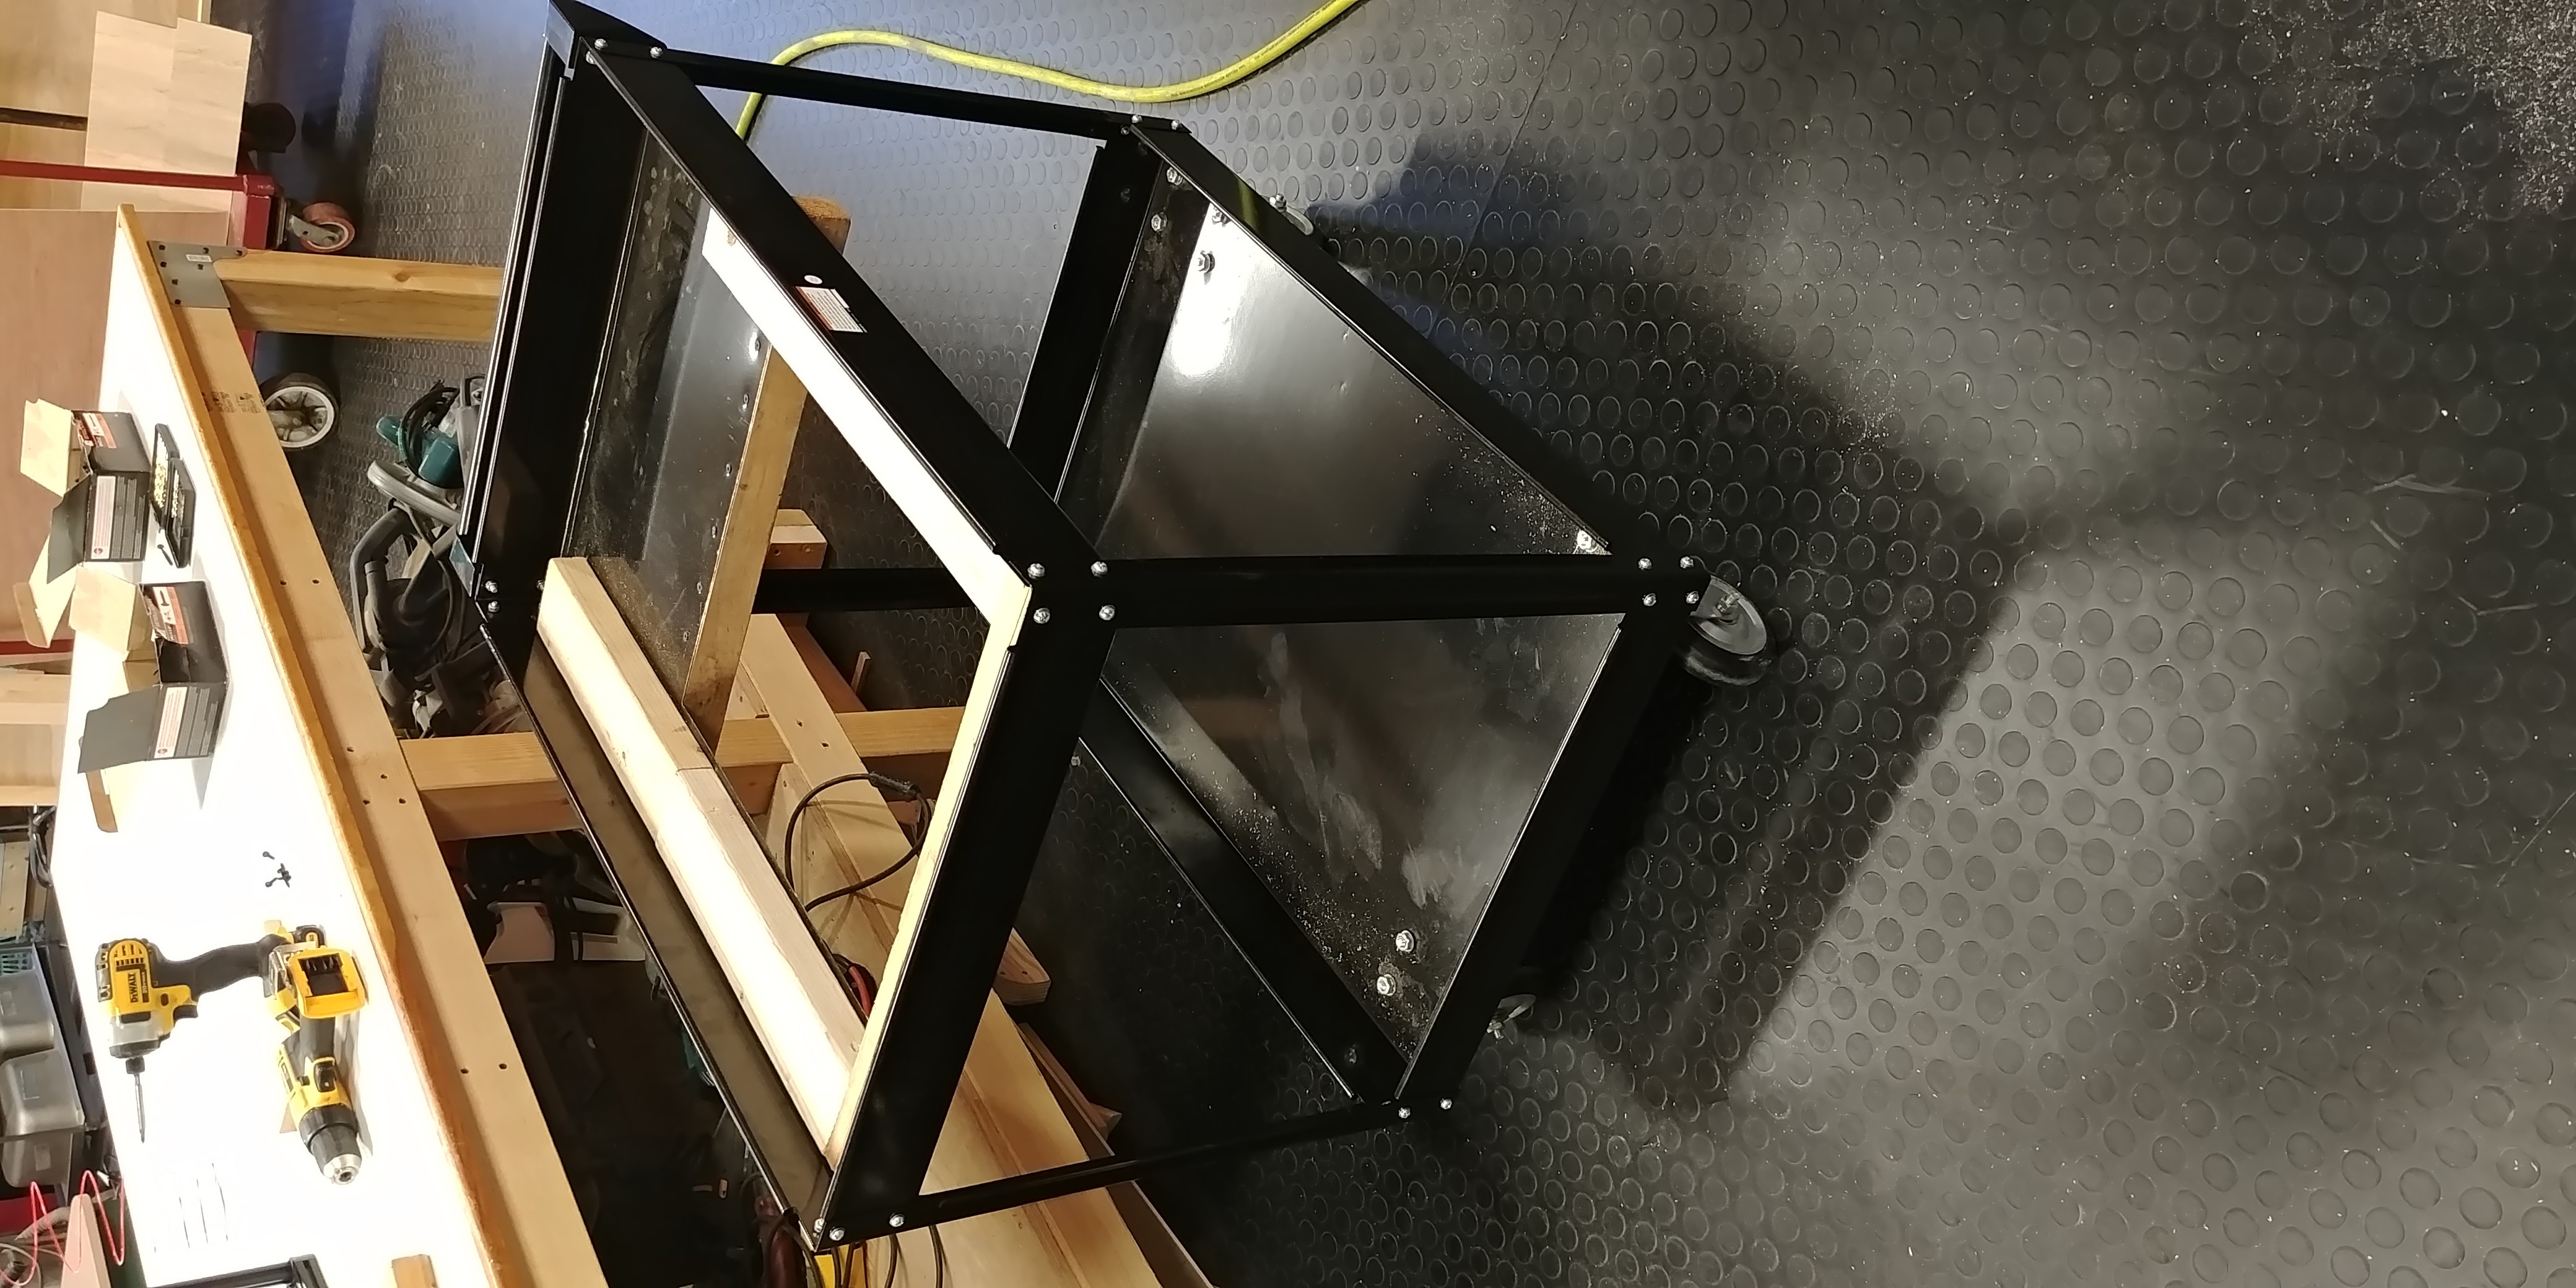
Got most of the version 3 build finished.
07/03/2017 at 22:23 • 0 commentsJust got a few more things to do before I start testing the version 3 build of the automatic 3d printer.
I took a lot of pictures in the build process.
![]()
![]()
![]()
![]()
![]()
![]()
![]()
![]()
![]()
I will be publishing dimensions for every thing here soon.
-
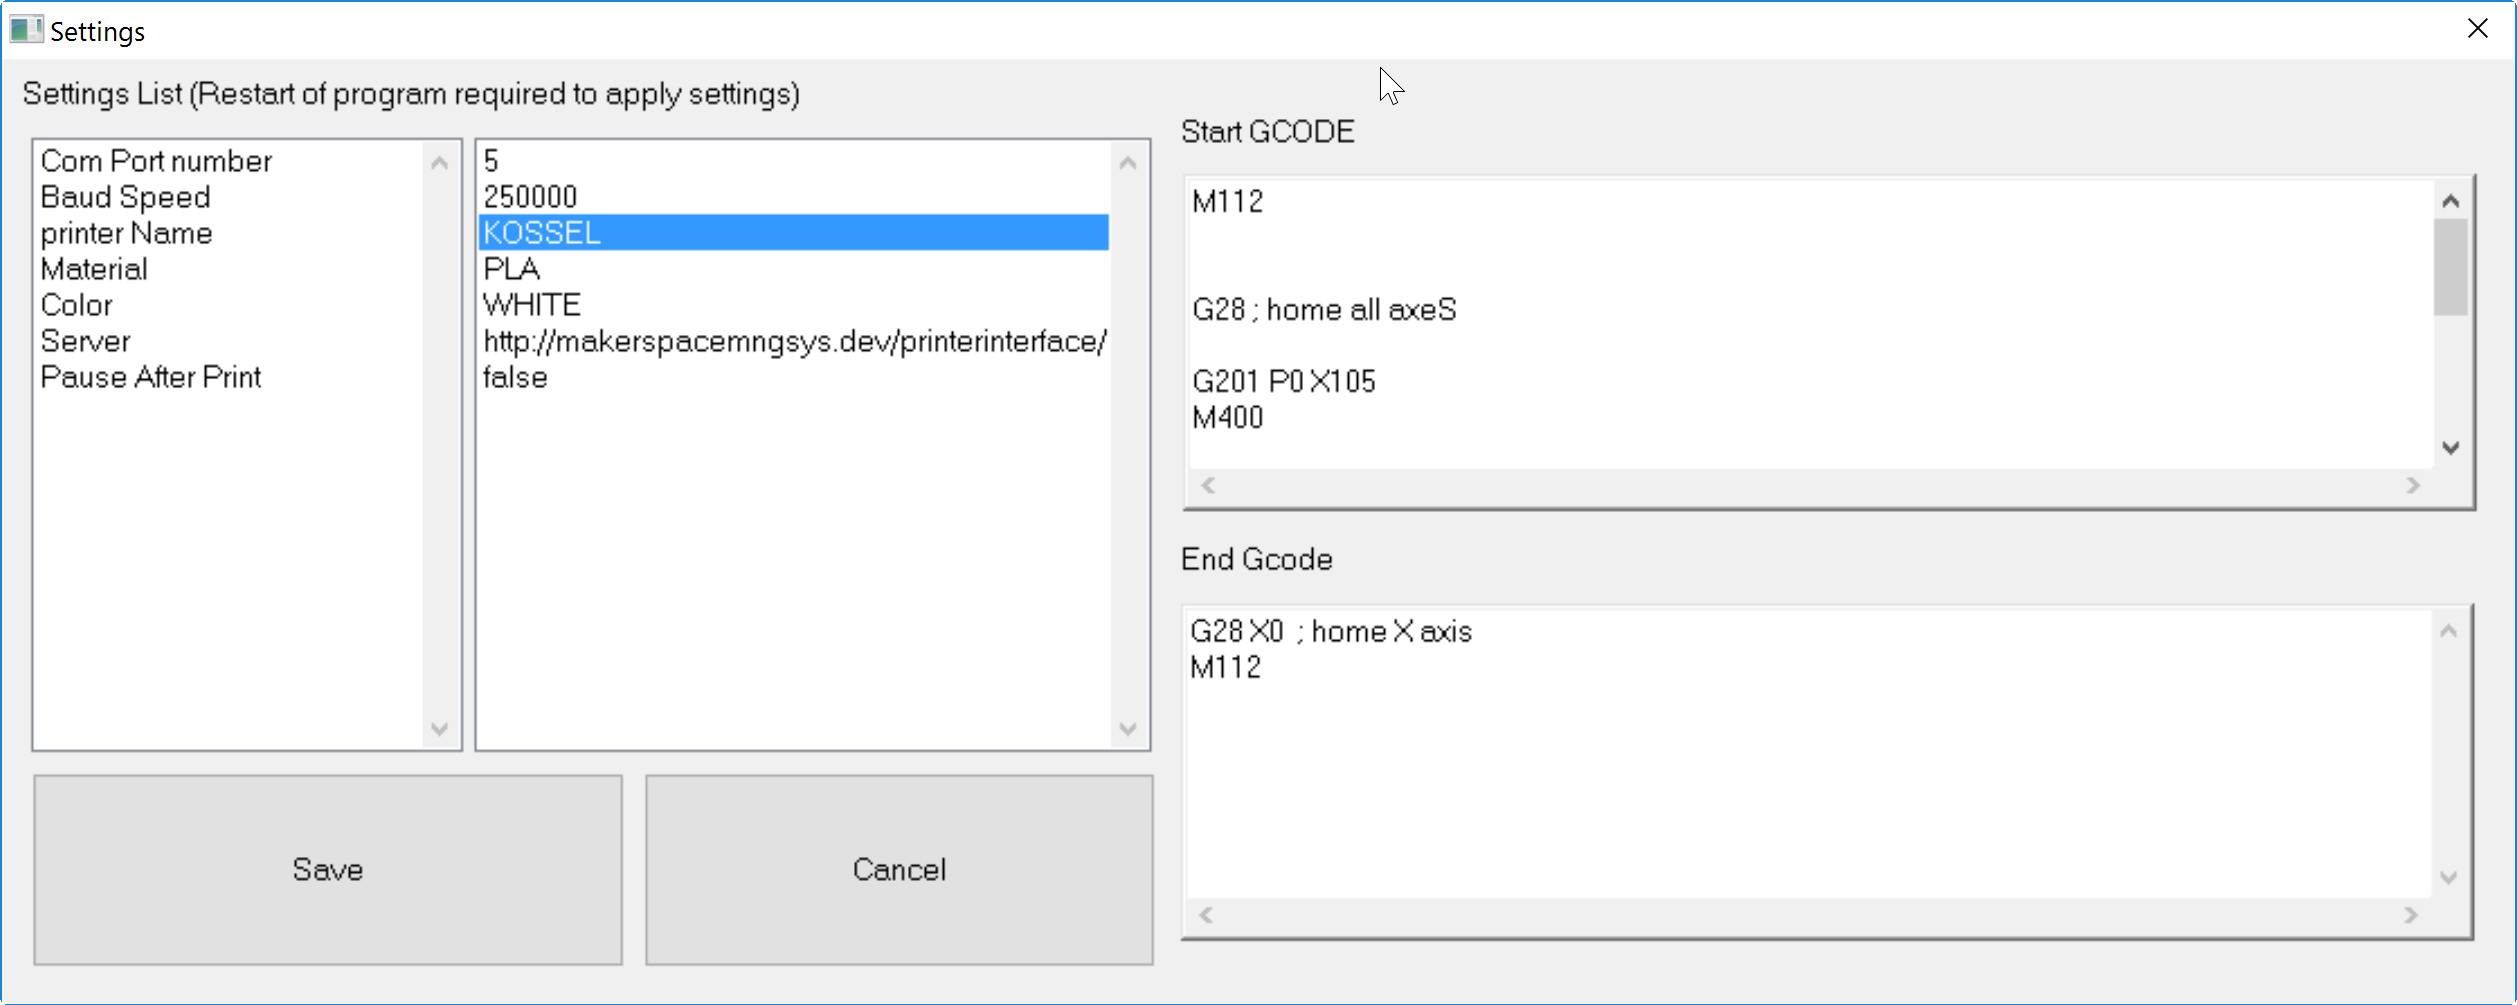
Just improved the GCODE sender!!
07/02/2017 at 21:23 • 0 commentsSo i just updated the github for the gcode sender.
It has a few new options.
![]()
First off I added a setting that optionally makes the gcode sender wait at the end of the print job and prompt for a person to remove the print. This allows the 3d print queue to be used with printers that do not have an auto eject system.
Second because I am building a new printer witch uses a different ejection system and therefor different ejection gcode I added start and end gcode boxes to the settings page.
You can enter printer printer specific gcode to do the auto ejection, nozzle cleaning or other actions. This makes the gcode sender compatible with different printers and allows the gcode produced on the server to be generic.
There is another thing I was working on but it is not ready for prime time yet. I have not integrated the code in to the gcode sender yet. The new thing is the ability to capture an image of the print bead to detect if the piece of paper from the 2d printer is there yet. Incjet printers can some times take a minuet or 2 to clean the head at the most inopportune times. You also have the possibility of running out of paper. Hopefully this will prevent any of those scenarios from becoming a problem. It also opens up the possibilty of taking a picture of the print when it is done and uploading that back to web server for visual verification.
-
Quick tally on the total cost of building the version 3 machine
07/02/2017 at 01:14 • 0 commentsall prices were rounded up a bit.
60$ rolling 2 shelf cart from harbour freight
230$ delta 3d printer from eBay kossel variant.
45$ linear actuator from eBay
3$ double Relay control board from eBay
50$ lumber or just the scraps you have around.
35$ regular 2d printer from Walmart.
0$ old PC to run gcode sender.
Total cost 438$ including all shipping charges.
That's a pretty good deal if you want a 3d printer that can continuously run. :-)
-
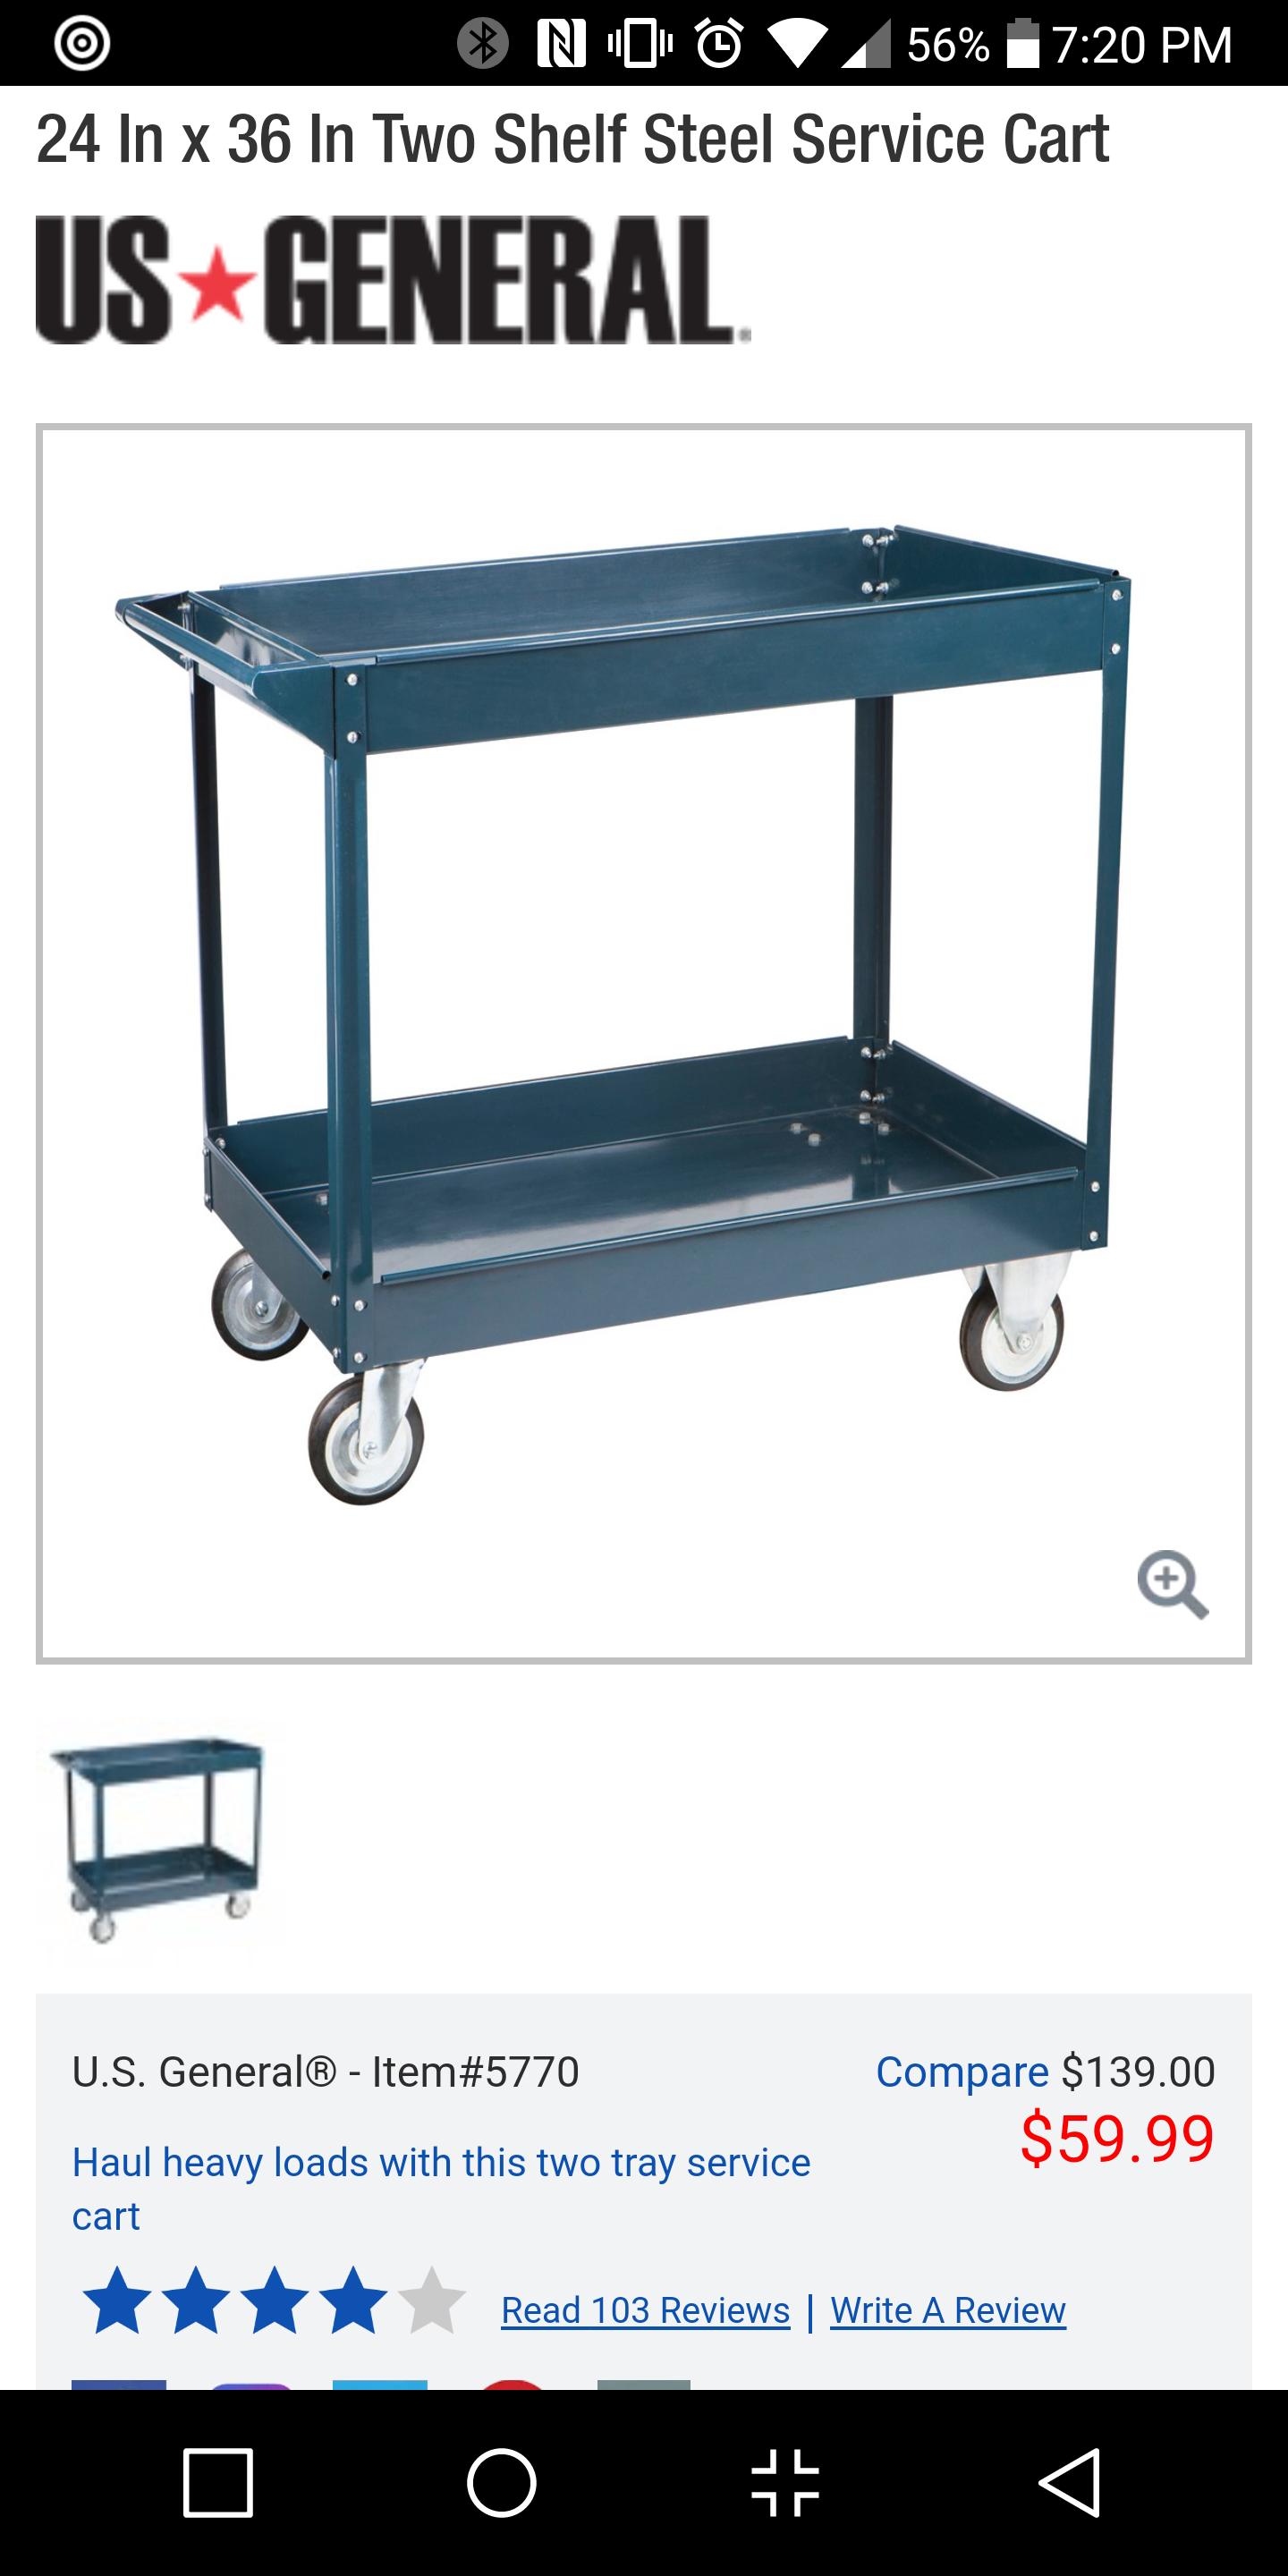
Just went down to the local harbour freight. Picked up some goodies.
07/02/2017 at 00:49 • 0 commentsSo today I went down to the local harbor freight and picked up some goodies.
![]()
I bought one of the steel carts. I will use this to build iteration 3 of the machine with the linear actuator for the trap door. As of today I have all the parts needed to build version 3 including the relay board to control the linear actuator. Using the steal cart really is going to make it easier to move around and show off. It was not fun moving it last time to bring it to the local mini maker fair.
I got a hole cut in the top tray of the cart. Took about 5 minuets with an angle grinder.
I plan to get the 3d printer mounted tomorrow or on Tuesday along with the trap door and actuator.
The new trap door will be made with 2 pieces of plywood and use a pice of squishy foam between them to allow for some leeway in tollerences.
Expect an update video in the next few days and some really good documentation and build of materials information.
-
Got the linear actuator working in gcode.
06/30/2017 at 03:33 • 0 commentsSo tonight I set my sights on interfacing the new linear actuator to the printer and controlling it with gcode.
To do this I am going to be using the following gcode commands.
G04 P10000 ;pause for 10 seconds
M42 P42 S255 ;set pin 42 high
M42 P43 S255 ;set pin 43 high
I am going to be making a few changes to the gcode sender to make the printer specific code such as the auto ejection be inserted on the client side and not added in the gcode produced on the server making it more generic.
-
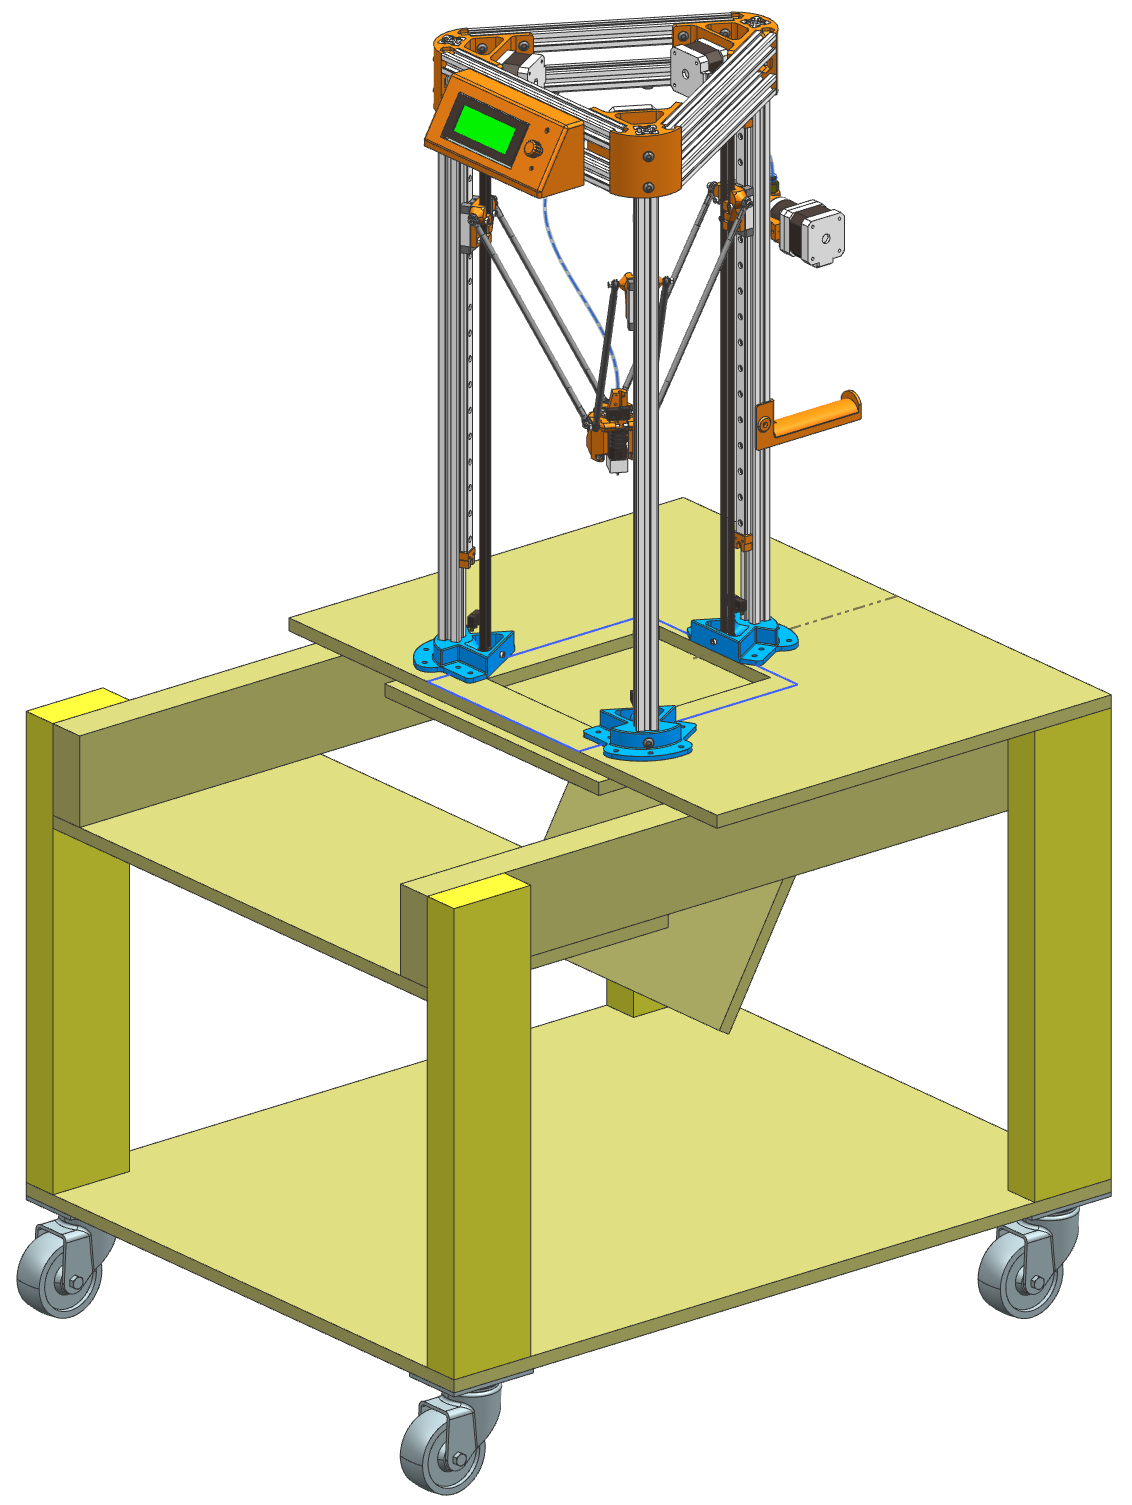
3d model of printer coming along.
06/27/2017 at 23:13 • 0 commentsBeen working on a 3d model for the next build.
Trap door shown in both the open and closed position.
Feet on the bottom of the printer shown in blue will be provided as an STL file when finalized.
Planning to have fully dimensioned sketches for each of the wooden parts and providing pictures of the assembly process as it progresses.
Using standard 2 by 4 lumber and 1/2 in ply wood.
Also have to get the complete BOM made for this machine and links to where one can order the parts.
![]()
-
Picked up a $40 linear actuator with 200 lbs of force.
06/27/2017 at 11:38 • 0 commentsJust got the new linear actuator mailed to me. It should work well for clamping the piece of paper.
I hope to have some pictures with dimensions and 3d model so people can print out new plastic pieces for the base of there printer.
Stay tuned this week.
Robot 3D printer auto eject sys & web print queue
A 3d printer system that can be operated by multiple people that just spits out parts placed in the web based print queue