 RobotDigg ME
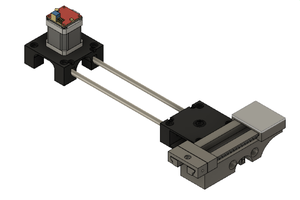
ssembly structure: Gantry structure
Design: full metal modular assembly kit fixed base:
steel plate mechanical holes fixed function realization: 3D
printer(Laser engraving machines, food printer, Smart Brush, etc.)
Printing precision: 0.1mm (100μm) within minimum print layers: 0.05 mm (recommendation> = 0.1mm)
The fastest print speed: 120mm / s (recommendation <= 40mm / s)
nozzle diameter: 0.4mm
Support Supplies: PLA
Supplies Diameter: 1.75mm adapter
Power supply: 110-220V, 50-60HZ
Data Entry: SD card, USB interface supports file formats: Pcode slice
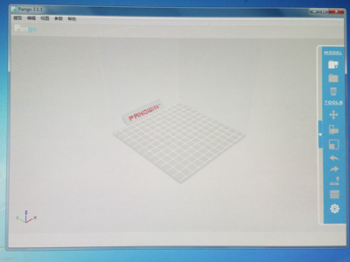
Software: Pango
Print Size: About 110 * 120 * 125mm
Package Size: about 376 * 386 * 196mm
Operating System: Windows7
Housing (value-add): 3D printing and dispensing machine frame, multicolor acrylic bezel
Structure : Mechanical arm
Features : Modularization parts
Filament Diameter : 1.75mm Works With : PLA
Positioning Precision : 0.02(with100mm)
Power: 110-220v
Connect: SD card Compatibility: windows7
Package Size: 376*386*196mm
Software: Pango with independent intellectual property rights
Delivery status: Delivery of spare parts assembled
an be a 3D printer or be laser carving by exchanging a head.Is not it cool? When unpacked:
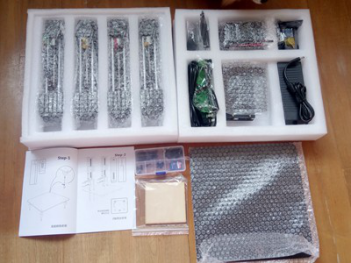
A bunch of modular components, the assembly process is simple
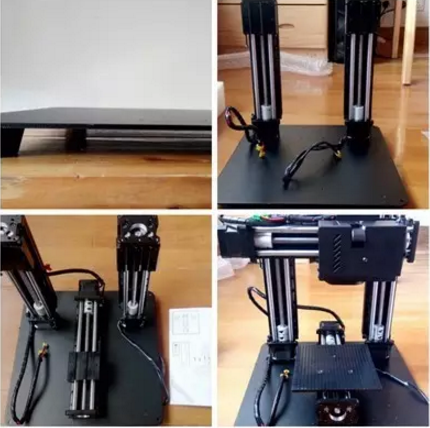
A few screw, follow the instructions on the line. Connect according to the instructions
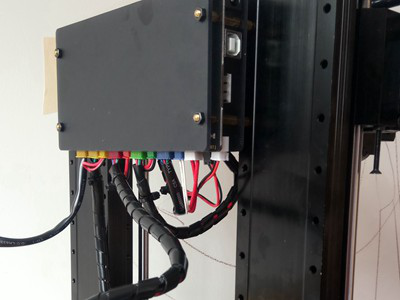
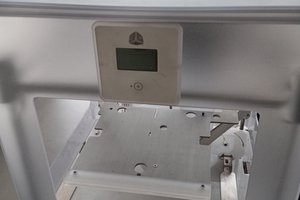
Installed on the drive, this operating system is very simple. No need to install, directly copy into the computer.
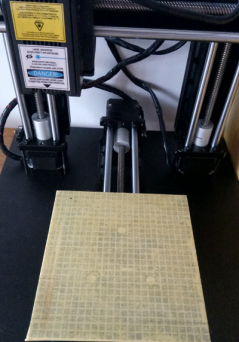
Masking Tapes is neccessary
Then insert card and print
This machine can not be imported directly into the computer's file
print.Need to first copy the file and settings into the SD card.
SD card is inserted into the machine that is automatically printed. The
period can be controlled via the software console. Takes effort, but can
improve safety and stability.I agree with that
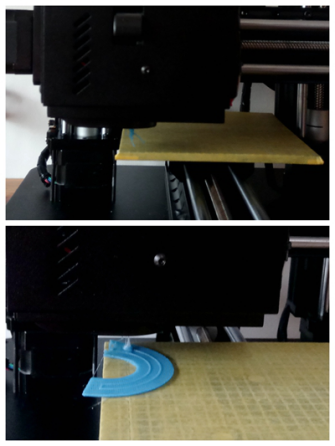
The first question that started printing was not attached
This is every printer are inevitable debugging process. Adjust the heating temperature and the first layer distance
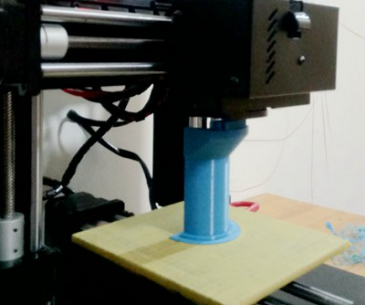
Compare the print effect of the scara arm 3D printer
It is clear that the accuracy is much higher. What to do with a small
part of the use should be competent.One of the shortcomings is to play
too high base easy to Alice off
Increase the temperature of the hot bed with the anti-alice of the print
wire may be resolved
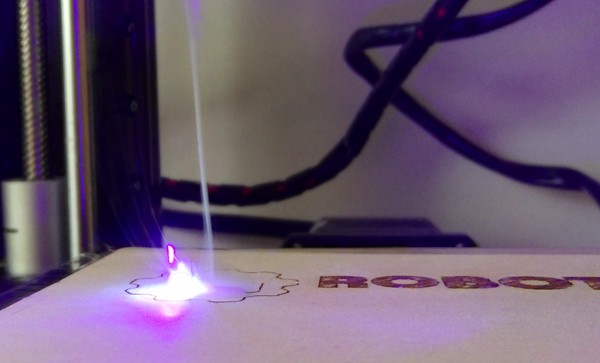
Now let's try the laser.First turn the print head into a laser head.Plug the line
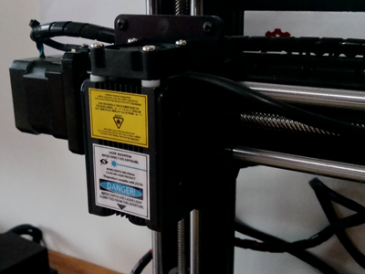
Fixed wood board, wear glasses, same method, import files and settings
into the SD card, Card to play. The laser sweeps wood no response. The
original is the laser head no focus distance.This adjustment can only be
done manually.After all, is the wood can burn the laser. But I was told
that the laser power is not high.
The chopsticks head so thick laser transferred to the toothpick thick.
Or recommend the use of the process more careful!
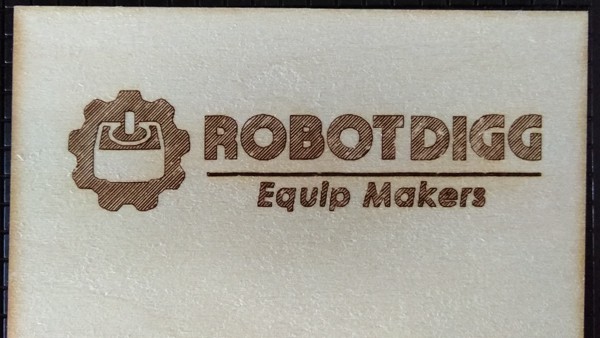
The laser has two modes of engraving and cutting
Engraving mode
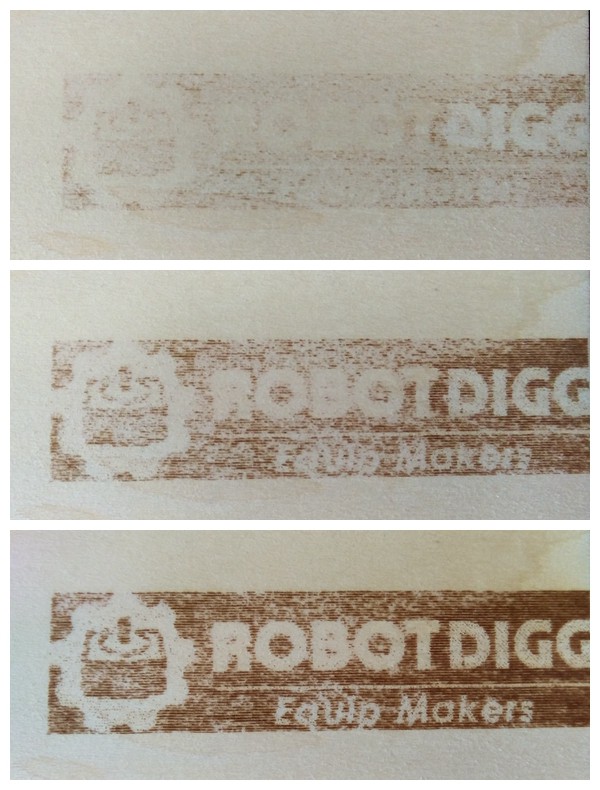
Cutting mode
Beacon four corns fragrance
This feeling really a little excited to say
Image reverses 50% fill effect
- See more at: http://www.robotdigg.com/news/130/F1-Modular-DIY-3D-printer-SET-RobotDigg-Presentation#sthash.PLzCsldy.dpuf
 Dave
Dave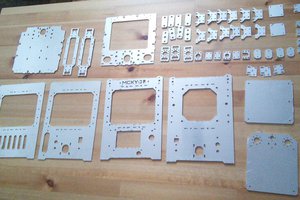
 bobricius
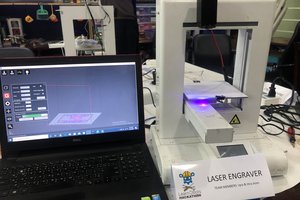
 A-A-W
A-A-W