 big_red_frog
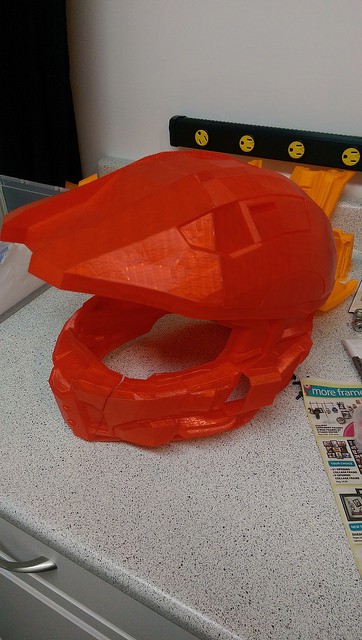
Noting I don't cover magnet inserts in these images, it is just a quick and dirty assembly order for a helmet made with large parts. plastic inserts for back fan and lights are also not shown.
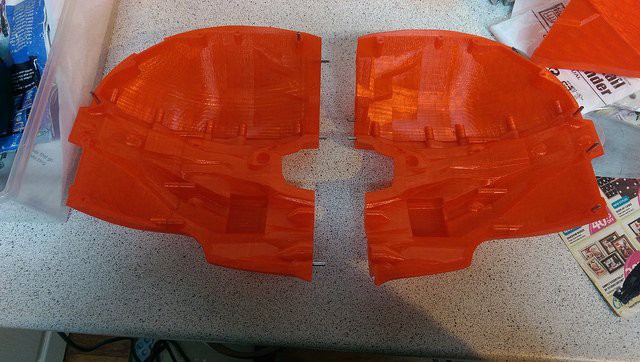
Start with a jowl and rear bottom piece
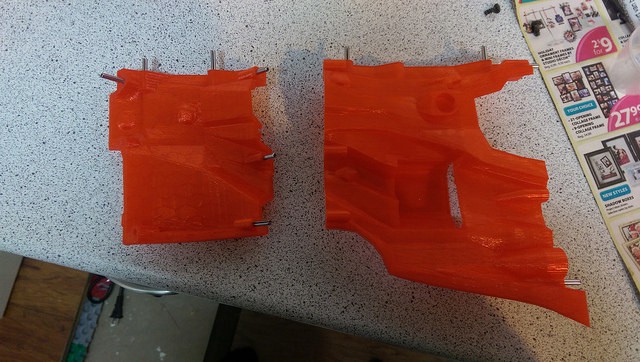
Attach together
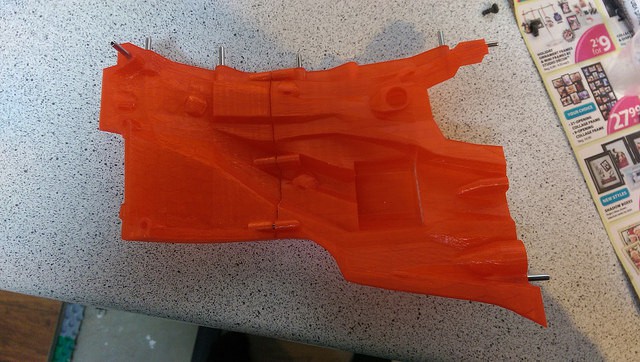
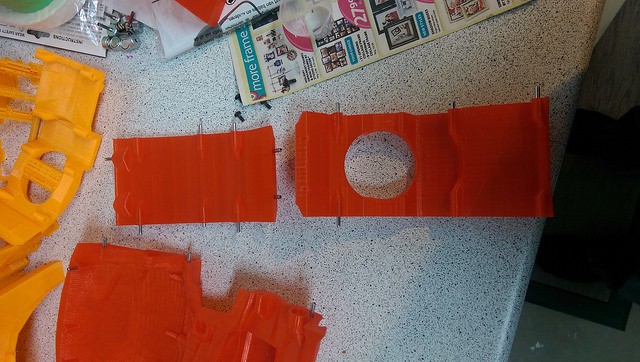
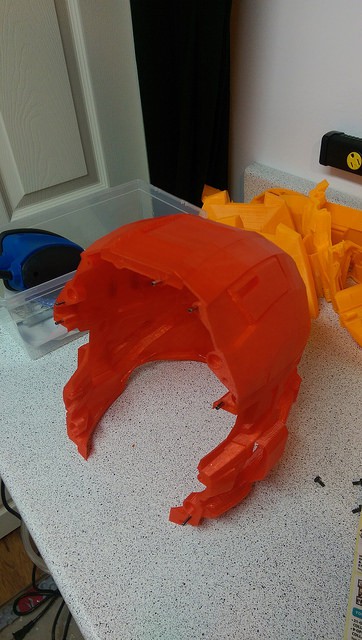
next take a temple and top piece, in this case a printed as a single large part
Attach to form a full side
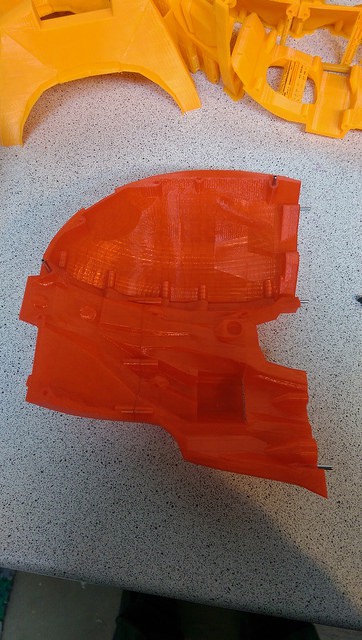
Repeat for other side
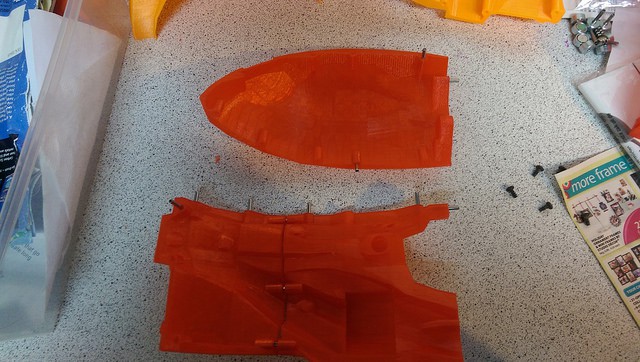
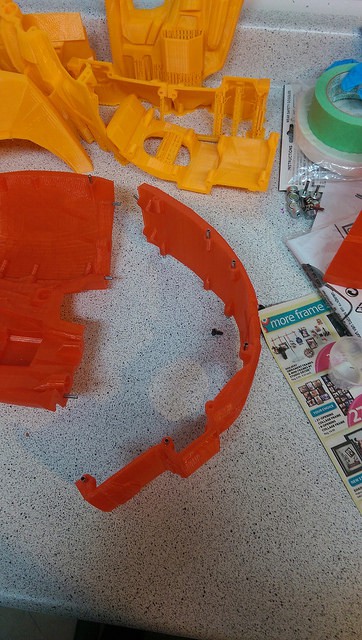
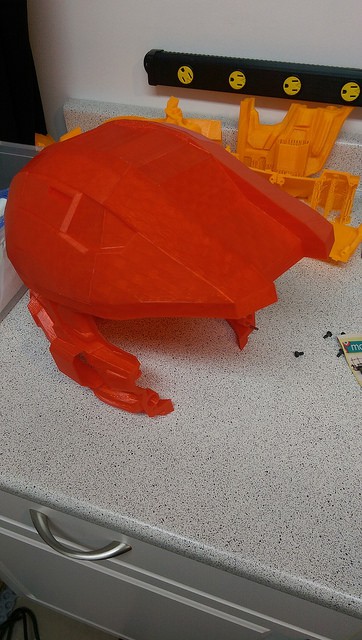
Now take the roof and back piece, ( back fan and back bottom printed as one large piece )
Attach to made one long center piece
Add a full side as assembled previously
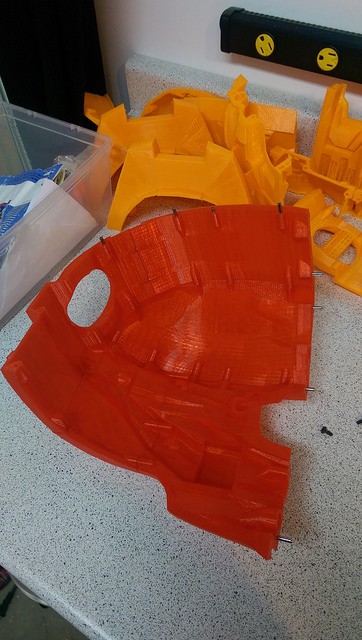
Then the other side
Add the peak
Now take the three chin pieces
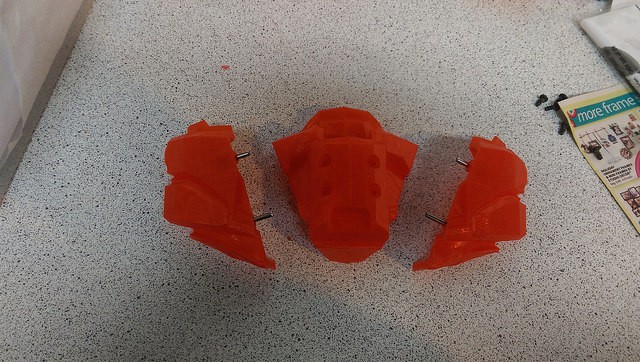
Assemble
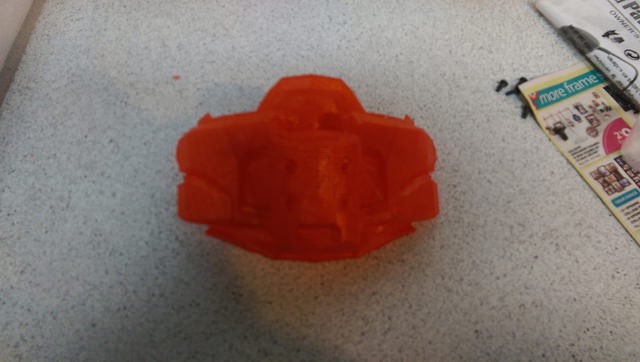
Attach to main helmet
Discussions
Become a Hackaday.io Member
Create an account to leave a comment. Already have an account? Log In.