 Nick Ames
I use my Makerbot Thing-o-matic to create most of my project enclosures. It's simple, easy, and inexpensive. For the NoteOn case, this wasn't an option. Most of the parts have thin walls and require a precise fit. Instead, I machined the parts on my Taig Lathe.
The parts were made of black polycarbonate, delrin (for the ink cartridge sleeve) and clear acrylic (for the button/status indicator).
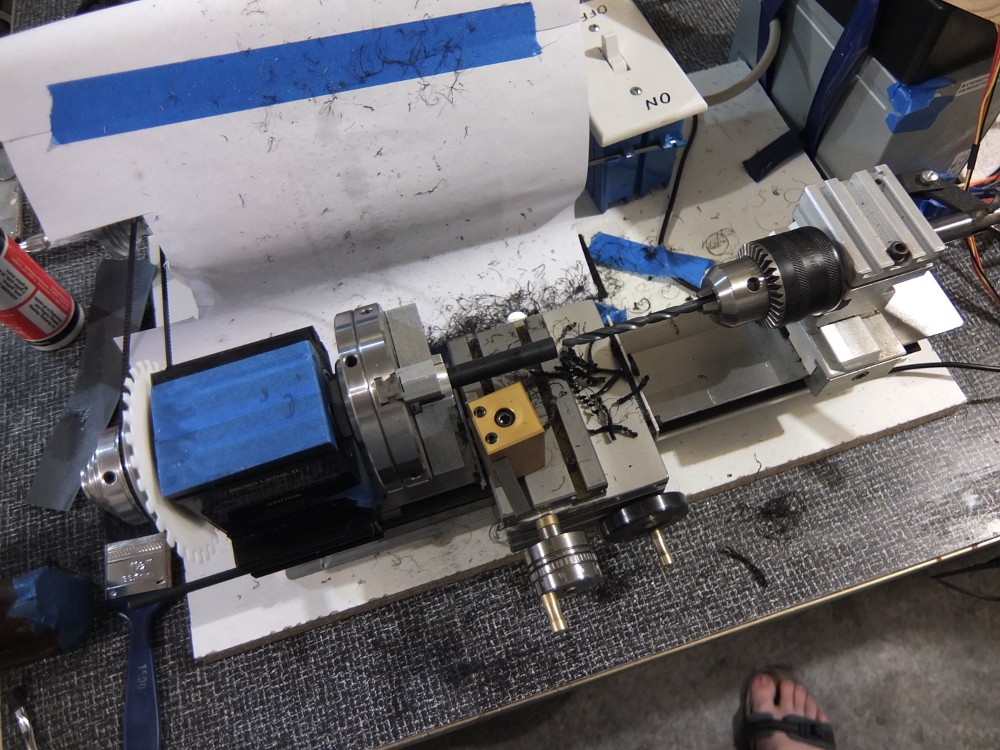
Most of the parts are tube-shaped. They just need to be turned to size on the outer diameter and drilled. A tip on drilling large holes in polycarbonate: don't use a pilot drill. I don't know why, but a pilot hole causes the larger drill to bind horribly. Also, don't be too aggressive, or the plastic will melt.
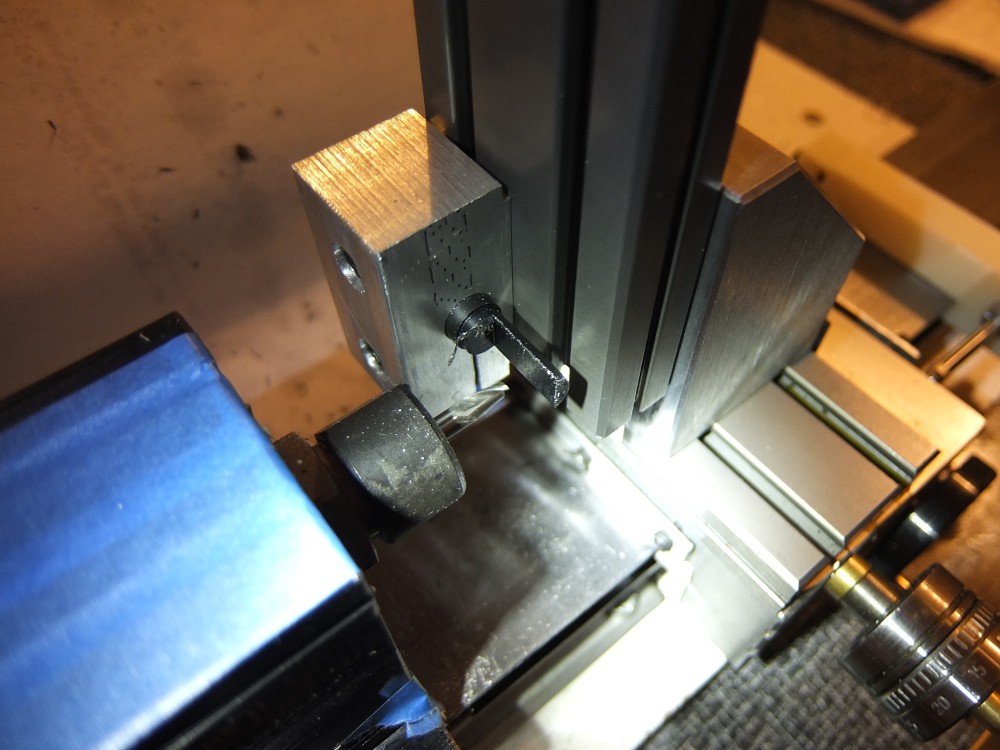
For the PCB shelf, USB slot, and tip switch wire holes, I used my milling attachment with a simple fixture. The fixture is just a 10mm hole with a slot in it that clamps on the OD of the parts.
To get a matte finish on the outside of the pen, I used 380 and 500 grit sandpaper with cutting oil (Cool Tool II). Some hot water and ivory soap afterwards leaves the parts nice and clean.
Discussions
Become a Hackaday.io Member
Create an account to leave a comment. Already have an account? Log In.