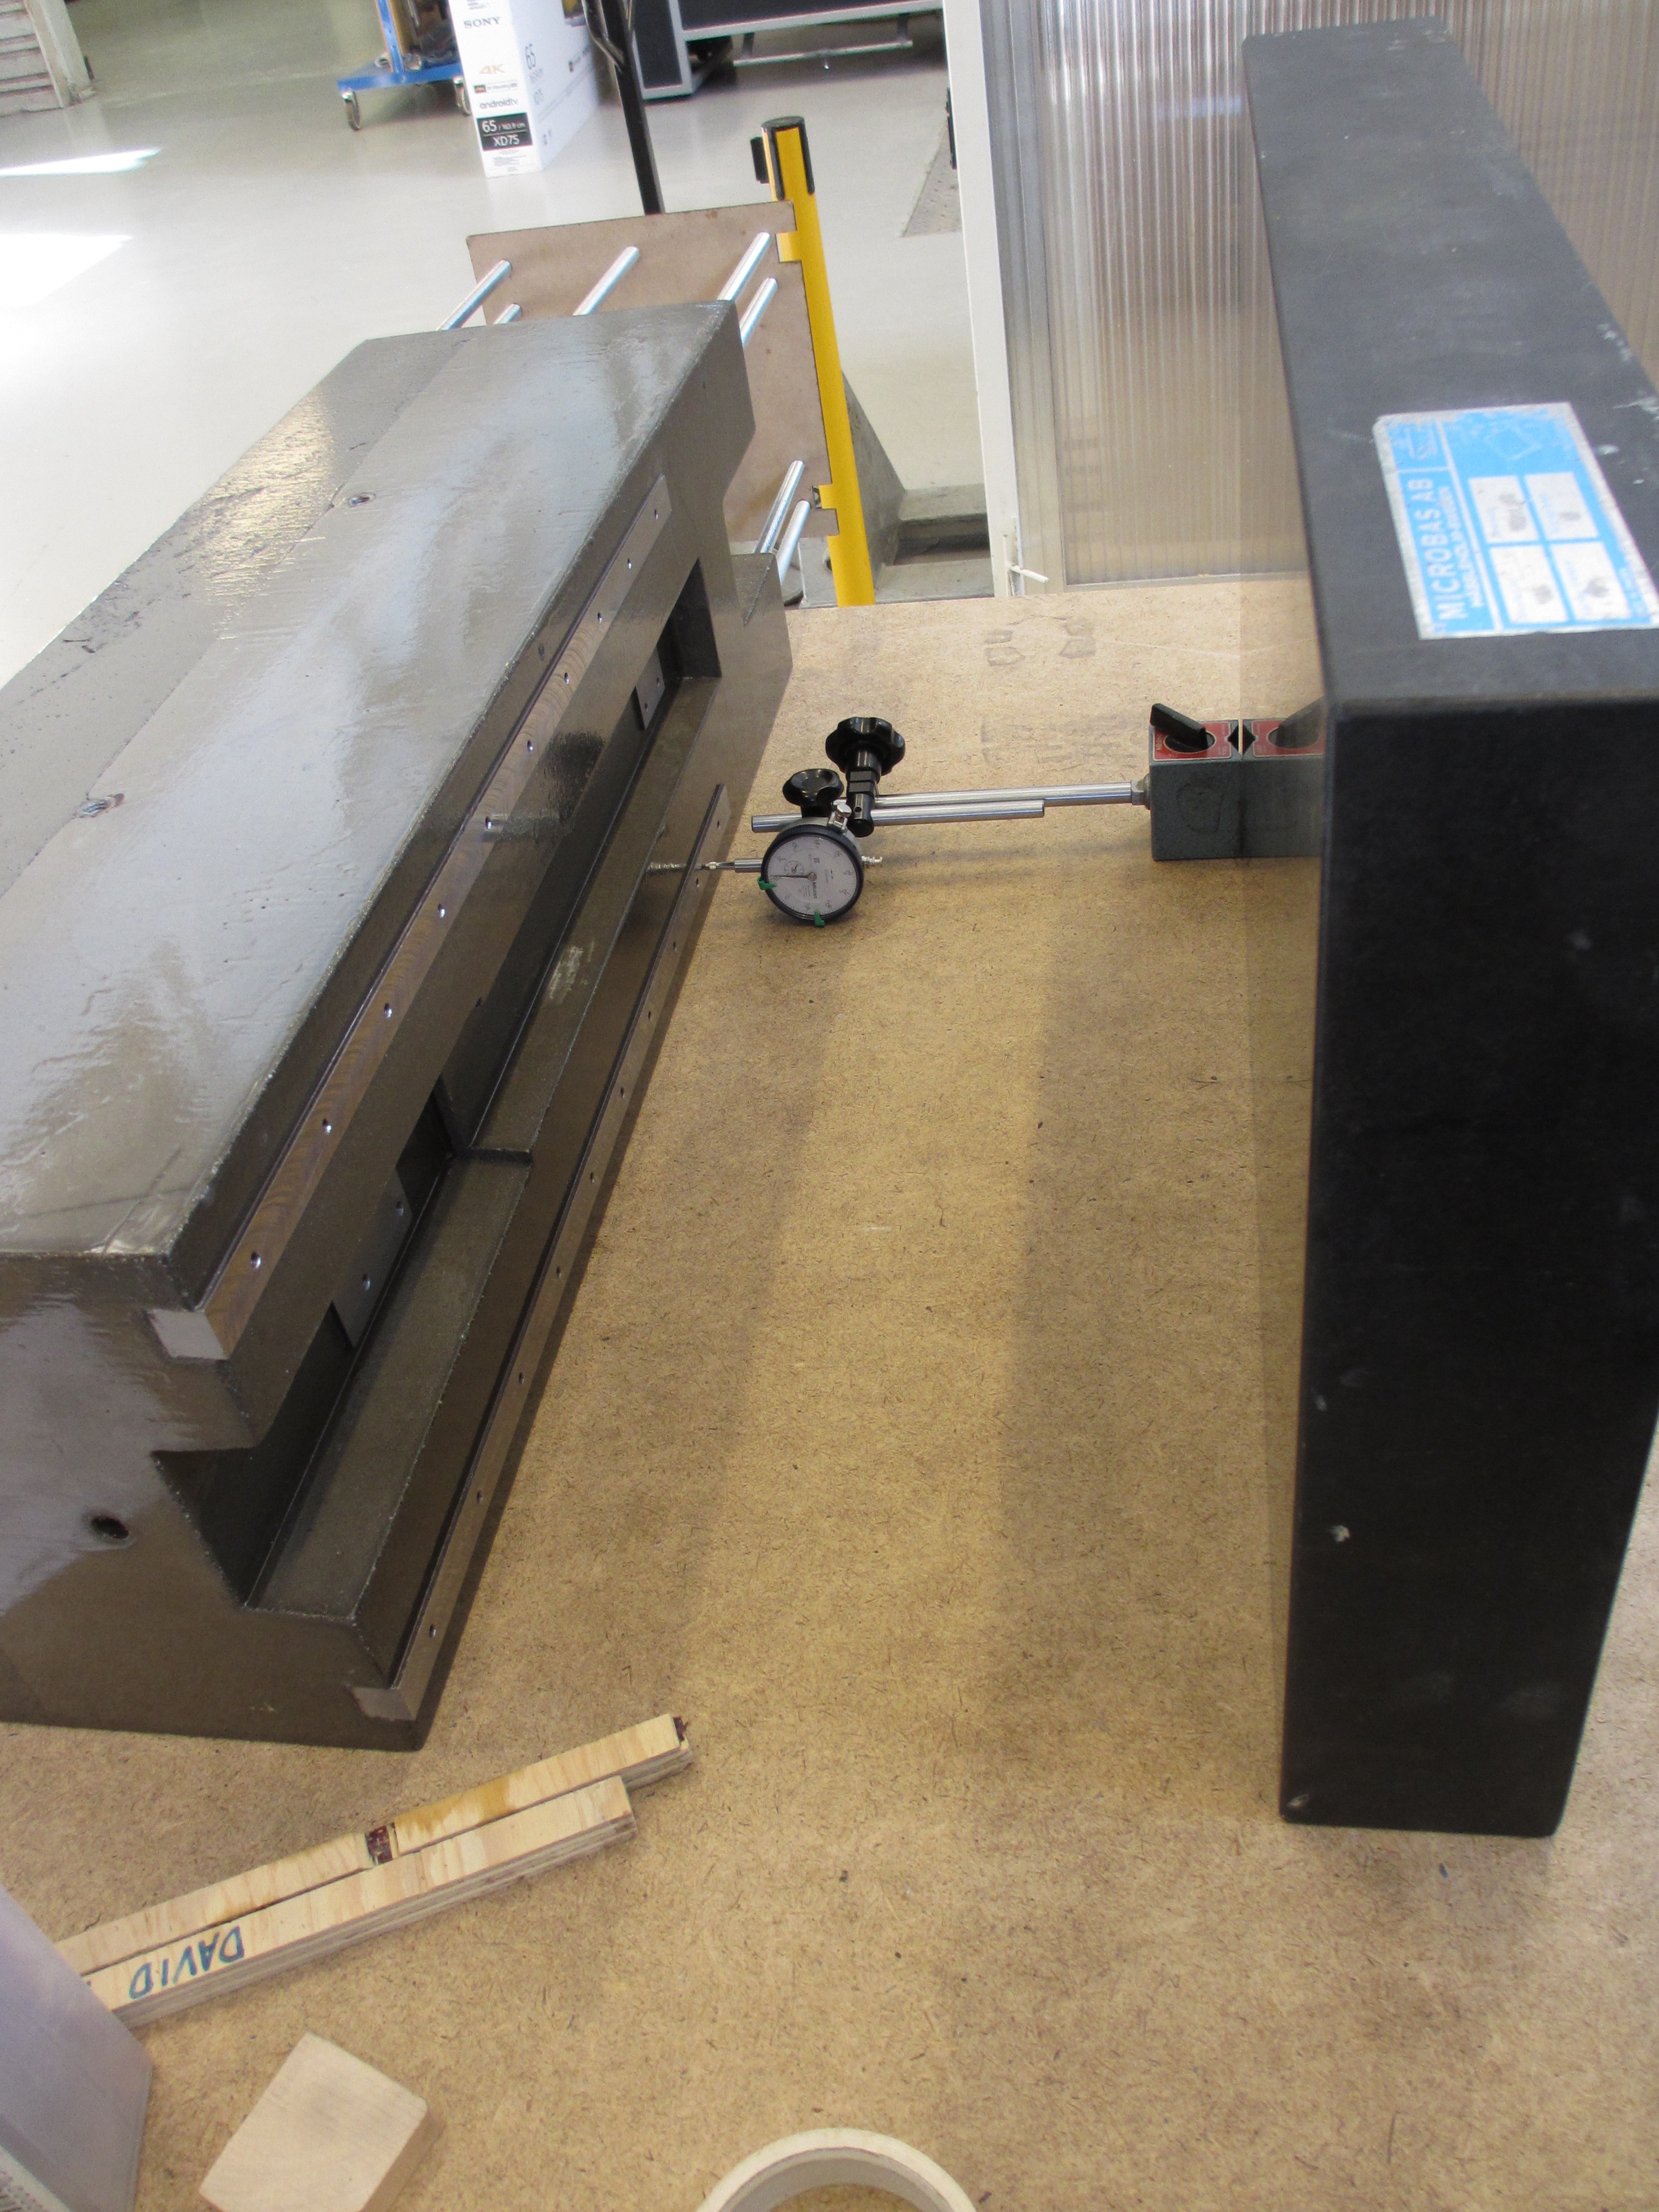
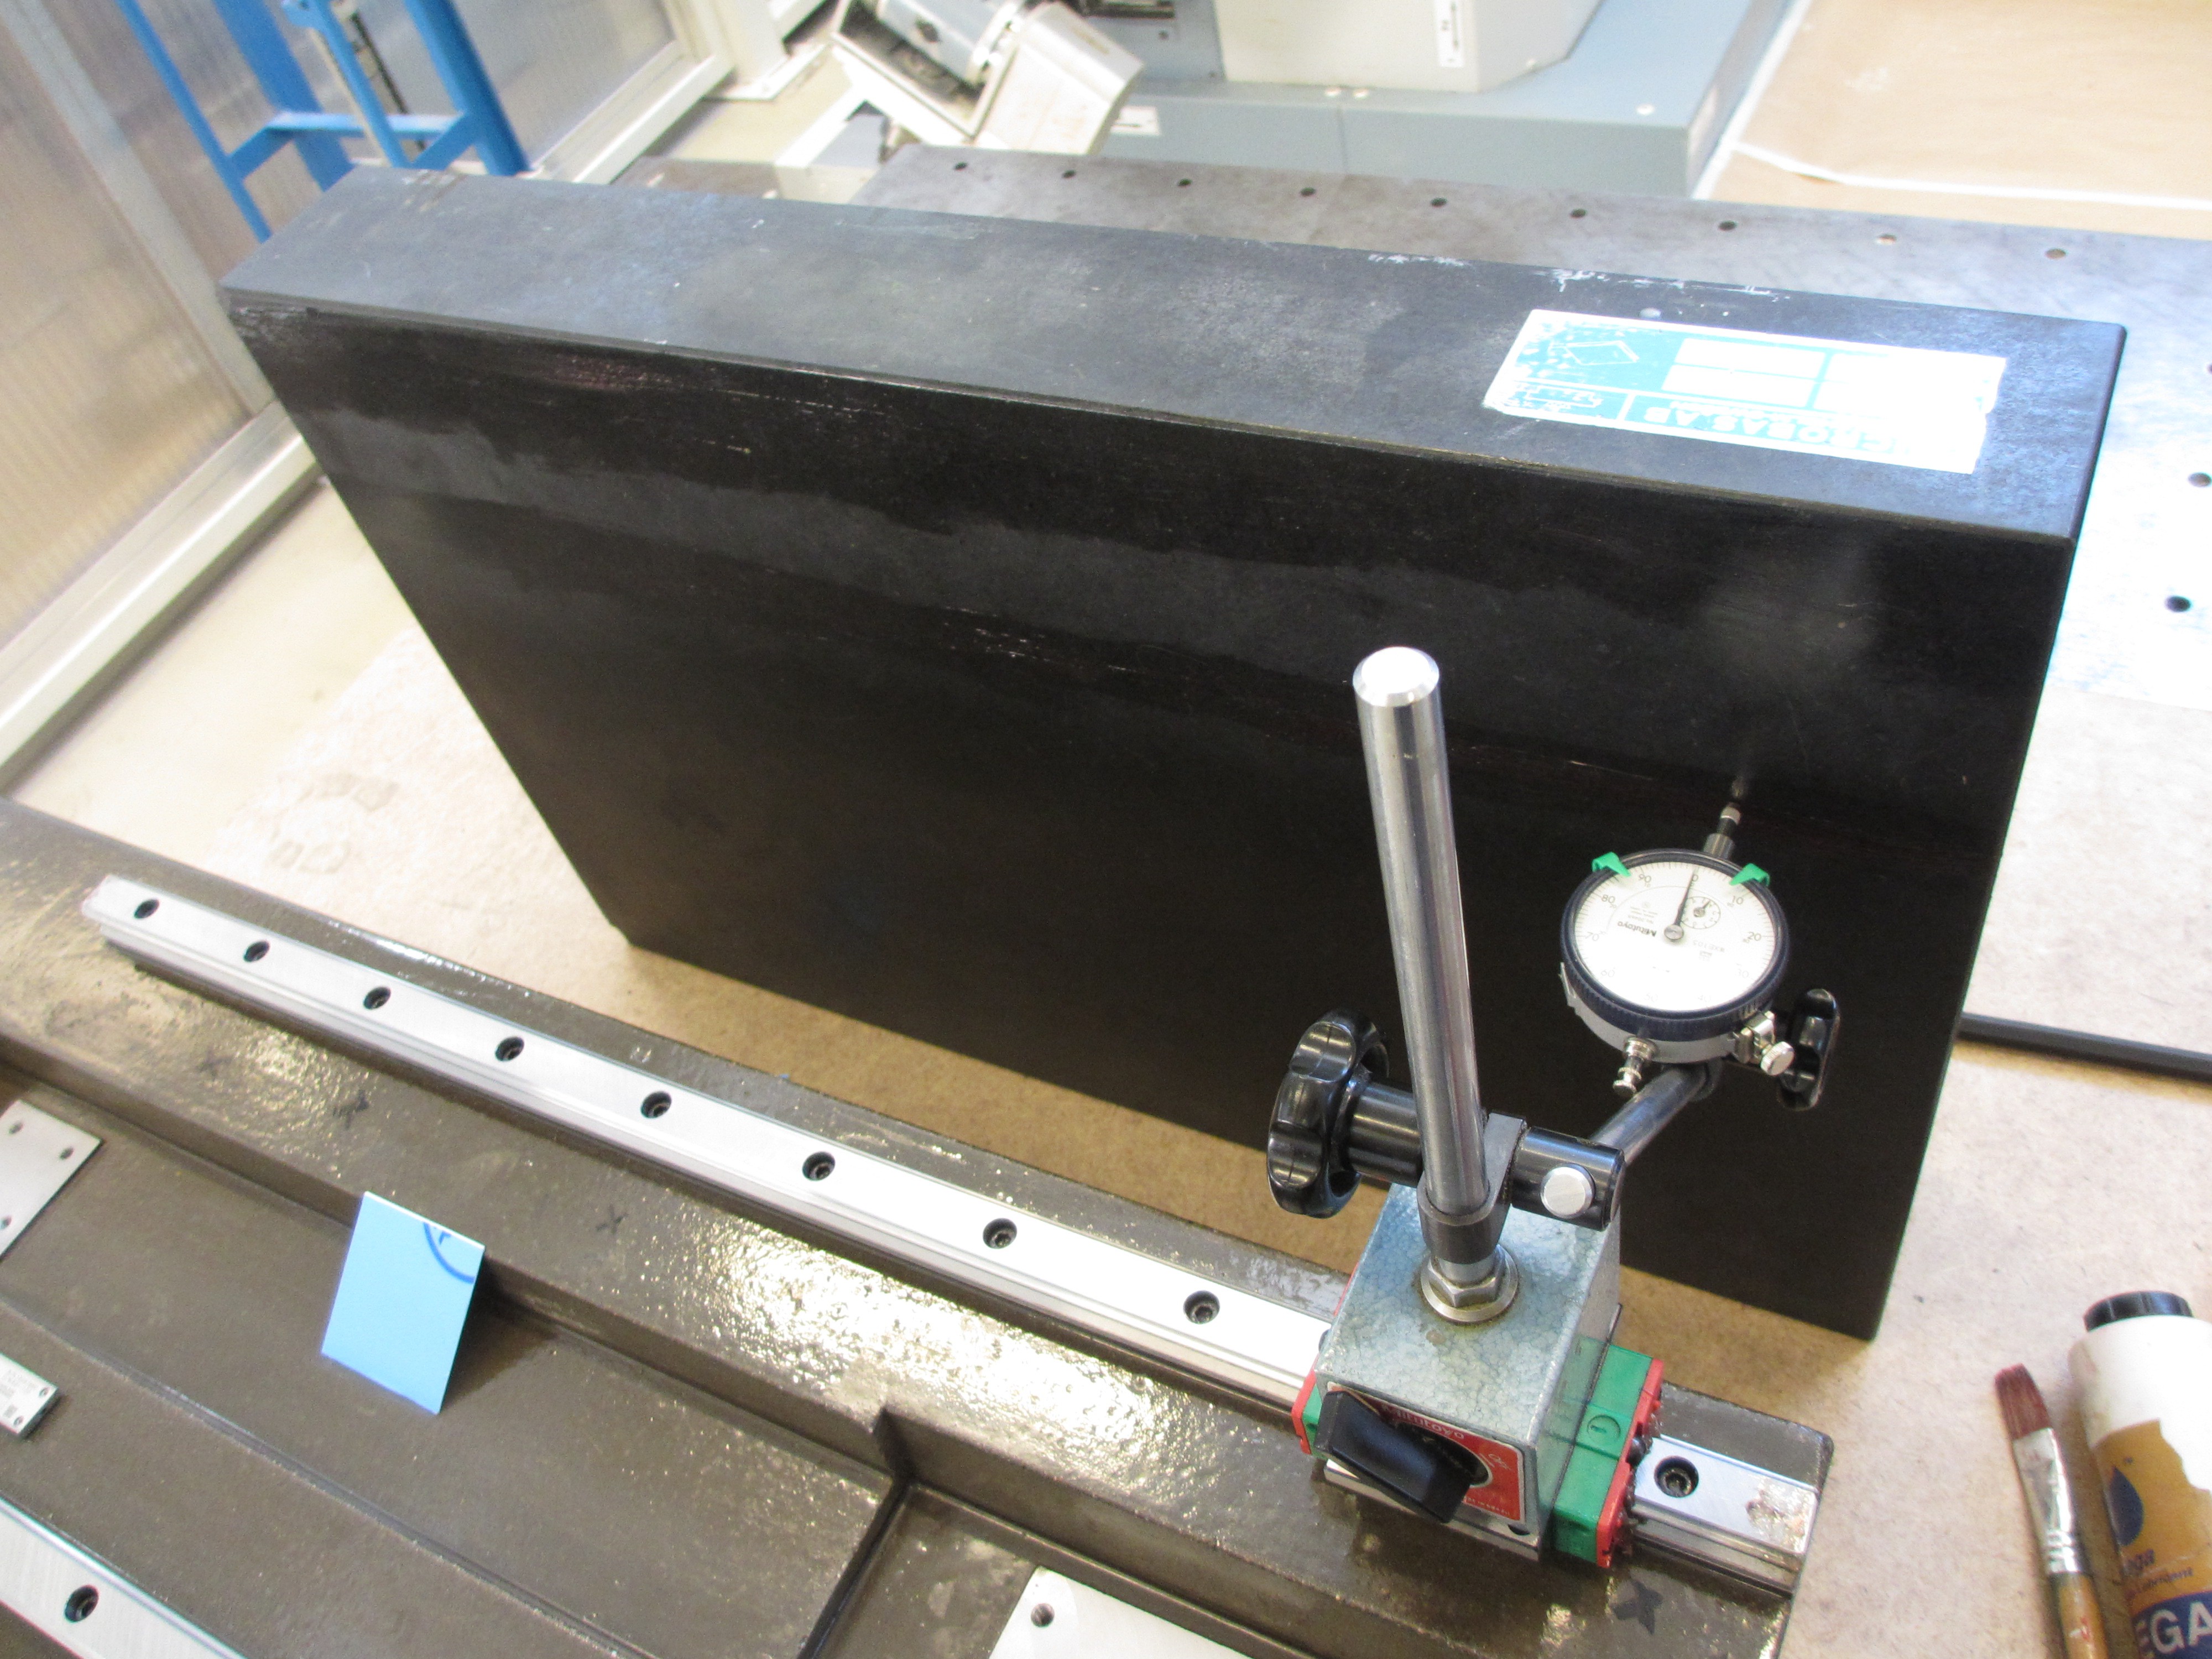
It's time to mount the rails and see what sort of precision we can get. First up is measuring the flatness of the rail mounts after machining. These are checked against a diabase surface plate, and I found the rail mounts to be 0,02mm higher in the center than at the ends. This was expected after i noticed the milling table flexing during machining, although I had hoped to be within 0,01mm. But it will have to be good enough, I won't bother to try again.
Next up is bolting down the rails and making sure they are straight.
After half an hour or so I got it straight to within 0,01 mm.
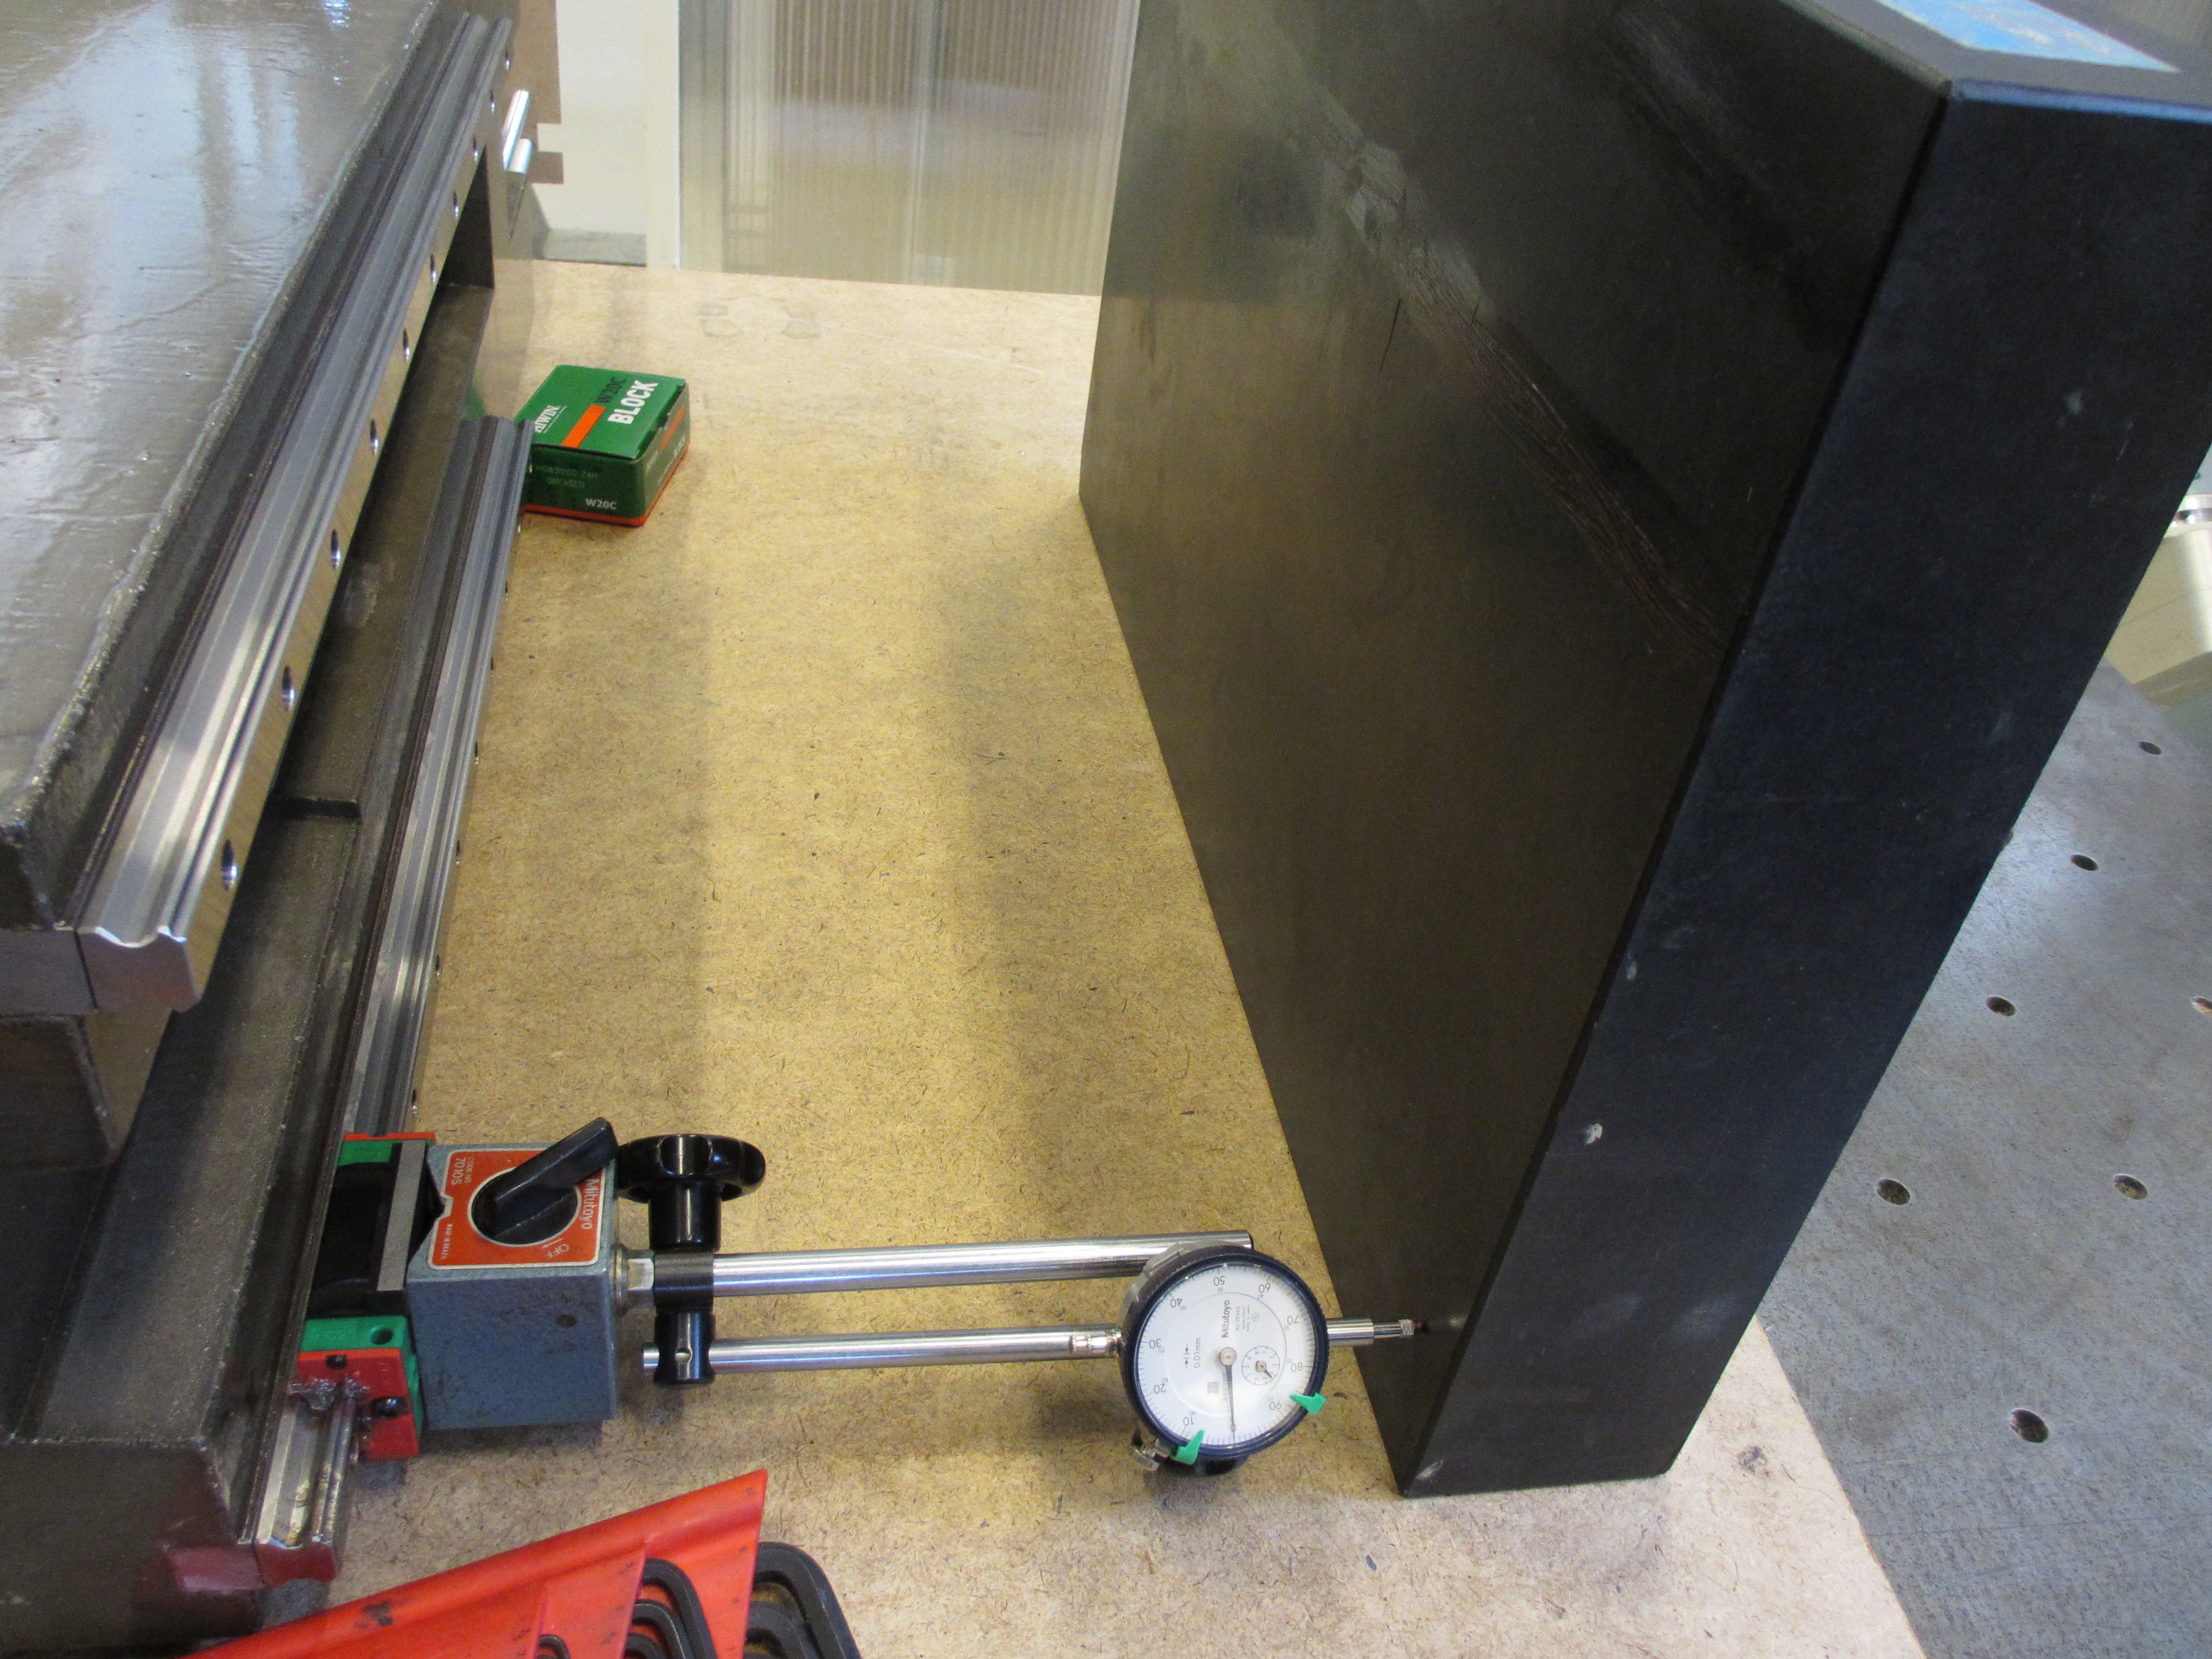
After making sure it was straight sideways, I decided to again check the flatness with rails and carriage in place. I found that, including the rails, it is now 0,03 mm out of plane, and varies much more along the length instead of varying as a smooth arc. Looking at the datasheet for the rails, I found that the variance in rail height is actually up to 0,02 mm. Given this realization, I suppose the 0,02mm arc on the rail mounts is really not a big deal since the rails themselves vary by about as much.
I also took a shot at estimating the backlash in the rails and carriage. I did this by setting the dial gauge up on a 25 cm lever and pulling and twisting the carriage by hand. I won't try to quantify the results, but I'm very impressed by the stiffness. I already feel like I can recommend these for CNC use (Hiwin HGR20R rail and HGW20CC-ZA-H carriage. ZA stands for medium preload).

Next up is to bolt down the second rail and make sure it is both straight and parallel to the first rail. after that I guess I have to start working on the spindle mount or the undercarriage with wheels that I am planning for the machine. Things are progressing nicely.
Discussions
Become a Hackaday.io Member
Create an account to leave a comment. Already have an account? Log In.