 jason.gullickson
Applying what we’ve learned from DONOR-1, we came up with a few design criteria:
Improve portability
Something that doesn’t require a full-sized pick-up to transport. Ideally something that can be transported by one person.
Cabinet simplicity
Most of the time spent on DONOR-1 was fabricating the cabinet. Designing something simpler (or using an existing cabinet) would make building these a lot faster & easier.
Smaller “vault”
The amount of DONOR-1’s cabinet that is dedicated to holding quarters is so large that it takes a lot of games before the donations are even visible. If it were to be filled to capacity, it would weigh so much that I don’t think it would be movable without a forklift. This makes sense for long-term (year or years?) installations but for the venues we’ve been working with something with 1/10th the capacity would be more than enough.
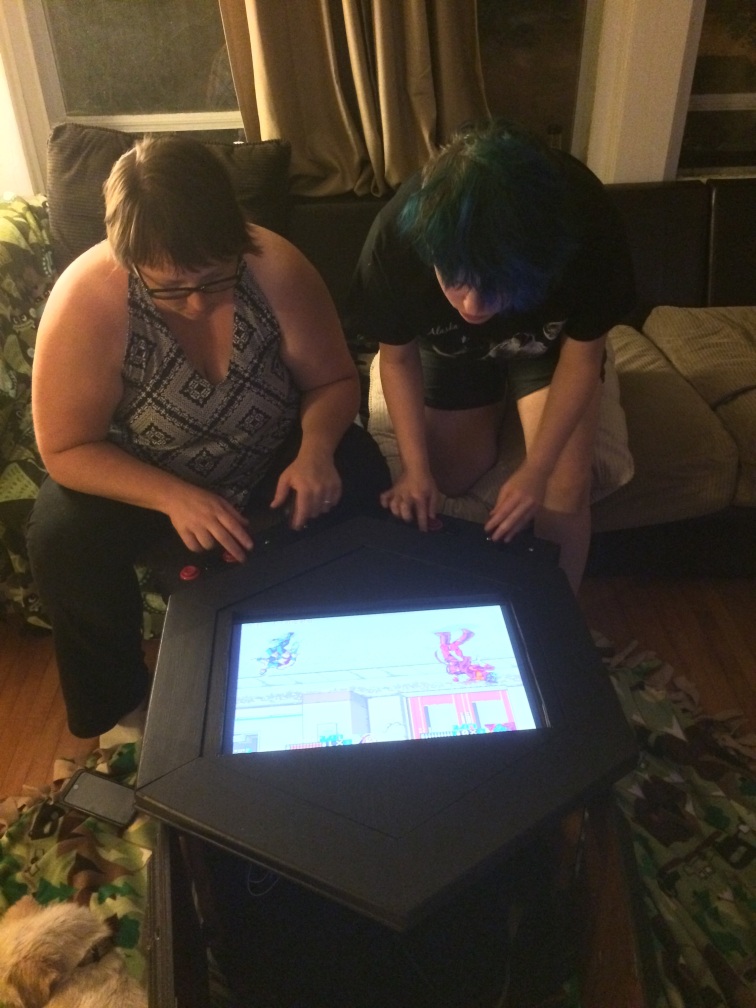
Multi-player
It’s more fun to be able to play with/against friends, and there’s a lot of games which kind of require more than one player.

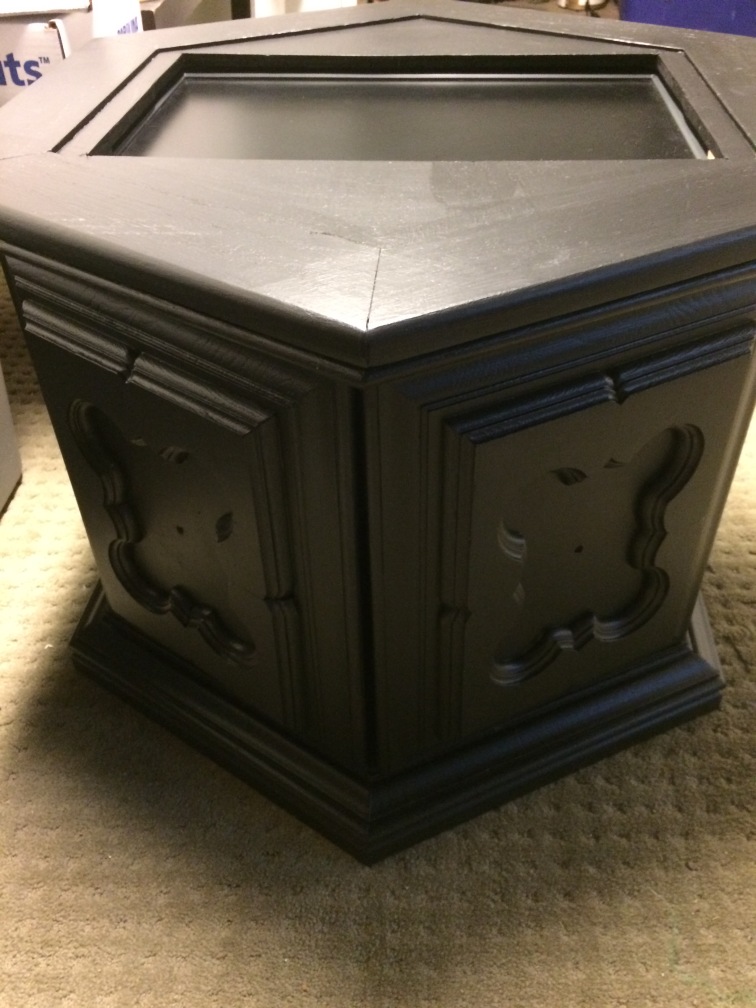


 Jamie painting the cabinet
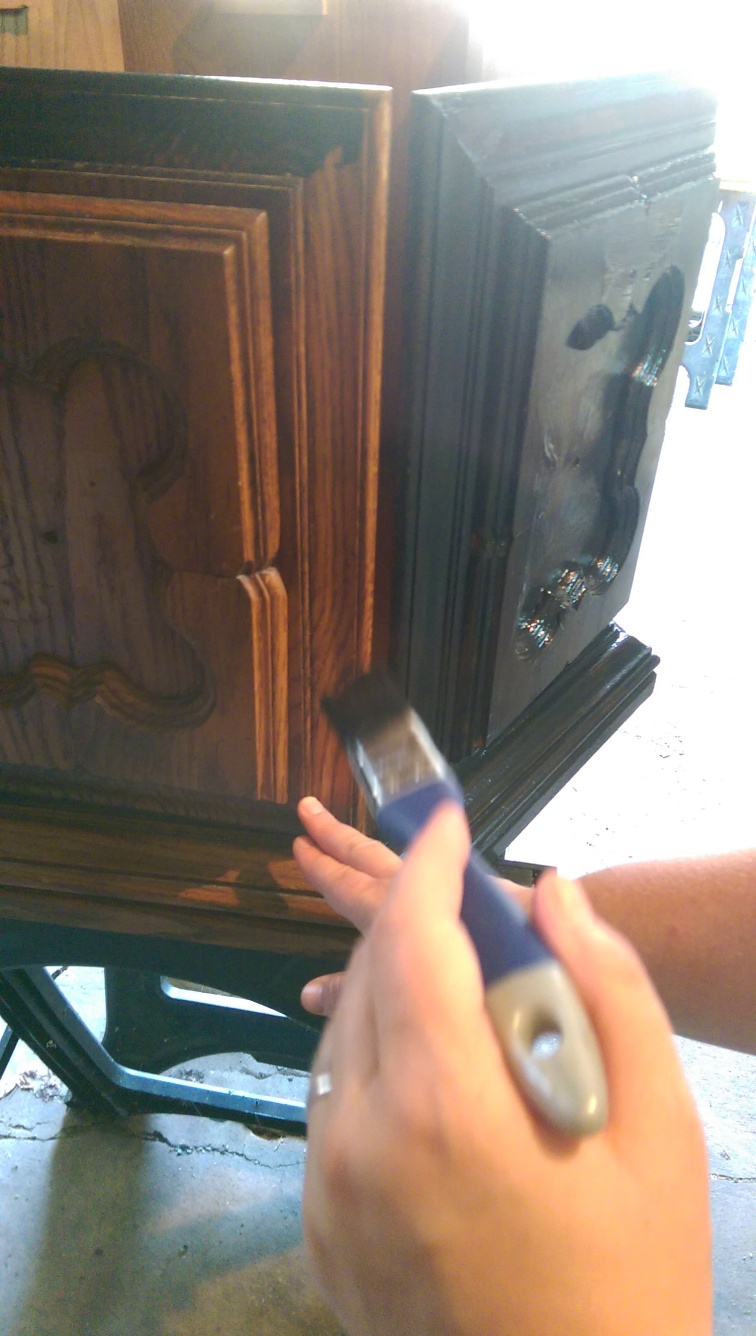 amazing what a difference some paint (in the right hands) makes
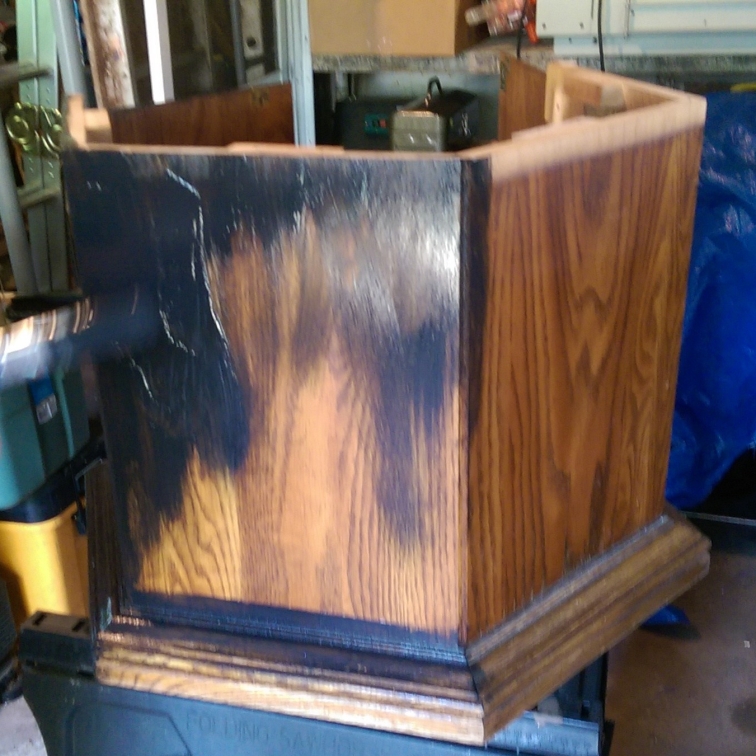
 sizing things up for the first cut
 not perfect, but sooo much better than last time
 Austen
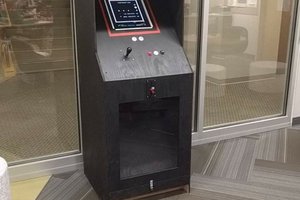
 Glinek
 Atheros