 Mark Langford
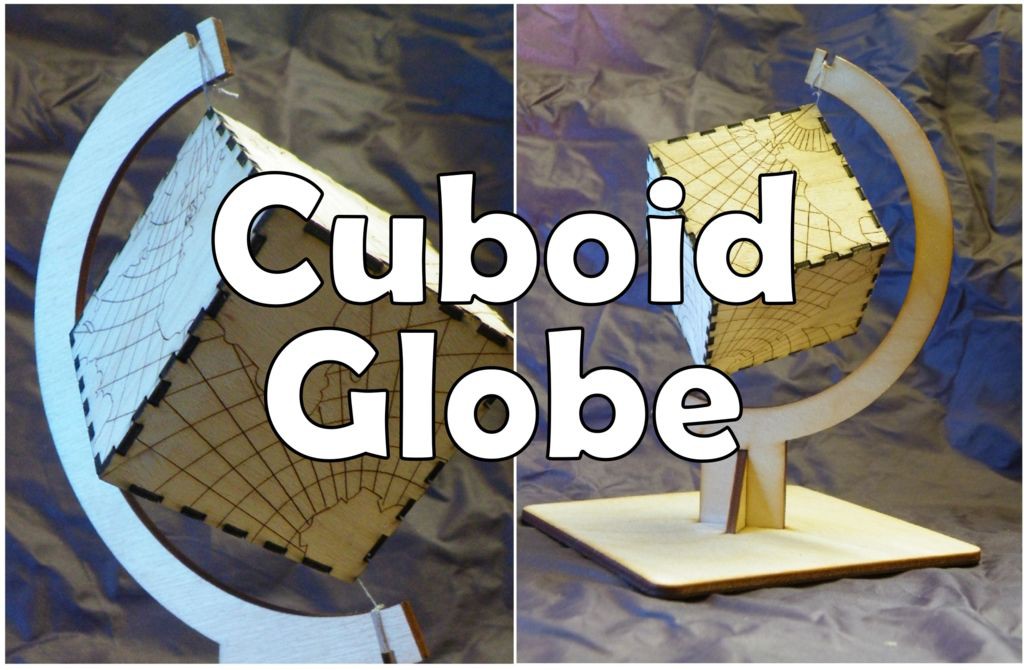
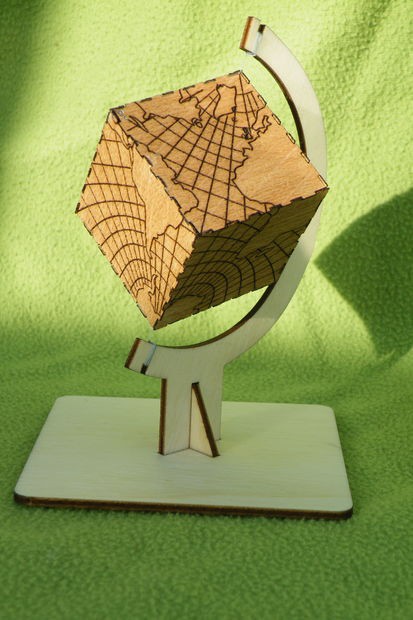
I was browsing the web, randomly clicking, when I suddenly came across the idea of non-spherical globes - globes of the Earth that are not actually globes - dodecahedrons, octahedrons and cubes.
I decided I need to make one, so here is how to make a square globe and globe stand.
Step 1: The Source
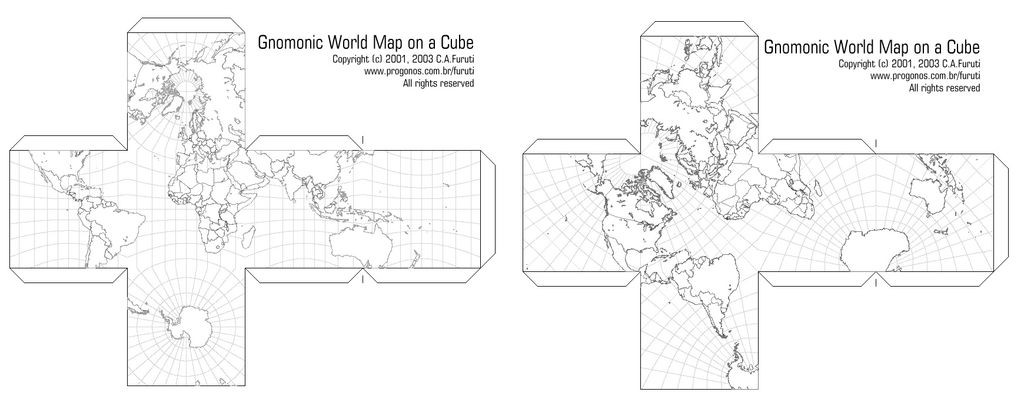
The images I used to create the files I made came from this website.
It was a fiddly job, but from those images I created my files.
If you want a full-colour cuboid globe, you can download one of those from the same link - if you print them off so that one face is approximately 50mm across, they will also fit in the same frame.
Needful things:
To create this product you’ll need the following:
Laser cut parts;
If you don’t have a laser cutter:
- For this project I’ve used Ponoko for laser cutting, I then assembled and finished with some Danish oil.
Download the two SVG files to your computer, then upload them to your Ponoko account. Downloading from instructables does odd things to file names - you'll need to open them in Inkscape to check which file is which, then rename them something sensible to fit your own filing system.
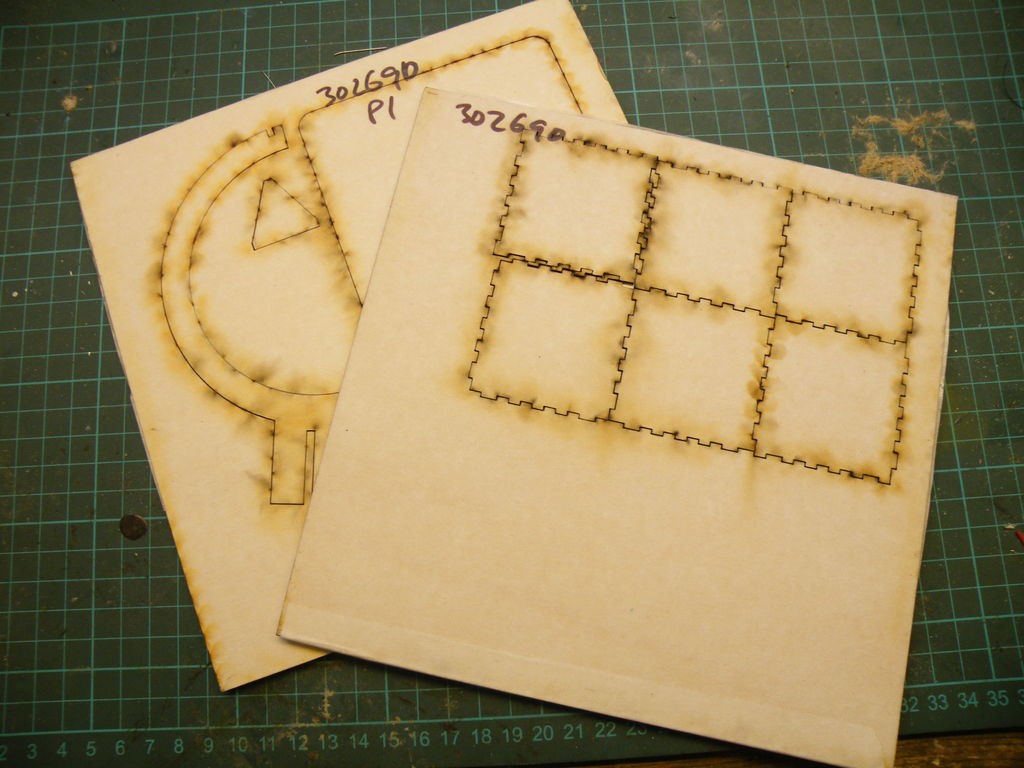
- The cube itself needs to be cut from a 1.5mm thick, "P1" sized sheet of birch plywood.
- The stand needs to be cut from a 3.2mm thick, "P1" sized sheet of birch plywood.
That all cost me about $30 (about £23 / €27), plus postage.
If you do have a laser cutter;
- Move on to the next step, where I have attached files in a range of formats, depending what your cutter uses.)
------------
As well as the laser cut parts, the other materials you will need are
PVA glue, superglue
Finishing materials - I use Danish oil, but you could use tung oil, beeswax, varnish or even paint (for the frame).
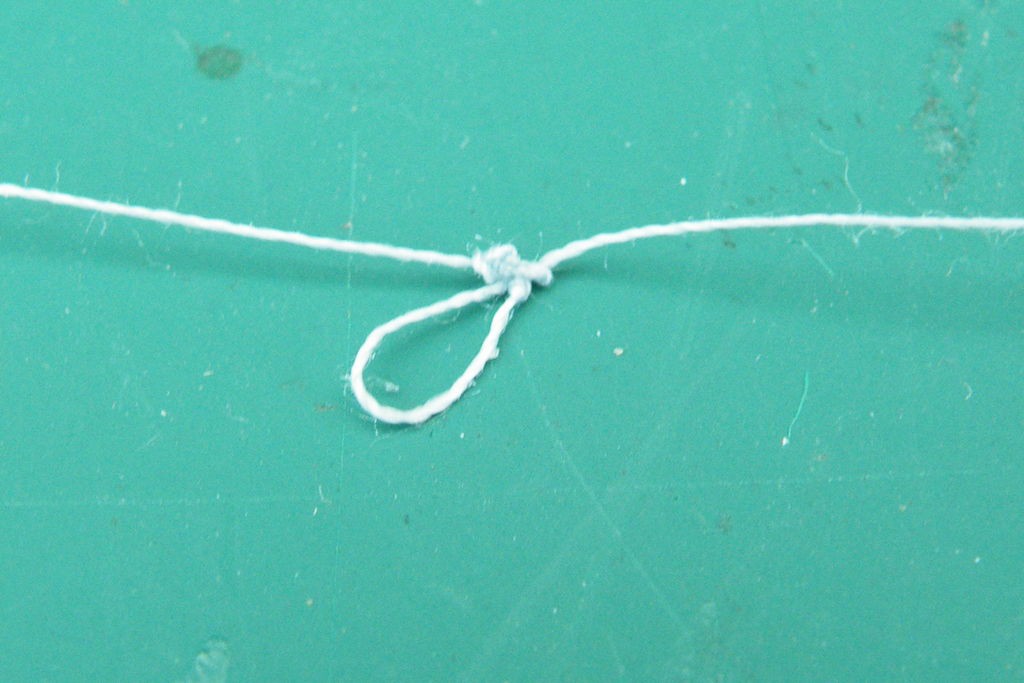
Tools; Masking tape. Thread. Paperclip.
Download Cube Globe Cube P1 1-5mm Ponoko Ready.svg
Download Cube Globe Frame P1 3mm Ponoko Ready.svg
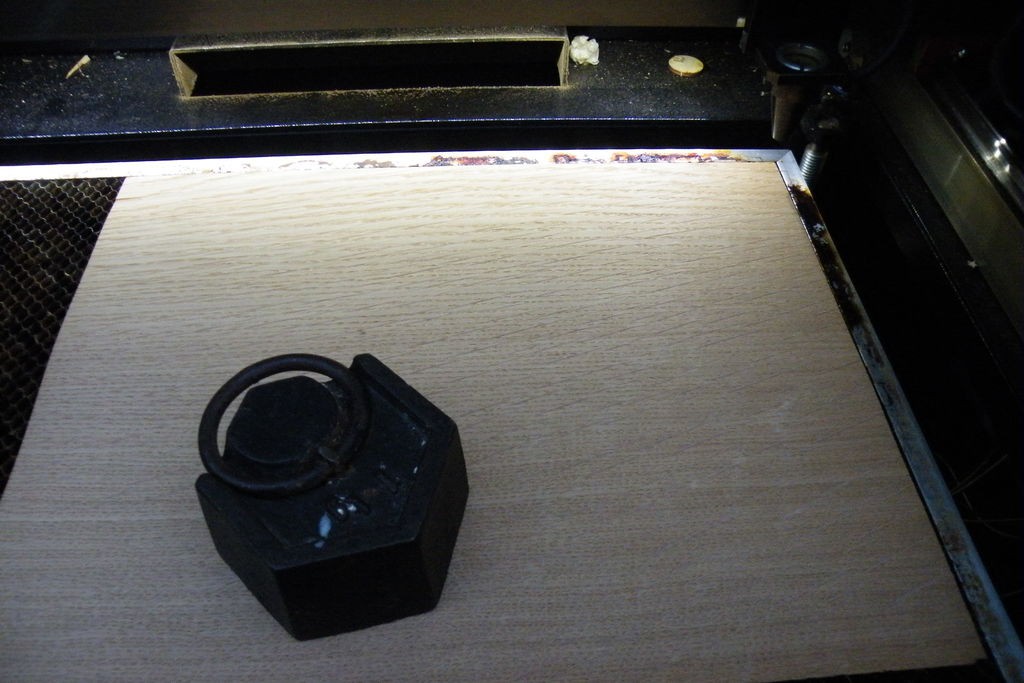
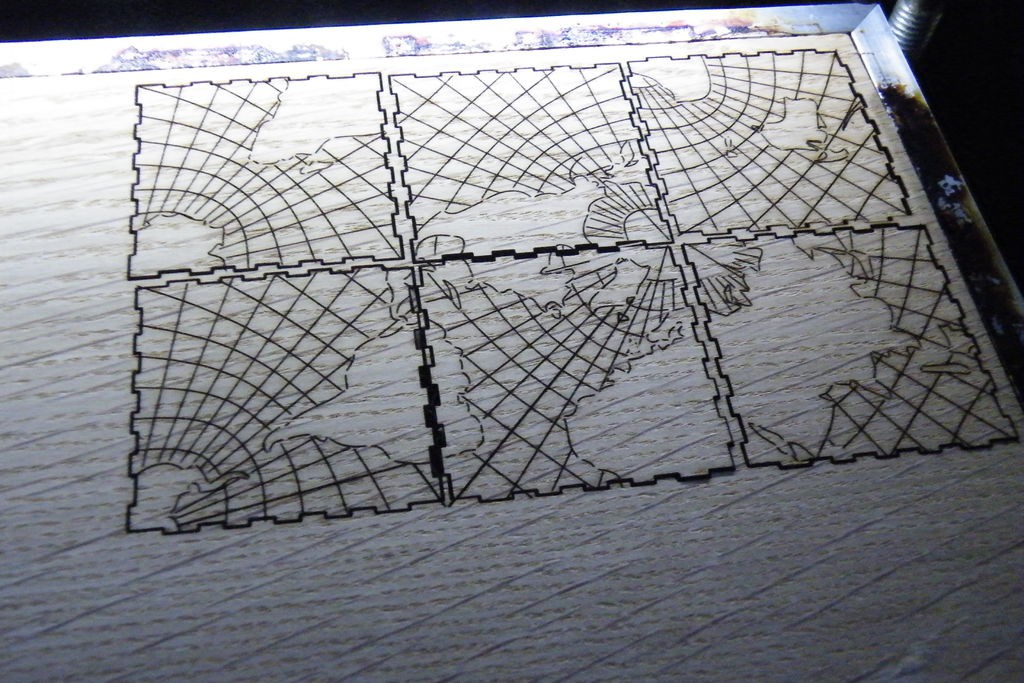
Step 2: Cutting
If you have used Ponoko to laser cut your cuboid globe then you’ll want to skip to step 3 and start assembling the globe stand.
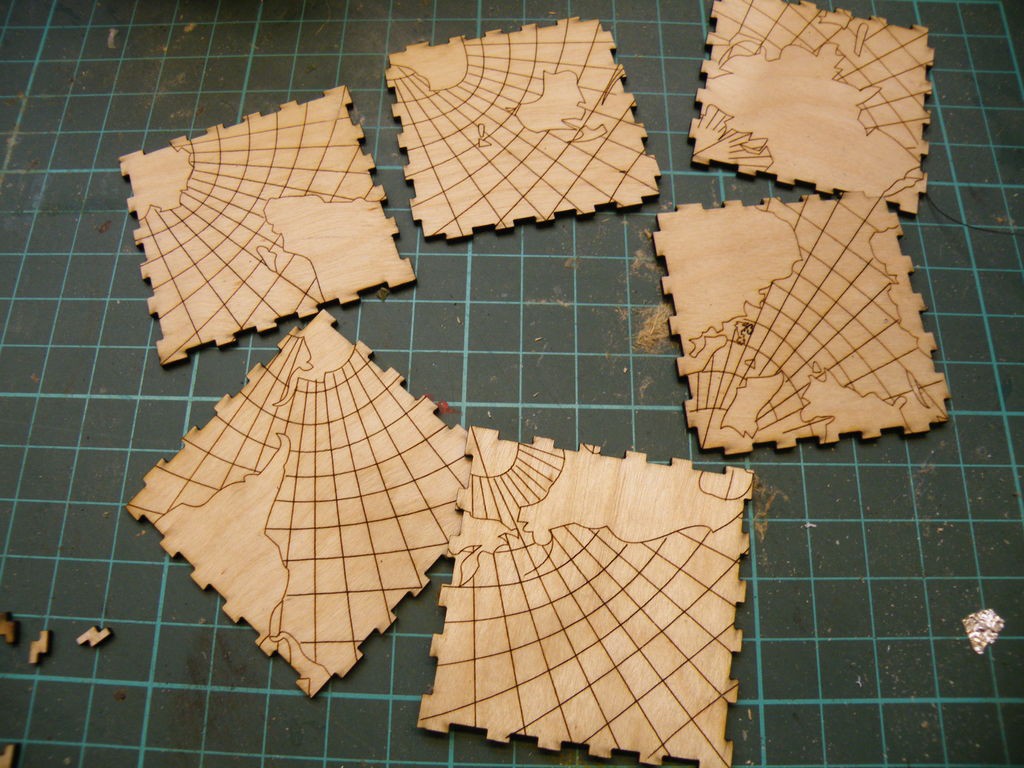
The "globe" files on this step are scaled to be cut from material only 1mm thick, since I got hold of a stack of random-wood veneers. The stand itself is scaled to be cut from 3mm thick materials.
Do not use these files to get parts cut from Ponoko - I have optimised the "Ponoko ready" files to match the Ponoko system and keep costs down; the files on this step are meant to be easier to edit or rearrange to match your materials or cutting bed size, and the joints are scaled for materials of different thickness.
You can, however, use the Ponoko-ready files on your own laser cutter if you have a supply of materials 1.5mm and 3.2mm thick.
-------------------
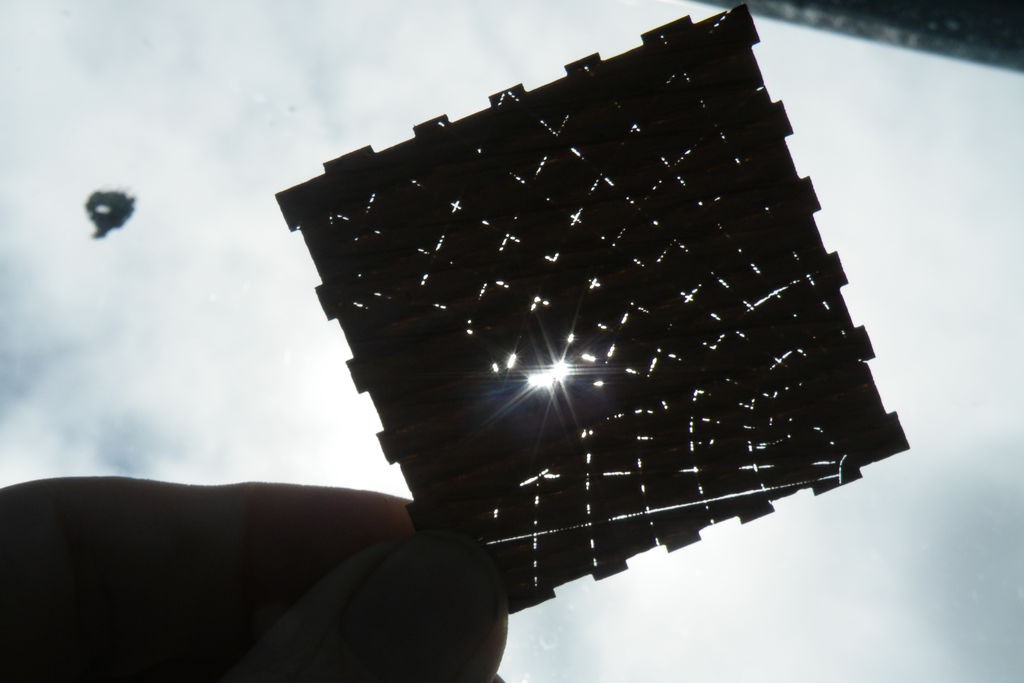
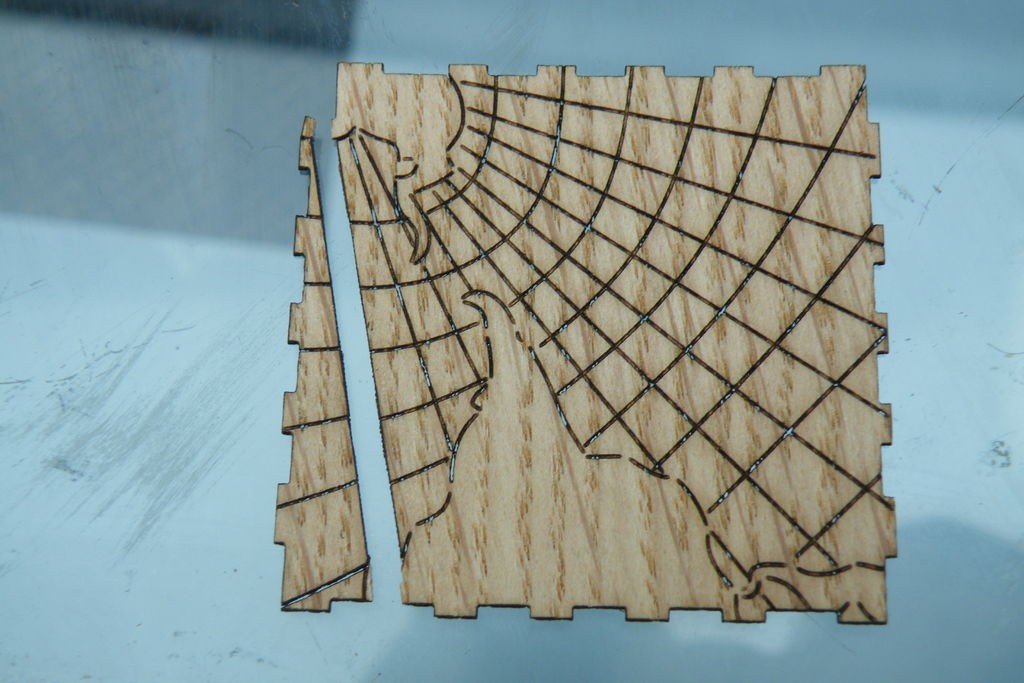
Hardwood veneers are surprisingly tough - I find they can require the same power settings as softwoods three times as thick. If you etch lines too deeply, the parts can get very fragile...
So, if you haven't used your chosen materials before, I strongly suggest you use a scrap or spare piece to practise on.
Step 3: Assemble the Stand
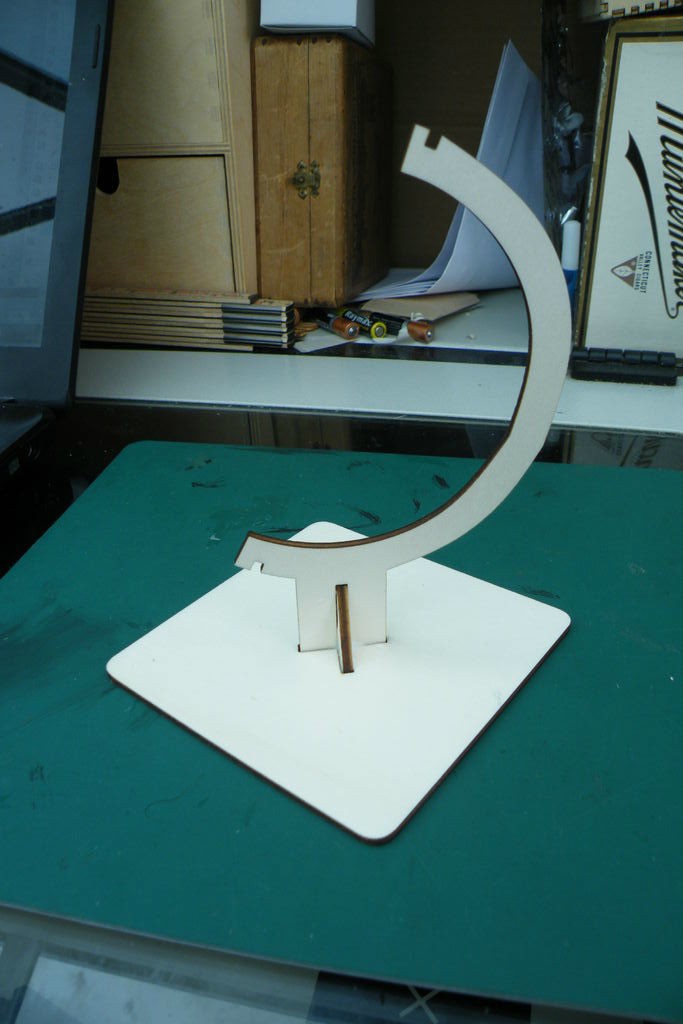
The easiest way to build the globe is to start with the stand.
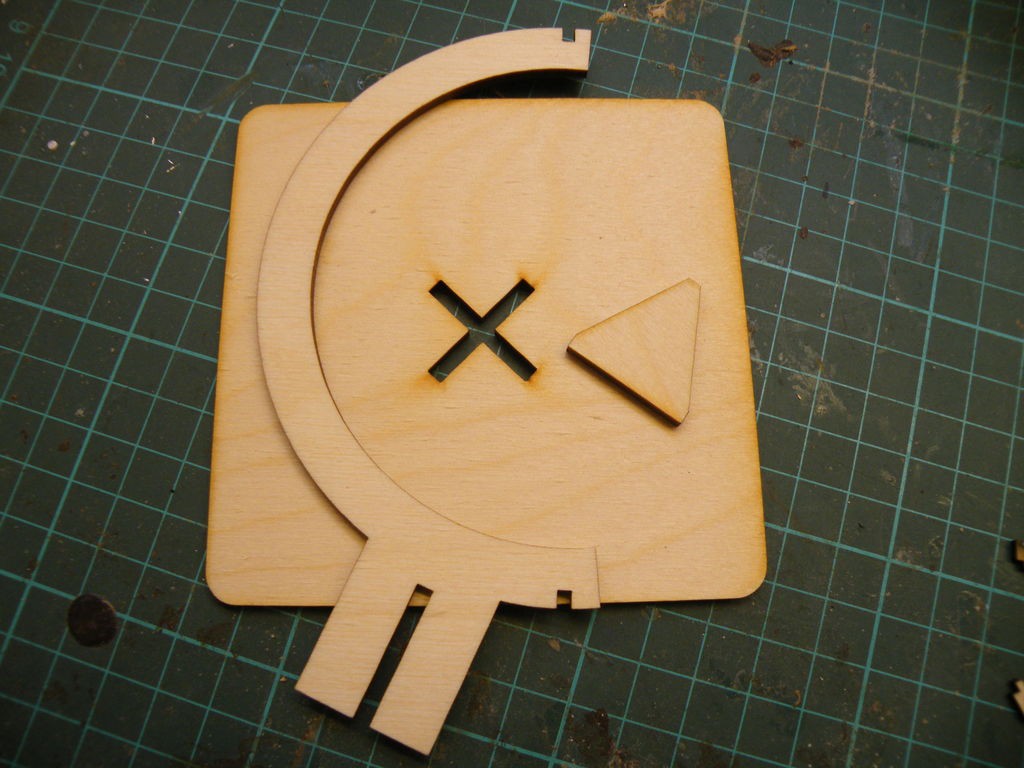
The stand has three parts - a square base, the C-shaped frame and a near-triangular reinforcement.
Your Ponoko parts will have a protective sheet on both sides - it needs peeling off before you assemble anything. Be careful peeling the film off the thin plywood!
Glue the reinforcement into the slot at the base of the frame, then glue both into the cross-shaped hole of the base.
If that doesn't make sense, check the photos.
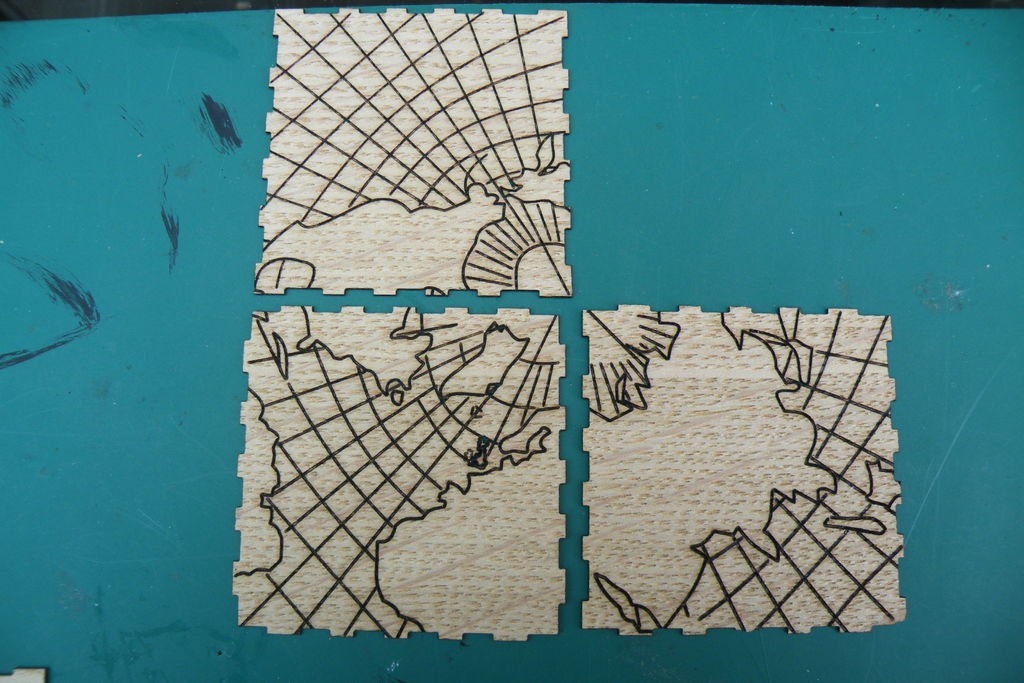
Step 4: Assemble the Northern Hemisphere

