 Anool Mahidharia
So the task is to redesign the ClockTHREEjr board using these modern smart LEDs. ClockTHREEjr (C3jr) has 8 rows and 16 columns of dumb LEDs, which can upgraded to smart pixels using 2 ULTiM8x8 (no solder) LED panels. What was originally just a proof of concept turned out to be so cool we decided to show it off and make the design public.
Once you have purchased the Bill of Materials (BoM), you can make this clock in a morning. Once you get your 3D printer started on the baffle (0.5-3 hours depending on printer and settings), you can move over to your laser cutter to make the front and back of the clock (1 hour). Give yourself 30 minutes for final assembly and 30 minutes to program, even though neither takes that much time. That means you can make this project in 4 hours with plenty of margin. This project is a slam dunk.

 Andrew Cooney
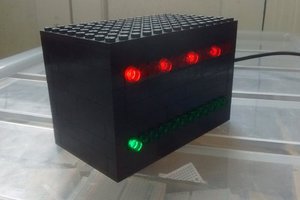
 Shrimping It
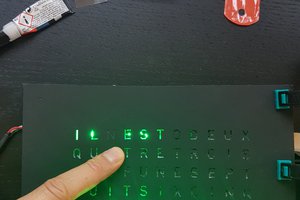
 Gorloth
A really great stuff you have shared with us. Keep it up. https://www.heb-partnernet.com/