 zacnotes
double row headers showed up today, so I made a successful attempt at connecting to the 4 additional 'easy' pins to reach.
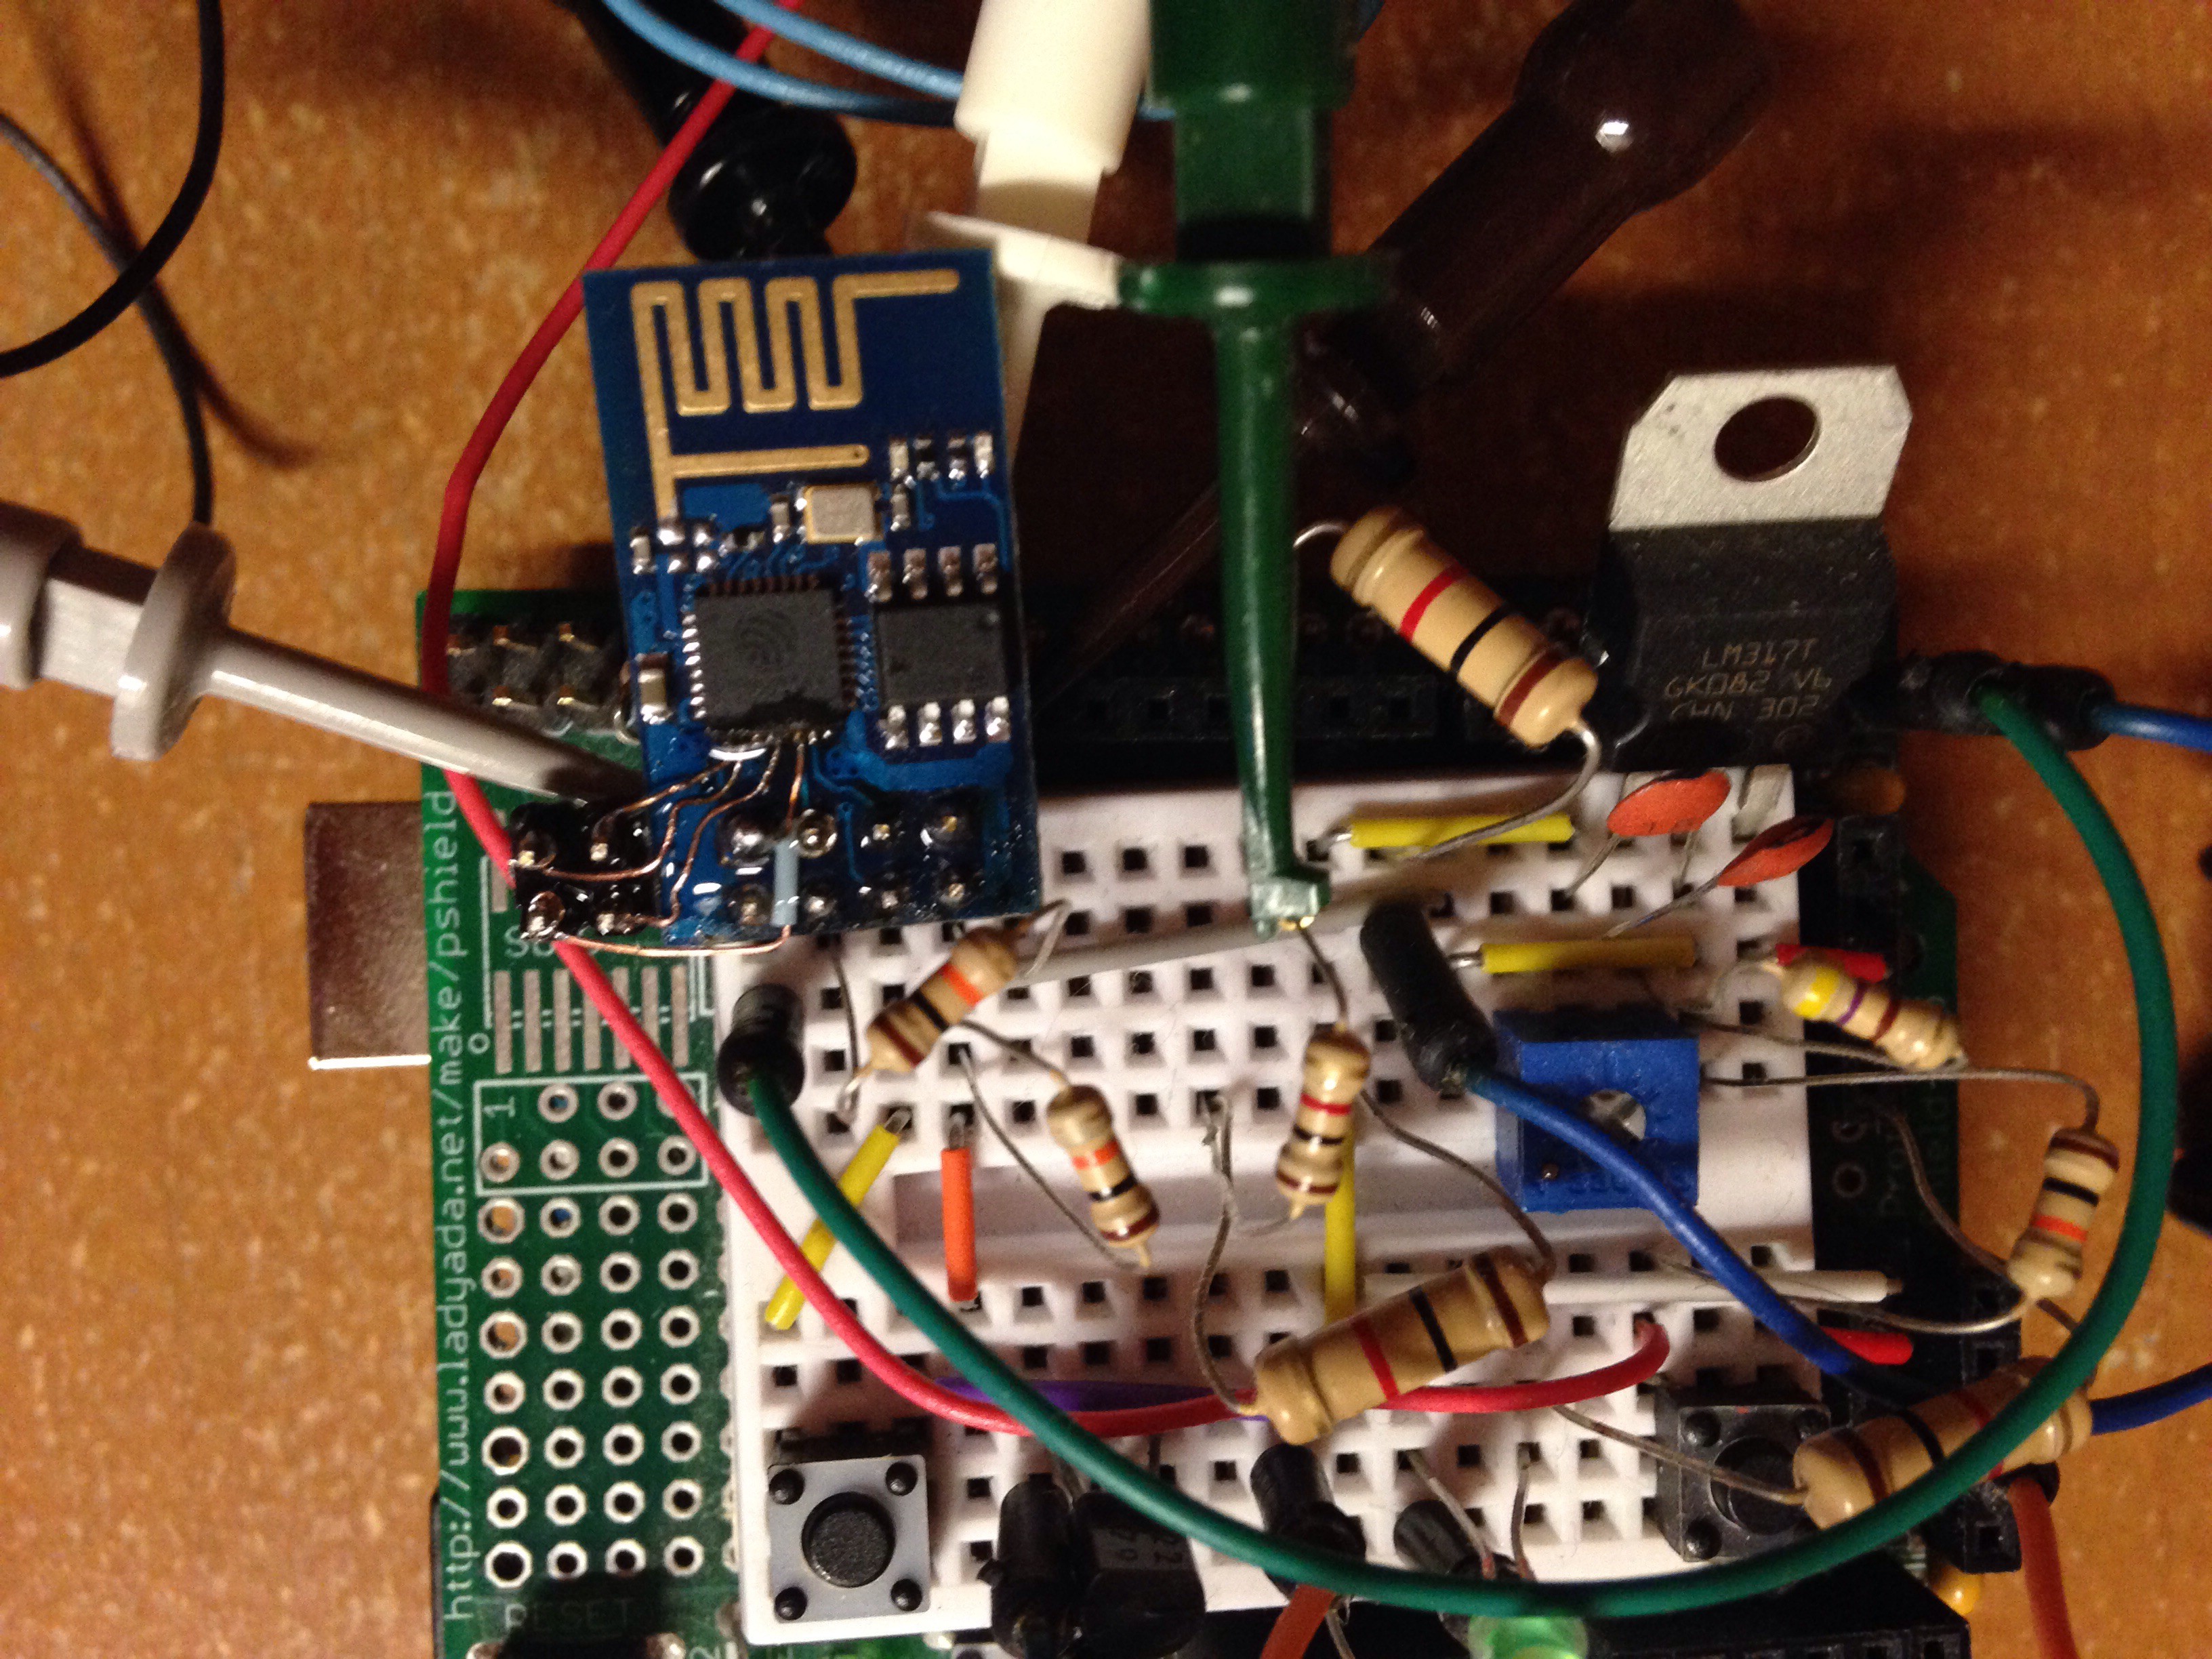
First, I removed the 8 pin header, to give me a little more room to work with. Next was soldering jumper wires to the I/O pins on the ic. I don't have a solder tip small enough, so I did the copper wire wrap trick. Worked really well. Next was adding the new header. It was here that I realized an error in my pcb design. There are 2 empty pin slots in the new header, to get the new 4 pins out past the ESP pcb. Also, I put the pins on the wrong side on my pcb design. Good thing my connector is wire to the board. I can correct my mistakes there.
Next in the I/O expansion was to connect the jumper wires to the new header. I routed the wires to the header, being careful to pinch the wire against the pcb while bending, so as not to stress the tiny solder joint. I wrapped the wire around the top of the new pins, and tried to solder the points very quickly, attempting to keep the heat from traveling up the wire and disconnecting the joint at the ic. Only one wire became disconnected, and I was able to repair it without trouble. I then fired the unit up, and it threw a comms error. Blue light came on solid. I believed that one of the new I/O points was connected to one of the pins next to it (not I/O to I/O, as I had continuity tested those.) I cleaned up the joints at the ic with my wire wrapped iron, and powered on again.
Success!
I tested each of the new pins, all were firing as expected, so I dabbed on some superglue to assist the tiny wires. Now we wait for the pcb from osh park.
Discussions
Become a Hackaday.io Member
Create an account to leave a comment. Already have an account? Log In.