 jean.perardel
How Does It Work?
So, how are we are going to build real time detection and interaction between the movements of our body and the movements of our Hero's?
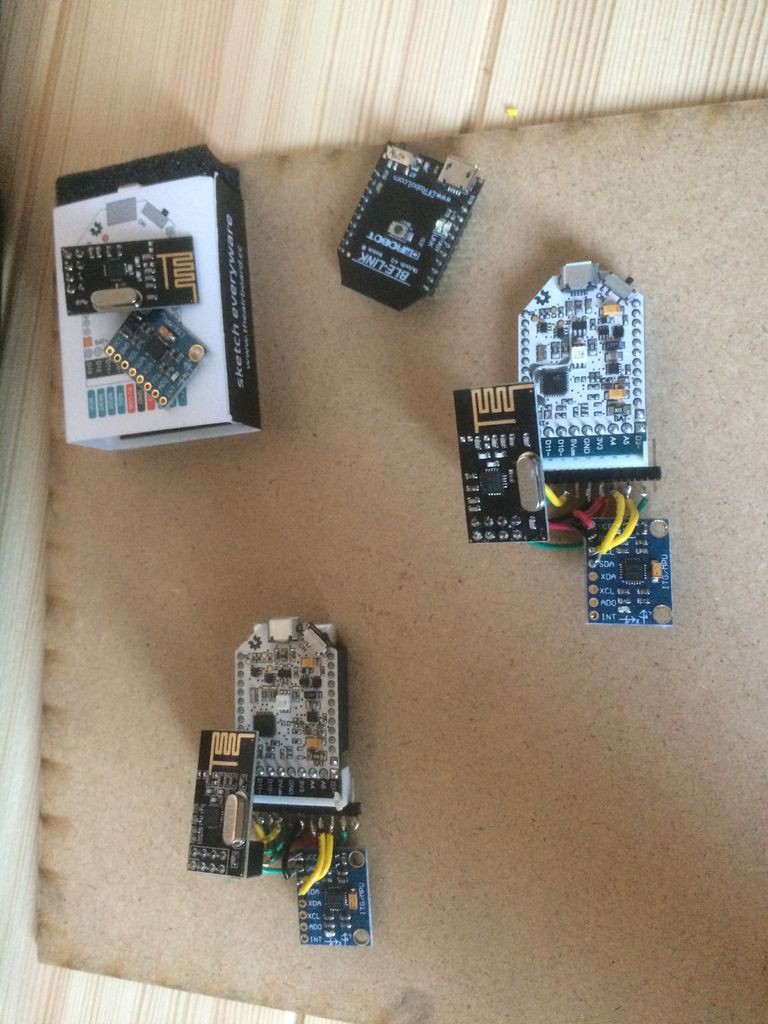
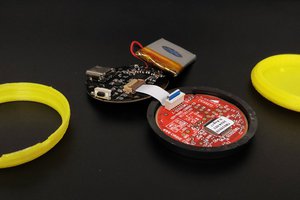
This project uses a combination of bracelets with 6-DOF sensors and Wii Nunchuck that you can easily attach to your body. Those sensors can detect "6 Degrees Of Freedoms" with a 3 axes accelerometer and a 3 axes gyroscope.
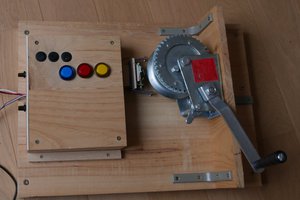
The central system of each of the embedded devices is a Arduino FIO powered by a Lipo battery. The communication is provided by a NRF24 Bluetooth board which has the ability to modulate the transmission channels. Thanks to this device, we have a large number of modules simultaneously communicating with a central with the reliable Bluetooth stack.
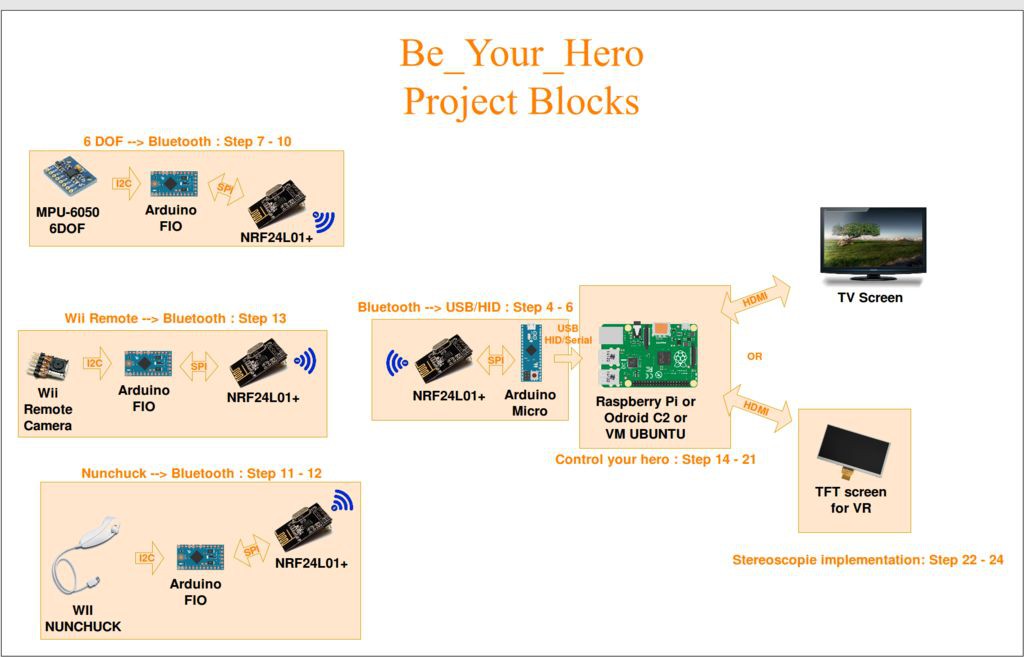
The Bluetooth receptor is wired to an Arduino Micro. Within this particularly impressive board there is an atmega32u4 (same as Arduino Leonardo) embedded which gives it the capacity to emulate HID devices and COM ports at the same time and on the same USB line. Through this, we are able to emulate a keyboard, a mouse, a joystick at the same time and still send data over the serial terminal.
As it's probably the most commonly used computer by makers, I used a Raspberry Pi to analyse the incoming data and output the interface over HDMI. But you can also use any other computer OS as the code run on Python, as every computer emulates Python and reads HID and serial USB. I have only tested it on Linux for now.
The Python code provides 3 possibles outputs :
- Full screen, to play on a normal computer or TV screen
- Basic stereoscopic screen, to use with cardboard
- Tunnel effect stereoscopic, to use on a VR headset with aspheric lenses.
It also provides several ways to interact :
- The Be Your Hero USB HID Sensors
- Keyboard & Mouse
You don't need to build the sensors & Arduino boards to test the code !!! The Python code has been tested on several linux machine including Raspberry Pi. You can use Mouse and Keyboard for control.
So this is our main hardware architecture... lets talk about software now!
Several years ago, a great contributor of the Raspberry Pi community built "Pi3D", a great light 3D Python library running on the small CPU/GPU of our favorite computer. He provided us with a full documentationand examples to start building games or platforms. To build the software I combined a Pi3D and VrZero to facilitate the Virtual Reality development. In addition I used Blender, a free professional software to build 3D objects.
By discovering the world of 3D Blender objects on the internet, I was amazed by the number of accessible drawings you can find. Basically, any of your favorite avatars, if they are slightly famous, have probably been designed a 100 times. So you just have to spend some time on the internet to find what you want ;). I found most of my designs on this website.


 PixJuan
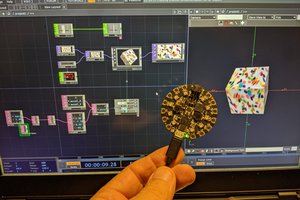
 Jerry Isdale
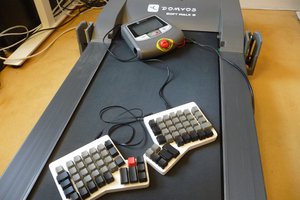
 Jules Thuillier