 JohSchneider
similar projects that mounted the raspberry onto another pcb seem to reflow it in some way or another, with a hot-air rework station or similar tools. the same is doable with a good fine tipped soldering iron.
these steps seemed to produce good results:
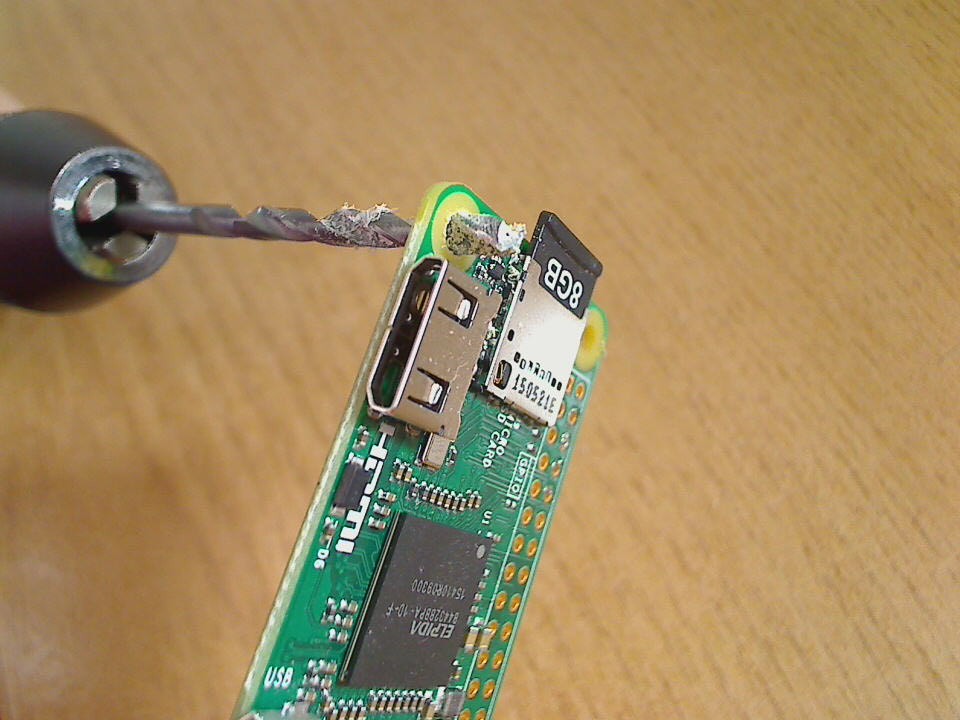
1) widen the mounting hole near the hdmi to 3mm, which will be used as position key (and later on by a screw holding the case together) - done by hand, very carefully :-)
2) pre-tin all the surface mount pads on the base-board with a slight (!) amount of solder

3) use a M3 screw to get an accurate position, clamp the boards together and solder by first heating up the rim of the pin-hole, then feeding solder into it until the hole is roughly half filled. at this point it should connect with the pad below and visibly suck the solder a bit down

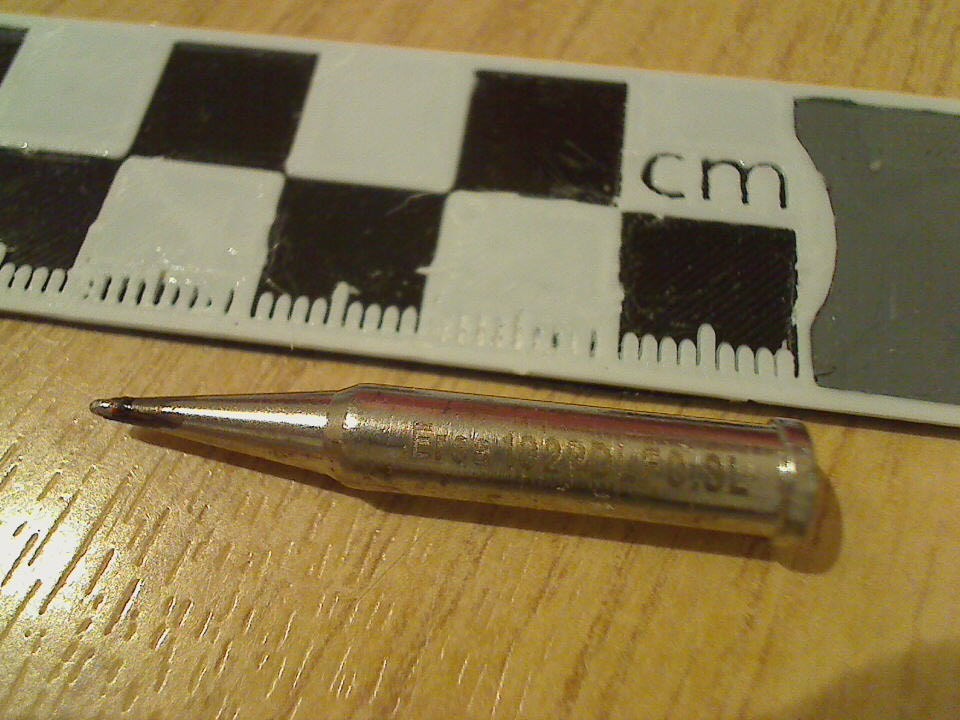
the tip i used fit halfway through the pin-holes, which i could put into the soldered holes that seemed to have a hard time connecting to the pad below (was the case with some of the holes connected to the ground plane, since they sucked the heat away pretty fast)
Discussions
Become a Hackaday.io Member
Create an account to leave a comment. Already have an account? Log In.
I appreciate your thorough process documentation!
Are you sure? yes | no
thnx :-)
Are you sure? yes | no