 Jaime García
Recommended resin:
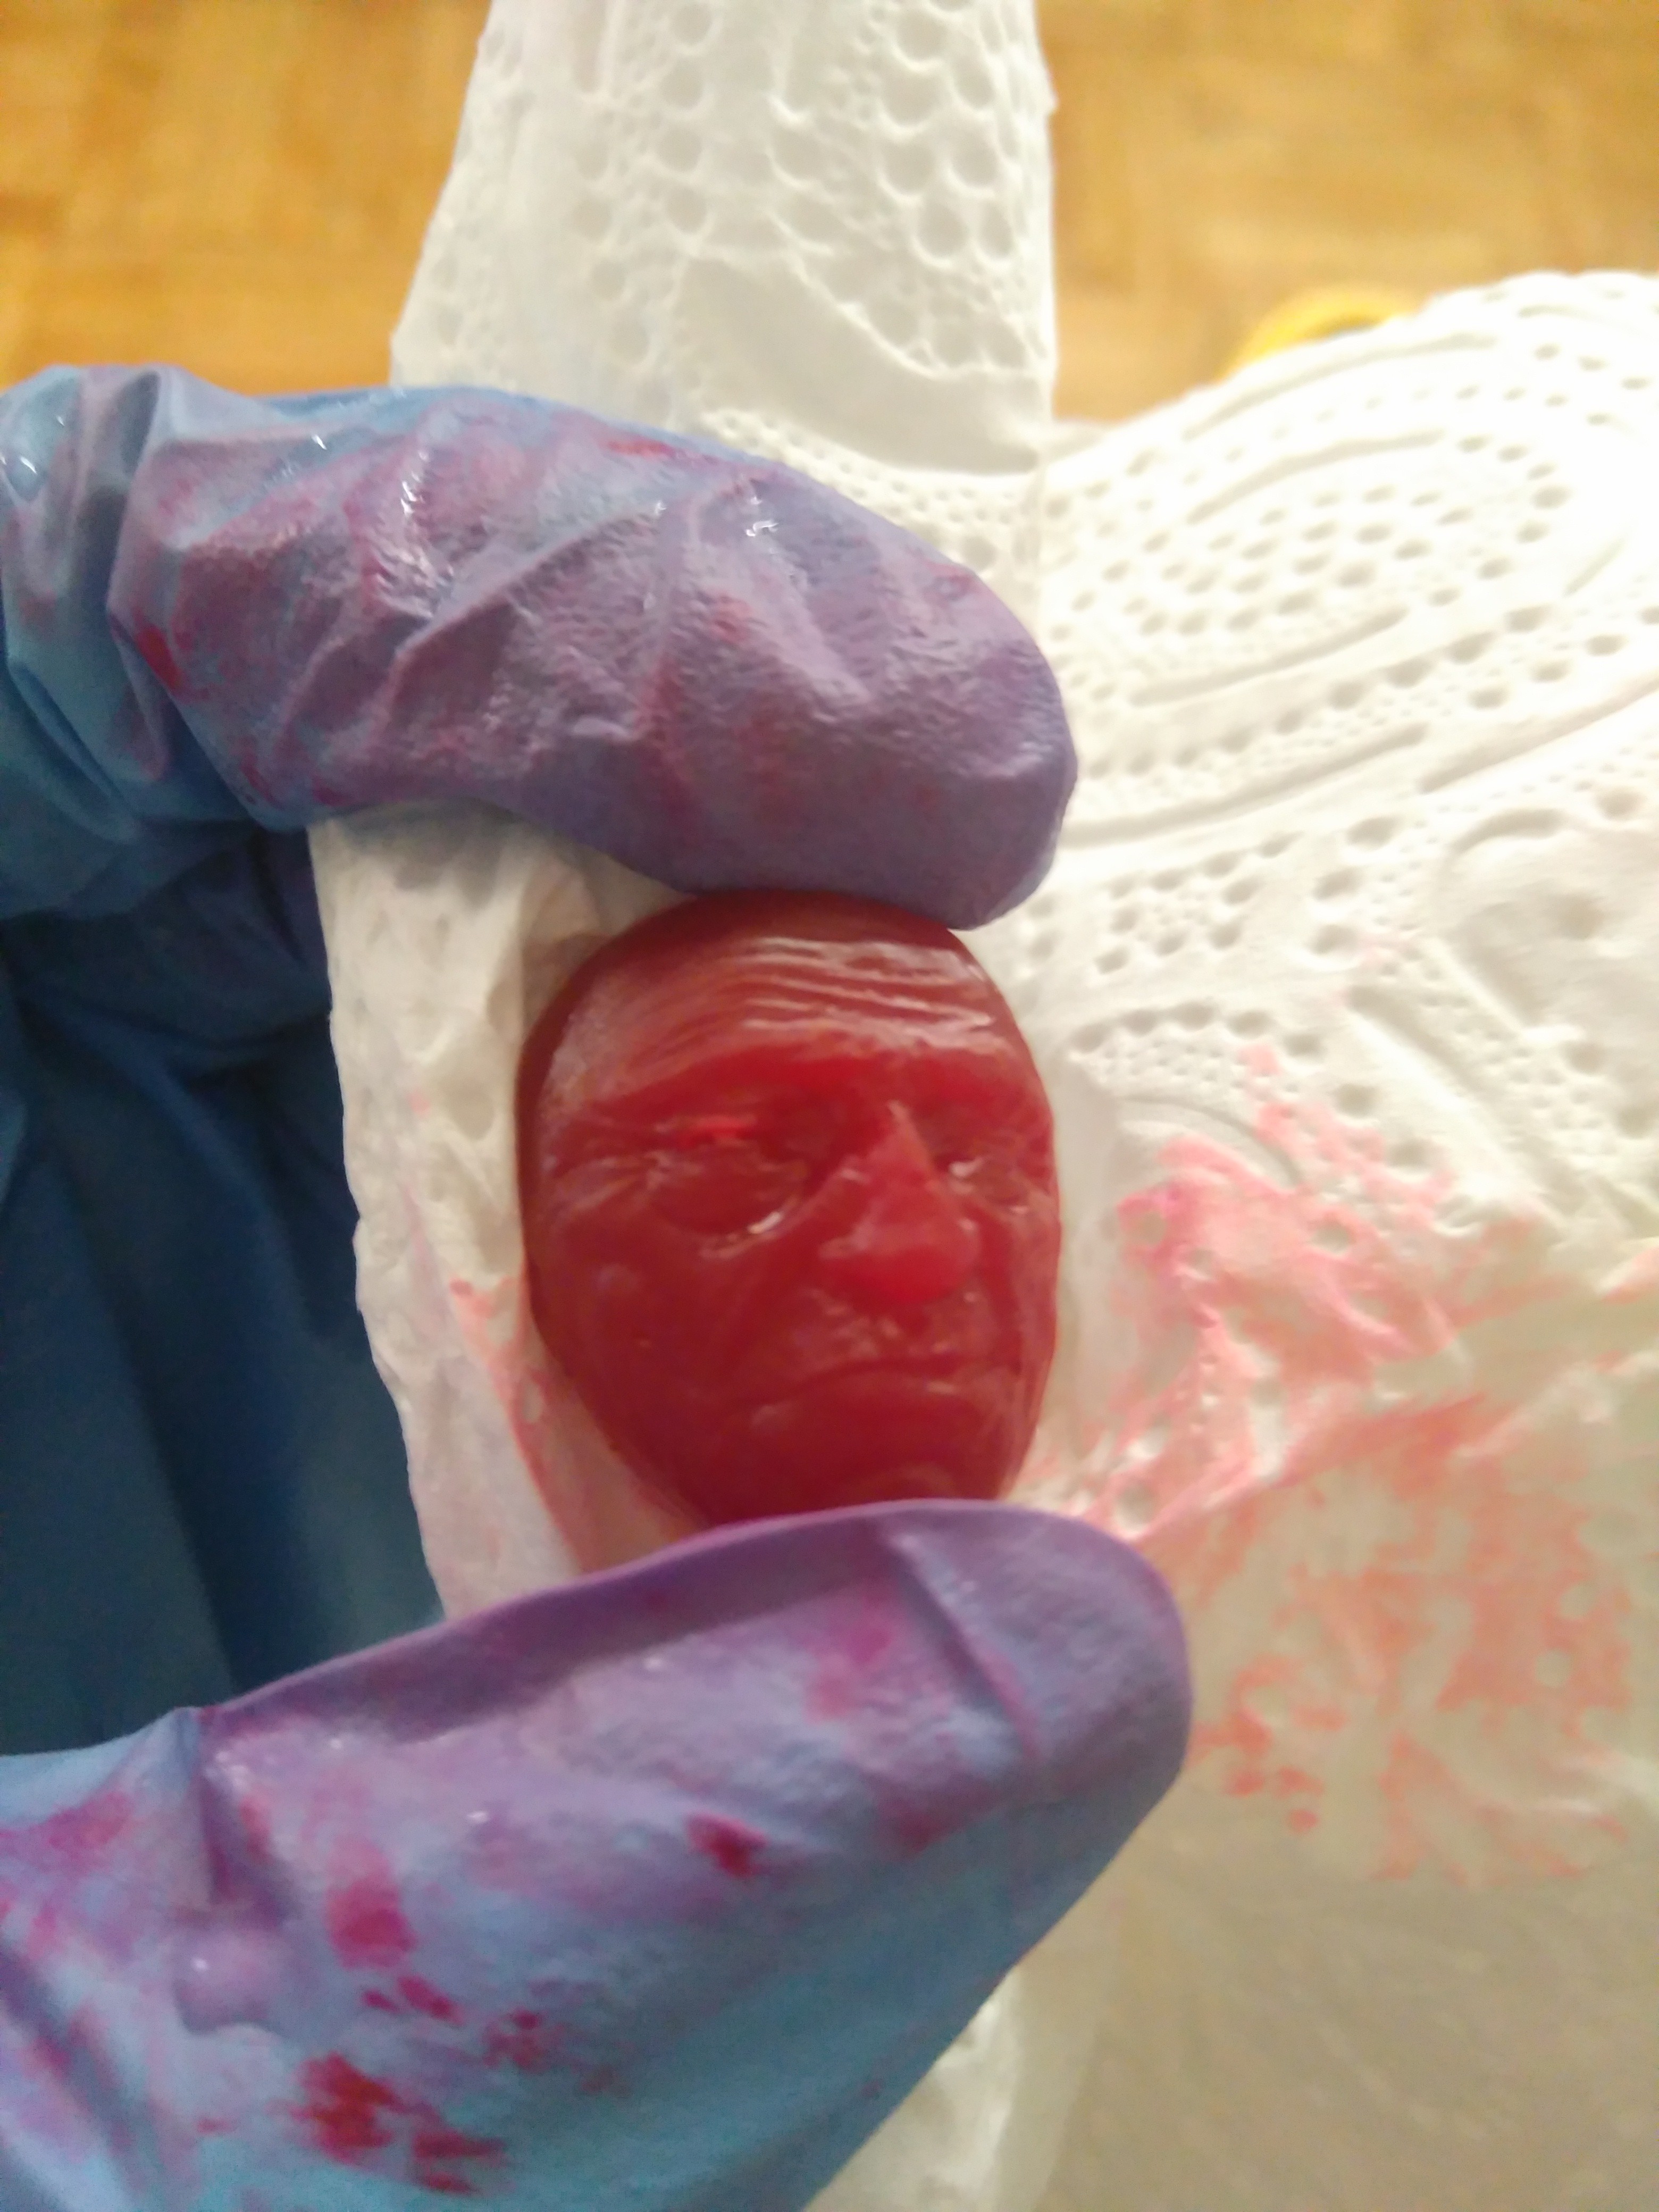
Works like a charm with Spot-GP low power settings resin, tinted with Smooth-On So-Strong Tints: 5 drops of red, 1 drop of white per coffee expresso of resin. (yeah, that's a good base unit). Needs about 20 seconds to cure a 40 micron pixel 50 micron layer successfully, with the Optoma.
Right now in bqlabs are working on a new proyector, specific for DLP purposes. Exposure times will change when this finally happens.
Machine specs:
- All parts designed in FreeCAD
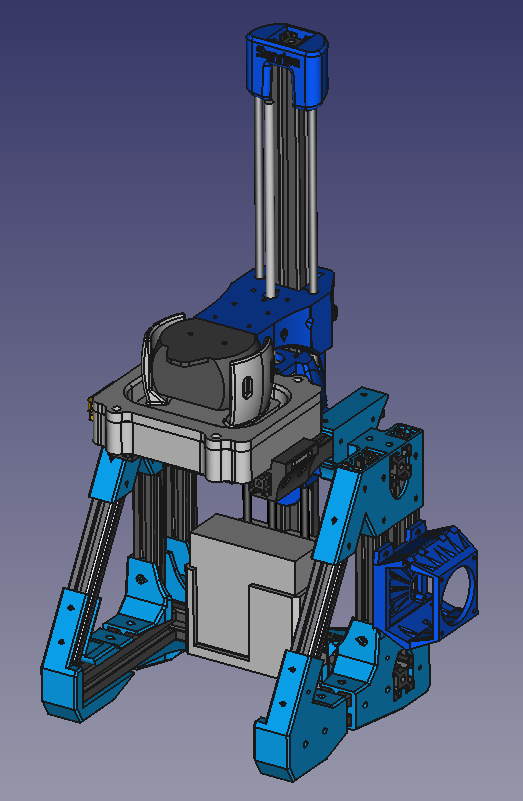
- 3D Printed + Aluminium profiles
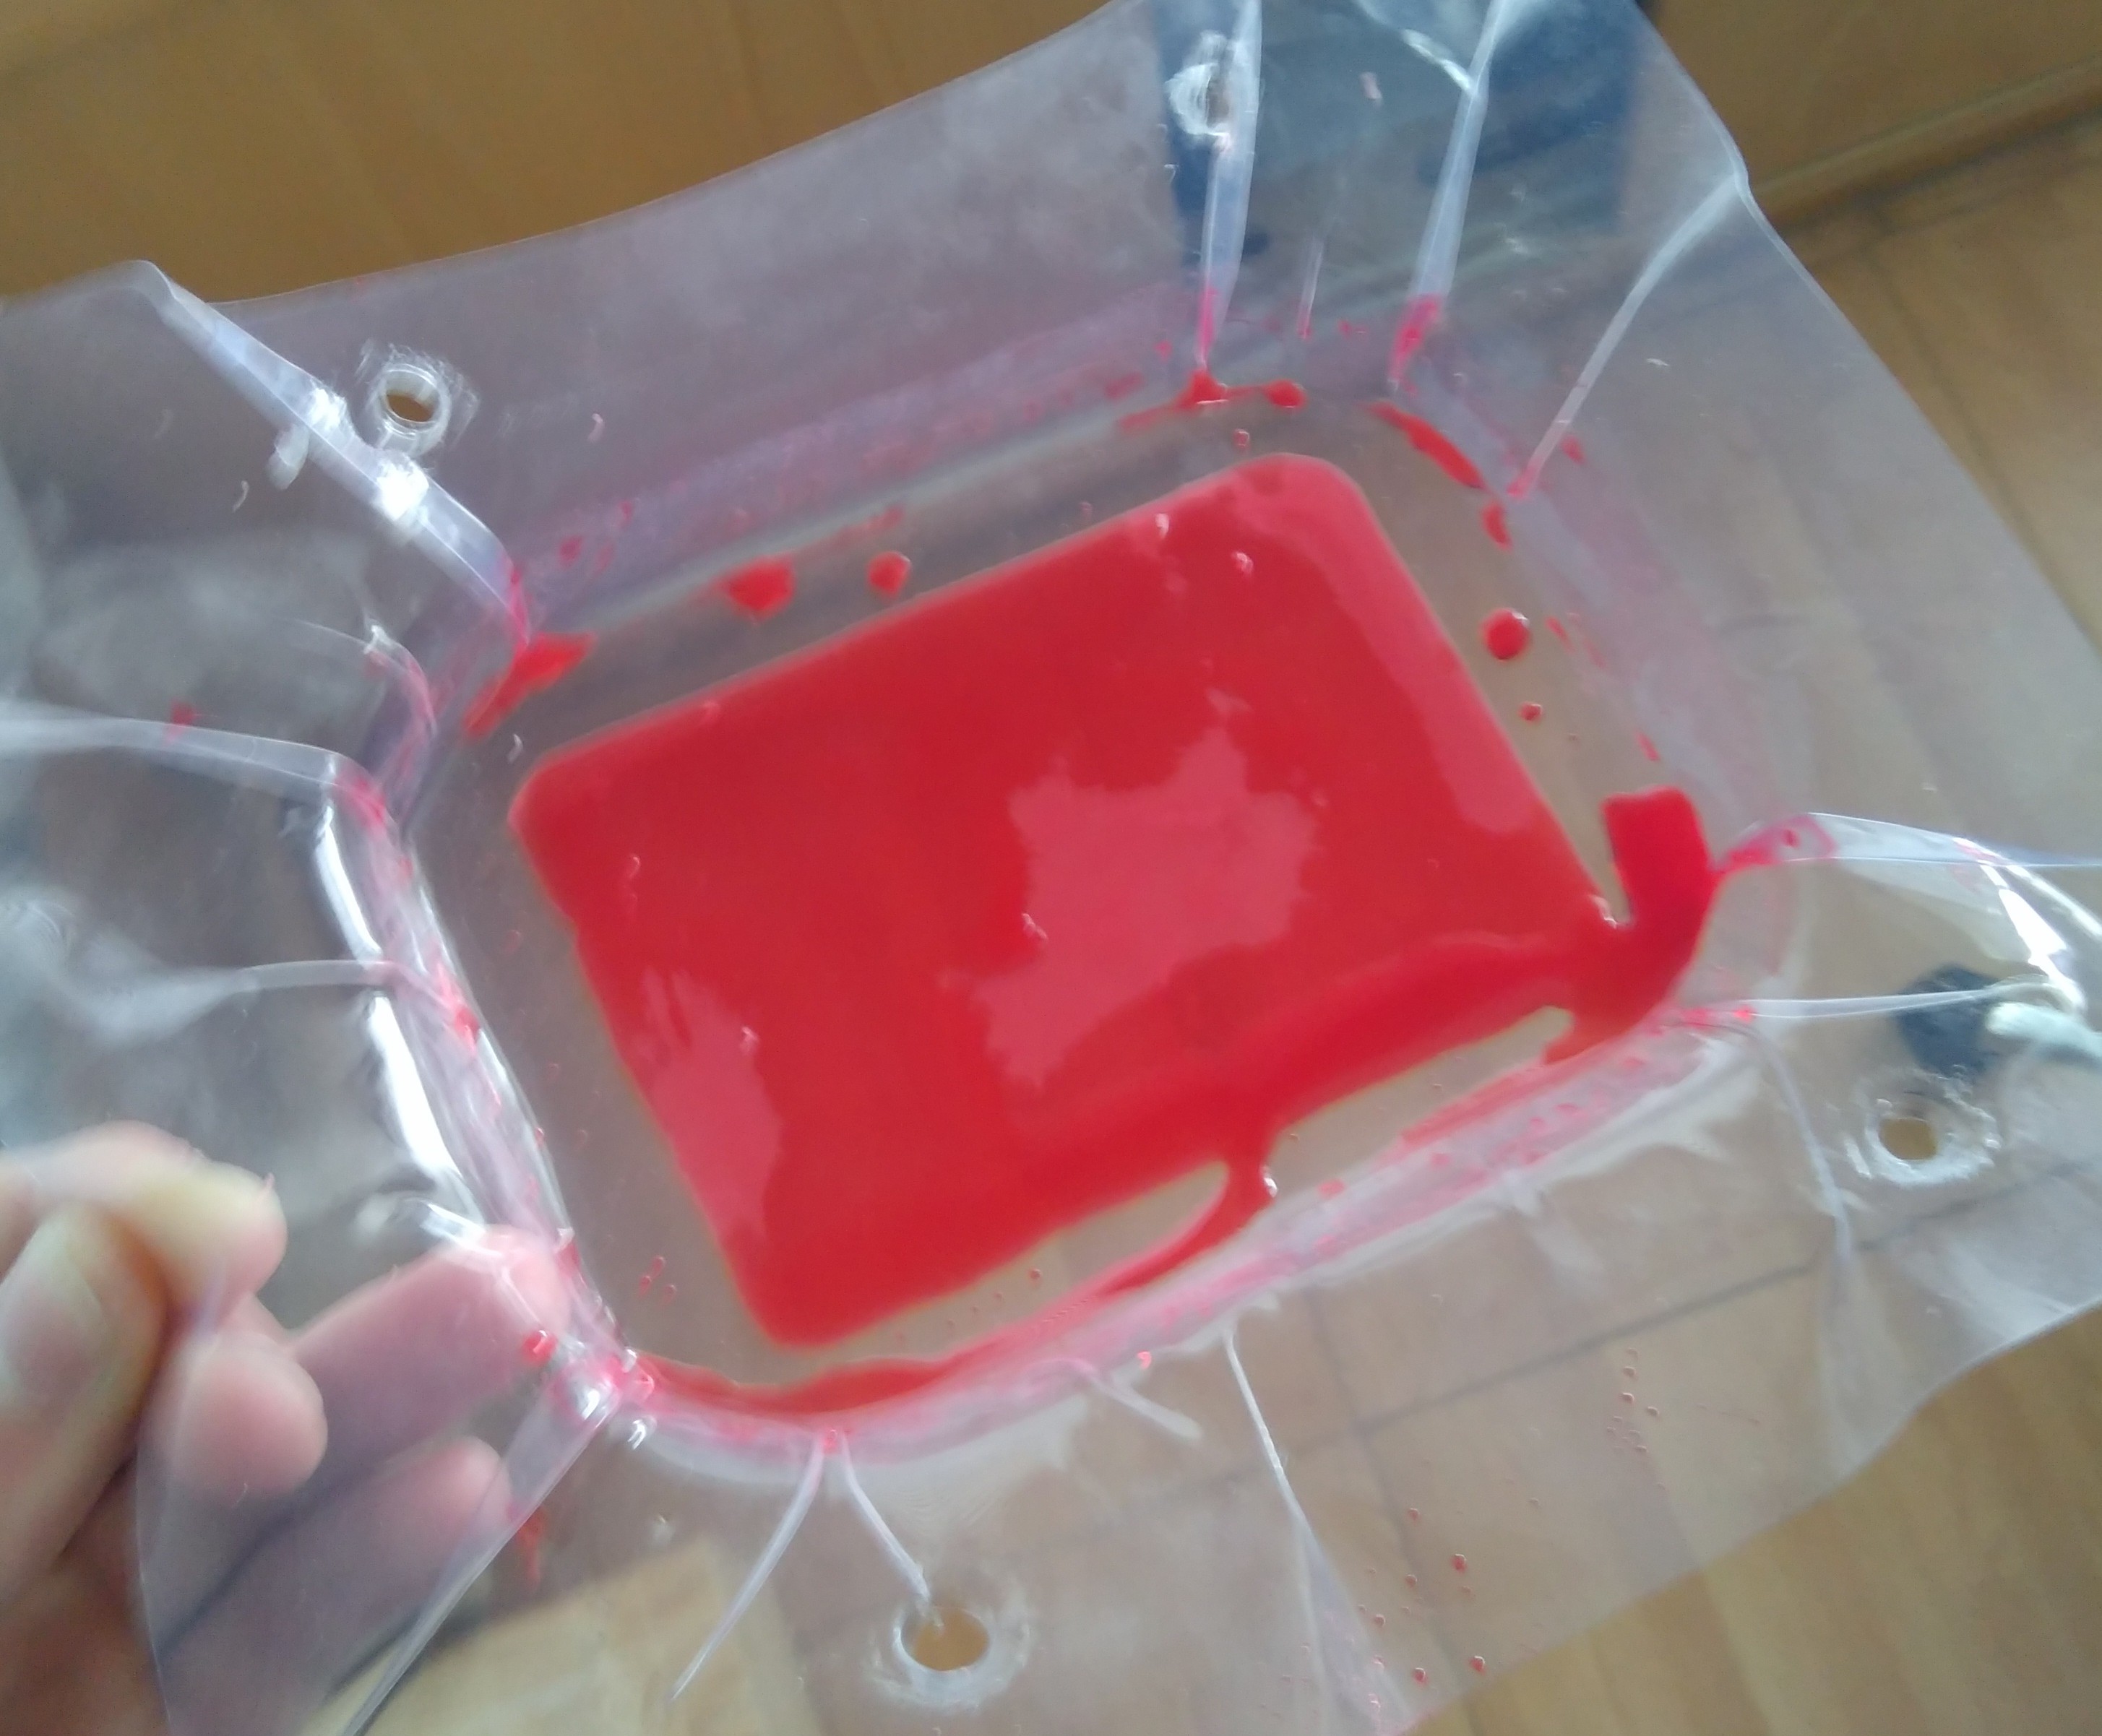
- QuickFit VAT replacement, to make adherence experiments easier.

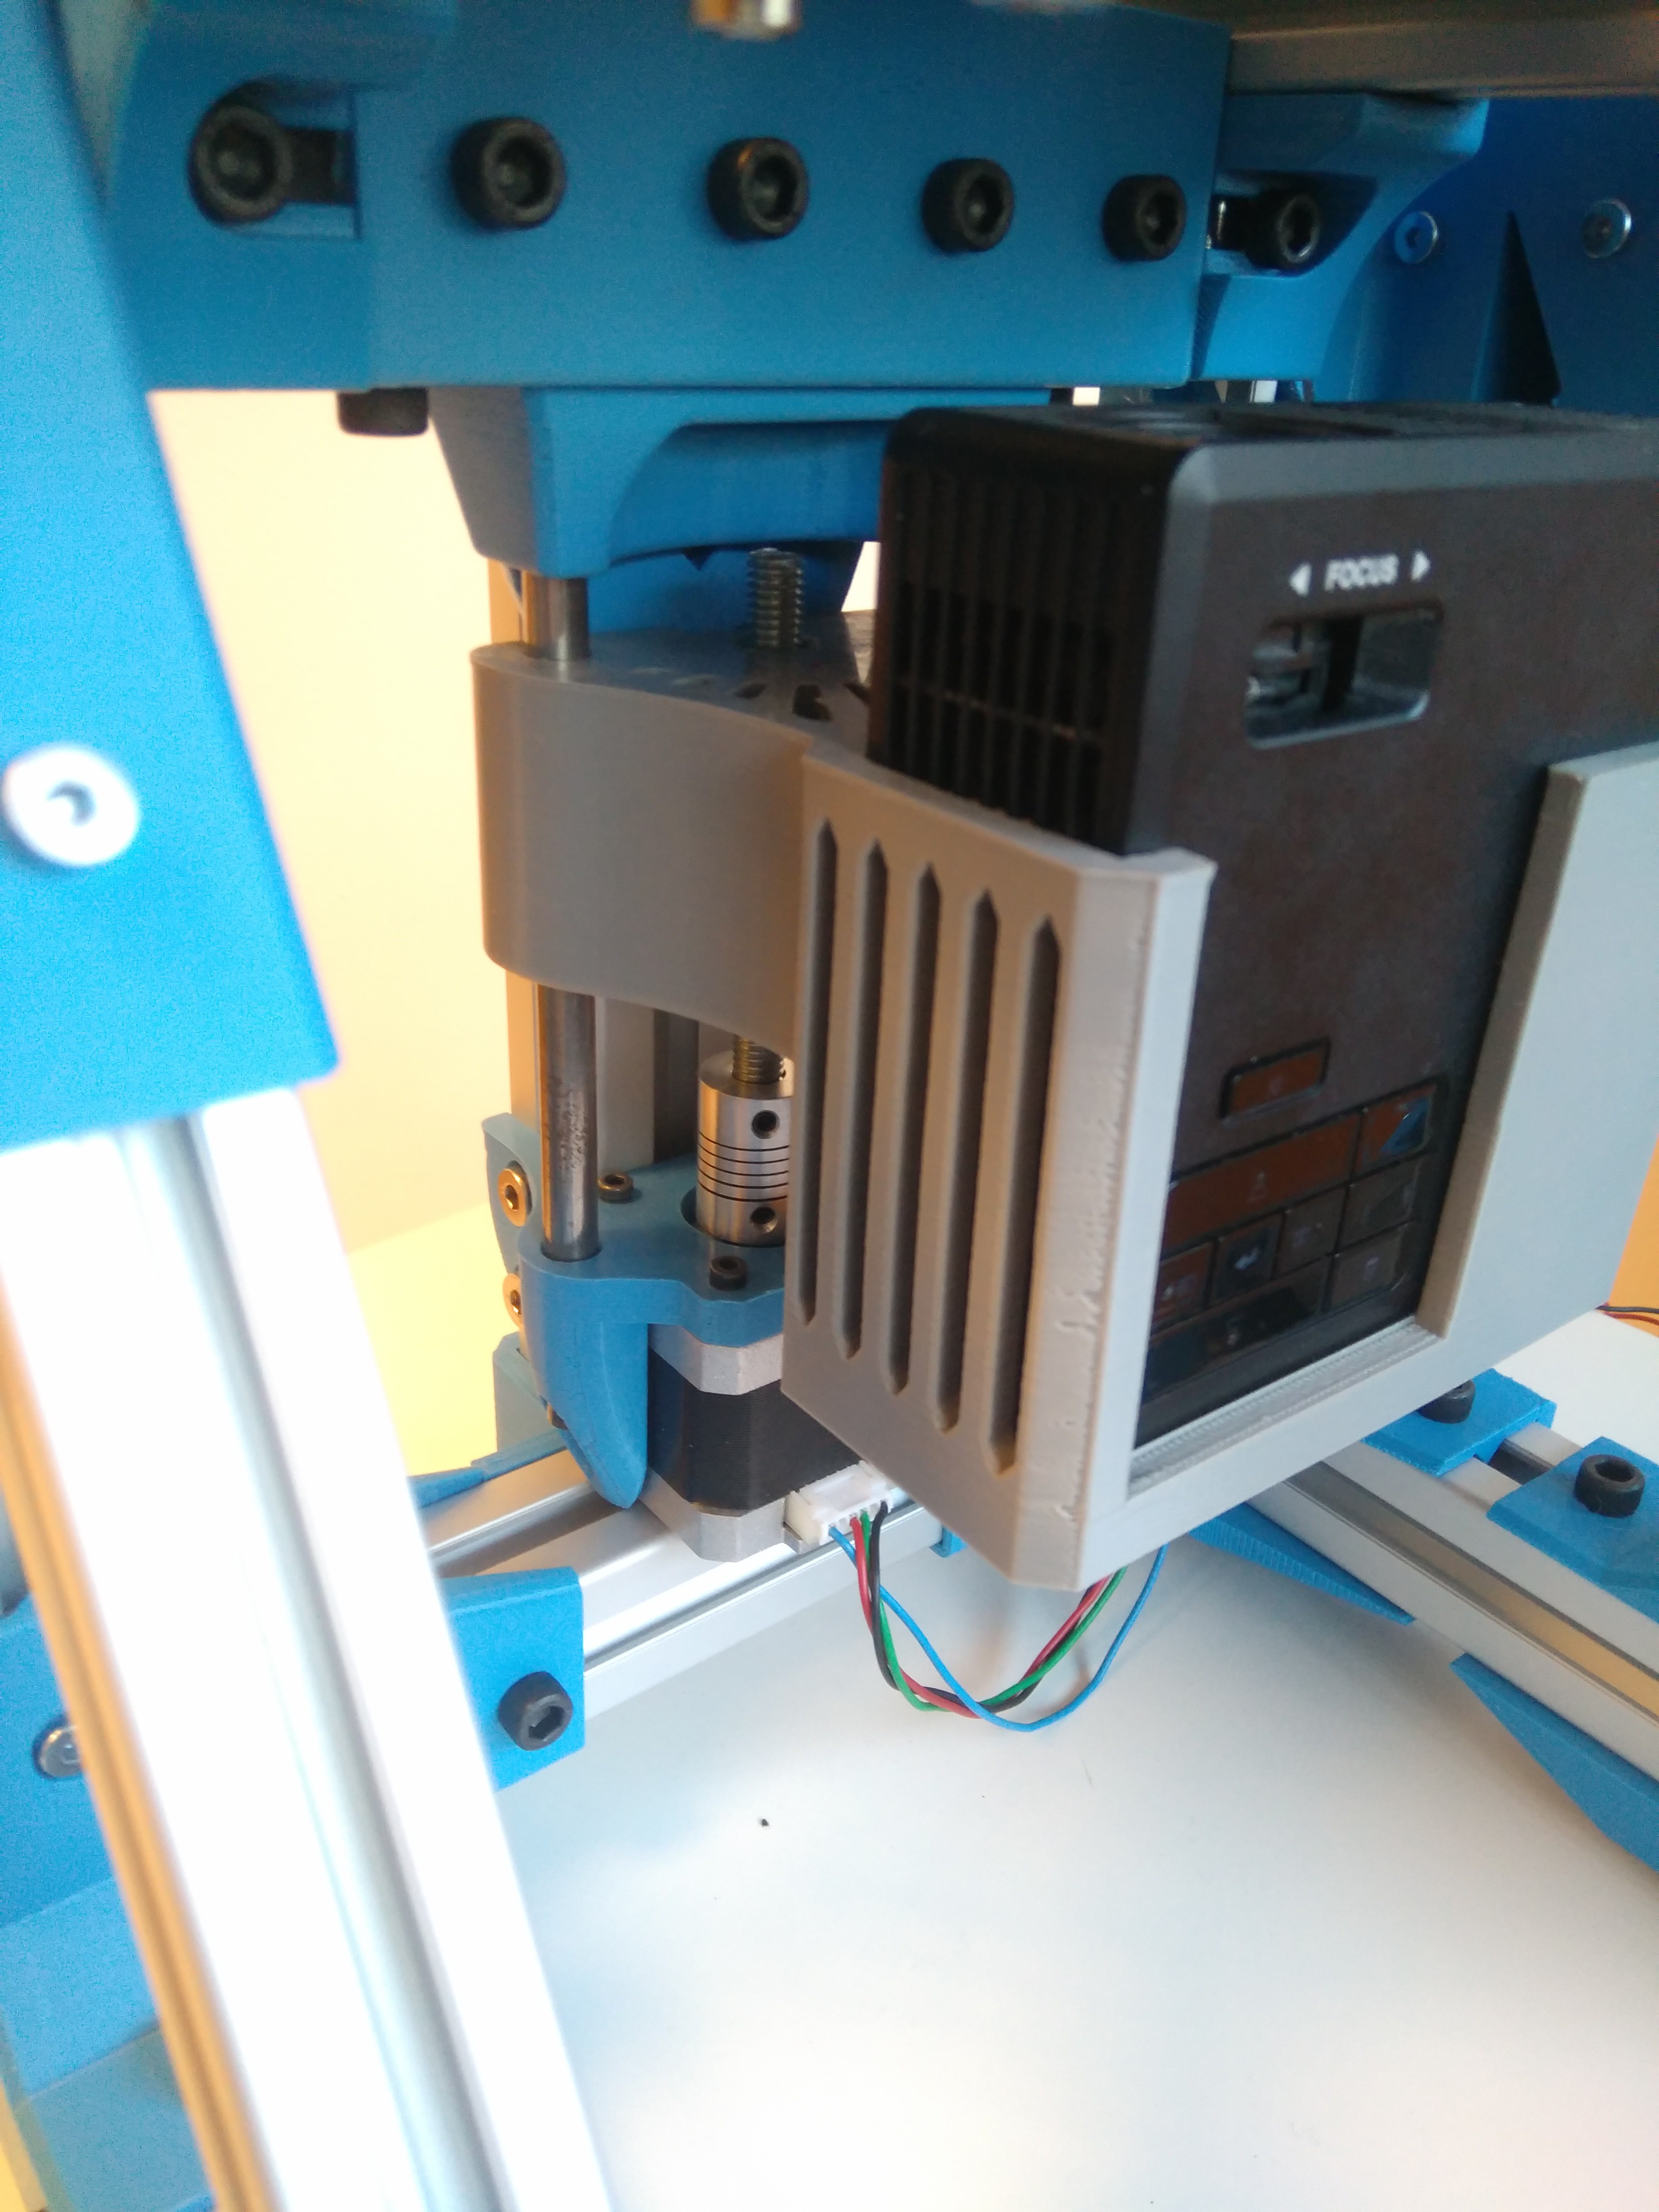
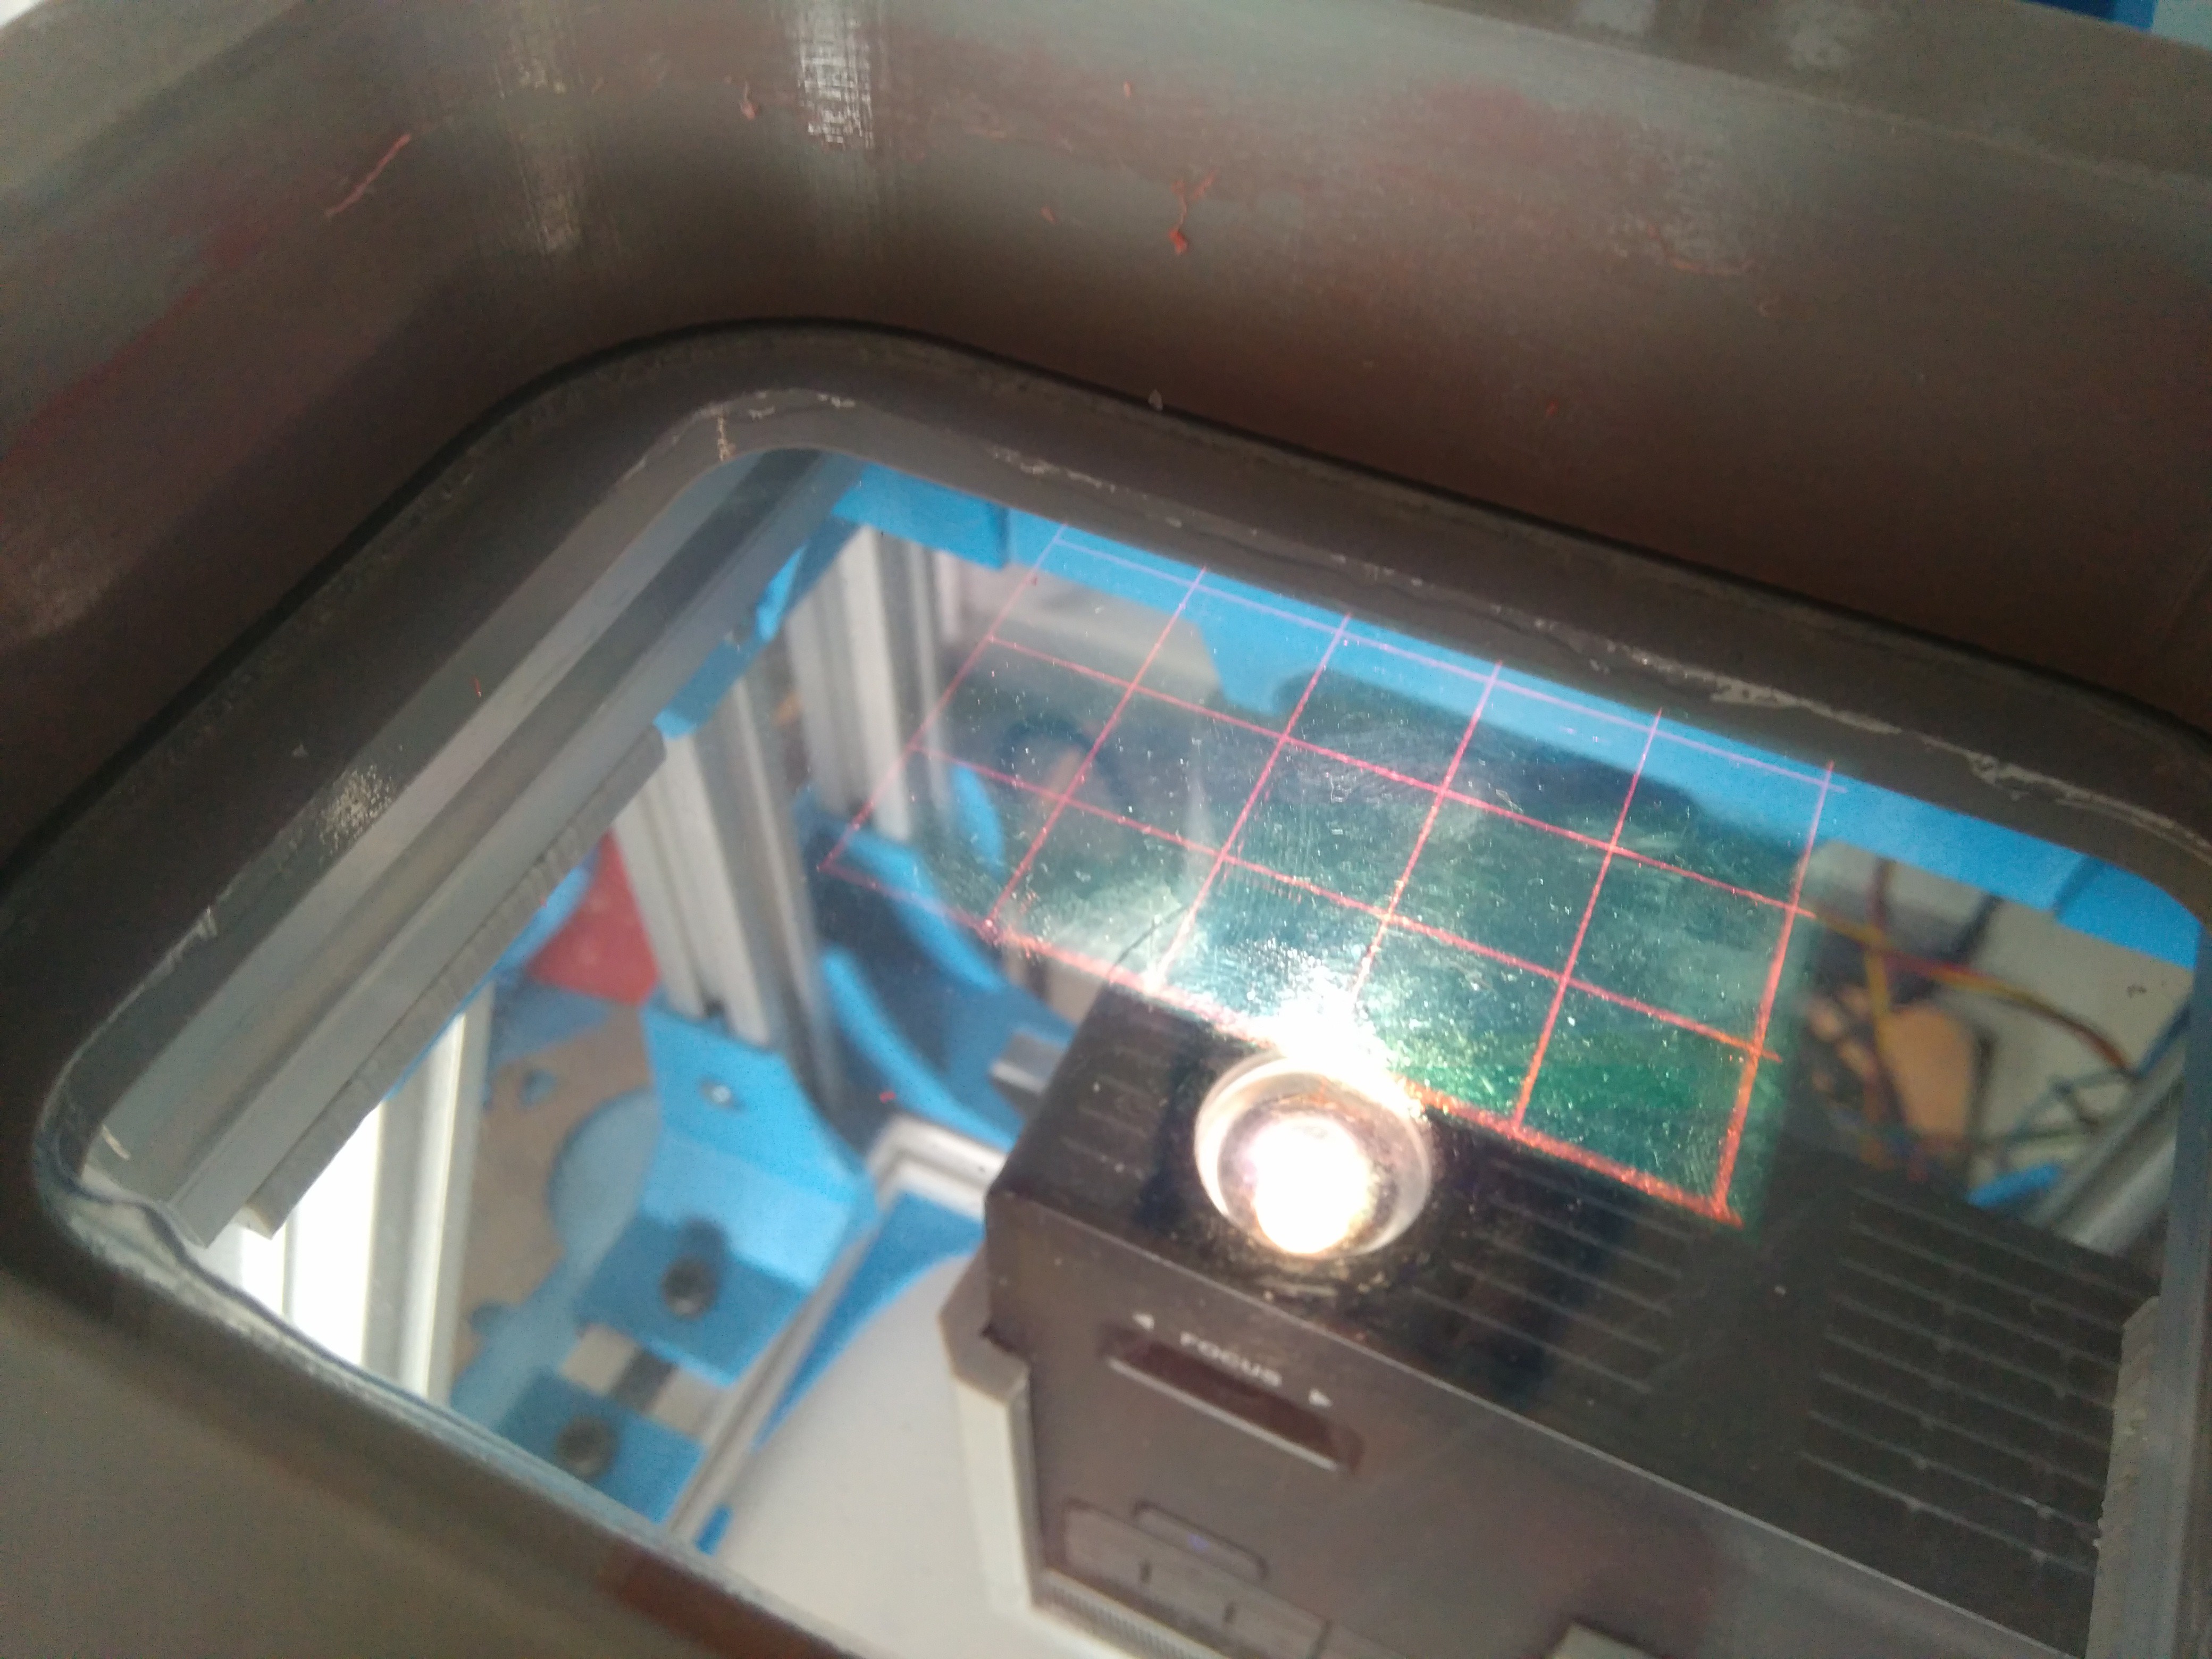
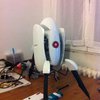
- Hacked pico-projector Optoma ML750
- Motor assisted projector height, for adjusting pixel size.
![]()
- Arduino + CNCShield motion control, running a configured GRBL (https://github.com/bqlabs/Sunrise-fw)
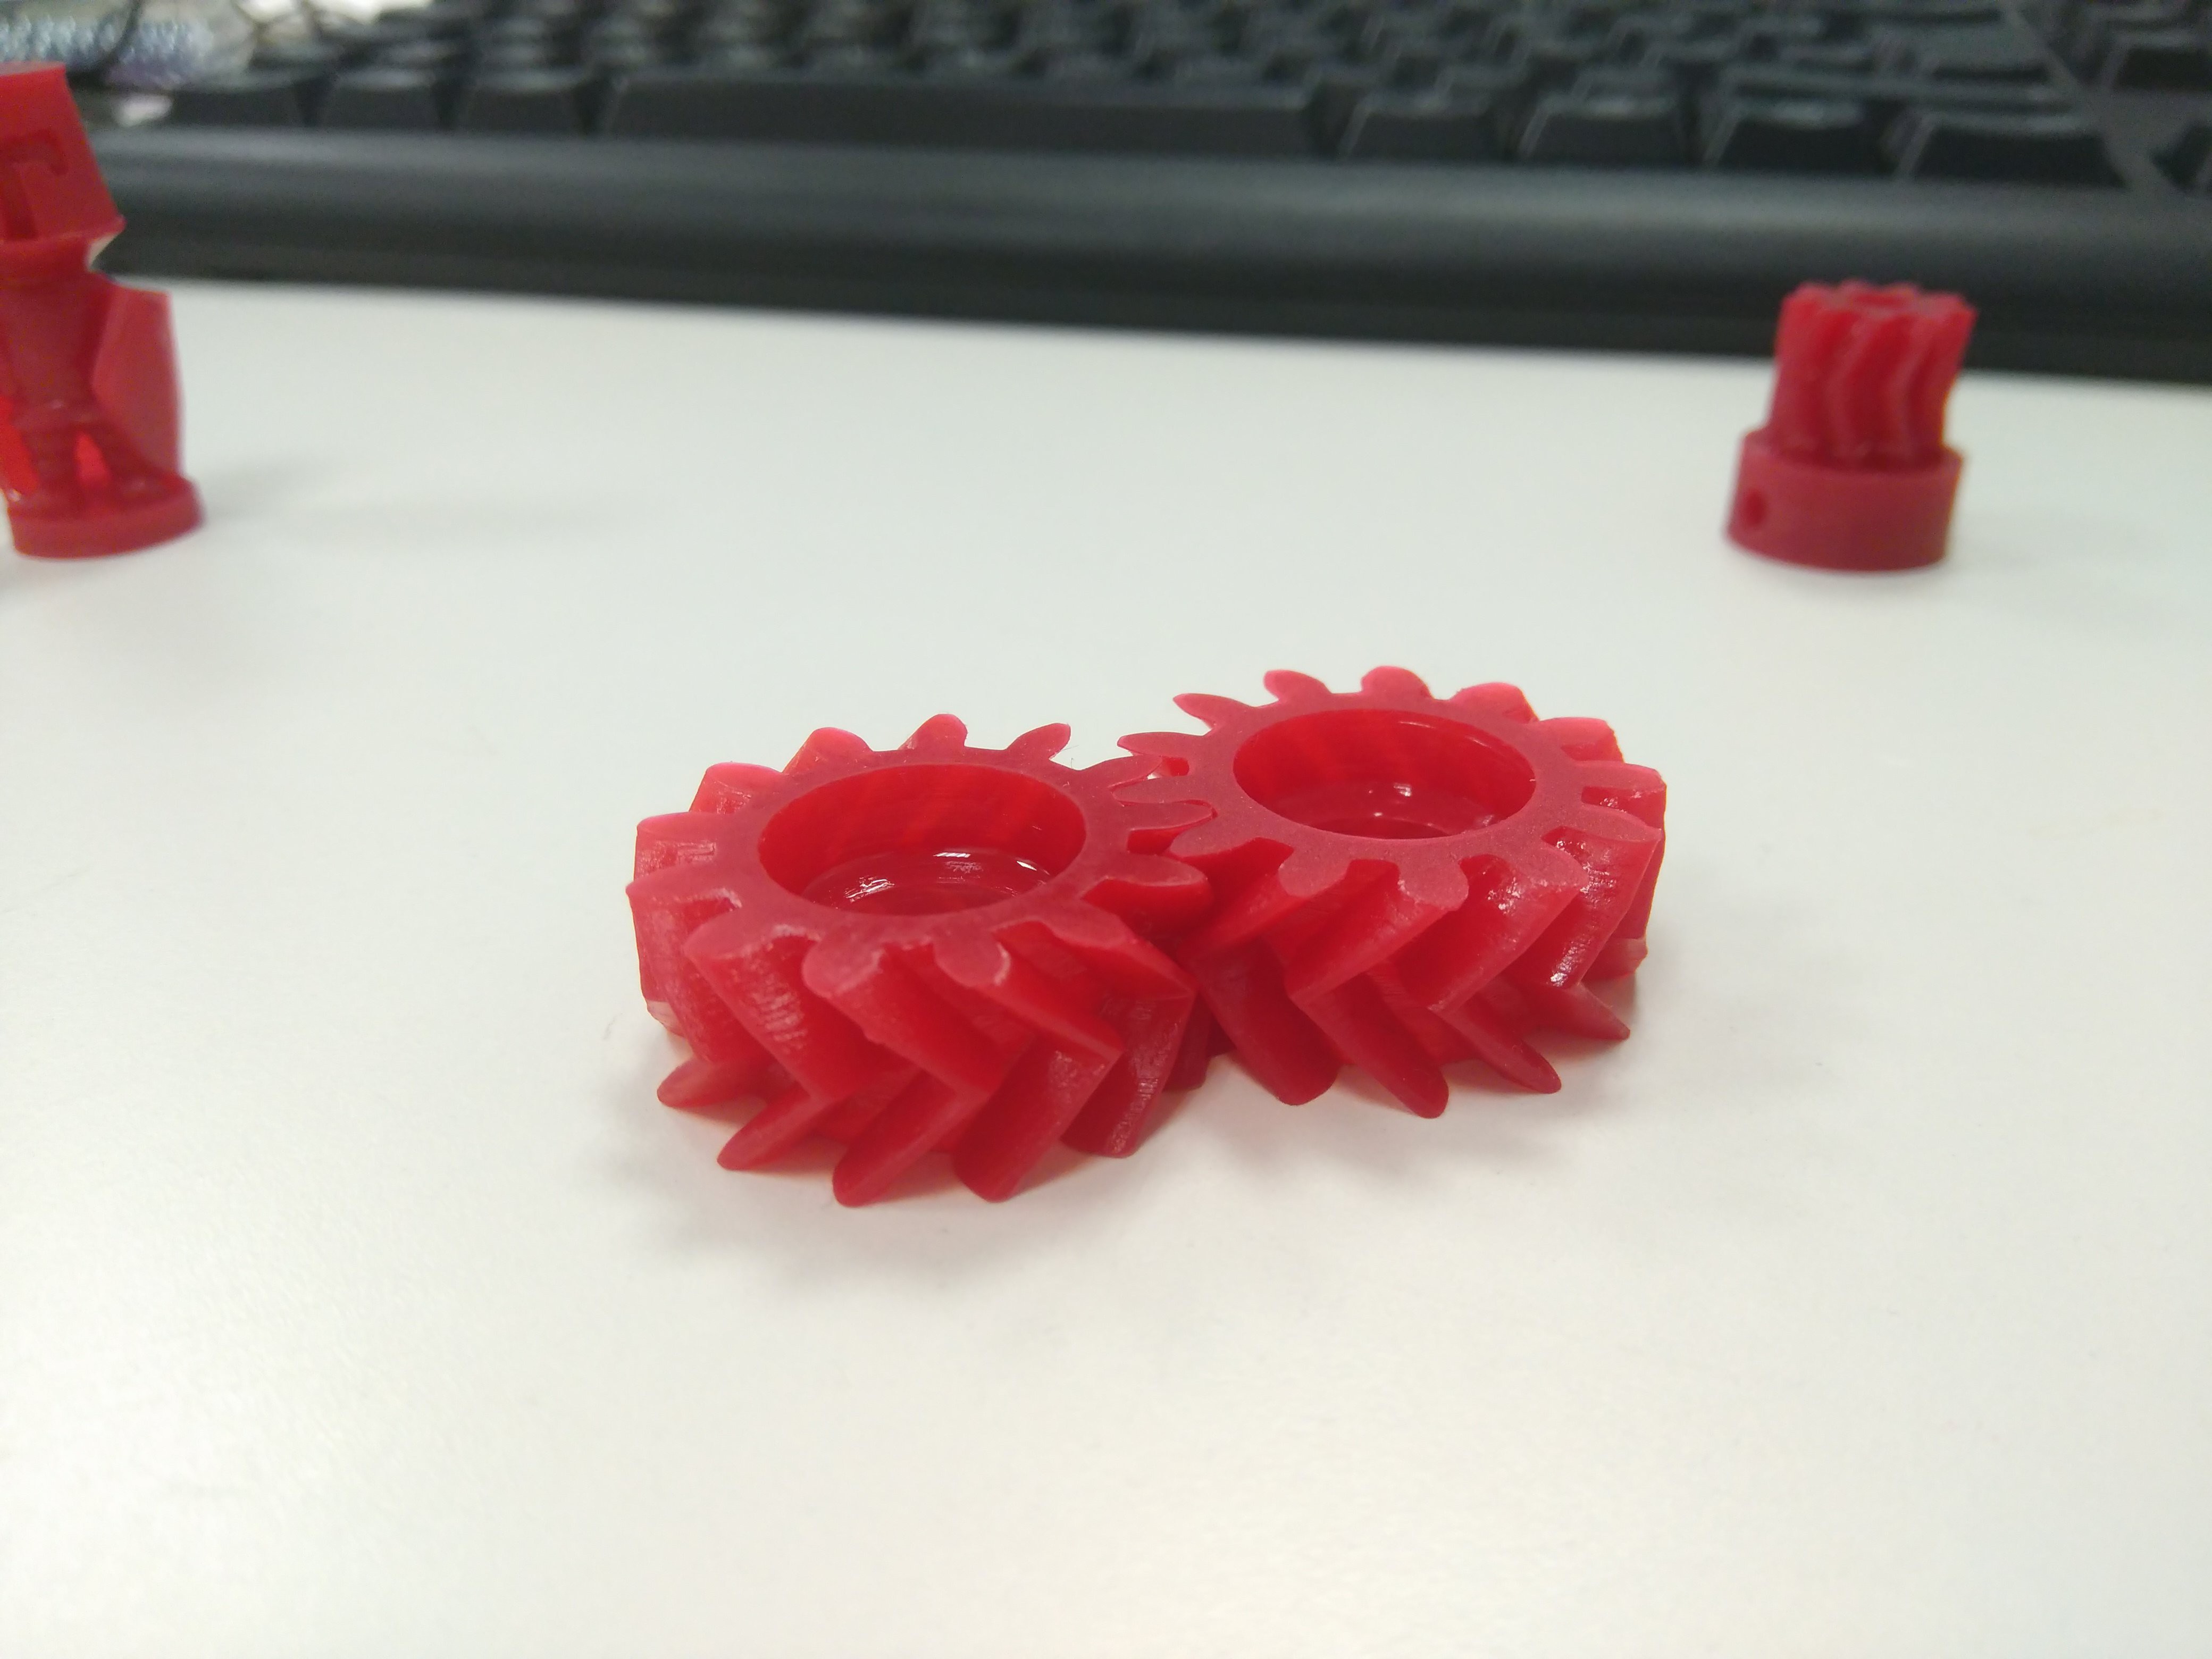
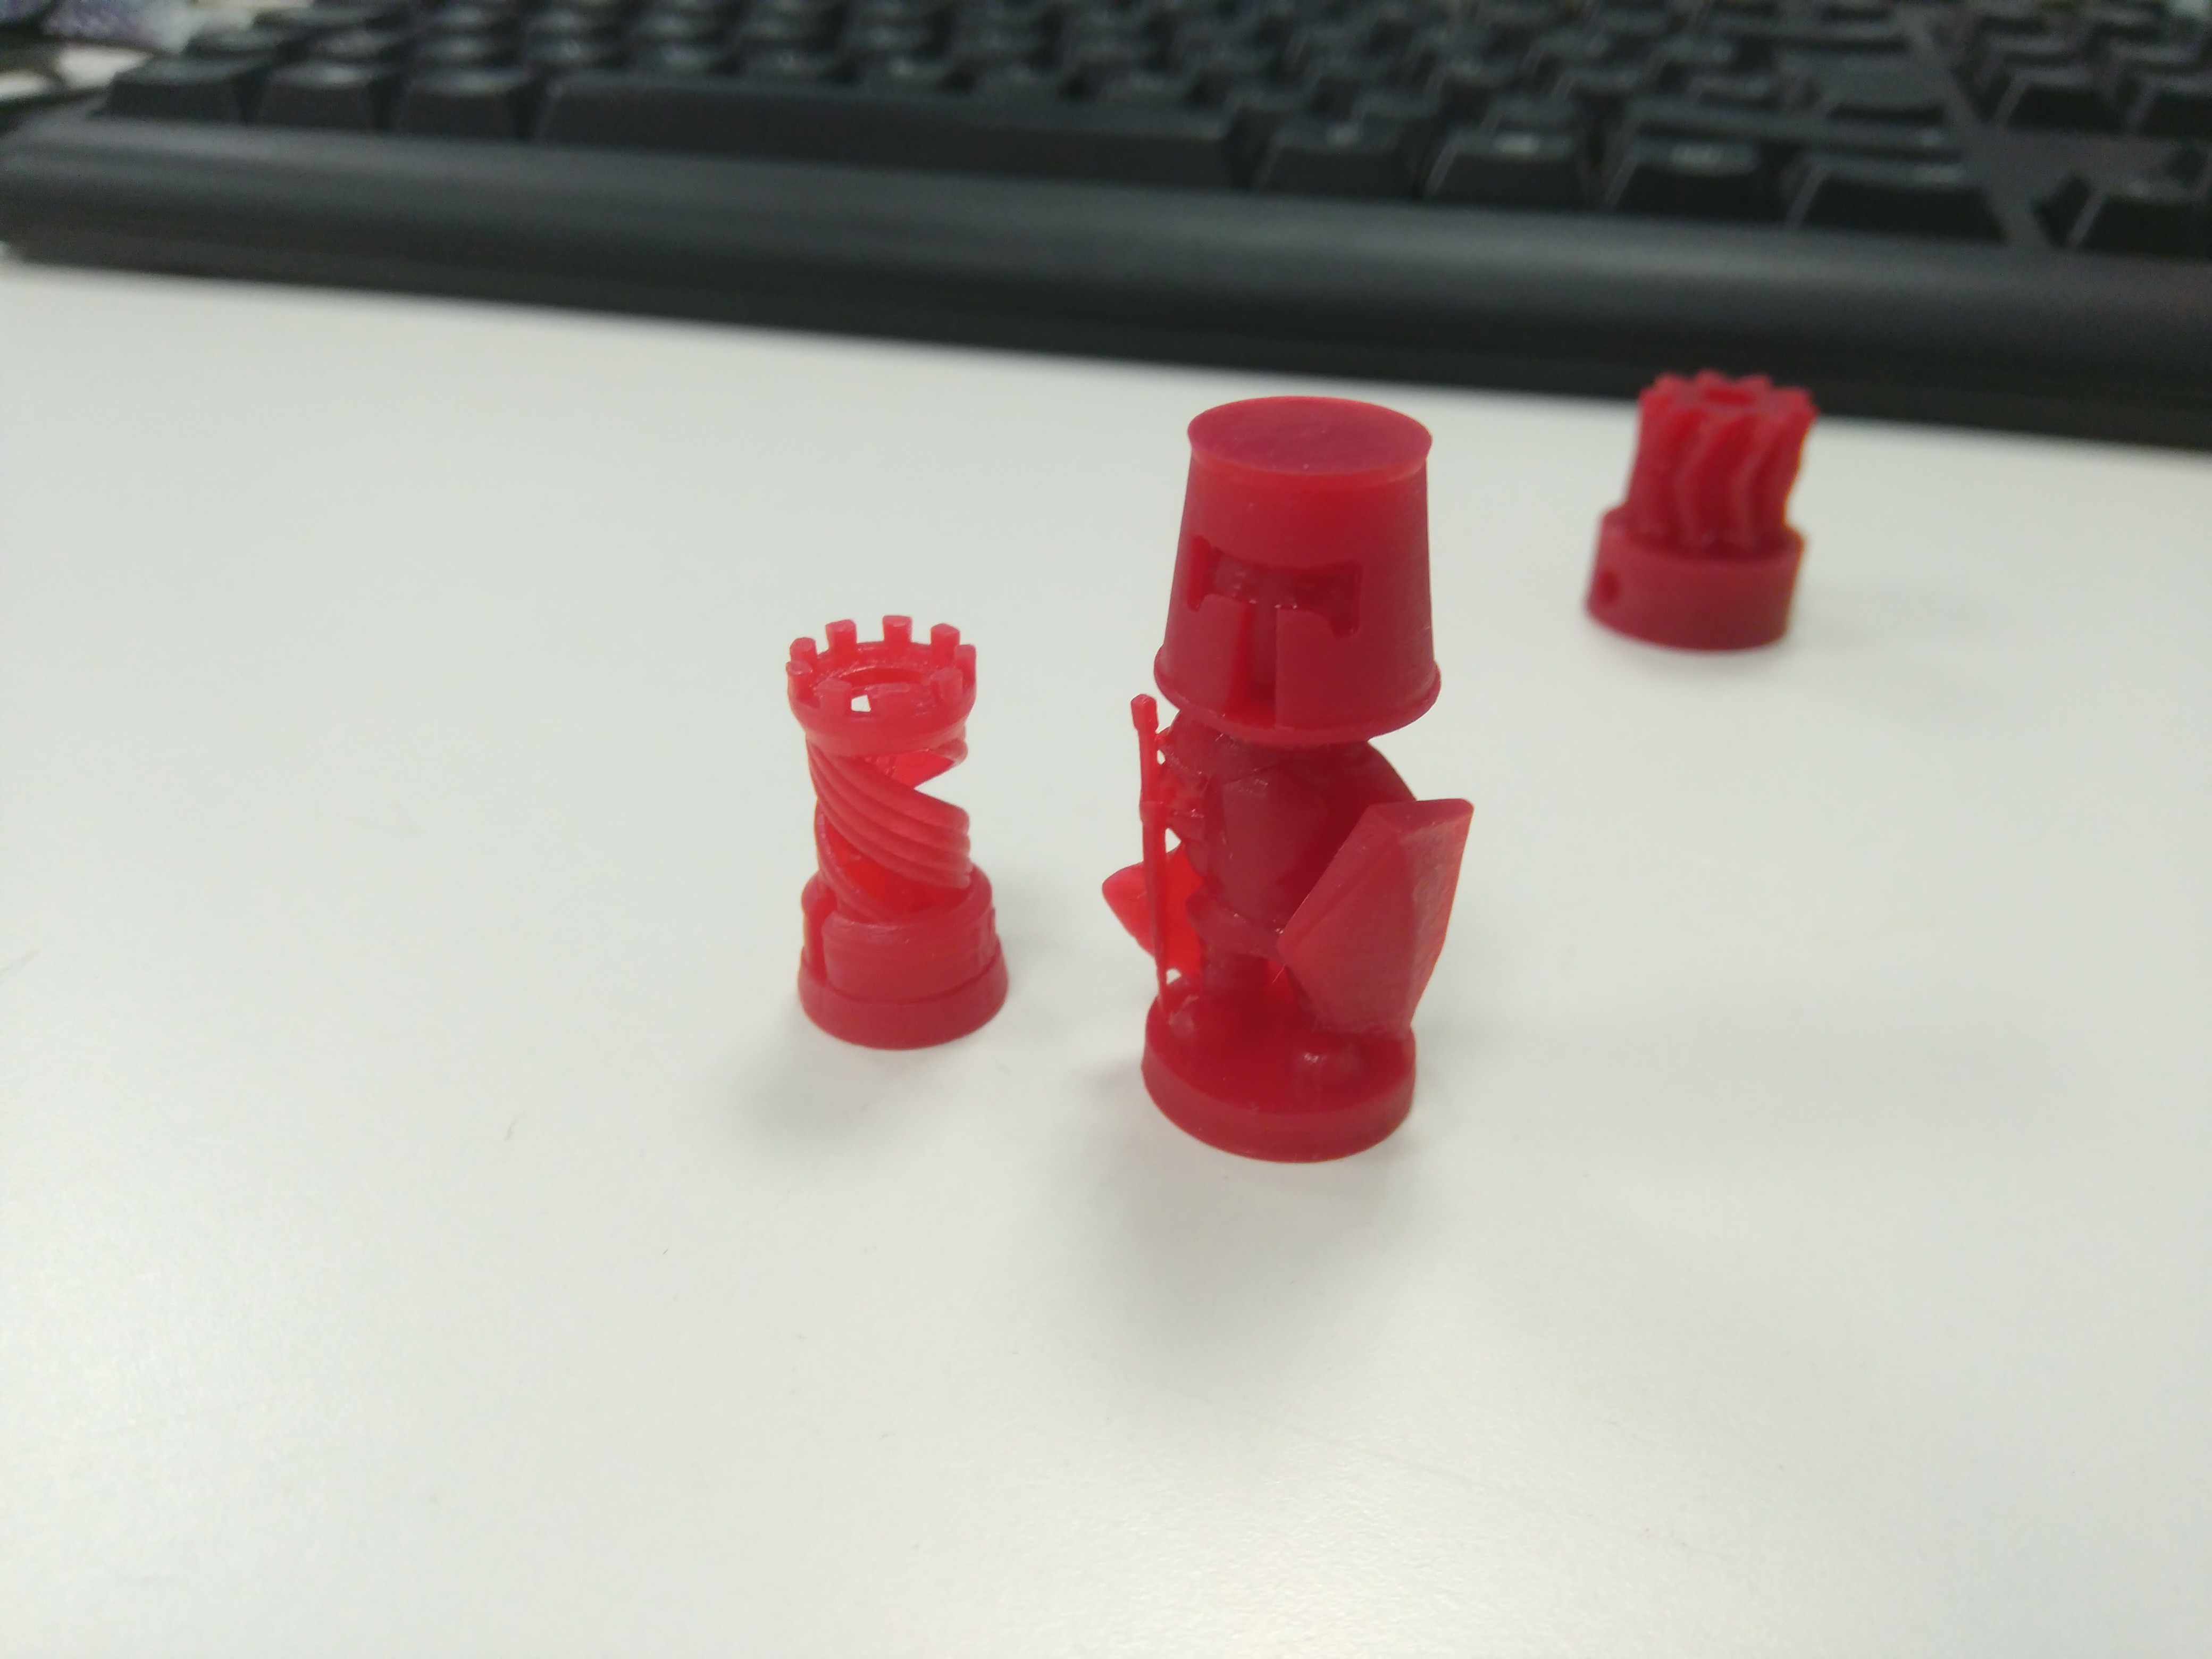
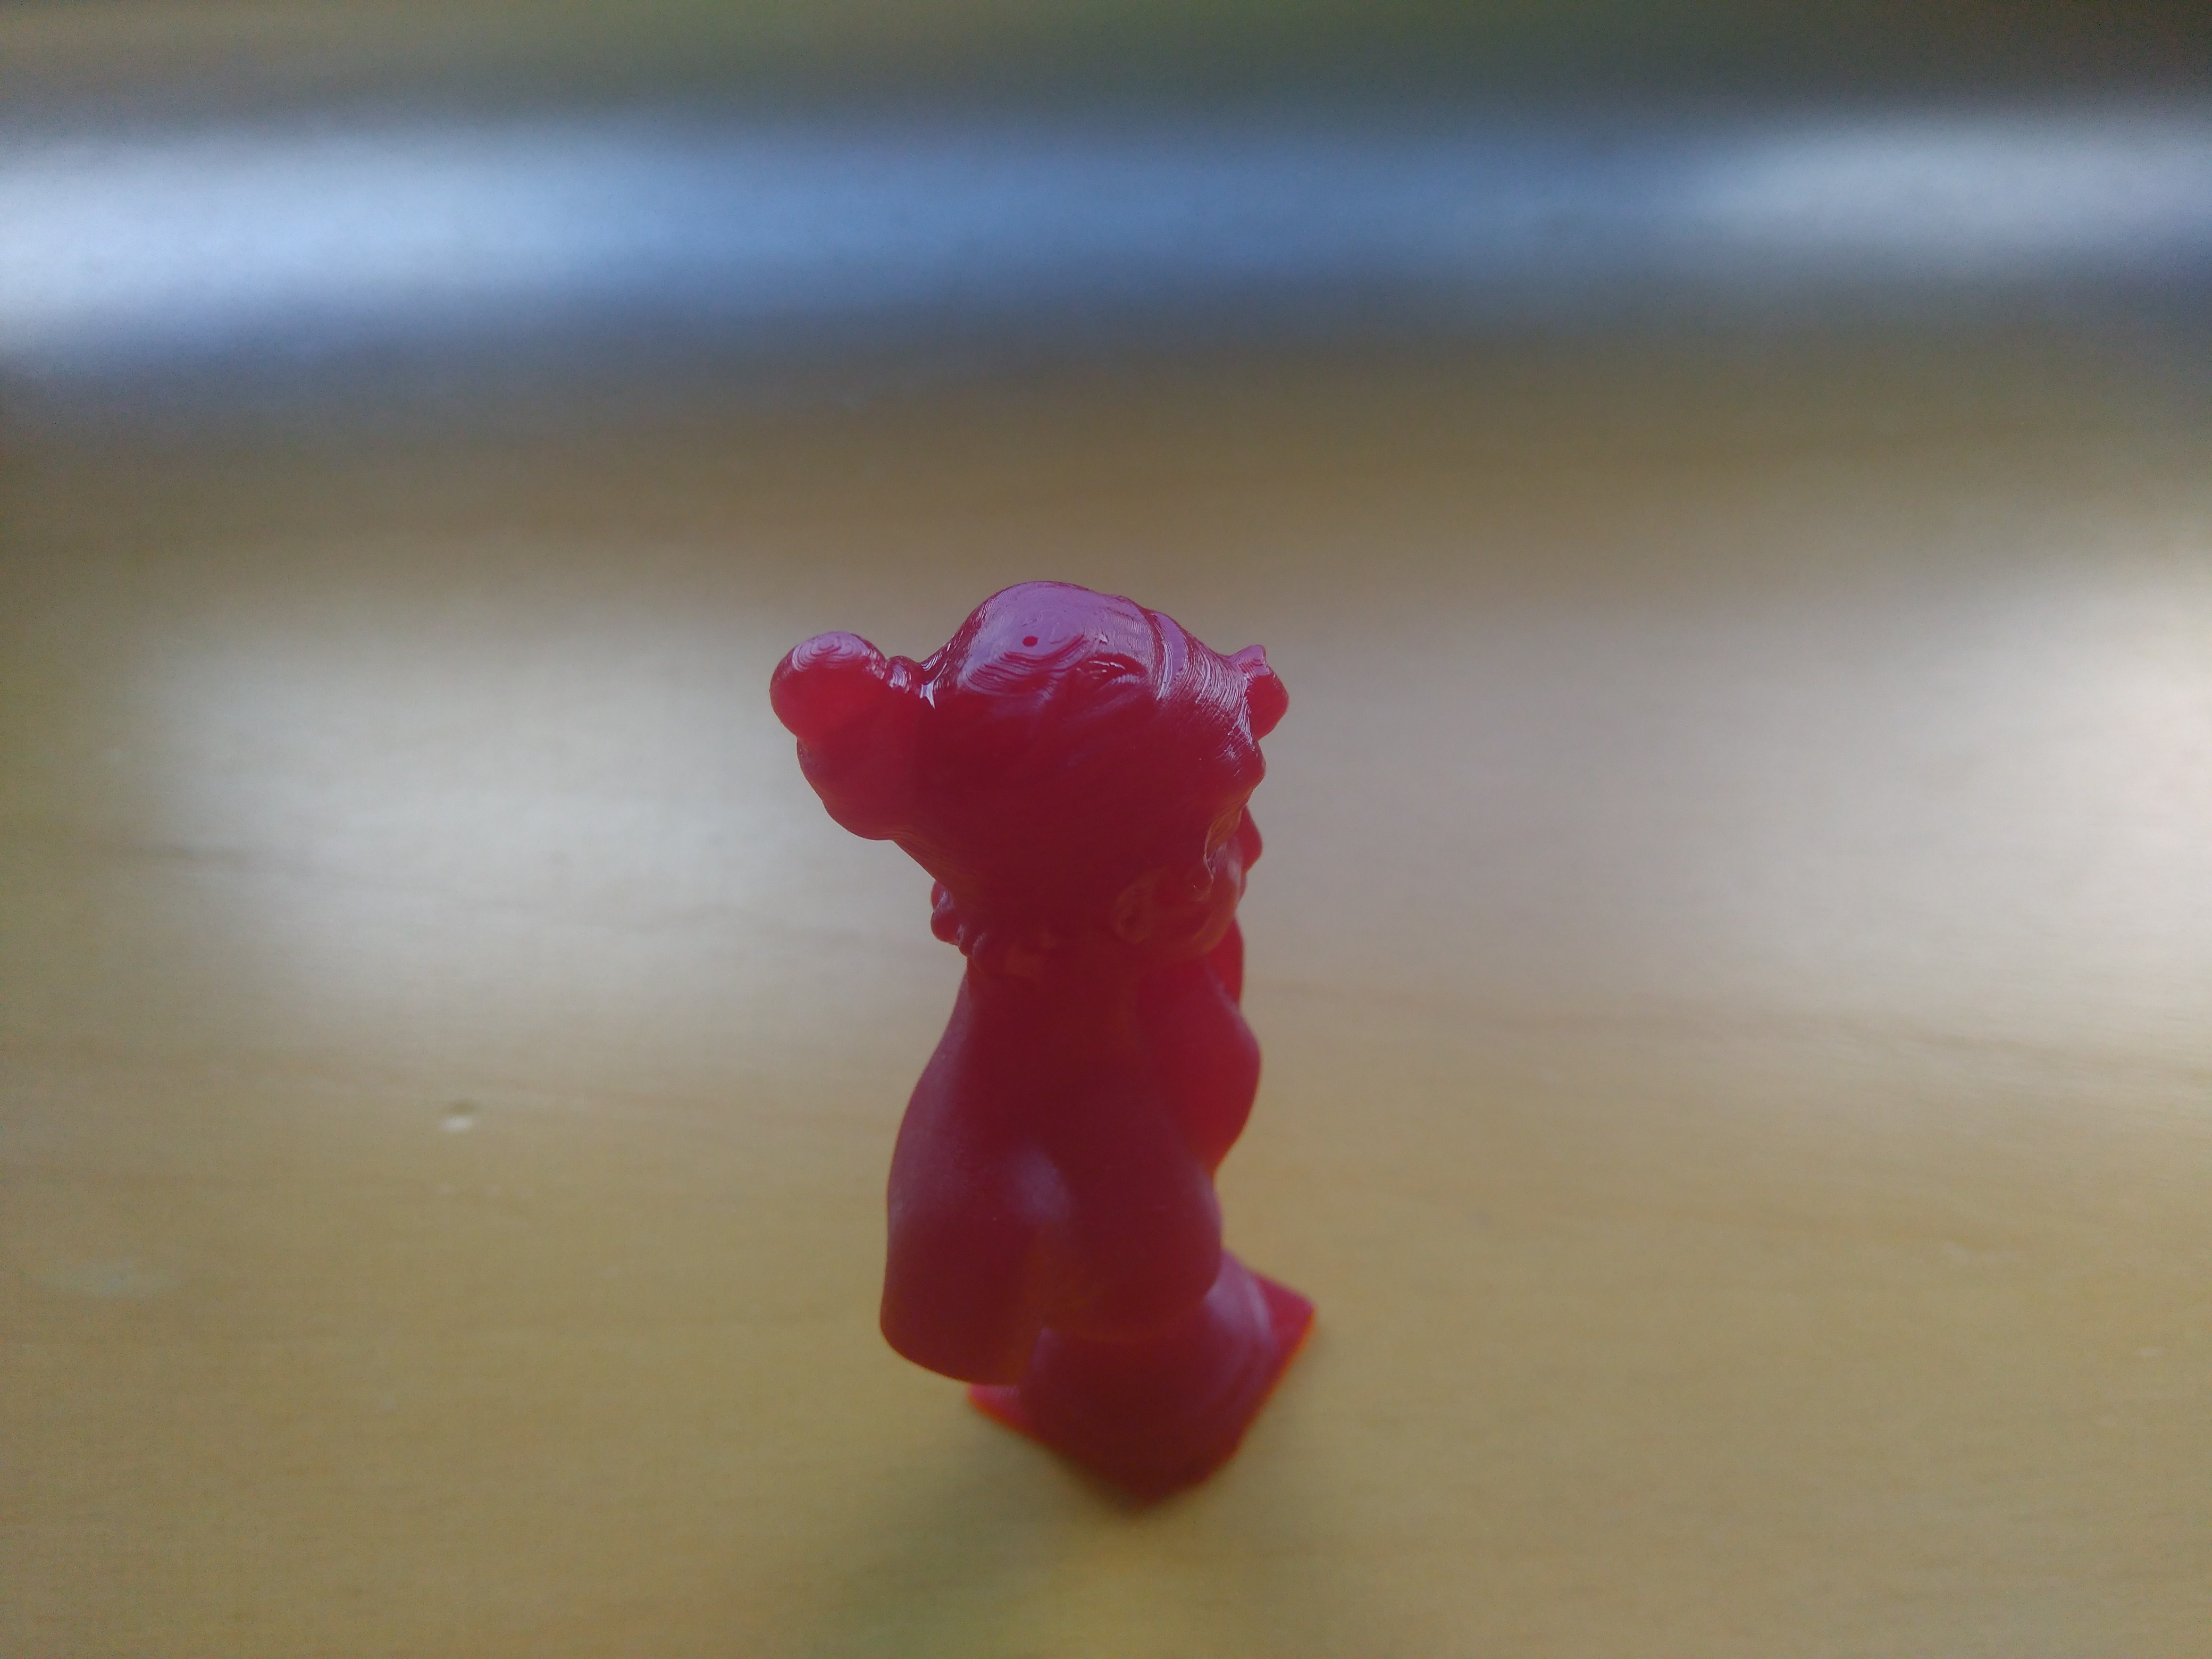
Prints Showcase
Discuss, or place an issue and fork me on GitHub: https://github.com/elgambitero/Sunrise
Licensed with Creative Commons 4.0 Attribution, Share-Alike (CC-BY-SA)


 Alan Chambers
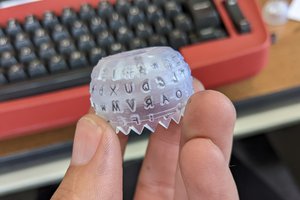
 Sam Ettinger
 Krinkleneck
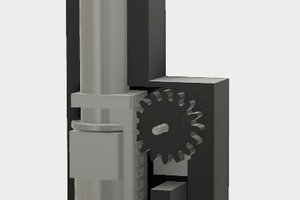
 Giovanni Leal
Thank you!!! Actually,the projector is held in place by a basket-like carriage, where only a 40x100mm thing would fit. Potentally, one could design a carriage for an specific projector, and as long as you can focus the light on the resin it should work.