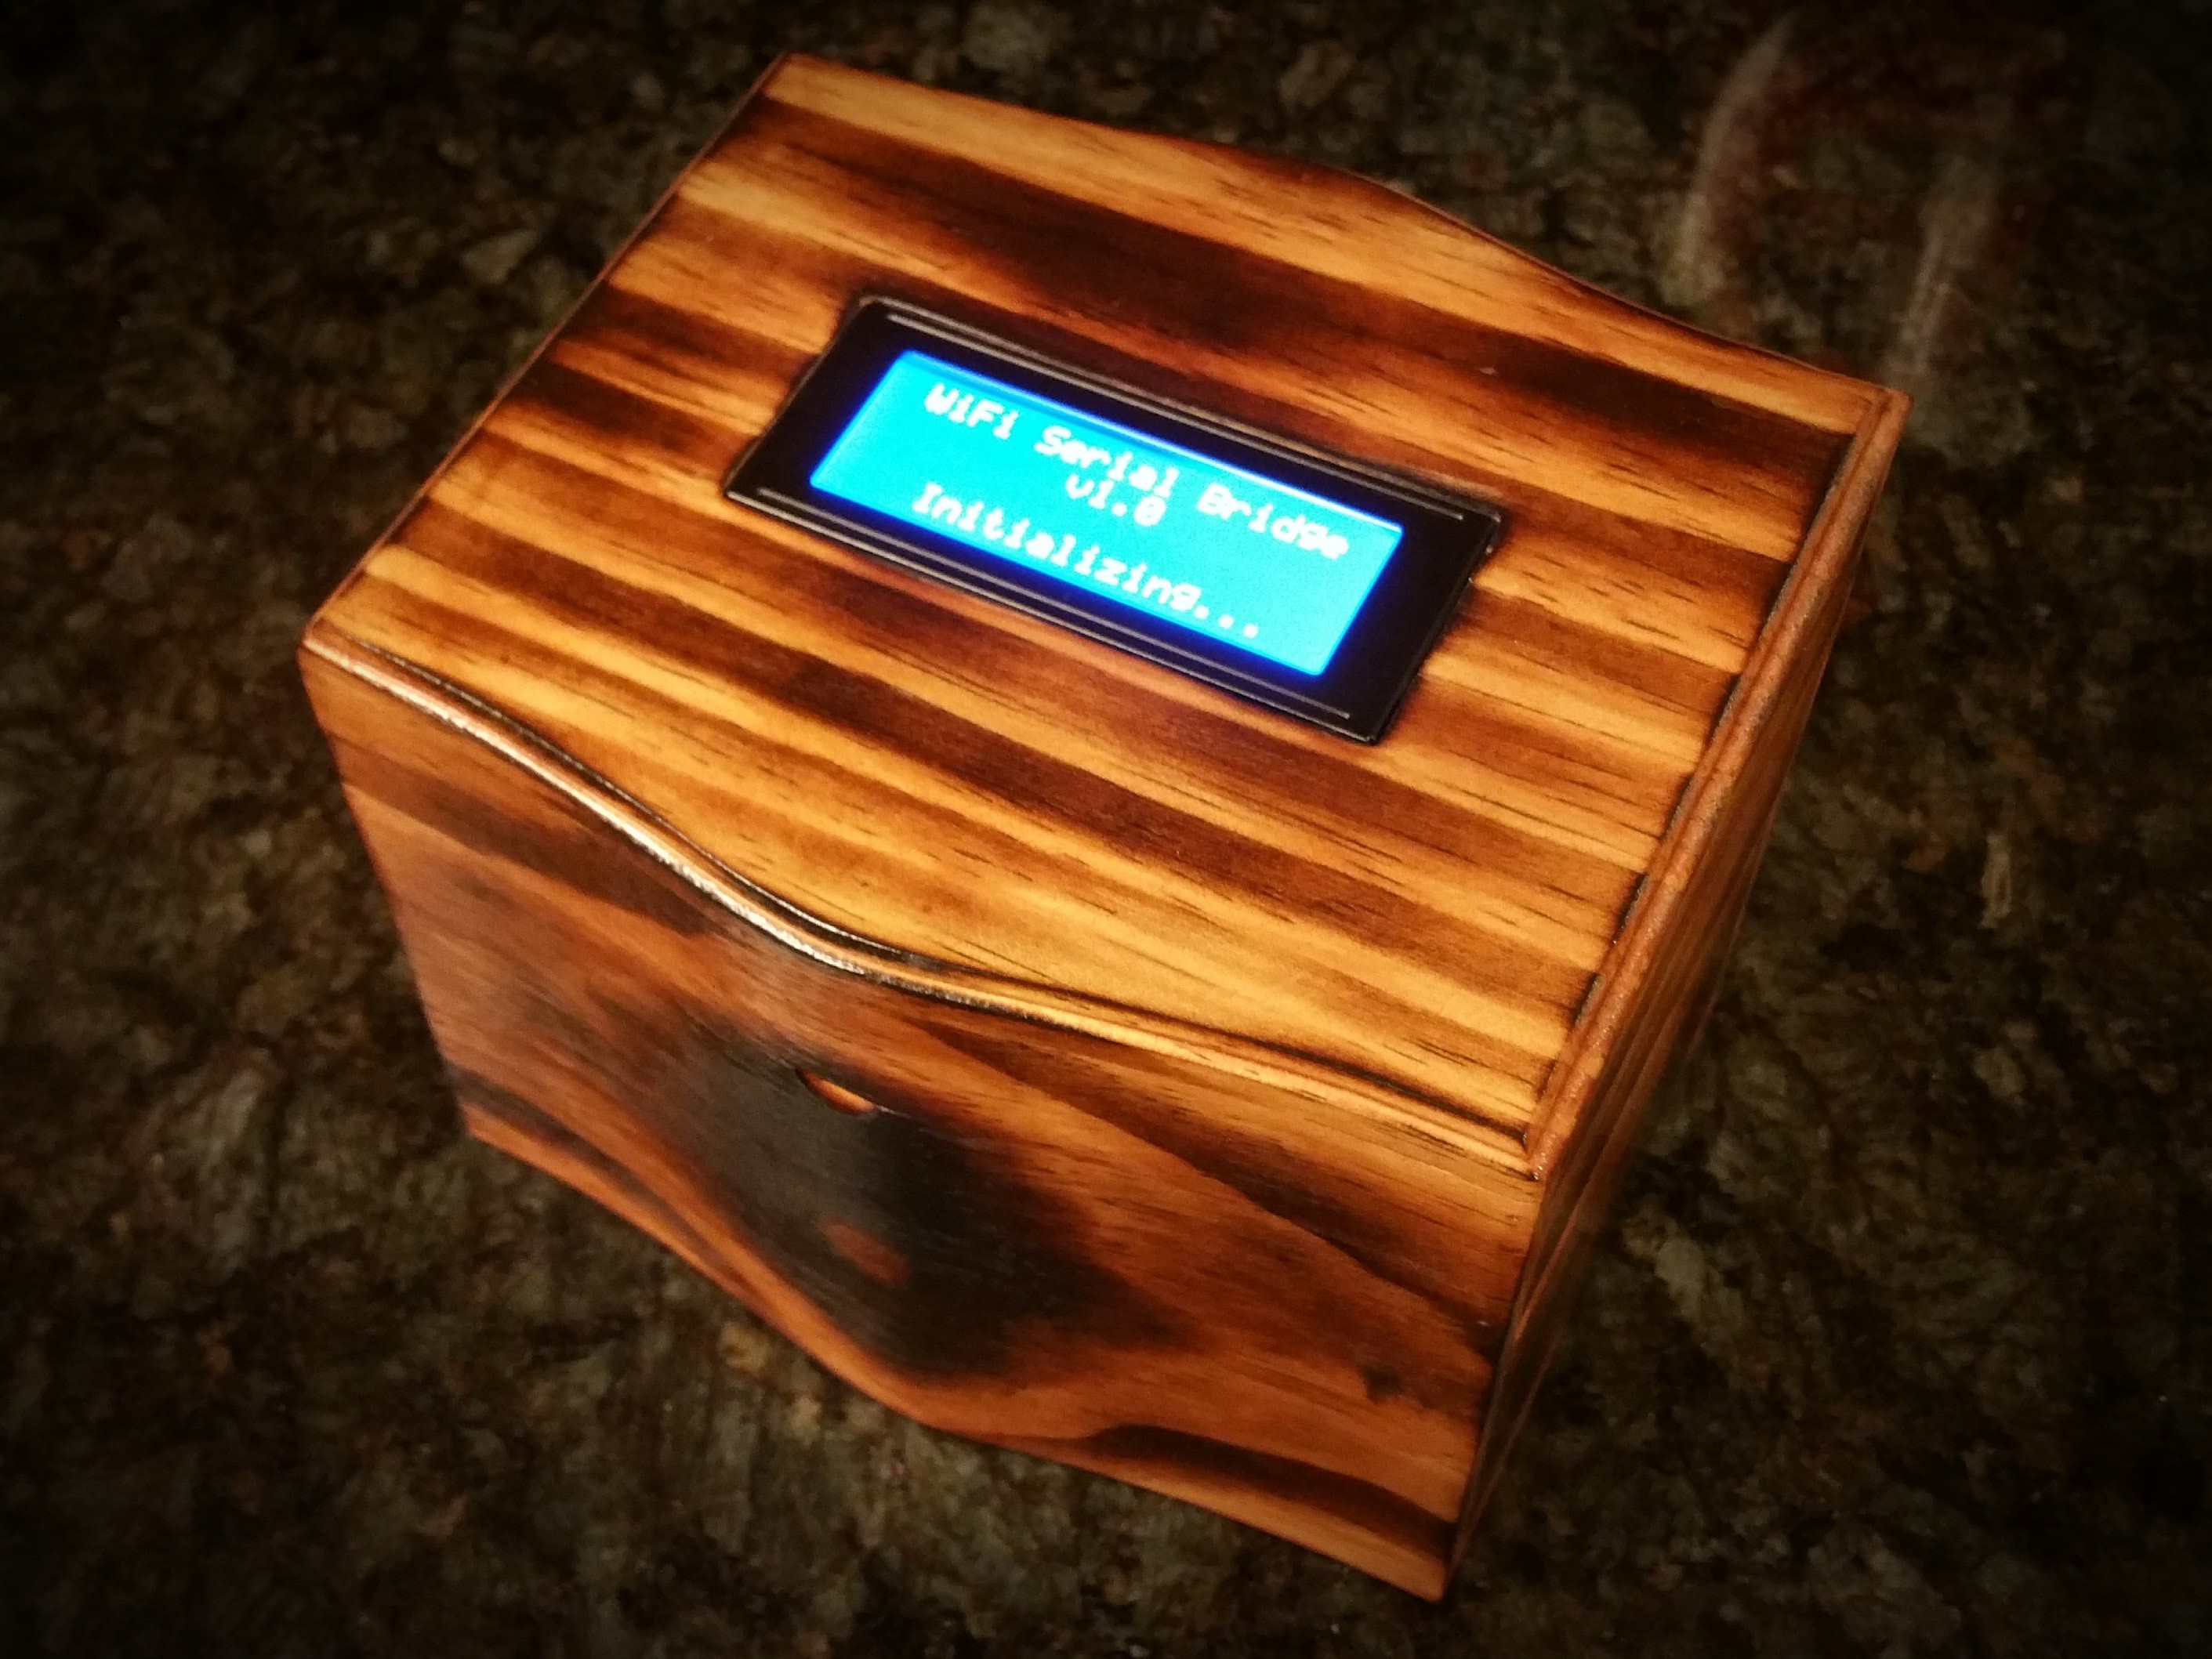
The project enclosure is mostly minimalistic, showing only an LCD panel. On the backside is a power switch and SMA RF connector. This connector is usually connected to my yagi, but for testing around the house this little antenna suffices.
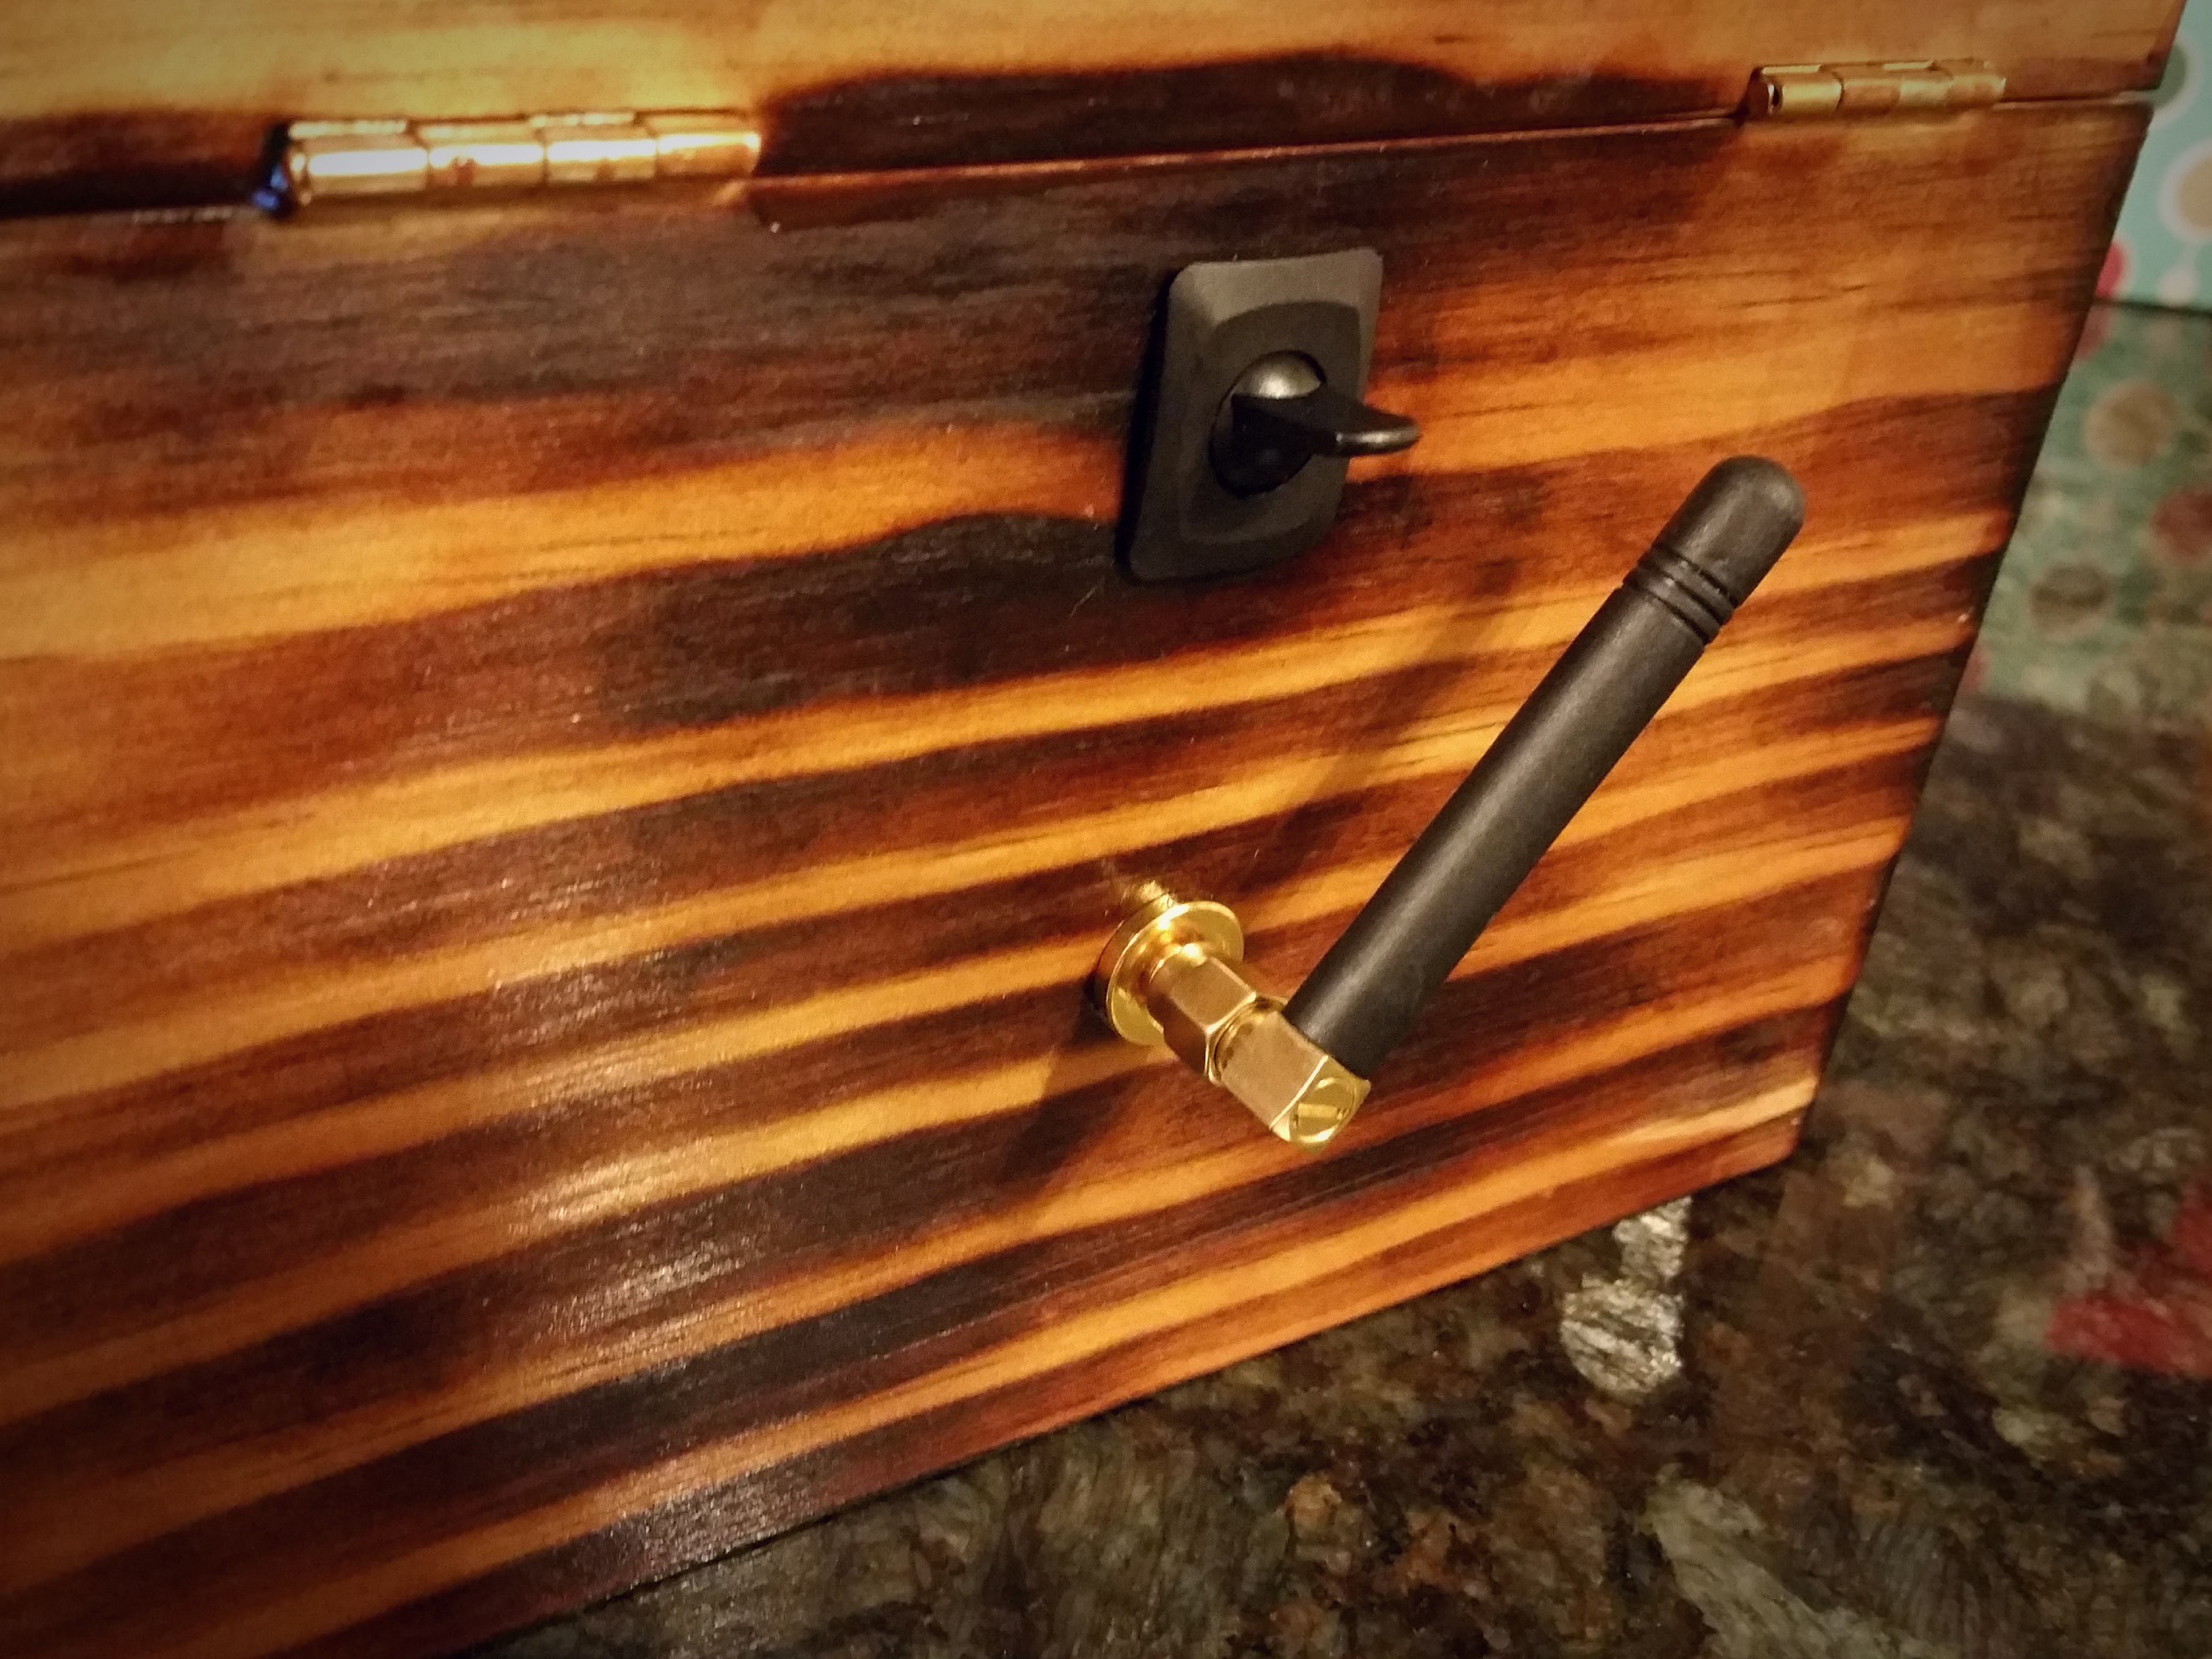
The enclosure is a pine box that was blow torched and then strained with a Minwax Pecan stain, which turned out aesthetically pleasing. I wish the blow torching was a bit more even, but I liked the end result.
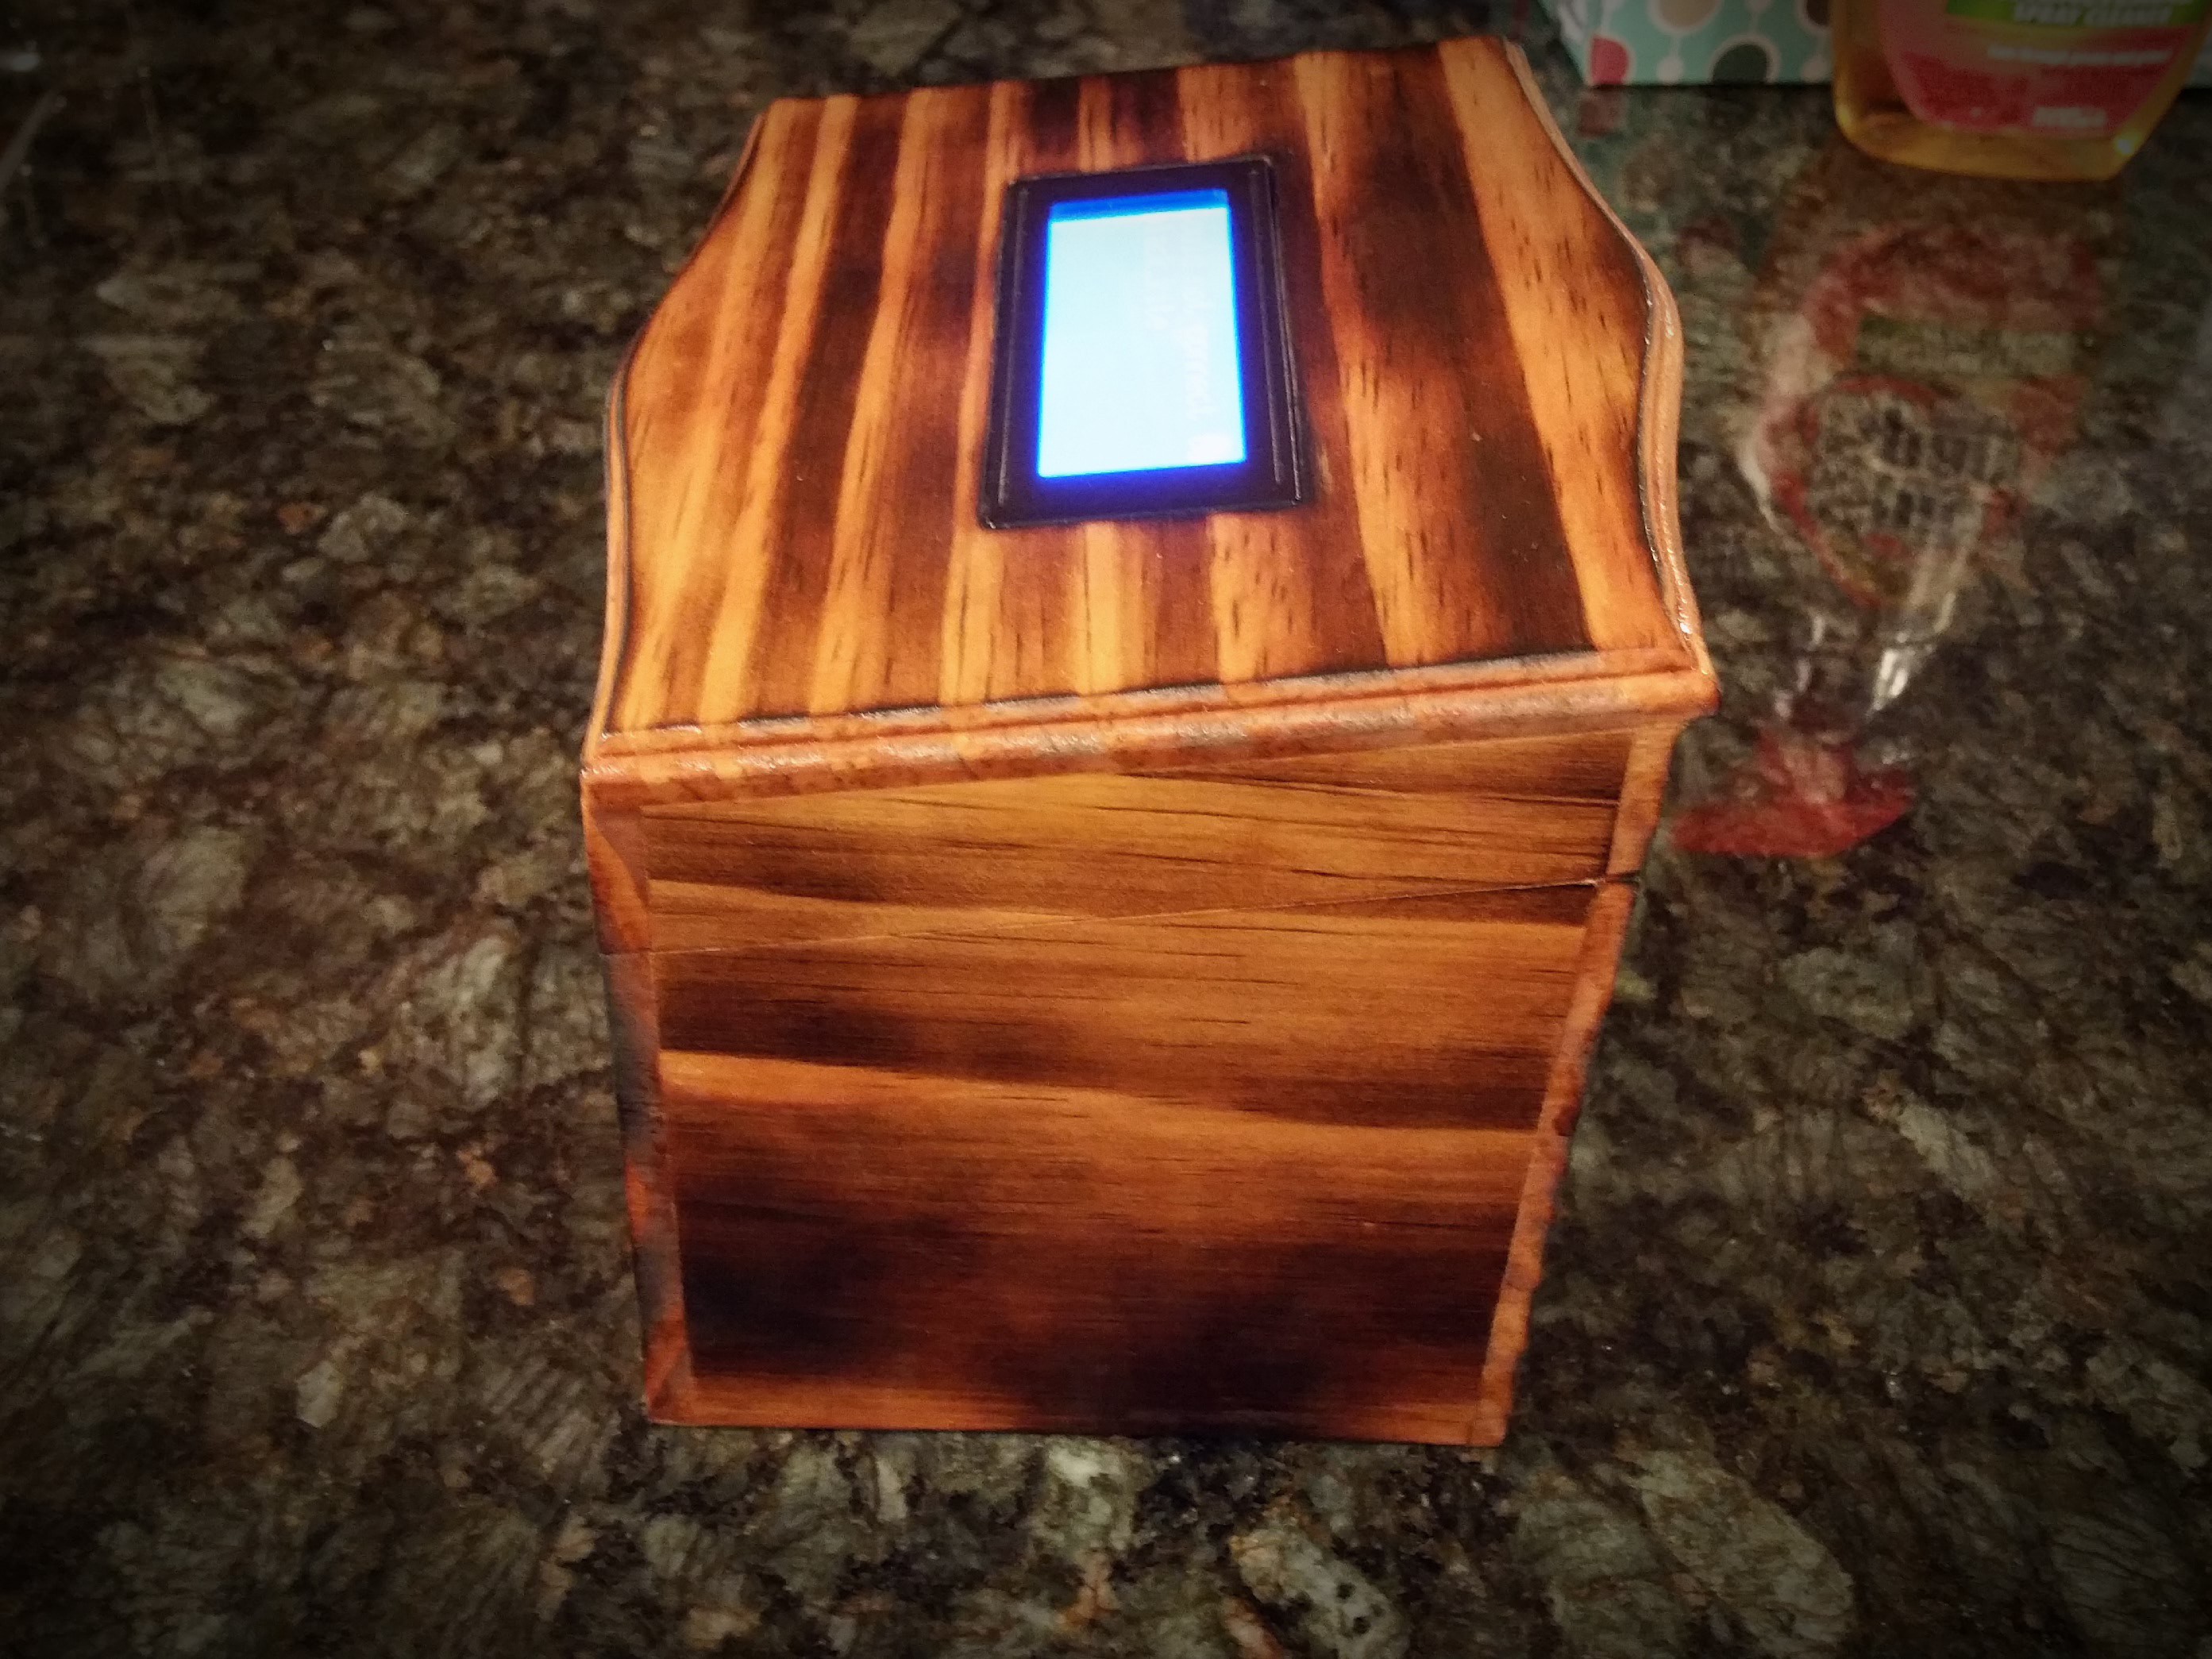
The box lid has an angle to it to help with the viewing angle of the LCD.
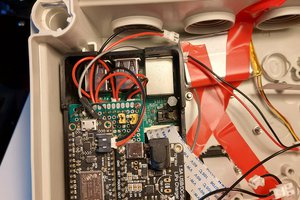
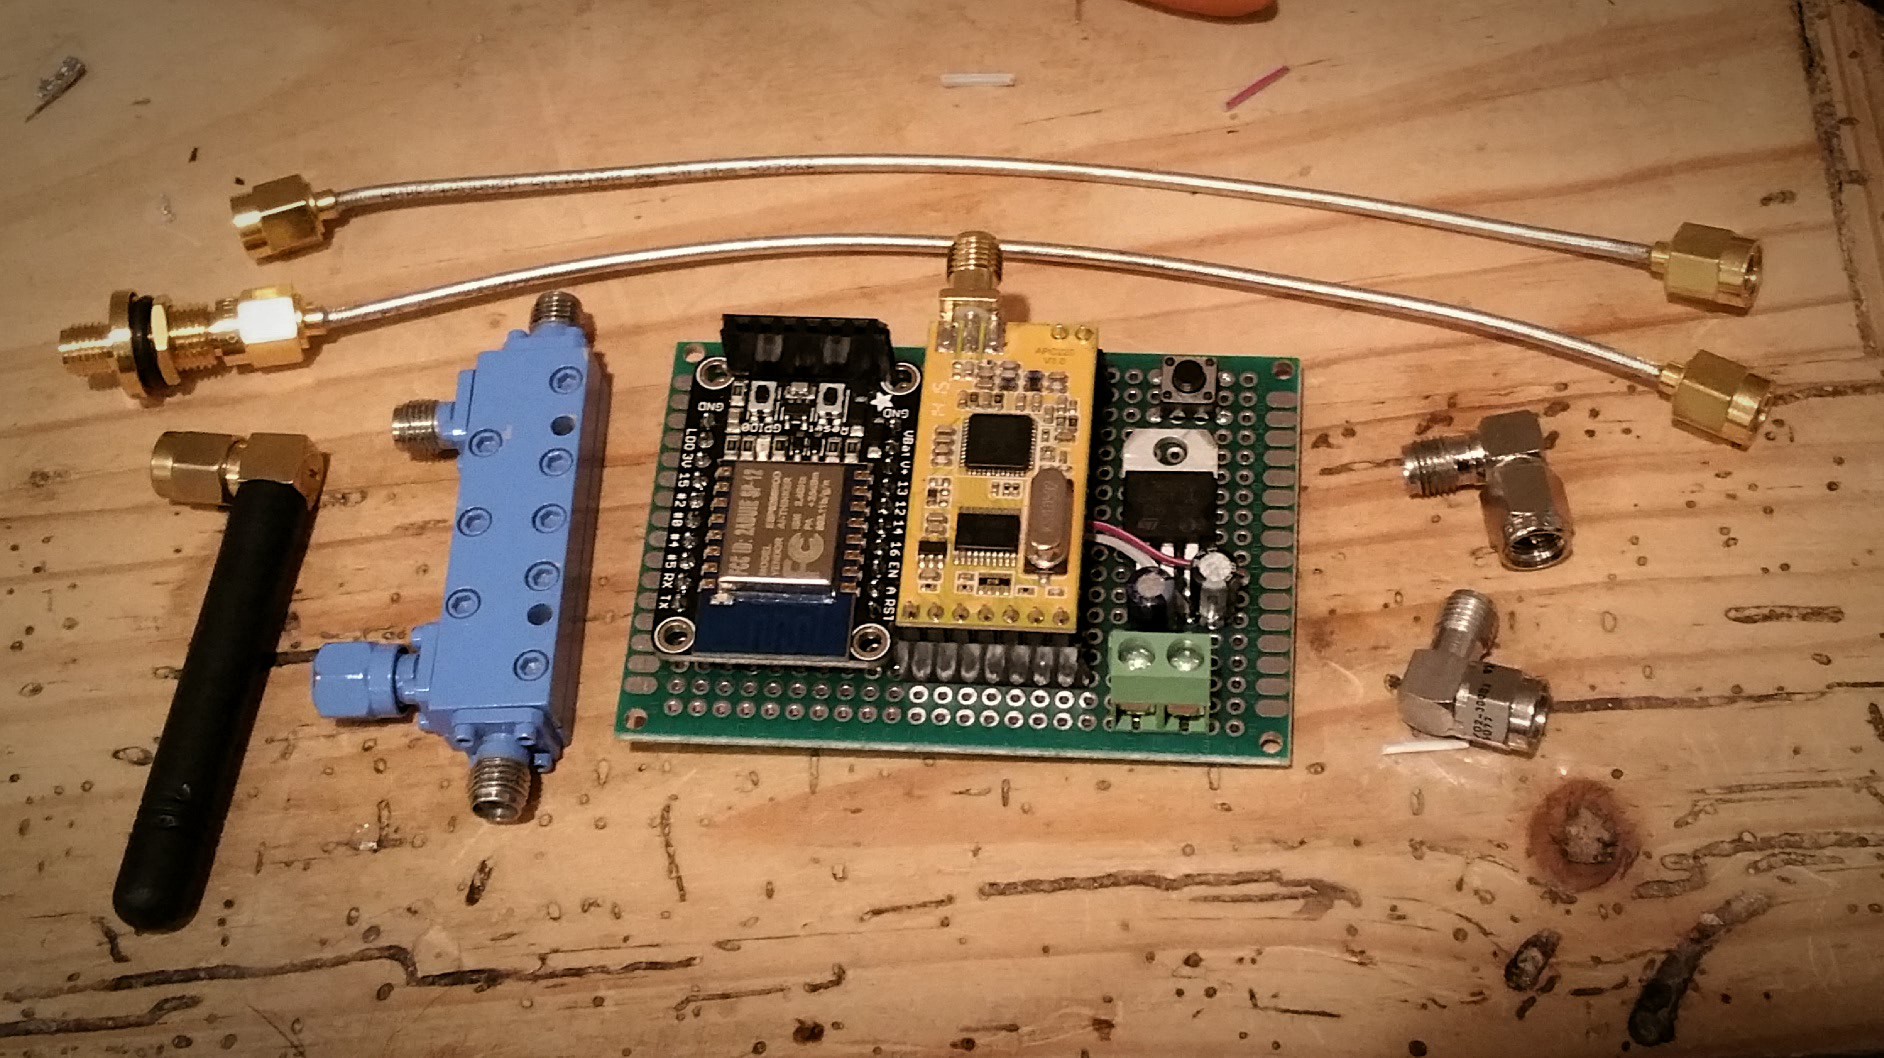 On the inside of the enclosure is the above board (pictured before installation for ease of viewing).
The 70cm serial stream is handled by an APC220 transceiver, and an ESP8266 Huzzah microcontroller controls the WiFi and LCD panel (via I2C).
Power is regulated via an LM7805 and some filtering capacitors. Power can be connected via a 9V connector or a pair of alligator clips for varying battery connectors (in this case a battery pack from my RC rock crawler)
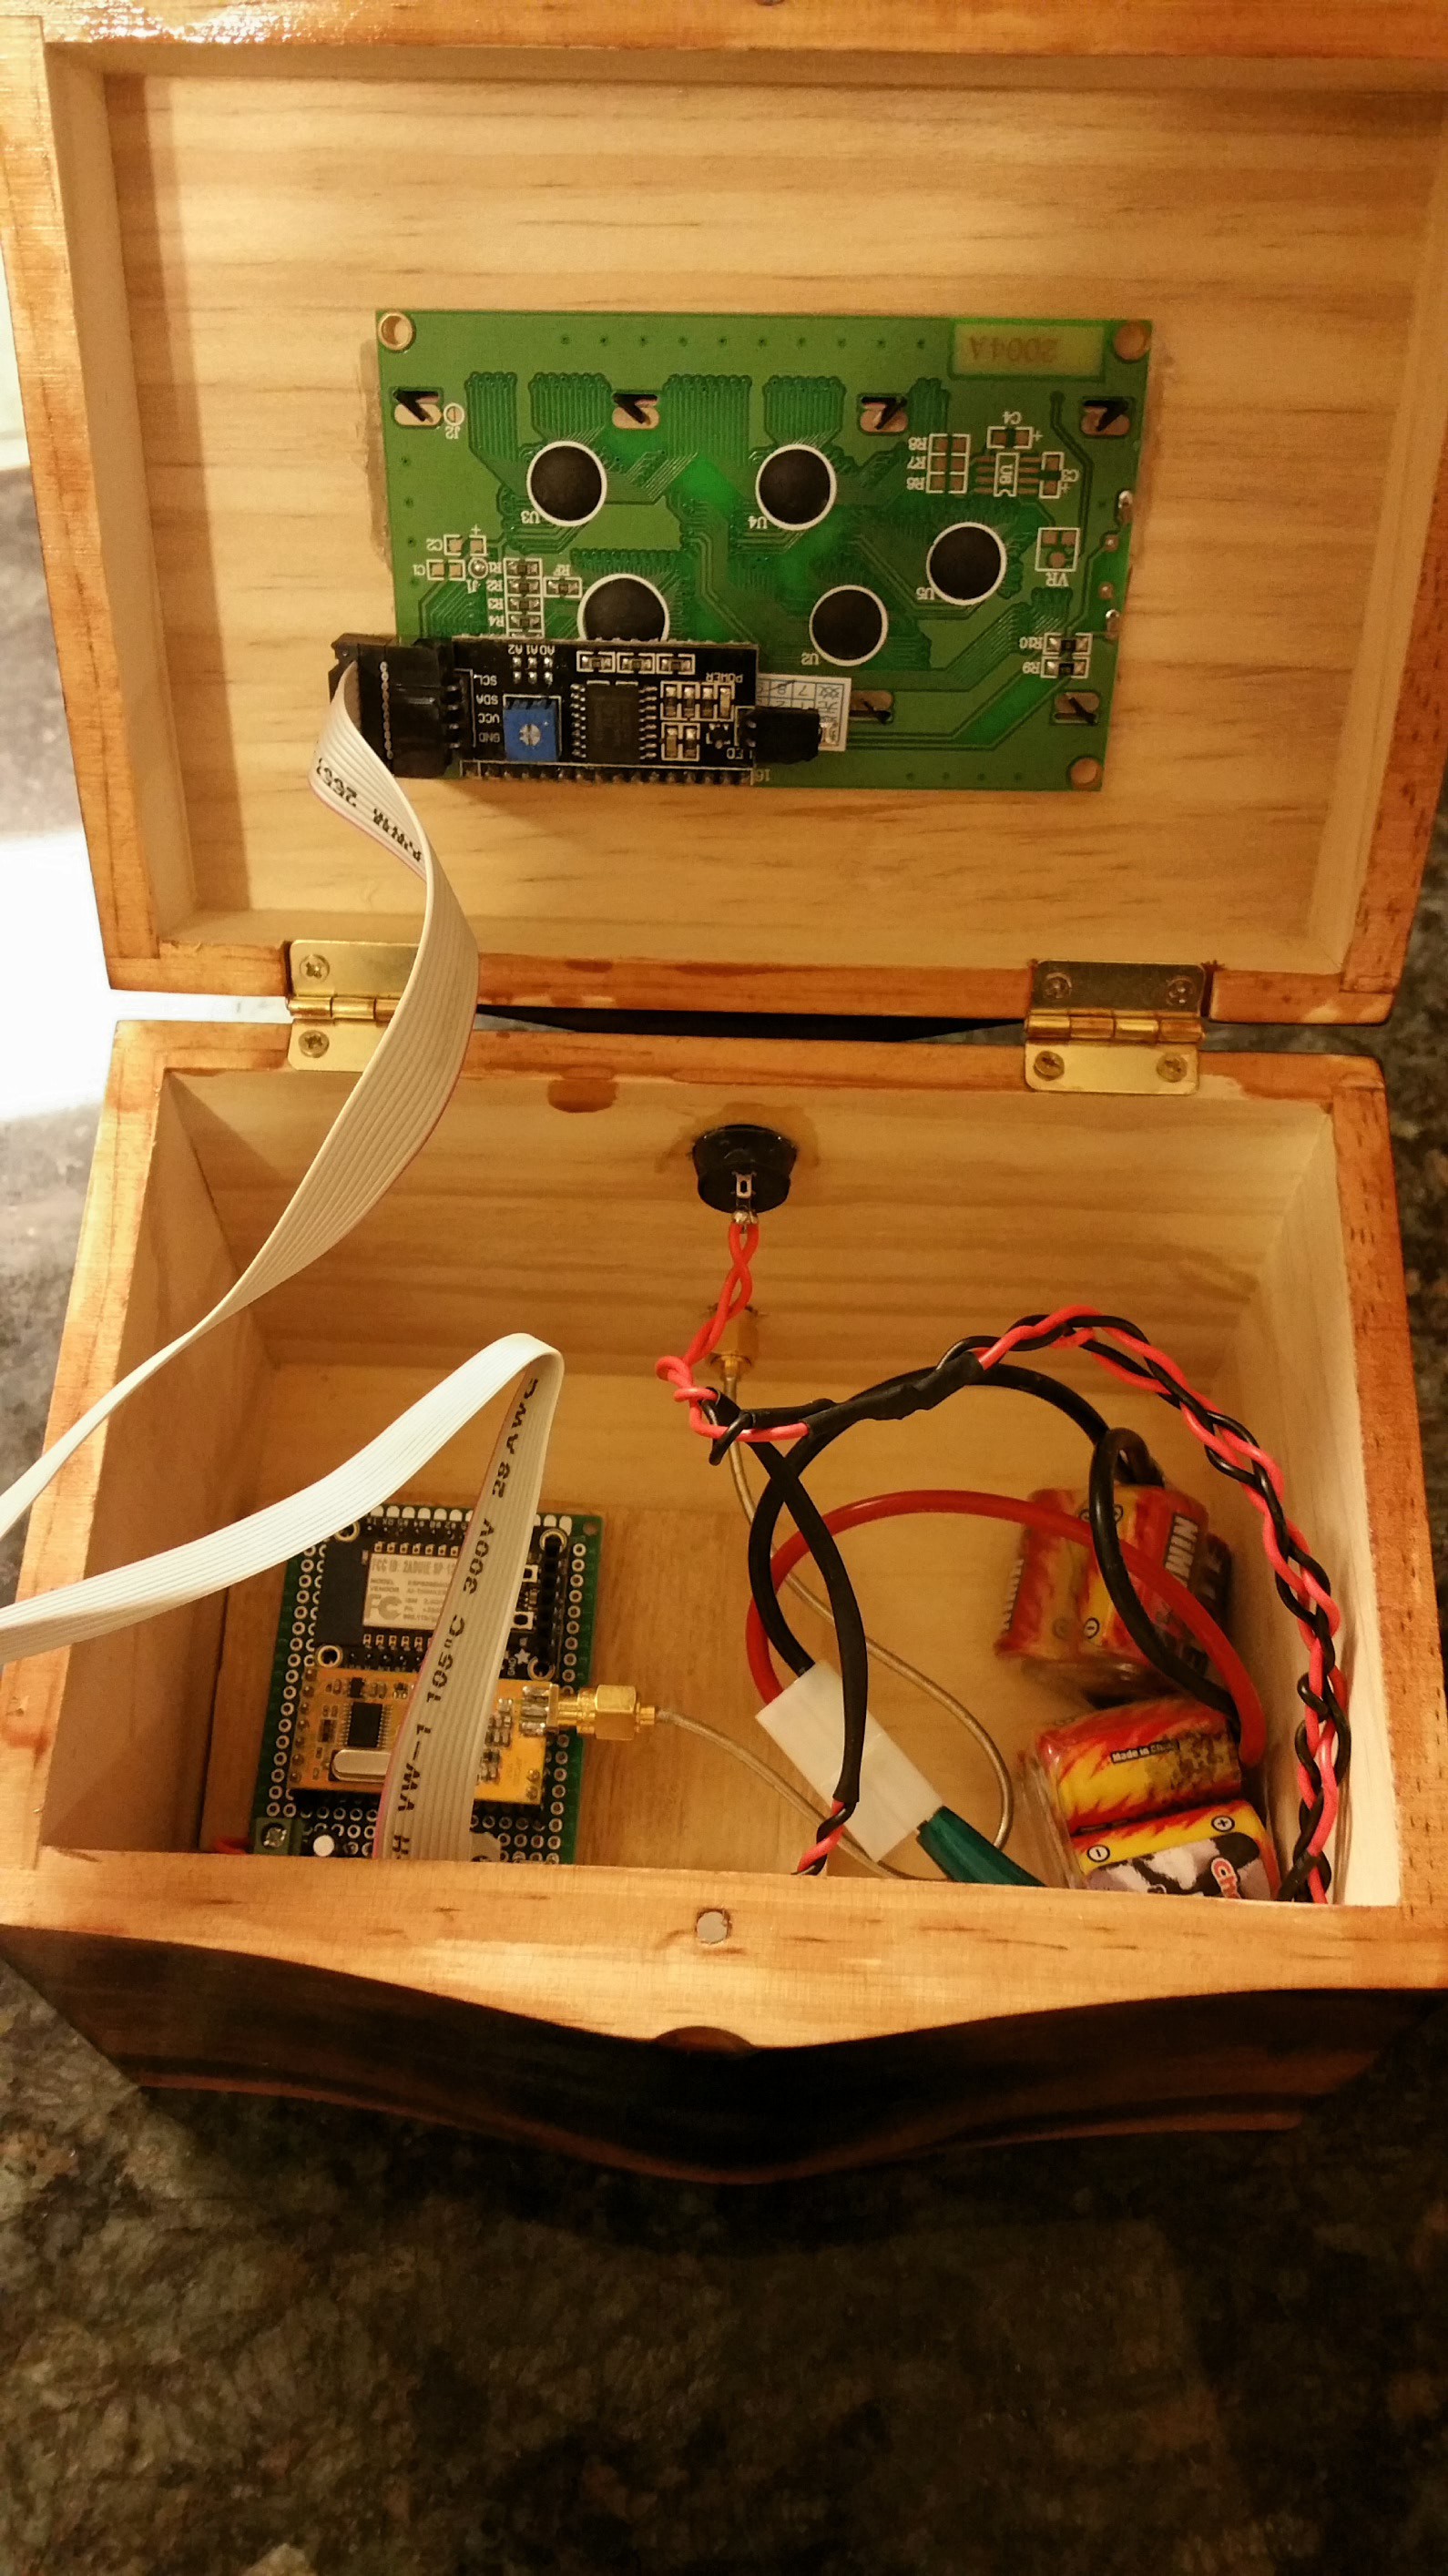
The LCD panel is hot glued to the lid, the electronics board is attached to a small wooden board and then secured via velcro to the box floor. At this time the battery pack is loose, but I'll probably add zipties or another method before long term use.
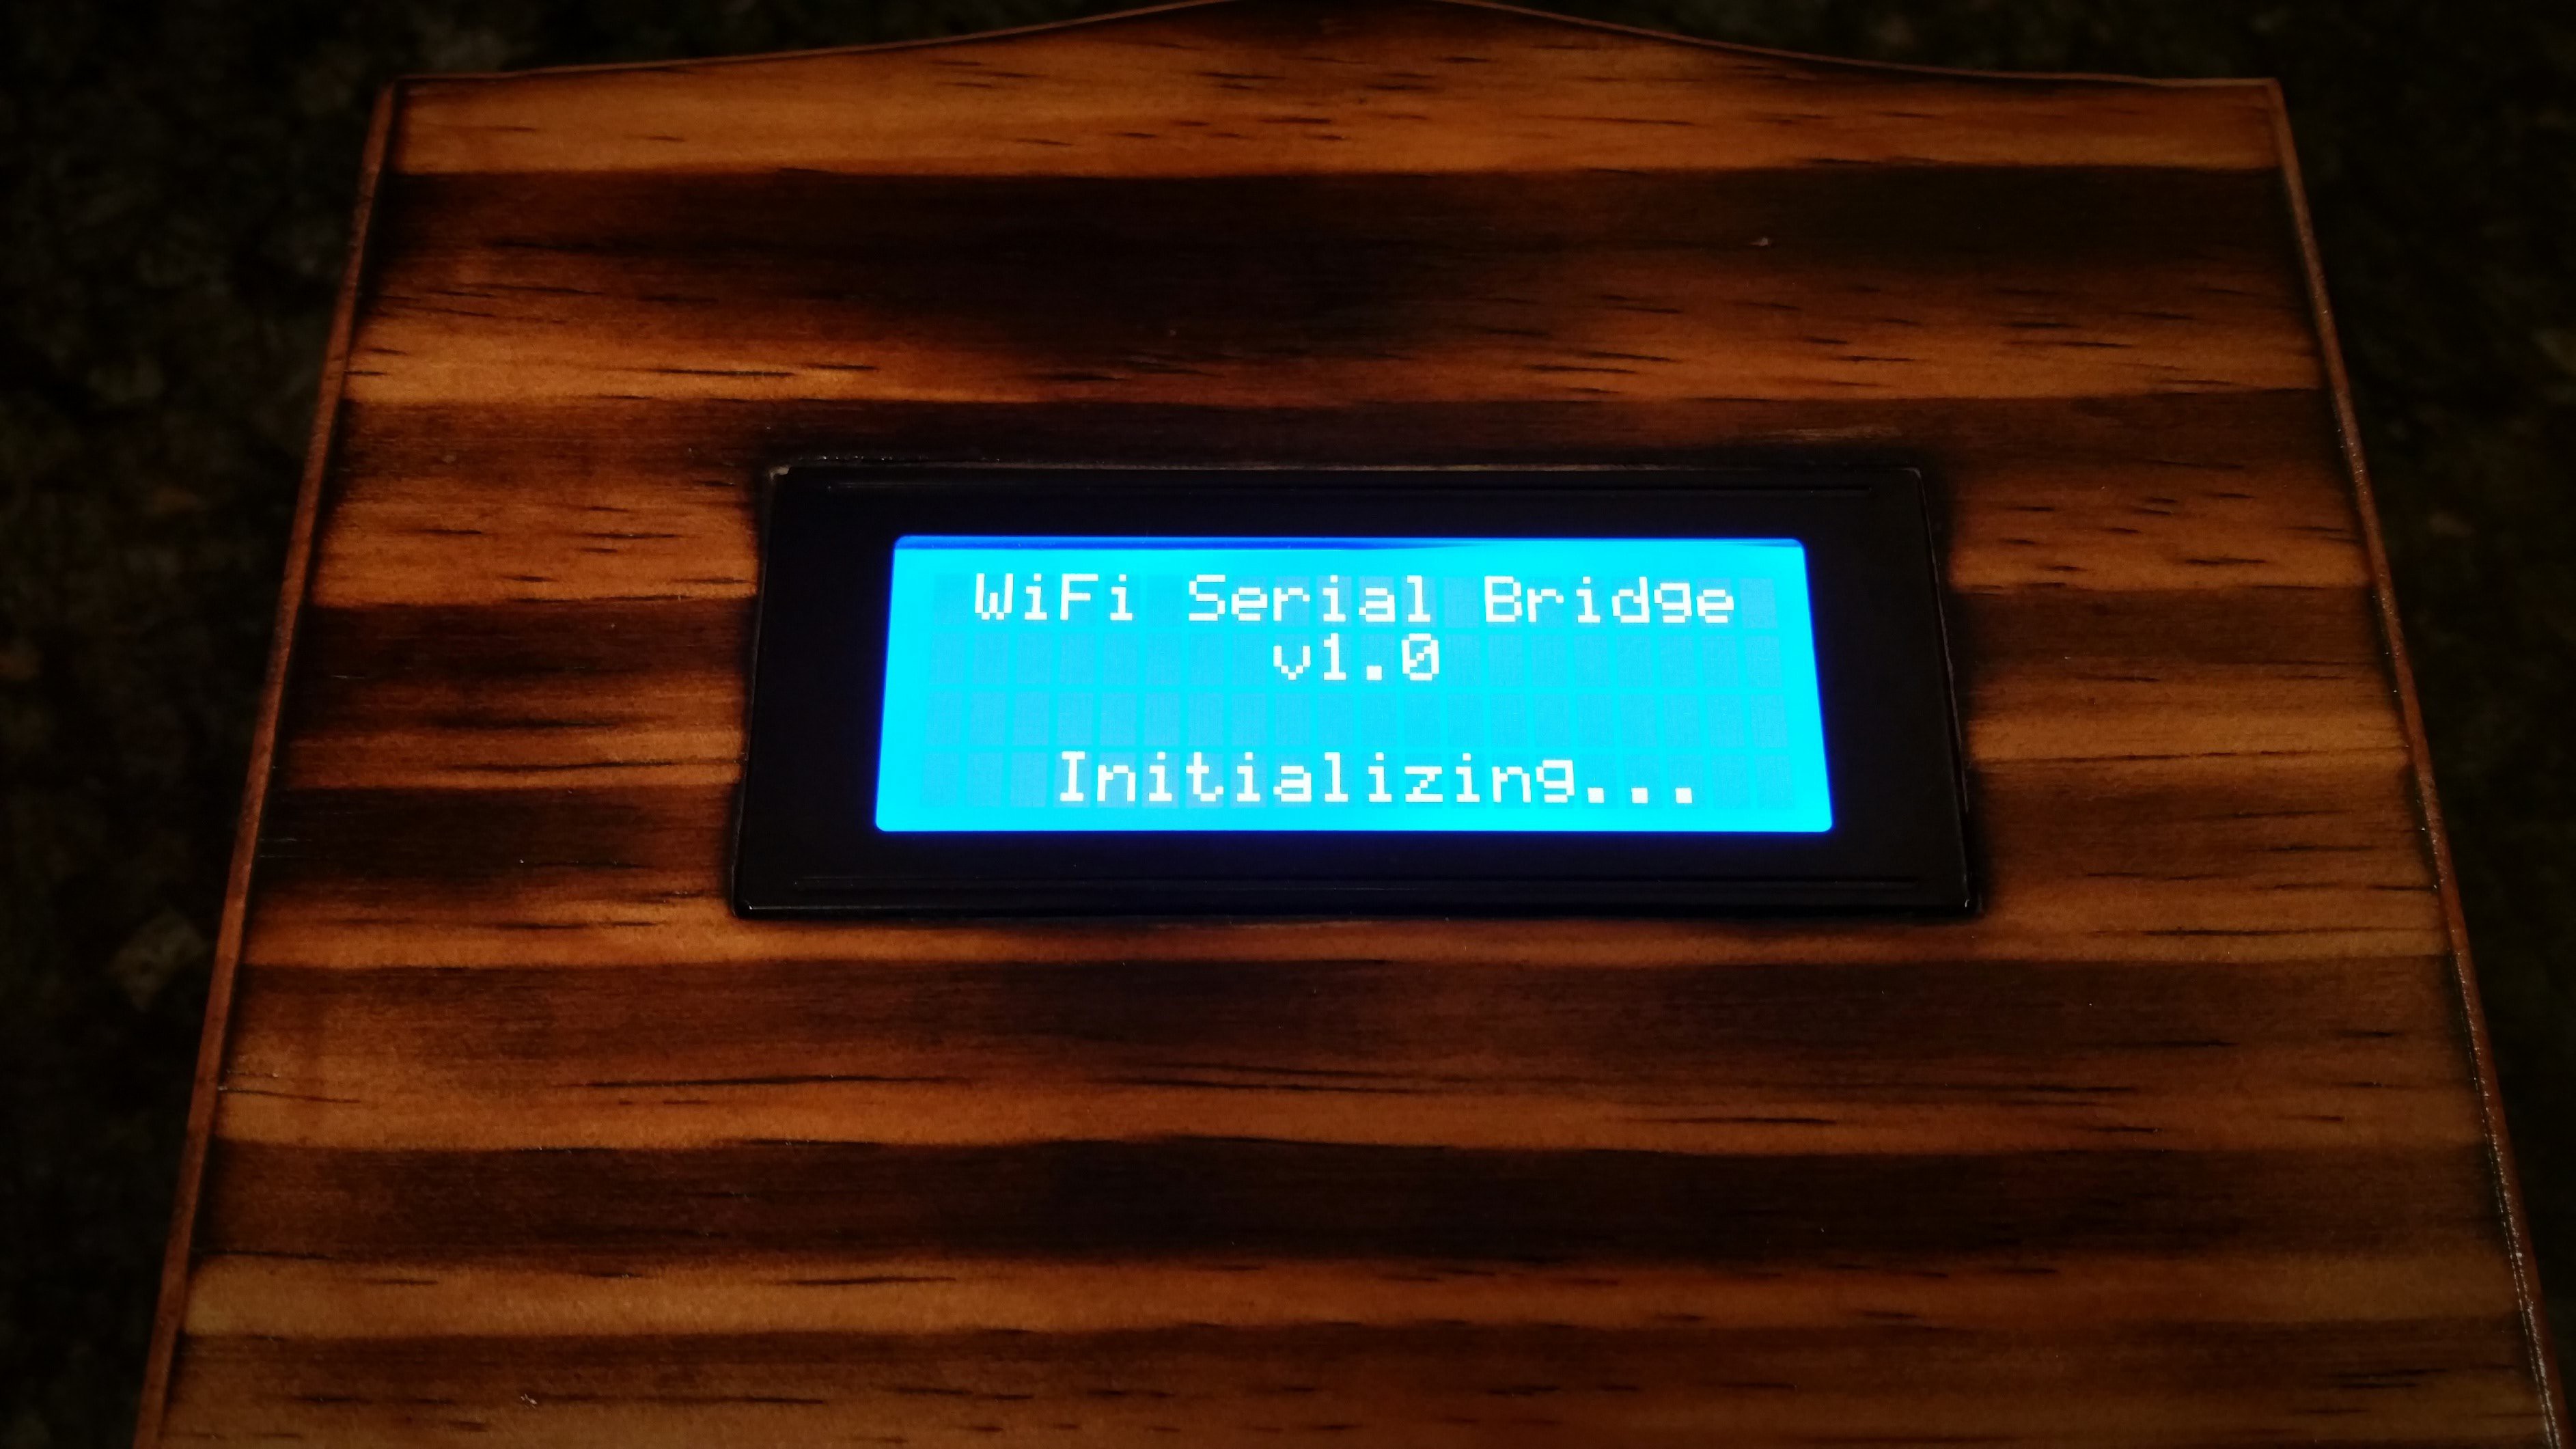
After the box is powered on, the ESP8266 takes over, sending an initializing message. It will tell you if it connects to the default WiFi AP, and then prompt you to confirm configuration before going into a transparent UART/serial bridge.
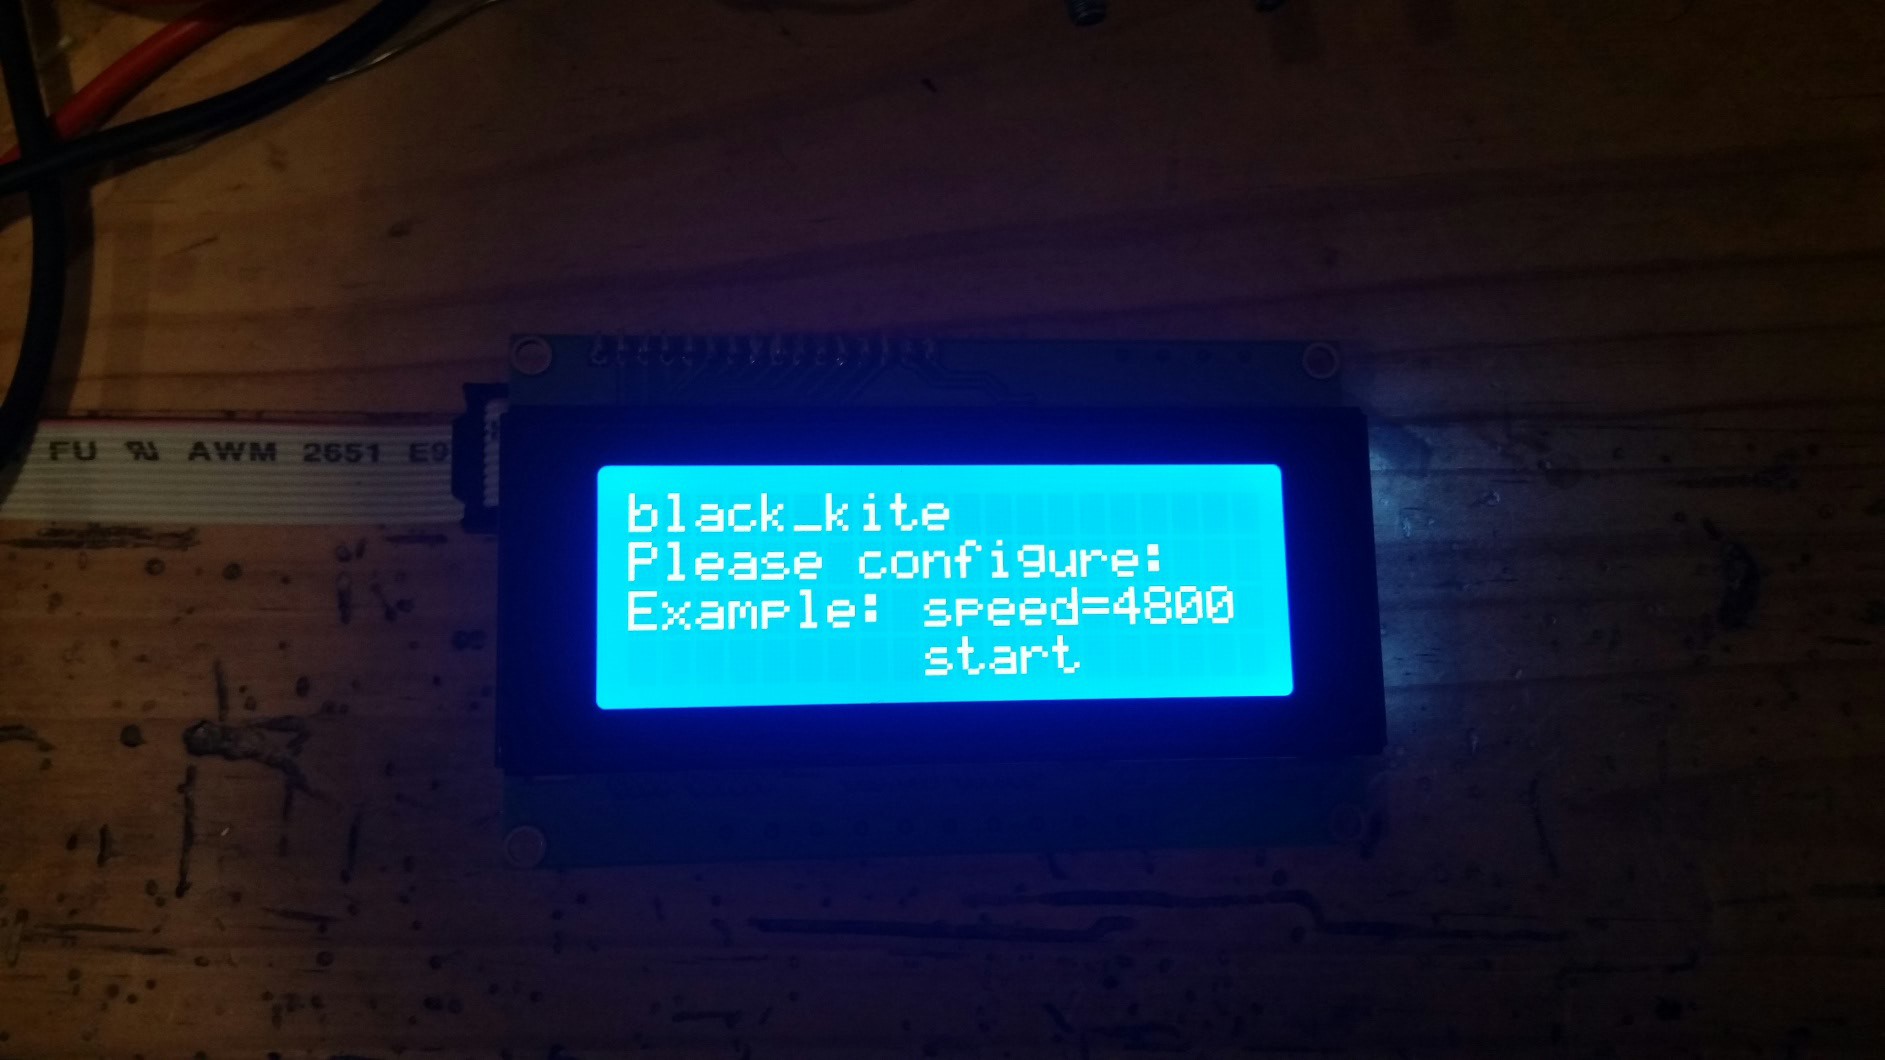
At this point you can connect to the ESP8266 over WiFi by accessing it through a telnet connection. To accept the default (last configured) UART speed simply type 'start' otherwise define another settings, ex. 'speed=4800'.
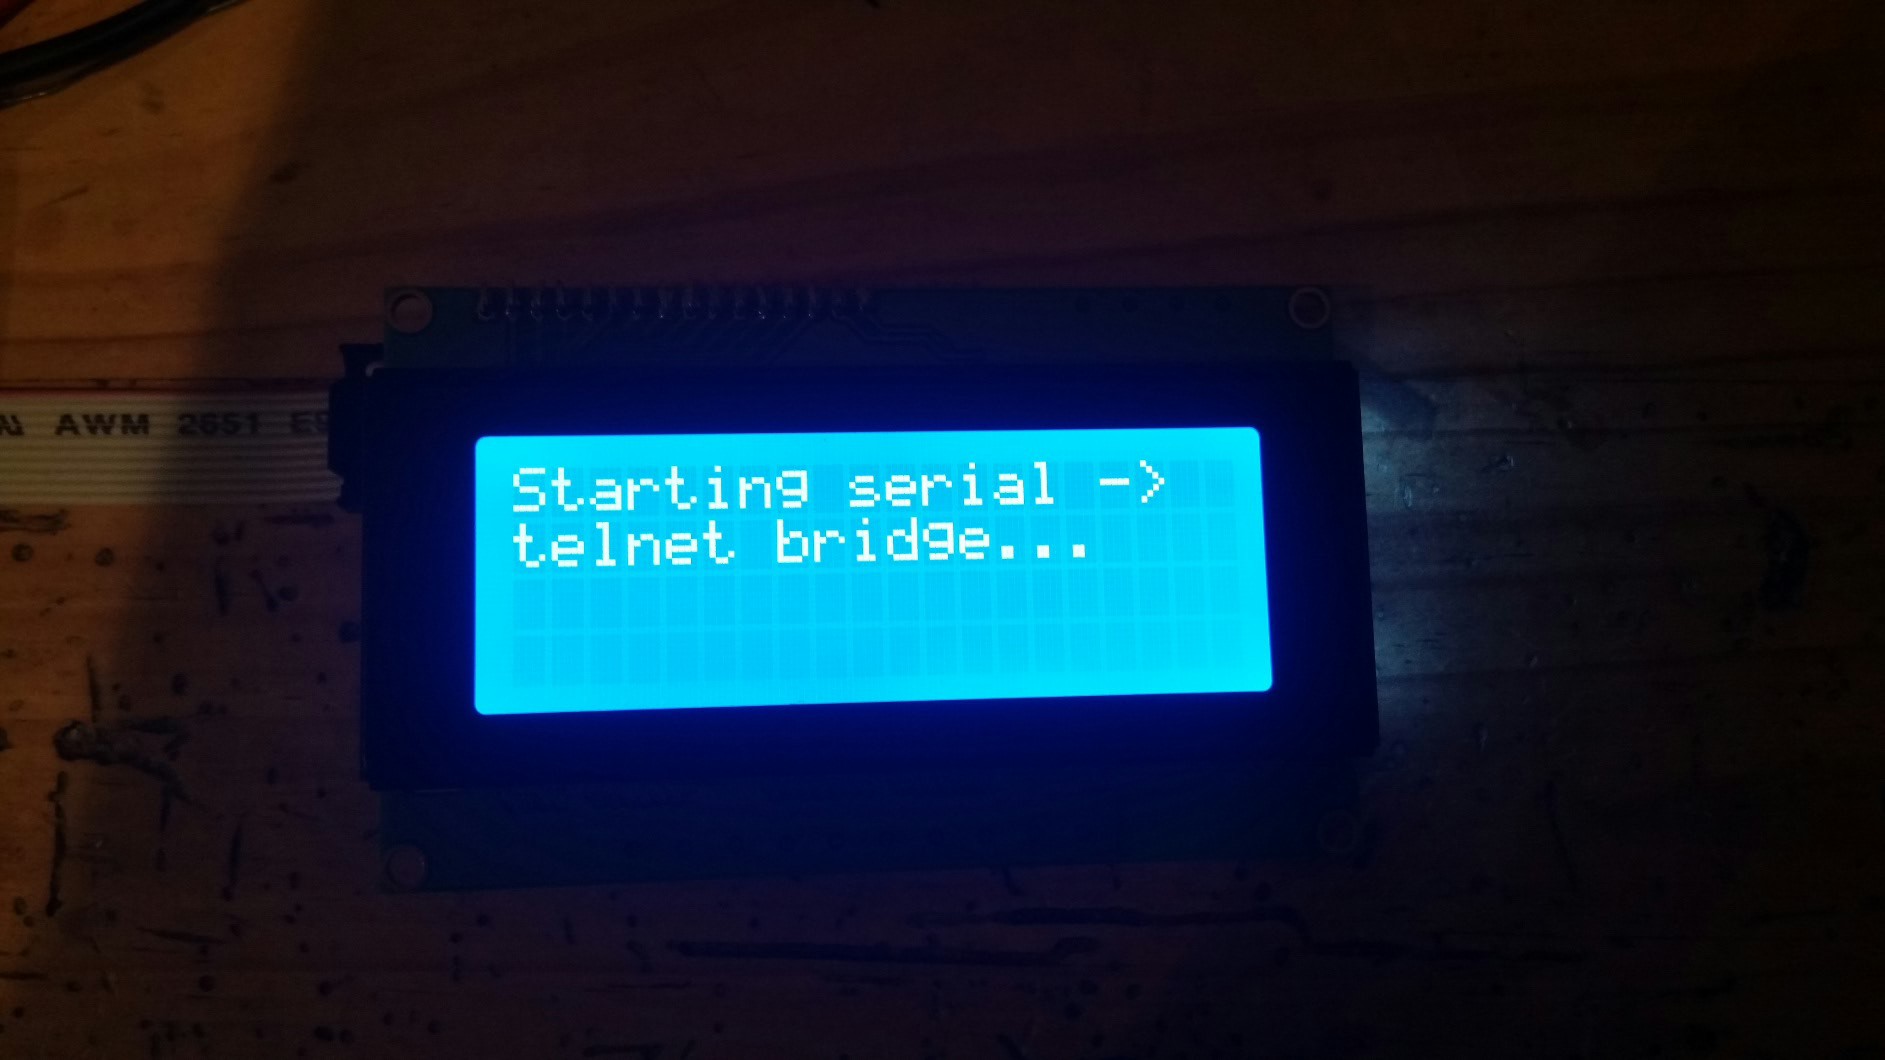
Once 'start' is given on the telnet session we enter into a transparent serial bridge. Anything entered into the telnet session will now be transferred to the 70cm RF connection.
Any information from the UART (APC220's 70cm link) will pass to the telnet connection, but not by default show on the LCD because the limited screen size. Anything within square brackets however will be displayed on the LCD. This allows for messages to appear on the LCD with limited client programming.
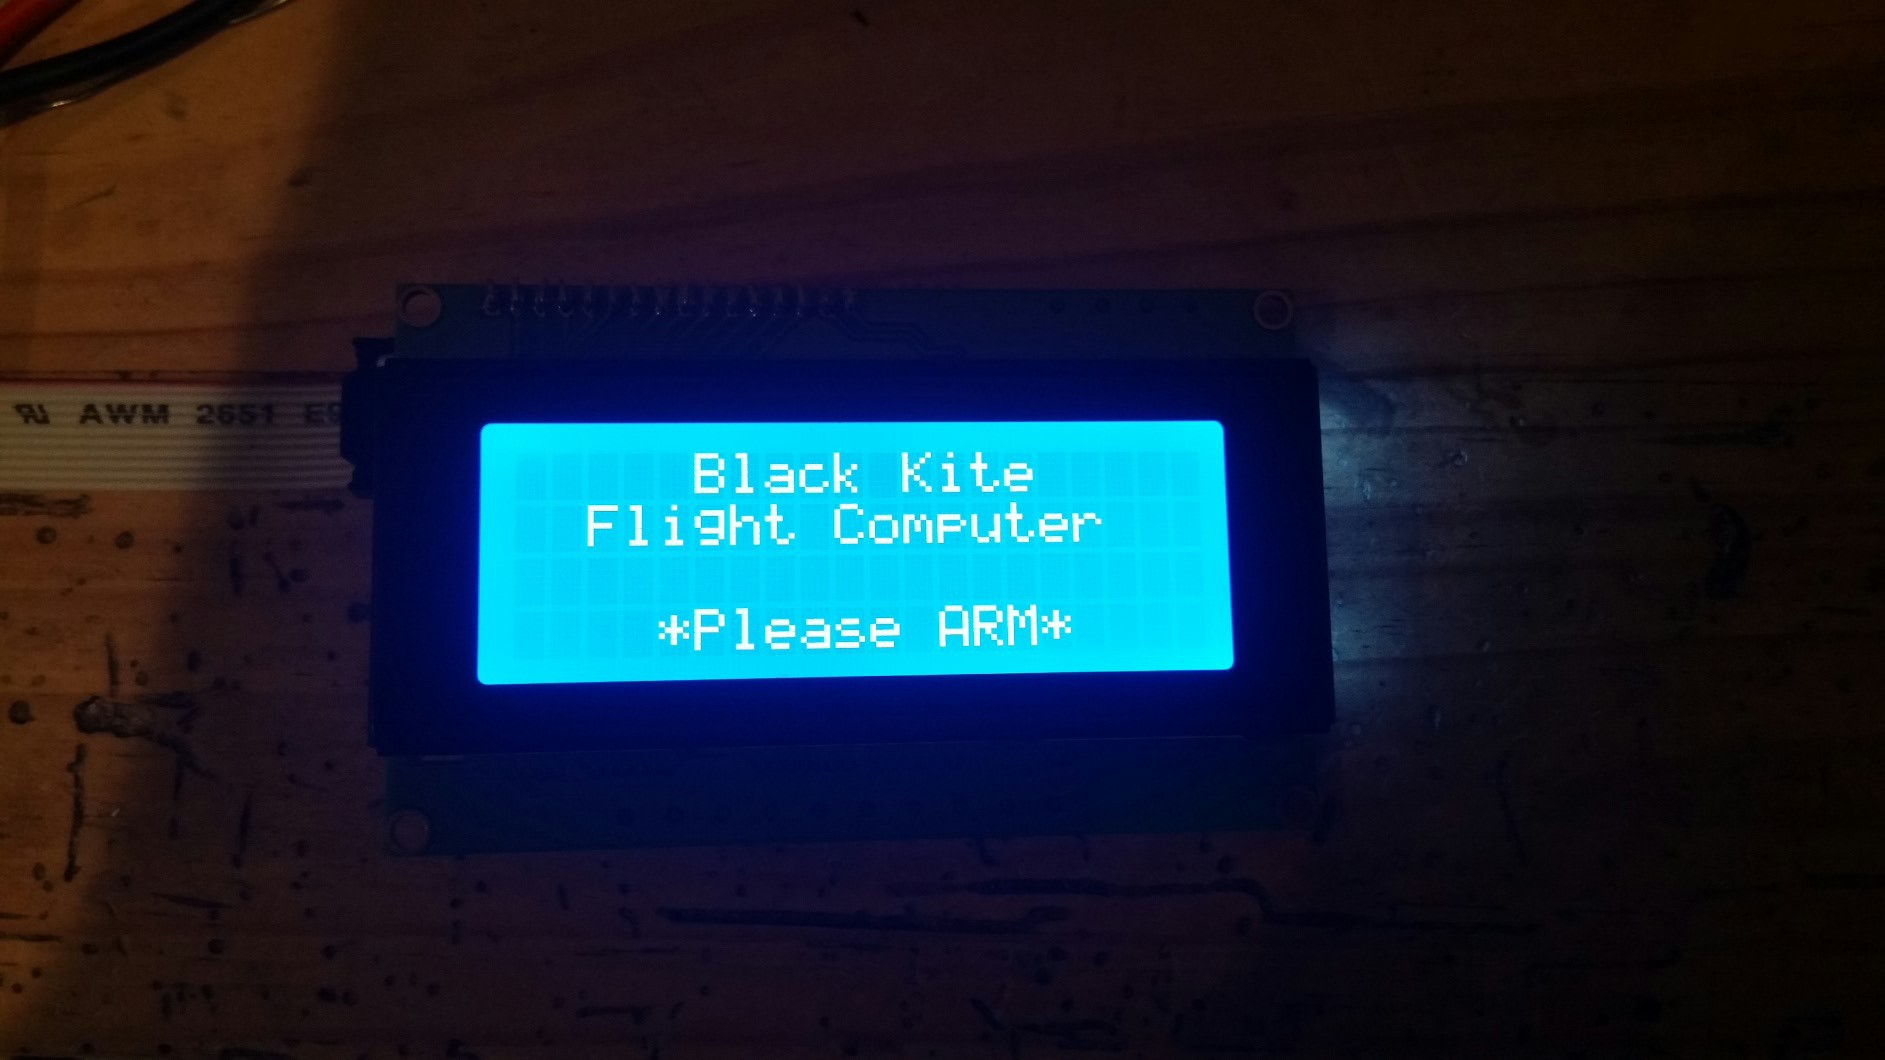
For example, my rocket altimeter sends a lot of data, but can send information directly to the LCD by placing '[' and ']' to delineate data. Any newline characters will clear the LCD and reset the cursor position upon the next character.
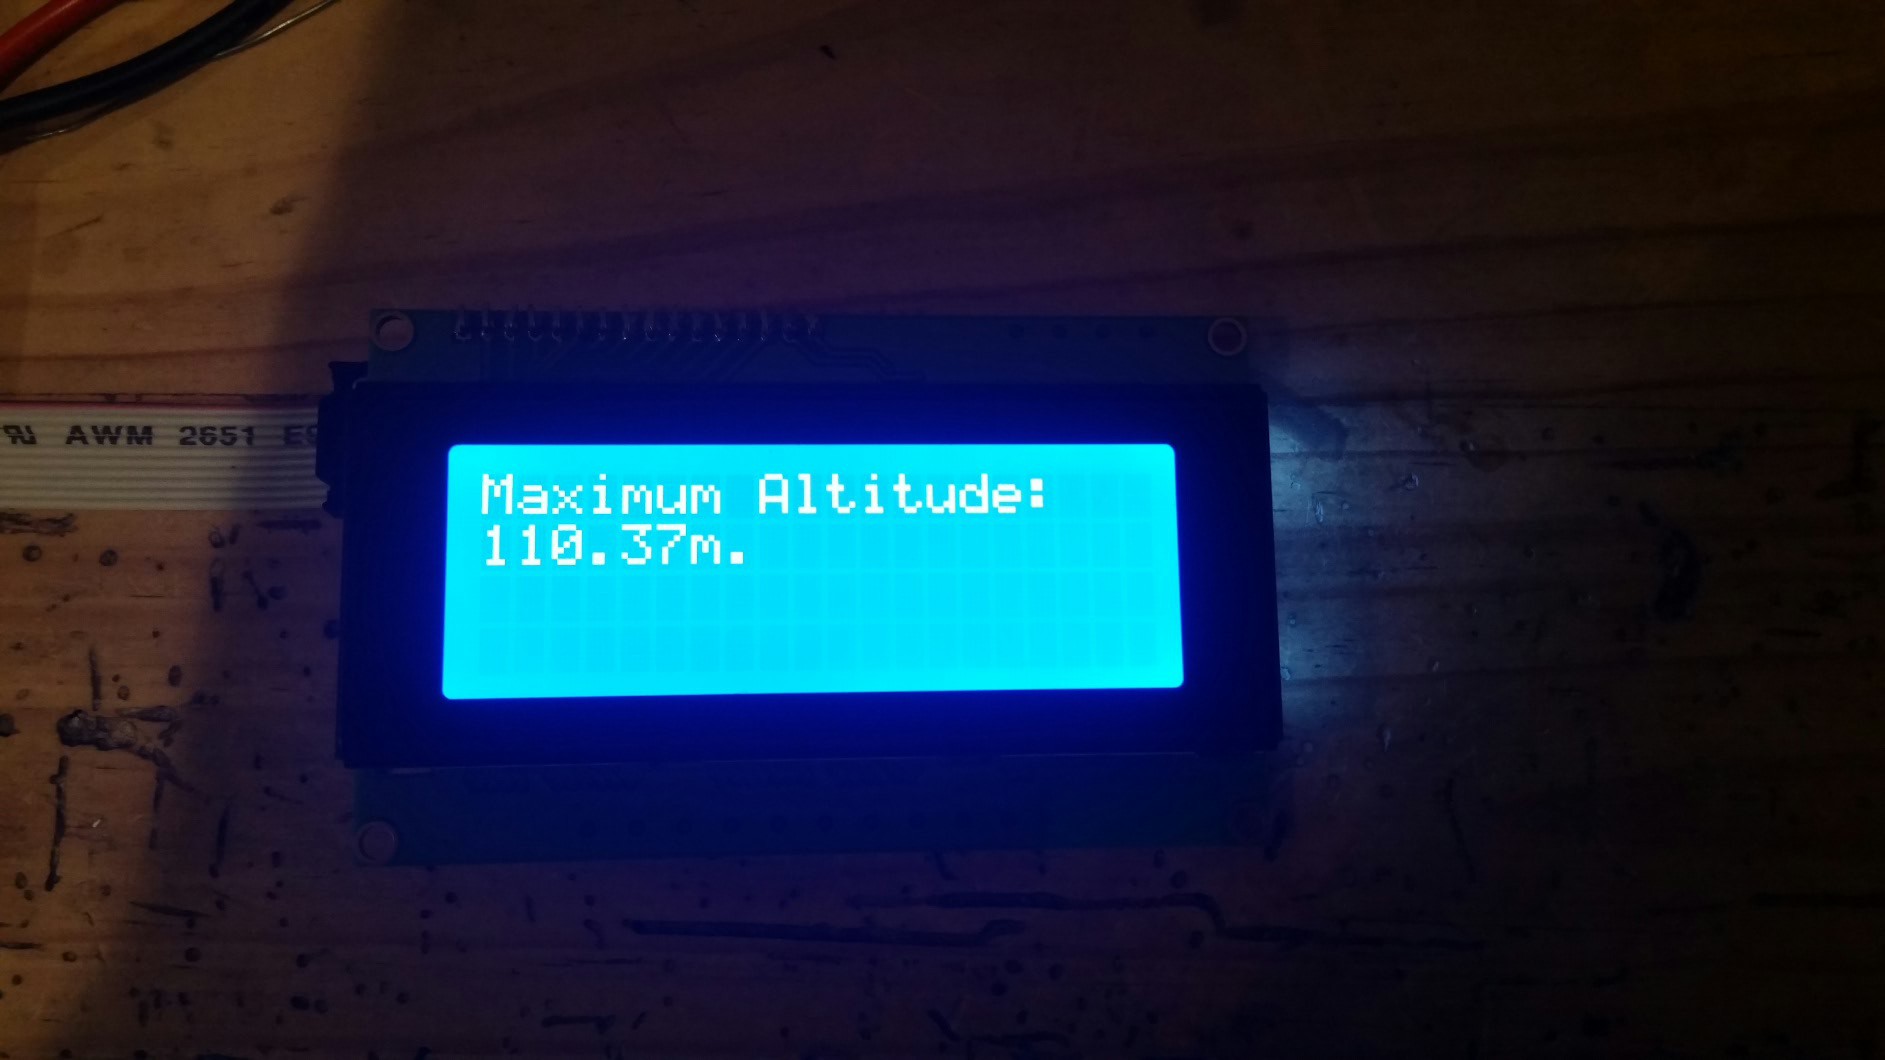
So on my telnet client I send a command of 'ma' (maximum altitude of last flight query) to my rocket flight computer, and the telnet client receives a full write up, but the LCD gets a more succinct message that is easily viewed in full daylight without eye stain.
This project can now easily be an integral part of any of my embedded design projects.
 J. M. Hopkins

 Thomas
 Matthew James Bellafaire
 Rafal Woloszyn
 RobertLukan