 Rob Ward
Hi fellow Hackers,
Every hacker's project published on Hackaday has some sort of back story, and a history of personal achievements and journeys. These are my personal reminiscences sparked off by the desire to revisit to the world of the Sym-1. You do not need to read this to follow the project, but it may answer questions like "Why on earth did he continue to use EPROMs etc etc", when you will see that old technology, grass roots stuff is deep within my psyche. If you have shared some similar experiences to me and want to read on, please do and enjoy the path travelled. First, rewind back to (c) 1976.....
National Semiconductor produced a neat little $75 Au kit to promote their SCMP processor. It was my first SBC and my struggles with minimal component and hardware supplies meant a lot of thinking went into very few bytes. It allowed me to use EPROMs, design a 6 wide multiplexed 7 seg display and a matrix 4x6 keyboard with a monitor squeezed into 256 bytes. By that time I could see the power of ROM controlled CPUs and I w3as looking for something bigger and better.
I left my research student position in Botany, not having achieved very much in my botanical endeavours and really keen to go teaching and use these new micro-controllers. The BASIC language was considered a nirvana, and desktop machines, ready built like the Commodore PET and the Apple II were being promoted. I could sense that these were not going to be good hacking machines, quite expensive and not much user I/O. The general hype around them pointed towards user software sales being most important, and please leave the hardware alone. I found this to be fundamentally counter to what I wanted, so I looked around and found the Synertek Sym-1.
I found a dealer in Melbourne, put in for a Education Department Innovations Grant in 1979 and was successful with getting enough money (around $300) and local support to have the Year 9 students build a computer. I bought the Sym-1 and an 8kb Microsoft Basic in 2 ROMs. I bought a Sym-1 for myself soon after. The first thing we set out to do was build a huge power supply with a linear 309k 5V regulator and heat sink. It had to look impressive. We also bought a KTM-80 Synertek Video Terminal (I did not get one of these). This hooked up to a video display from an original Pong game we wrecked (I kept the main board until I lost track of it around 2007) and we had a functional computer running BASIC and the students had real hands on experience.
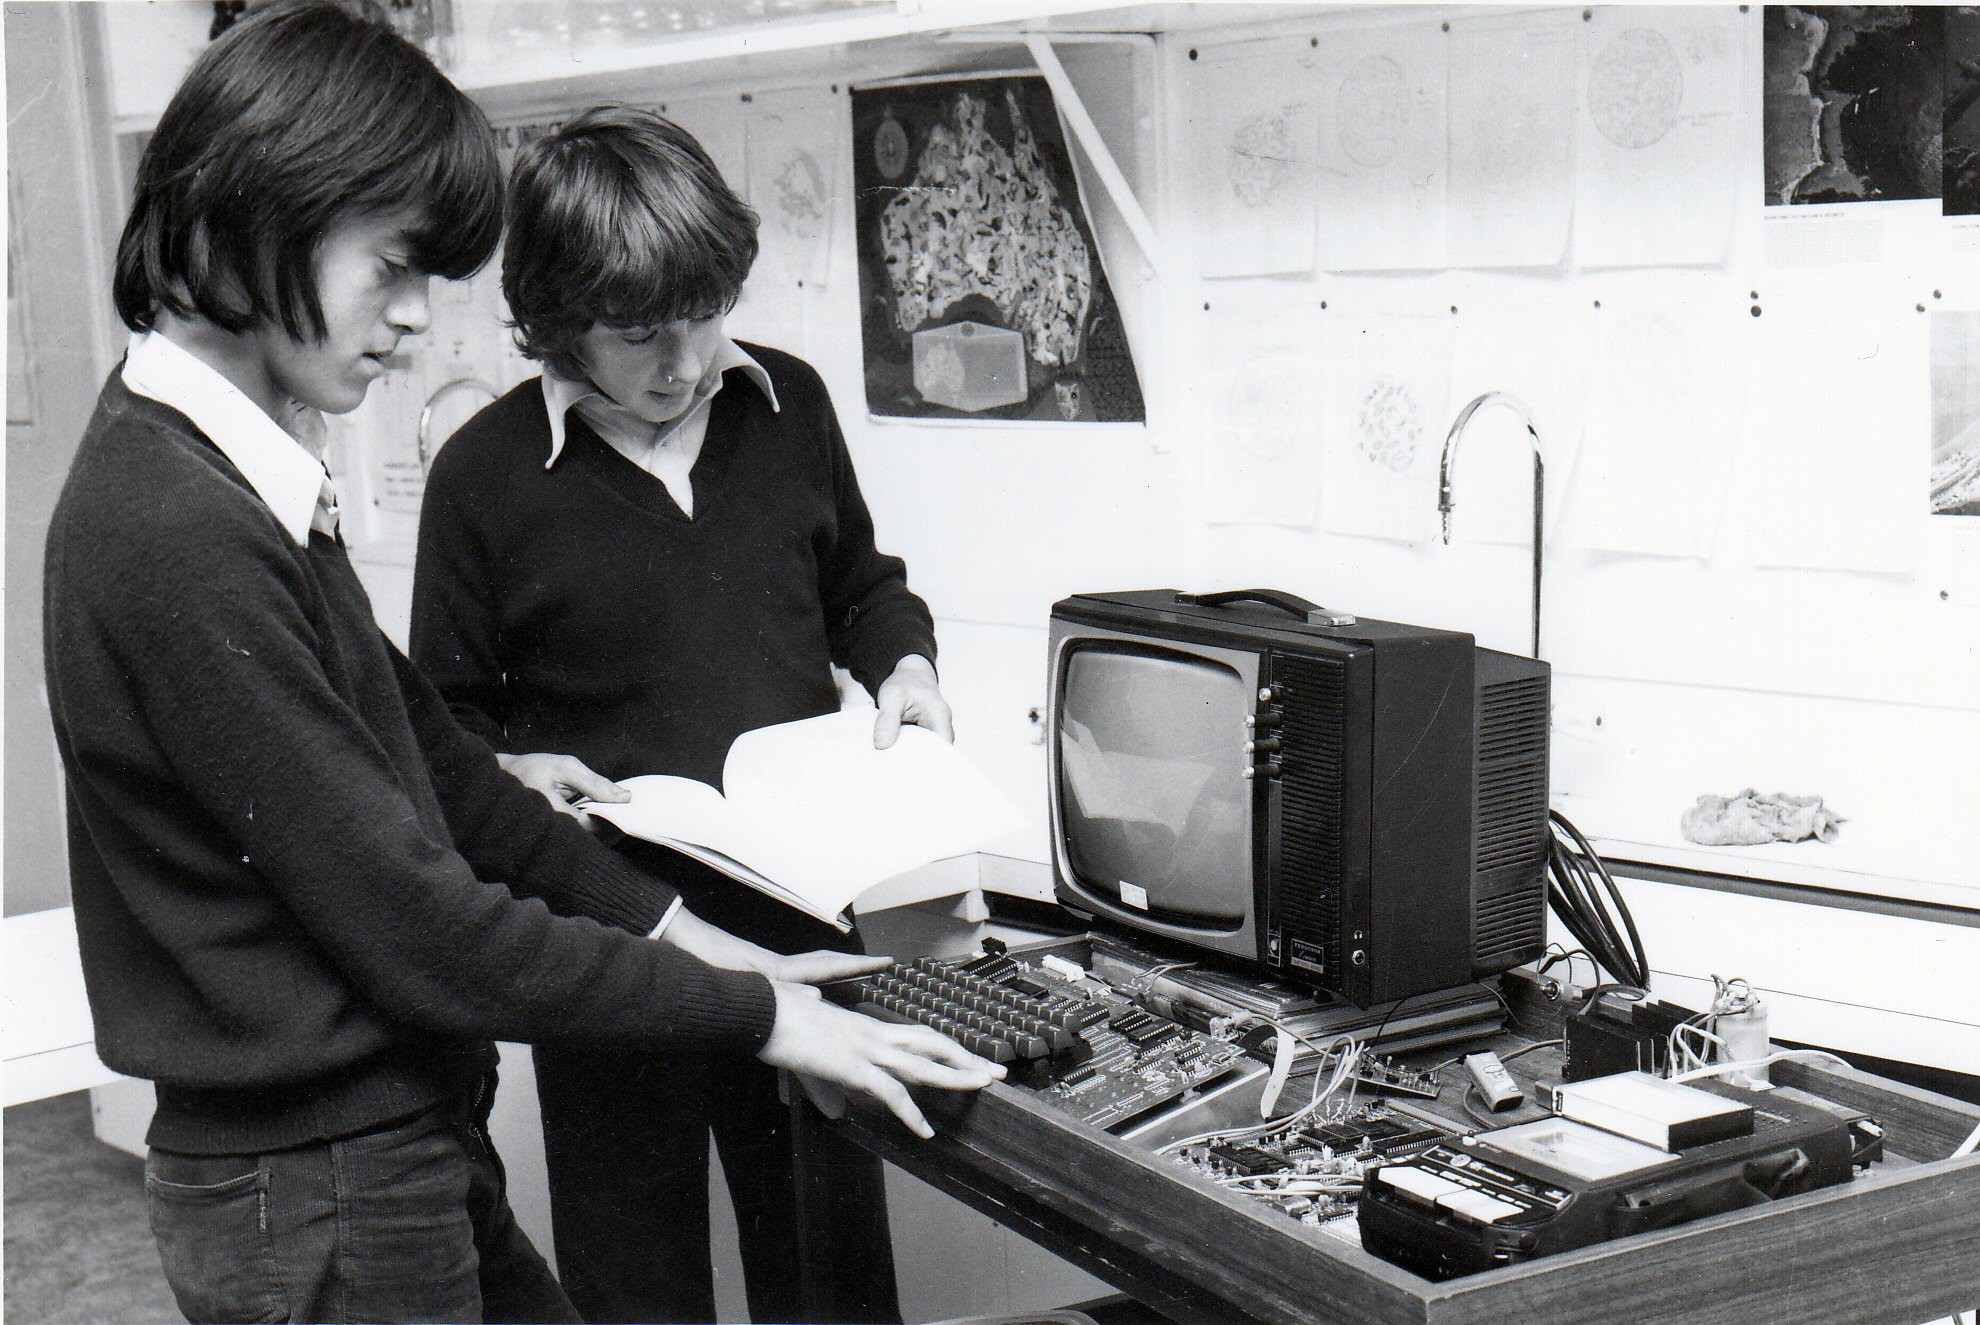
The above photo (c 1979) is two young lads, the one on the right is Lyndon Devalle, and the Sym-1 is shown hooked up to a Synertek KTM-80. The huge heat sink is just behind the Hitachi cassette deck. The 9volt battery was running the RF-modulator. Monitors were a rare breed and very expensive at the time.
For me though after a year or so it all went down hill as we came under increasing pressure to buy "hi-status" Apple II machines. The notion of a hardware system that allowed interfacing to the real world went out the window in my teaching until 2004. We eventually got some more money for an Apple II and it was all I dreaded. Kids pestering me to play Space Invaders and none those kids with an interest in how it actually worked.
I sourced an ASR-33 from somewhere and hooked it up to my Sym-1 at home rather than use a video terminal. I actually wrote school reports in BASIC on that thing. All upper-case and 10 char/in, yet nobody complained, I was seen as cutting edge!! Eventually I realised I needed a video screen and full ASCII keyboard. I designed a 64chr wide by 32 line "video card" in 7400 logic. I streamlined all the counting and displaying for simplicity of logic, but then had to ordered a custom crystal to run at the right speed to get the timing right. It duly arrived and I soldered it in and all of a sudden I had rock solid video. I designed the 8x8 character character in a 2kb EPROM and used a shared 2kb SRAM for the buffer. After that I built a hardwired matrix wired 101 keyboard (I had to wire up each switch individually so I made the matrix easy to decode as it was along the ASCII boundaries). By then I was in really deep, so I wrote a screen driver and keyboard scanner and put it all on EPROM to be always ready on a reboot. The Sym-1 had been designed from the start to be very flexible with vectoring I/O streams and boot options. However I was beginning to see the tide in schools was going against this bare metal approach and schools were trying to out compete each other with as slick a commercial product as possible. Hacked Sym-1's were no going to do it.
During this time I was put onto the BBC Acorn computers and was able to go to a demonstration in a Melbourne private school where they had a room full of networked machines all running a clock demo, synchronised back to the server. It made any of the Apple II (or any other computer affordable by schools look really clunky). This looked slick and what's more, it worked!! So I bought a BBC Acorn 32kB from England and I can remember the anticipation of going to Melbourne Customs to pick it up and pay the duty on it. So the school, under my guidance went Acorn. I will skip over the 6502 and early PC wars. Dreary stuff and in the end my choices were vindicated when ARM chips suddenly appeared everywhere in the 200's, and of course most ironically of all in Apple phones and then laptops. Vengeance!! Sadly though I had to part with my Sym-1 in an effort to appease the rest of our cash strapped family (c1983) that I was prepared to make sacrifices too. I sold it to a guy in Sydney who belonged to the Astronomy circles (There was a bit of a crowd who were using Sym-1's with FORTH to control telescopes. What I really regret was not making copies of the Video card design etc for bragging right now!! I dutifully sent them all off to the new owner. Every byte in those drivers were handcrafted machine code.)
Returning to the Sym-1 philosophy, I was finally able to do education wise what I had wanted to do with that Sym-1 board when I began using Pic-Axe micro-controllers in my electronics classes (c: 2004). Students were finally building computers (making the PCB's and soldering all the parts on, no kidding!) and programming them with basic input and output devices, switches, LEDs, speakers and motors with IR control. I used these in class for about 7 years and had some great times, designed some great boards. I had finally cast off the Intel-Windows shackles. I retired in 2011 and at the time the Arduino and Raspberry Pi scene took off and so I really got into that, and I still enjoy solving problems with these devices, so versatile and cheap!! But nostalgia over took me and in about 2017, was searching for Sym-1 stuff on line and found a guy selling a couple of boards and I bought one. I searched my boxes of old documents and realised I had ditched my Sym-1 manuals long time ago. So I bought two copies of the manuals online, one a VIM1 version and the later Sym-1 Version.
The newly acquired Sym-1 sat on my bench for nearly a year until I wound up enough courage to juice it up. It felt like I was back in 1979. Sure enough I heard the welcome, heart beat, Beep, pressed the CR button on its flat pressure sensitive keyboard and "SY 1.0" came up in all its seven segment glory. It came with the RAE chips (Resident Assembler and Editor, a holy grail of mine since 1980). The serial interface was pure ancient RS-232 style and I needed USB style convenience. I wanted to rig it to try it. I wanted to get back to my roots and do some bare metal, retro computing. The trick was to put two simple inverting transistors between the Rx and Tx lines to a USB serial card I had used for Arduino Pro Micro and it worked like a charm. I began investigating EPROMs and decided there was enough I/O on an Arduino Mega 2560 to do it easily. So I wrote an EPROM burner and used it to read a lot of my old EPROMs for posterity. I rigged up an SD card it allowed images to be taken from ROMs and stored on the card and also allow the reverse. First official ROM I burnt was the latest Sym-1 monitor (officially called Super Mon 1.1) into the EPROM.
I began to dream of memory expansion boards and adding a filing system. I could not find any cassette recorders I felt I could trust at a reasonable price, so I felt I would have to either really go retro and put on a floppy drive or an SD card interface. Most of the old Sym-1 documentation talked of 8" floppy drives and these new fangled 5 1/4" floppy drives. This did not look like fertile ground. Most of the known designs used fairly complicated floppy drive controller chips and had fair amounts of analogue stuff around them too.
Things were not looking promising. In the meantime I ordered some prototyping board with 2x22 gold plated card edges and began trying make up a memory expansion board with a 32k RAM chip and 3 of 8k EPROM chips. Yep was going to be at least to use EPROMs. This proved to be really difficult and a dismal failure, and it was far from finished when I discovered a guy in the USA was selling a full 64k RAM expansion board with the RAM switched in or out in 16 by 4kb blocks. Bliss!!! Ordered it and worked beautifully. I worked out how to create files that were in Synertek paper tape format (with checksums etc) and found I could use the terminal program to soft load the ROM images for RAE and MS BASIC. Wow this was great!! For the first time I could enjoy a full symbolic assembler on the host machine.
The system was not going to be easy to use in the long term with out some driver routines burnt into EPROM. I had ordered (ten) 2764 A 12.5V EPROMs that would allow me to put the two big ROMs BASIC and RAE in a chip each, and to move the 4kb Sym-1 Monitor into an 8kb chip and give me an extra 4kb for drivers and other routines, maybe even a filing system!! I built a new version of the EPROM programmer on another Mega Prototyping board that had a ready built SD card interface on it and transferred the Arduino drivers to the new setup. The 2764 has some fancy voltage requirements that was putting me off. So I simply powered the Mega with 12V and added a switch to the programming Voltage to the 12V and figured I have 10 of these chips, if I blow one up it will not matter. So Just hooked 12V onto the Pv pin and ran the program routine and it produced a programmed EPROM. Easy done!! Not sure about how well it is programmed but it does work. The routine uses a routine to determine how many times a programming pulse to the Pp pin and then repeats that number of times, 10 times over. It should be baked with that!!! I just ignored all the other programming voltage requirements after that. Hackers delight!!!
To cut a long story short (the rest is on the other pages) the Sym-1 now has a functional filing system on EPROM along with RAE, and programs can be saved and loaded from an SD Card on a Mega2560 through an 8bit parallel interface with hand shaking. The CD Card files can be listed and files deleted. There maybe more improvements but now is the time to seriously write it up.....
For the project overview and support files Project Page Sym-1 A 6502 Phoenix!
Discussions
Become a Hackaday.io Member
Create an account to leave a comment. Already have an account? Log In.