Close
0%
0%

zeroCase

Make a case for your Pi Zero out of rubbish.

Similar projects worth following
So you've got a shiny new Pi Zero and it needs a case. But paying $5 (or more) for a case just seems wrong. (And don't even get me started on the cost of shipping a single Pi Zero.)

So, how about a case you make out of a discarded CD and coffee stirrer?

Plus you can make it using common hand tools, working on your kitchen table!

TOOLS NEEDED

  • Sandpaper, medium. (about #150 grit) or a file.
  • Hacksaw blade or other fine tooth saw.
  • Soldering iron.
  • Electric drill or drill press.
  • 7/64 drill bit.
  • Ultra-fine point Sharpie or something that can mark/scratch the CD.
  • Small knife.

SUPPLIES NEEDED

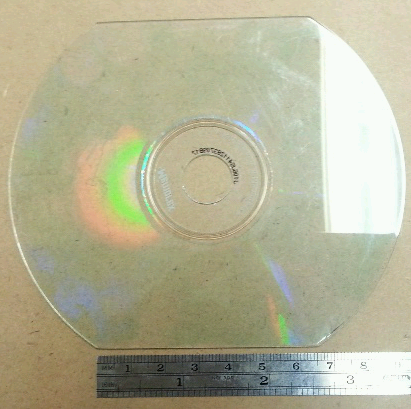
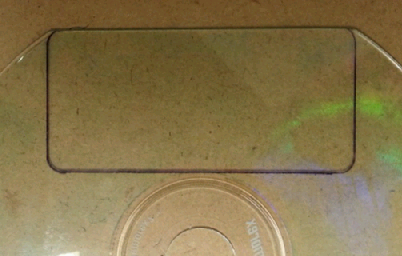
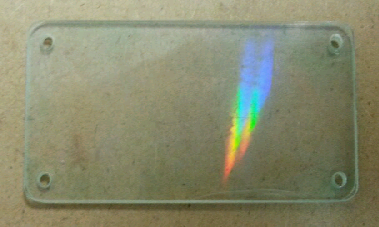
  • An old CD or DVD (cheap CD-R preferred).
  • 2 ea 4-40 nuts, 1/4" across flats.
  • A 4-40 bolt, 5/8" or more long. A bamboo skewer (like used for Teriyaki) will also work.
  • Used, clean plastic coffee stir straw, about 1/8" diameter. A small plastic drinking straw will also work.
  • A small piece of clean aluminium foil.
  • Double-sided tape, thin office type is OK.
  • A scrap of cardboard, about the same thickness as a credit card.

View project log

  • 1
    Step 1

    IMPORTANT CLEANING NOTE

    Don't use any solvents to clean the disc! It'll cause cracking, especially at the cut edges. Soap and water are OK.


    GETTING READY

    Fish a CD and a coffee stirrer out of the rubbish bin or whatever. Clean them if necessary. Collect your tools and secure a clean spot on a table or counter. Since the bolt and nuts are only used as a jig, you can 'borrow' them from somewhere and return them when you're done. They'll be a bit scratched up, but fully functional.

    If you're using a bare hacksaw blade you might want to tape part of it up so it doesn't cut your hand. Don't ask me how I know this.


    CUT THE PLASTIC

    Saw two flats on opposite sides of the disc. A nice trick is to use double sided tape to keep the disc from sliding around on the table while you saw it. Sand the cut edges smooth: the best way to do this is to hold the sandpaper on a table top grit side up and slide the disk edge back and forth on it. The flats need to be exactly 65mm (2 9/16") long when you're done, so plan the cuts accordingly.

    Lay the Zero on the disc, connector side lined up with a flat. Mark the outline on the disc.

    It should look like this:

    Repeat for the other flat. Saw along the marks and smooth the edges with sandpaper as above.

    DRILL IT

    Stick the two pieces of plastic together with double sided tape. Make sure they're aligned. Then tape this stack to the back of the Zero. You'll need to use thick double sided tape or a stack consisting of tape, cardboard, and tape since connector tabs protrude below the the HDMI connector. Drill through the plastic using the Zero mounting holes as guides. Un-tape and clean up any burs from drilling with the knife. Here they are after drilling:


    MAKING IT PRETTY

    I think it looks better with the aluminum layer of the CD removed. After some experimentation I've found the easiest way is to apply strong tape (like packing tape) to the label side of the cut plastic pieces and pull it off. With luck the aluminum layer will come off with the tape. I've found this works best with cheap CD-ROM discs. If only some of the aluminum comes off, soaking the pieces in a sodium hydroxide (drain cleaner) solution will (slowly) dissolve any aluminium that remains. DO THIS OUTSIDE, it generates hydrogen gas.


    MAKING THE SPACER WASHERS

    Cut out sixteen 5/16" squares from the remaining disc. You don't need to smooth the edges. Drill a hole in the center of each. (It may be easier to cut strips first, drill several holes, then cut them apart into squares.) When done clean up any burrs with the knife so they will stack properly.

    Put a nut all the way on the bolt, then eight of the pieces, then another nut. Tighten it snugly, with the flats of the nuts aligned. Hold the stack between thumb and finger and sand the sides of the stack on the sandpaper. The nuts will keep you from sanding too far. Once all six sides are done, rotate the plastic pieces 1/12 turn and sand again. You should now have eight nearly round plastic washers. Pretty neat method huh? Un-stack and clean up any burrs with the knife so they'll stack properly. Repeat the whole process with the other eight pieces.


    ASSEMBLY

    Assemble the case on the Zero: bottom plate, washer, Zero, three washers, and top plate, like this:

    Cut four 1/2" pieces from the straw and slit the side of each. Roll the straw pieces between thumb and finger so that they spiral in on themelves, making them small enough to insert into the holes. Insert them into the four holes and center them so that they protrude equal amounts from the top and bottom. Cover each straw end with a piece of aluminum foil and melt it over with a soldering iron, forming a rivet head. The foil is removed after melting: it's only to keep soldering iron crud from getting on the straw. Don't melt too much or the heads will be weak.

    You're done!


    REMOVING THE CASE

    Cut the rivet heads off on one side. You must use new straws to reassemble. That's kind of a pain, but hey, it's free!

    Now, if you'll excuse me, I've got to get to work desigining a CNC mill to machine CDs...

View all instructions

Enjoy this project?

Share

Discussions

Similar Projects

Does this project spark your interest?

Become a member to follow this project and never miss any updates