-
1Step 1
This instruction will show you, how i am building my current version of my Bucket-Aeroponics System.
Its intended to be simple, work with litte maintenance, and cheap enouth to be build by almost everyone. This is my third version of my Aeroponics systems and it is currently running on my balcony for 3 Months without problems. I only had to make the tank bigger, by simply replacing the tank-bucket with a bigger container (25L).
How it works:
The plant grows in a small pot, filled with Clay pebbles. This pot sits in a hole on the lid of the plastic Bucket. A pump is used to spray Nutrient solution through a Nozzle against the pot/the roots hanging out of the pot. After a while the roots of the plants start to grow out of the pot and in mid-air. That way, the roots get a huge amount of Oxygen. It is important to keep the roots moist, thats what the Timer is for: 30minutes Spraying Water on the roots, then 30minutes to Breath (and dry), then again showering. The water flows back in the Tank-bucket and is used again and again. I change the nutrient solution every Week.
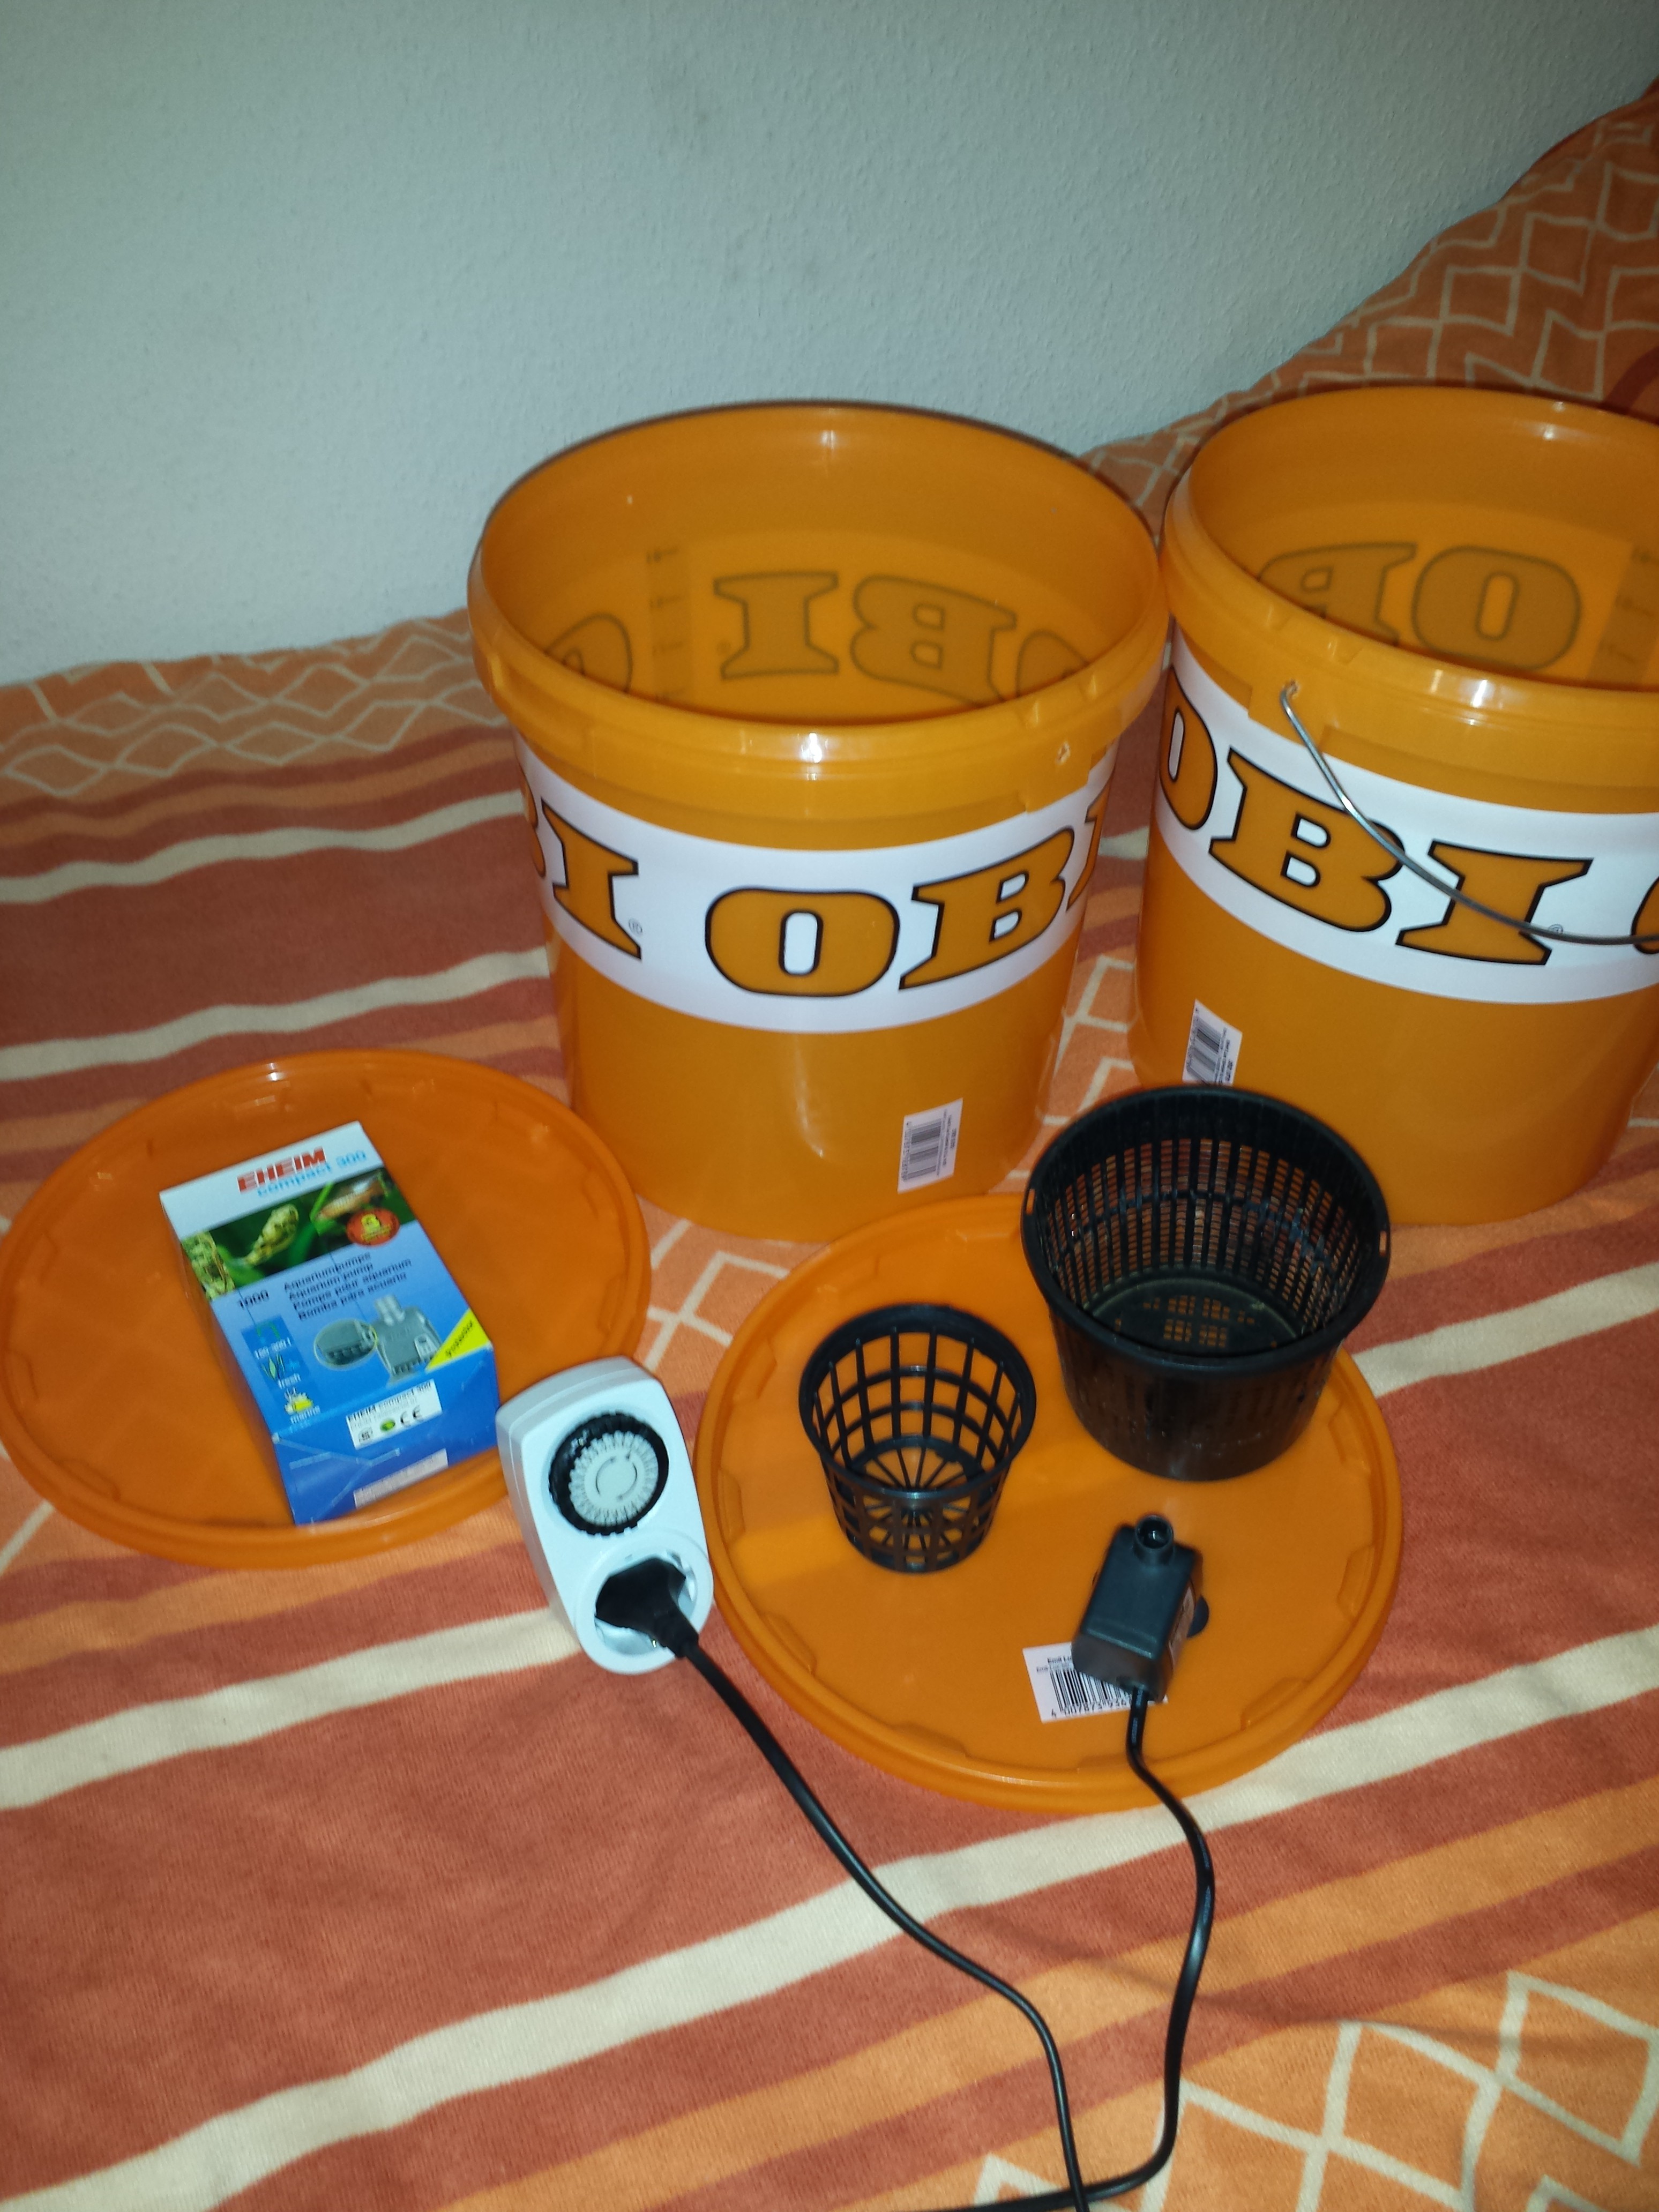
What you need:
![]()
-3 plastic Buckets (10 Liters) with the lid. [3x1.30€+3x0,80€] == 6,30€
-5Watt water pump (small and silent is what you want) == 15€
-Timer (minimum cycle time: 30min, less would be better) == 2,50€
-Water Nozzles (one shop had them for 0,20€ each, the other for 0,90€ each) 0,40€
-Plastic net pot (i used the small ones, but there are alternatives) 0,25€
-Clay pebbles (i only need a hand full, but they come in 45L packages) 19€
-(1-2m) Silicone tubbing 12mm outer diameter (i had it at hand) 10€
So our Budget for this Project should be about 55€ plus a little for plants, if you have to buy them.
For one system it it not really cheap, but with one pump you can do up to 4(maybe 5) Systems in a row. The clay pebbles will reach for hundreds of systems. So its really scalable: with a bigger tank and pump, you could easily grow hundreds of plants with little effort.
-
2Step 2
ok enouth talk, lets build this thing:
First you take one of your pots, put it in the middle of the lid and make a circle around it.
![]() Then we are gonna drill some holes....
Then we are gonna drill some holes....![]() Because i use these Buckerts for everything (including my trash bin), the lid was placed on top of a bucket, to collect the dirt from drilling. The final step of the hole was done by a good 'ol knife.
Because i use these Buckerts for everything (including my trash bin), the lid was placed on top of a bucket, to collect the dirt from drilling. The final step of the hole was done by a good 'ol knife. ![]() The pot should fit tight inside the hole, so it cant fall through, when the plant gets big and heavy.
The pot should fit tight inside the hole, so it cant fall through, when the plant gets big and heavy. -
3Step 3
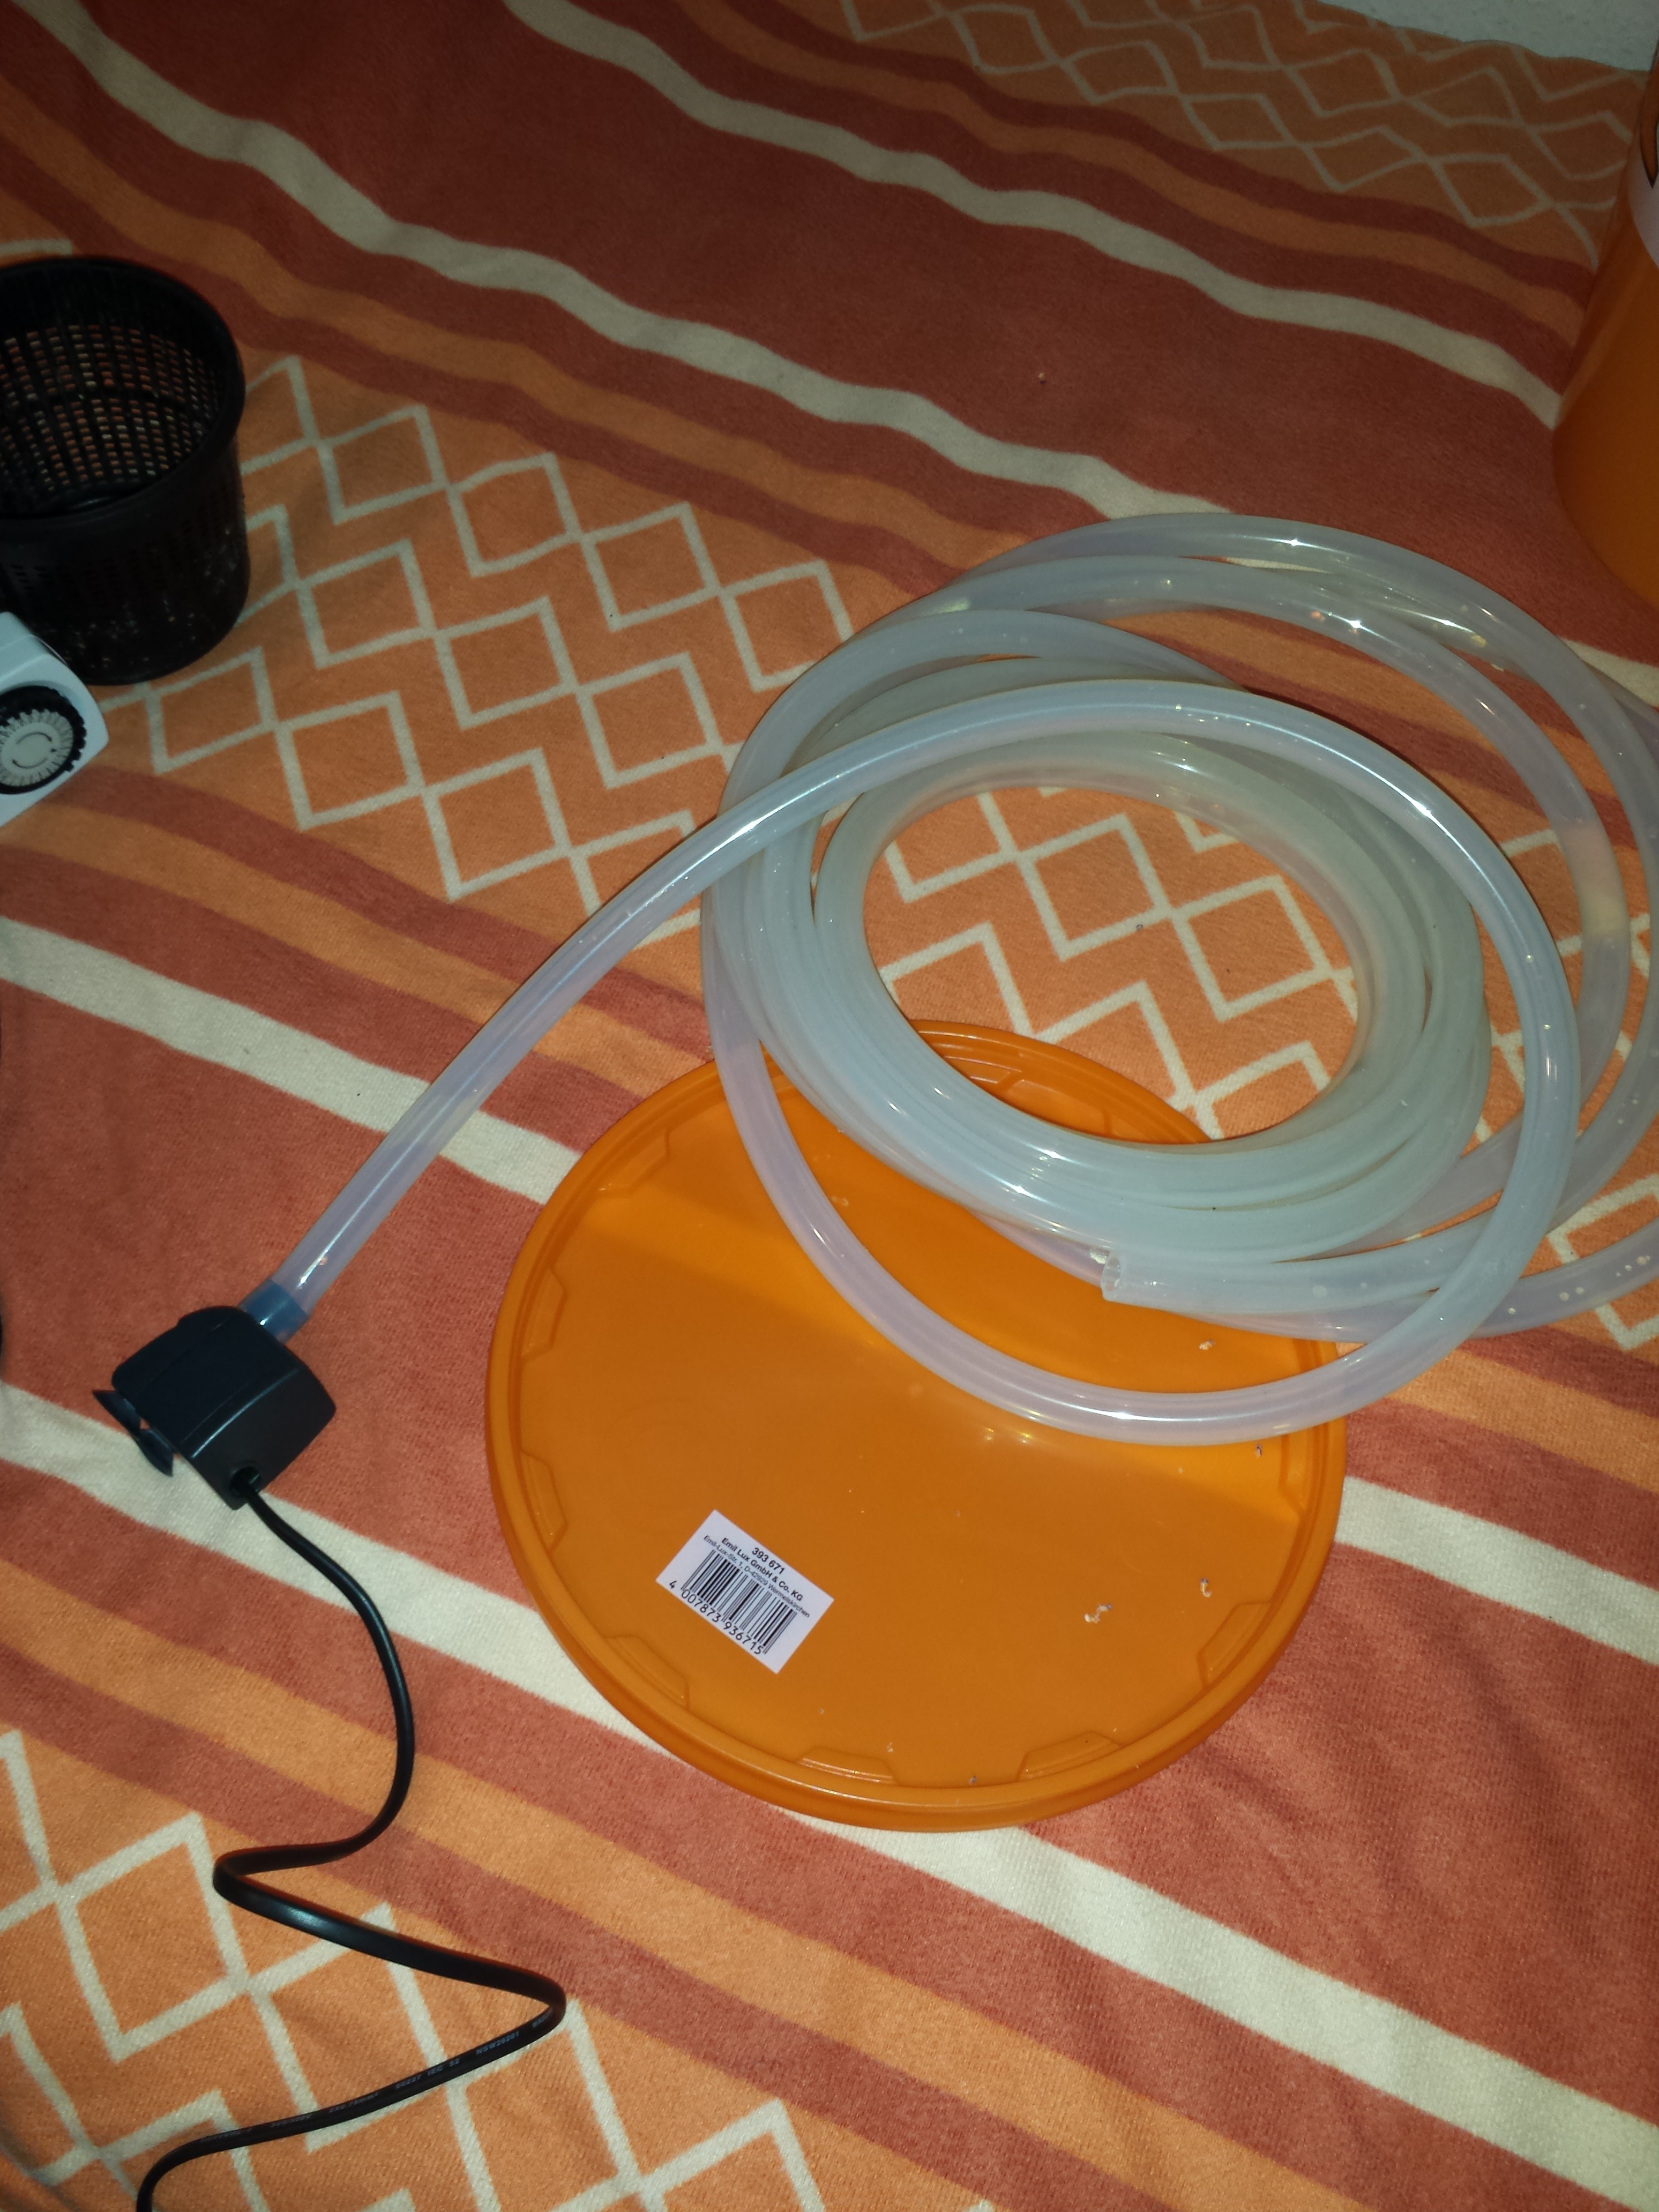
Next we will prepare the water flow. I decided to use this combination of pump and tubing, because they fit without an adapter. Other combinations work also. Clear tubbing isnt the best solution, because algae will grow inside the tubes. you can prevent this by using light blocking tubes or chemicals to reduce algae growth.
![]()
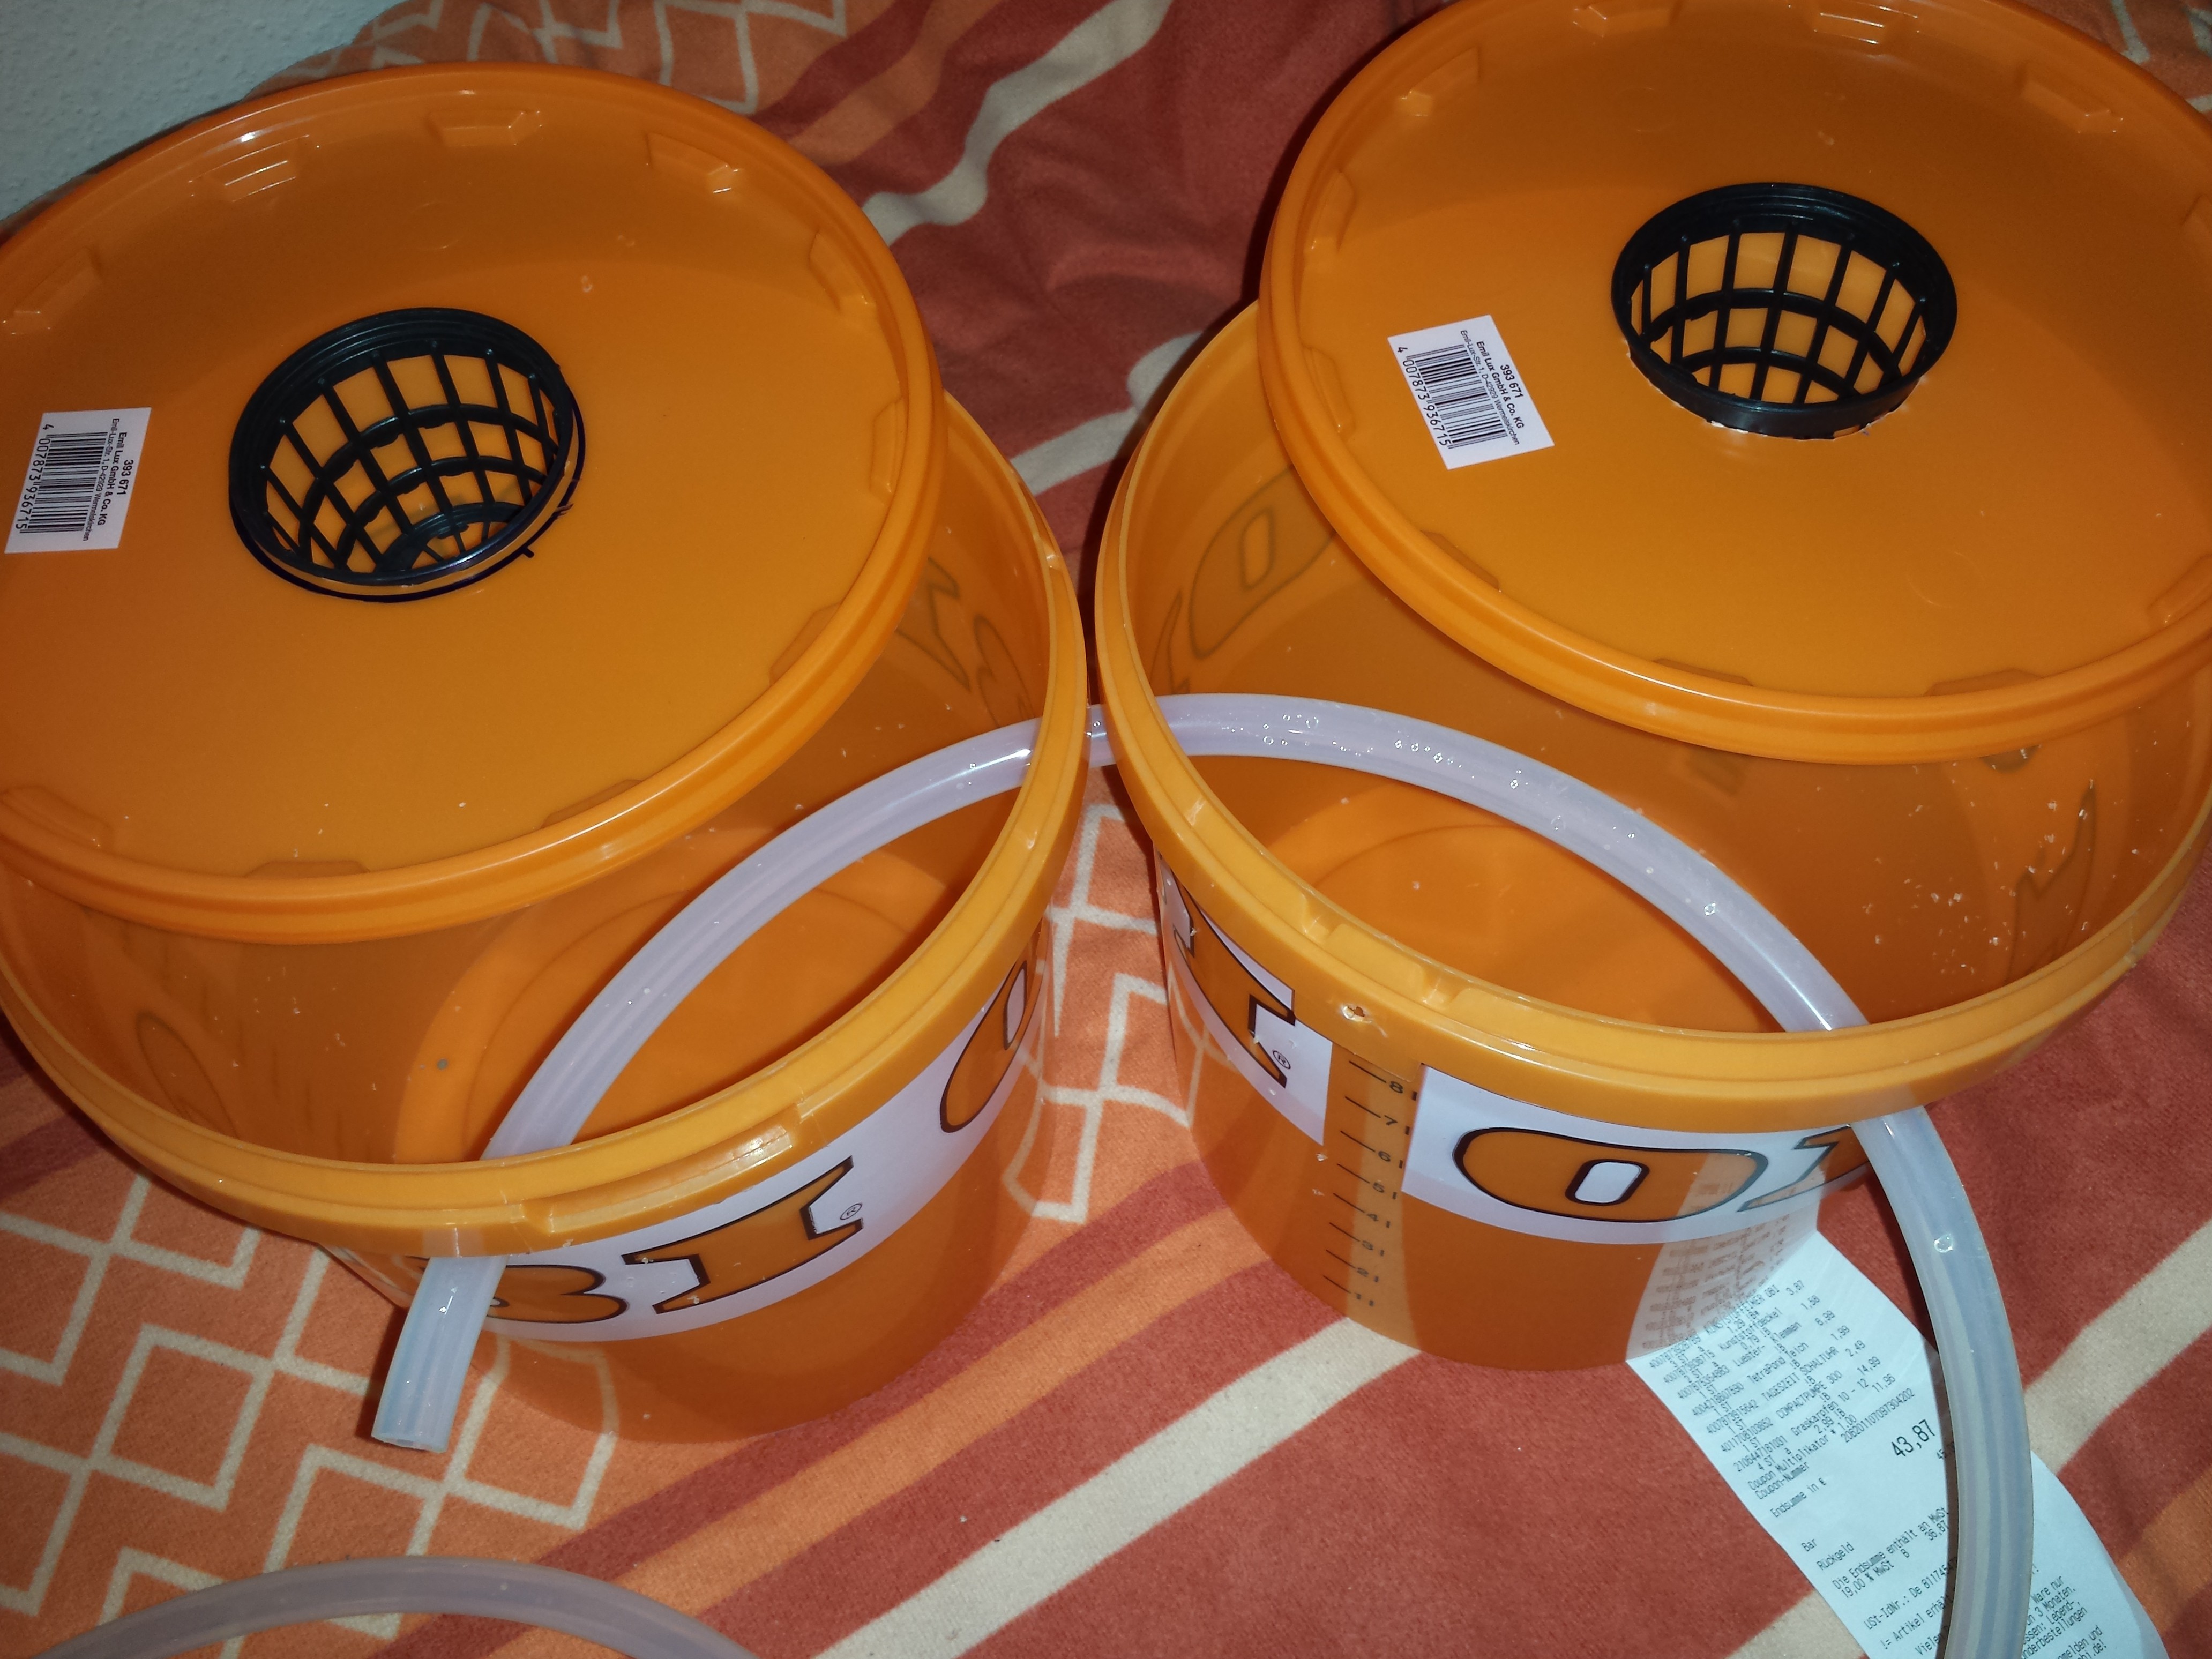
I drilled some 13mm holes at a small offset in the Buckets. The Silicone tube should have a distance of 1-3 cm to the pot. To close, and the roots will grow in the Nozzles and clogg them.
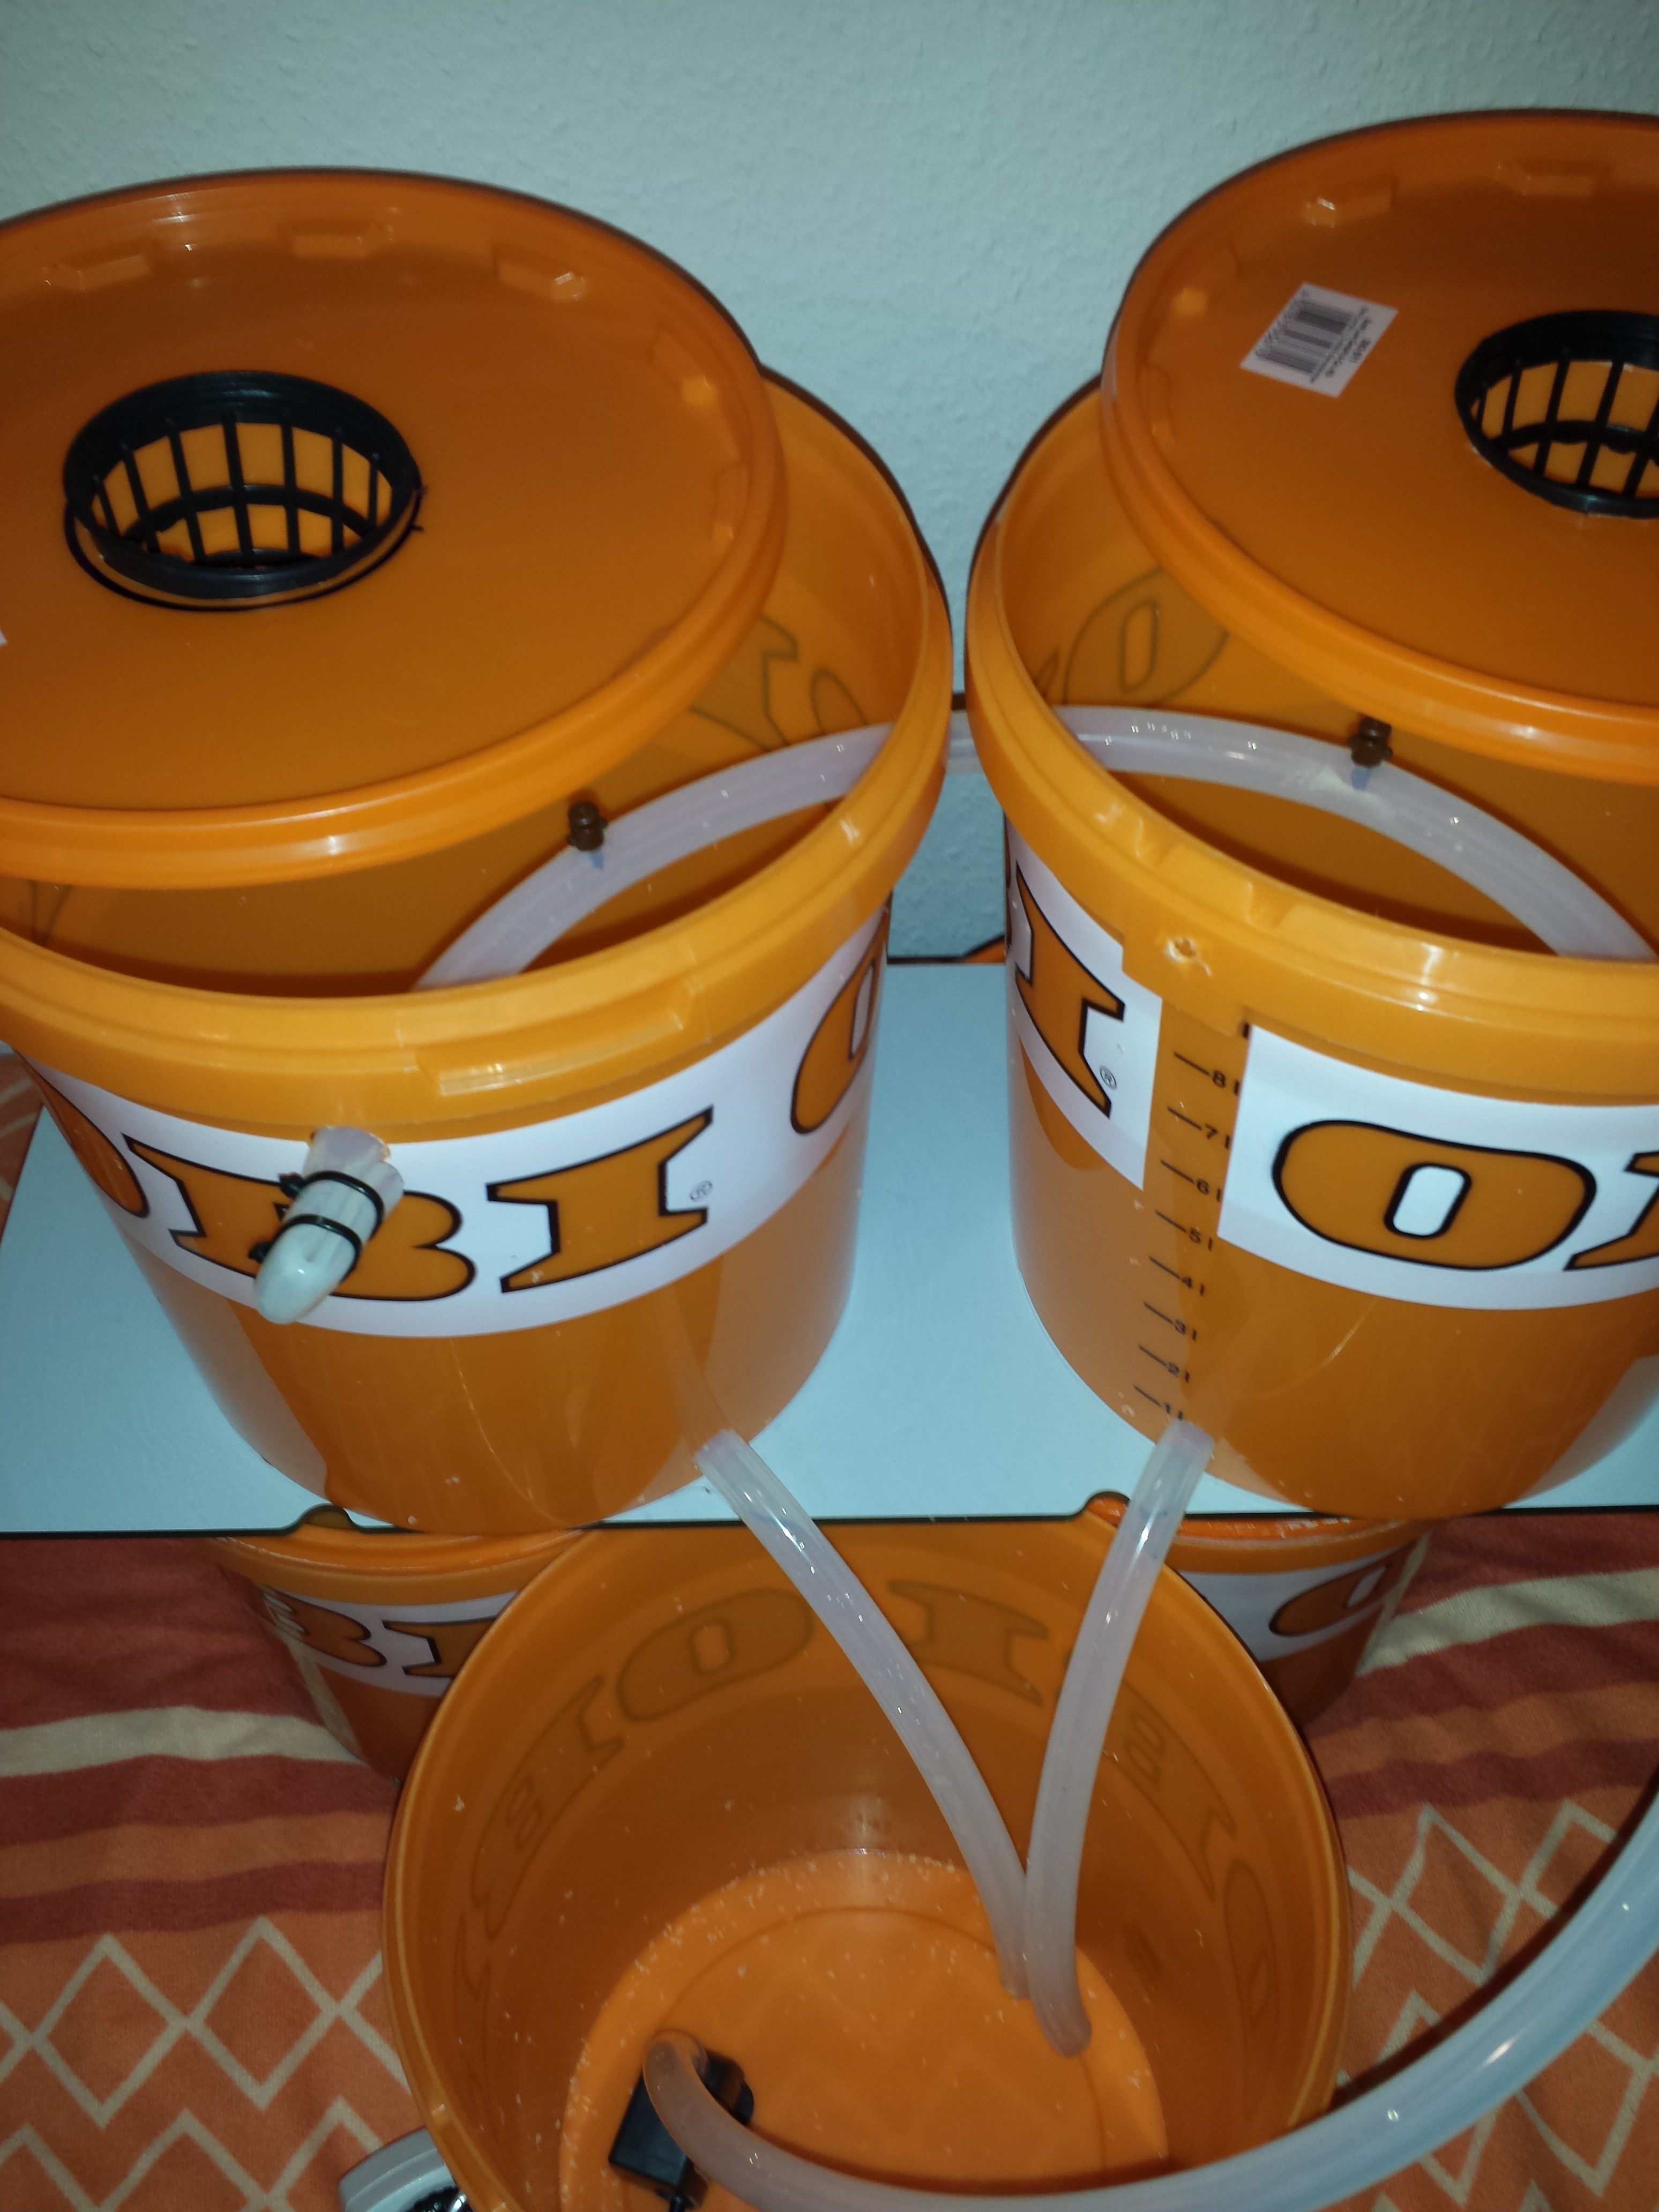
In the picture below you can see how easy it is to scale it: just use 4-5 Buckets and make a full circle withe the Water tank in the middle.
![]()
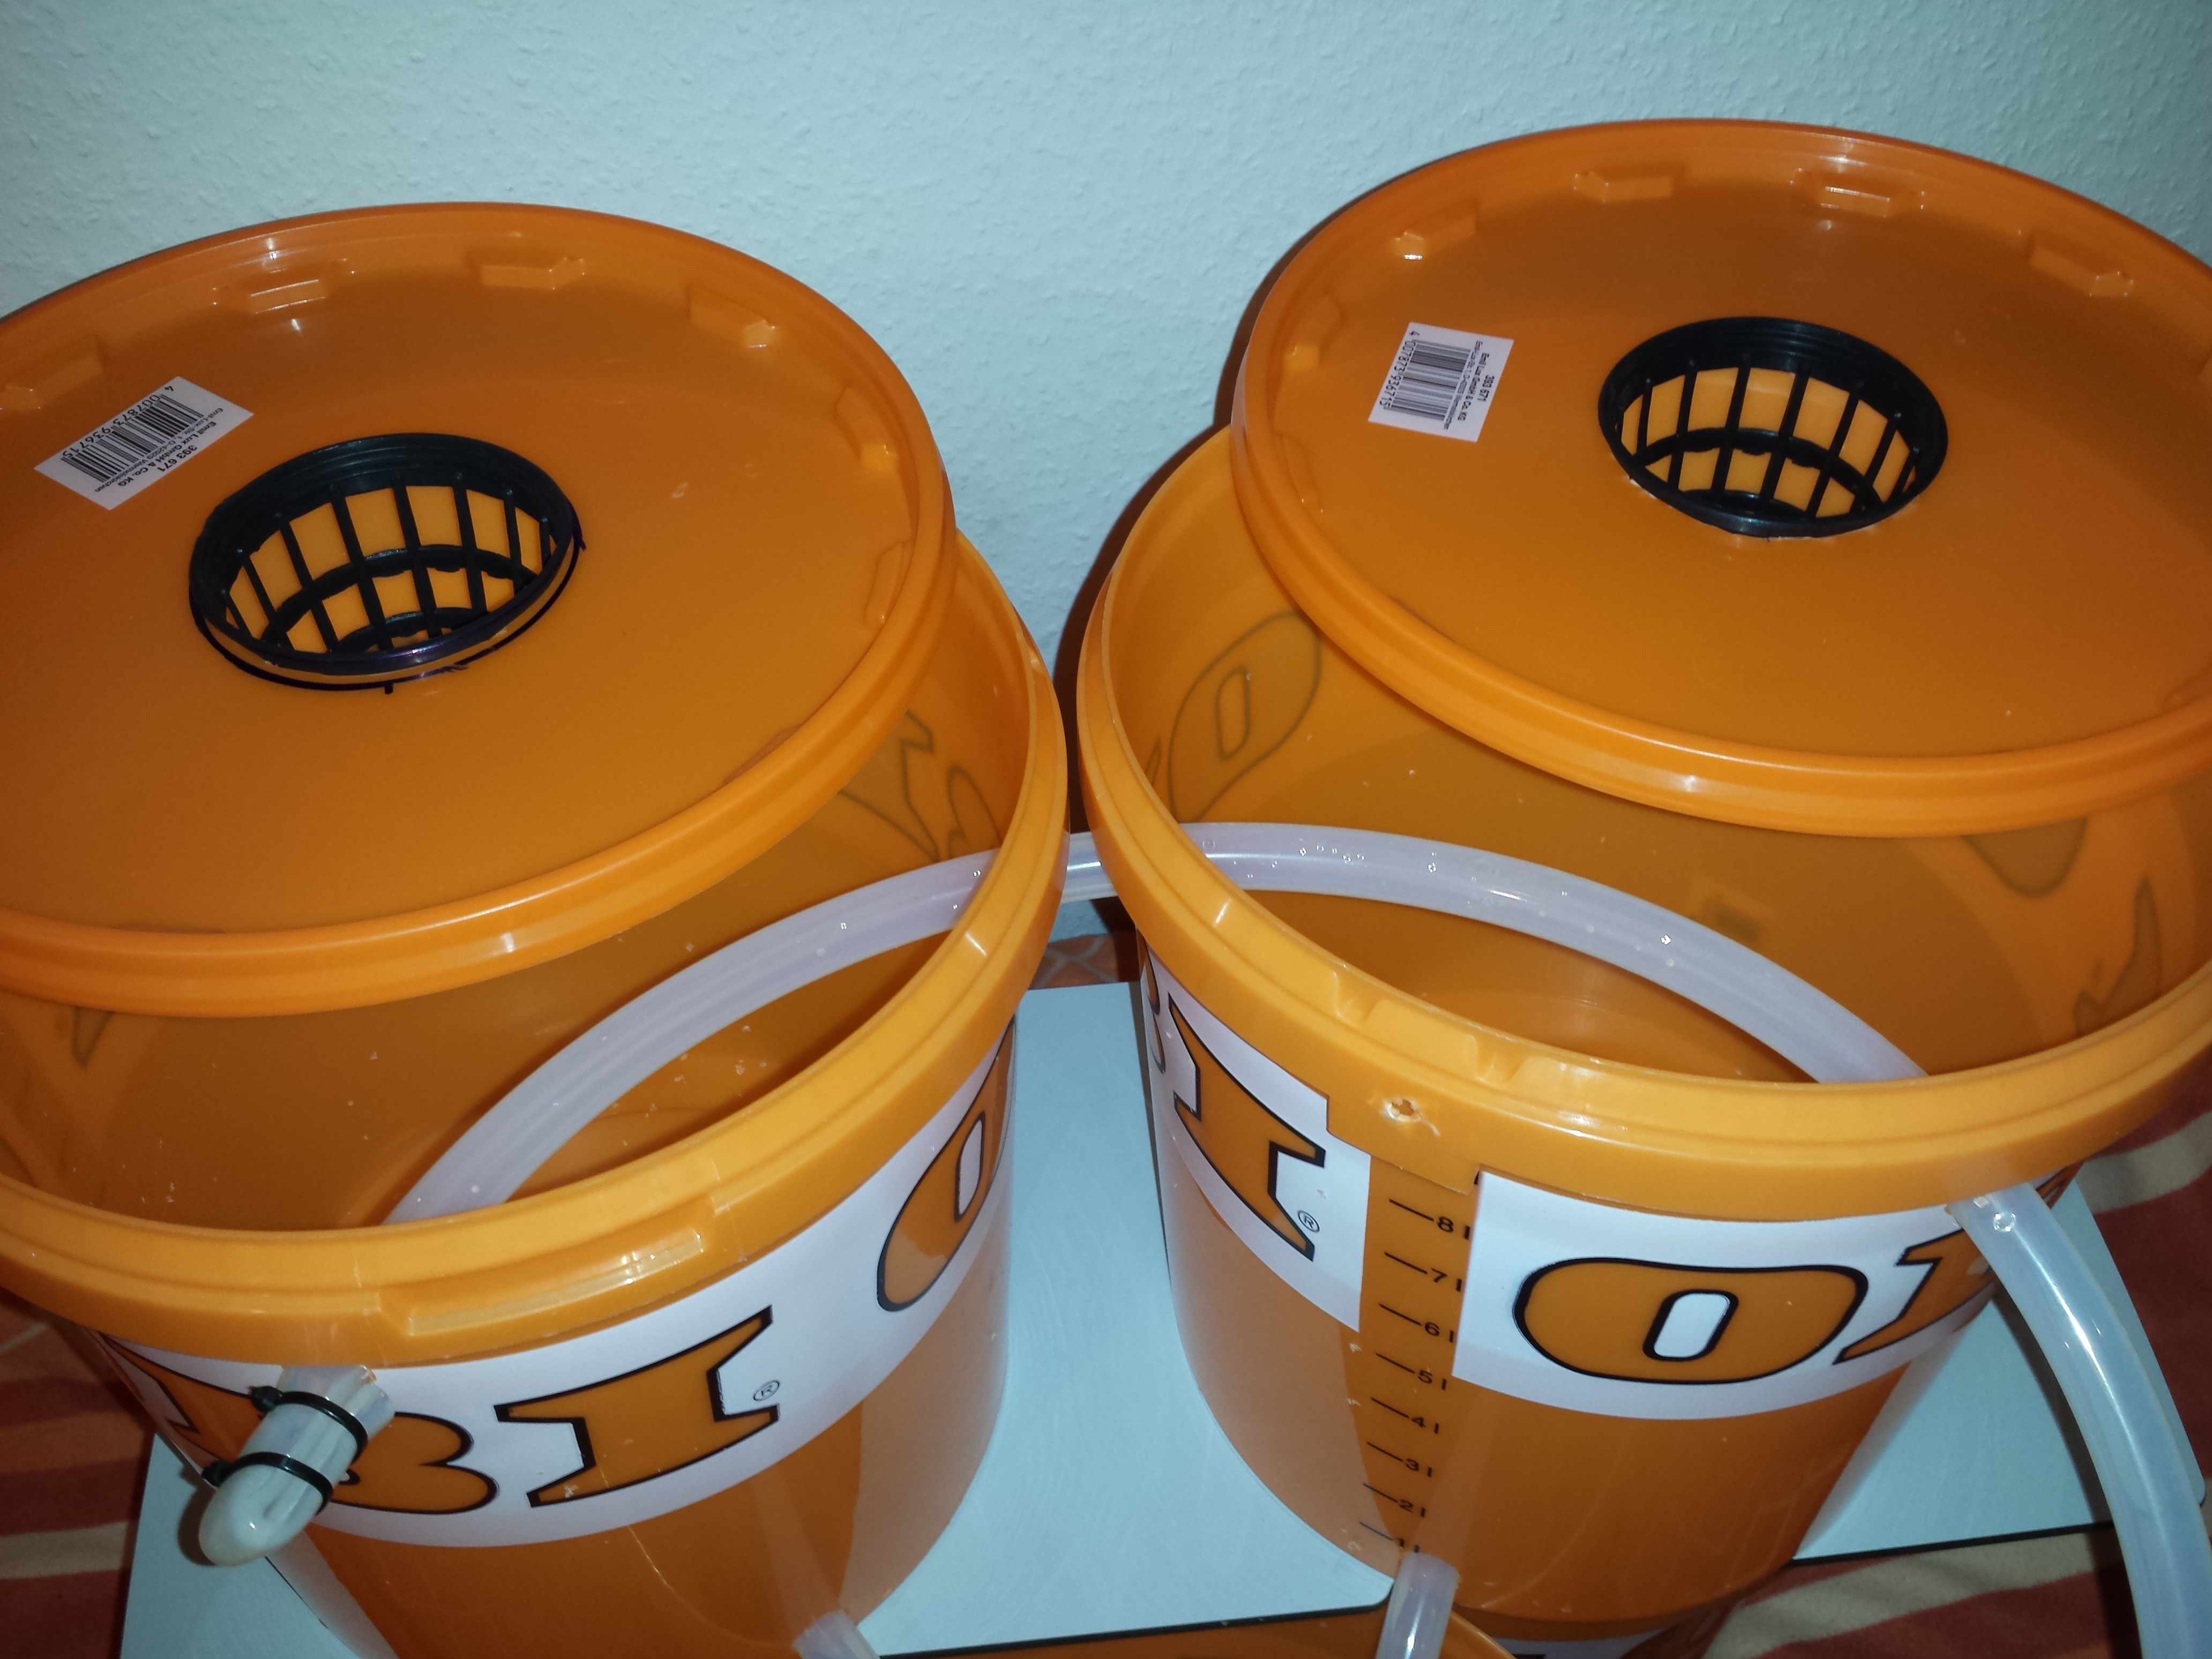
Now we have to make sure, the water is not just flowing on the ground, at the end of the tube.
Just take 2-4 cm of the tube, fold it back and clamp it down with some cable ties. This way the water is forced to go out of our nozzles.
![]()
The bucket needs a drain, to prevent overflowing. Just drill some 12mm holes in the side of the bucket. Make sure they are as close to the bottom as possible. Also the holes should be a little bit smaller than the tube, to make it seal watertight.
If you have trouble sealing the drain, use silicone sealant and wait a couple of days, before you use the system. (or else the vinegar of the silicone will kill your plants)
A 3-5cm layer of rocks on the bottom of the grow-bucket can act as a water filter. This prevents dirt from getting in the water tank and clogging the nozzles. Also it silences the noise of the falling water dropplets inside the grow-bucket. All you can hear is the pump running!
![]()
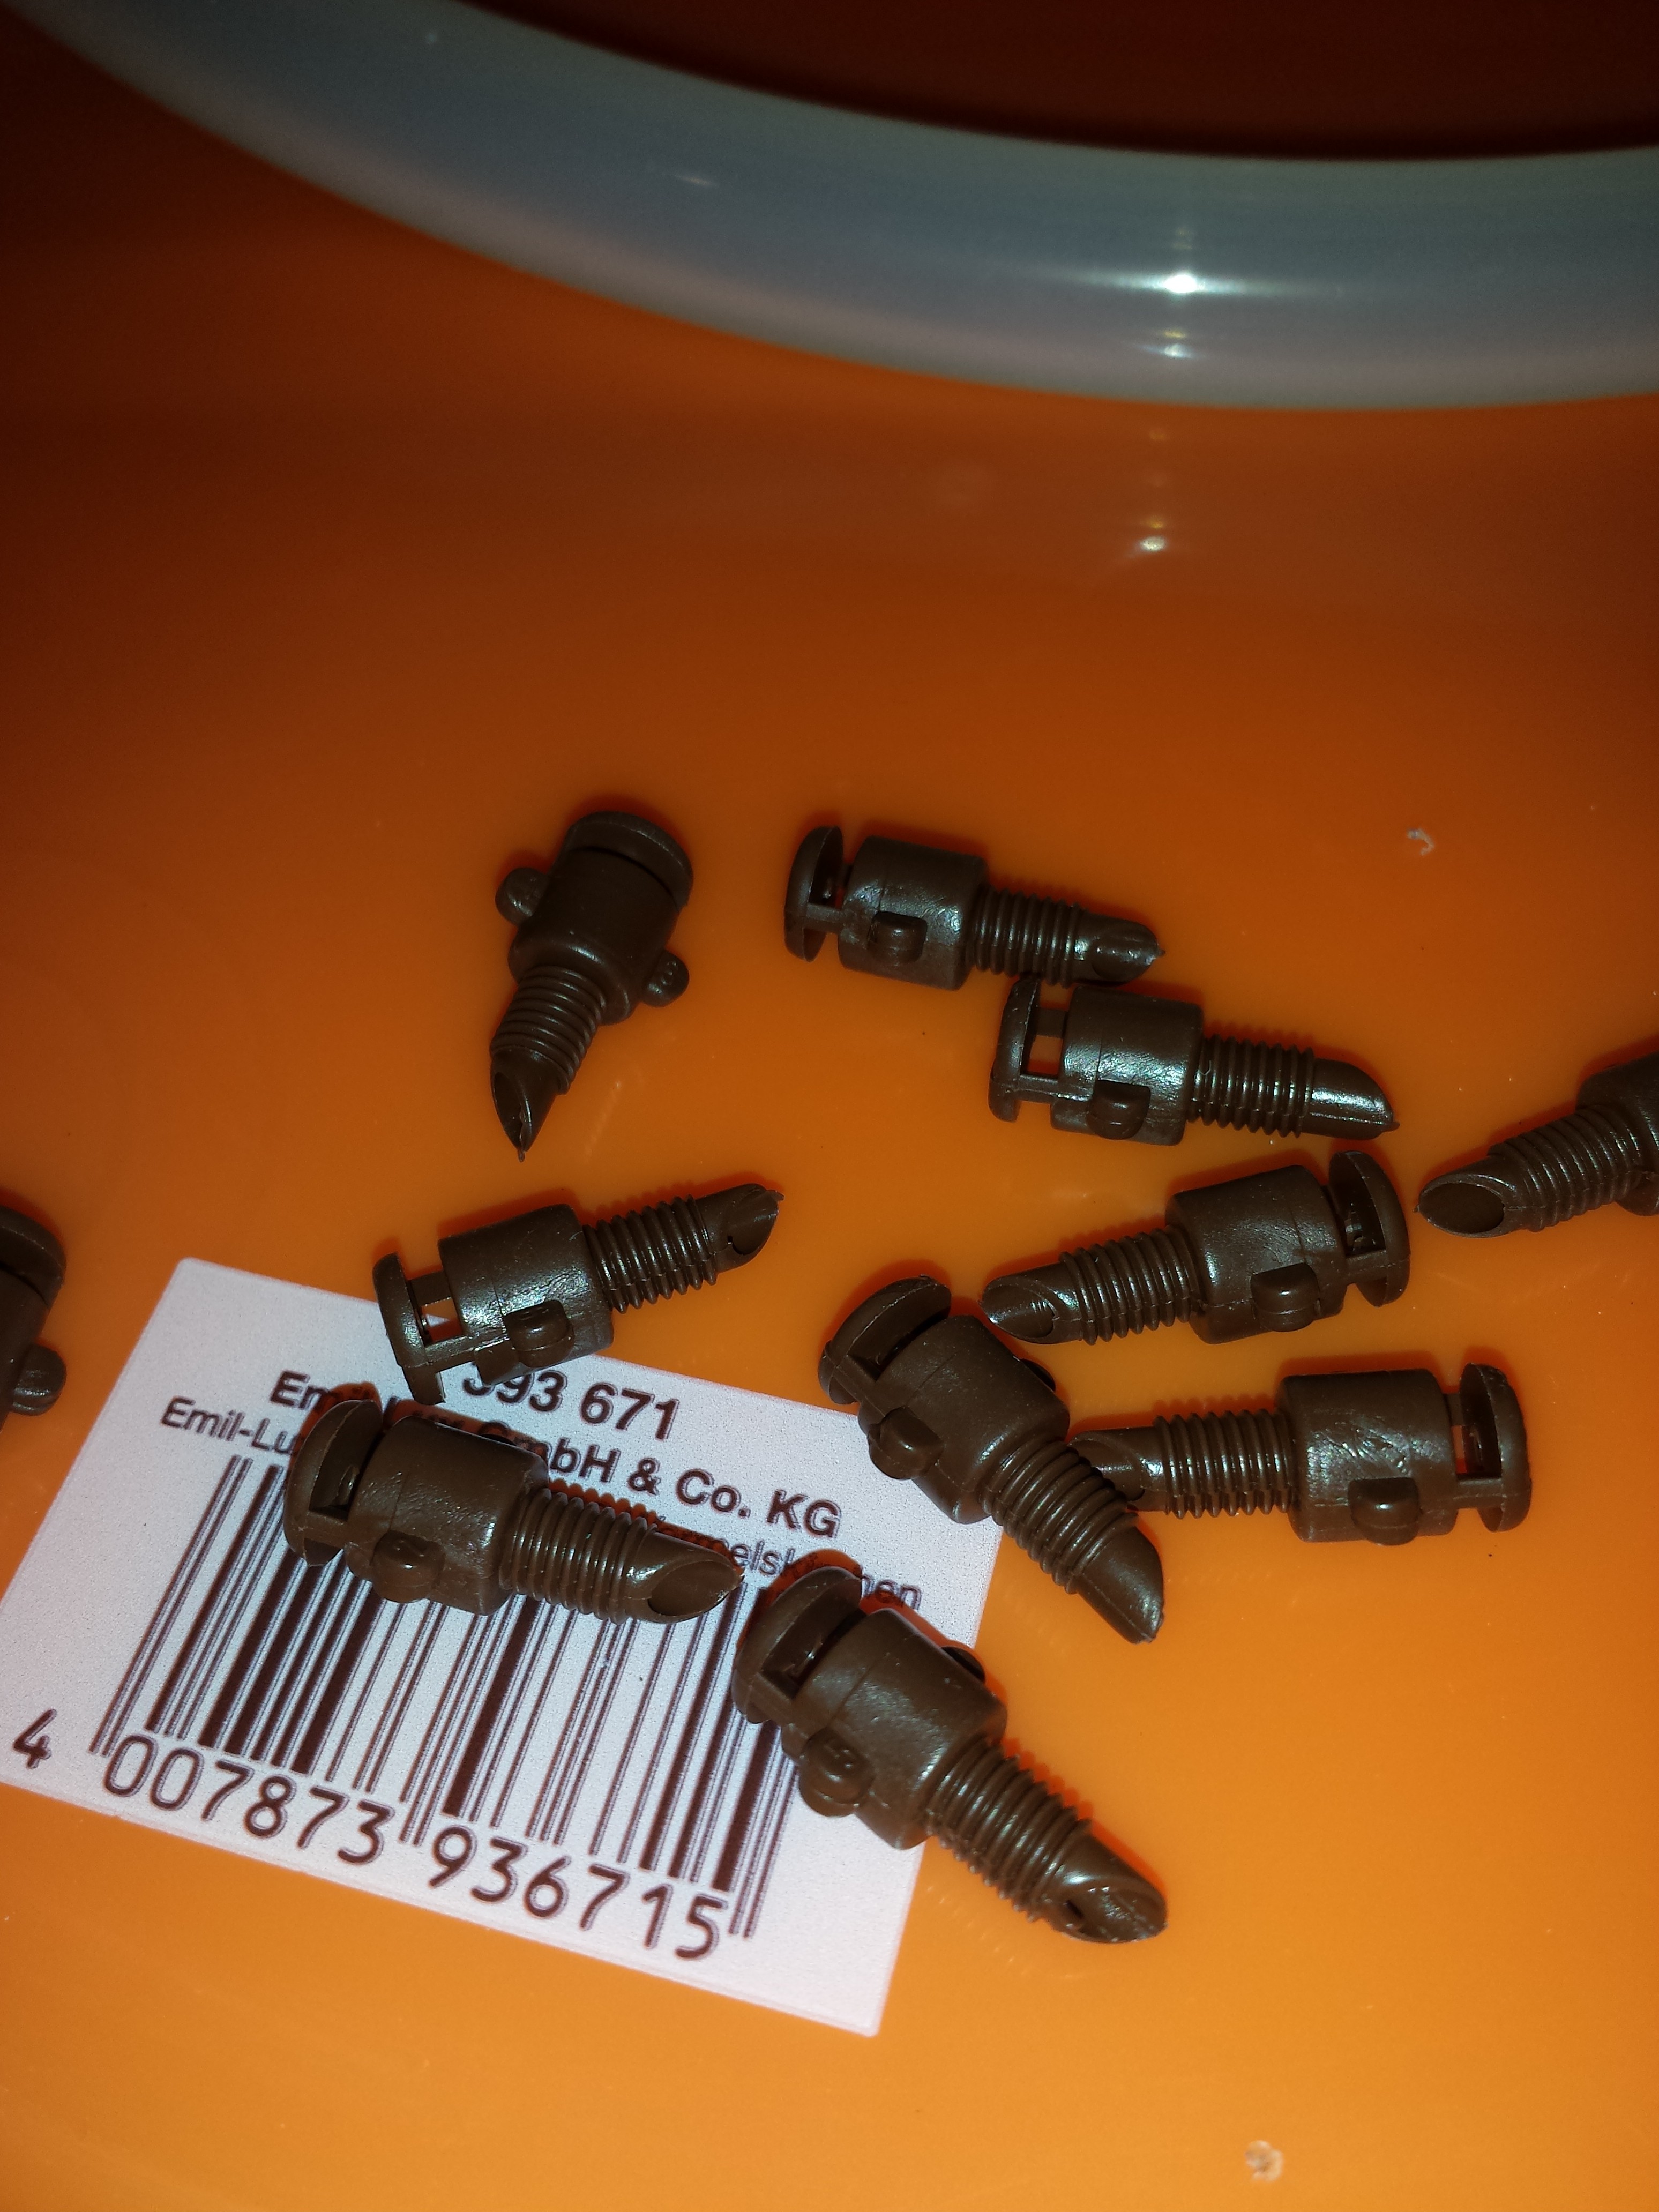
The picture below shows the small plastic nozzles i use for quite a while now. I really like them. cheap , easy to use and work forever.
You simply drill a 3mm hole in the tube and srew the nozzles in. Then drill them out again and check for silicone pieces in the nozzle. if they are free, back in.
If they get clogged by dirt, just srew them out, blow backwards in them (i just use my mouth) and they get free pretty easy. I never had to replace a single nozzle. All working fine since the first prototypes.
![]()
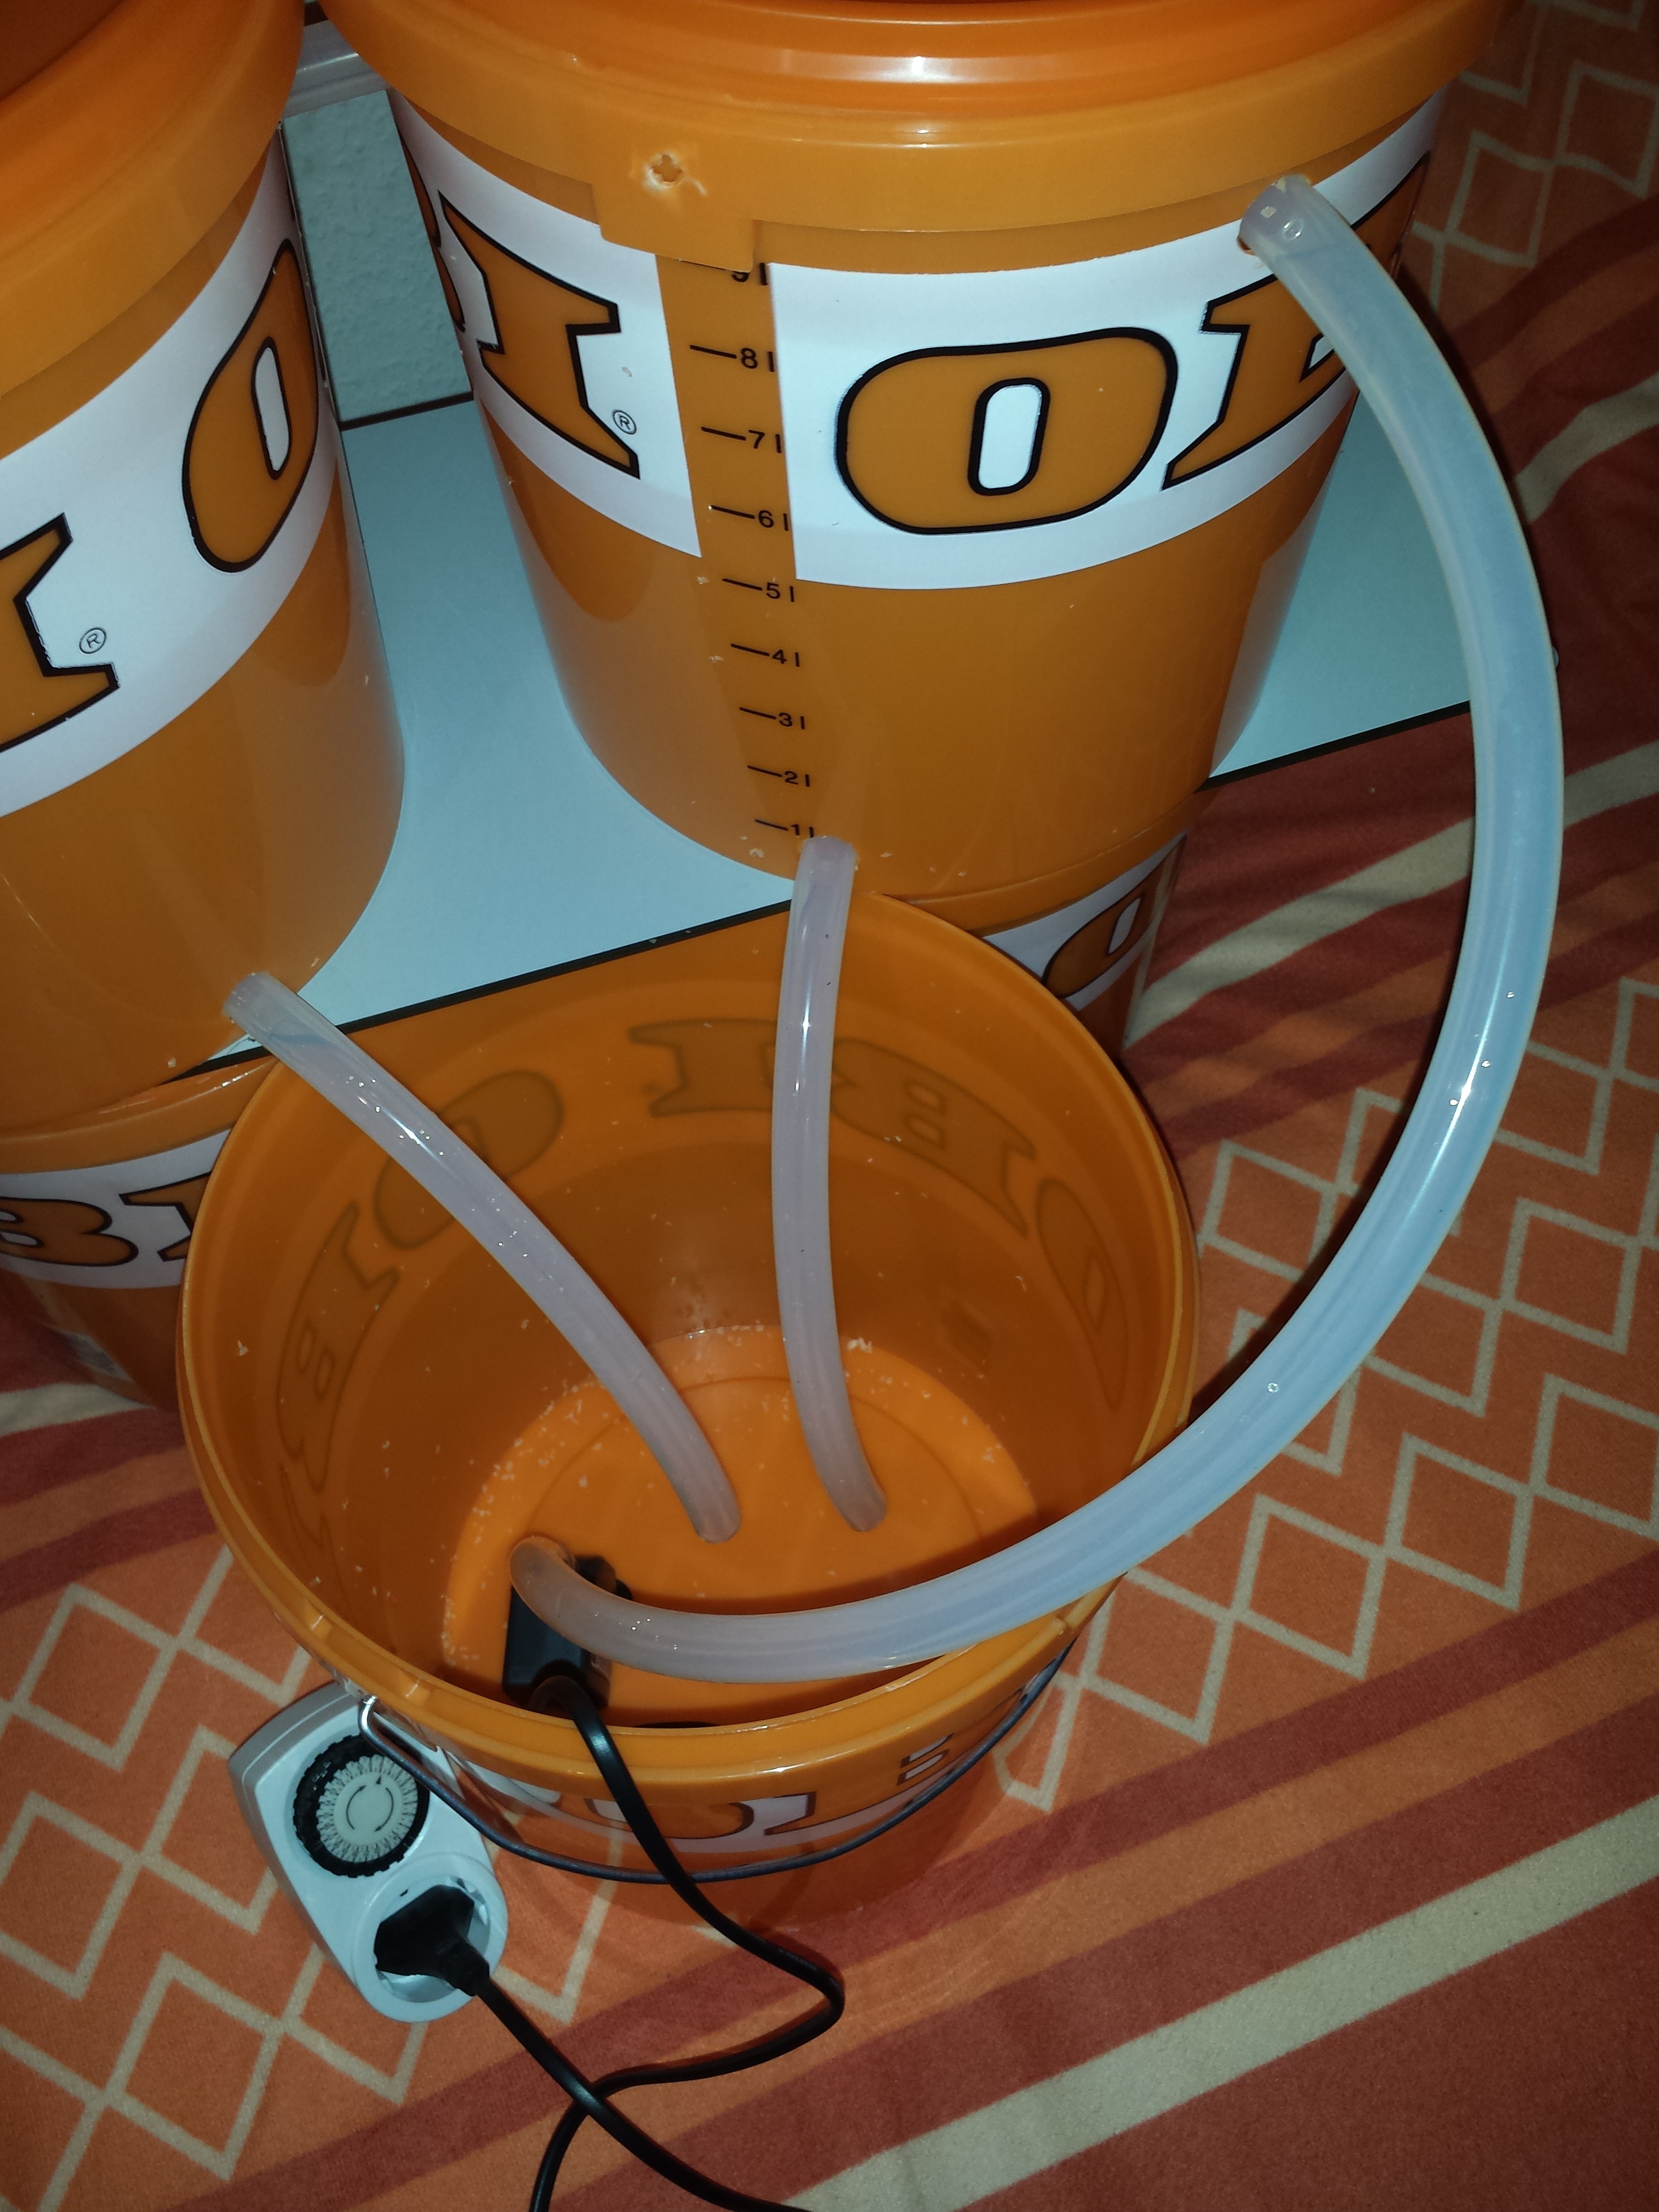
That was almost everything:
We have the Water tank at the bottom, two pots that needs to be filled with clay pebbles and plants and a Timer to keep control.
I used two more Buckets, filled with rocks, to raise the grow-buckets above the water tank.
Before you start the system, make sure to clean all 3 buckets from drilling pieces and dirt. That way you wont have clogged nozzles.
They are really the only thing you have to do maintenance on: Nozzles free? -> all fine
![]()
For the Nutrient Solution i used osmosis water (free from foreign salts) and added a root stimulator and a little fertilizer. PH is 6.0 , EC is 1.0ms.
-
4Step 4
Final thoughts:
This version uses 1 plant per bucket, earlier versions had 4 pots per Bucket and up to 8 plants in them. With the automatic watering and big amount of oxygen, the plants tend to grow huge. I had to many plants fighting for the little sunlight available, so this time i reduced the number of plants per m².
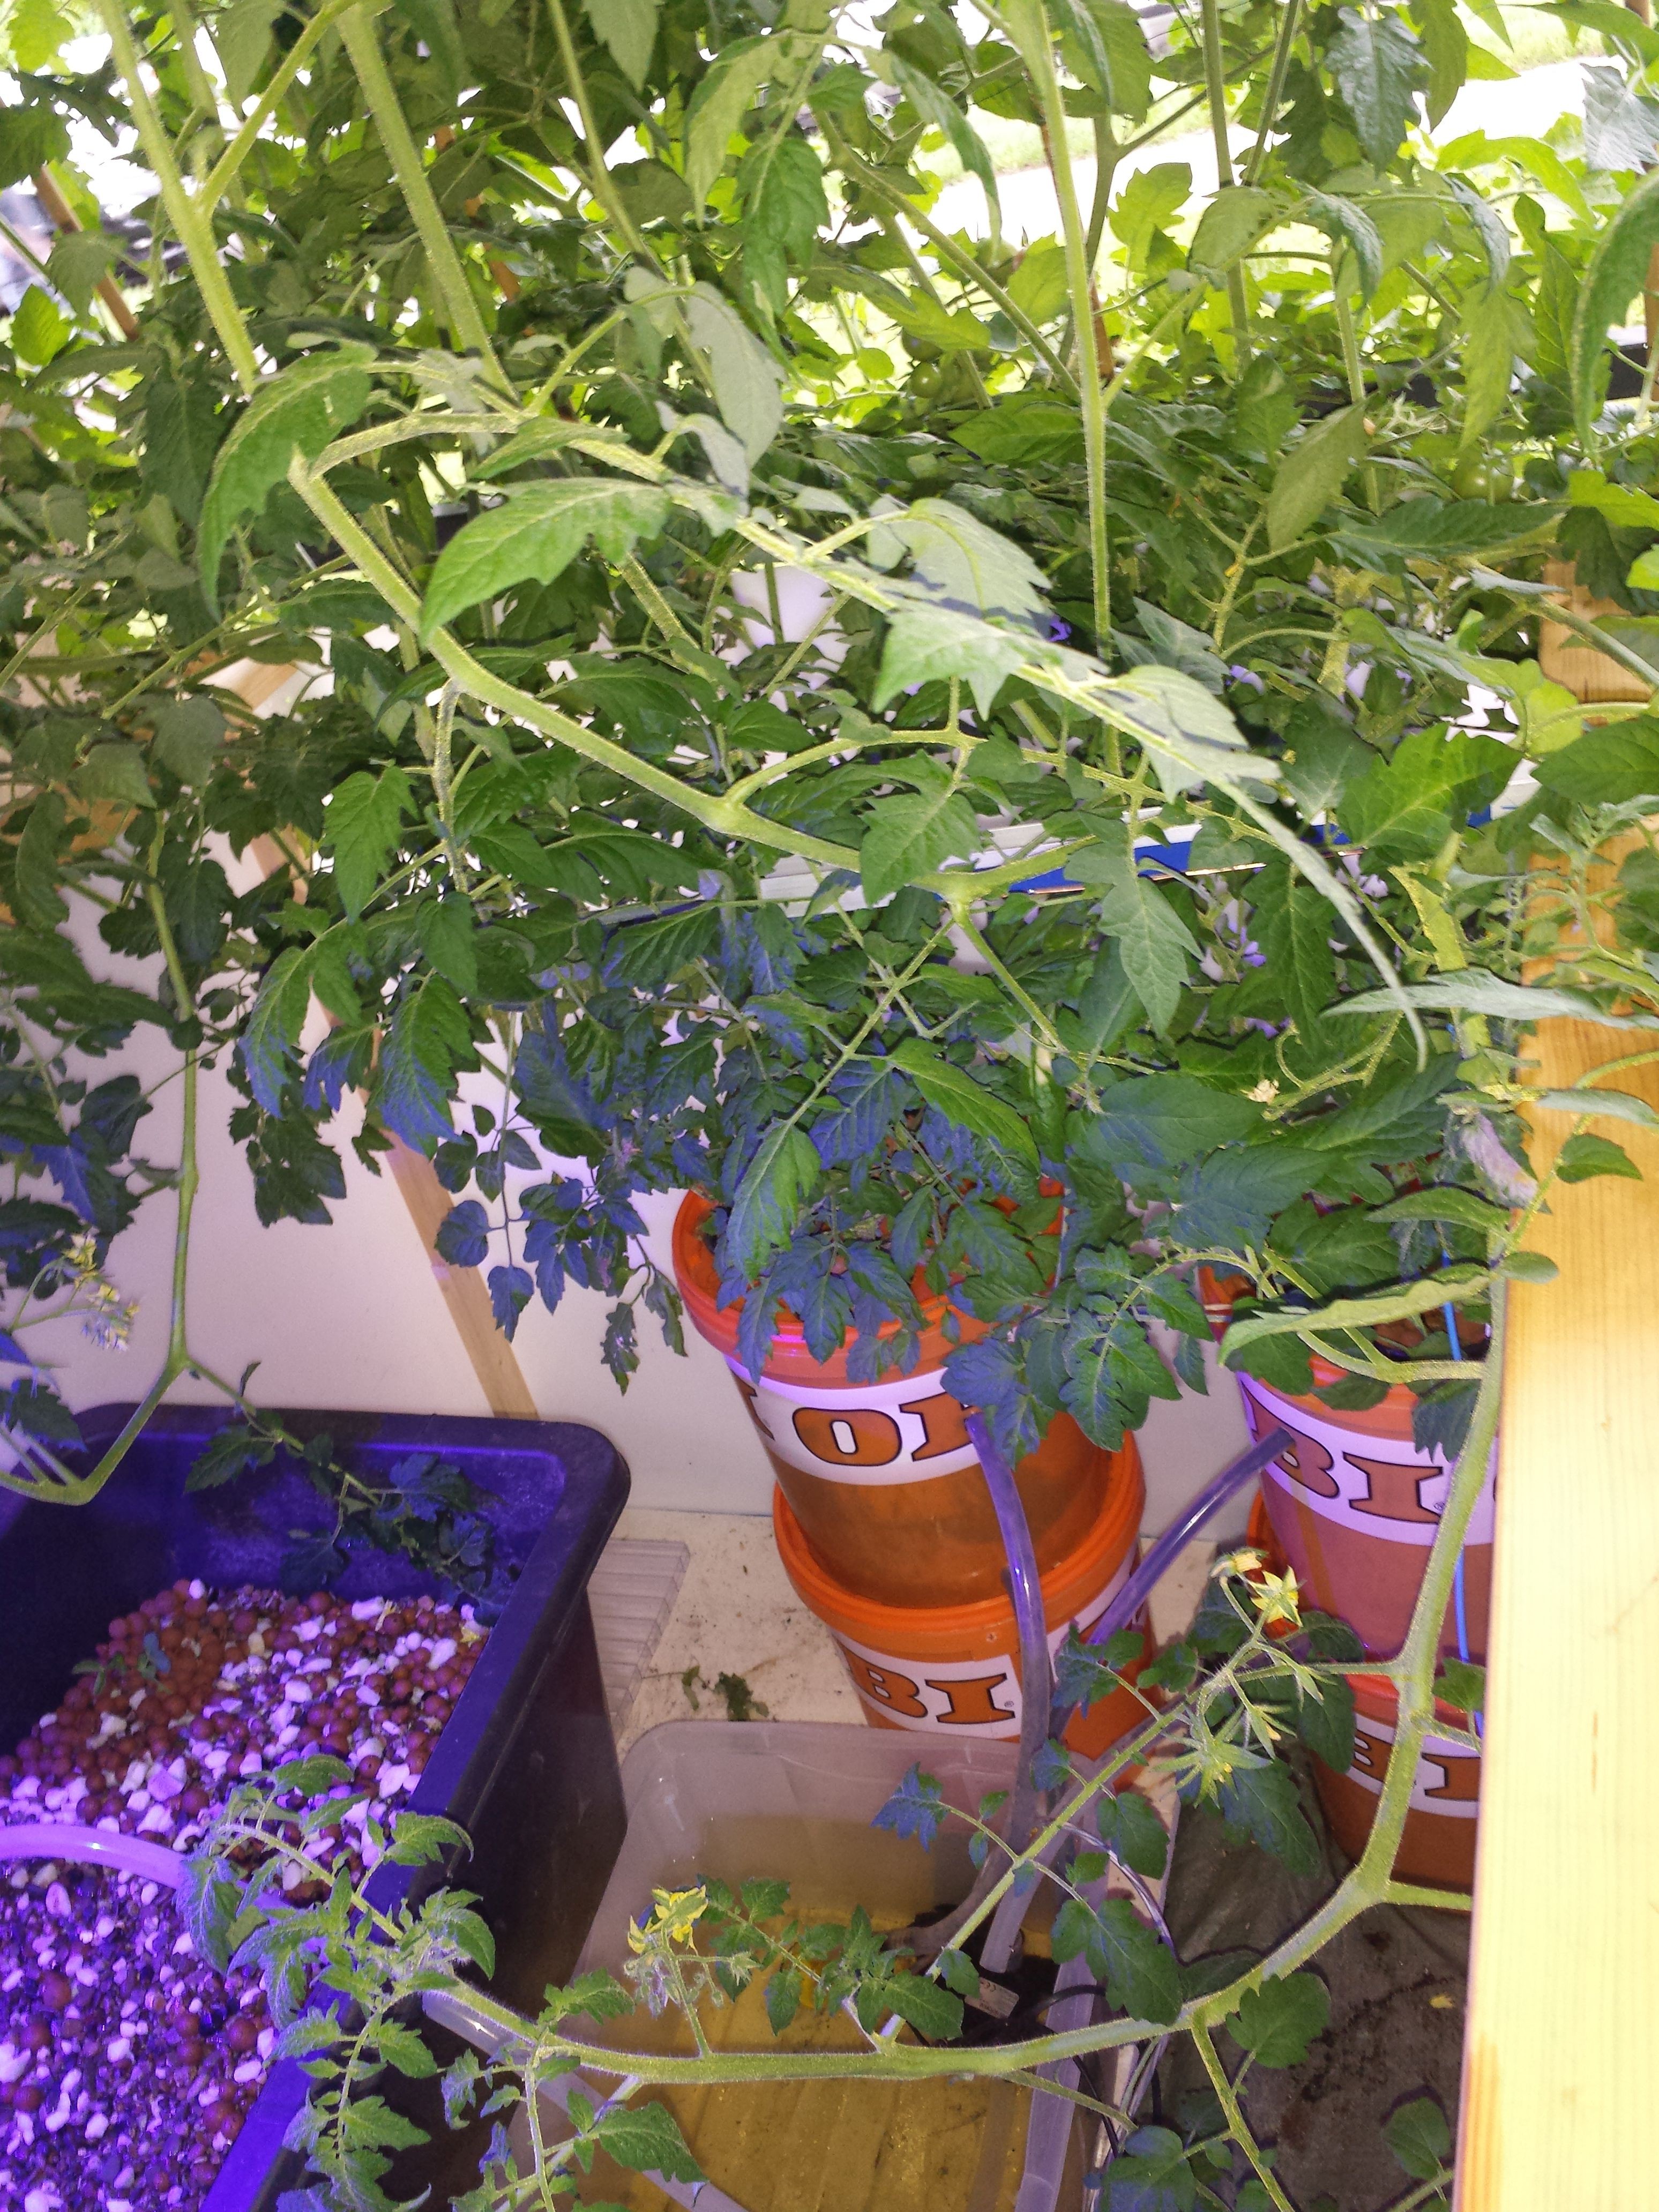
My last version is running for 3 Months now and the Tomatoes in there are really happy. They grow like crazy and its hard to maintain the system. But here are some Photos of my system 3 Months after start:
![]()
In the picture above you see my last System. Every bucket had his own pump for redundancy. 4 pots per Bucket: to crowded, way to crowded. On the left you see a different approach: Aquaponics (symbiosis between Fish and vegetables) more information on that in future logs.
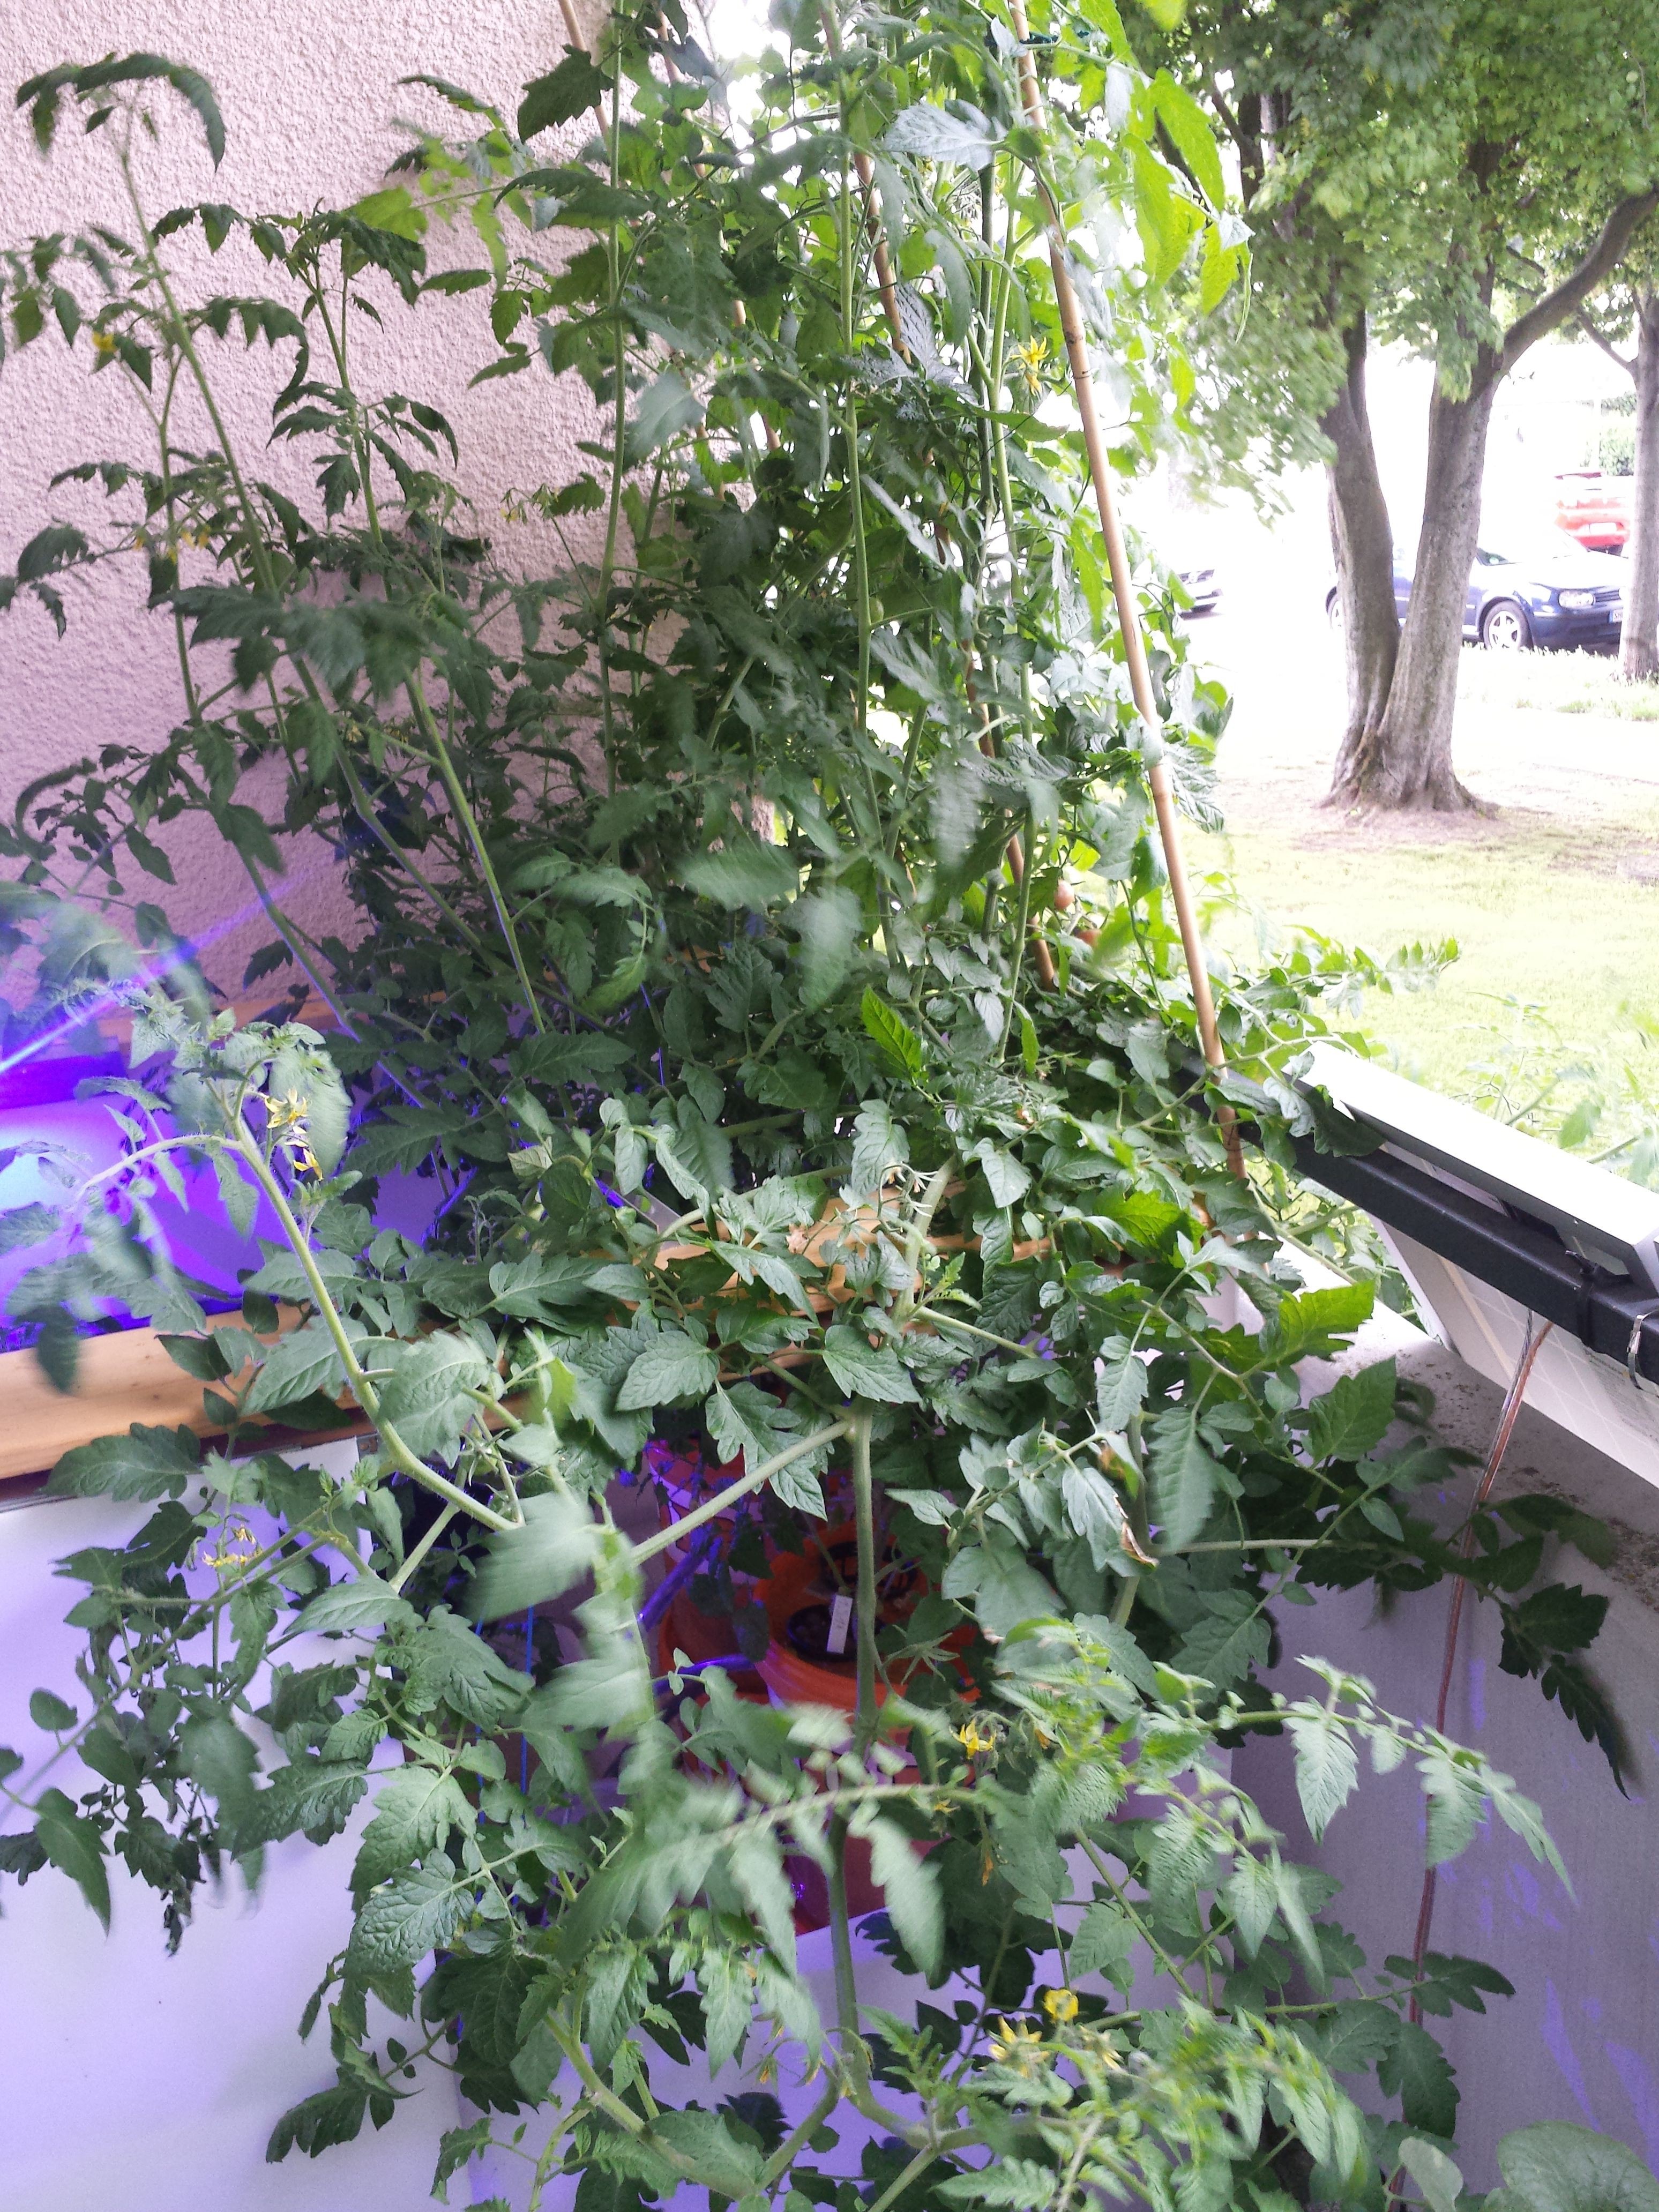
![]()
Above is the same system from a different angle. If you look closely, you can see the orange Buckets on the bottom. This big bush consists of 5 Tomato plants, growing in the same small pots, we used in this project. That means: with good care, plants only need a small area for the roots to grow.
I wish everyone best luck, who wants to give aeroponics a try. The NASA is doing it on the ISS, growing lettuche in space. I only took their idea and made it cheap enouth, for everyone to make his/her own experiments with controlled growth.
-see you next mission
aka
-
5Sensing Plant Moisture: You're doing it wrong!
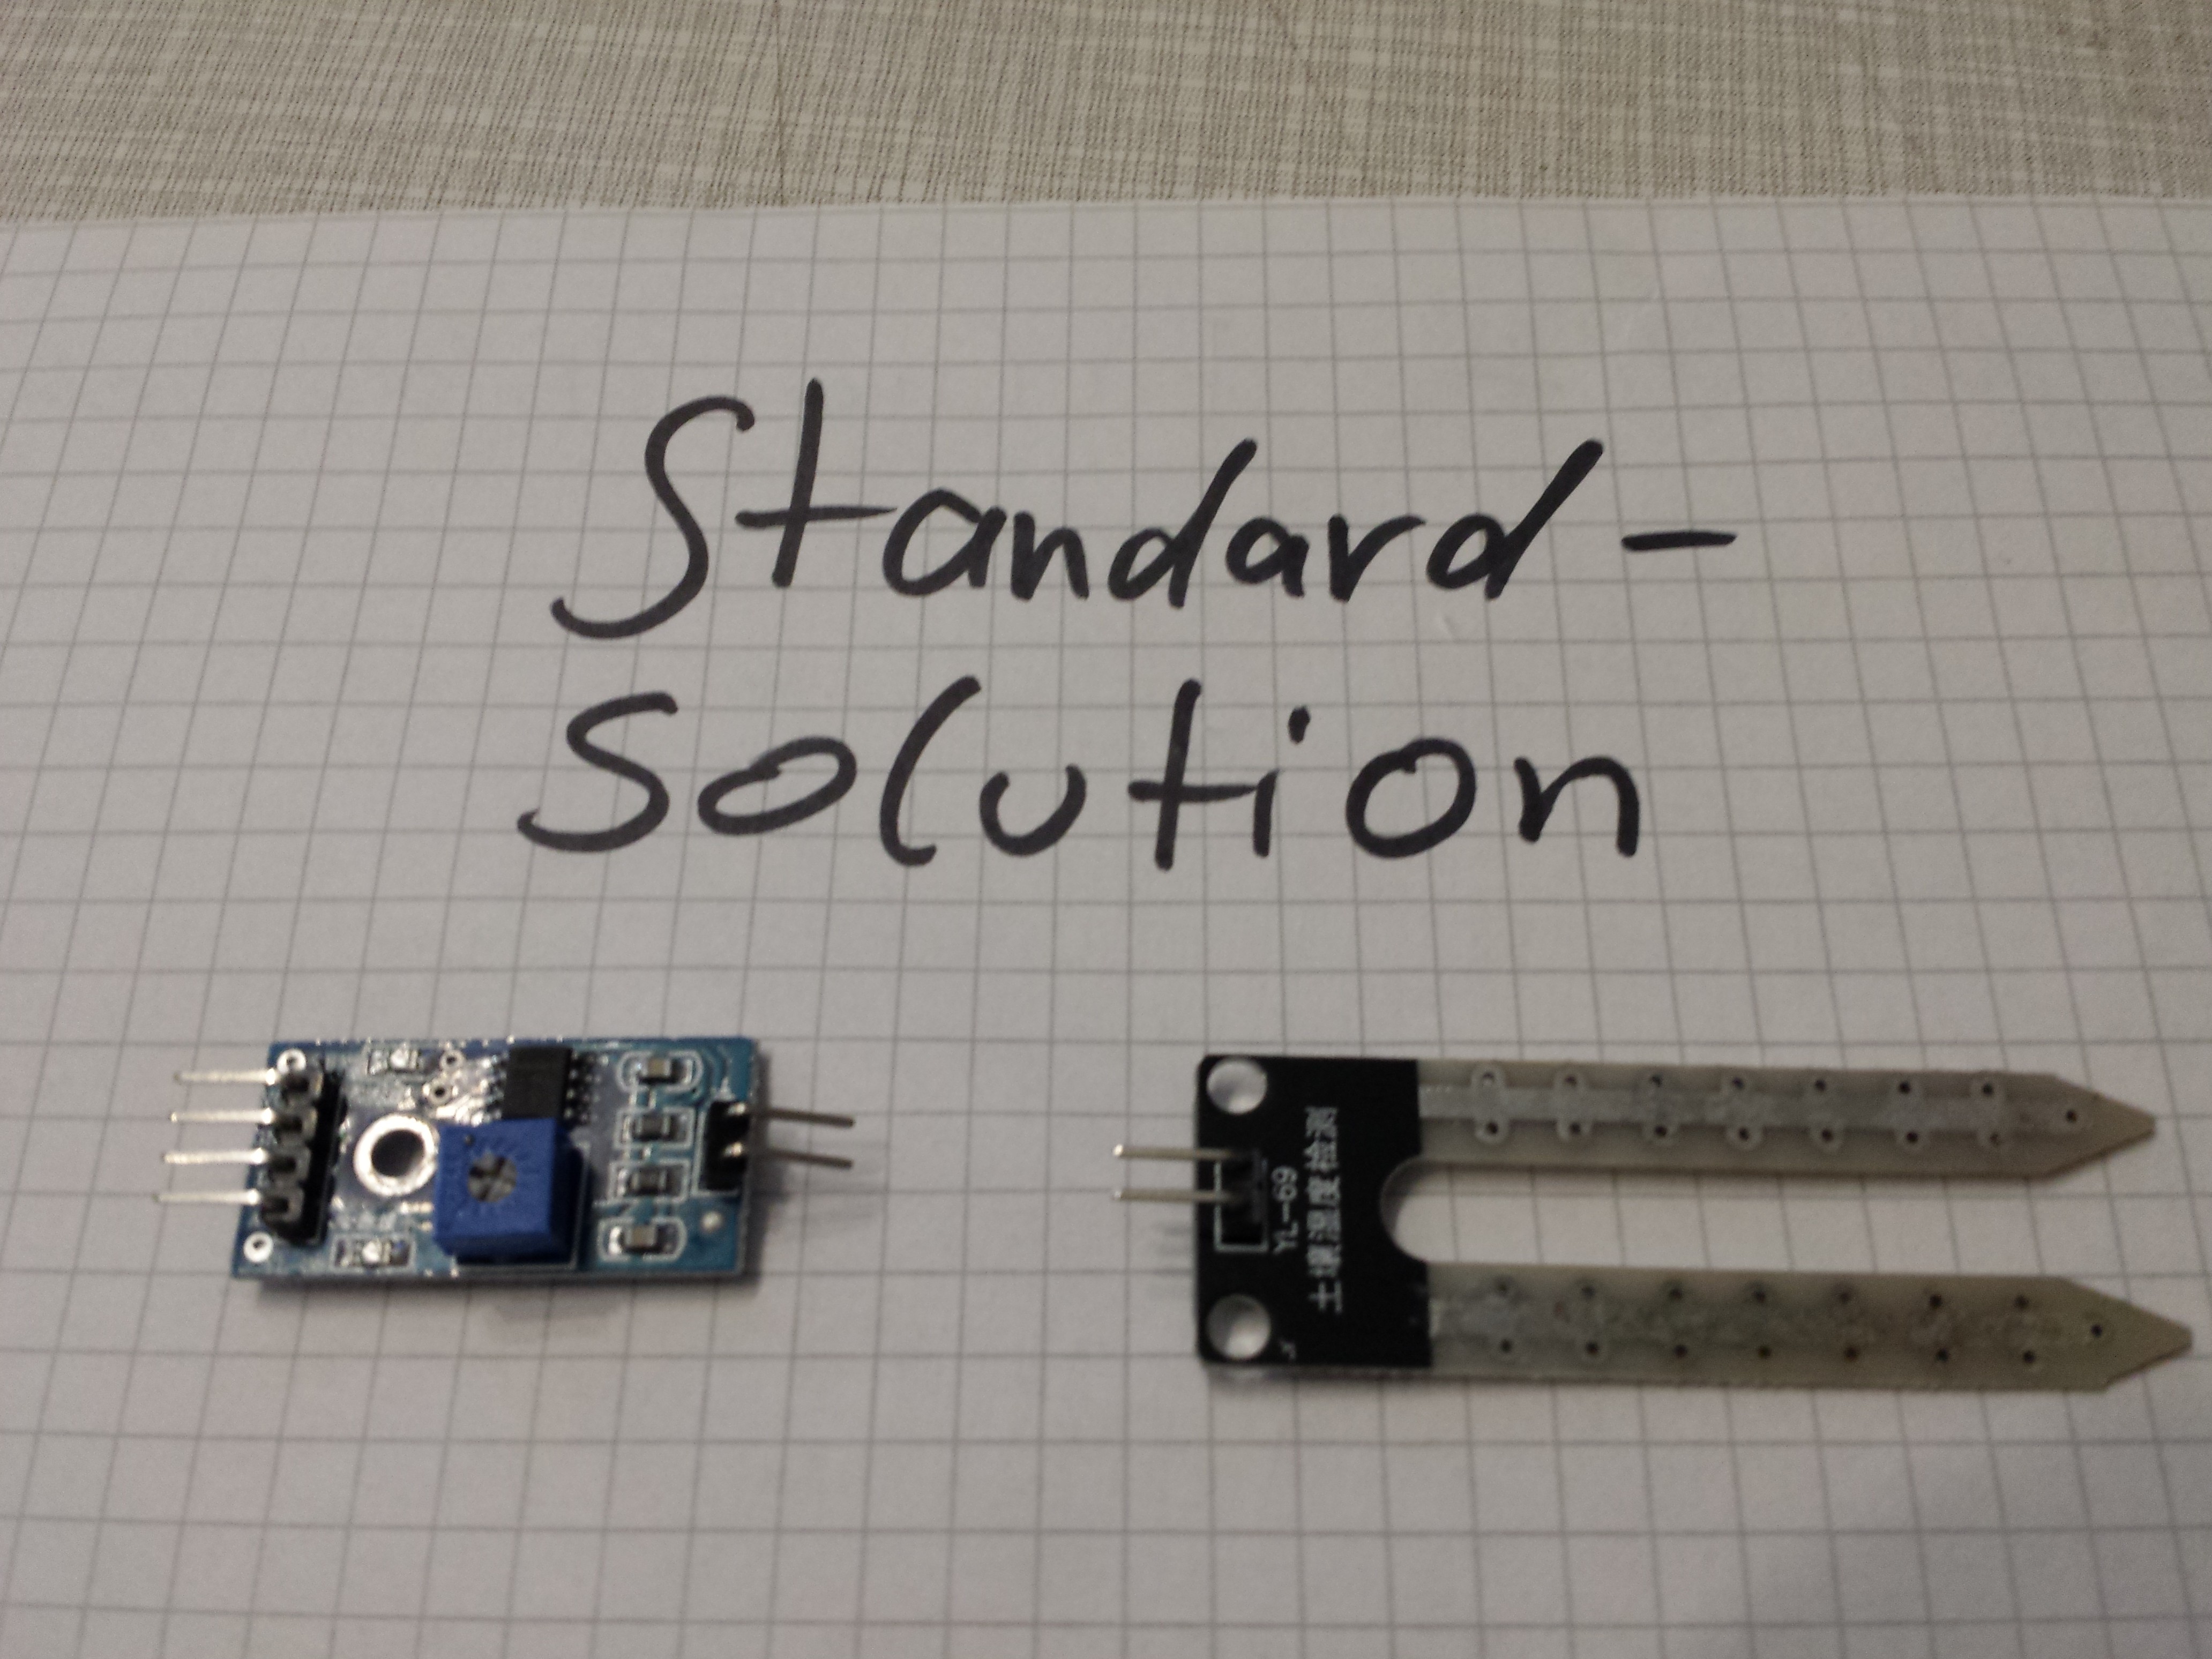
In the past few years, there are a lot of "Automatic-watering-Systems" appearing on Hackaday.io and a lot of them use the same simple Method of Measuring the Moisture of the Soil:
![]()
A small Amplifier and a PCB-Elektrode. Even more advanced Systems like "the Chirp" are using PCB-Electrodes.
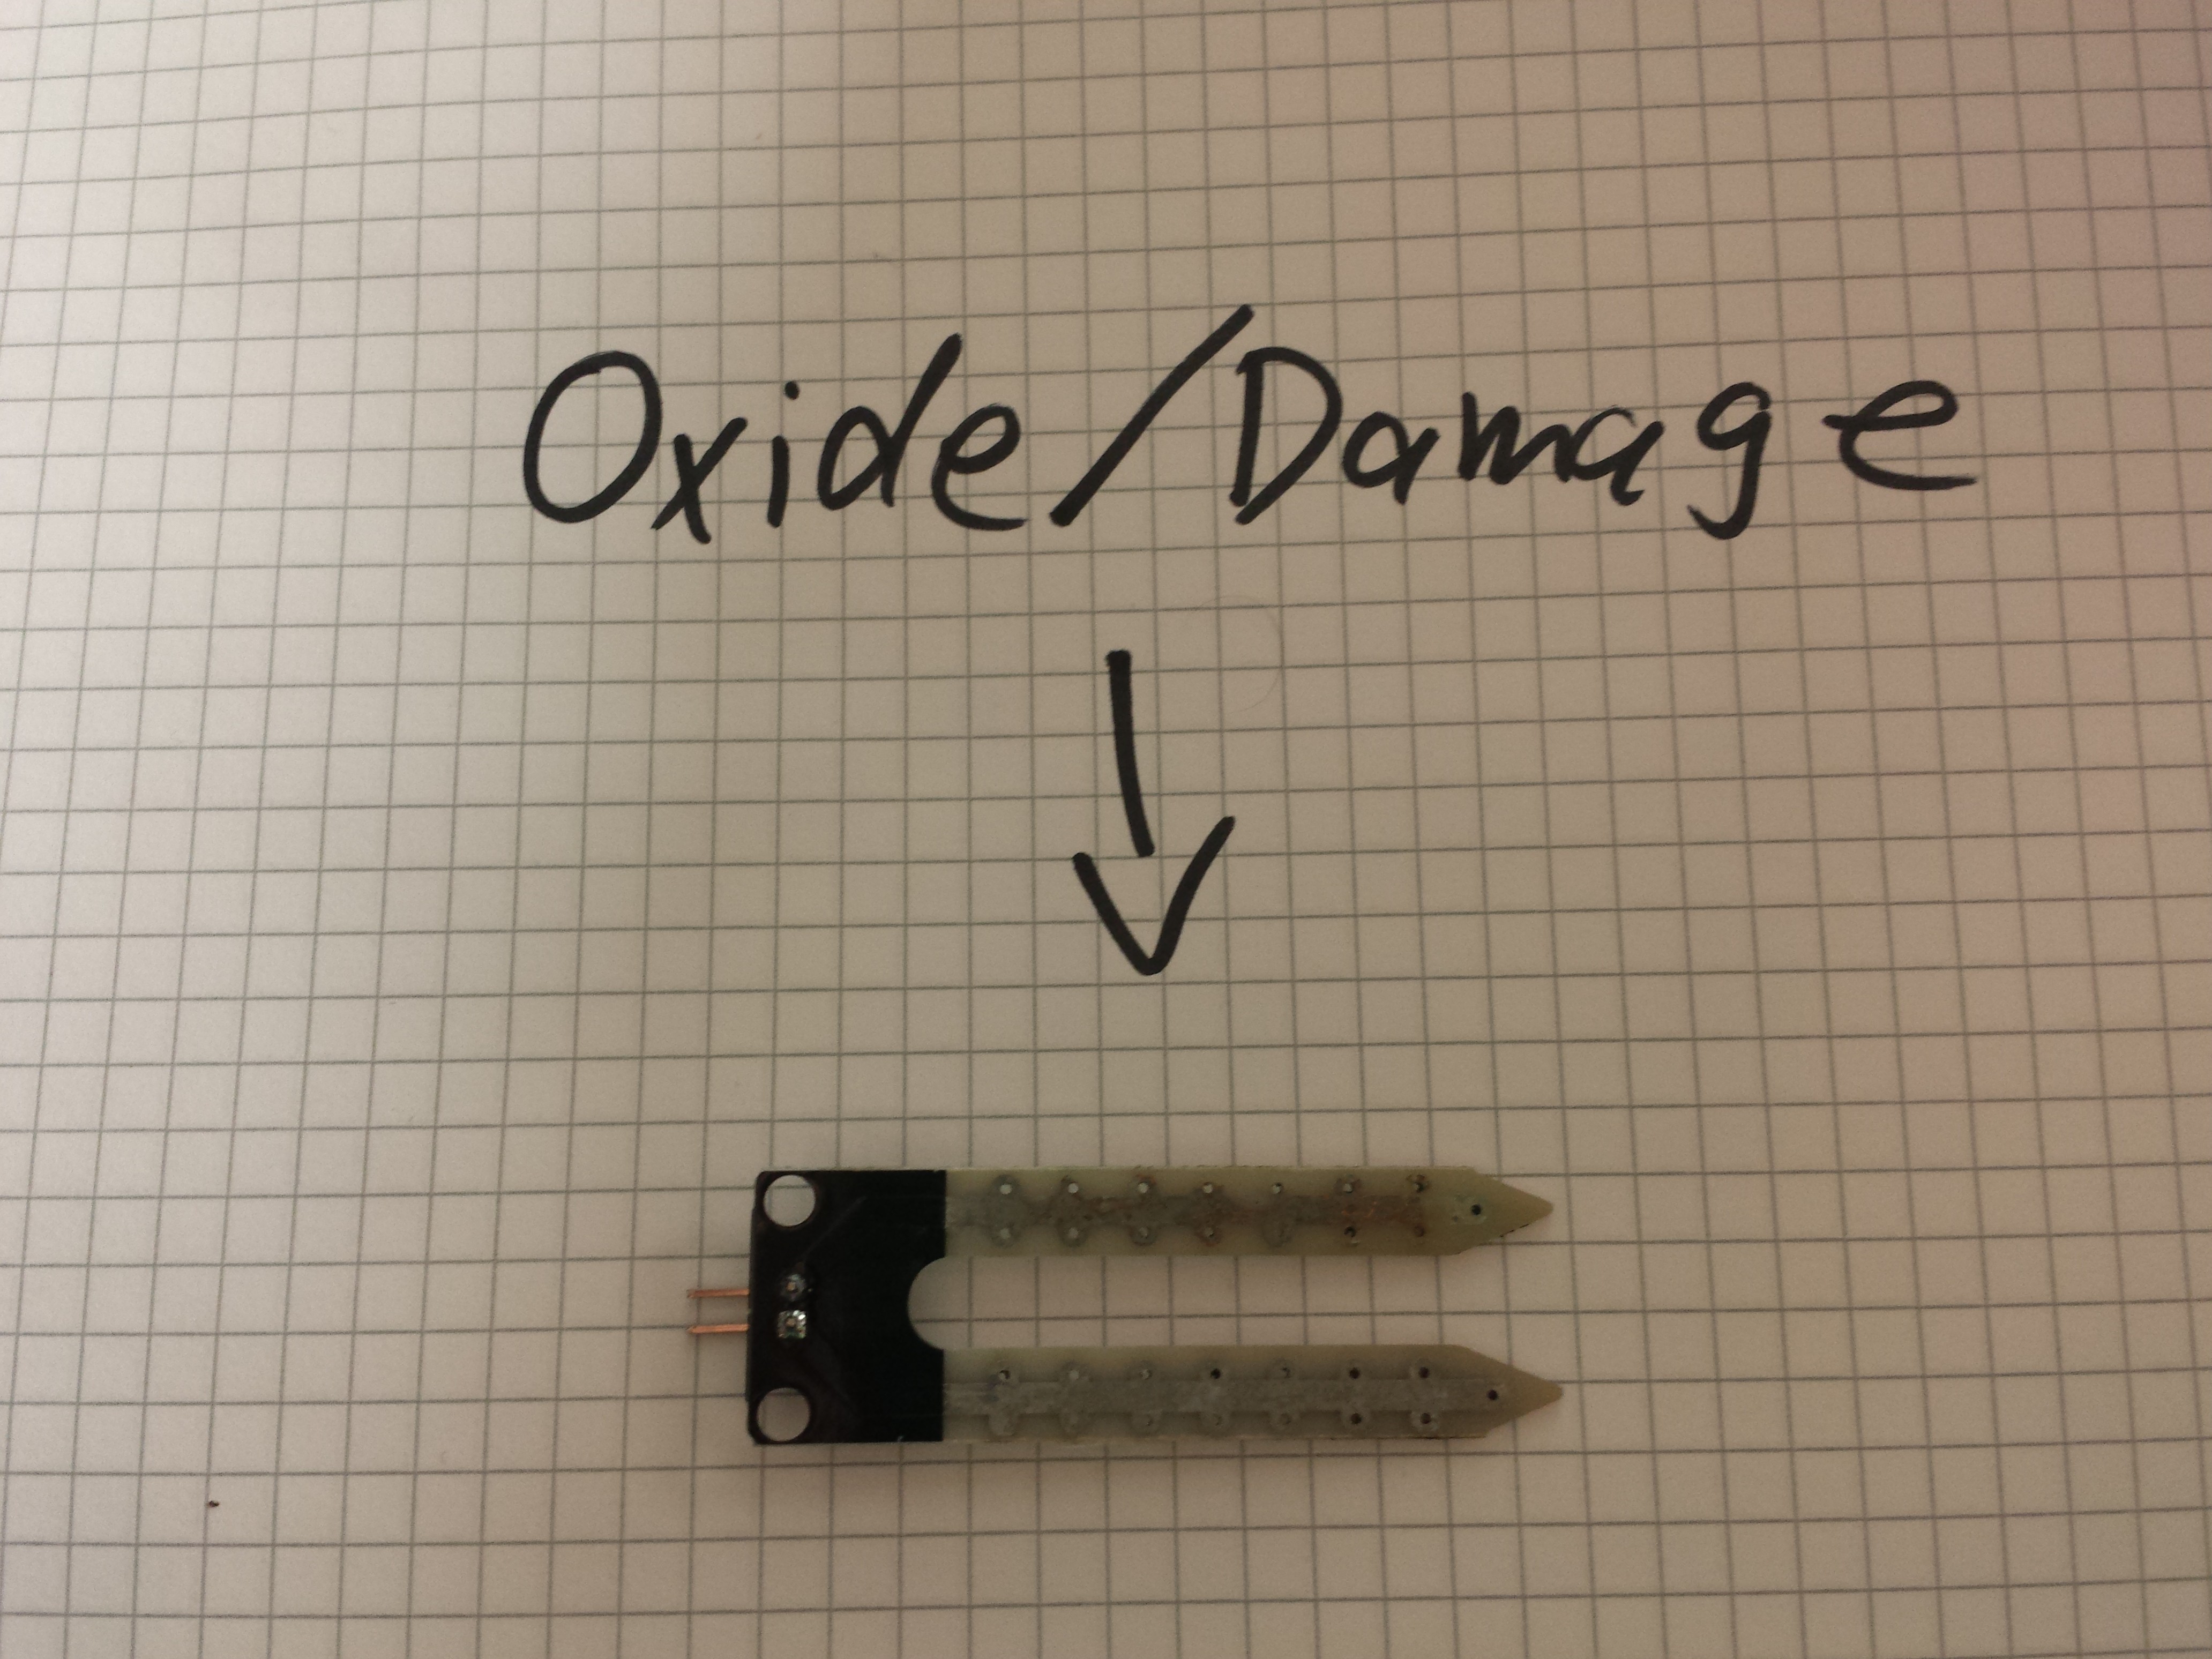
But they have a really short lifetime. Basicaly you are making elektrolysis with wet Soil, current and metal Electrodes.
They will oxidise fast and after a week they look like this:![]()
After another week they had no contact with the soil and Measured always "dry".
If you decide to use these electrodes, your Arduino will think the plant is dry and starts pumping water.... but the plant will never be "Wet" and the pump never stops.... right about two weeks in your vacation....
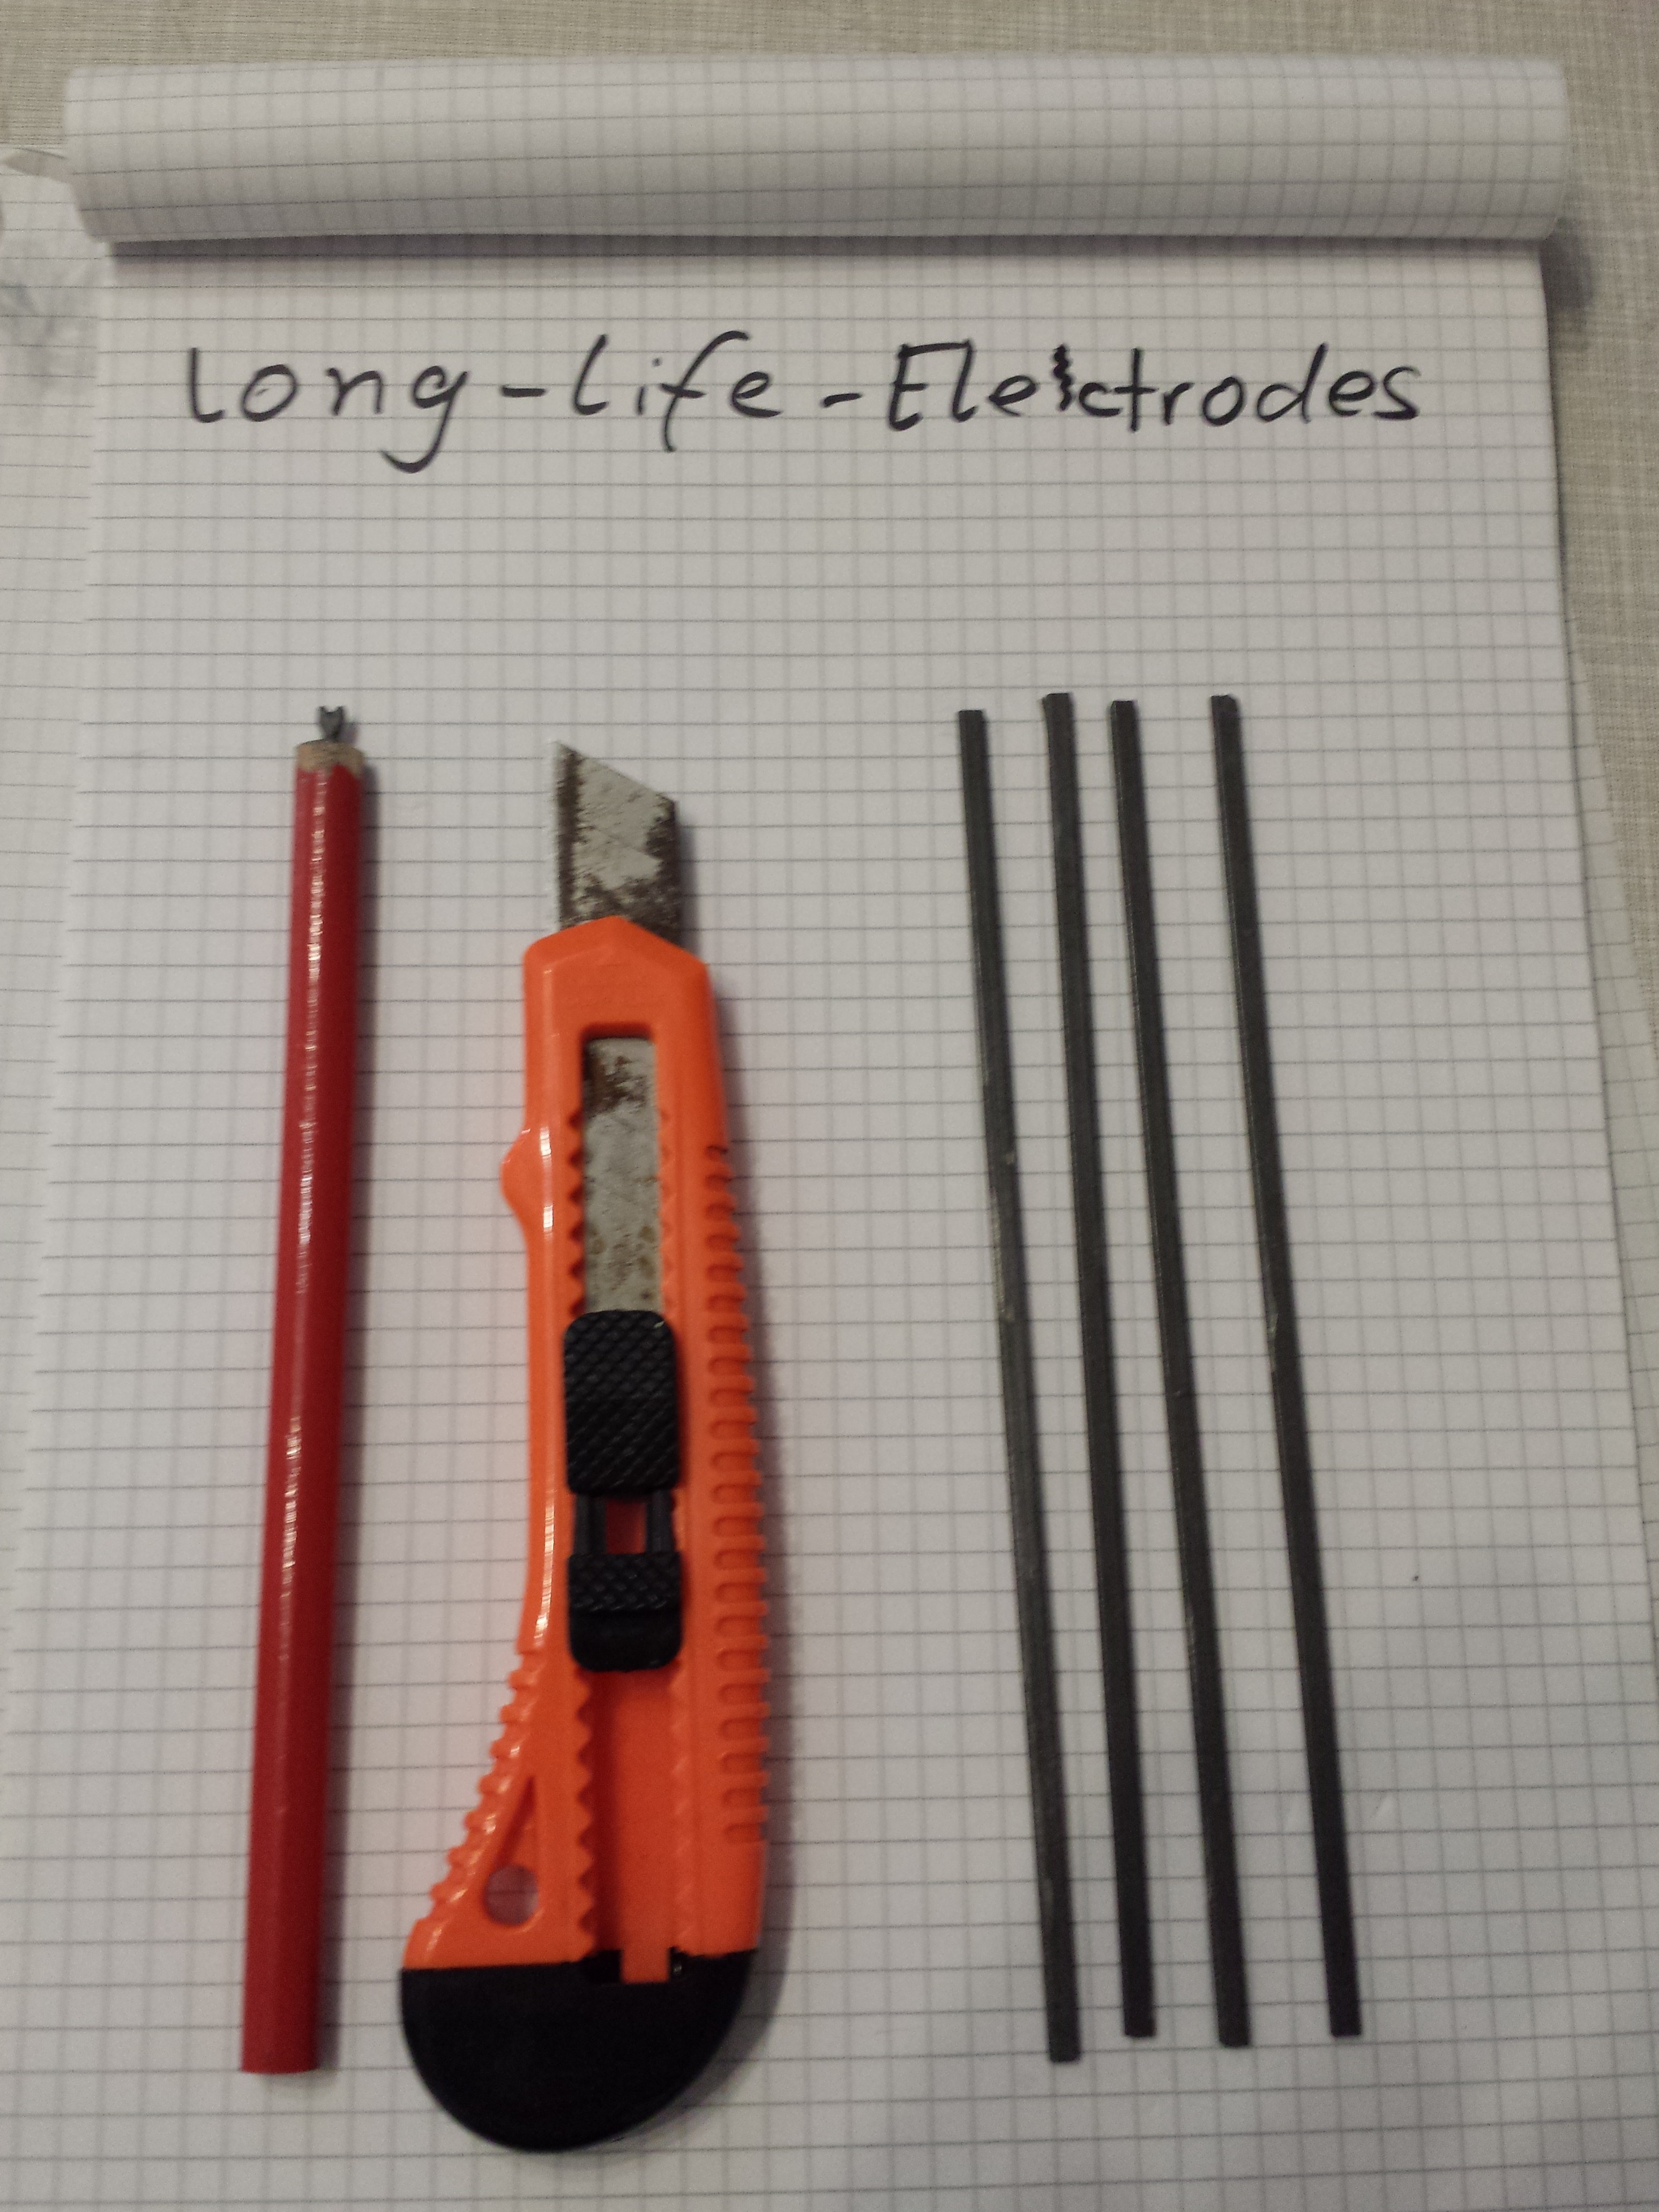
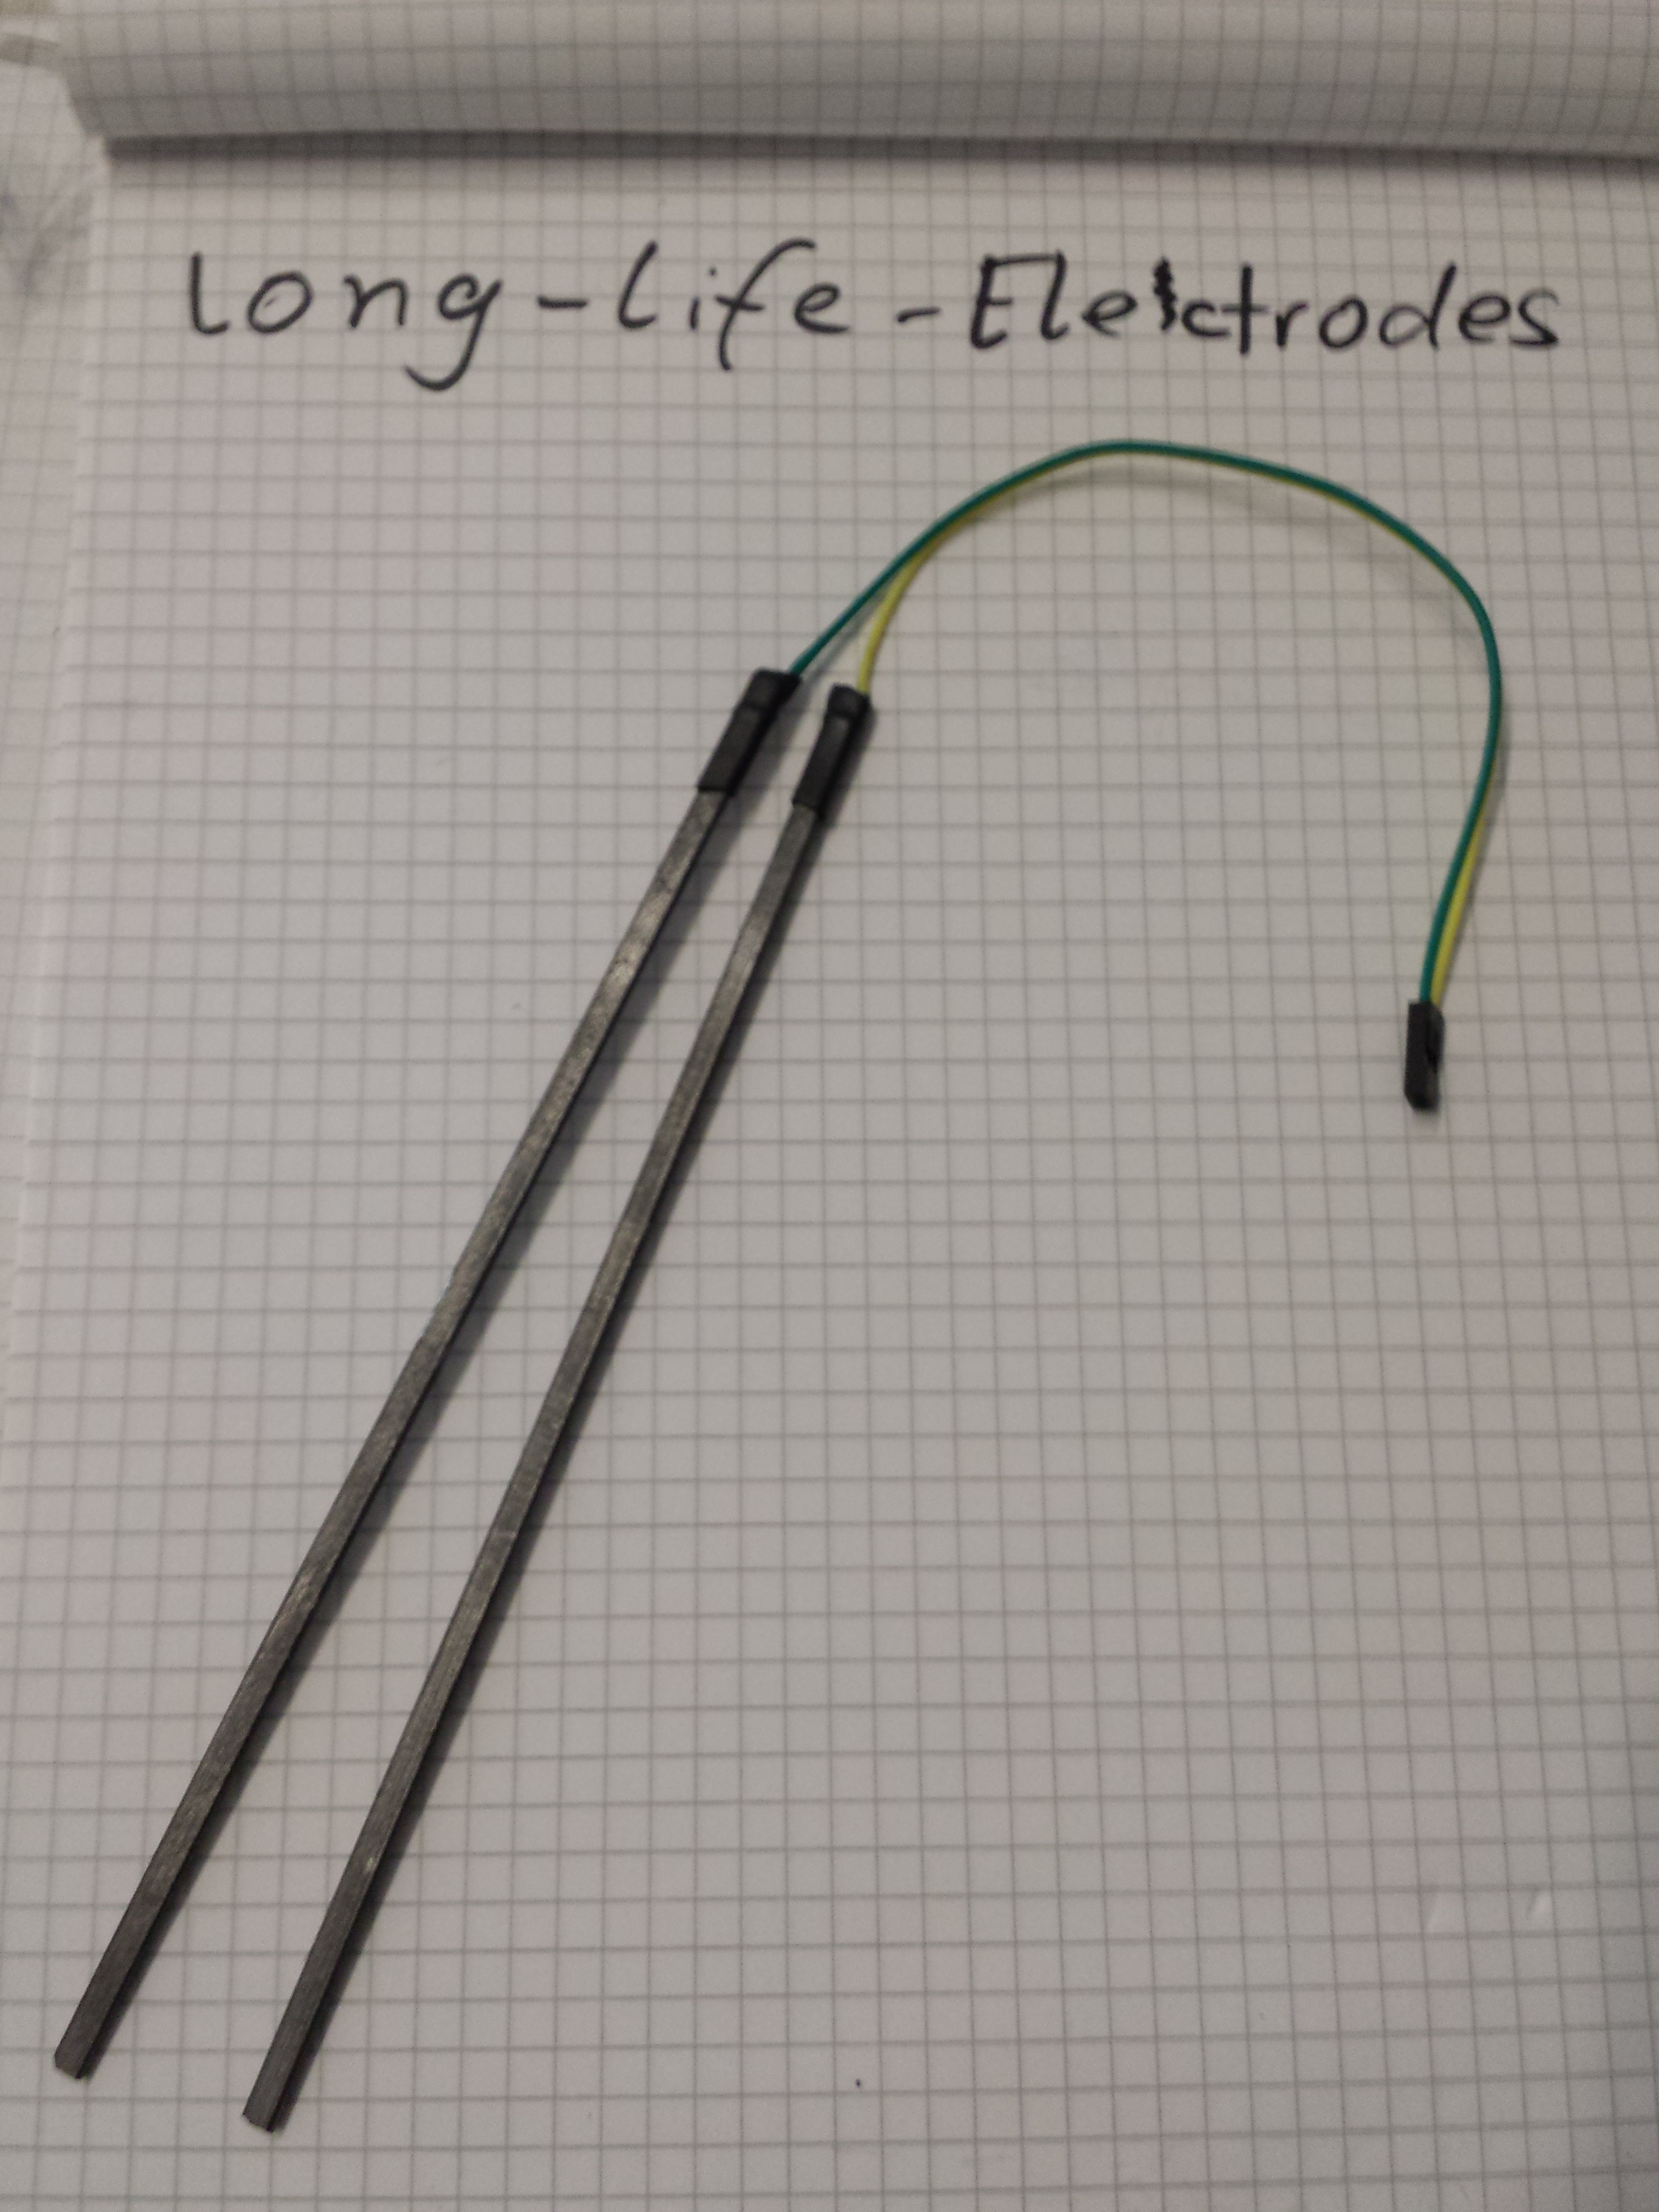
So i though about this Problem and came up with long-life Electrodes. They are made from the carbon rods inside of pencils:
![]()
With a steady Hand you can carefully remove the wood and you are left with a nice electrode. I use the thick kind, because they are tougher. Dont break so fast.
![]()
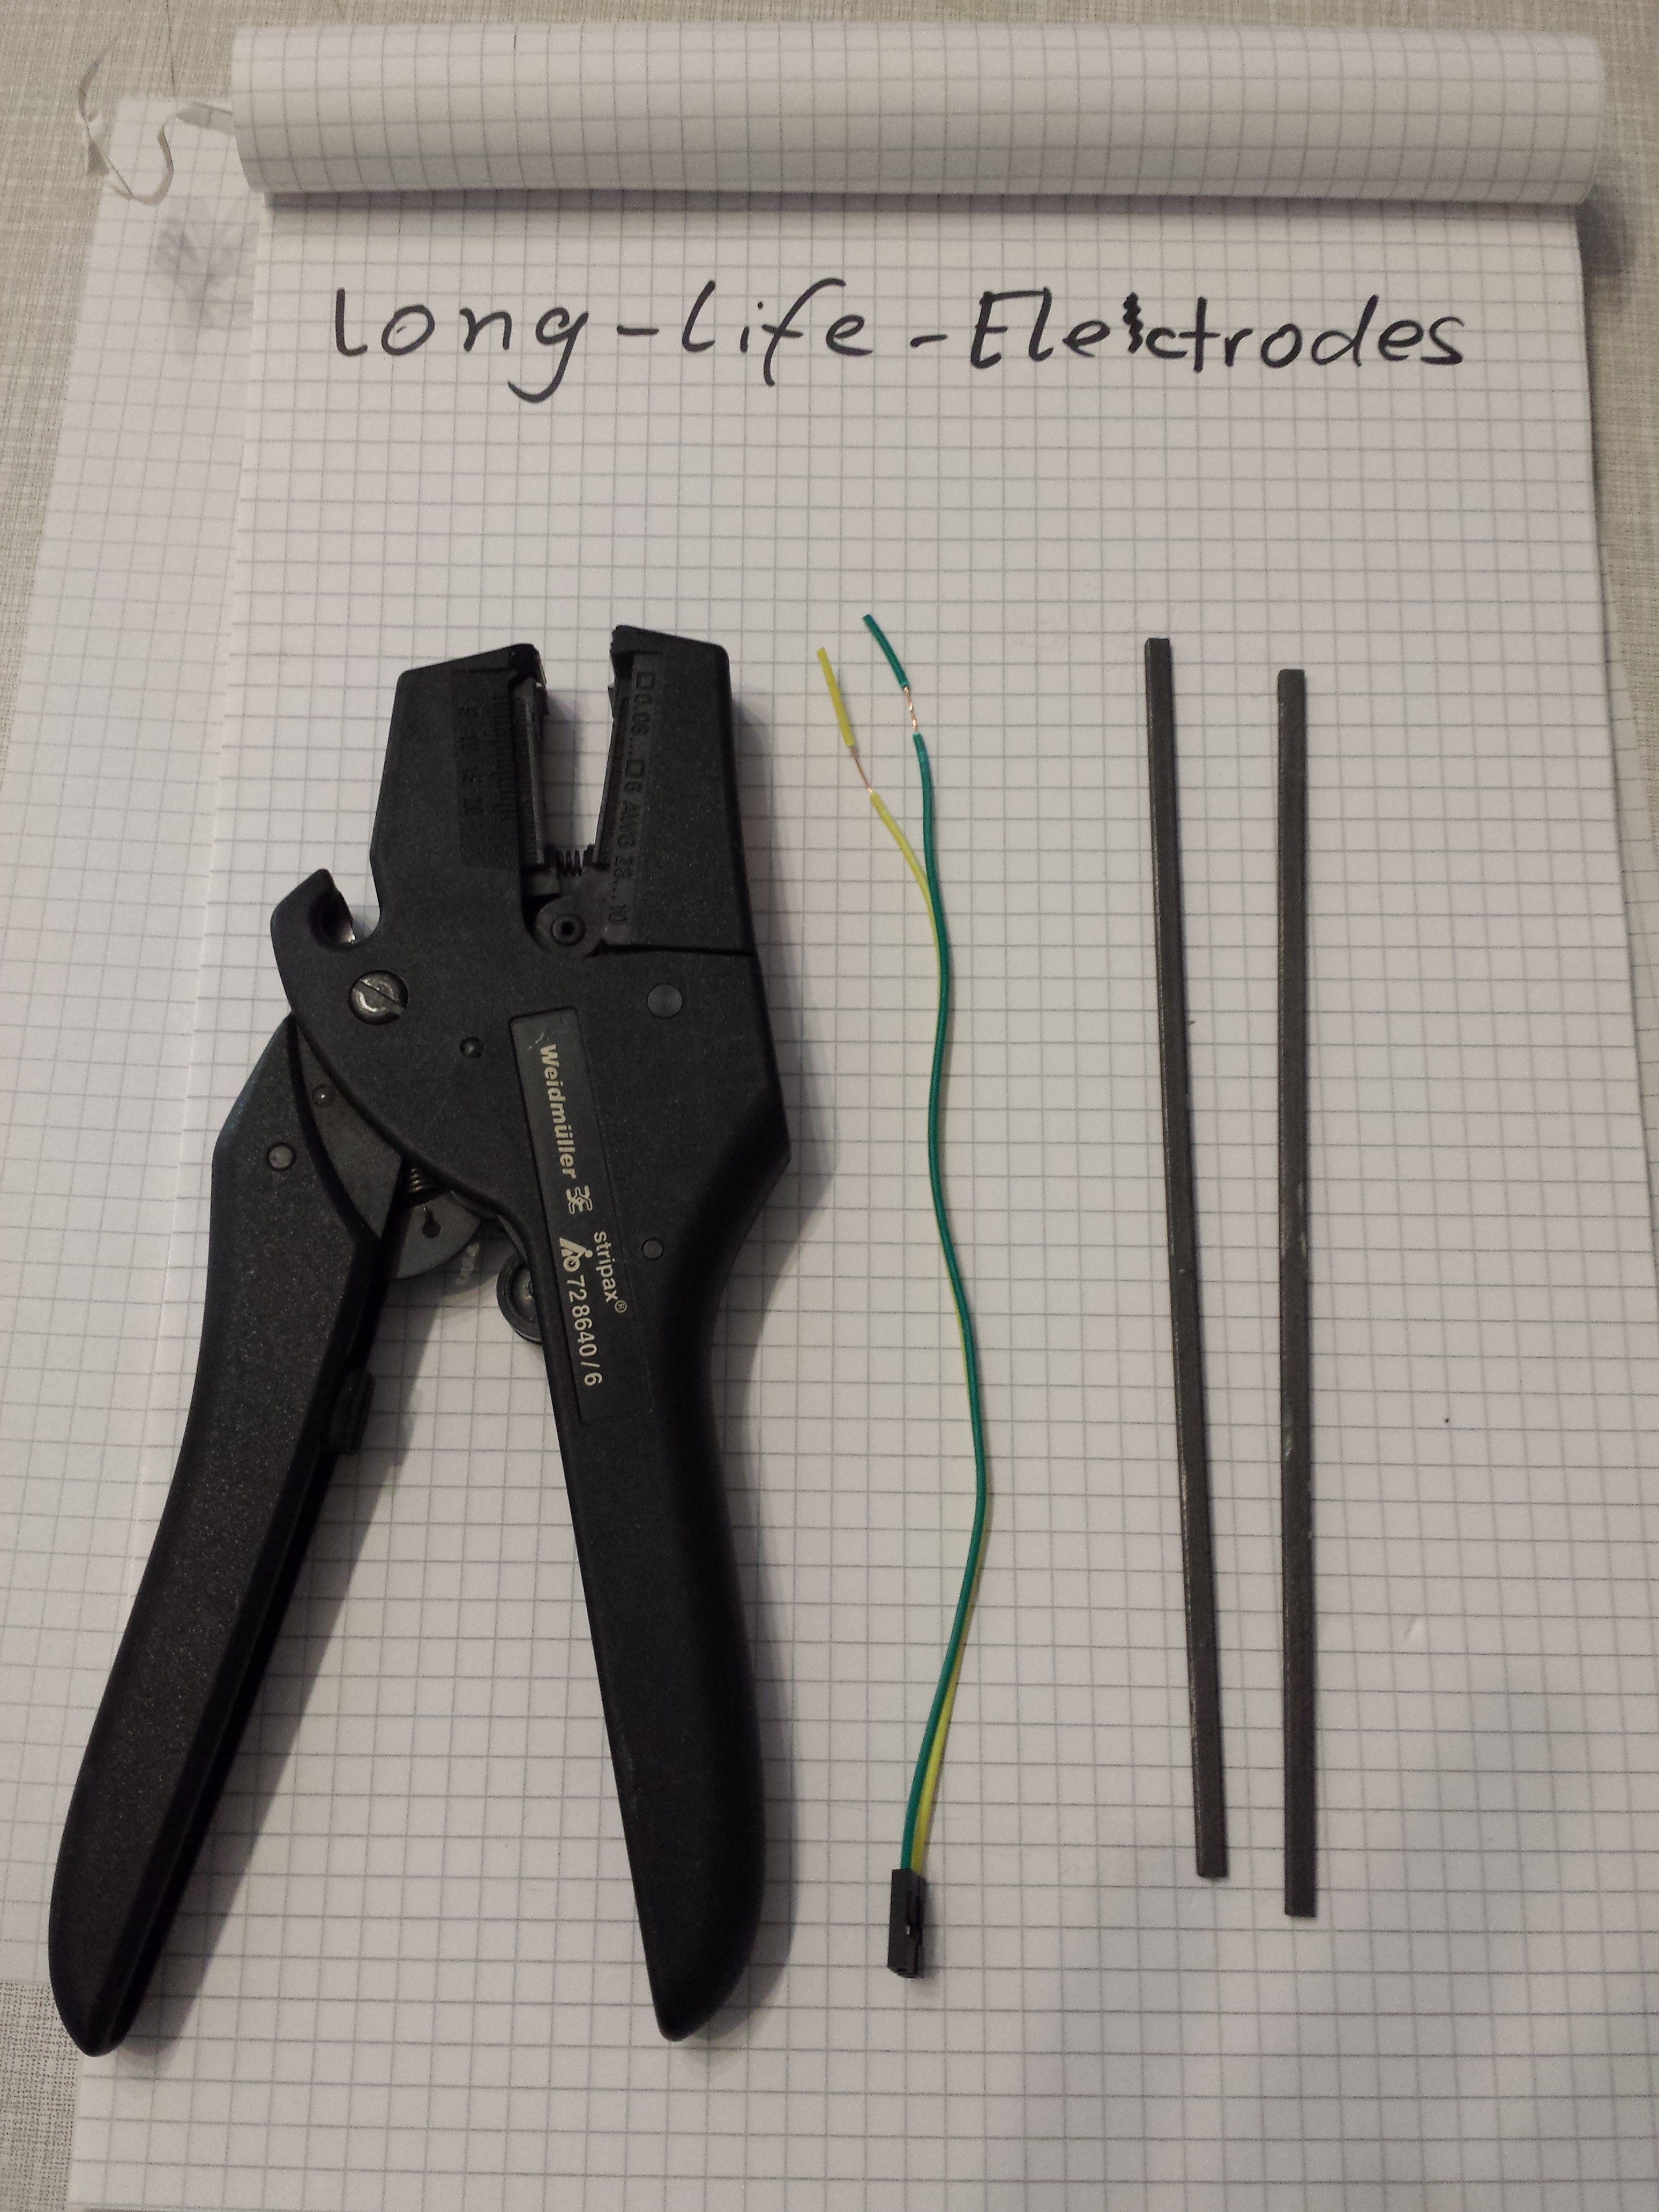
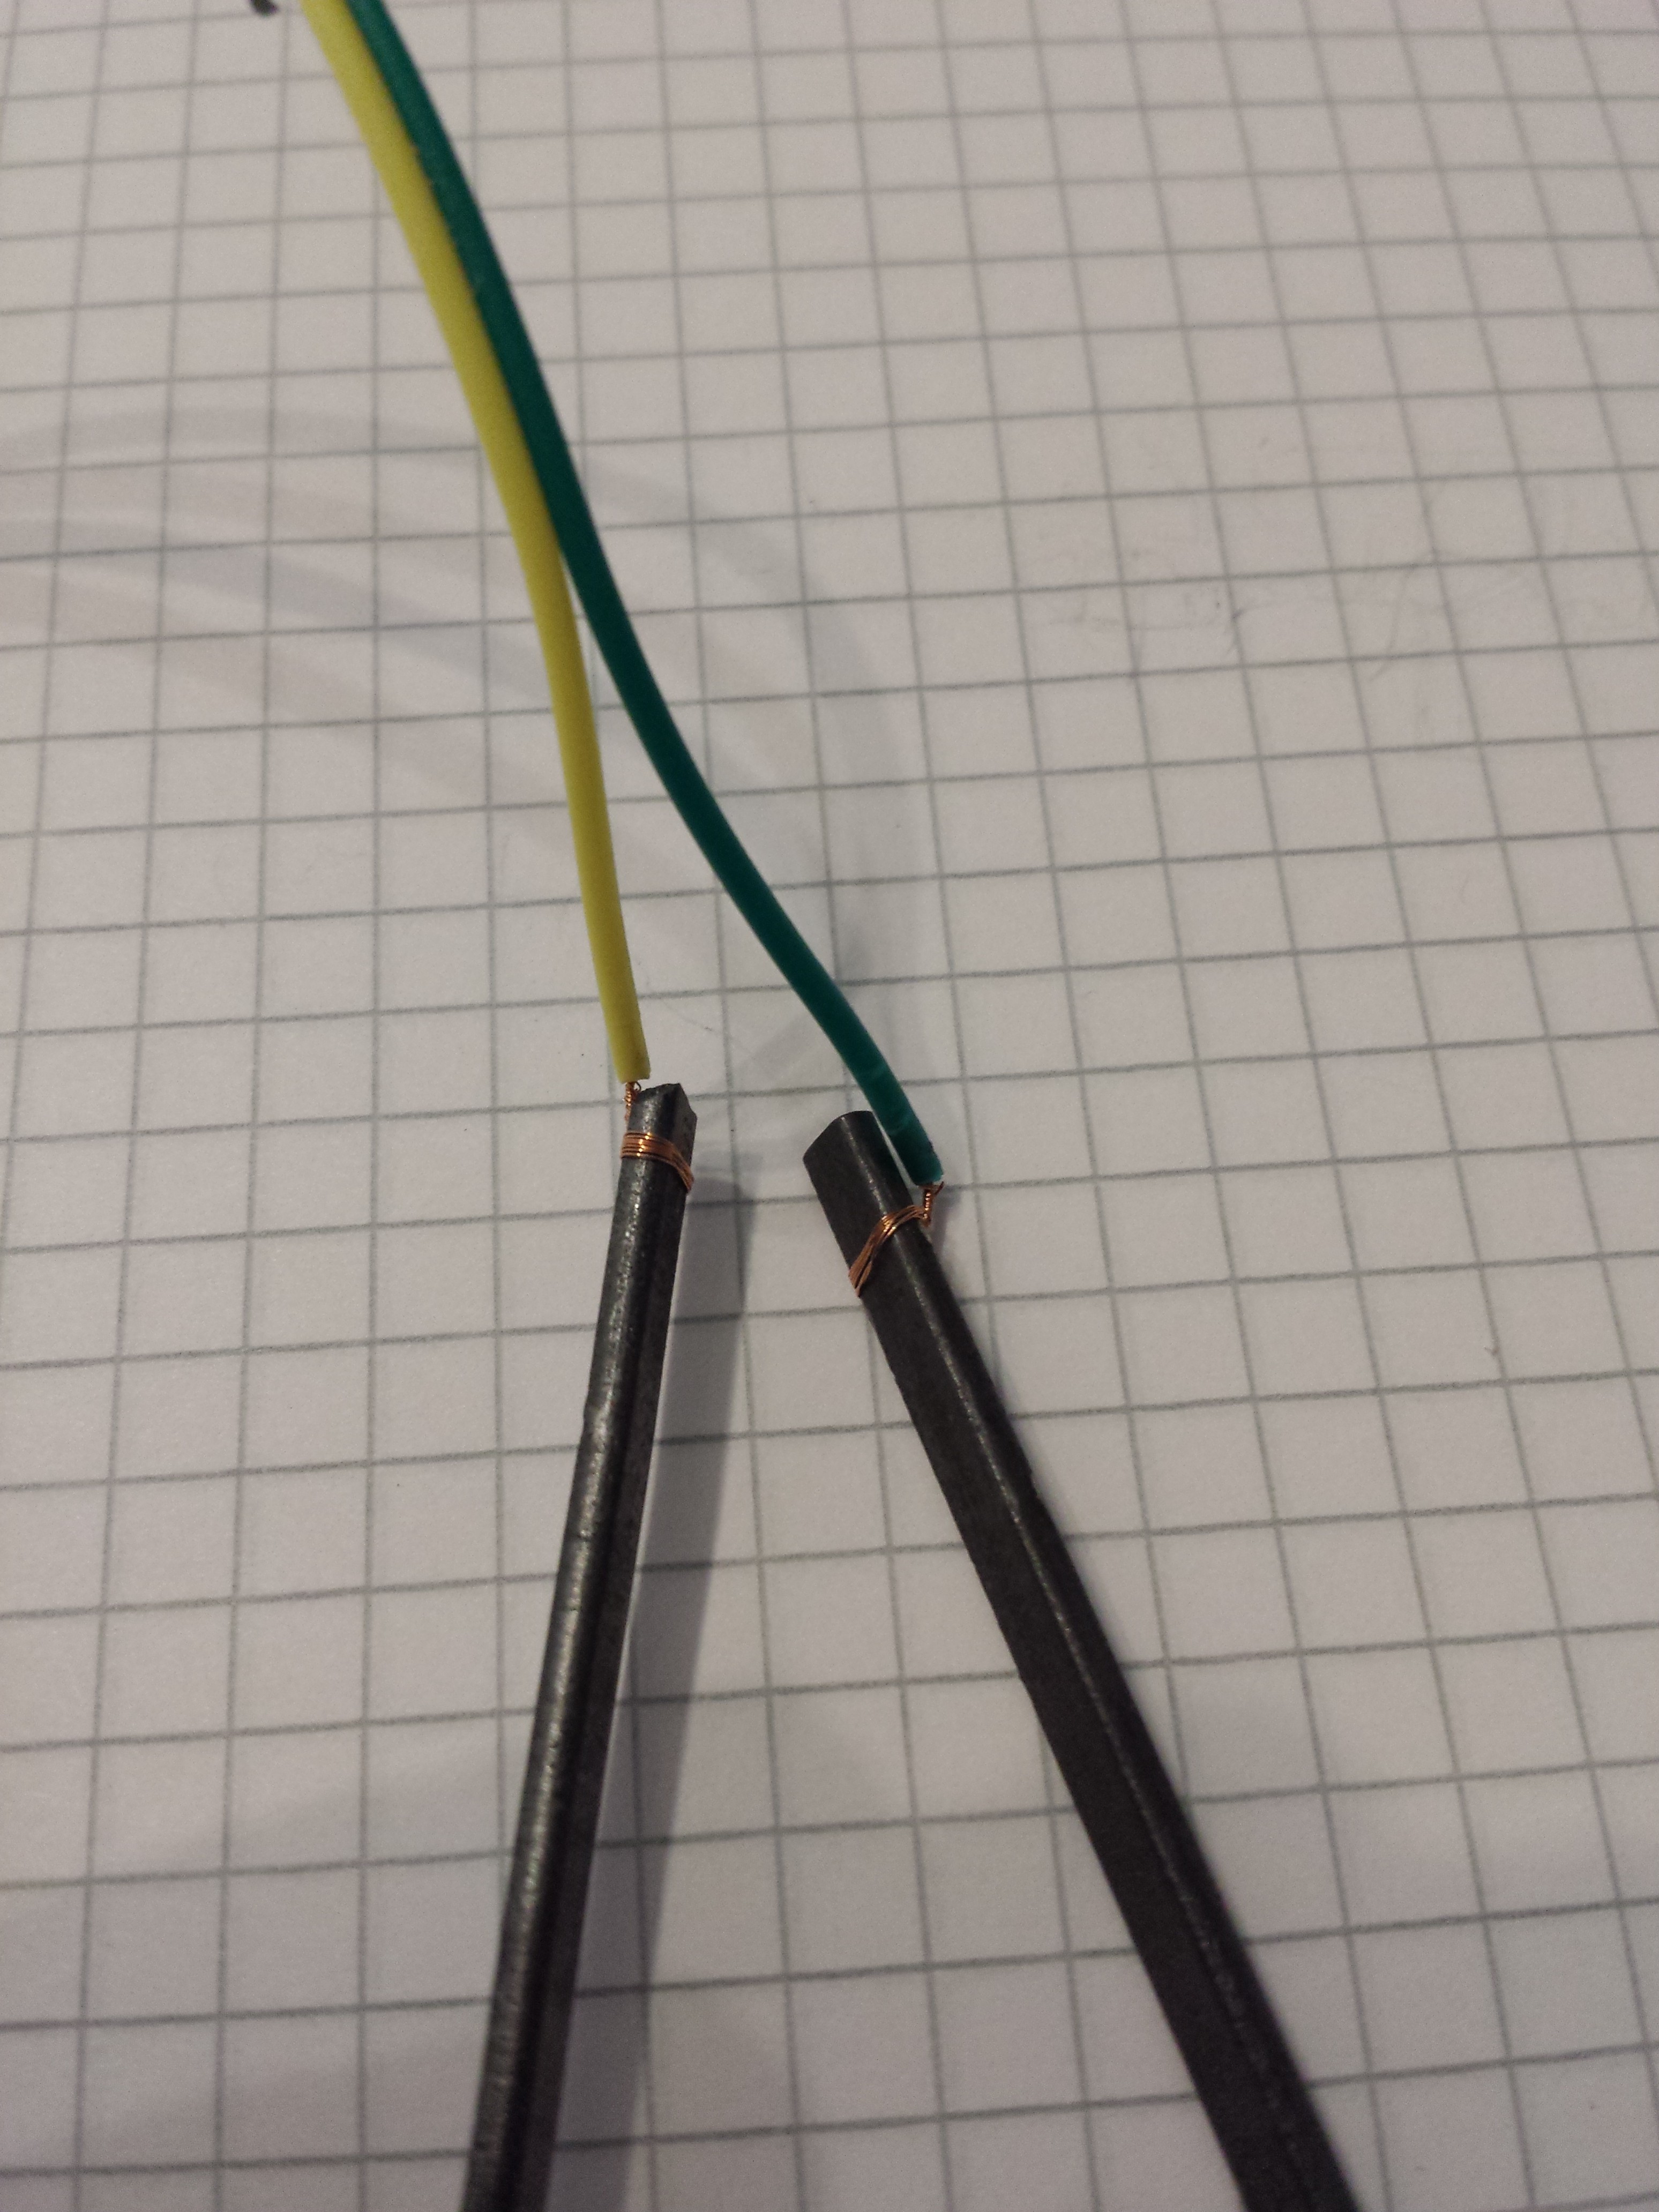
First you prepare the contact wires. Then you wrap them tightly around the end of the electrode. Solder helps.
![]()
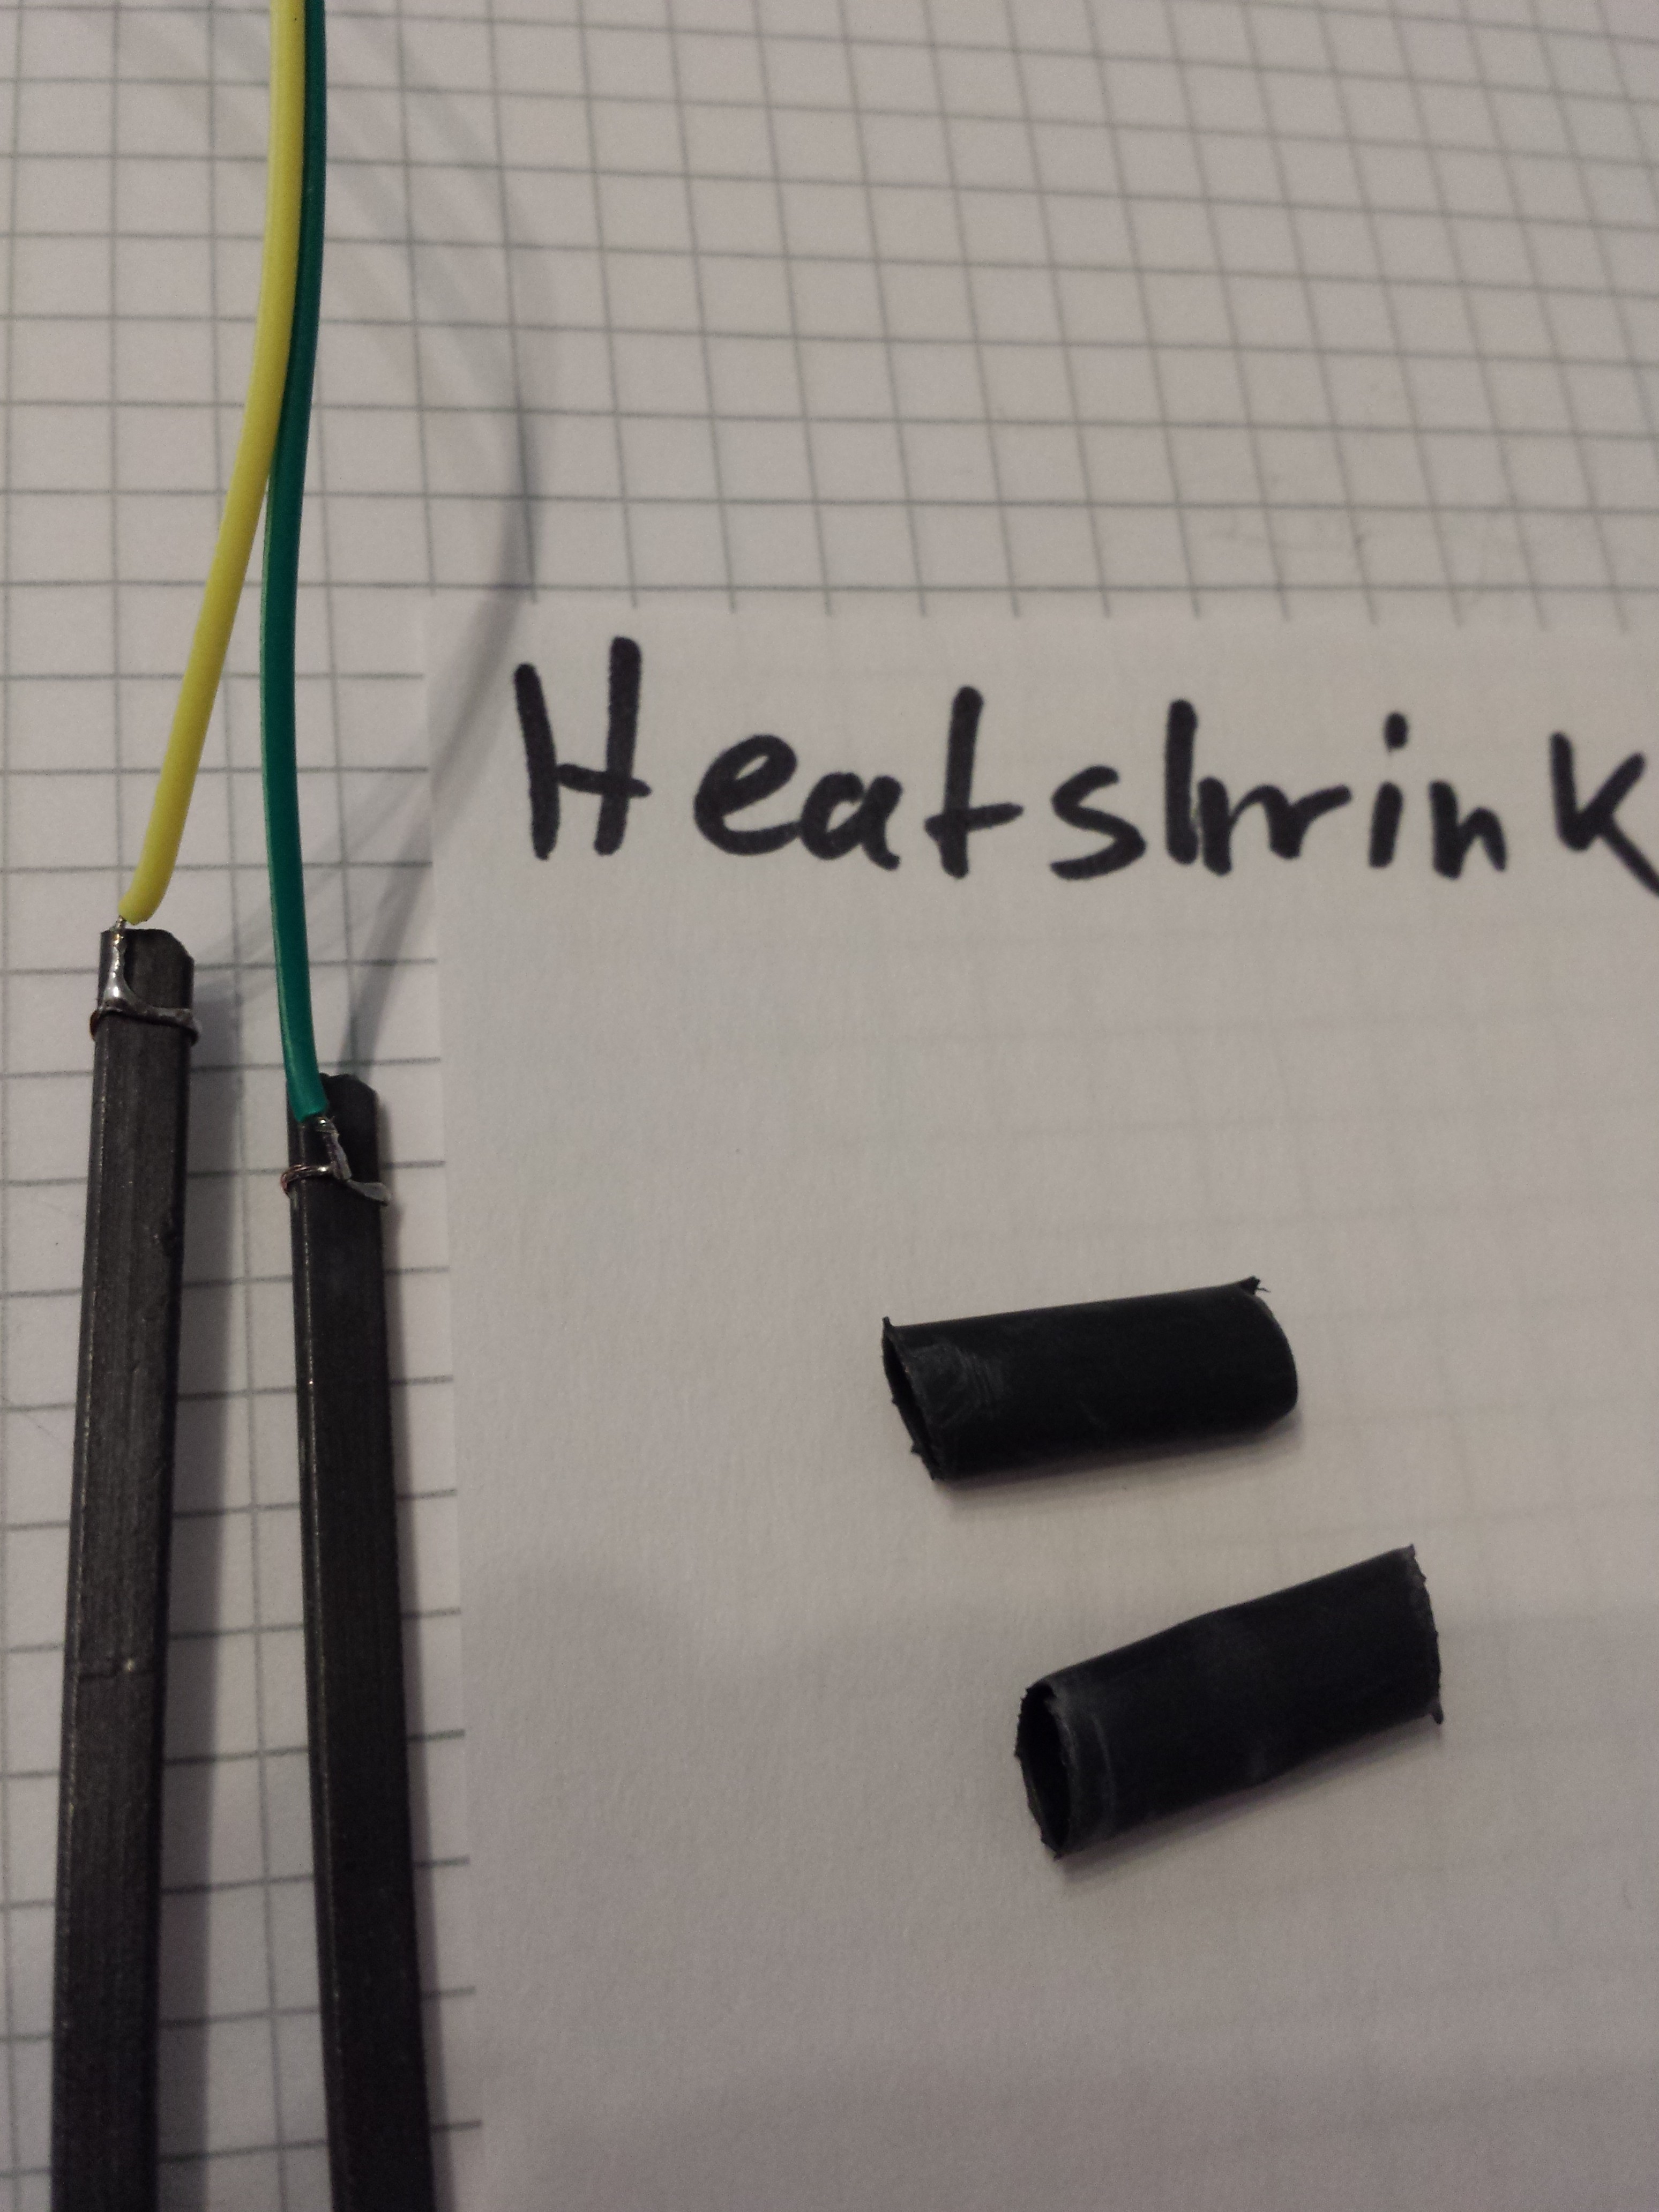
As long as i tried, the solder doesnt stick to the electrodes. So we have to use Heatshrink for insulation and to press the copper wire against the carbon rod.
![]()
The wires are Soldered and the Heatshrink cut to length. almost done.![]()
You have successfully build some long-life electrodes!
I have used them for months without any damage. The resistance is higher then the PCB-ones but they are longer. So you get a better reading with deeper soil.
I hope i could help some future farmers.
See you next Mission
-aka
Aeroponic All-year Greenhouse on a Budged
My adventures in Aeroponics are now in V4.0
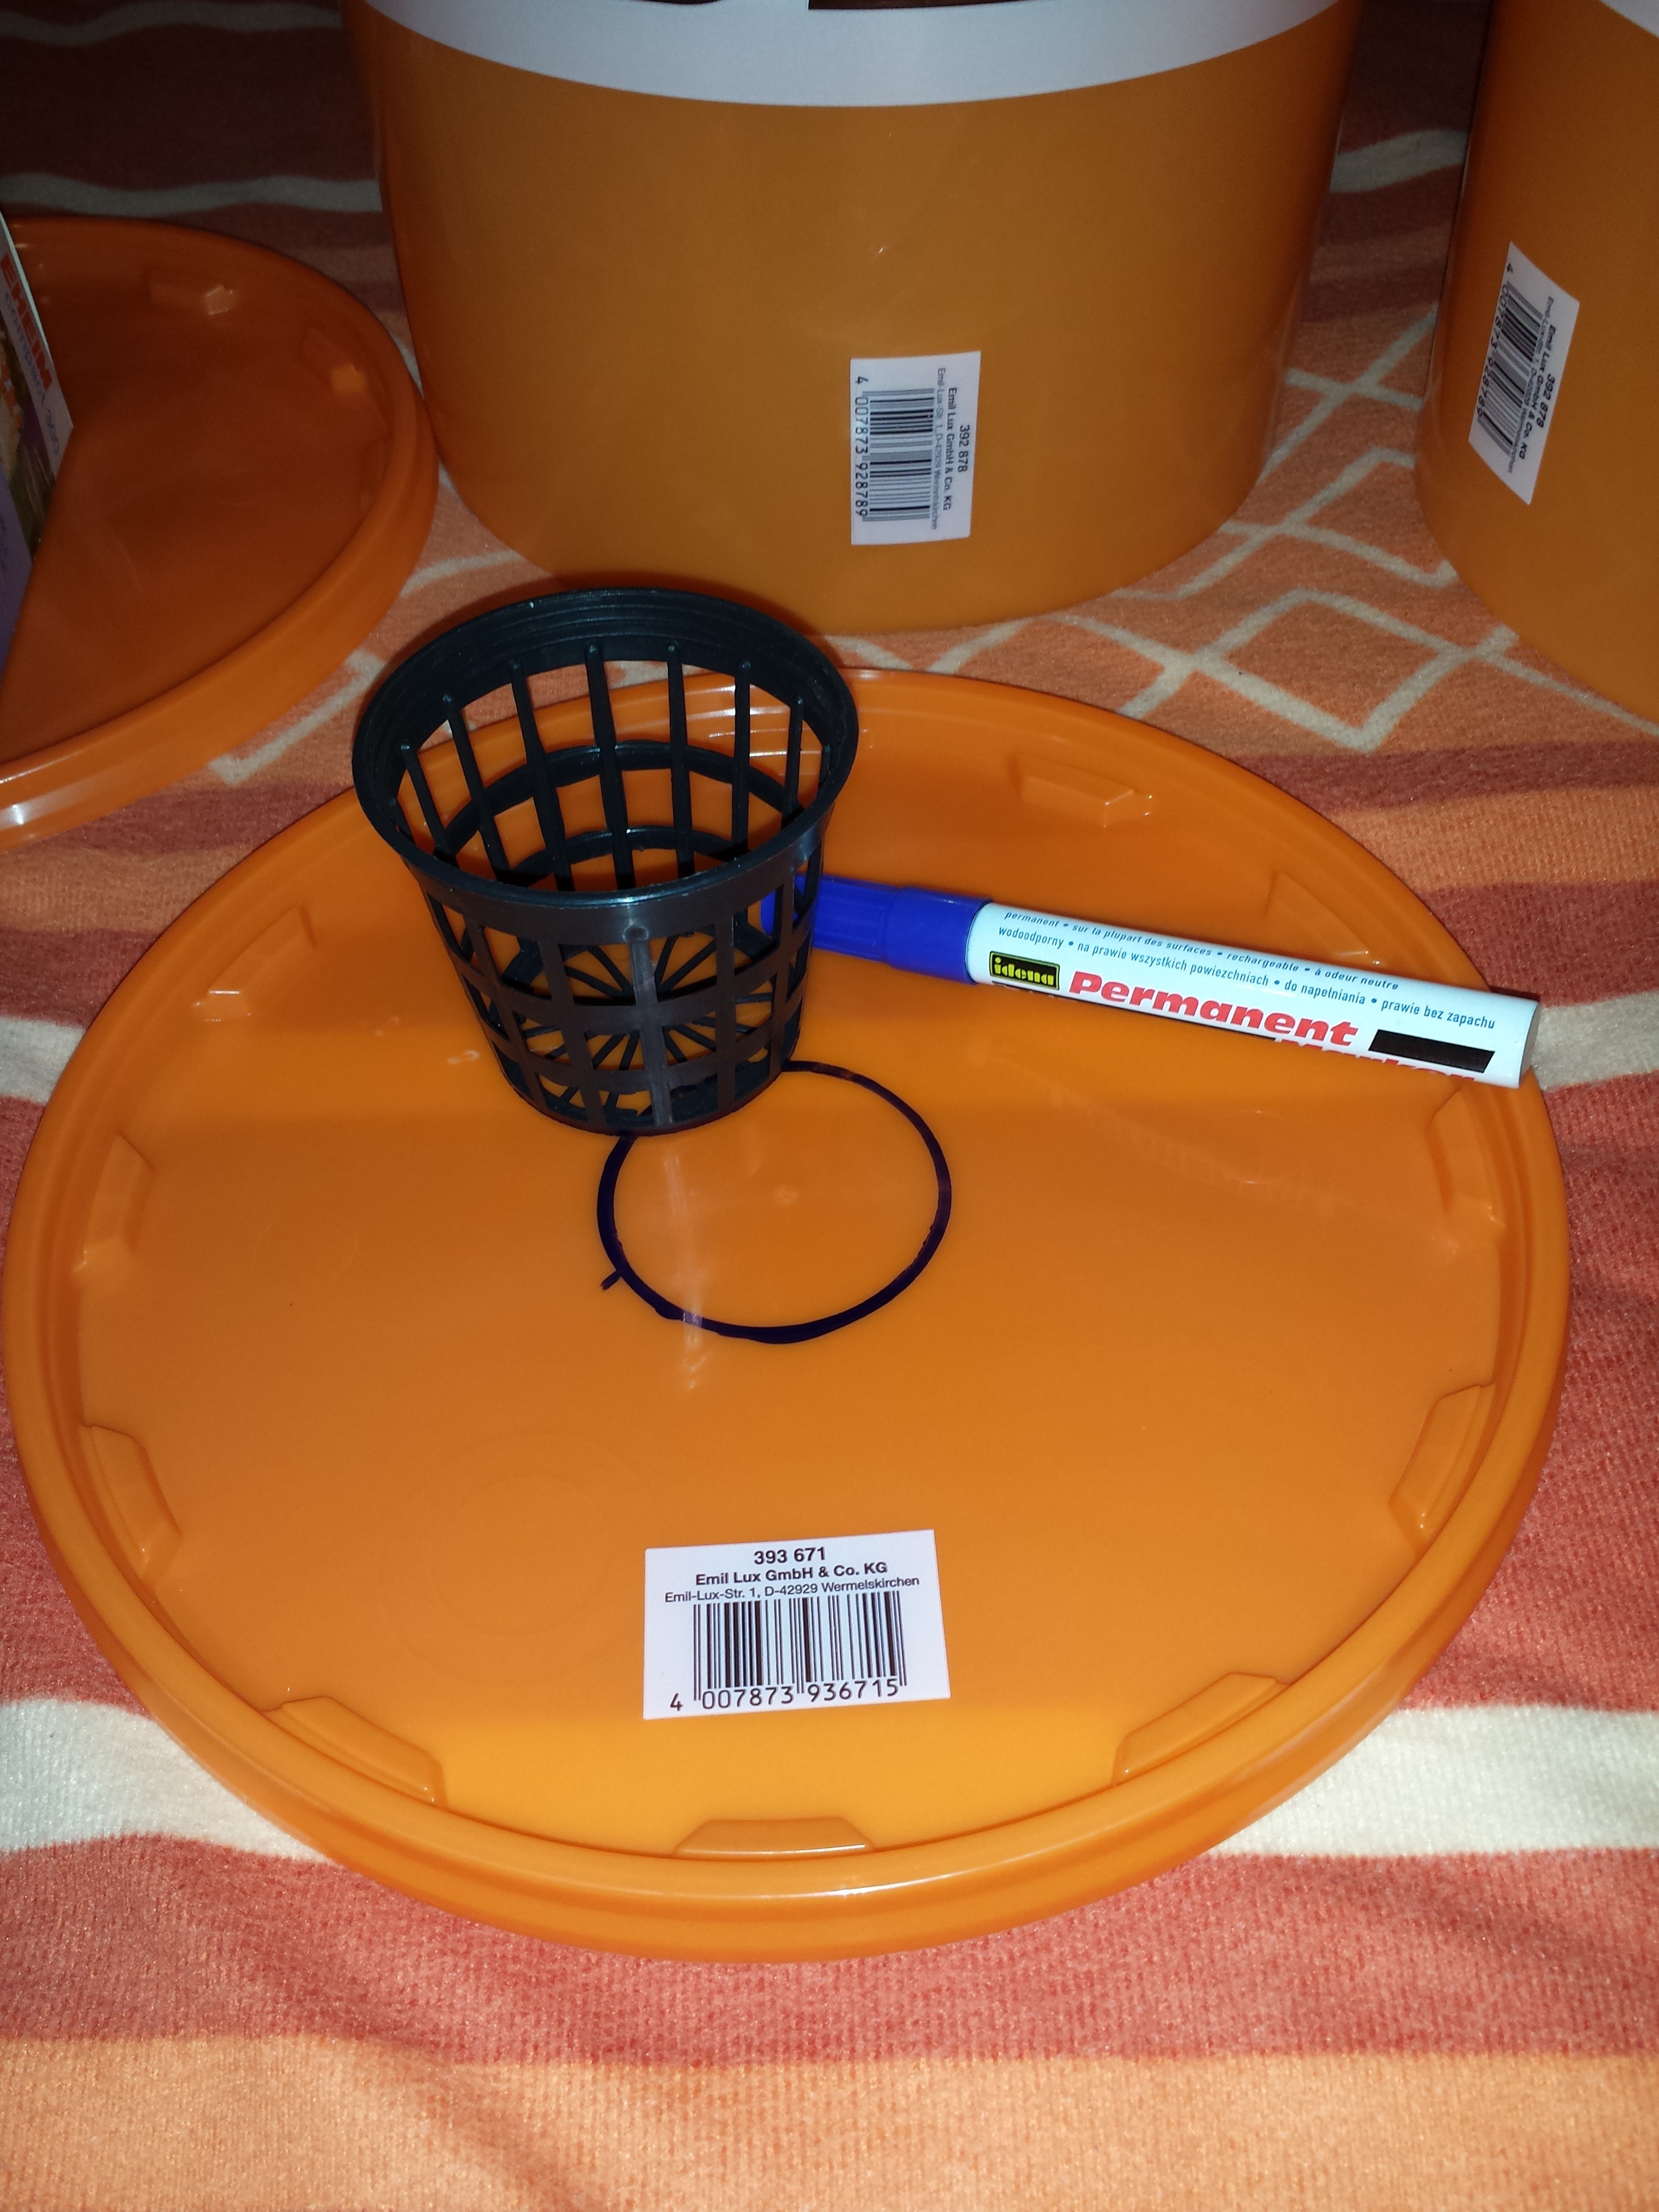
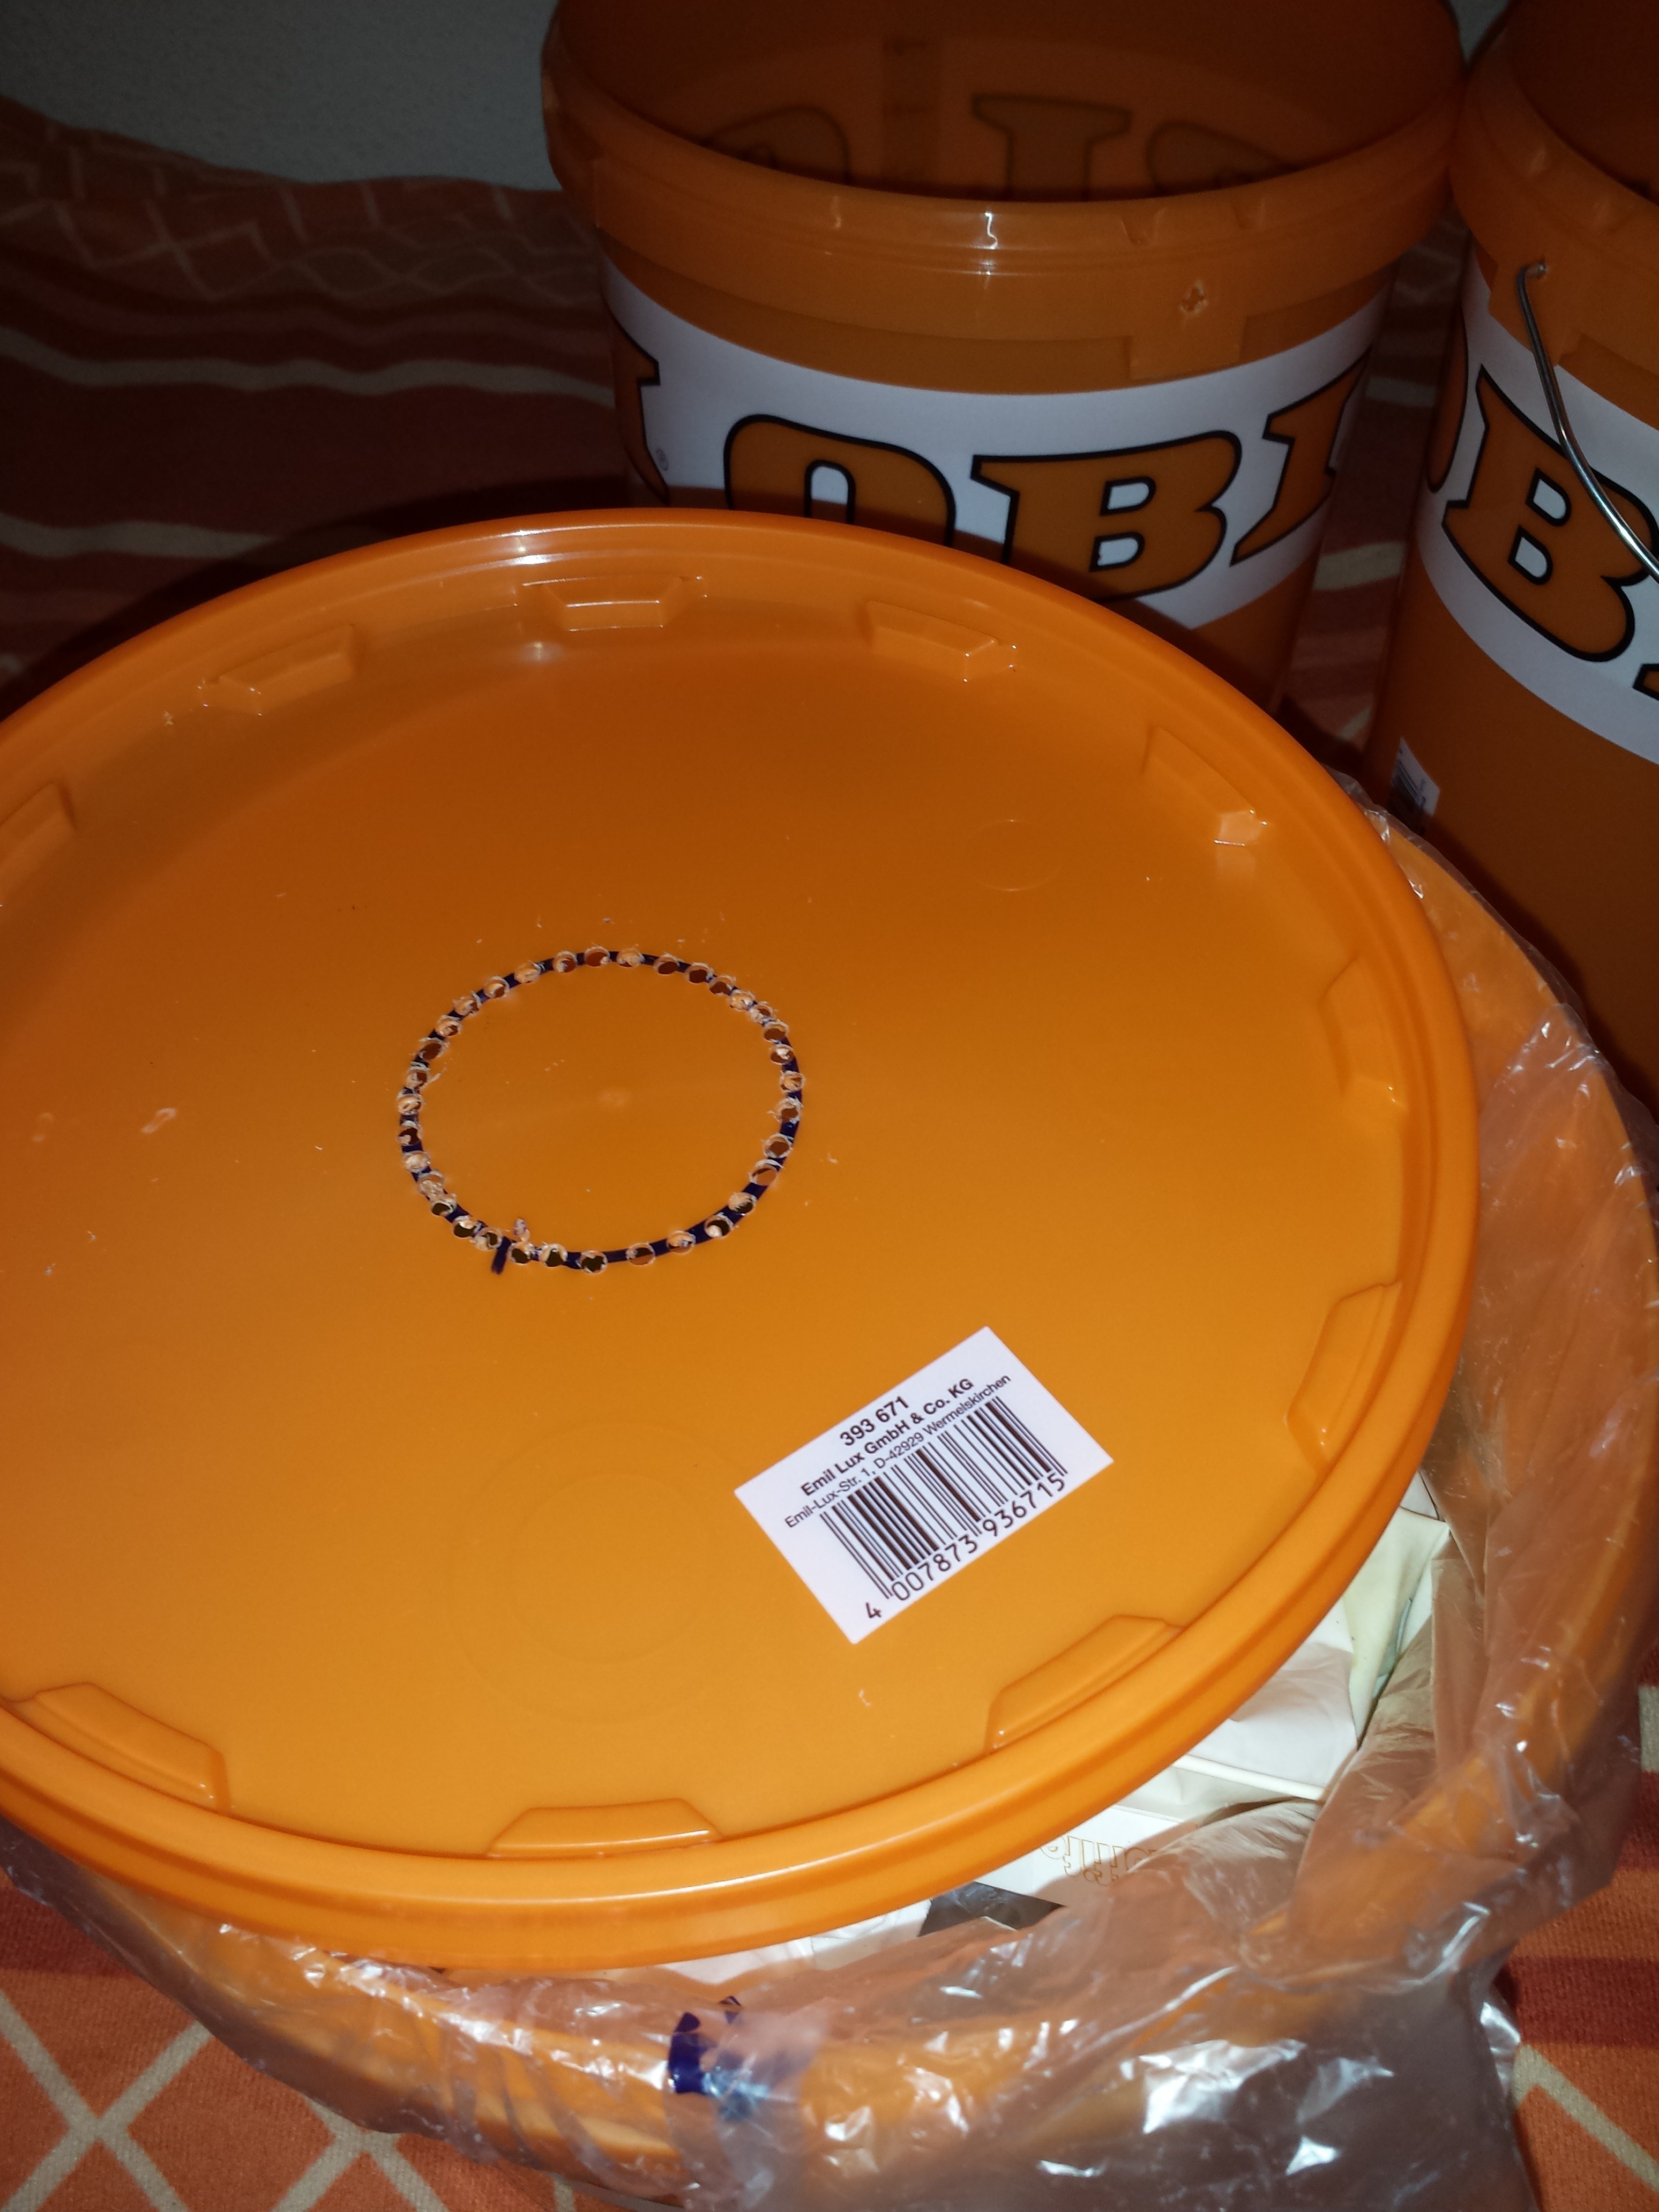 Because i use these Buckerts for everything (including my trash bin), the lid was placed on top of a bucket, to collect the dirt from drilling. The final step of the hole was done by a good 'ol knife.
 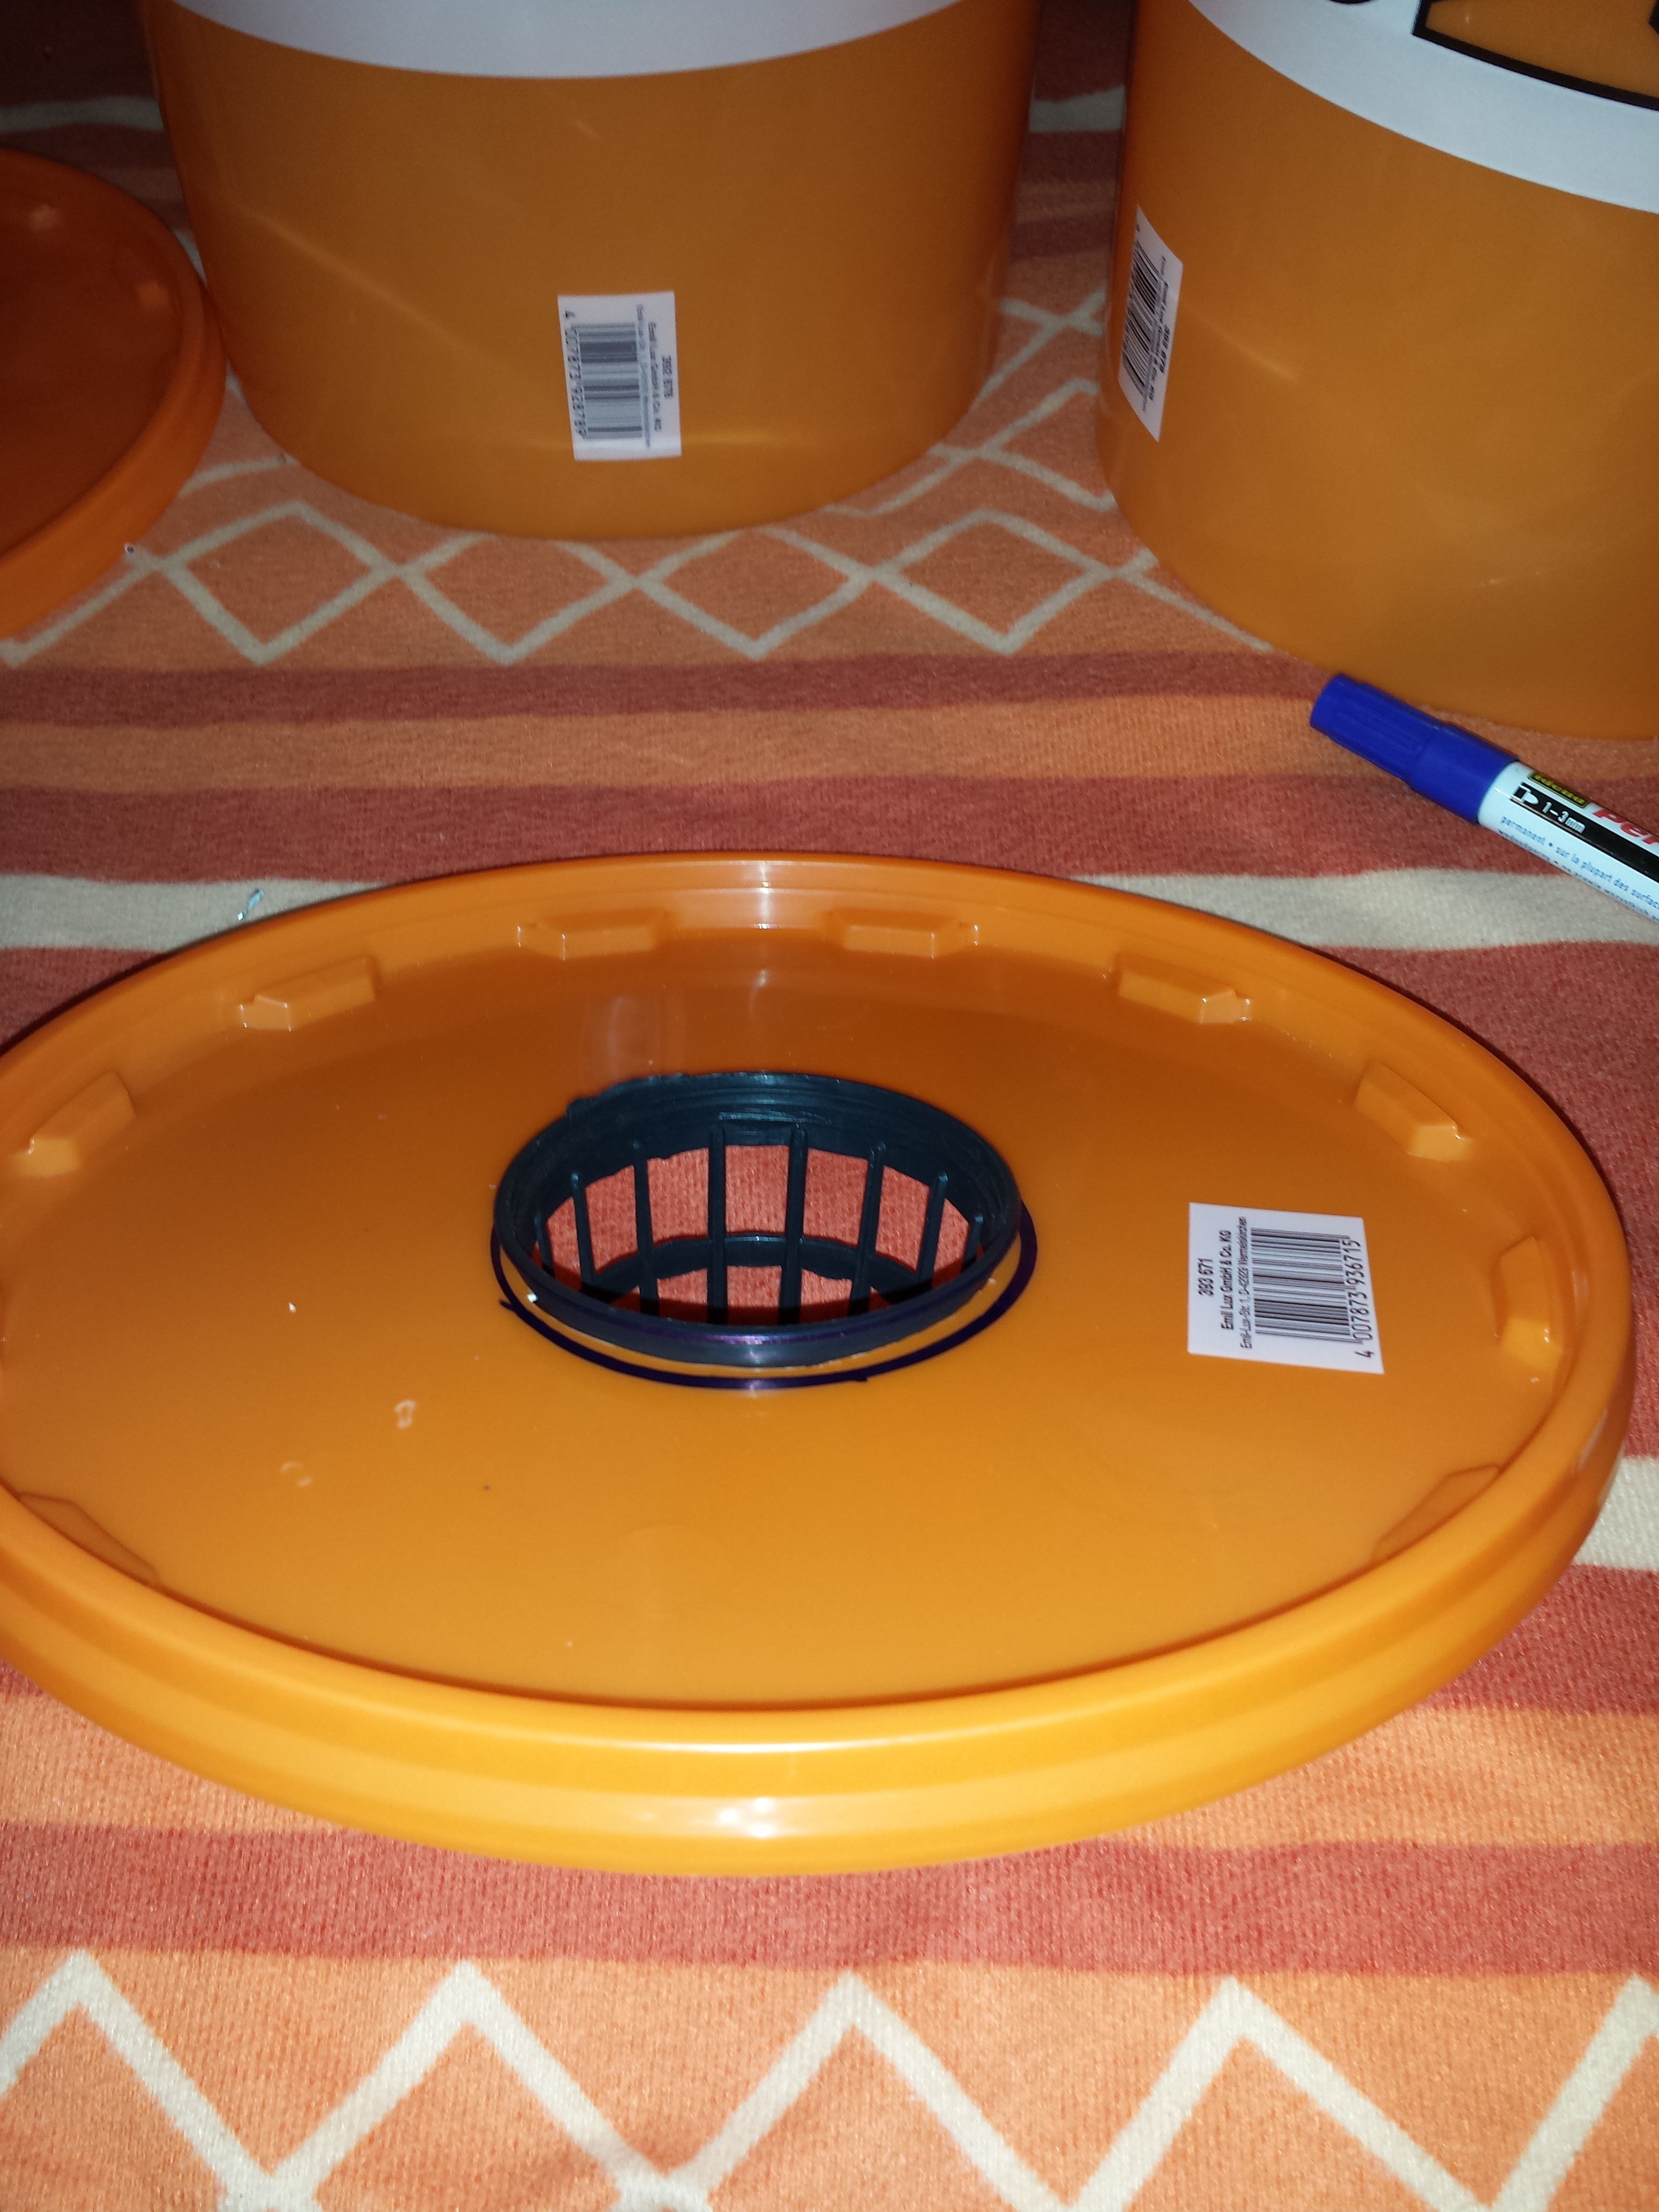 The pot should fit tight inside the hole, so it cant fall through, when the plant gets big and heavy.
Discussions
Become a Hackaday.io Member
Create an account to leave a comment. Already have an account? Log In.
Awesome solution to the electrolysis problem, definitely going to try that one out!
Are you sure? yes | no
This looks like a nice solution - are the carbon rods still holding out? Also, do you remember which hardness the pencils/carbon had?
Are you sure? yes | no
What sort of distance apart should the graphite electrodes be? Would using some sort of spacer (perhaps 3d printed) be worth putting in to maintain distance? I'm not really familiar with how they work but would imagine that the resistance would change dramatically depending on how far apart they are. Unless they purely act only as continuity and the water completes the circuit?
Are you sure? yes | no
i have thought about this electrolysis problem for years, with no solution of my own.
This is Brilliant!
Are you sure? yes | no