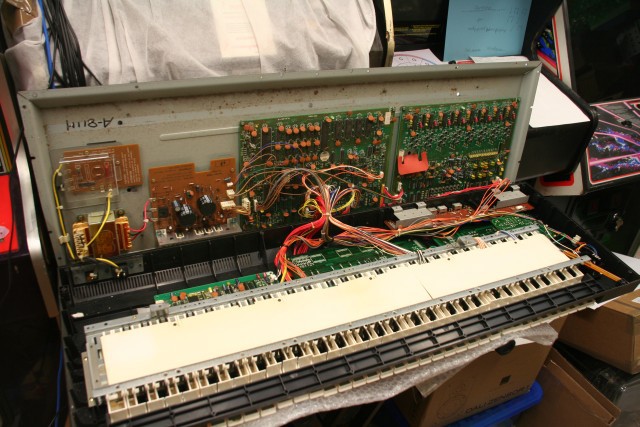
The Korg DW-8000 has lots of tweakableparameters, but has a 'minimalist' user interface for adjusting these. There is exactly ONE slider for this. You press two digits to identify which parameter you want the slider to control. If you want to live tweak more than one thing at a time, you are out of luck
These parameters can be controlled over MIDI, so an external control surface could be used, BUT most control surfaces send CC (Control Change) messages, whilst the DW uses a set of proprietary SYSEX messages.
This project gets the DW-8000 to respond to CC messages with a little hack...
Rather than trying to rewrite firmware or anything clever like that, this is more of a brute force hack.
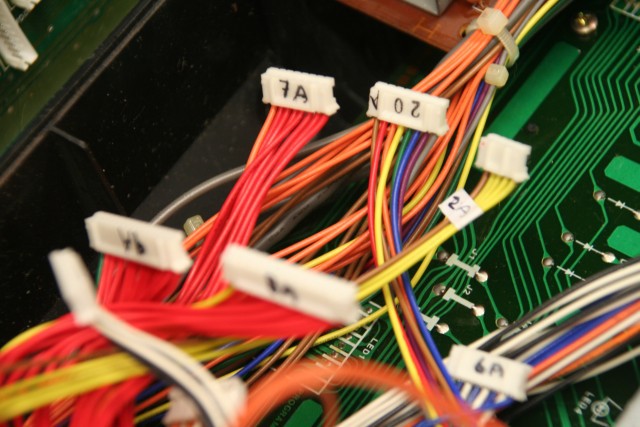
What I have done is taken a cheap Arduino Nano clone and physically spliced it into the MIDI IN path just before it gets to the synth's CPU. The Nano runs a simple program which translates CC messages into the corresponding SYSEX messages that the synth understands. All other messages are just passed straight through.
That's it - the synth now does the right thing when it is sent CC messages!


 aaronsnoswell
 jerryyip
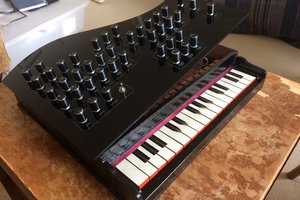
 Liam Lacey
 Stefano Garuti