 Ted Yapo
The import-bmp ULP that ships with Eagle is really, really tired. The time has come to put it out to pasture. I wrote this replacement (MIT licensed in GitHub) to support the following features:
- Reading multiple image formats
- Conversion from color or grayscale to bitmap
- Faster than import-bmp
- May allow higher resolution while maintaining minimum line width (see below)
- Default settings optimized for use with OSH Park silkscreen
- Outputs line or rectangle primitives (lines have rounded ends; rectangles are square)
- Doesn't change your grid after importing!
The key feature of this program is generation of line or rectangle primitives that obey a minimum feature width, but retain high resolution in length. For instance, when rendering silkscreen layers at "400 DPI," as recommended by OSH Park, the program outputs primitives of 2.5 mil width, but with arbitrary coordinates for their beginning and ending.
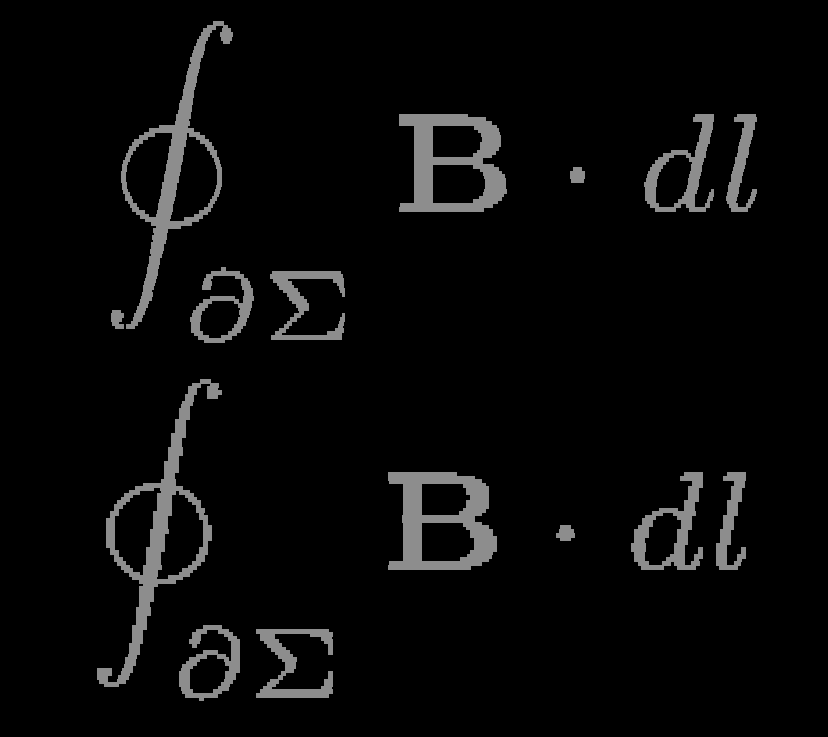
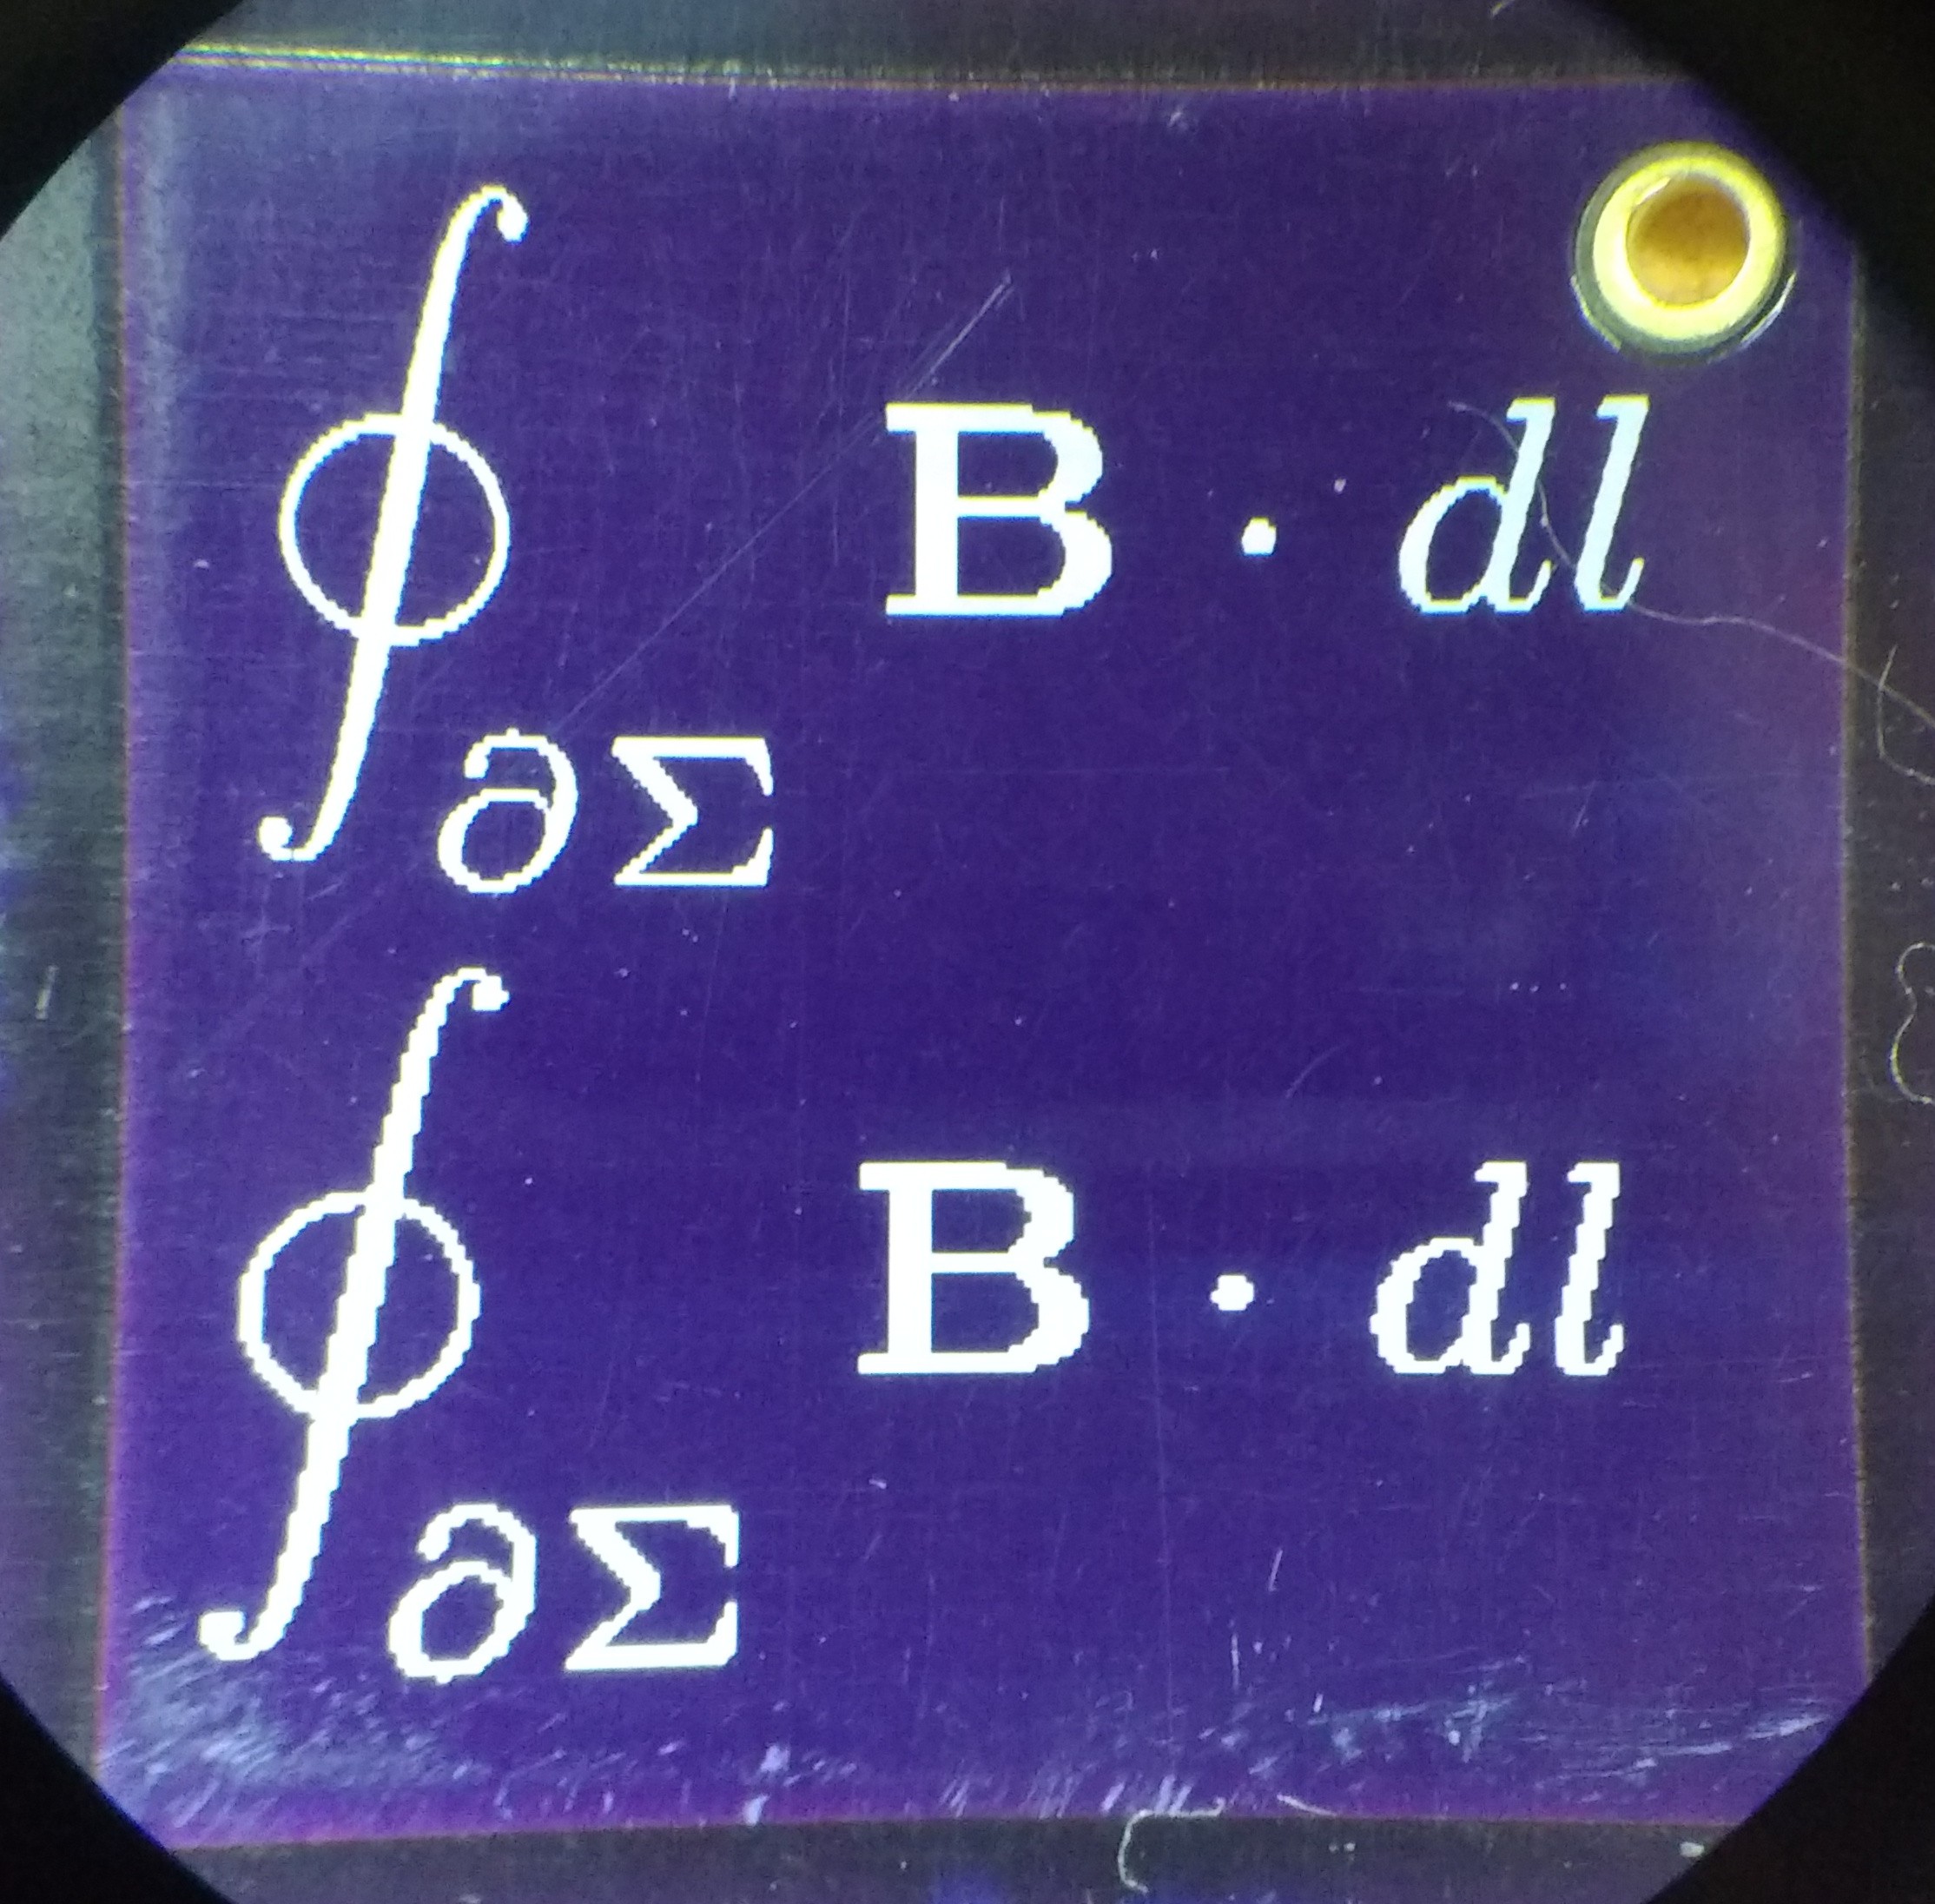
The result of this process is shown below, where a 1200 DPI input image (created from a LaTeX document) is rendered with 2.5 mil rectangles by the image2eagle script (top) and import-bmp (bottom). You can see the difference most clearly in the integral and the "dl."
Depending on your PCB fabricator, these differences may be more or less visible. In the case of OSH Park, the difference is clear: image2eagle (top) does a much better job.
Usage
To convert an image to an Eagle layer, first run the script to convert the input image to an Eagle script file. The output script file contains Eagle commands to draw each line or rectangle in the selected layer. Once you have generated the script, simply select "File/Execute Script..." from the Eagle board menu, and select the script.
The python script relies on the Pillow python image library. You may have to install it with:
pip install pillow
or, it may be installed through your system's package manager.
For best results, start with a high-resolution source image. The example above was created with a 1200 DPI image. Higher resolutions can be used, but there is a point of diminishing returns after which you will simply slow execution of the script with little increase in quality. The script will resample the image as necessary to obey the minimum line width.
The command line options are summarized here:
usage: image2eagle.py [-h] [-w LINE_WIDTH] [-d INPUT_DPI] [-l LAYER]
                       [-t THRESHOLD] [-p PRIMITIVE] [-n]
                       image scr

Convert image to Eagle line or rectangle primitives. Resulting script must be
run in Eagle to import image.

positional arguments:
  image                 input image
  scr                   output script

optional arguments:
  -h, --help            show this help message and exit
  -w LINE_WIDTH, --line-width LINE_WIDTH
                        rendered line width in mils (default = 2.5)
  -d INPUT_DPI, --input-dpi INPUT_DPI
                        input image resolution in dots per inch
  -l LAYER, --layer LAYER
                        eagle layer number (default = 21)
  -t THRESHOLD, --threshold THRESHOLD
                        image threshold (default = 127)
  -p PRIMITIVE, --primitive PRIMITIVE
                        eagle primitive: r = rect (default), l = line
  -n, --invert          invert input image (black <-> white)
Note
The python code does not conform to the PEP-8 standards. This is by design. If you would like a version that does conform, fork the project on GitHub and make the necessary cosmetic changes.
 Christoph
 vidmo
vidmo
 Aditya Singh
 jlbrian7