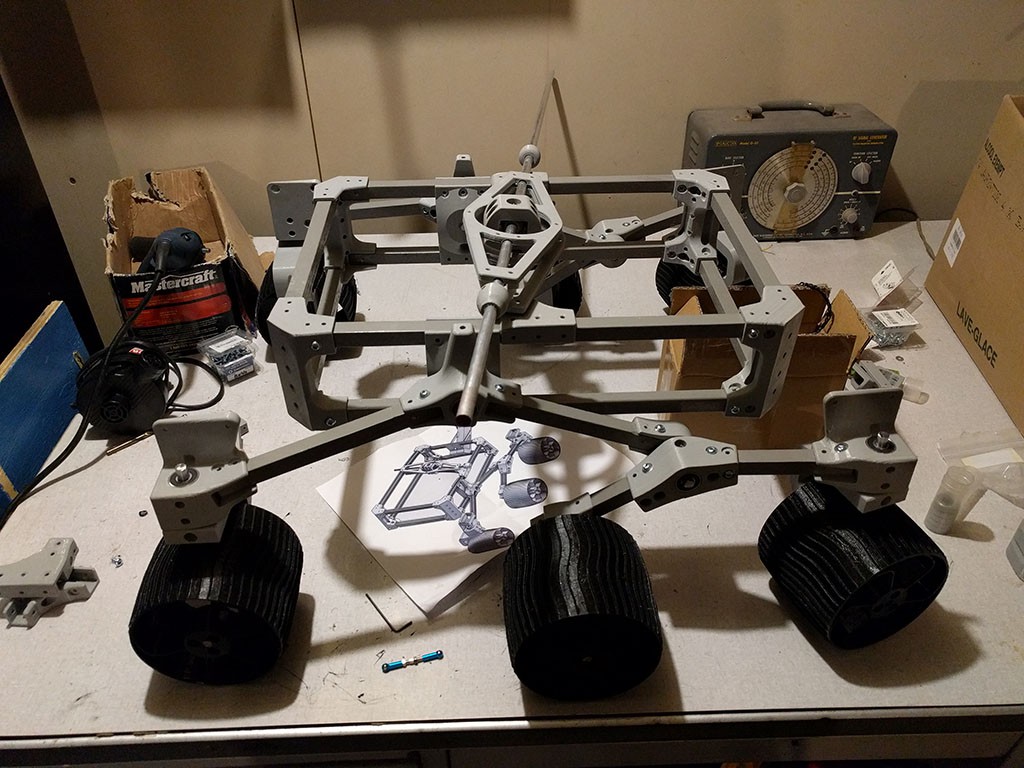
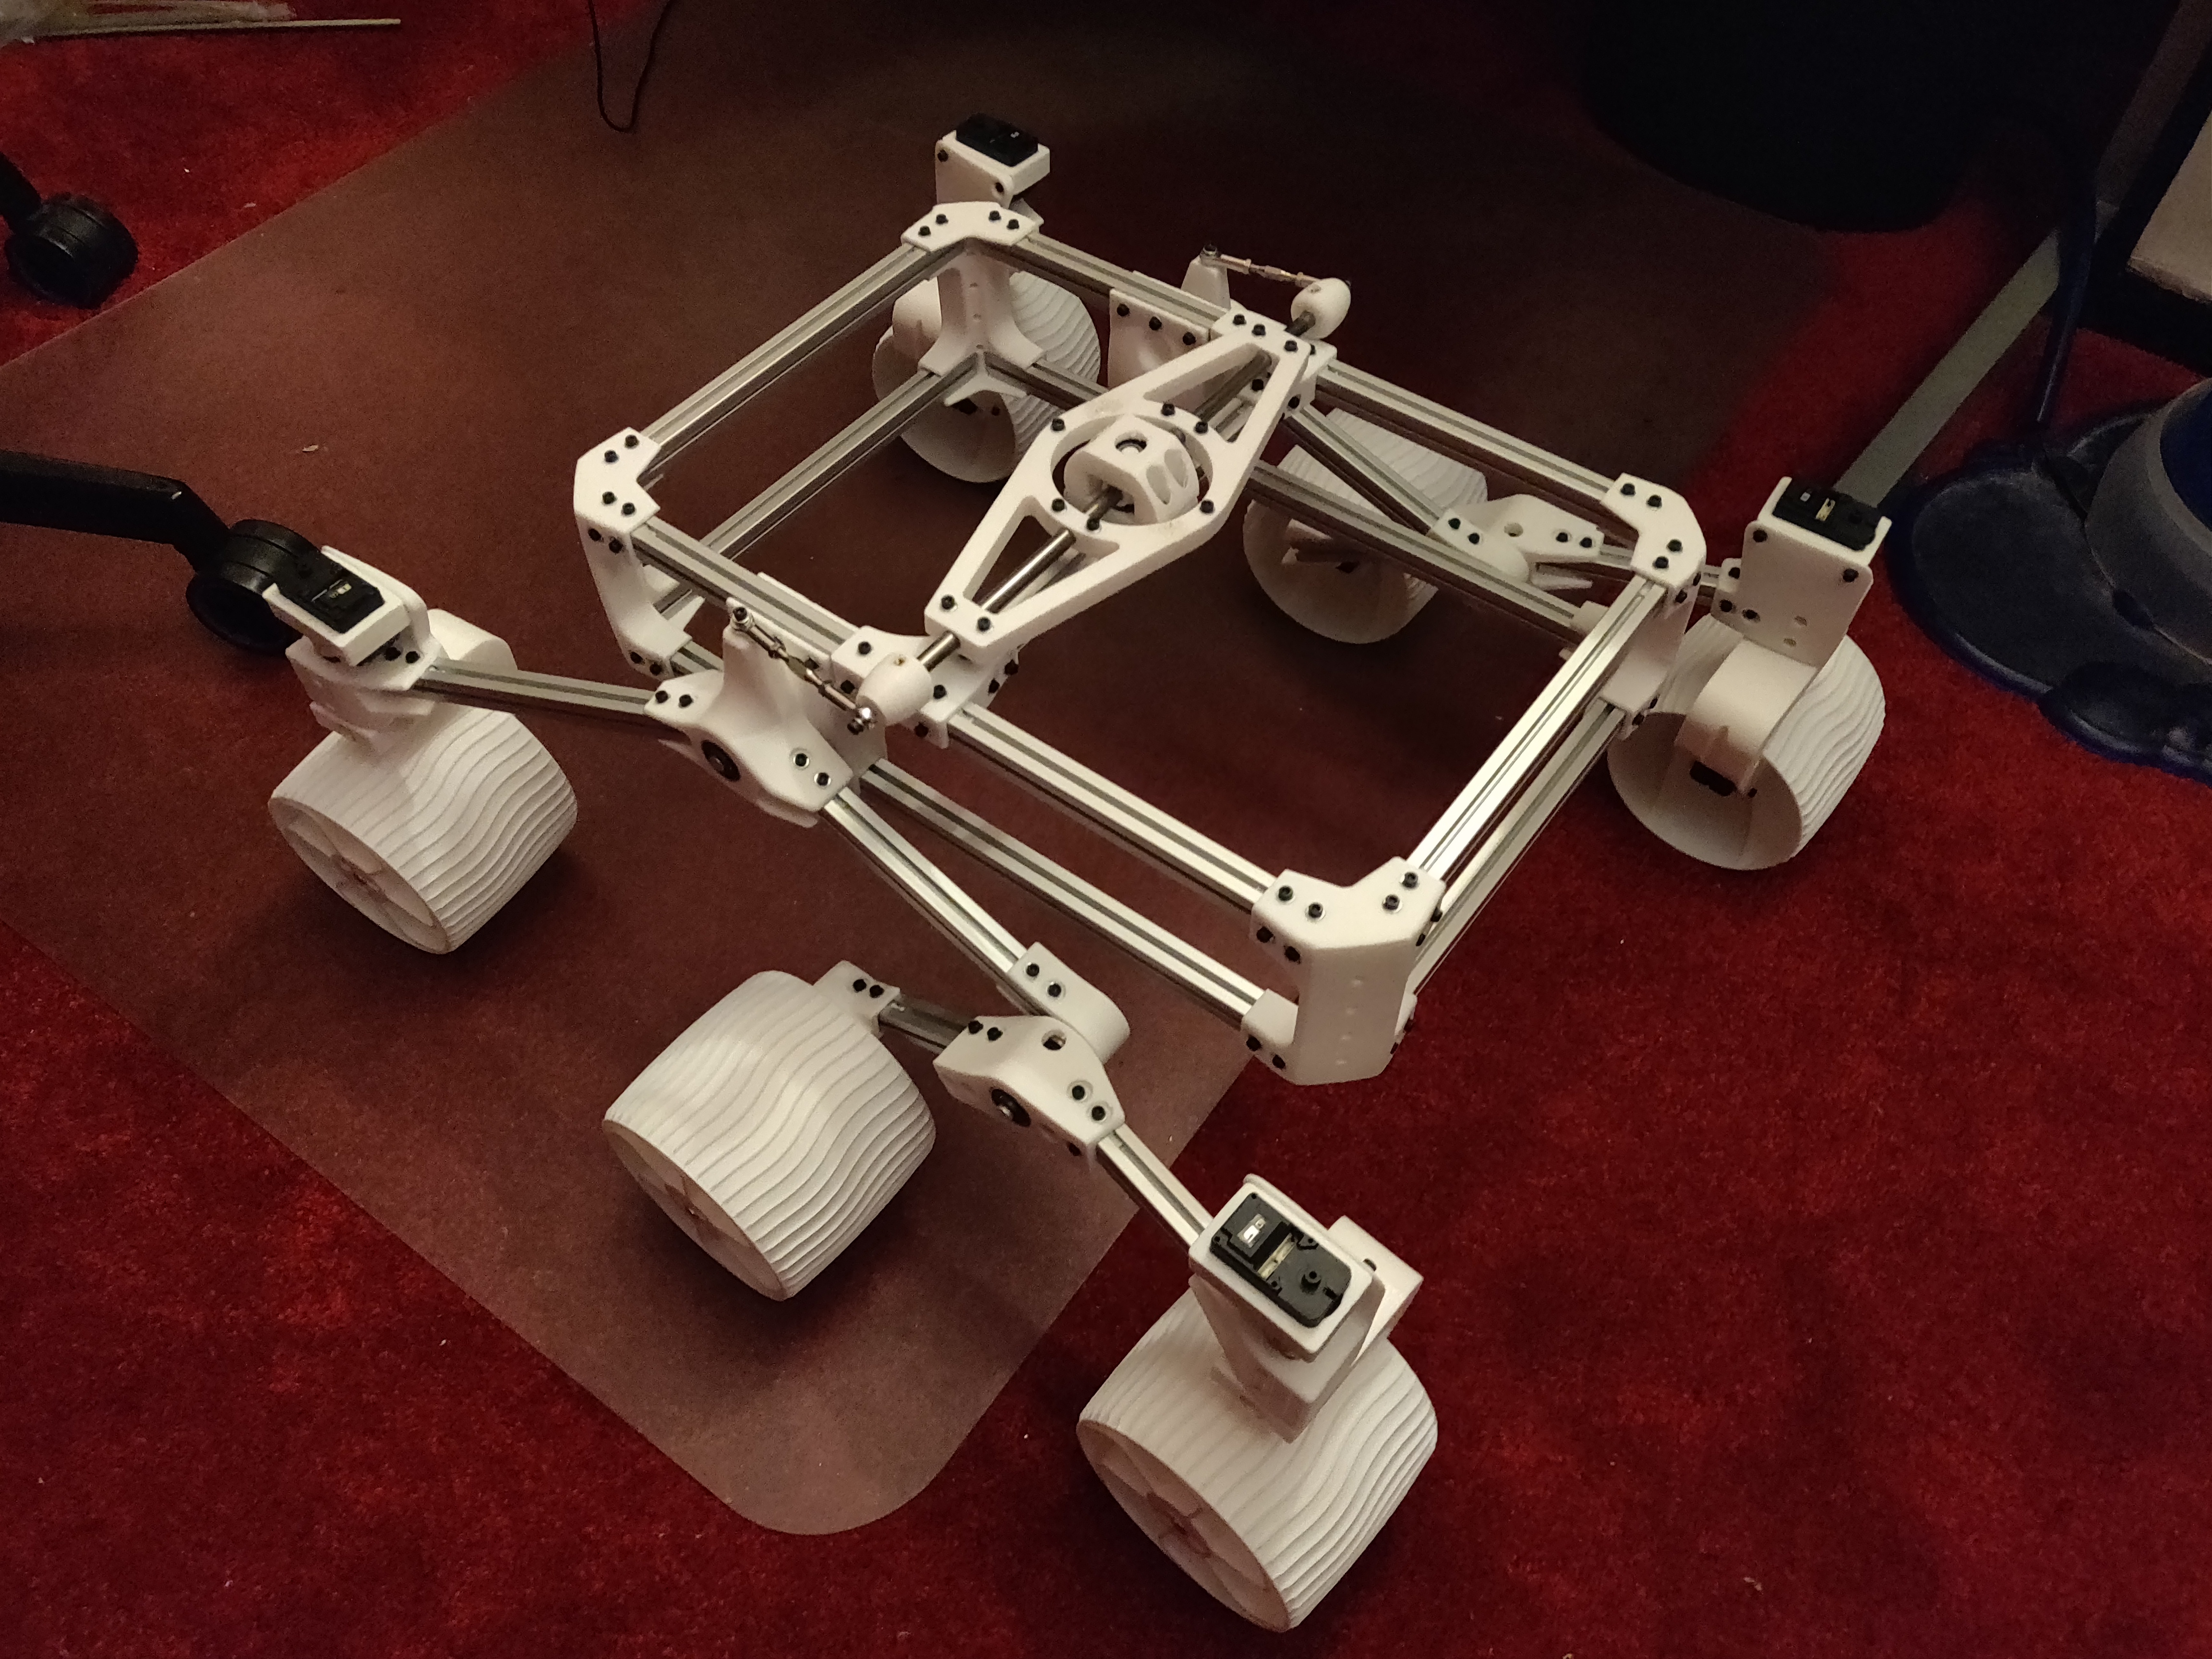
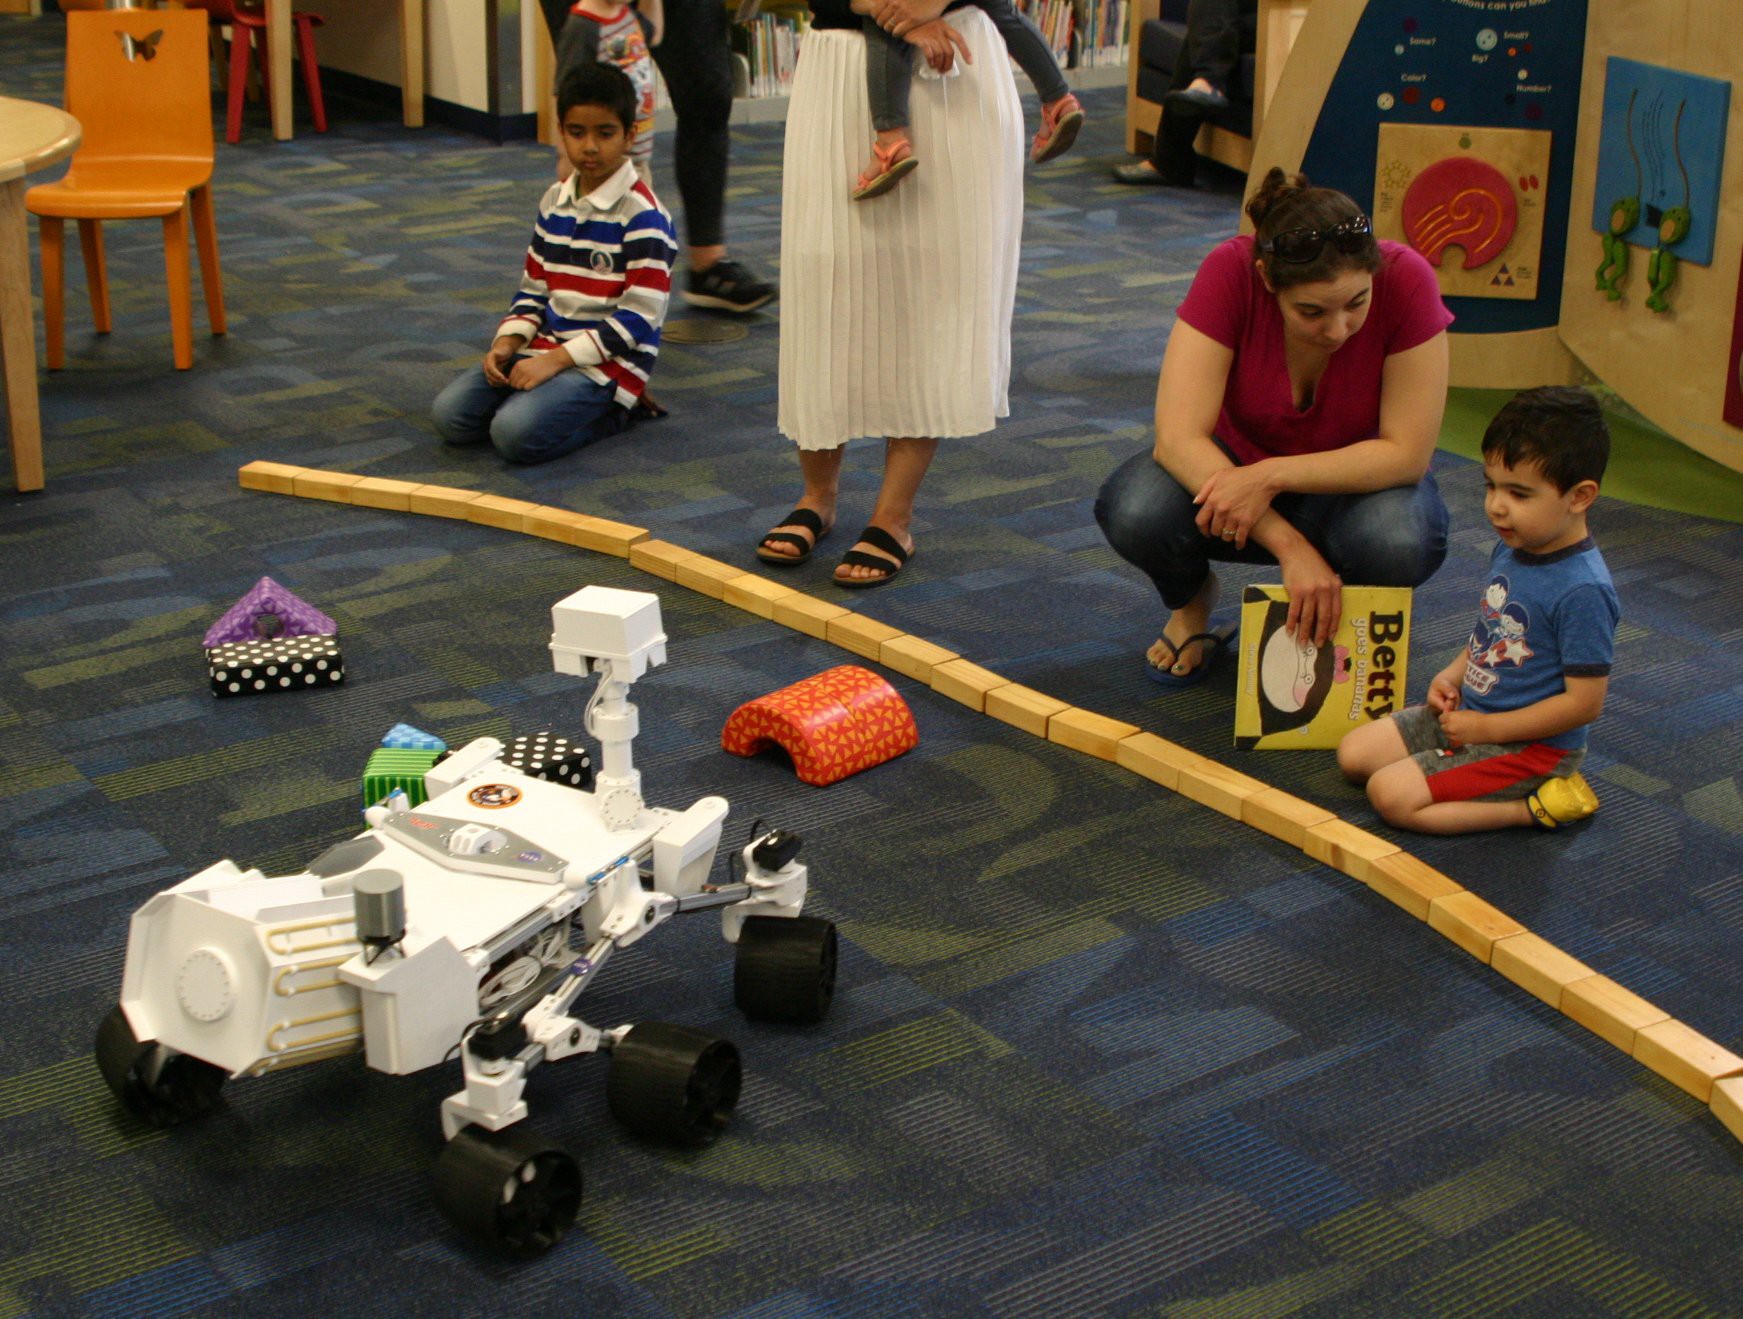
I started my Sawppy project in March 2018. By May 2018 I had my first rolling chassis but it was fragile. Every time my rover broke, I learn a little more about mechanical design, and Sawppy improved over the following months. I also started writing assembly instructions and supporting documentation to help any other interested people build their own Sawppy, not knowing if anyone would take me up on my offer. It was extremely gratifying to see other people have indeed accepted my invitation!
This post recognizes those who have embarked on their own Sawppy adventures, roughly in the order of when I learned about their efforts. Sometimes I learn about their ambitions before they got started, sometimes I learn about it only after their rover had been completed. Given this, it is likely there are other Sawppy builders out there I don't know about at all! But that's fine, I just love the fact there are more Sawppy rovers running around.
I used to list a few Sawppy builders in my main project description page, but the list has grown too long to fit in that space. I'm going to track Sawppy builds on this project log entry, editing it as I go to add more rovers as they come online. I don't know if there'll ever be a day when even this is too unwieldy to track all the Sawppy builds out there... but as far as problems go, that's one I would be very happy to have.
To everyone who decided my project was worth your own time and money and effort to build: Thank you.
Roger
Daniel was one of the first to jump in and start exploring the information I had released. Daniel also helped spread the word of Sawppy via comments on various web page comments about JPL's Open Source Rover, and for that I'm grateful.
I designed Sawppy to use Misumi aluminum extrusions because I saw Misumi had distributors worldwide. Unfortunately my hope of easy availability turned out to be wrong in Canada. But makers are problem solvers! Daniel redesigned his Sawppy to use wooden beams instead.

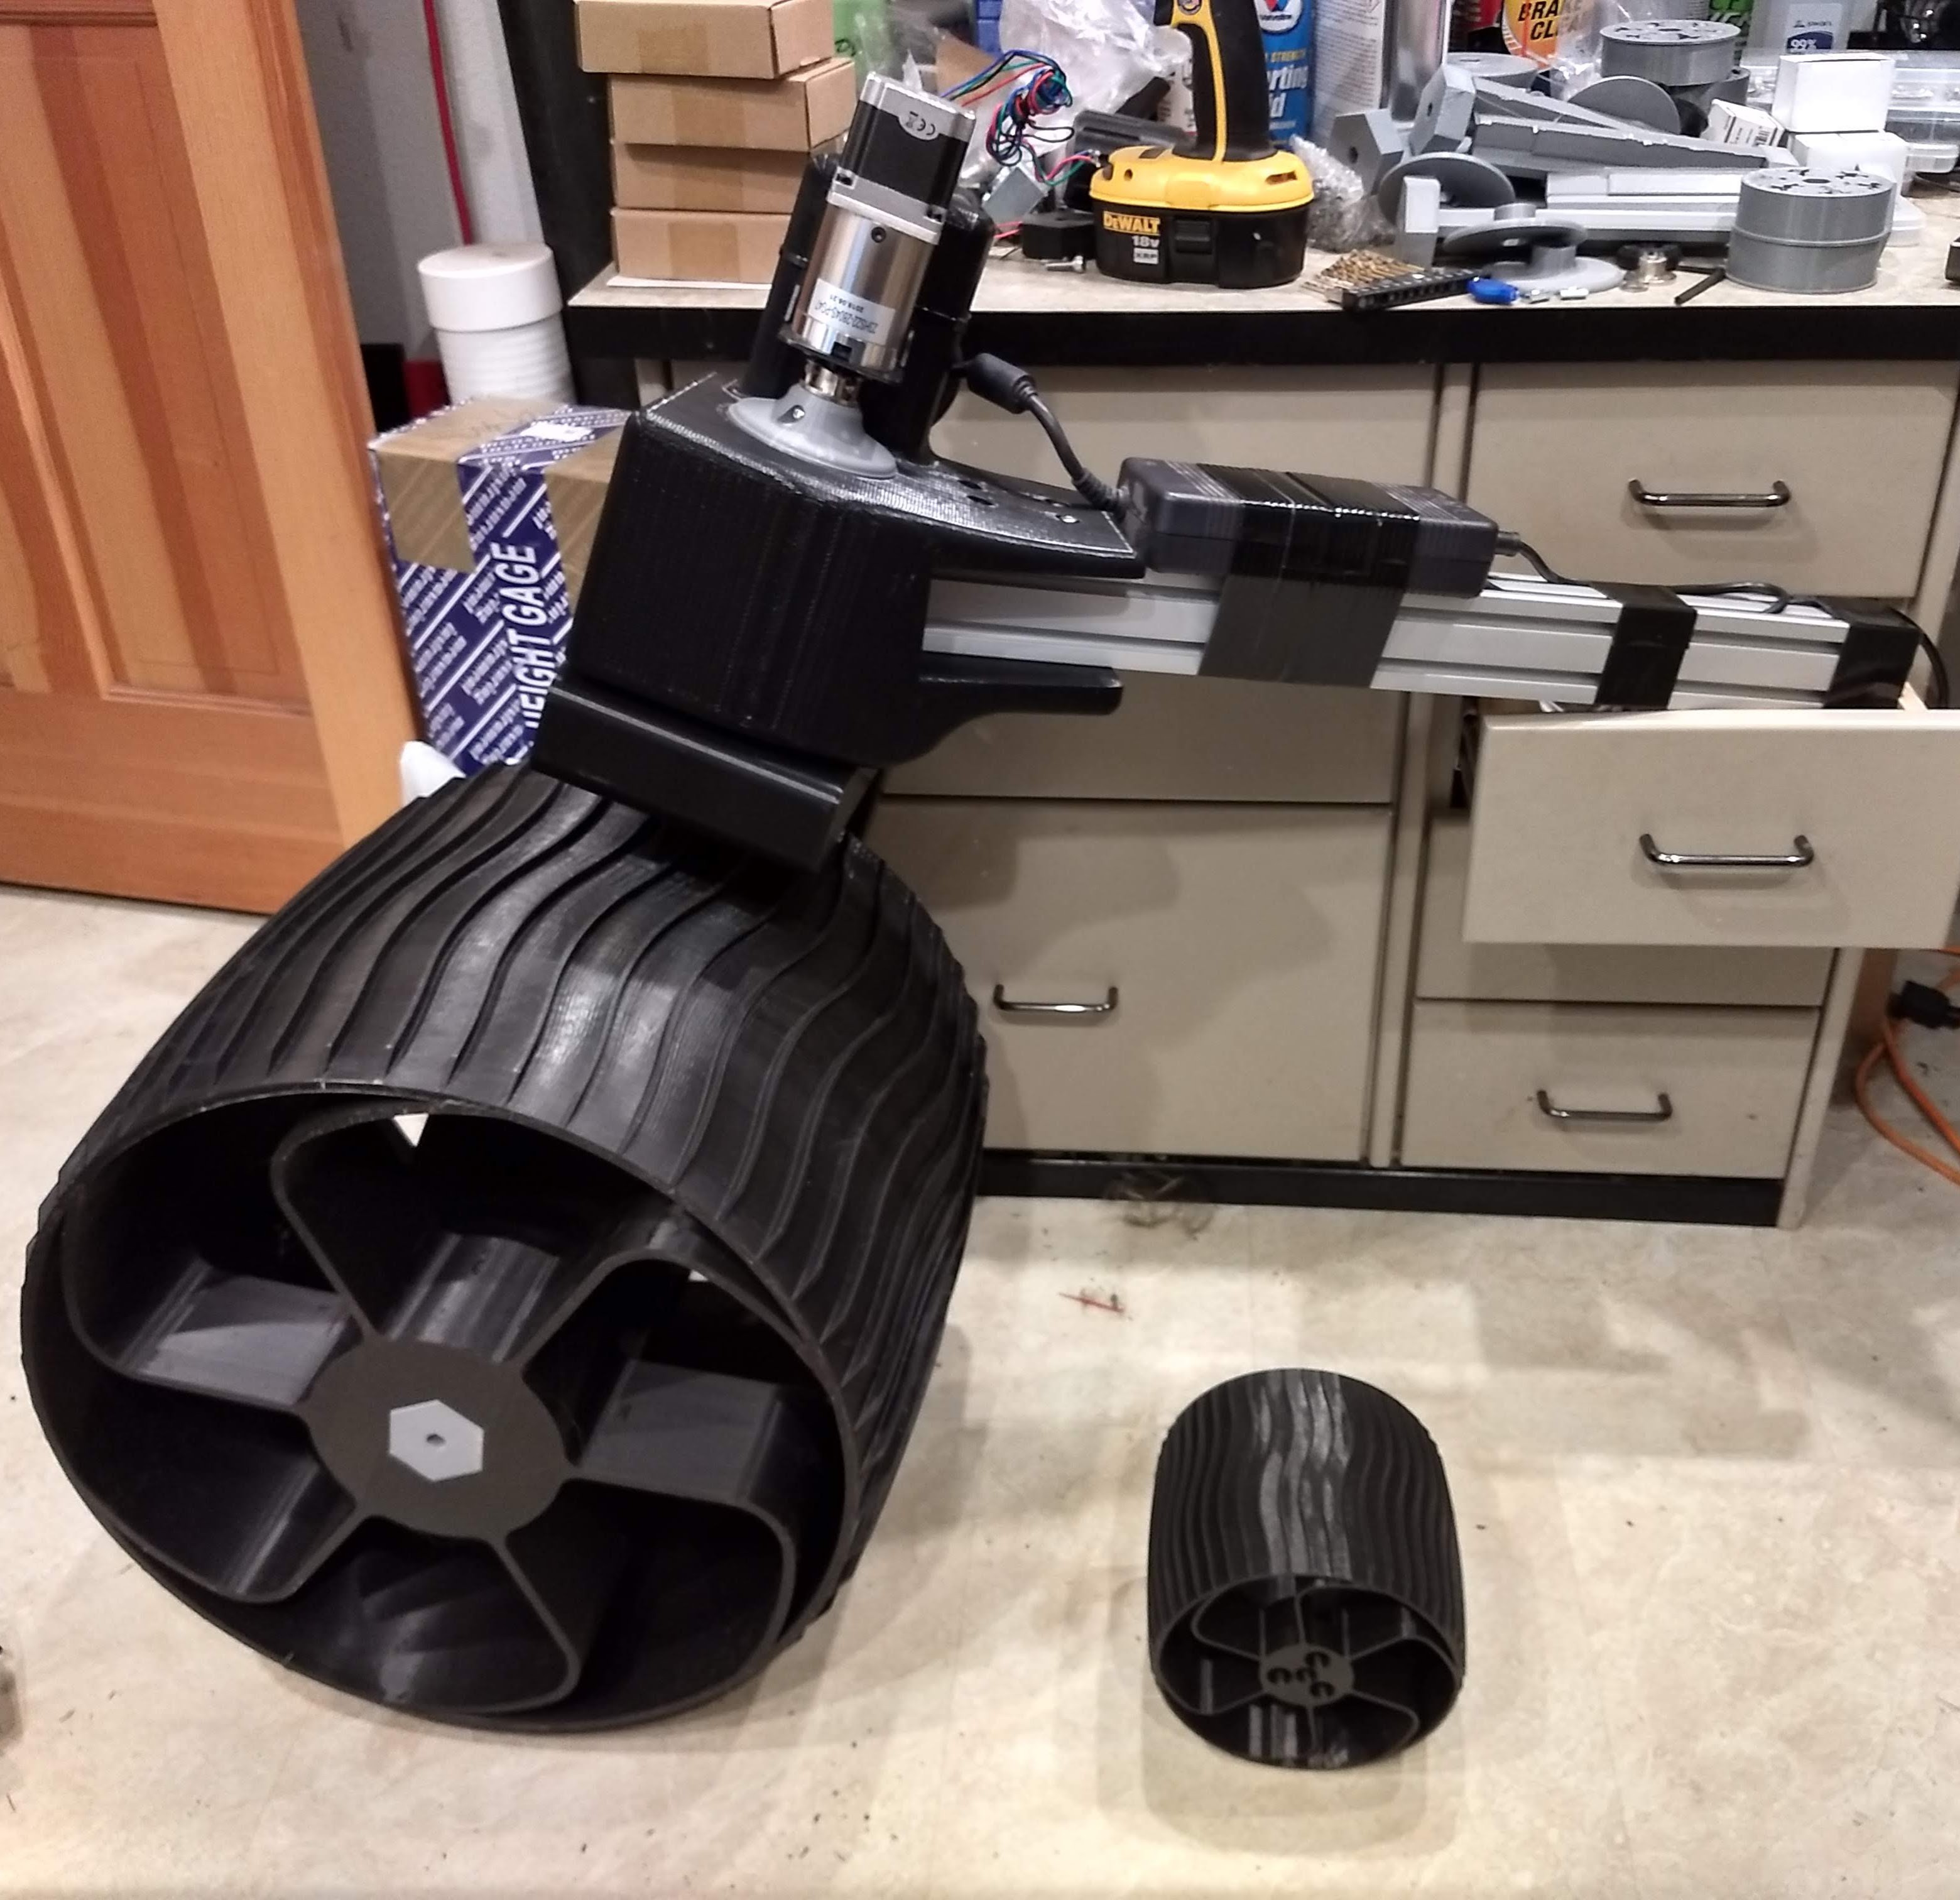
Quinn is a person who thinks big. Quinn has been working to scale up Sawppy's design, making modifications as needed, for a much larger rover. This picture shows one of his big wheels next to a standard sized Sawppy wheel. This rover will be a mobile testbed for his project developing deep ice drilling techniques.

Bob leads a FIRST Robotics team and they have their own version of Sawppy's CAD file filled with their improvements for a better fit with what they want their rover to do. They can't use their rover in an actual FIRST competition because I didn't design Sawppy around competition rules. However, the team members are thinking about using Sawppy's construction technique for their future projects. All of this makes me extremely happy.
Sawppy has a sibling in the UK! During Sawppy's evolution I had to adjust various pieces and occasionally aluminum extrusion lengths. This resulted in some recuts and some unnecessary (in hindsight) waste. When I documented their final dimensions, I thought it was possible someone could cut all the required pieces out of two extrusion beams at the 2 meter standard length sold by Misumi. Thanks to the build log for Chris' Sawppy, I saw this hypothesis has been proven.

Marco has lots of robot building experience and wanted to add a Sawppy to his robot army. I received many helpful pieces of feedback about my posted instructions for Sawppy, pointing out where I could add clarifications and substitutions. Marco has also shared his Sawppy enhancements on Github in a way I could merge into my master repository under "modifications" folder. And like his other robots, Marco's Sawppy is printed in a bright yellow UV-reactive plastic that leads to some great videos of roving in the dark.
For control software, Marco has forked my SGVHAK Rover code and modified it to accept commands from his remote control system.
CJ, or "Curiosity, Jr." is Laura's Sawppy variant and the future direction will include efforts on adding detail to make the rover a more faithful model of Curiosity rover. (Hence the name!) I was more focused in mechanical fidelity and didn't spend much time on appearance fidelity. It's great to see people like Laura pick up my slack.

If someone had asked me if Sawppy should be their first big 3D printing project, I would be a little scared to say yes. But with some persistence and resourcefulness, a Sawppy came together regardless in the hands of WJD. And now that Sawppy is up and running, WJD may tackle more electromechanical projects. It makes me happy to know Sawppy can inspire others to turn their ideas into reality.
I didn't know Philip had been building a Sawppy until it was all done: the first notification I received was a pull request on Github with Philip's suggested changes to improve documentation. These changes were obviously backed by experience of building a Sawppy, and I gratefully accepted the suggestions.
Phillip's Sawppy was printed in plastic of bright red and black, making it one of the more visually distinctive rovers on this page. My favorite image from the project image gallery was one where gigantic googly eyes were mounted to the front. I loved it so much I put googly eyes on my own Sawppy.
Sawppy has a sibling in Germany! I loved seeing Sawppy running around on surfaces like grass and sand. According to the description attached to this YouTube video, the GoPro camera visible here has already been replaced with a Raspberry Pi camera in support of object detection via TensorFlow. I always intended for Sawppy to be a platform for experiments in autonomous robotics, and it's great to see Martin getting started on that front.
The biggest and most obvious change in Chris Bond's Sawppy are the wheels: Chris has swapped them out for RC monster truck wheels. These are not identical to what was used in the JPL OSR but a similar concept. And like much of engineering, a change causes ripple effects. For Chris it meant developing a new way to couple wheels to their drive axle, which evolved into a different way to mount servo couplers on Sawppy's 8mm shafts as well. It appears much more rigid and sturdy than what I had designed in Sawppy, and is worth consideration for other Sawppy builders to adopt. For the immediate future I'm probably going to leave my own Sawppy as-is, but switching over to what Chris had done for shafts is now on the to-do list.
See these and other observations from Chris about building a Sawppy on his blog.

More stories of Sawppy builders continued on Page 2.
 Roger
Roger
Discussions
Become a Hackaday.io Member
Create an account to leave a comment. Already have an account? Log In.