Close
0%
0%

Xtencion

An intelligent wrist wear that has unparalleled functionality, improves user's productivity and provides better control over smartwatches.

Public Chat
Similar projects worth following
--> One of the biggest issues with smartwatches is that they have a very cluttered UI. This is a design failure because the average smartwatch has a screen size of about 40mm. Out of this, the finger takes up around 10mm.
--> XTENCION REPLACES THE TOUCHSCREEN WITH GESTURE CONTROL.

--> Smartwatches these days have a very pixel dense touch screen. This leads to an abysmal battery life with the user having to recharge very often.
--> XTENCION USES BENDABLE LI-ION BATTERIES EMBEDDED IN WATCH STRAPS TO INCREASE BATTERY LIFE.

--> User customizability is effectively limited to changing the wallpaper even on expensive smartwatches.
--> XTENCION PROVIDES EXTENDED FUNCTIONALITY AND CUSTOMIZABILITY THROUGH IFTTT SERVICES.

The Surveys:

We asked people what they thought about their smart watches and this is what they came up with.

  • “My smartwatch is just like my phone, why did I waste money for something that I already have. I expected my smartwatch to have extra features in it” - Mr. Rajesh, Self-Employed Entrepreneur
  • “It’s difficult to navigate through the menu on such a small screen. I would opt for a smart watch with buttons on it for easier use.” - Ms. Lalitha, Fitness Freak

So we asked ourselves, how can we make smartwatches a better tool and a better user experience for the end customer?

Thus we conceptualized Xtencion, an intelligent wrist wear that has unparalleled functionality, improves the users’ productivity and efficiency while at the same time does not boggle the user with complicated user interfaces.


How do we establish a new method of Human Computer Interaction?

Our basic premise whenever trying to do this is to show that there is a problem or an inefficiency with the current techniques of HCI. Our area of concern is the smartwatch. We believe that the interaction method used in a much bigger touchscreen in a smartphone should not be scaled down to be used in the touchscreen of a smartwatch. We found that the average smartwatch screen size is about 43-49mm while the average fingertip is about 16-20mm in width. A simple division shows that the fingertip could cover easily more than 35% of the screen while actually using it. This is not even considering the actual finger behind the fingertip which shoots up this percentage resulting in a large part of the screen being covered while we use the actual screen. Here lies the inefficiency that we were looking for.

Upon some brainstorming, we came upon the idea of gestures. It has been talked about so much so we decided to come up with an interface that used gestures. So using nothing but a sharp IR distance sensor and a gyroscope sensor, we came up with a neat method of interacting with a smartwatch. As an example, if the user wears the watch on his/her left wrist, the right hands movements towards or away from the watch in the inside of the forearm make up a gesture. In our implementation, we have two preset gestures. A long swipe that switches between modes each time it is performed and a short swipe that selects it. It must be noted that the user will be able to set up a special type of swipe (for example, one that moves away and then comes back in the same gesture.). Moreover, using the gyroscope we have set up a system that allows the user to go through a longer list (eg. a list of songs or a list of contacts).

We believe that this is a more efficient and an uncluttered way of using smartwatches. This is the new human computer interaction paradigm we are trying to set.

The Design:

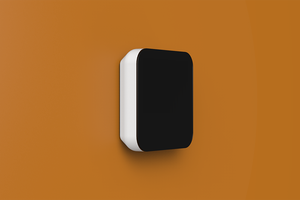
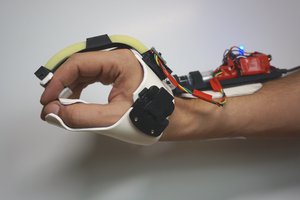
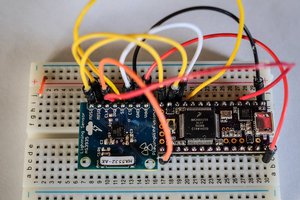
These 3D models represent the future DIY design of Xtencion. So far, we have built a working prototype to test out crazy ideas.  The picture below depicts the future non-DIY design of Xtencion. One of the features of the design below is that the watch links are embedded with tiny batteries.

The Design Methodology:

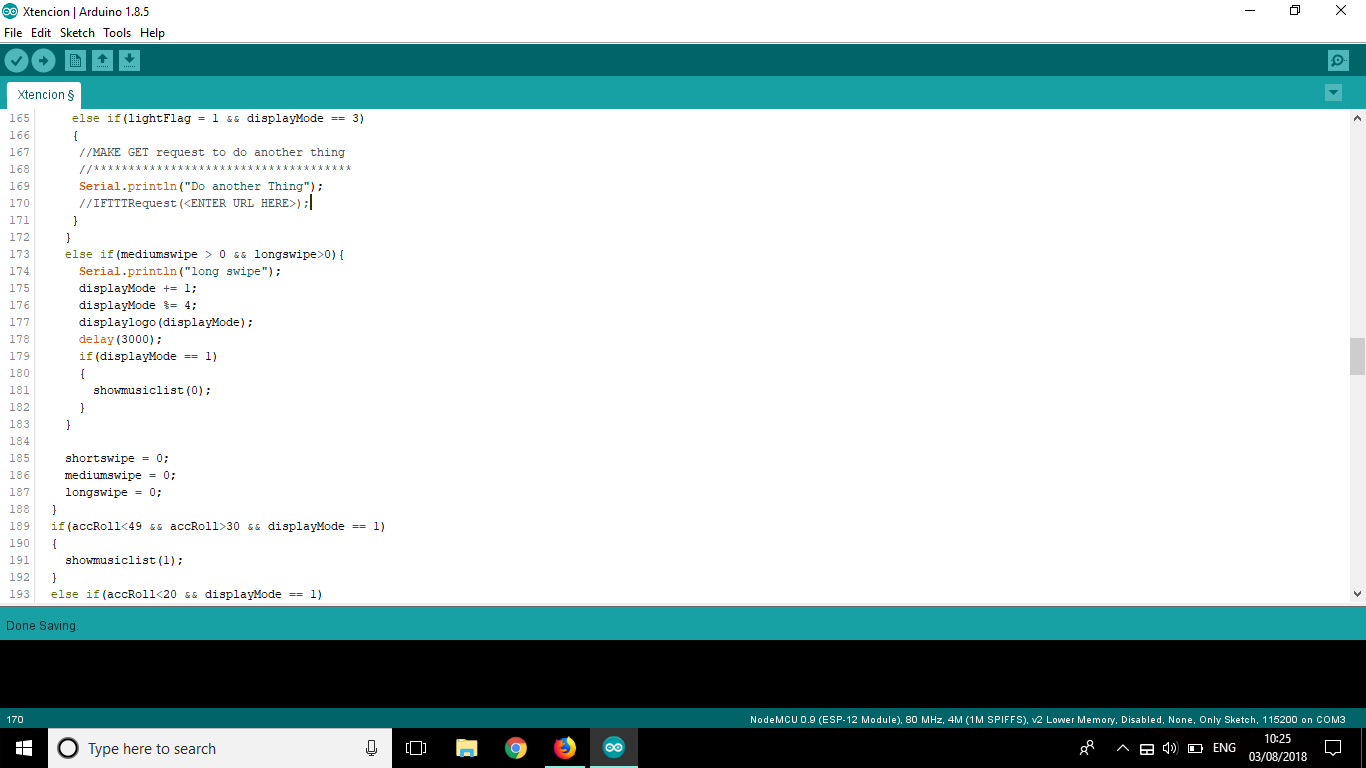
  • The Xtencion band is equipped with a SHARP IR distance sensor to detect the different swipe gestures  and a 6DOF gyro module to read the wrist gestures. The band recognizes either individual gestures or a combination of them.
  • After recognition, it either navigates through the menu or triggers an external event based on the pattern of the gestures. This way we provide hassle free usability for the user.
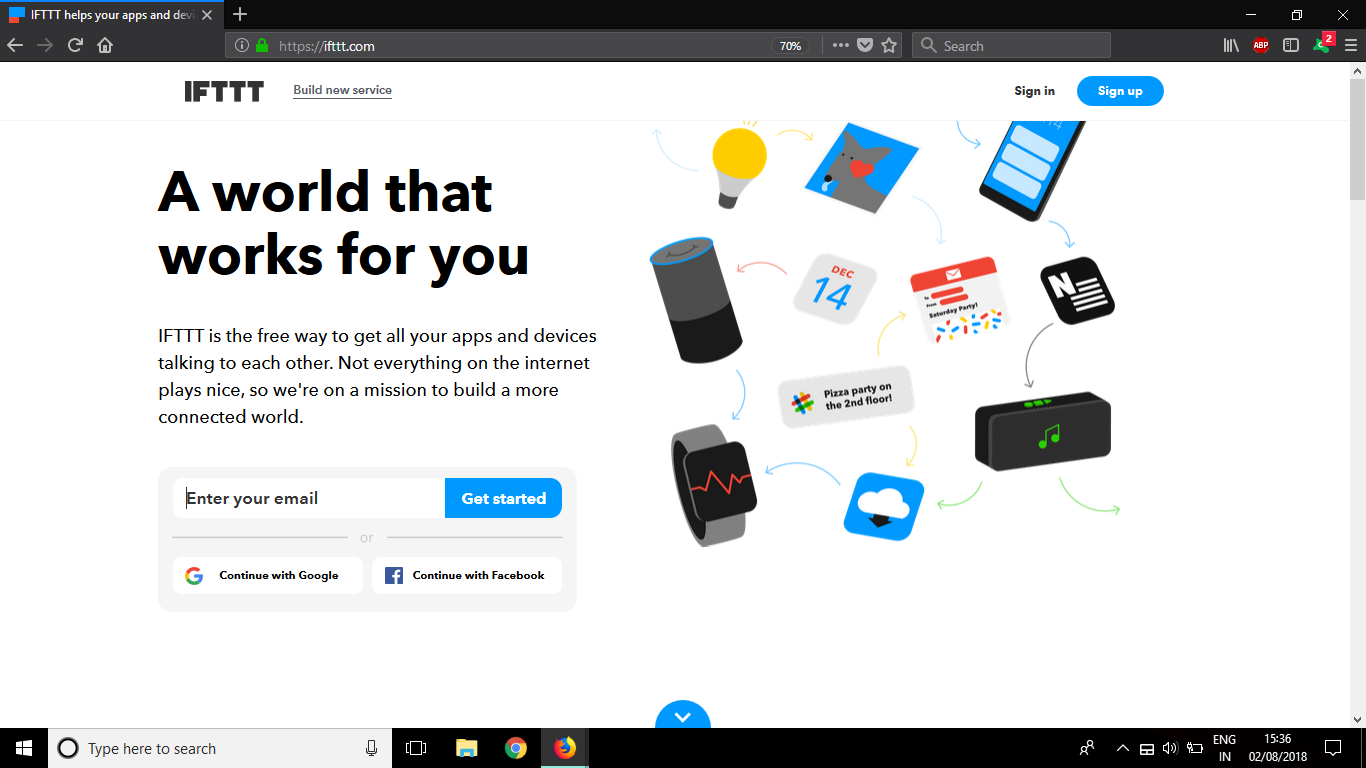
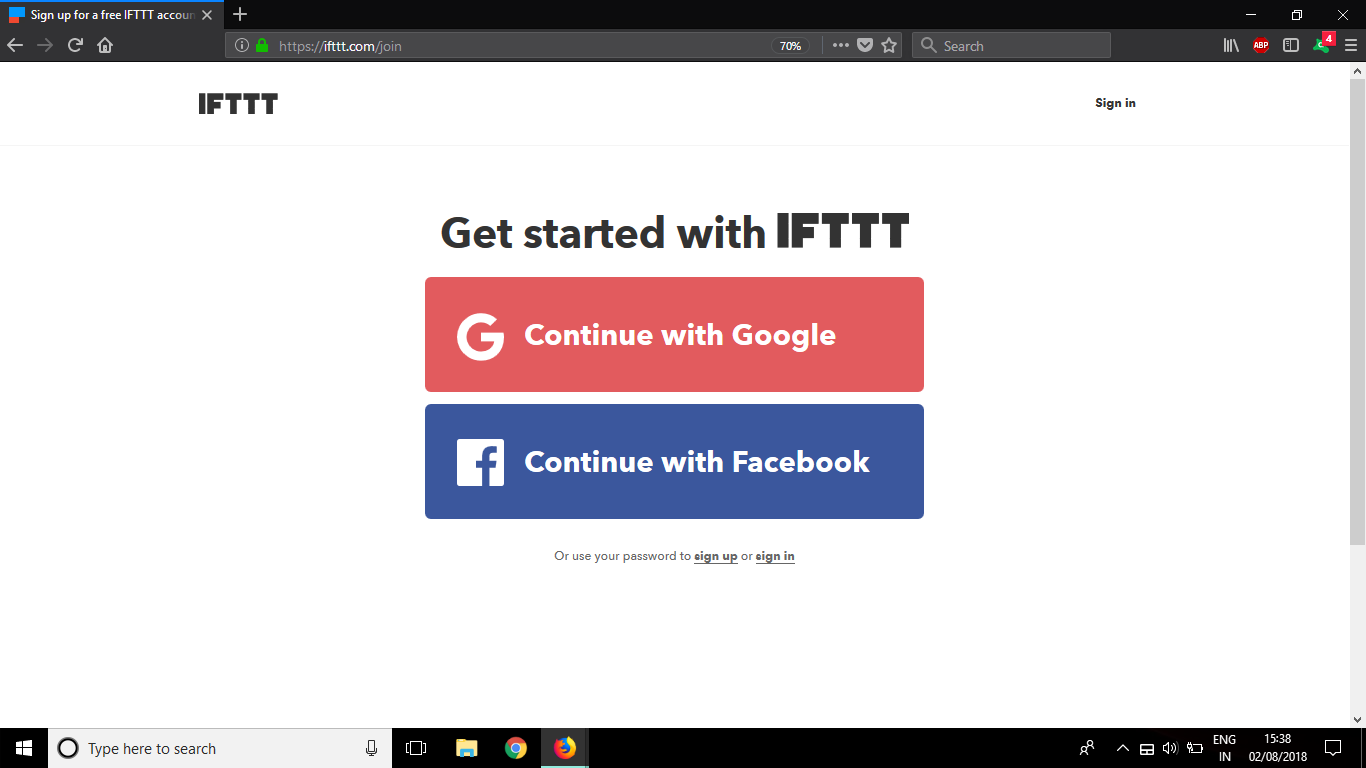
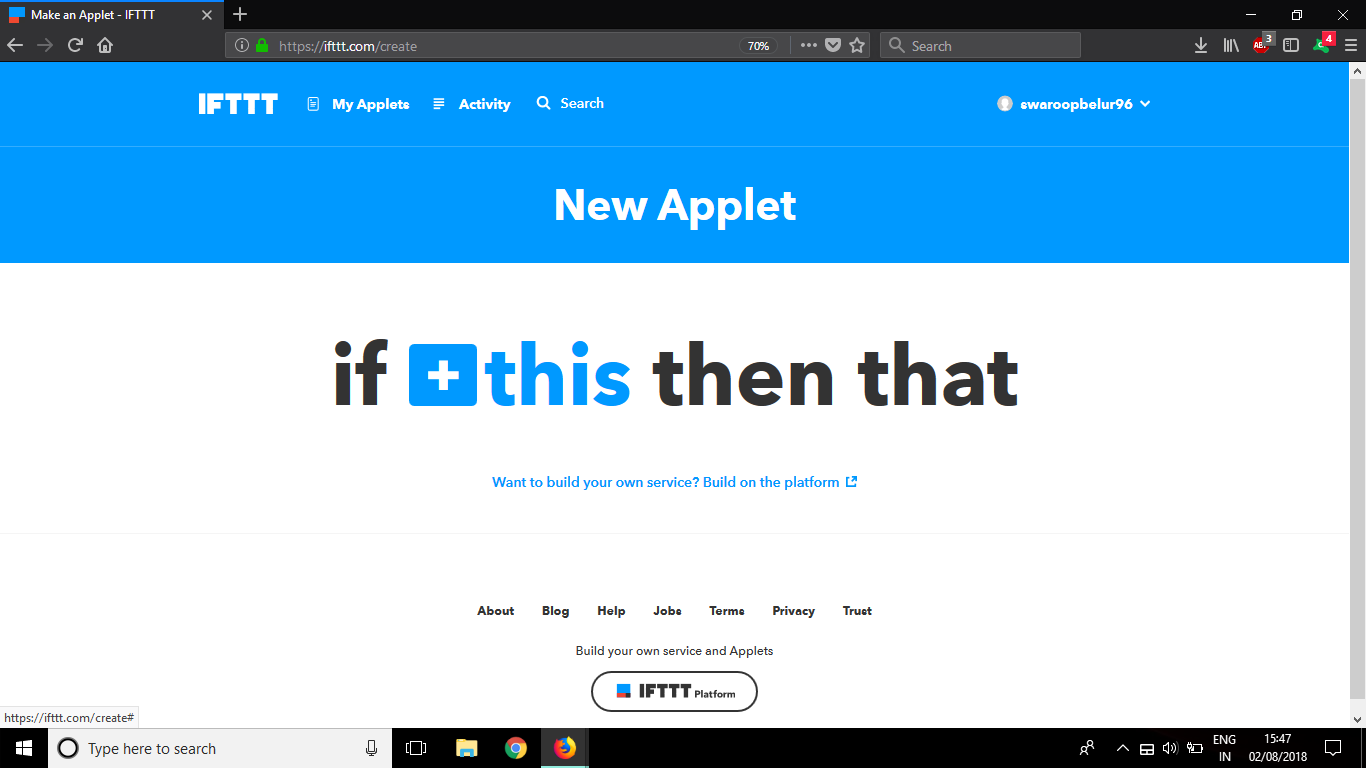
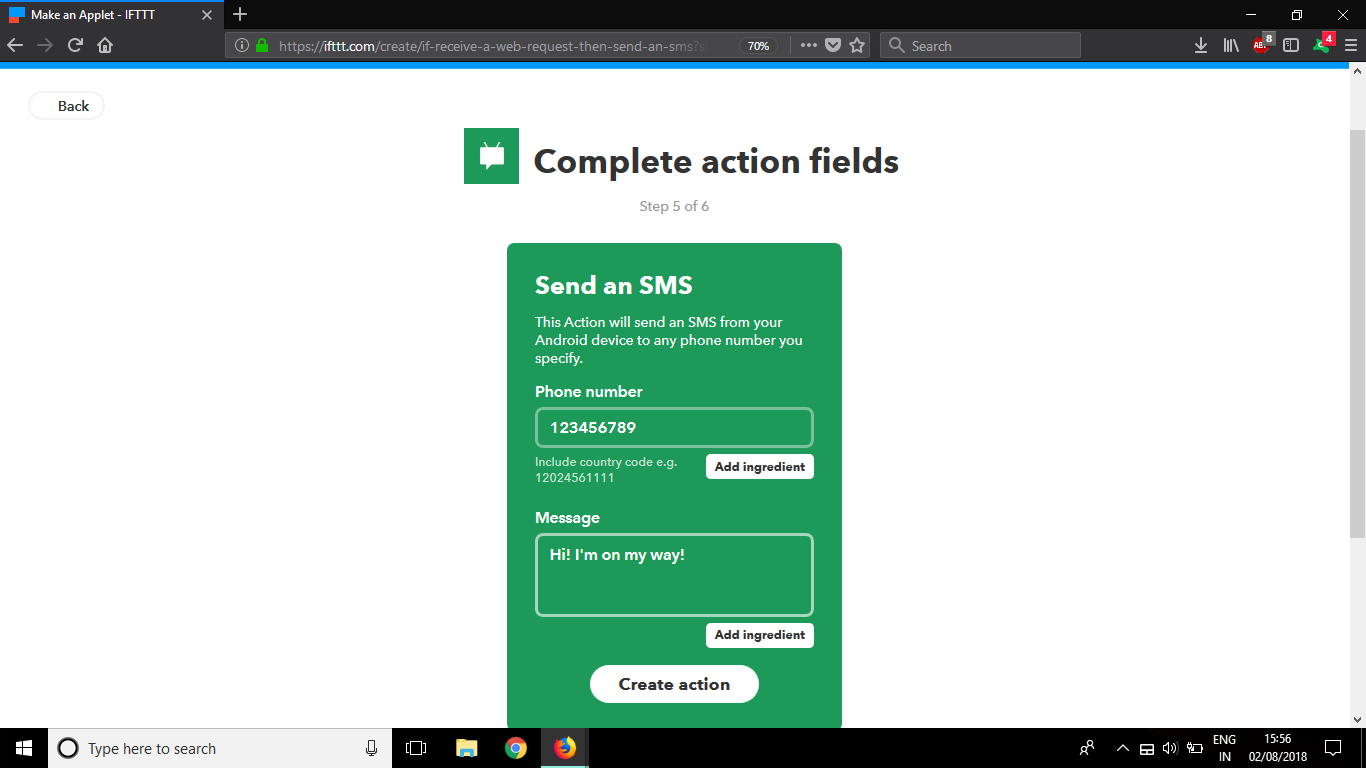
  • Since it is powered by an ESP8266, connecting to other IoT devices is a breeze. The band controls other devices through a third-party service called IFTTT.
  • IFTTT (stands for If This Then That) is a platform that enables interface between various devices. We plan to deploy Xtencion “Recipe” Blocks on their platform so that the user can customize external...
Read more »

Xtencion_KernelSubtraction.ino

Swipe detection using Kernel Subtraction method. A kernel array is subtracted with incoming data to detect a swipe.

ino - 12.29 kB - 08/07/2018 at 14:24

Download

images.h

GUI hex file. Place in the same directory as arduino code

plain - 10.10 kB - 08/07/2018 at 14:23

Download

Xtencion.ino

The arduino code file for the ESP8266 on board.

- 10.52 kB - 07/30/2018 at 06:36

Download

  • 1 × ESP8266
  • 1 × Sharp Sensor GP2Y0A41SK0F Electronic Components / Misc. Electronic Components
  • 1 × MPU9250/ MPU6050
  • 1 × ADS1115 ADC
  • 1 × 0.96inch OLED

View all 7 components

  • Kernel Subtraction for Swipe Detection

    Chirag Mahaveer Parmar08/07/2018 at 14:39 0 comments

    A new arduino source code file named Xtencion_KernelSubtraction has been added which implements the kernel subtraction method to detect swipes. So we define a array of distances that best represents a swipe, kernel. The kernel array is of size equal to sample_size. Incoming distance readings are stored in a buffer of size equal to sample_size. The kernel is subtracted from the buffer and the difference is stored in another array. Ideally, the difference array should be an array of zeroes. Although, in real world humans may not be able to reproduce the same swipe repeatedly. Hence, we compute the mean and standard deviation of the difference array. Whenever the mean and standard deviation is inside defined limits a swipe is recognised.

  • What's tested on our current prototype?

    Chirag Mahaveer Parmar07/30/2018 at 07:05 0 comments

    1. Swipe control
    2. Wrist control
    3. Controlling IoT devices
    4. Different smartwatch modes
      1. Watch mode(Default)
      2. Music mode
        1. wrist control of song selection
        2. playing the song using a short swipe
      3. SOS mode
        1. Short swipe to send a SOS message
      4. Xtencion Mode
        1. book a cab or switch off your lights based on time and location
        2. just a short swipe to do that 

  • What's lacking in our current prototype?

    Chirag Mahaveer Parmar07/30/2018 at 06:54 0 comments

    • We use 9V batteries to power the watch since we don't yet want to move to the final prototype with the bendable batteries.
    • The IR sensor is placed on the other side of the display because it is easier to proceed with the tests in that configuration.
    • It is a medium-fidelity working prototype.
    • IFTTT block is not public
    • WiFi is needed for controlling other IoT devices which will be replaced by cellular network.

View all 3 project logs

  • 1
    Steps to get Xtencion working with other Devices and Services.

    Step 1: You will have to set up an IFTTT account. Go to https://ifttt.com/

    Step 2: Sign up with either your Google account or Facebook account.

    Step 3: Once you have your IFTTT account, click on “My Applets” and then click on “New Applet”.

    Step 4: Click on “this” and then search for “Webhooks”. Click on the Webhooks block and then select “Receive a Web Request”. It may ask you to connect the Webhooks block when you do this the first time. Just click Connect in that case.

    Step 5: Here, enter an event name. You can establish which event triggers your recipe. For this example, we will name the event “personal_swipe”. Then click on Create Trigger.

    Step 6: Click on “that” and look for the type of event you want to trigger. For this example I want to send a text message to my friend. Search for SMS and select the Android SMS block. Here, select “Send an SMS”.

    Step 7: You can now enter the phone number you want to send an SMS to and the contents of the SMS. After this, just click on “Create Action”.

    Step 8: Review your IFTTT Recipe and click “Finish”. Congratulations! You have just created an IFTTT recipe and you can use it with your Xtencion Device.

    Step 9: Now that you have the recipe created. You just have to associate it with a swipe. Open the Arduino file called “Xtencion.ino” in the Arduino IDE and go down to line 170.

    Step 10: Remove the two backslash symbols at the beginning of the line and enter the url from IFTTT. It should read like the line below.

    IFTTTRequest(“http://maker.ifttt.com/trigger//with/key”);

    Replace <EVENT_NAME> with the event name you chose while making the recipe. In this example, we chose “personal_swipe” and replace <KEY> with your key which you can find by going to this site and clicking “Documentation”. Also ensure that the url is within double quotes.

    NOTE: The URL is likely to start with “https”. However, for the function to work please remove the ‘s’ to make it “http”.

    Step 11: Now simply upload this code to your Xtencion device and test out your newest feature that you created!

    As you can see, in just a few simple steps you can add new functionalities to your Xtencion and have it run as you like it.

    In our example, we chose to simply send an SMS to a friend. However, you can choose from the very large number of Services offered on IFTTT. This can range from getting a simple notification on your phone to controlling your Philips Hue bulb at your house!

View all instructions

Enjoy this project?

Share

Discussions

Similar Projects

Does this project spark your interest?

Become a member to follow this project and never miss any updates