Close
0%
0%

Raspberry Pi Action Cam

A video and still camera based on the Raspberry Pi A+. The camera has integrated bluetooth and wifi for file transfers, as well as an on-boa

Similar projects worth following
The design of the action camera had to be based on off-the-shelf components. If you have access to a 3D printer and soldering iron, you can build this project. With that in mind, I started with the Raspberry Pi A+, the newer, low-power version of the Model A. Having the A+ as the platform meant having access to hundreds of parts designed to work with Raspberry Pis; the most important being the camera module

My design goals for this project were simple:

  1. Long battery life
  2. Wireless communication
  3. Simple, durable enclosure

The first goal meant having a large battery. The hour to hour and a half battery life of the GoPro wouldn’t cut it for longer, multi-hour rides. The second meant having both Bluetooth and WiFi so that additional hardware wasn’t needed to interface with the camera. The last goal also played a big role in determining the first two. While designing holes/slots to make every port available outside the case would have made things more convenient, it would also have reduced the structural integrity and water/dust resistance.

Please note that the choppy video in the clips is due to rendering issues. The quality of the video is the same as every other Raspberry Pi camera board.

  • 1 × Raspberry Pi A+
  • 1 × Raspberry Pi Camera Board
  • 1 × Edimax WiFi USB Adapter
  • 1 × Wireless Bluetooth to Serial Slave
  • 1 × 32GB Micro SD

View all 10 components

  • 1
    Step 1

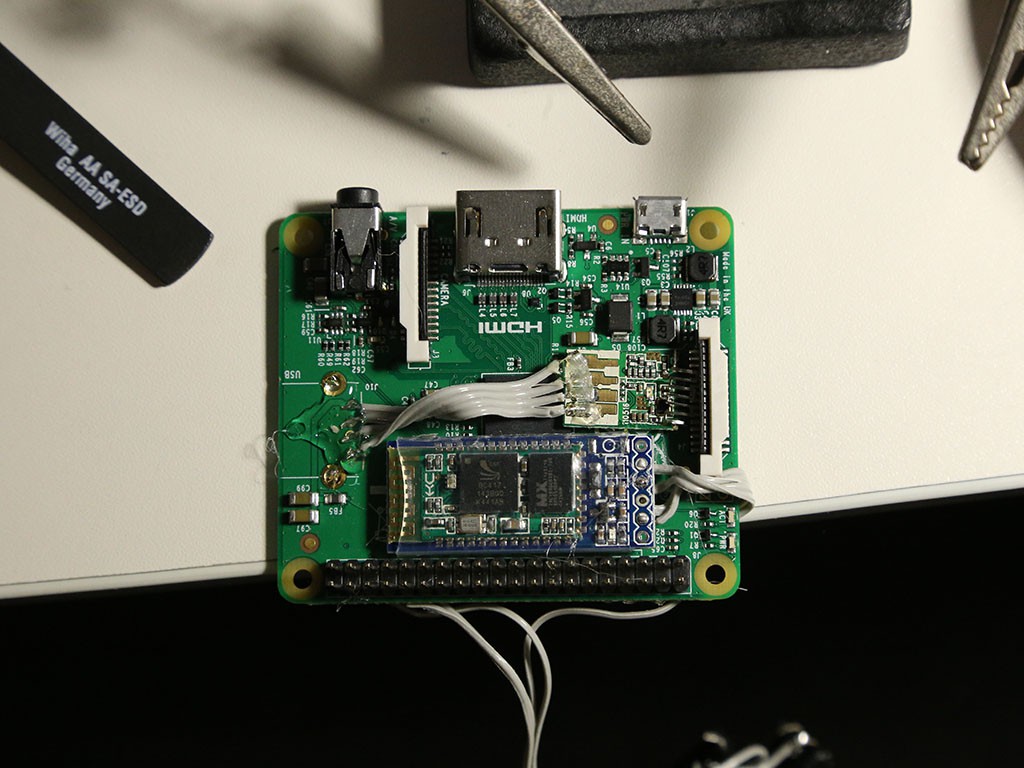
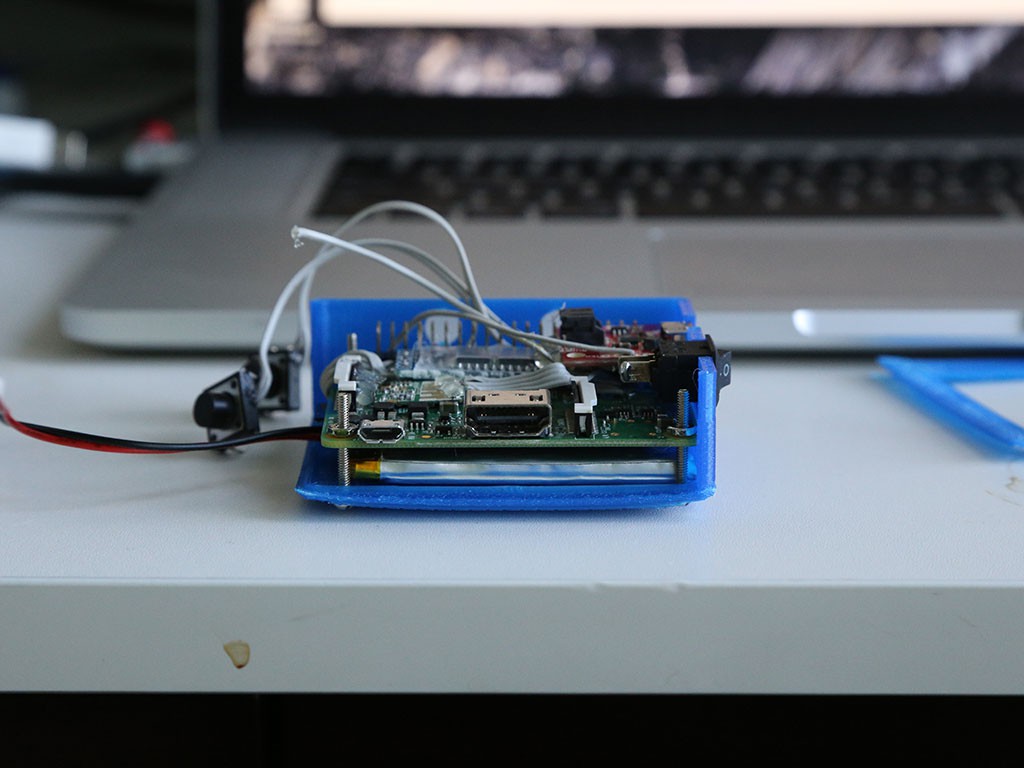
    I started by trying to package the peripherals as tightly as possible on the Pi. The largest obstacle was the USB WiFi adapter, which stuck out quite a bit more than everything else. I removed the USB jack with some side cutters and my iron and attached ribbon cable to the exposed data and power lines. I then removed the WiFi adapter from its plastic case and soldered the wires directly to its board. Next, I hot glued the Bluetooth module to the top of the Pi and ran more ribbon cable to the headers underneath. I also attached the two pushbuttons with slightly longer pieces of cable.

  • 2
    Step 2

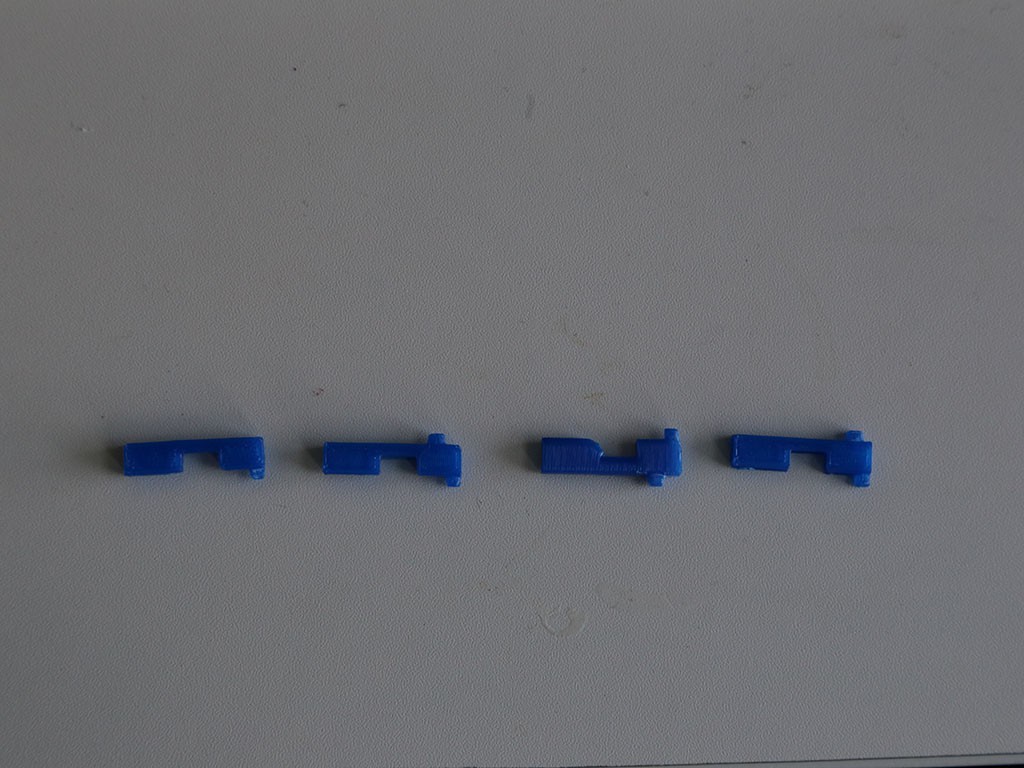
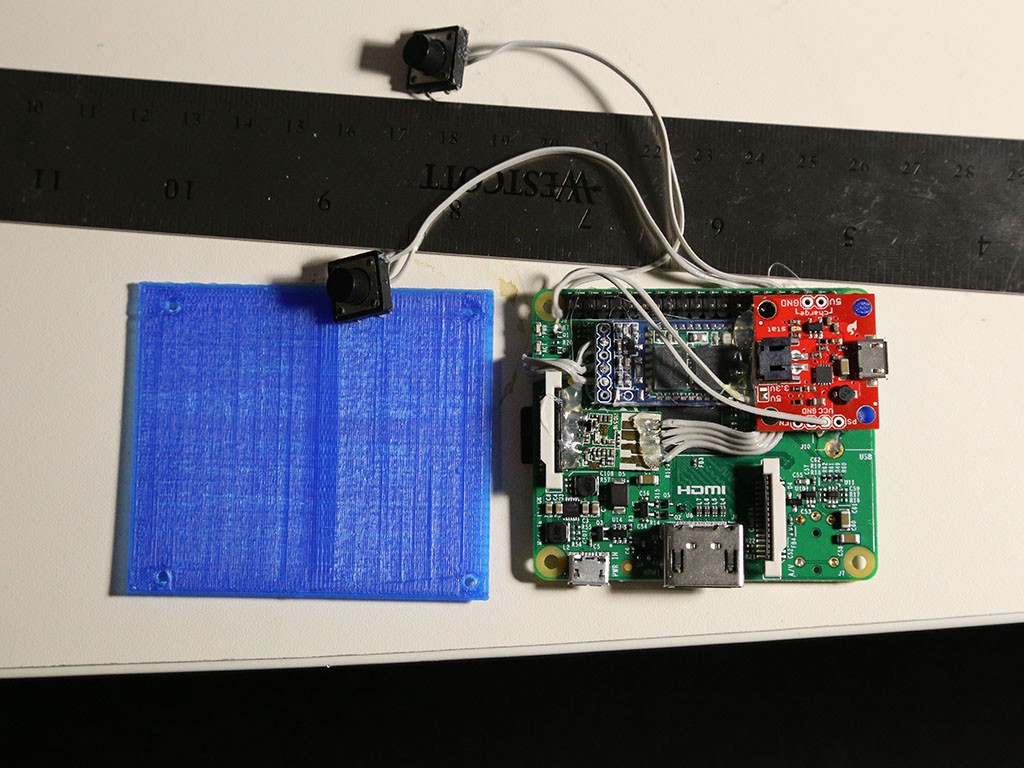
    Space was already pretty tight and I still needed to attach the LiPo charger/booster. I did some quick measurements and printed out a support for the board. Took a few tries to get it right.

    With everything mounted on the Pi, I printed off a quick base to see if my measurements lined up.

  • 3
    Step 3

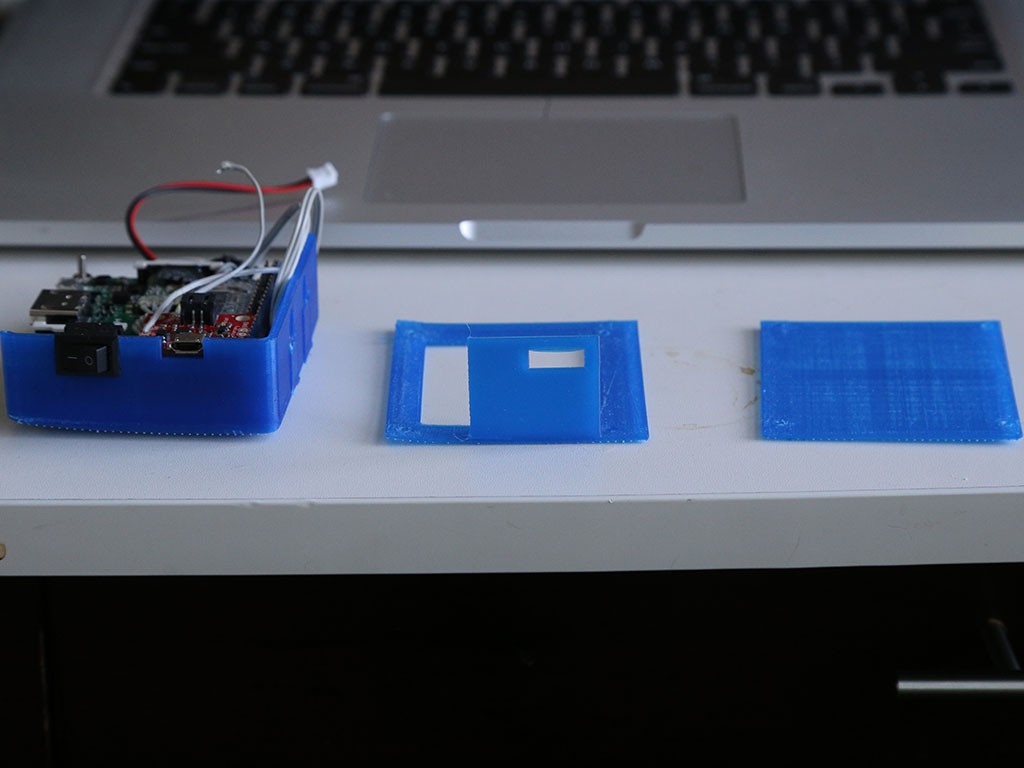
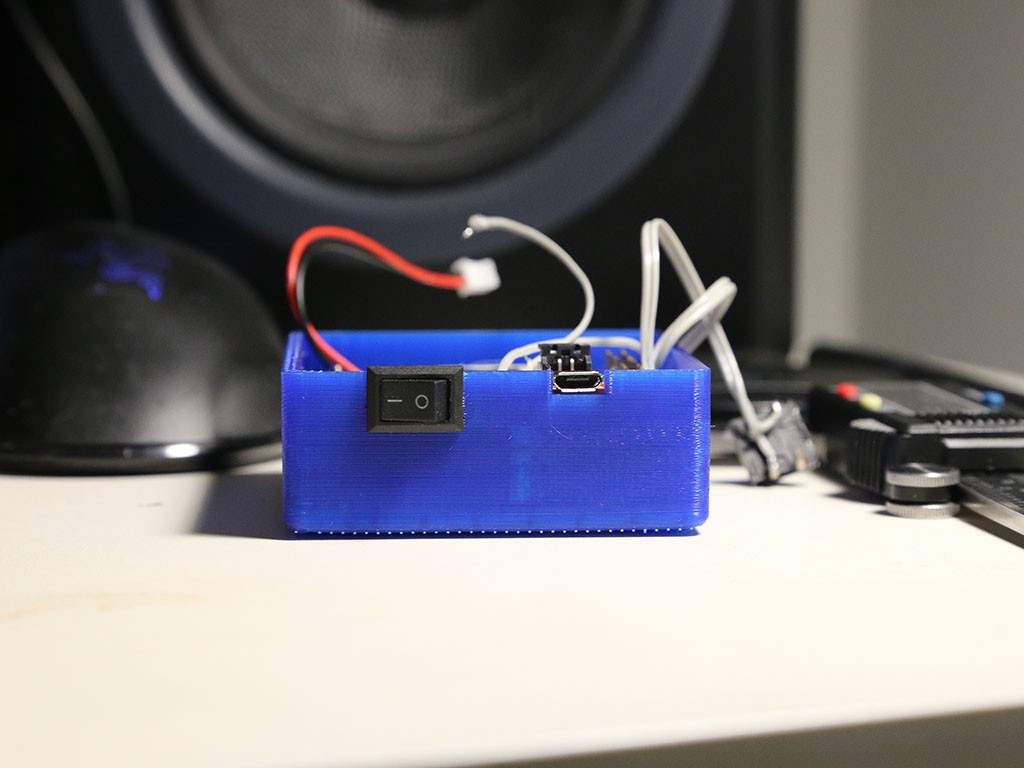
    I now had a pretty good idea what the final x and y dimensions were going to be. I wanted to keep the camera as close to the size of the Pi as possible, which meant the large battery had to fit snugly underneath the bottom of the Pi. I printed out a few spacers so that the LiPo wouldn’t get punctured by any of the protruding headers. After that I printed off a few more test pieces to make sure that the Pi, battery, charging port, buttons, and switch would fit.

    More test prints.

    A cutaway of the case (saves time and printing material!)

    Everything lined up.

View all 5 instructions

Enjoy this project?

Share

Discussions

Connor Yamada wrote 10/21/2016 at 00:45 point

Hi Rajendra,

The buttons are used to start and stop video recording, in addition to turning the camera on and off (I should have clarified this in the description but you can see the code here:

https://github.com/cyamada/picam/blob/master/picamcorder.py)

These can of course be reprogrammed to better suit your needs (still photos, enable/disable wireless, remote timer ect).

  Are you sure? yes | no

Rajendra Bhatt wrote 10/20/2016 at 12:08 point

What are the two buttons for, I don't see any explanation about what they do?

  Are you sure? yes | no

Similar Projects

Does this project spark your interest?

Become a member to follow this project and never miss any updates