0%
0%
Thumb Keyboard
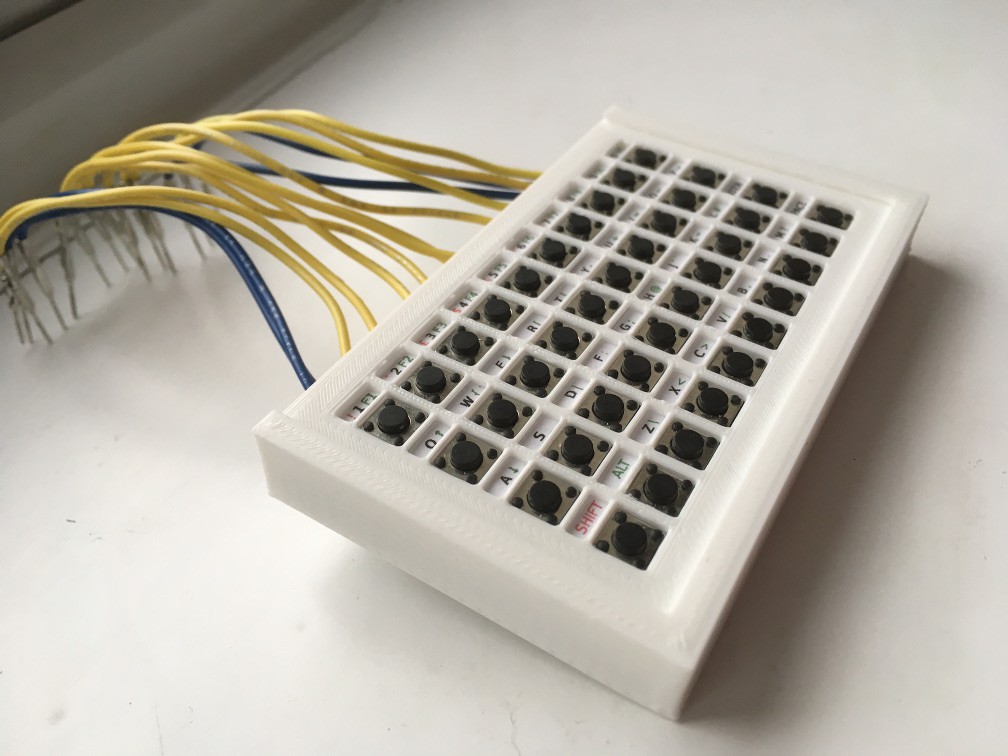
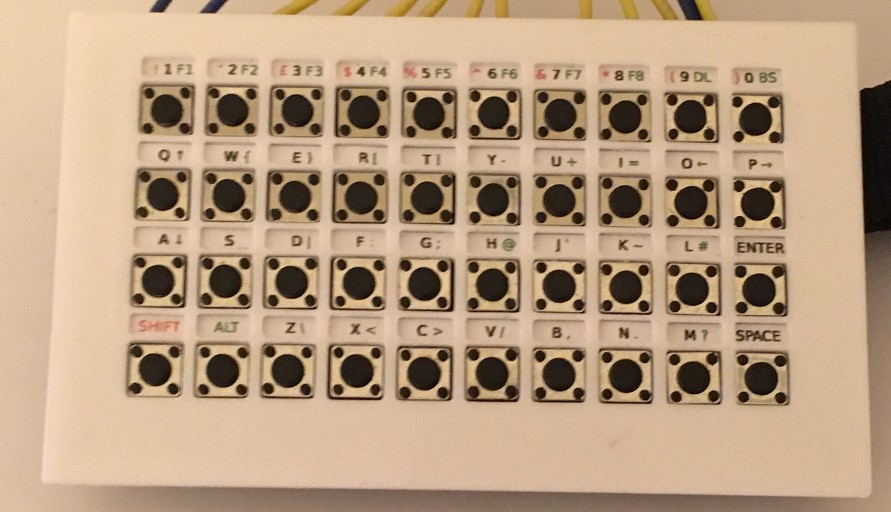
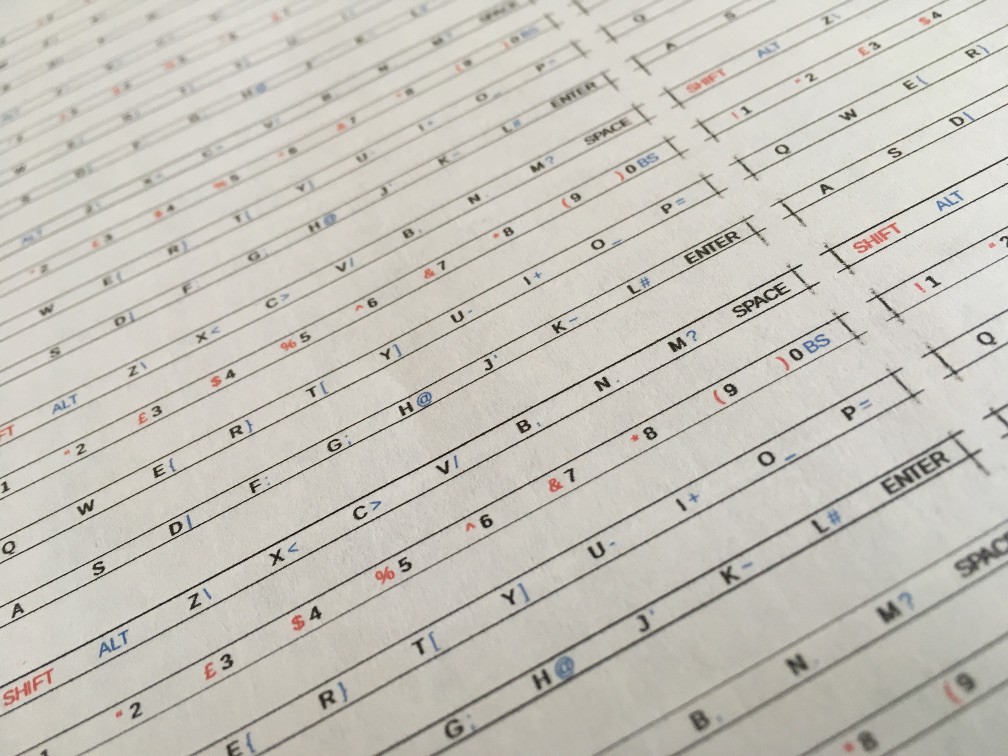
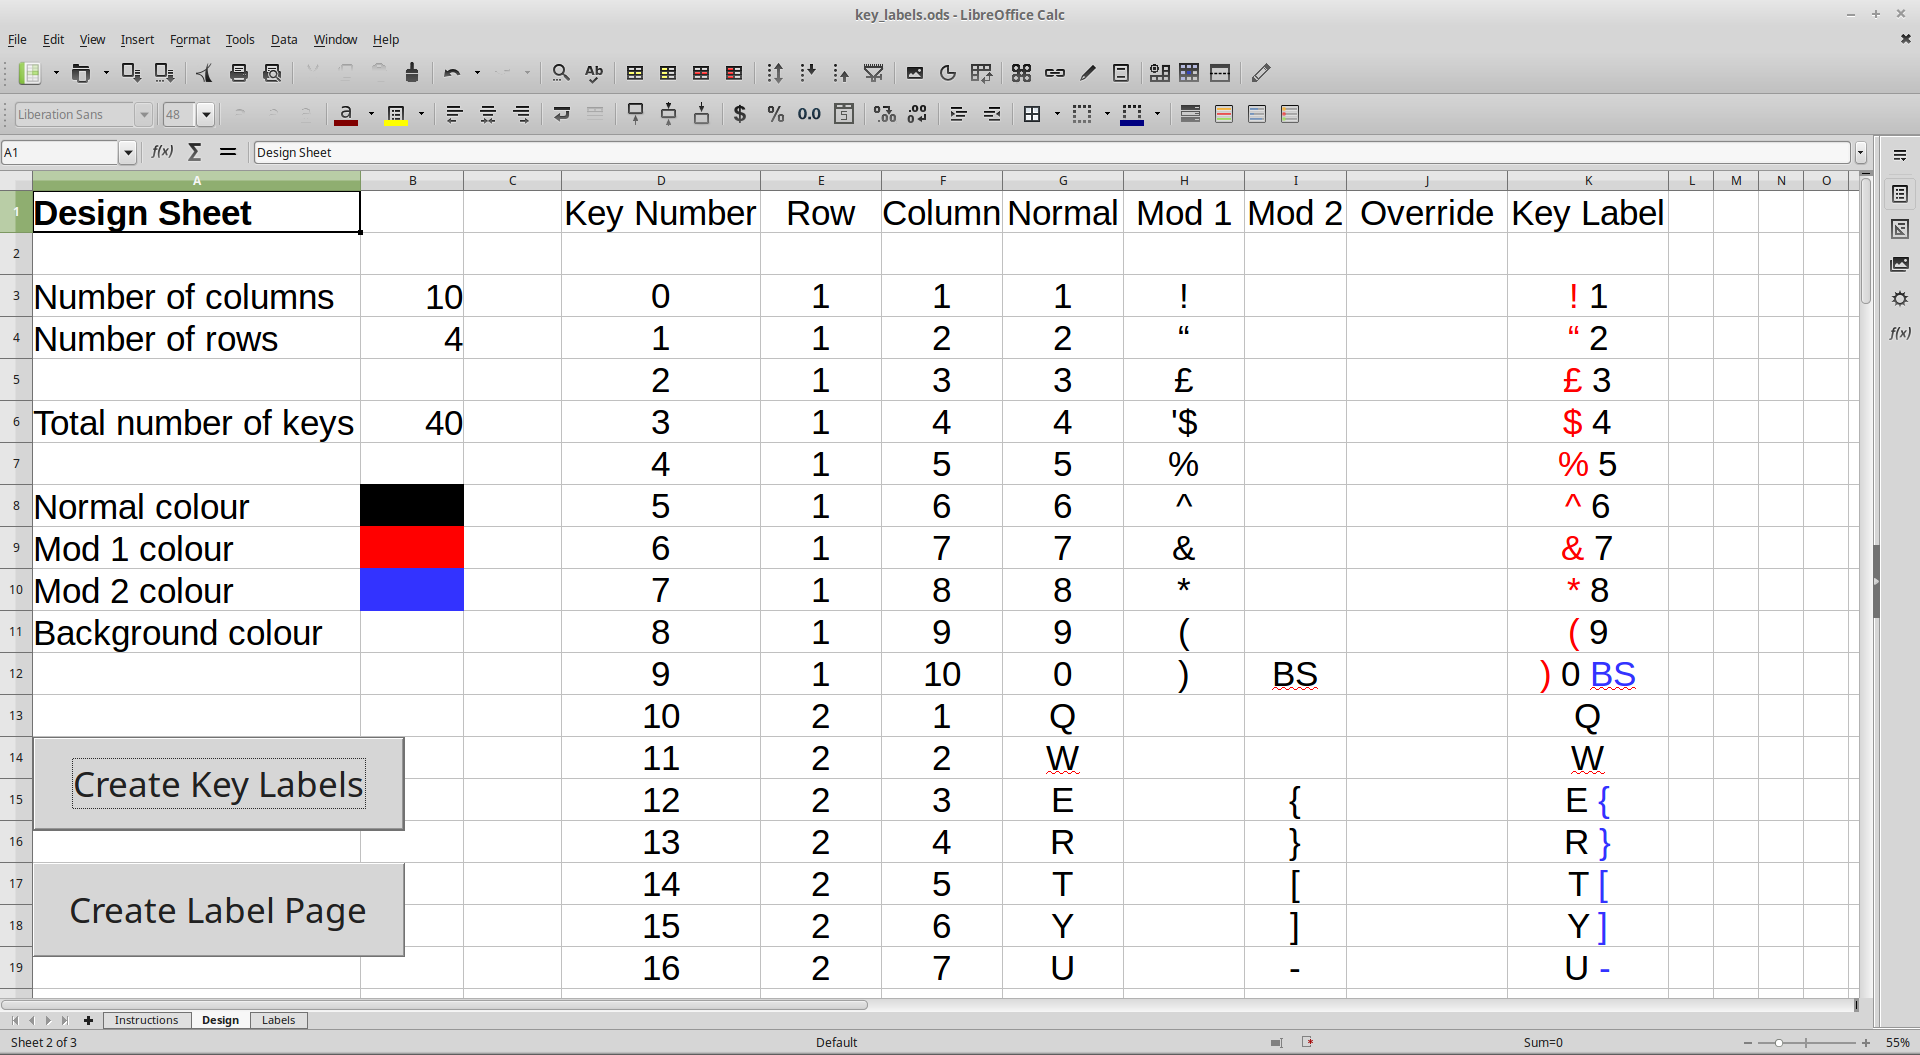
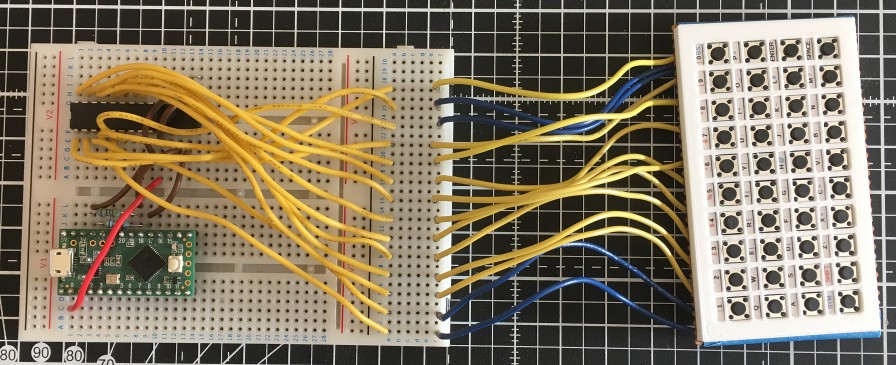
Experimental thumb keyboard, suitable for a hand held device
 David Boucher
Become a Hackaday.io member
Already have an account? Log in.
Just one more thing
To make the experience fit your profile, pick a username and tell us what interests you.
Pick an awesome username
hackaday.io/
Your profile's URL: hackaday.io/username. Max 25 alphanumeric characters.
Pick a few interests
Projects that share your interests
People that share your interests


 RunnerPack

 Pamungkas Sumasta
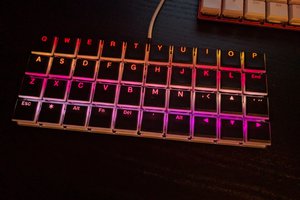
 deʃhipu
The printed bezel is an excellent solution! Exactly the kind of thing I was looking for but could not find anywhere else. As far as anti-aliasing goes, you might be able to get around that by using monochromatic bitmaps, which I think has its own file type.