 deʃhipu
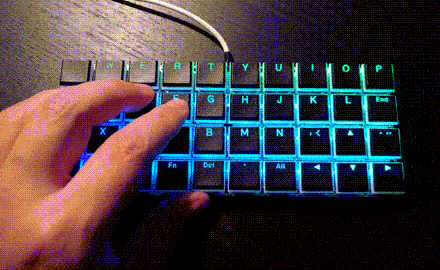
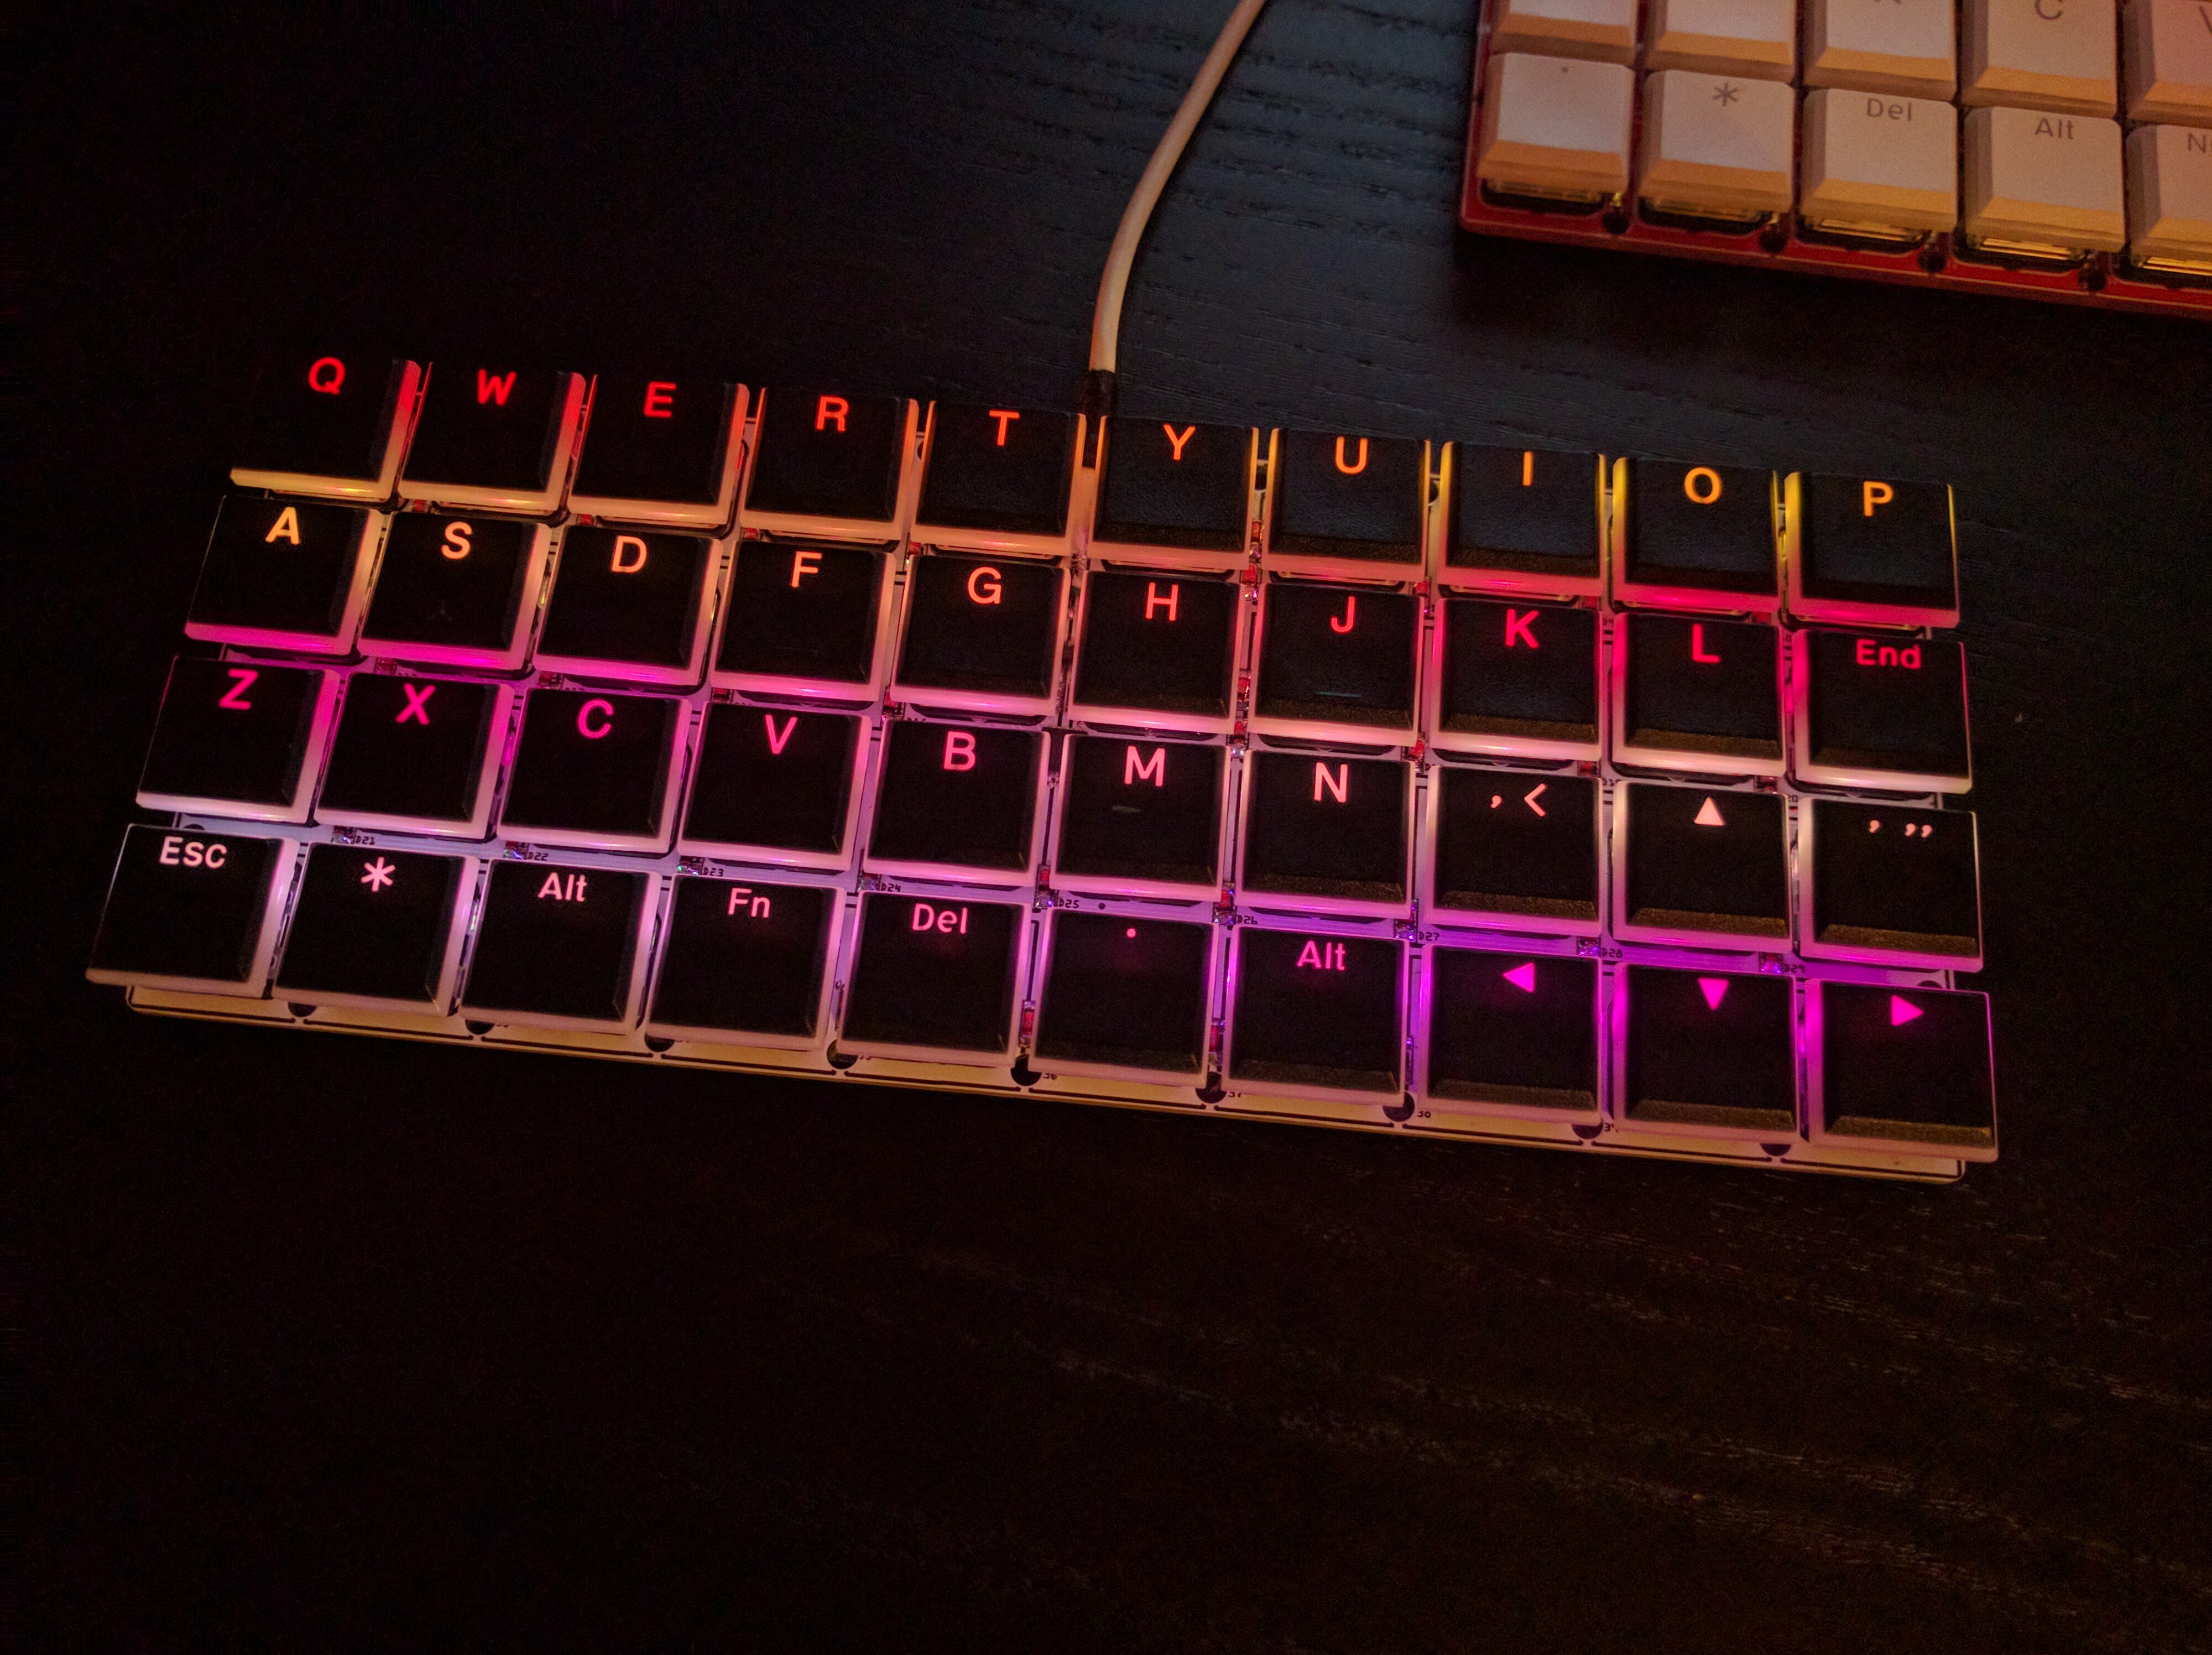
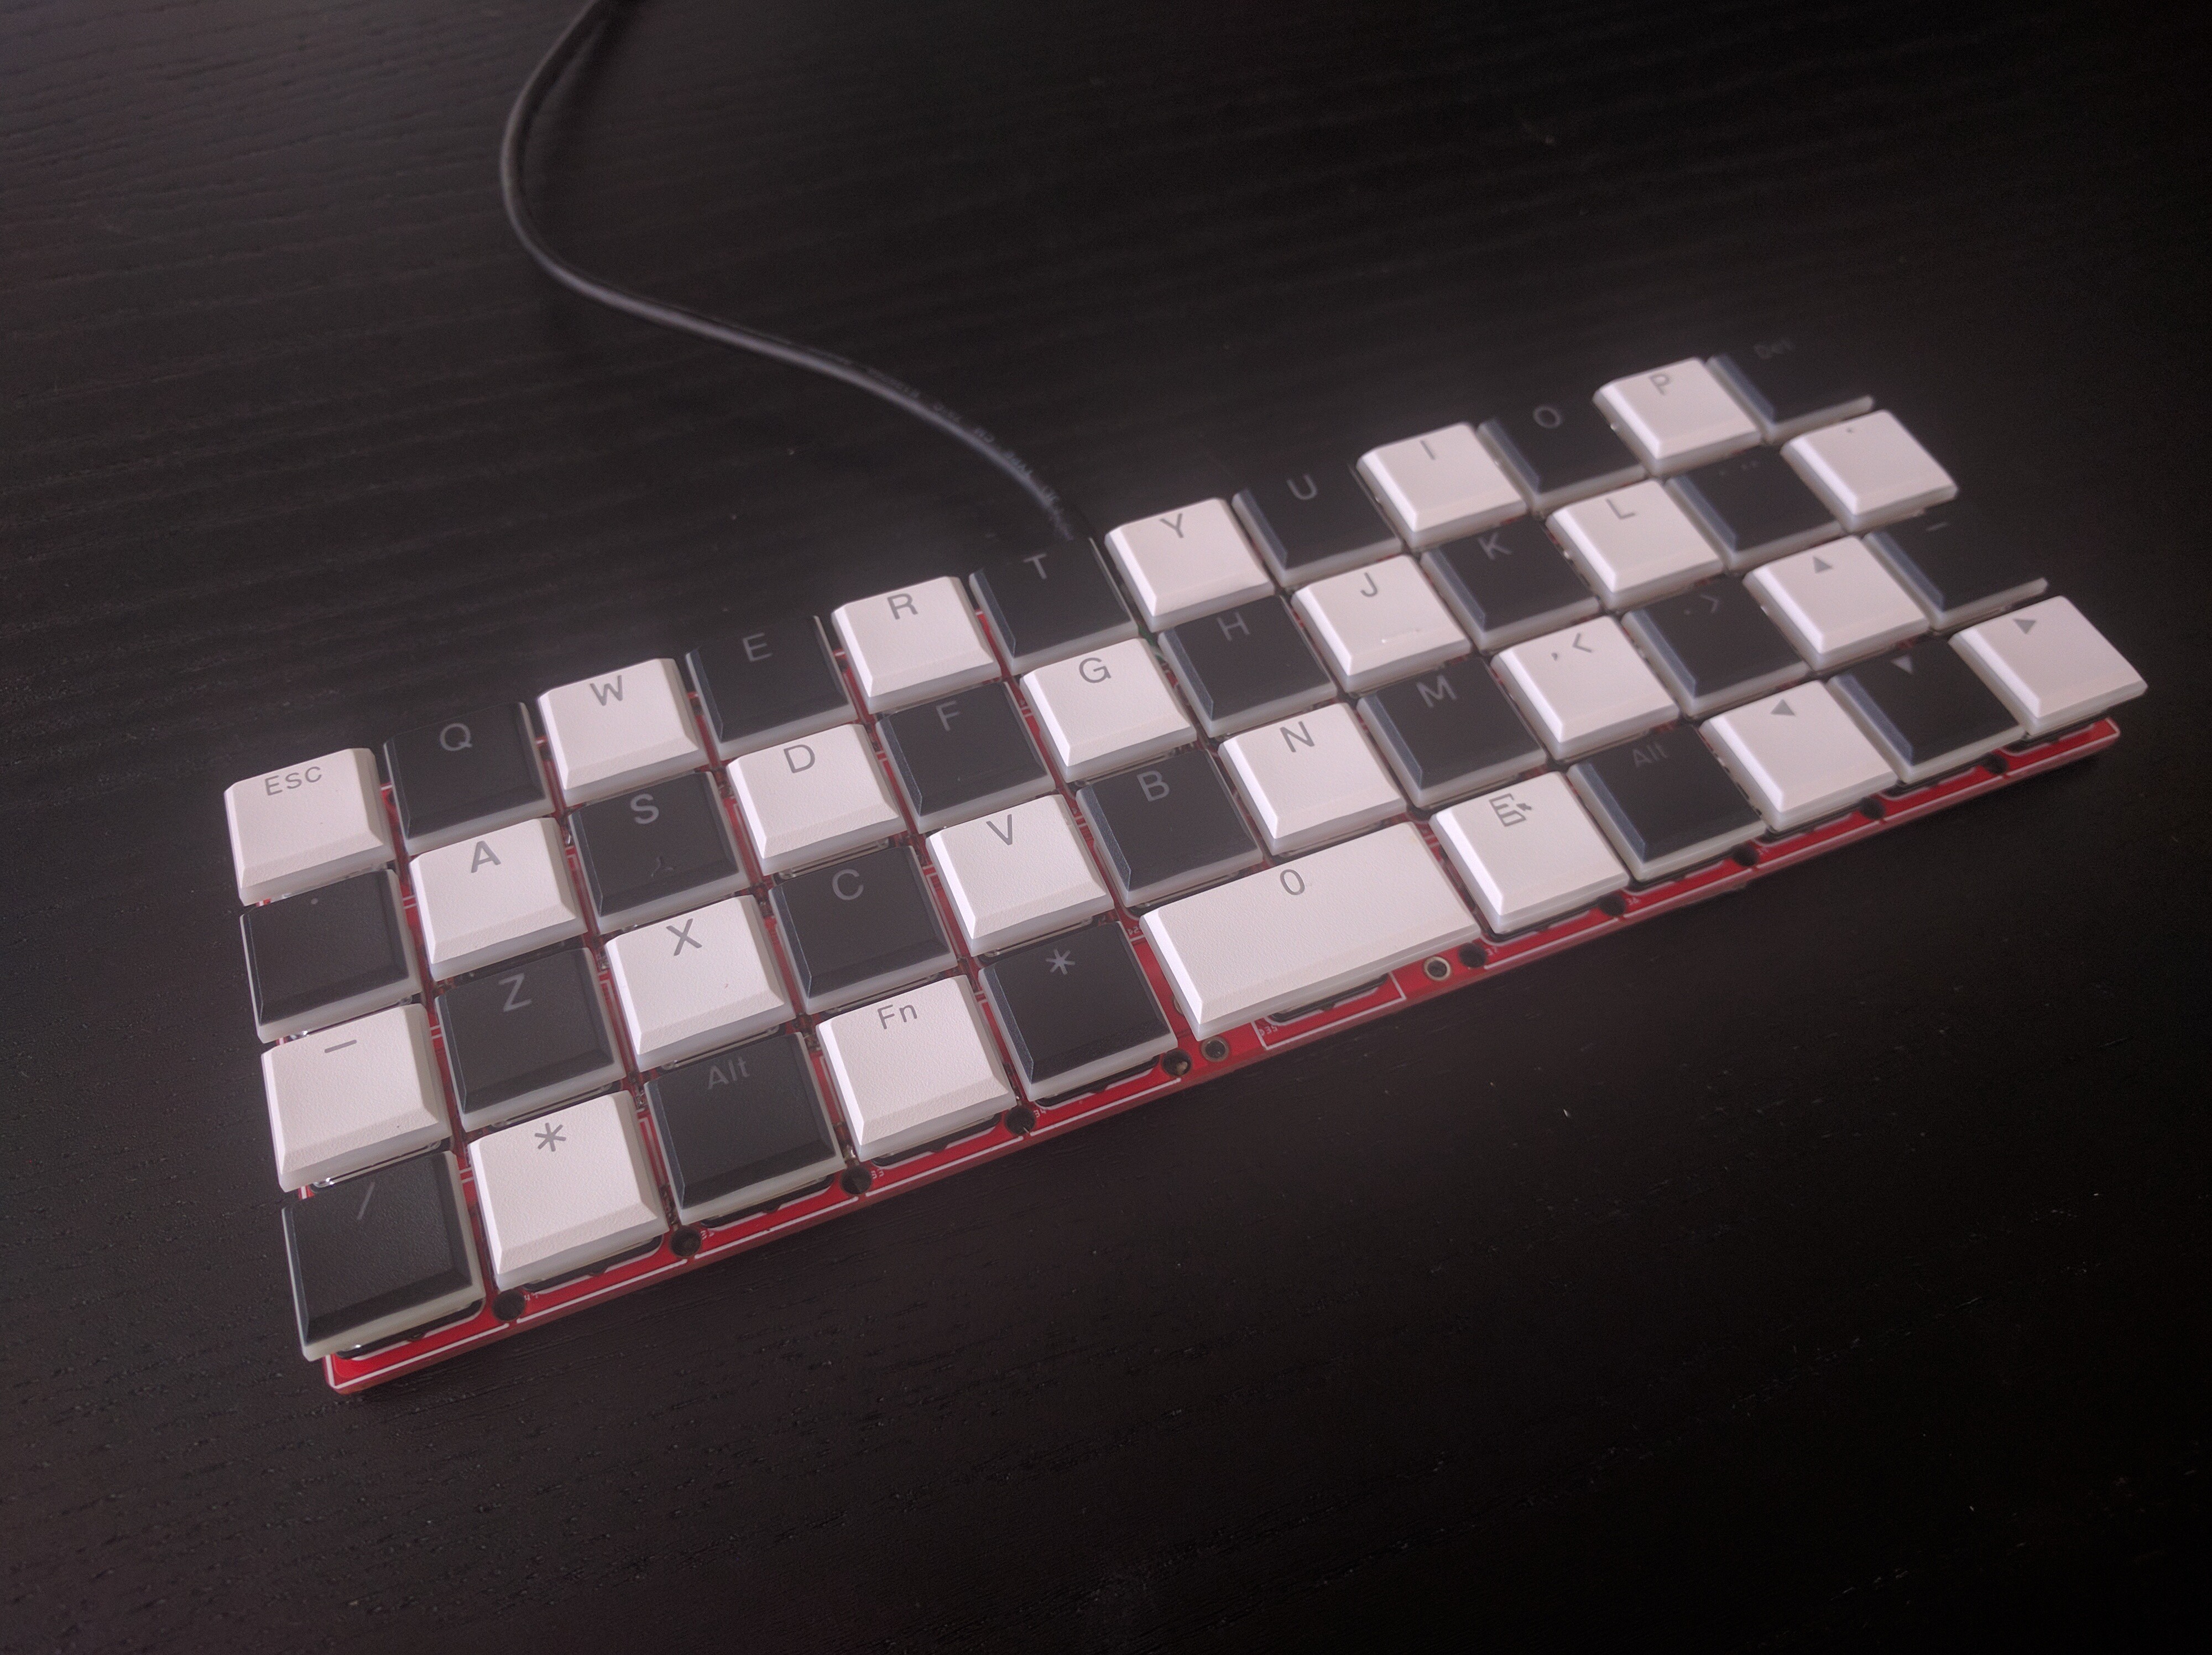
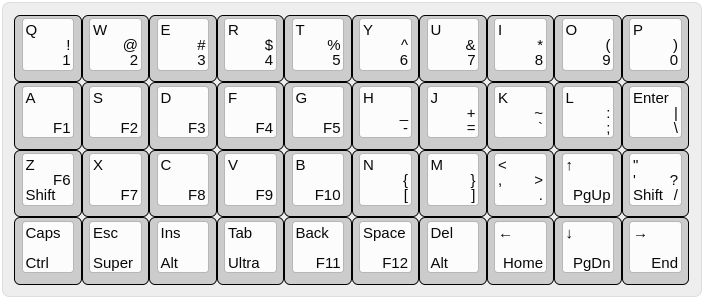
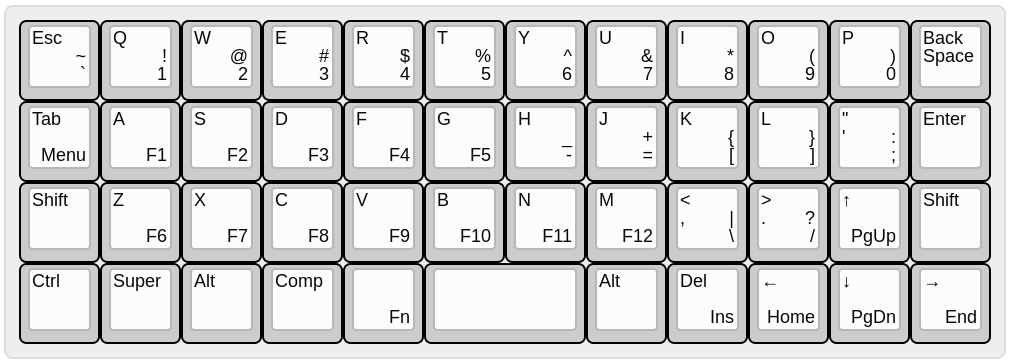
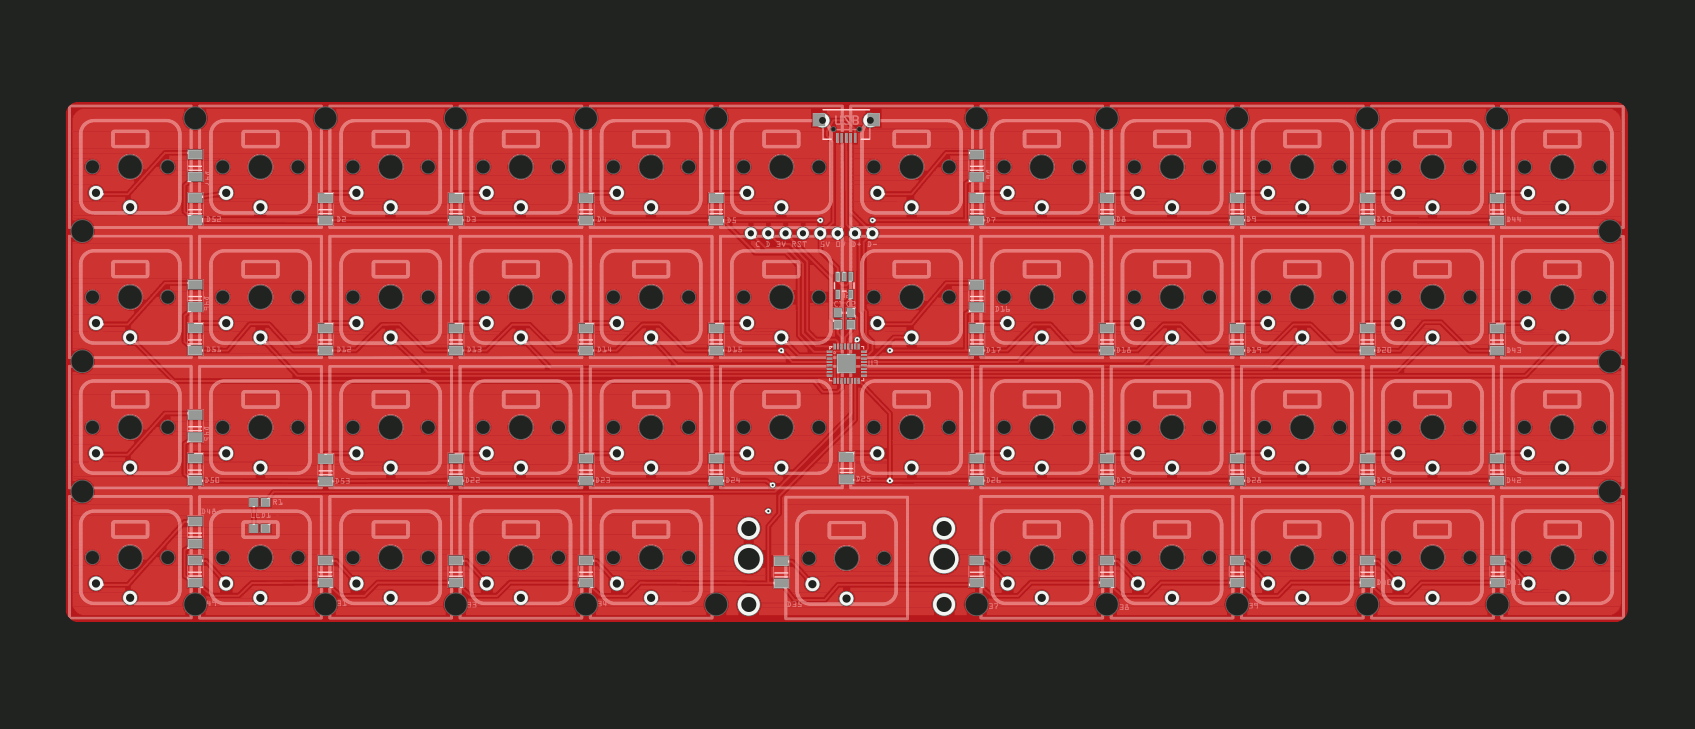
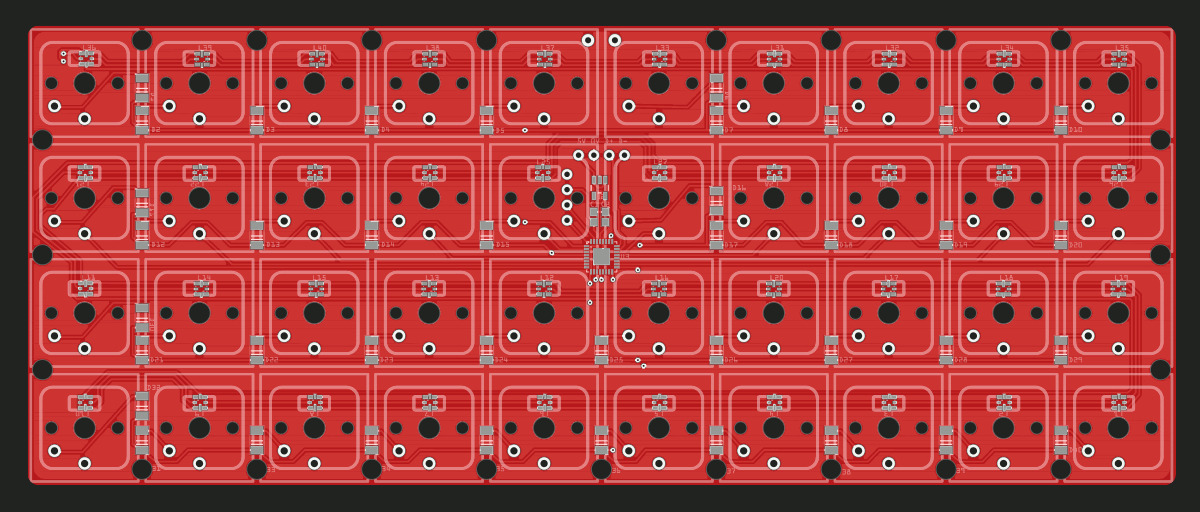
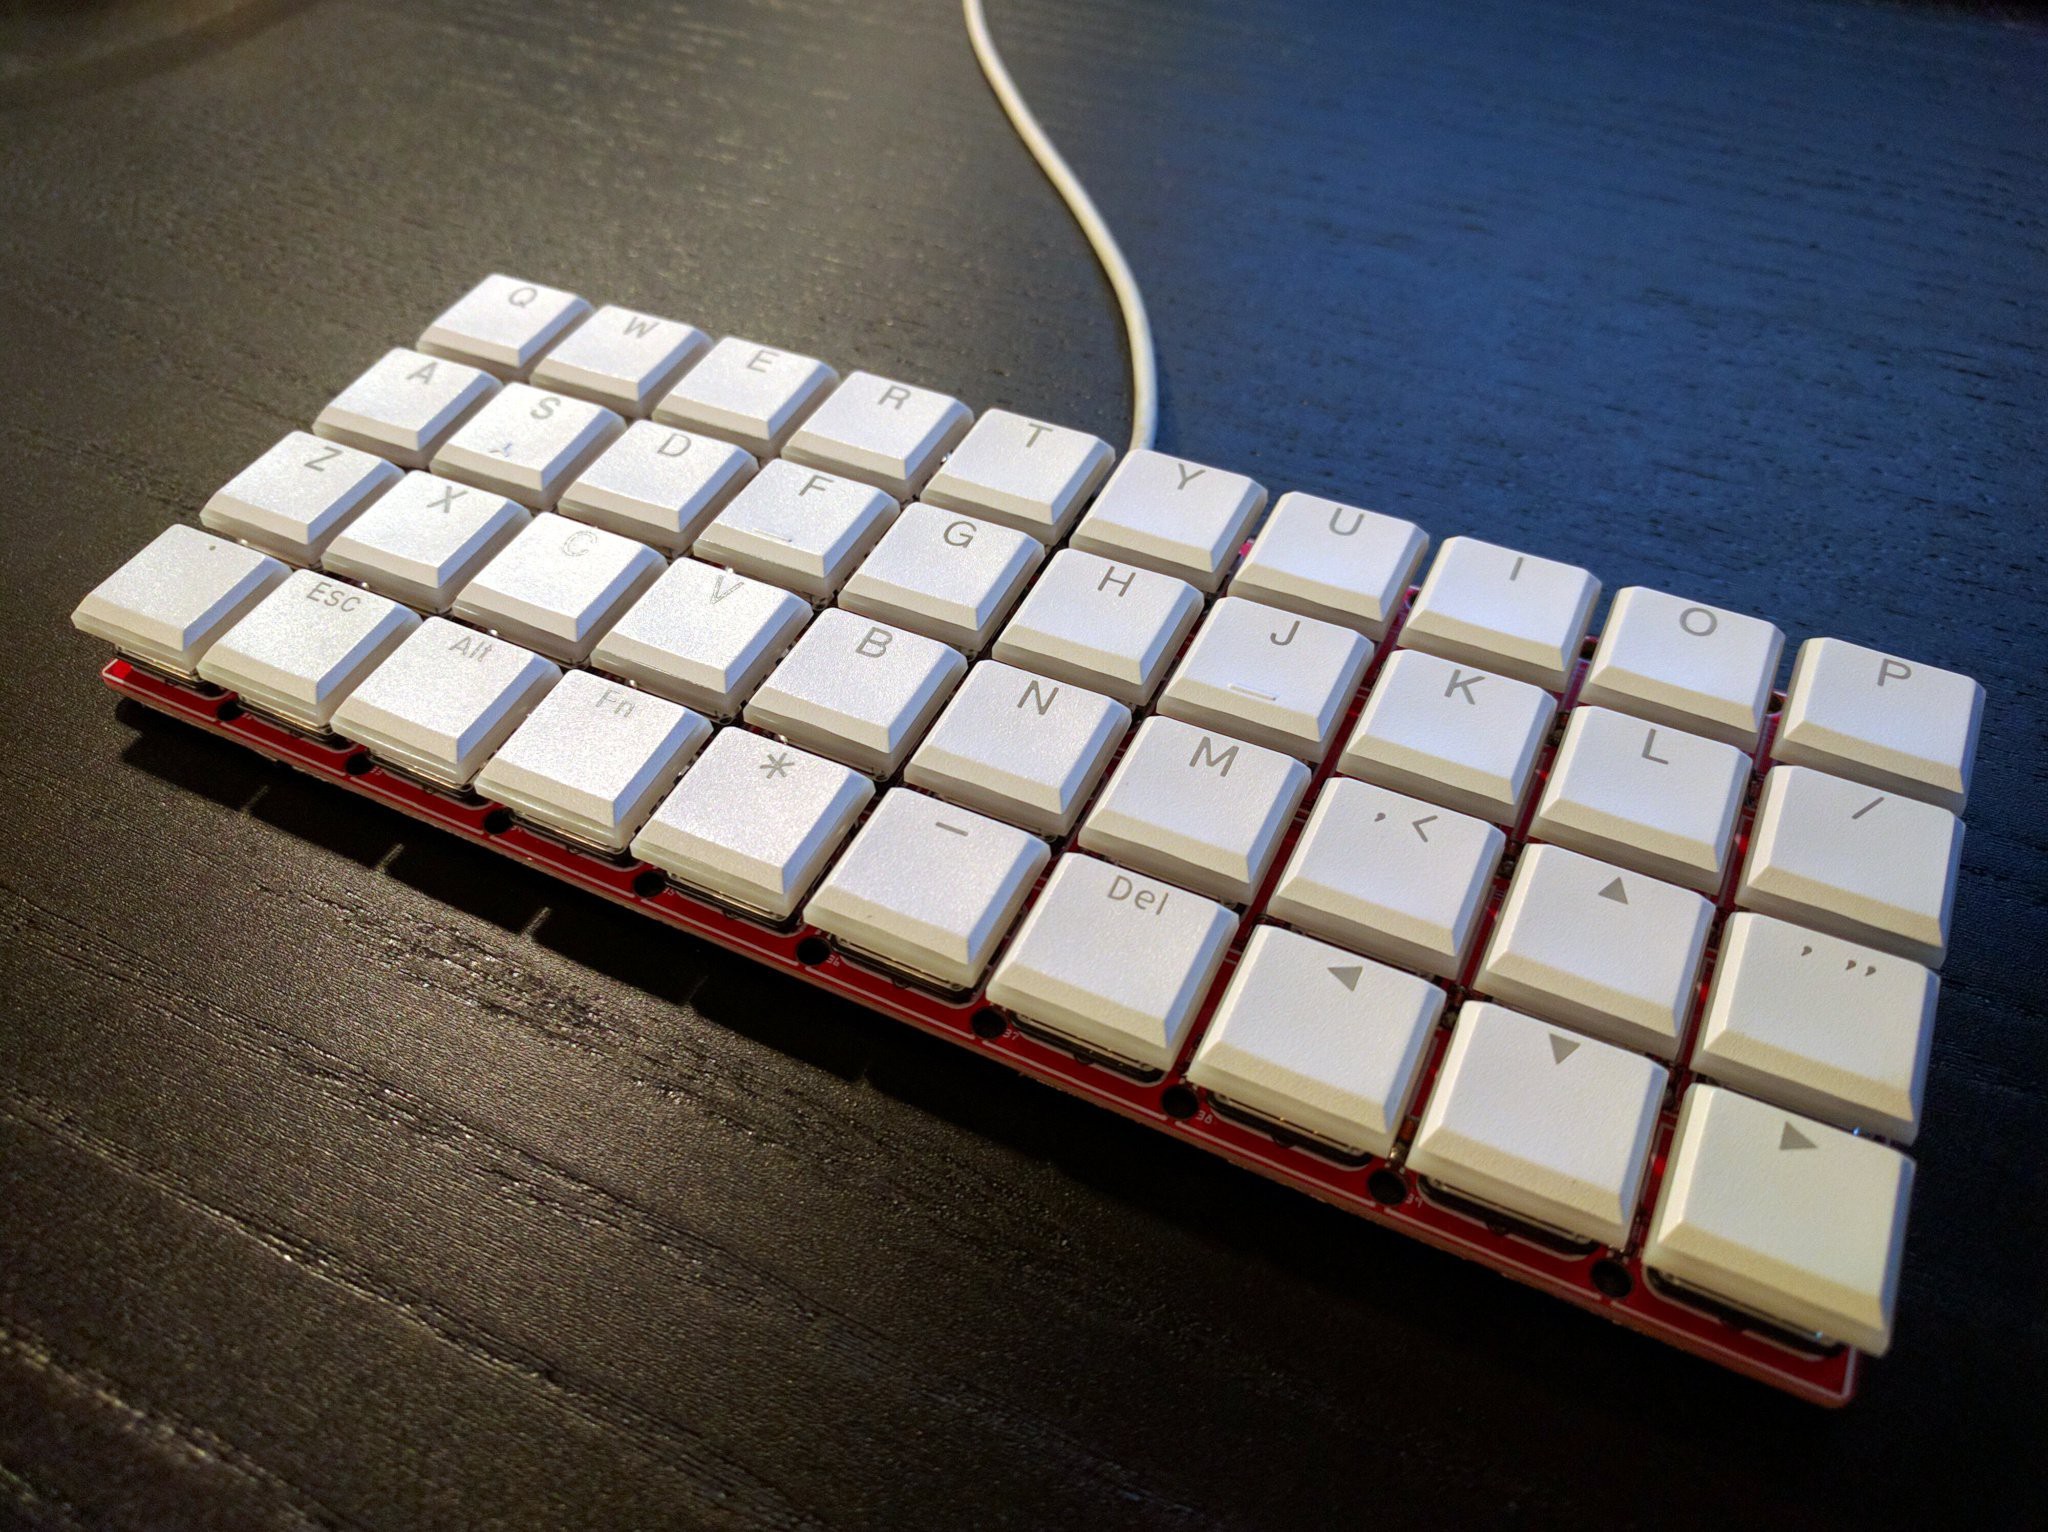
Continuing my quest for a usable low-profile mechanical keyboard. After making #Flounder Keyboard I learned a little bit more, so this time I won't make the same mistakes:
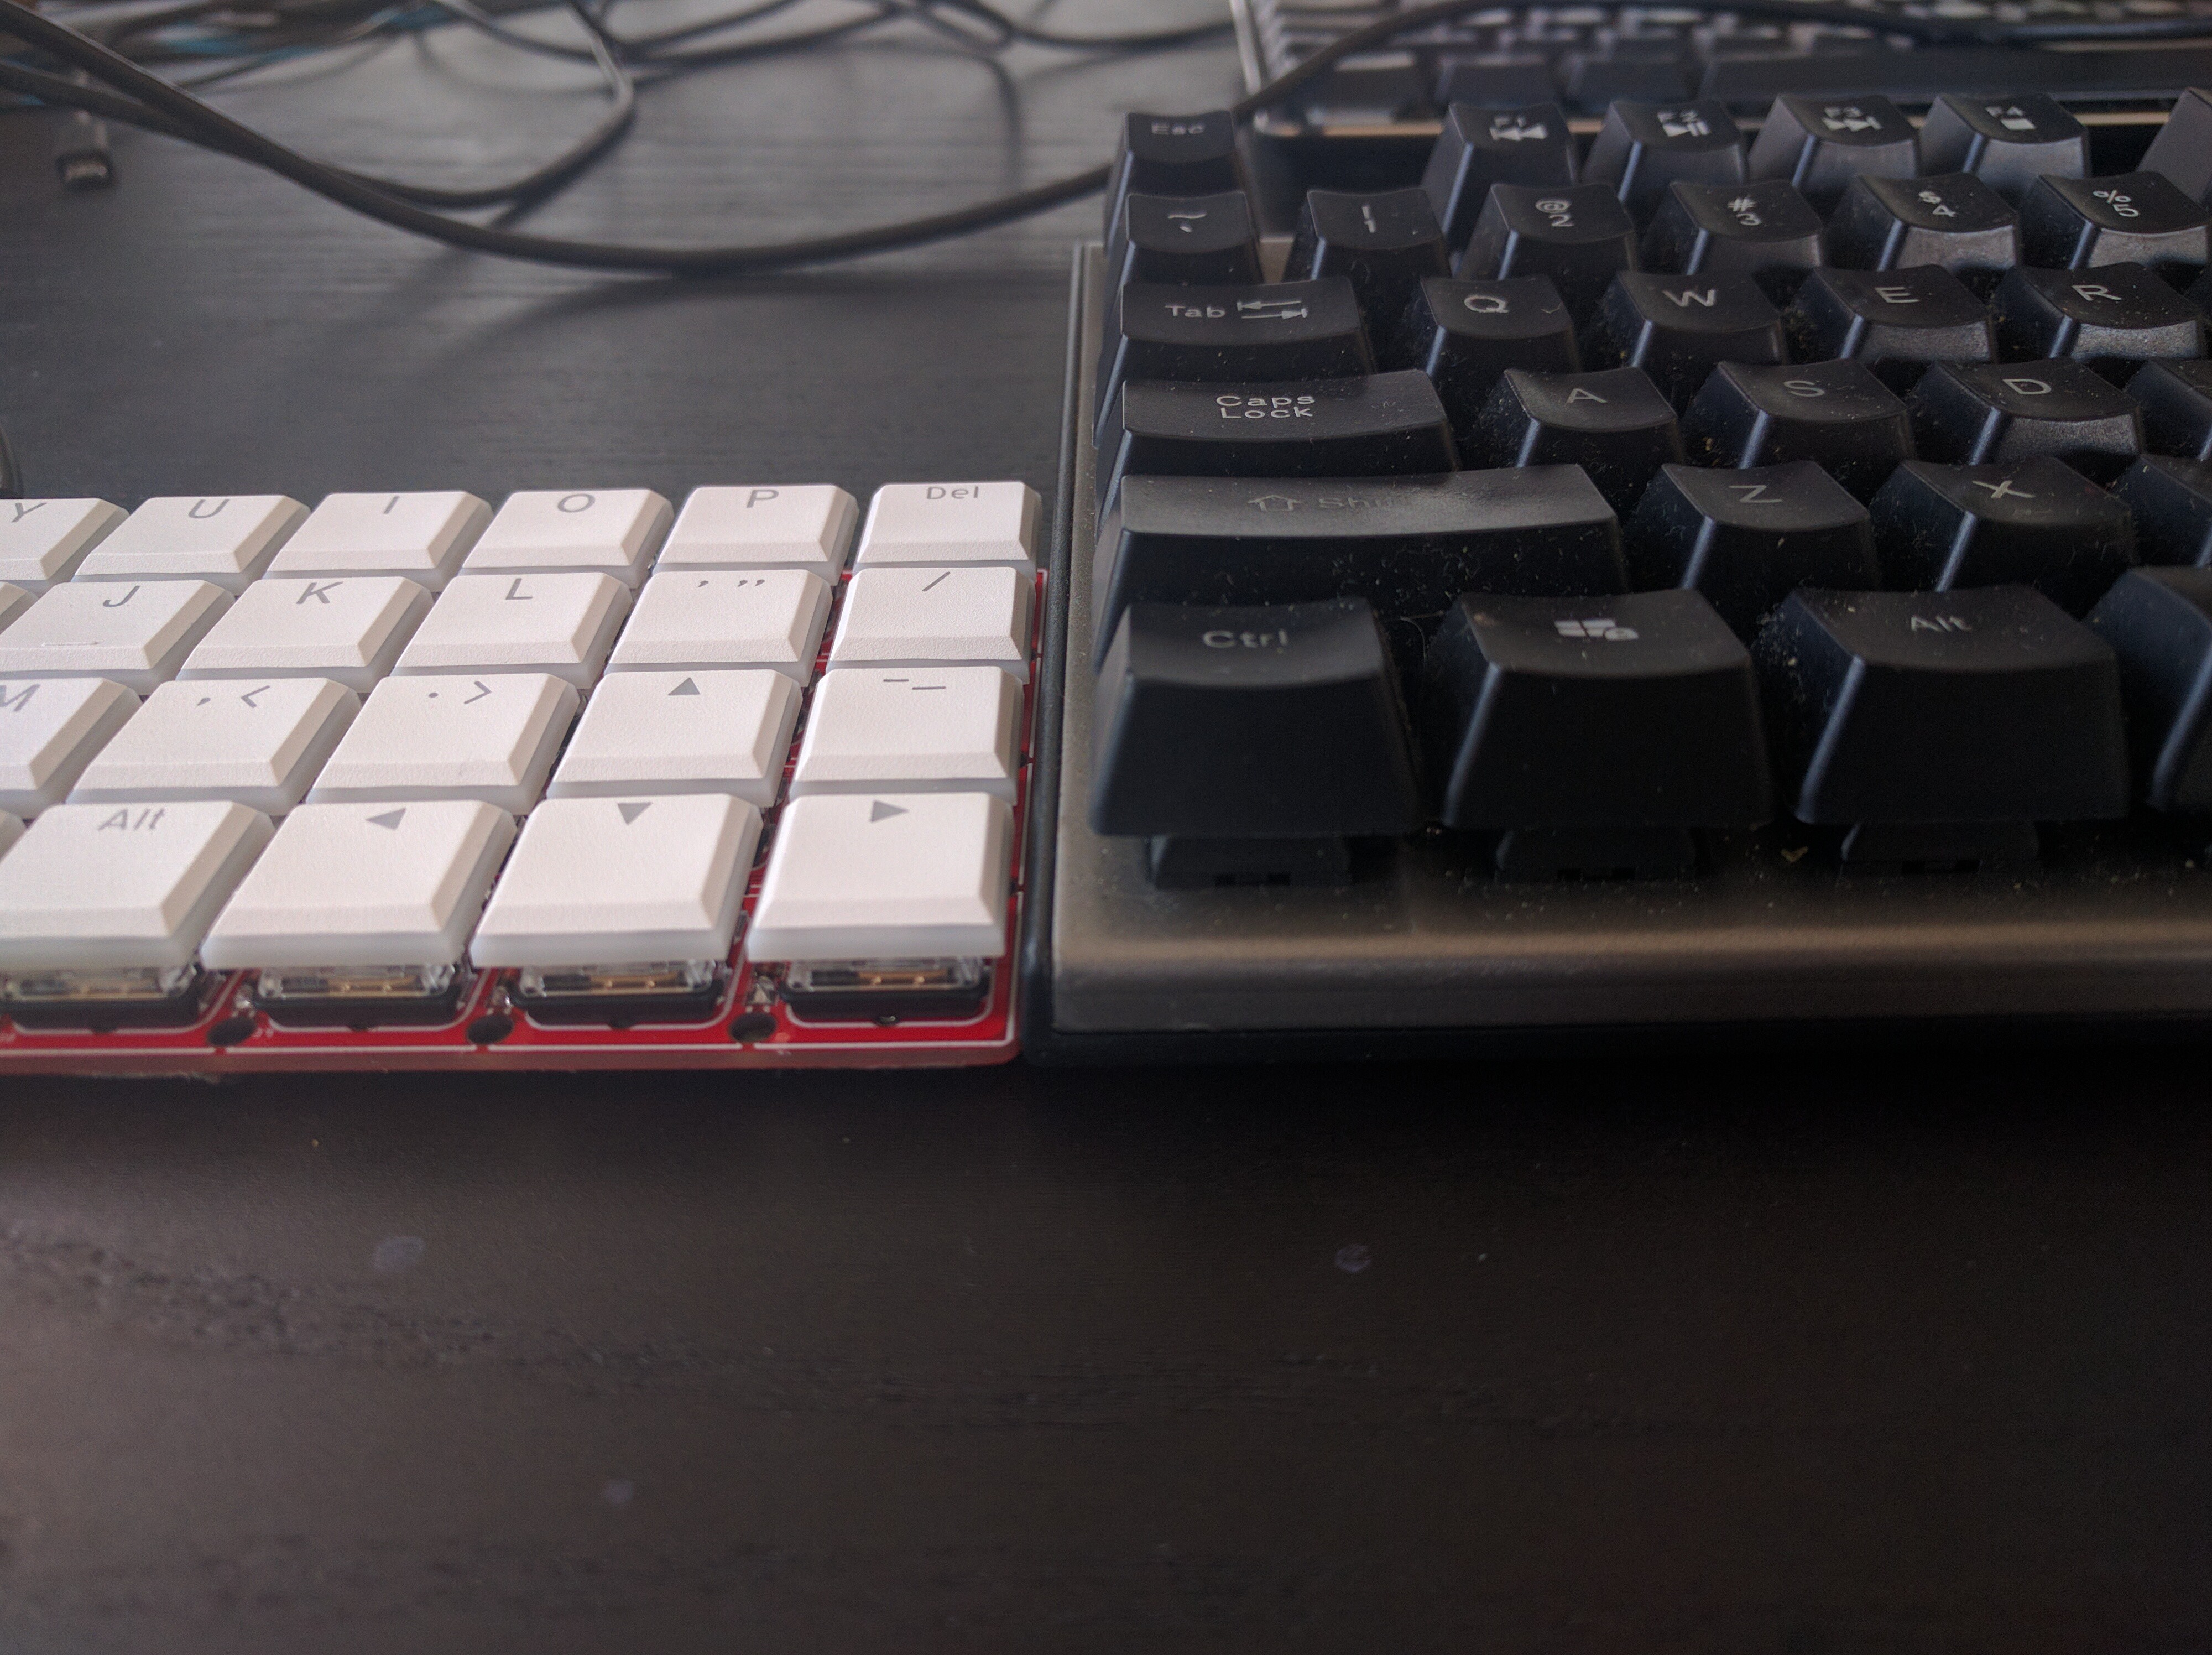
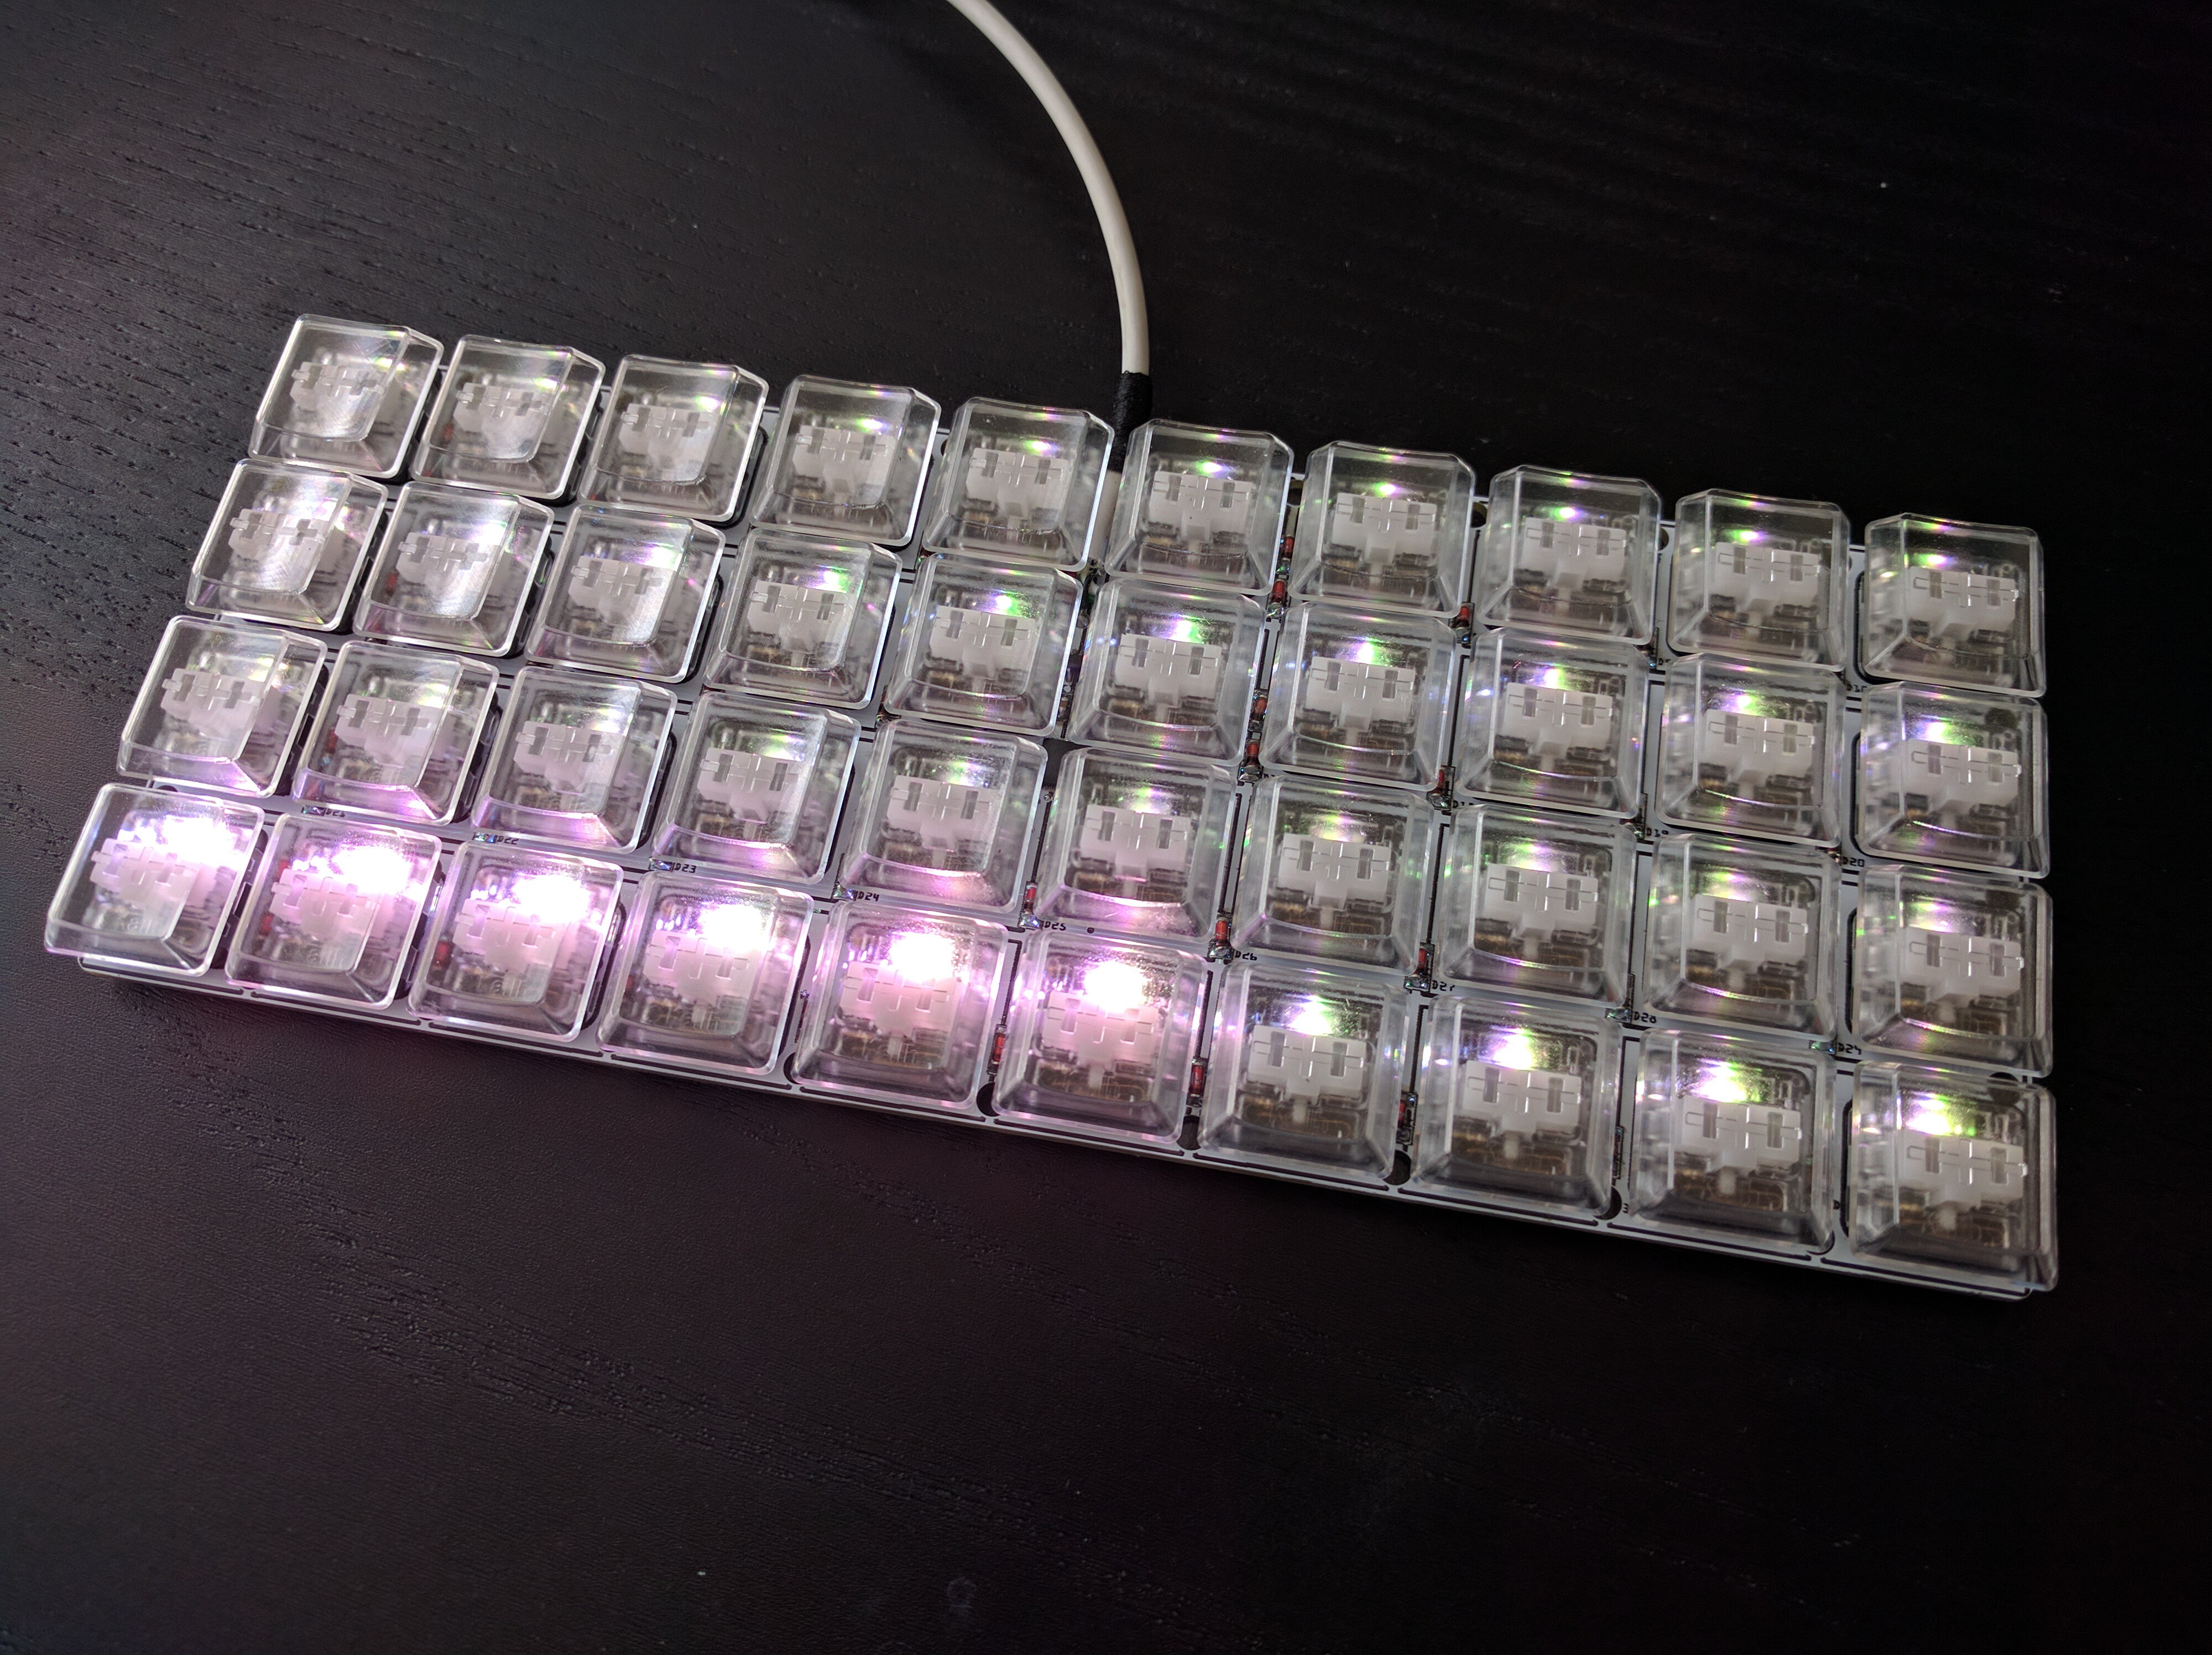
- the sunken Kailh choc switches have really bad feel, I will use regular choc switches this time,
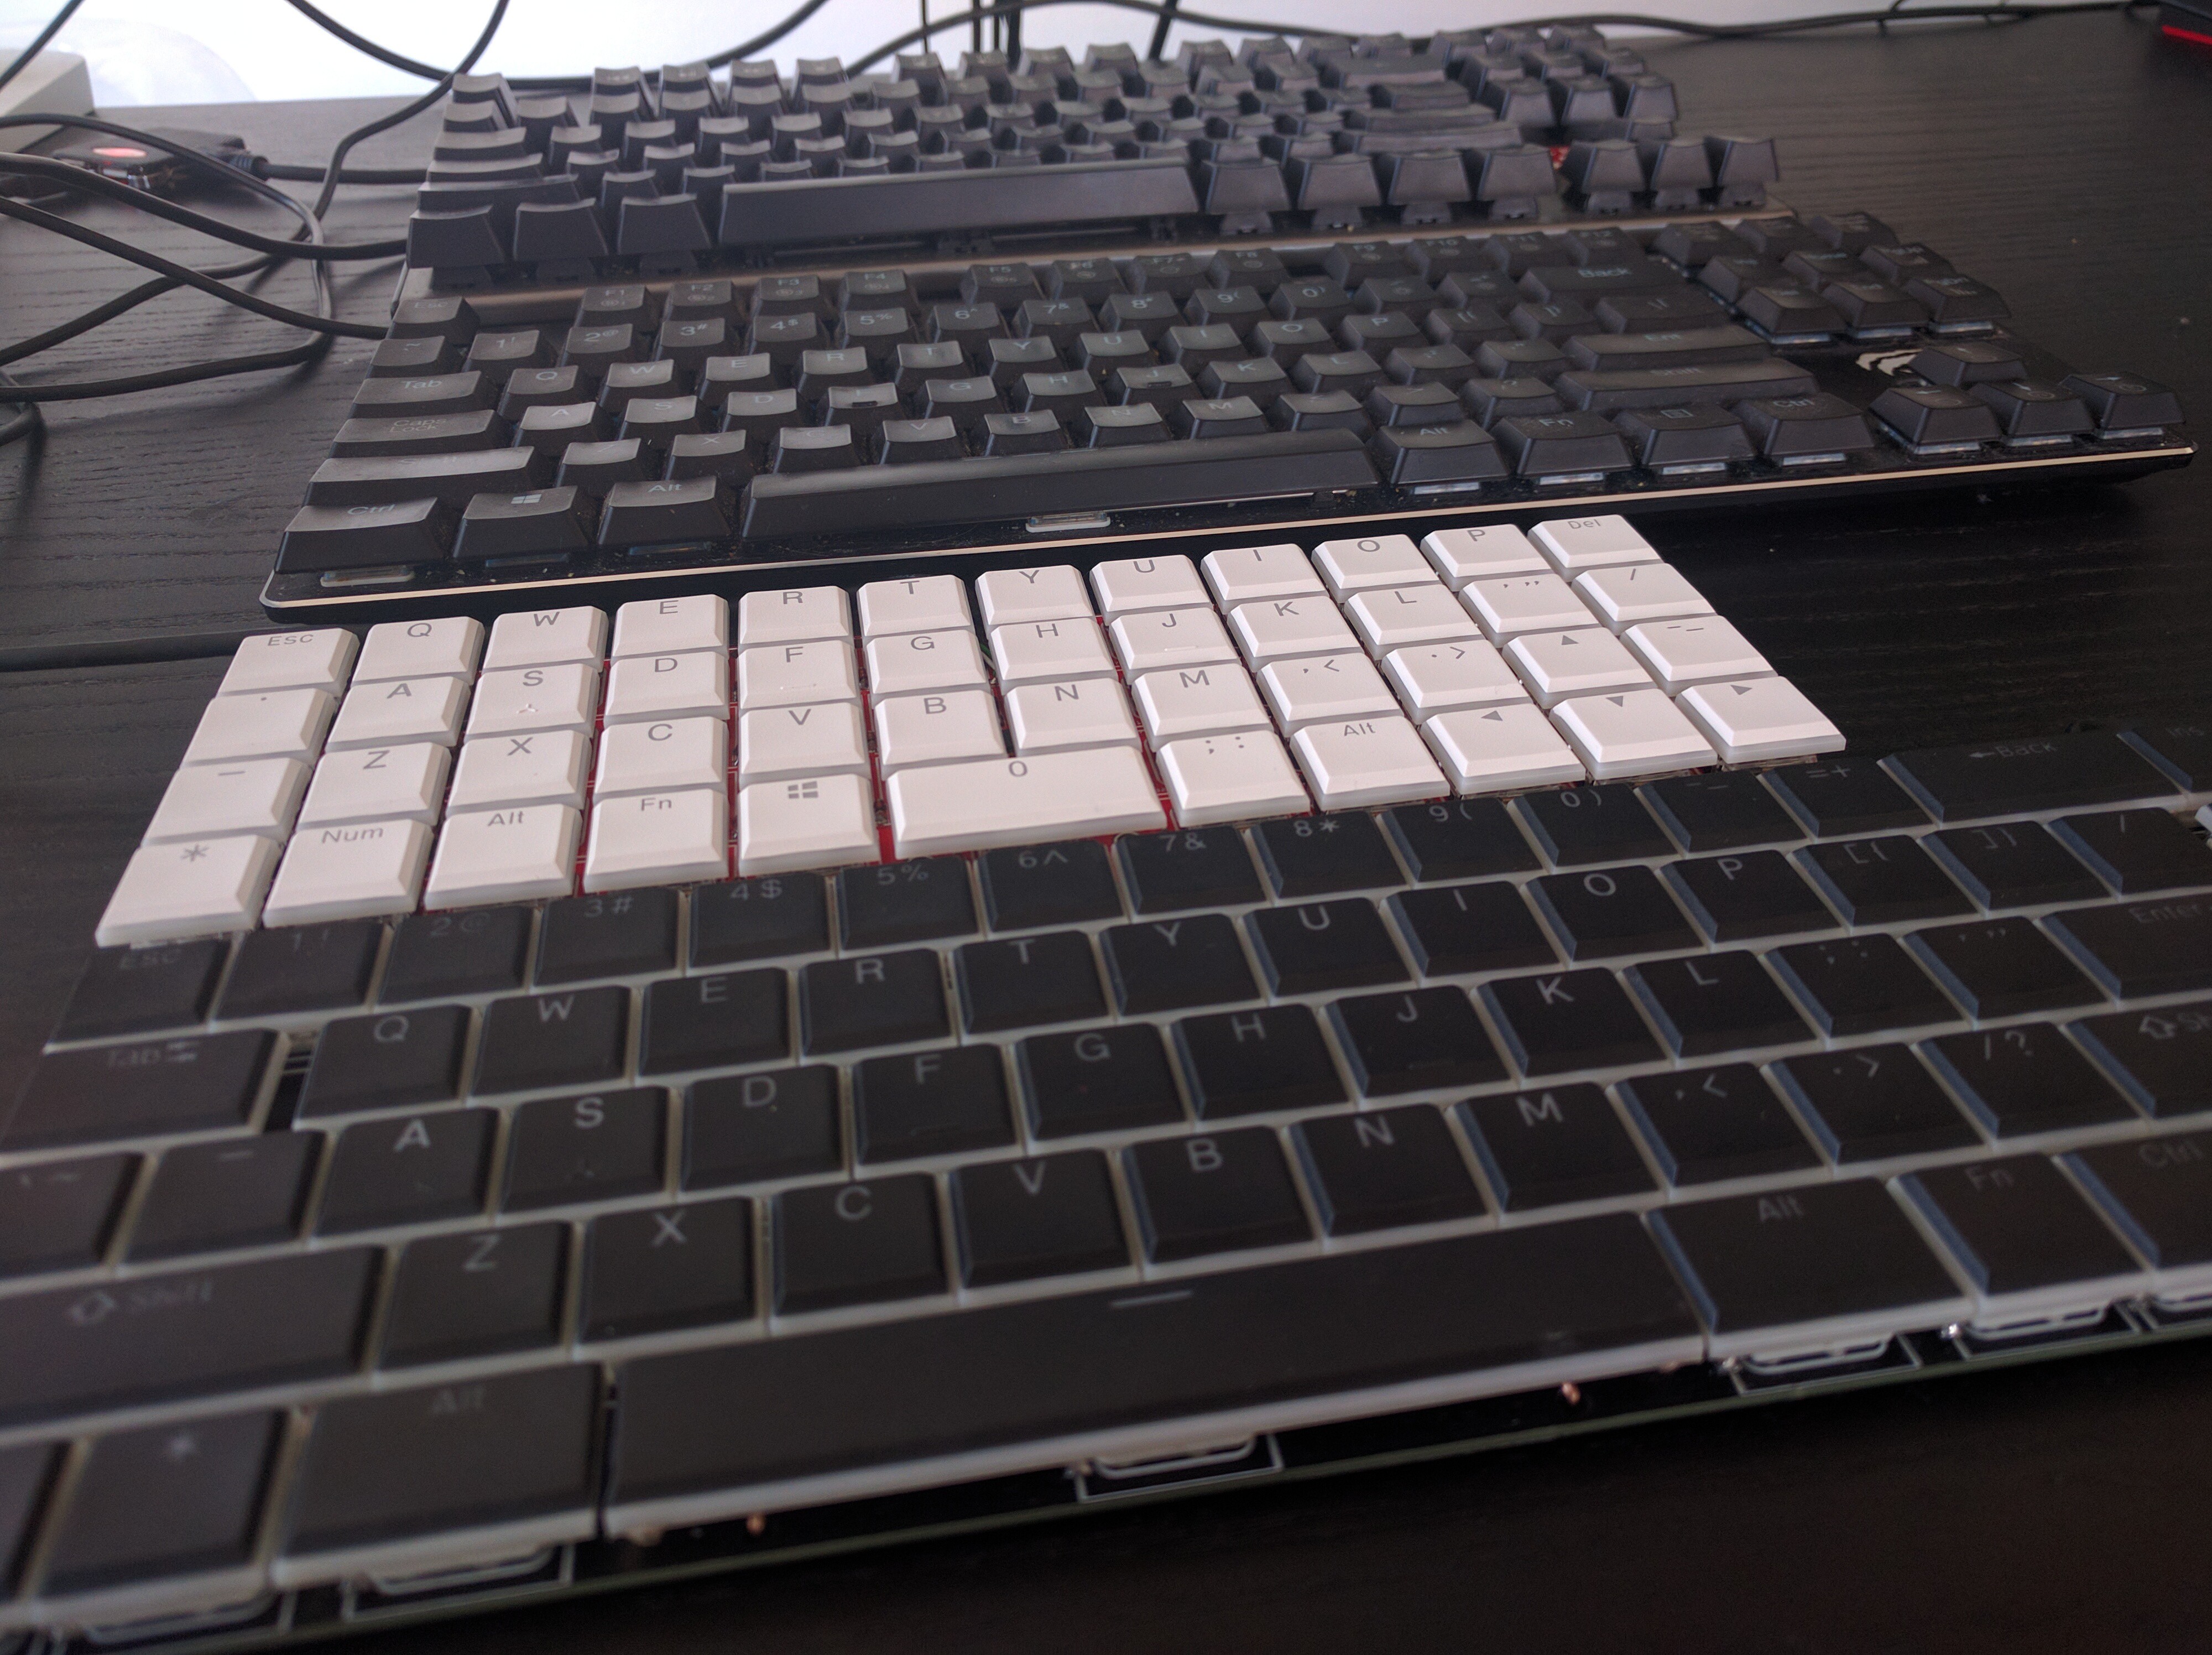
- no more messing with key spacing, use standard 0.75" key spacing this time,
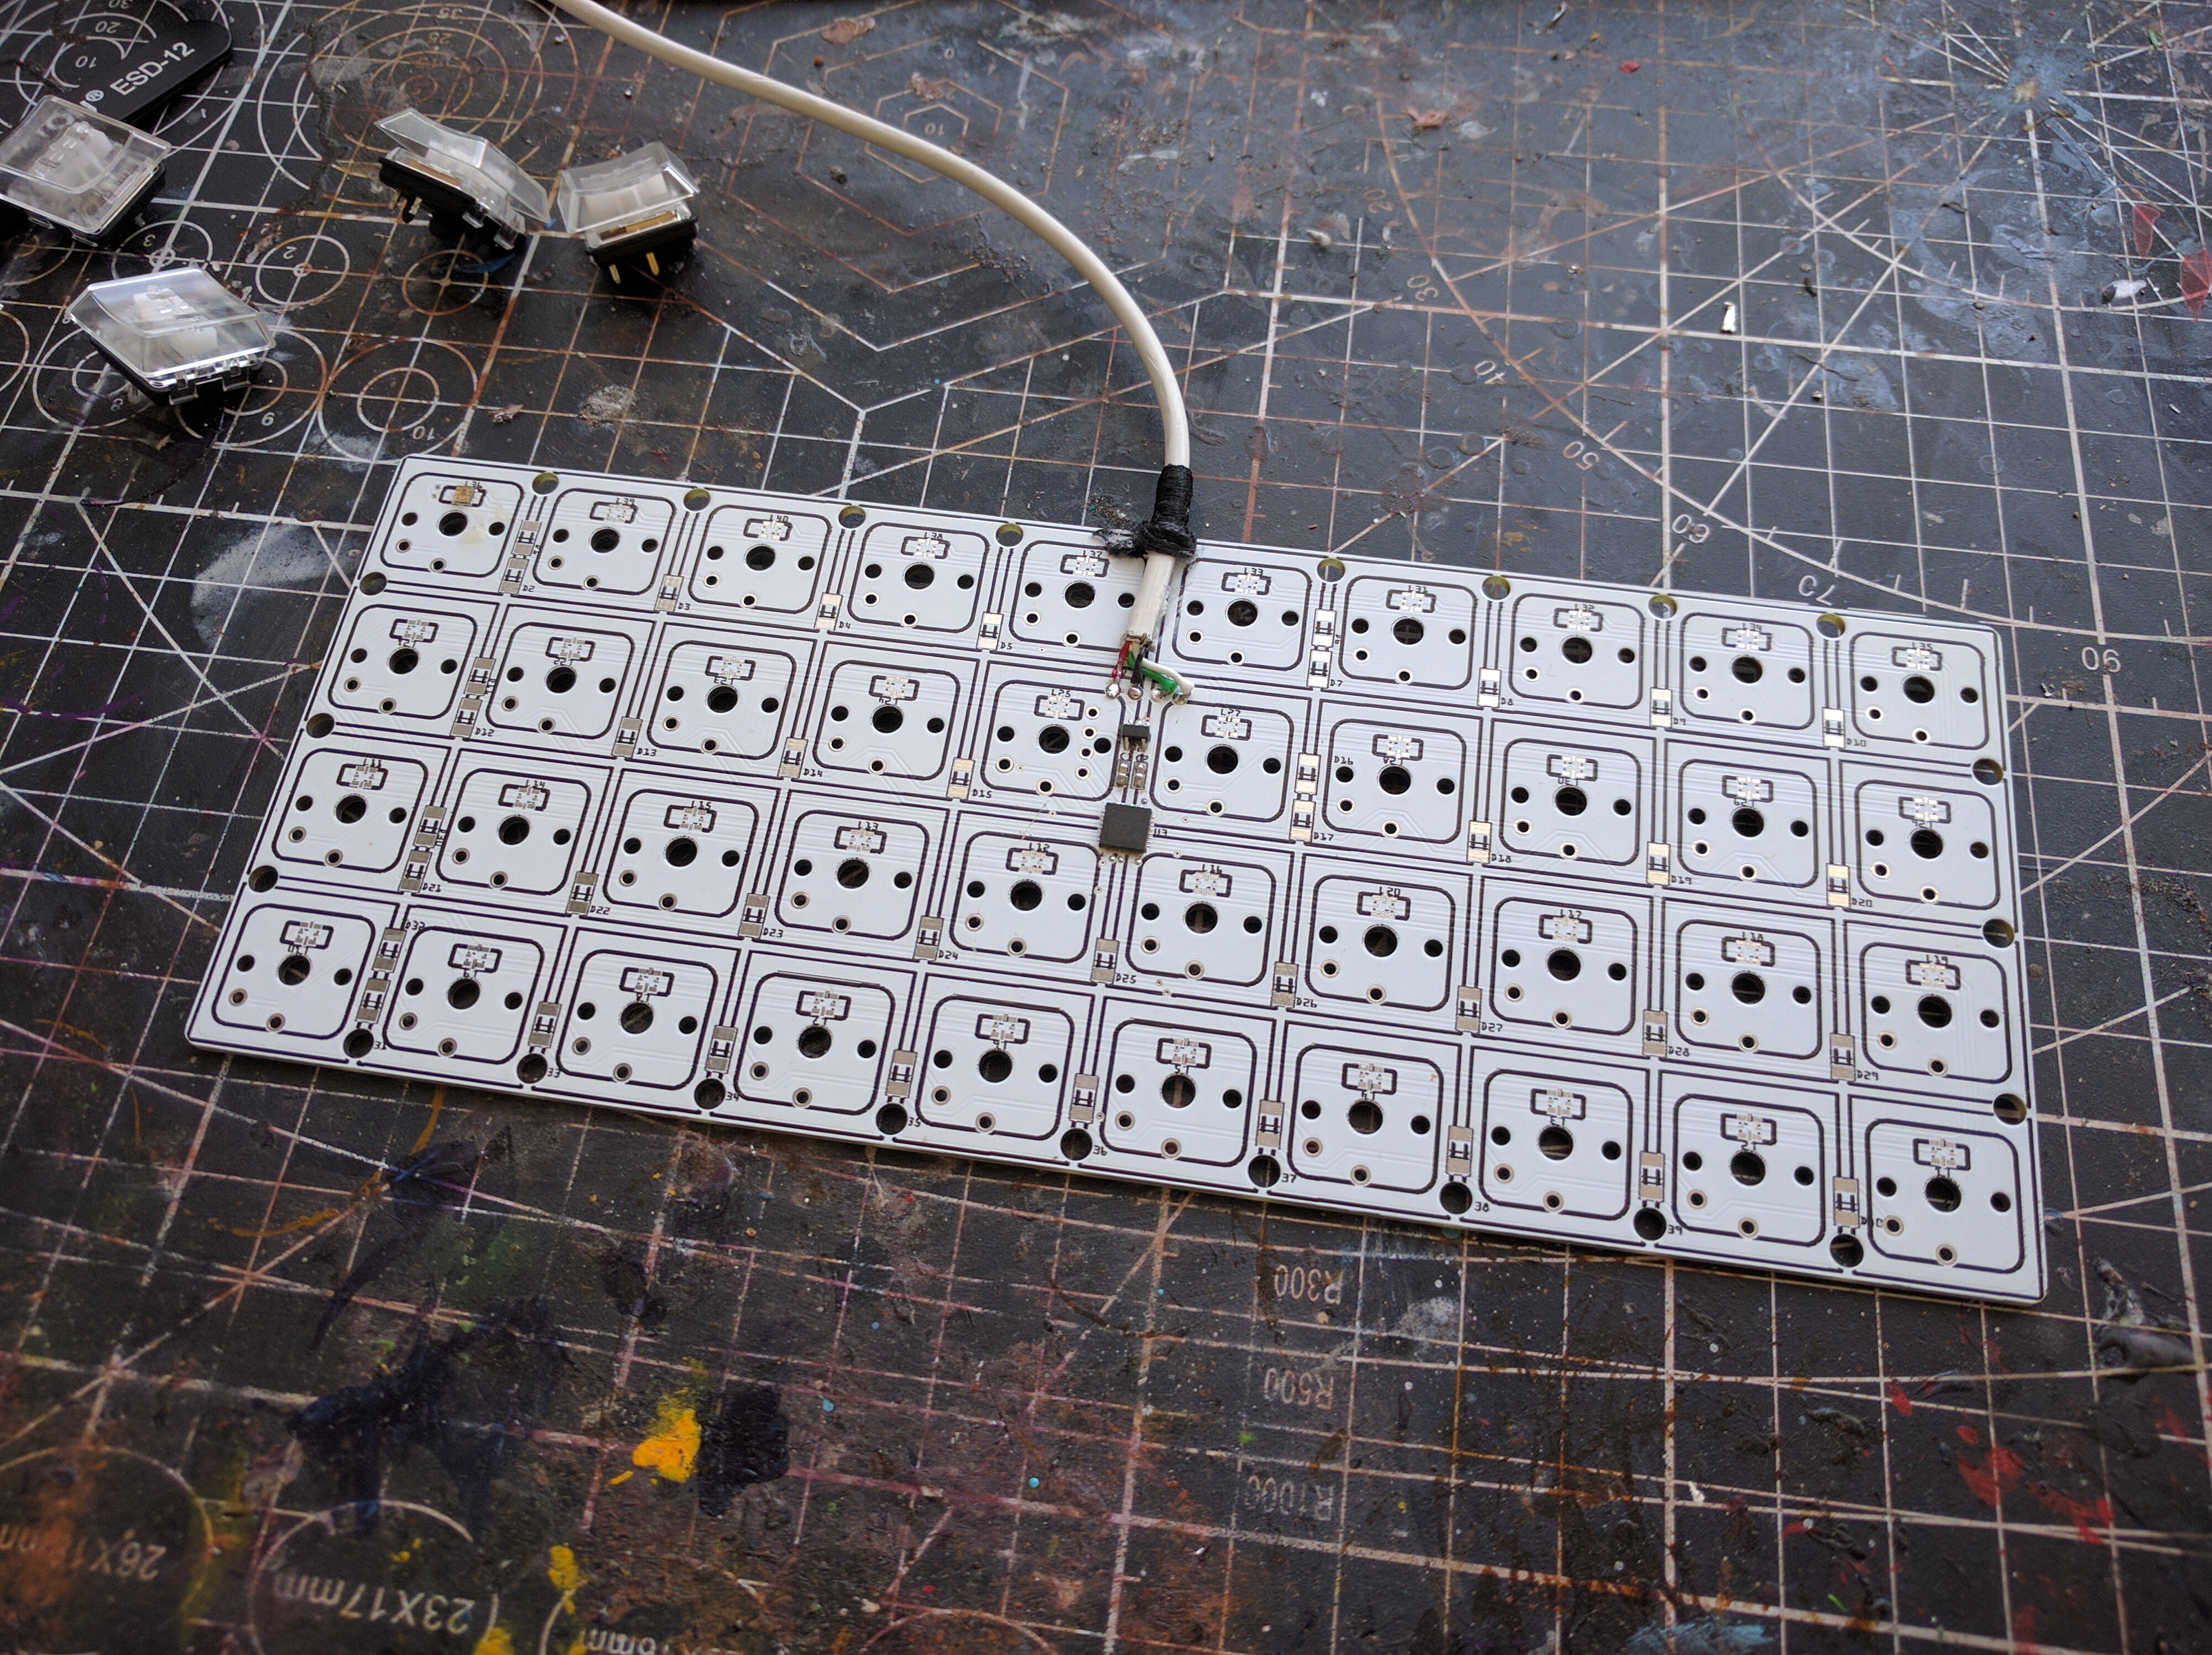
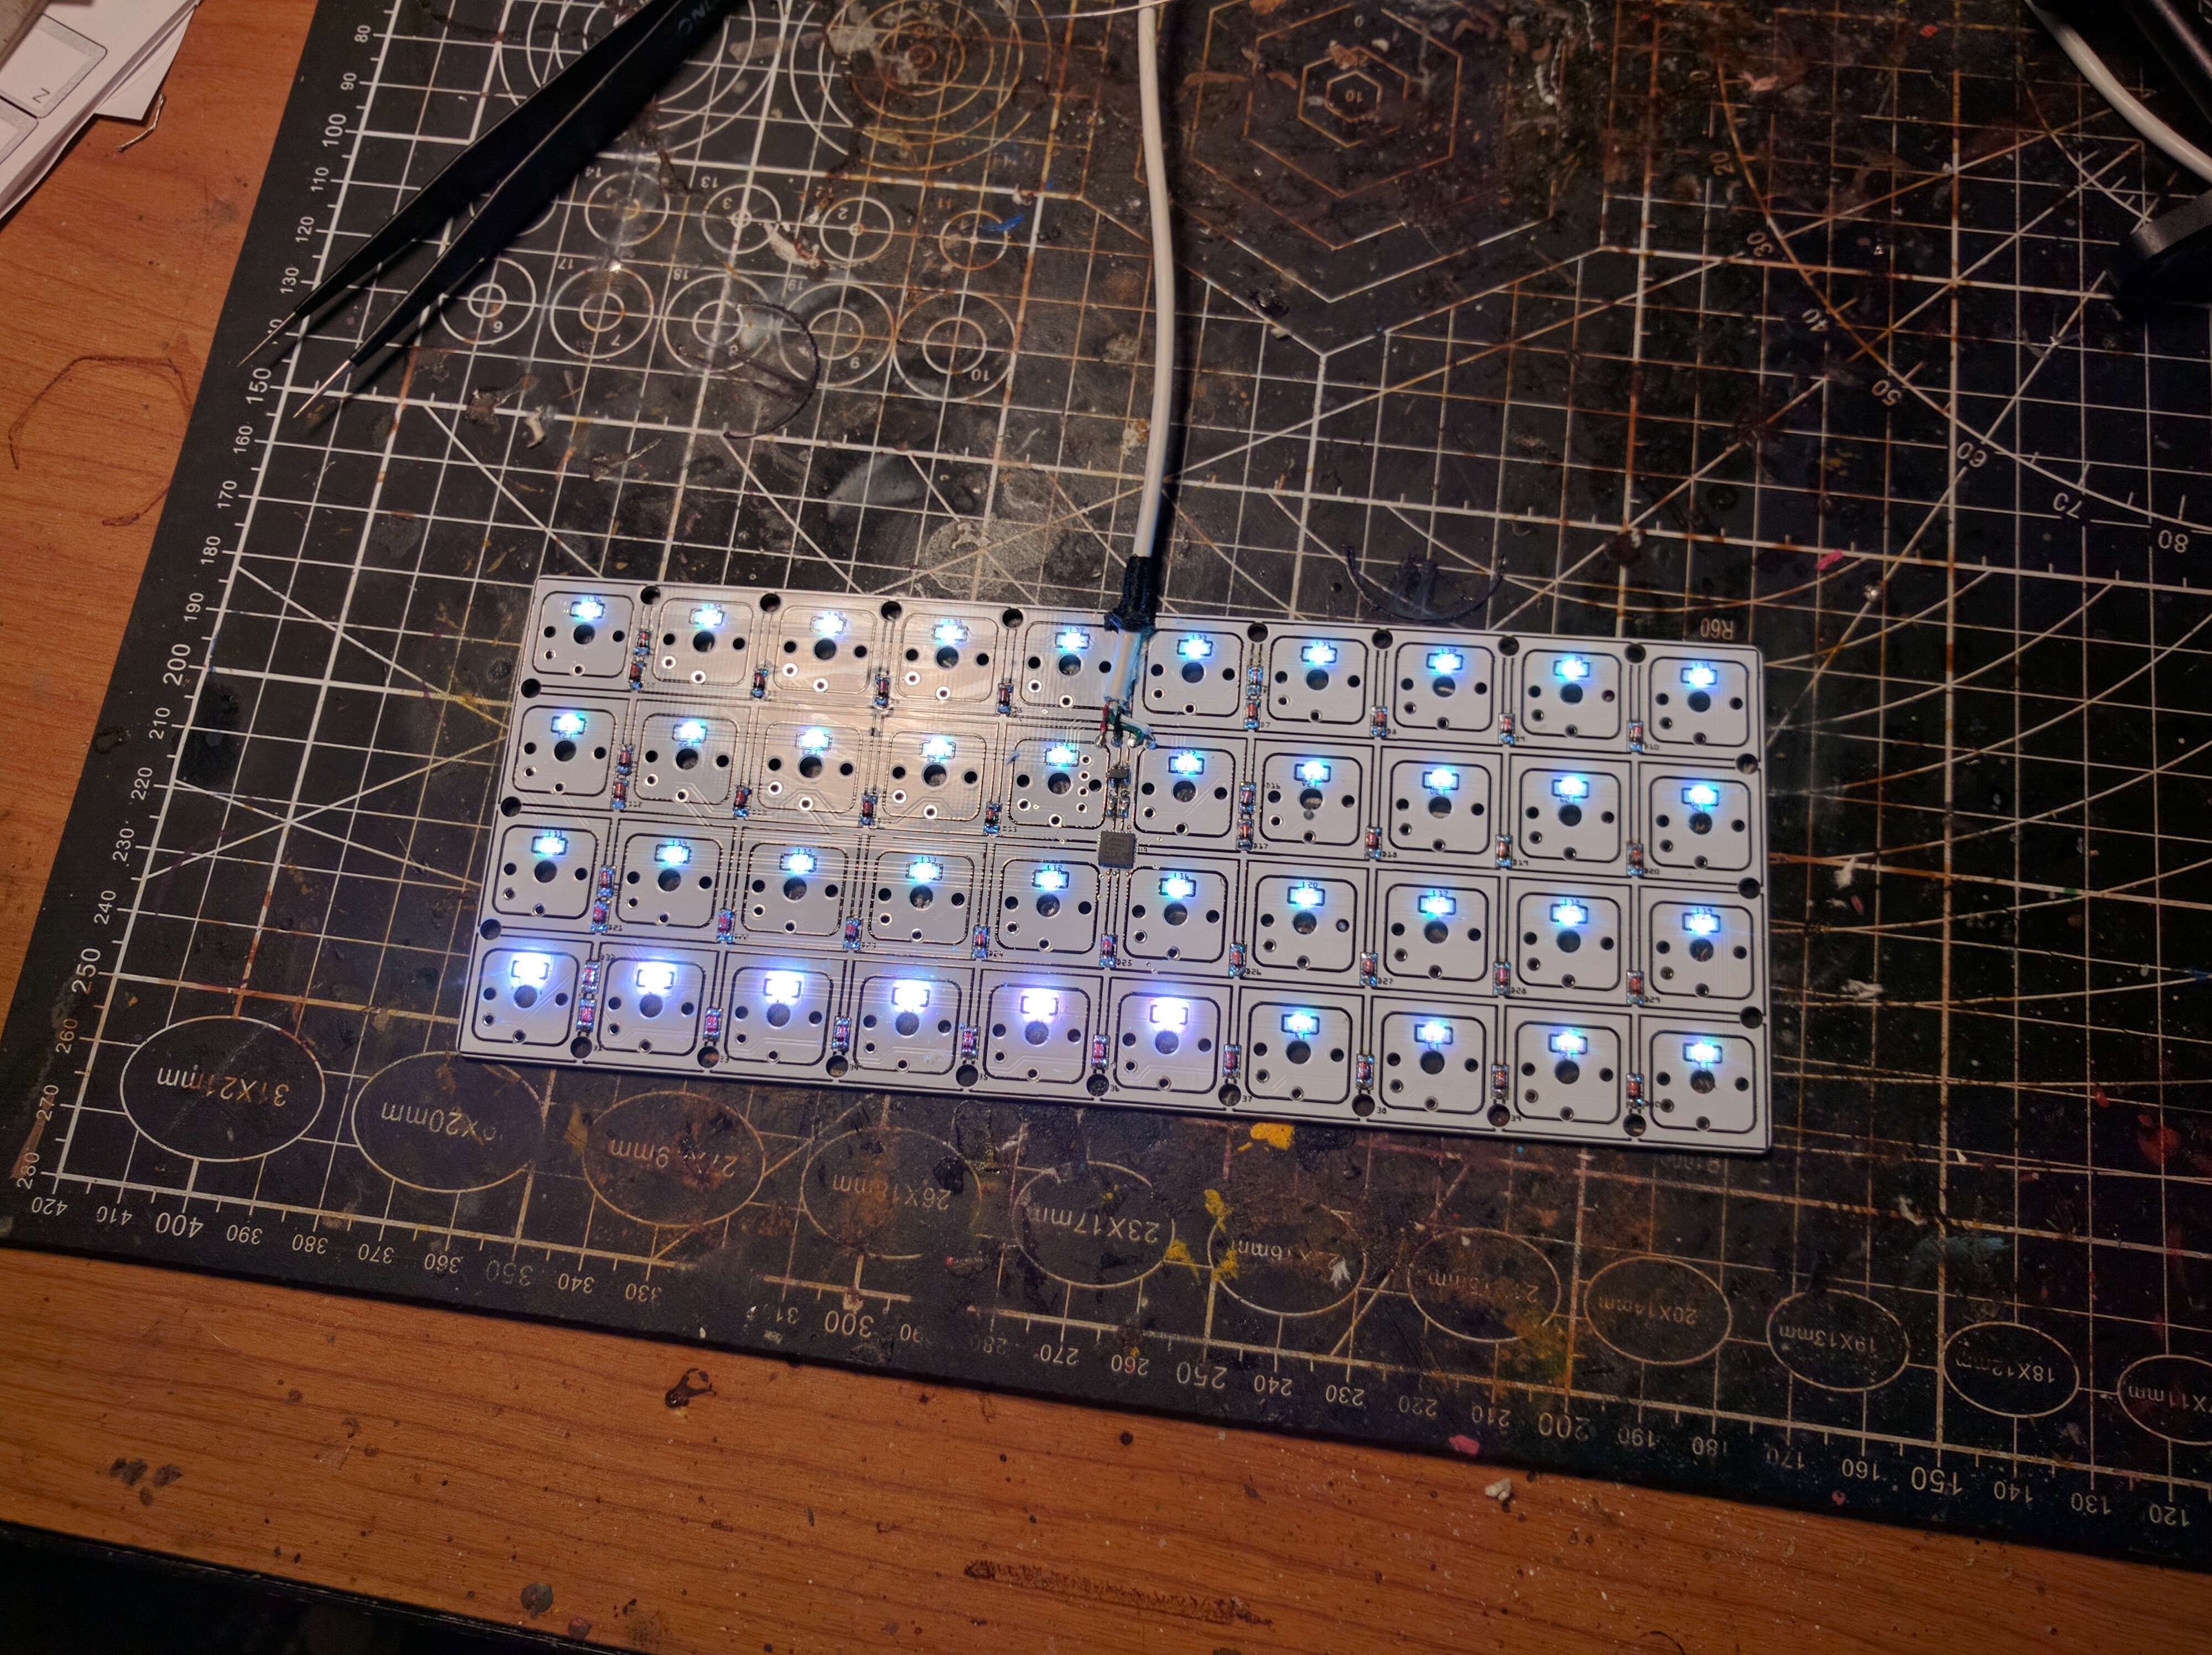
- smaller and cheaper by only having 40 keys,
- no long keys, no problem with stabilizers,
- grid layout, so all keys can use same size key caps,
But I wouldn't be myself if I didn't also use that opportunity to experiment a bit, so I'm going to use an experimental hold/tap system for the modifier keys.


 Kaeipnos
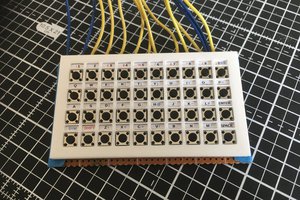
 David Boucher
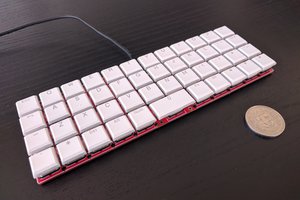

Have you considered used LED colour to indicate which alternate function is active ?