0%
0%
Robot spider w/ 9g Servos
I built a robot spider using 16 9g Servos. It is controlled by an XBox One Controller via Bluetooth.
 Max-Felix Müller
Become a Hackaday.io member
Already have an account? Log in.
Just one more thing
To make the experience fit your profile, pick a username and tell us what interests you.
Pick an awesome username
hackaday.io/
Your profile's URL: hackaday.io/username. Max 25 alphanumeric characters.
Pick a few interests
Projects that share your interests
People that share your interests


 Ali Jani
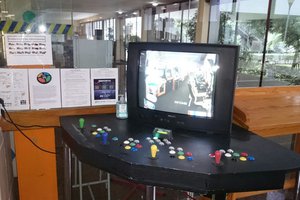
 SCART VADER
Add a couple decent sized capacitors (100-3000uF+) to the power rail, and you can probably mitigate your brownouts. More is better here, within size constraints. Also, consider supplying your servos with their own power supply, The servos often can work at a little higher voltage than the signaling voltage, and so you can get a 20%-30% overall power (and speed) increase for 'free'. Just share the ground potential between them (at 5V signaling levels anyway), and it all just works.