Ok so this will be the first post of many. Keep in mind that this is a project in collaboration with a friend, so when I say "I", most of the time I mean "we".
Anyways...
The Original:
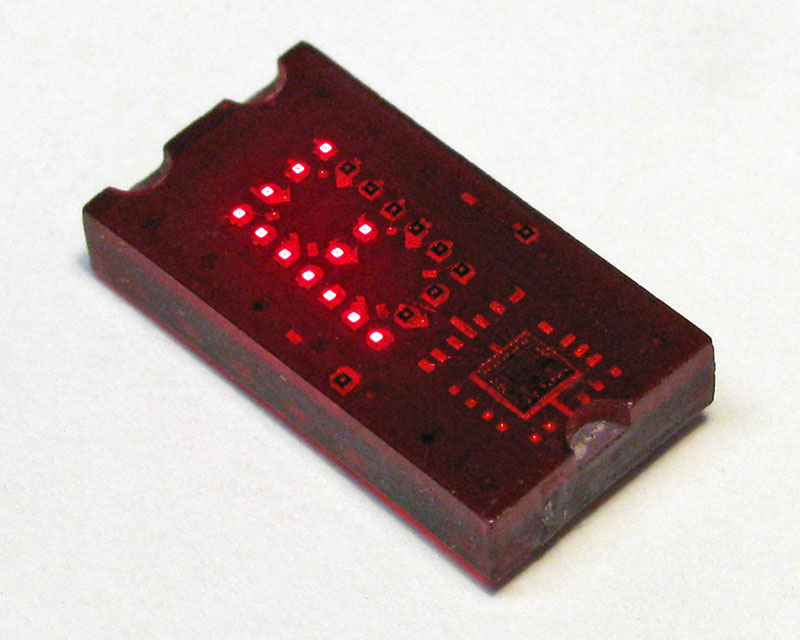
This is a Texas Instruments TIL311. It takes a 4 bits (along with control lines + decimal points) and displays the data as it's hexadecimal representation. If you give it a 0000 it will display a 0 and 1111 will be an F. In addition to power and ground, the chip only uses 8 data lines (bits if you will) to function. This means that we only need a single byte to control the entire chip.
Parts:
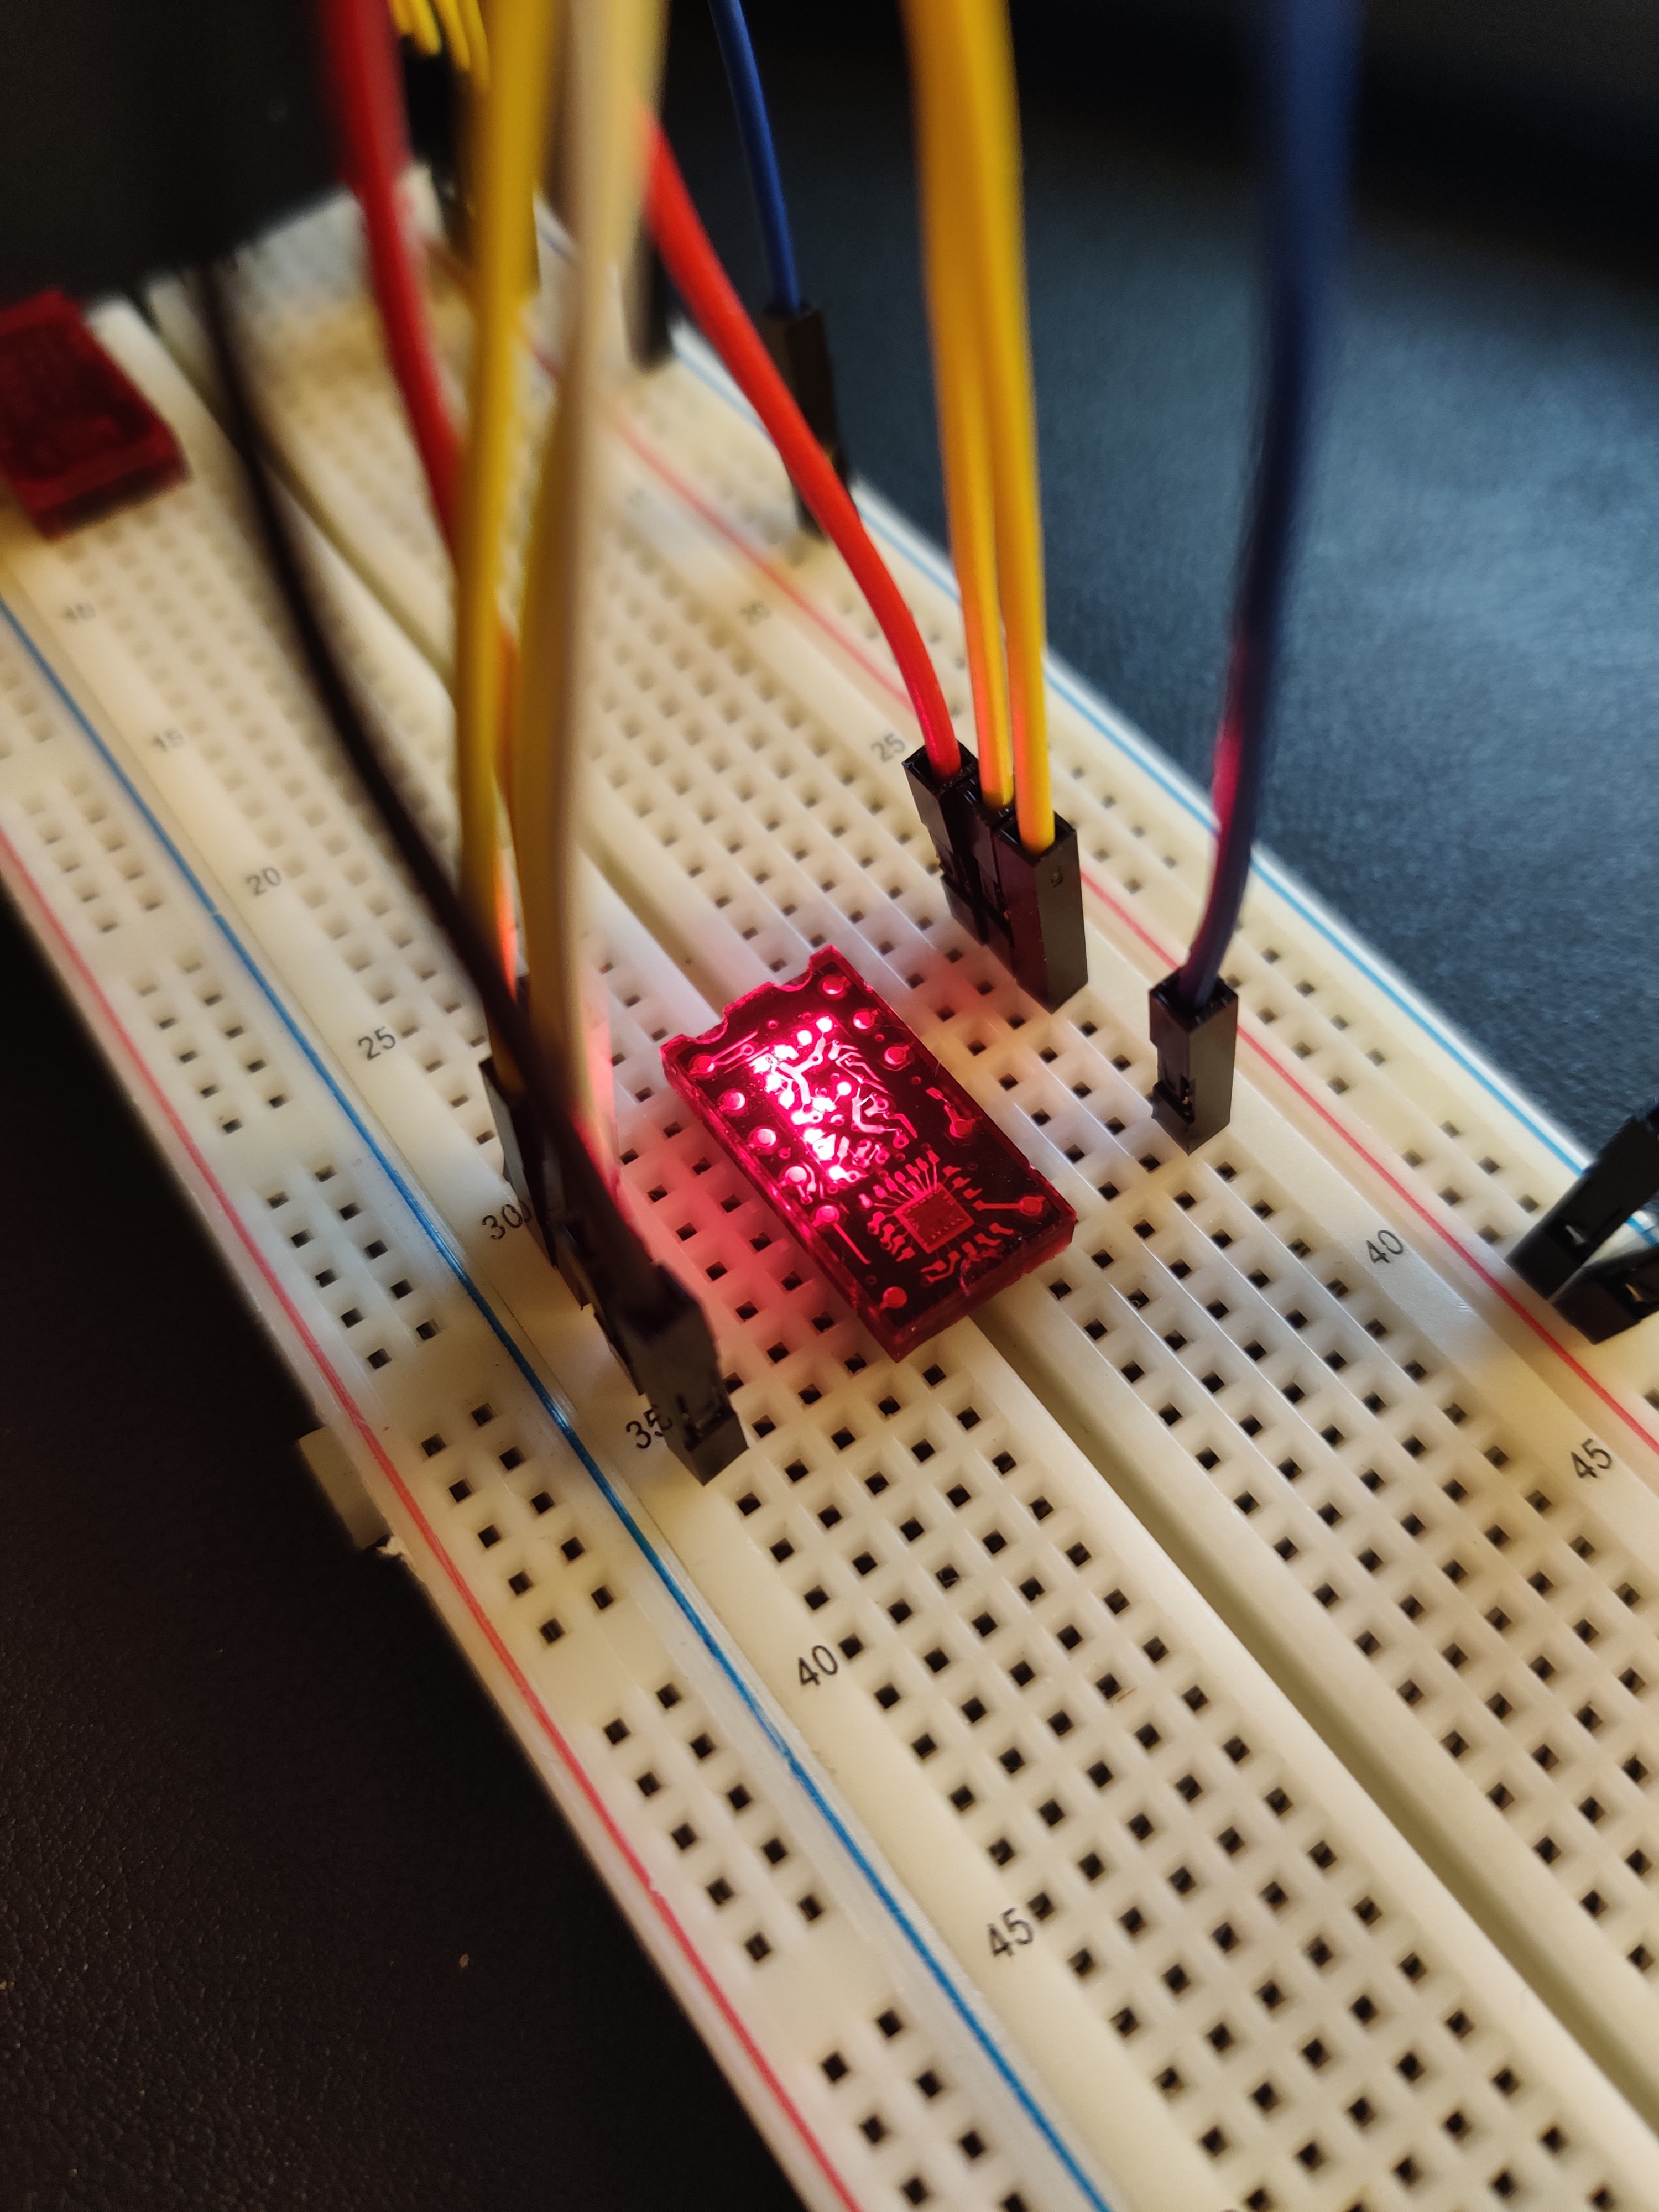
There are 22 LEDs under that red epoxy. In addition, there are 11 pins in a 14 pin DIP package. In order to take some binary data and display its representation in hex by turning on LEDs, we need a microcontroller. This is that square thing that is at the bottom of the chip (near row 35 on the breadboard). For simplicity's sake (or so I thought) we decided to multiplex the LEDs to use less pins on the microcontroller. So, our microcontroller needed to have 6 pins for data input (both the decimal points are independent of the control logic), and 11 output pins for the LED matrix (a 4X7 marix was used to make routing the board easier). Thats 17 pins to start, in addition we need 4 pins for programming (yes I could reuse the same pins but I decided not to) and 2 pins for an external oscillator. That's a total of 23 pins (plus VCC and GND).
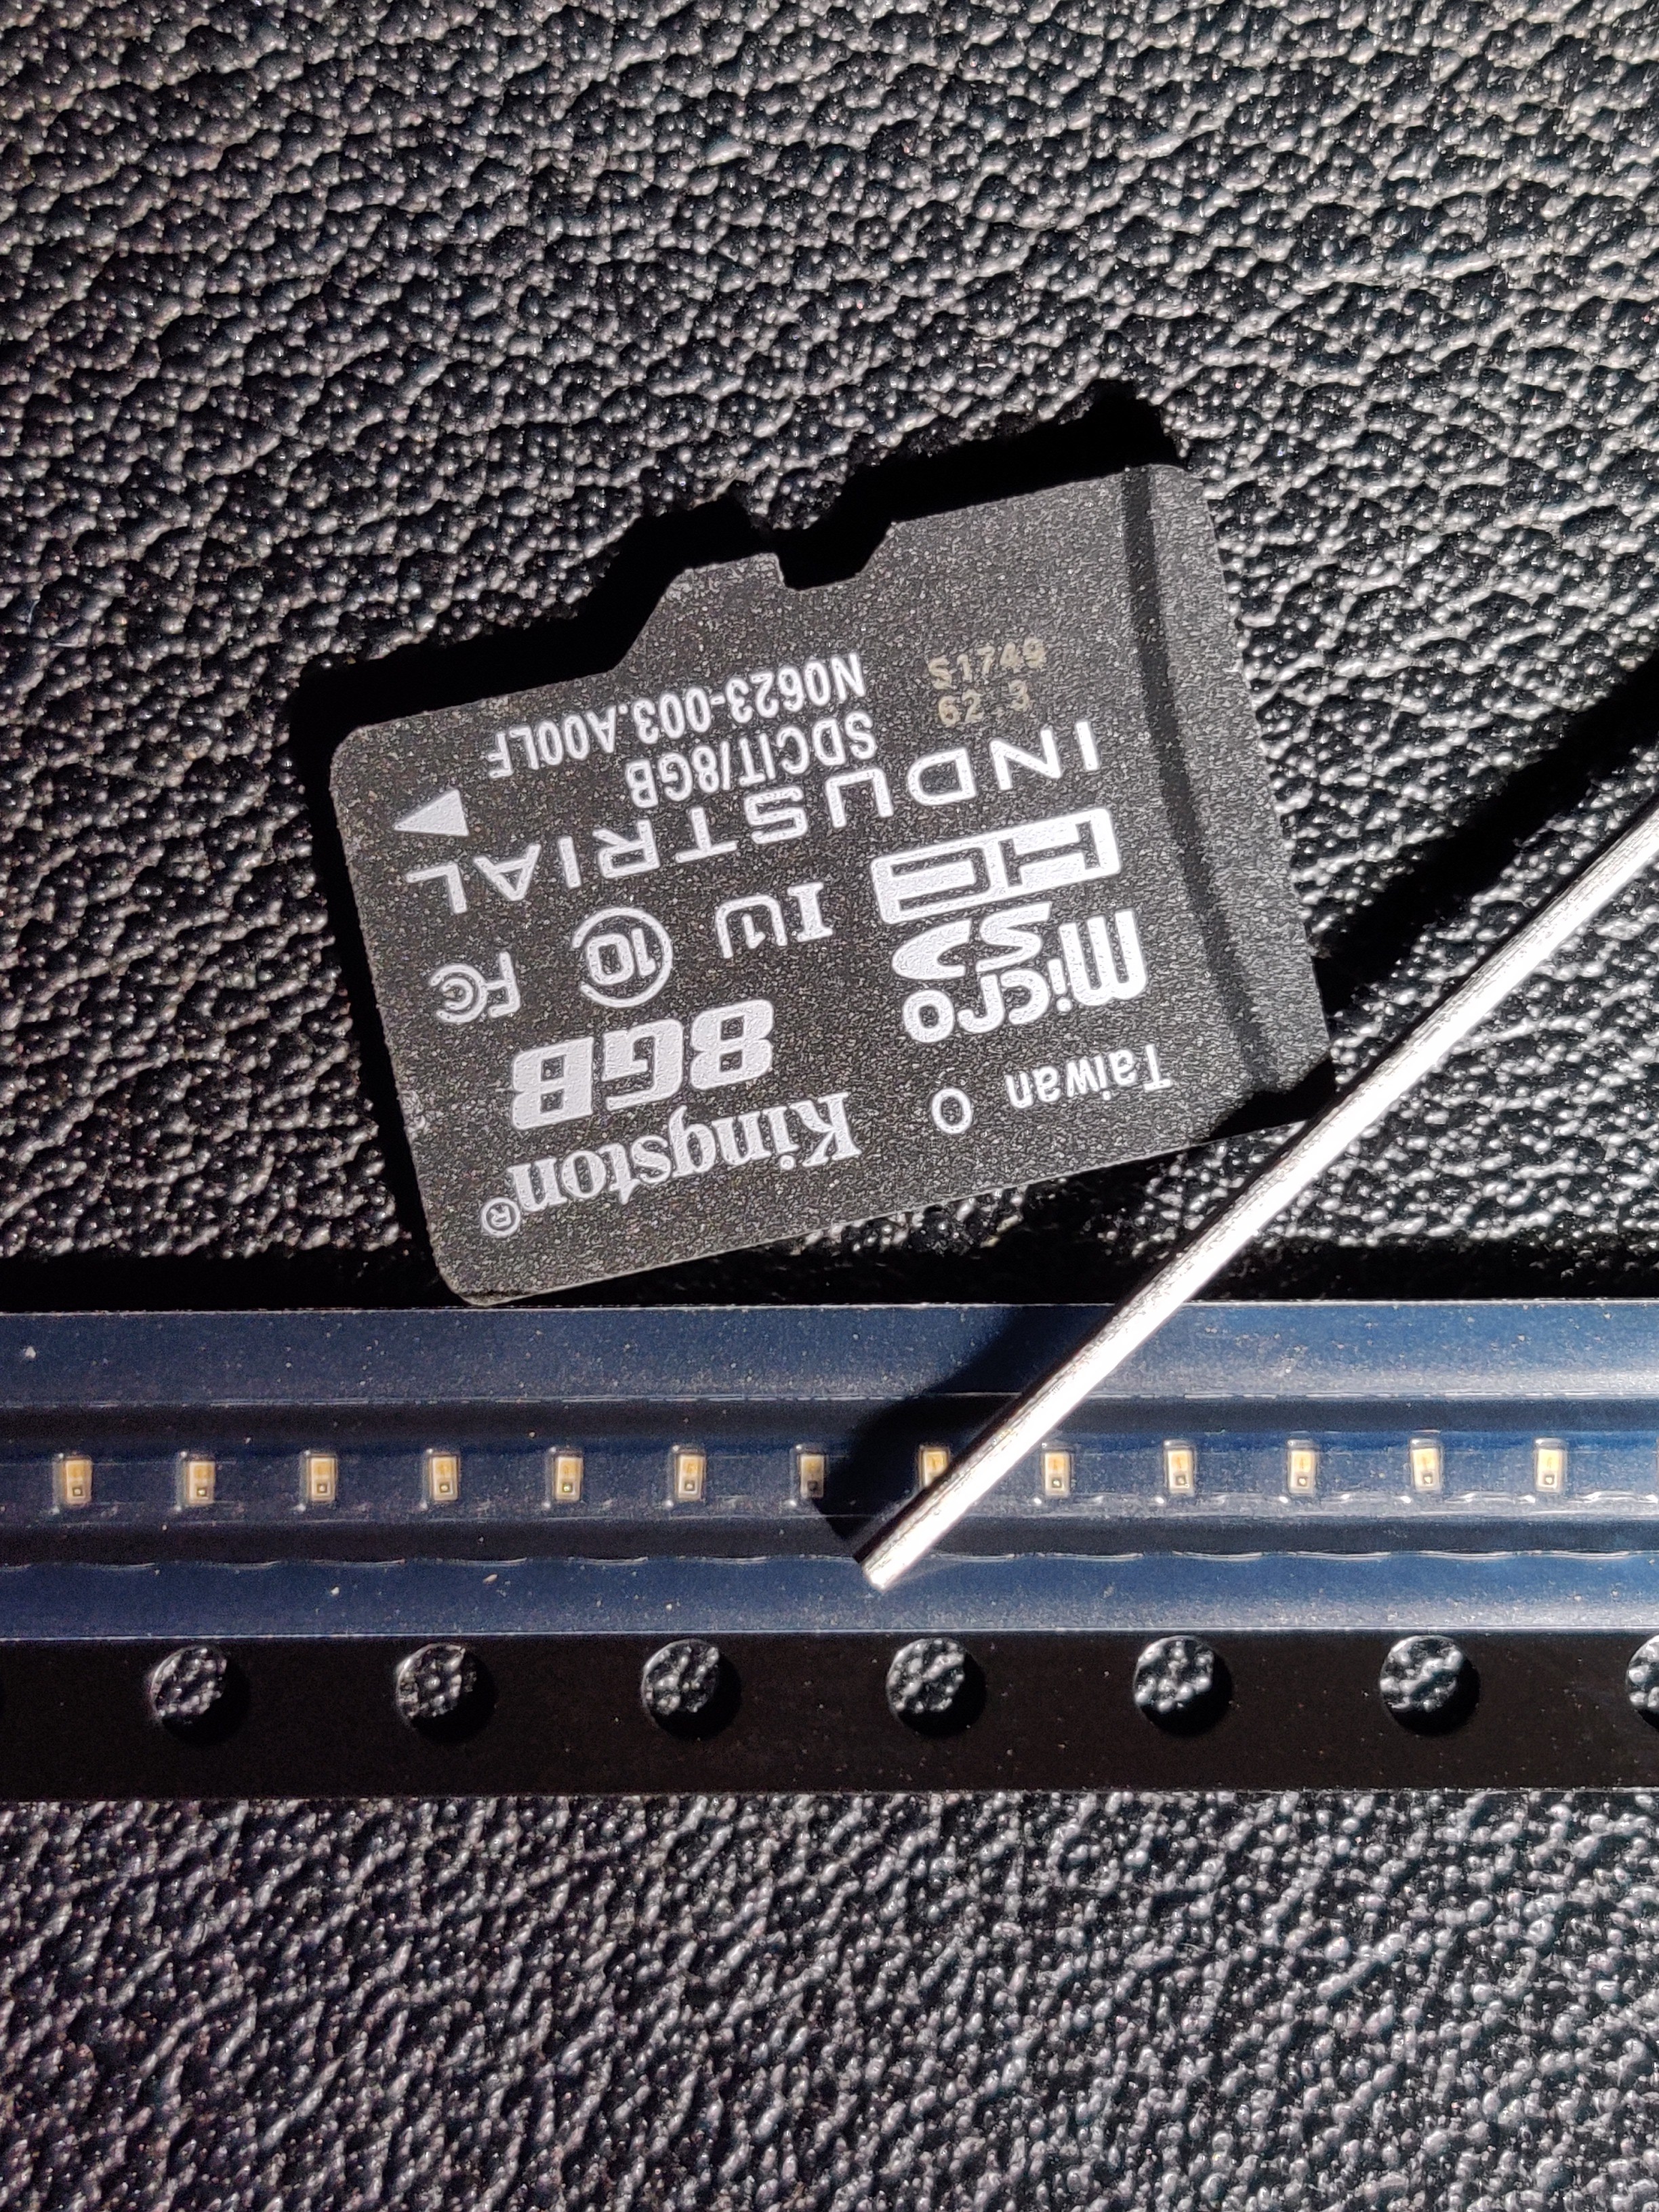
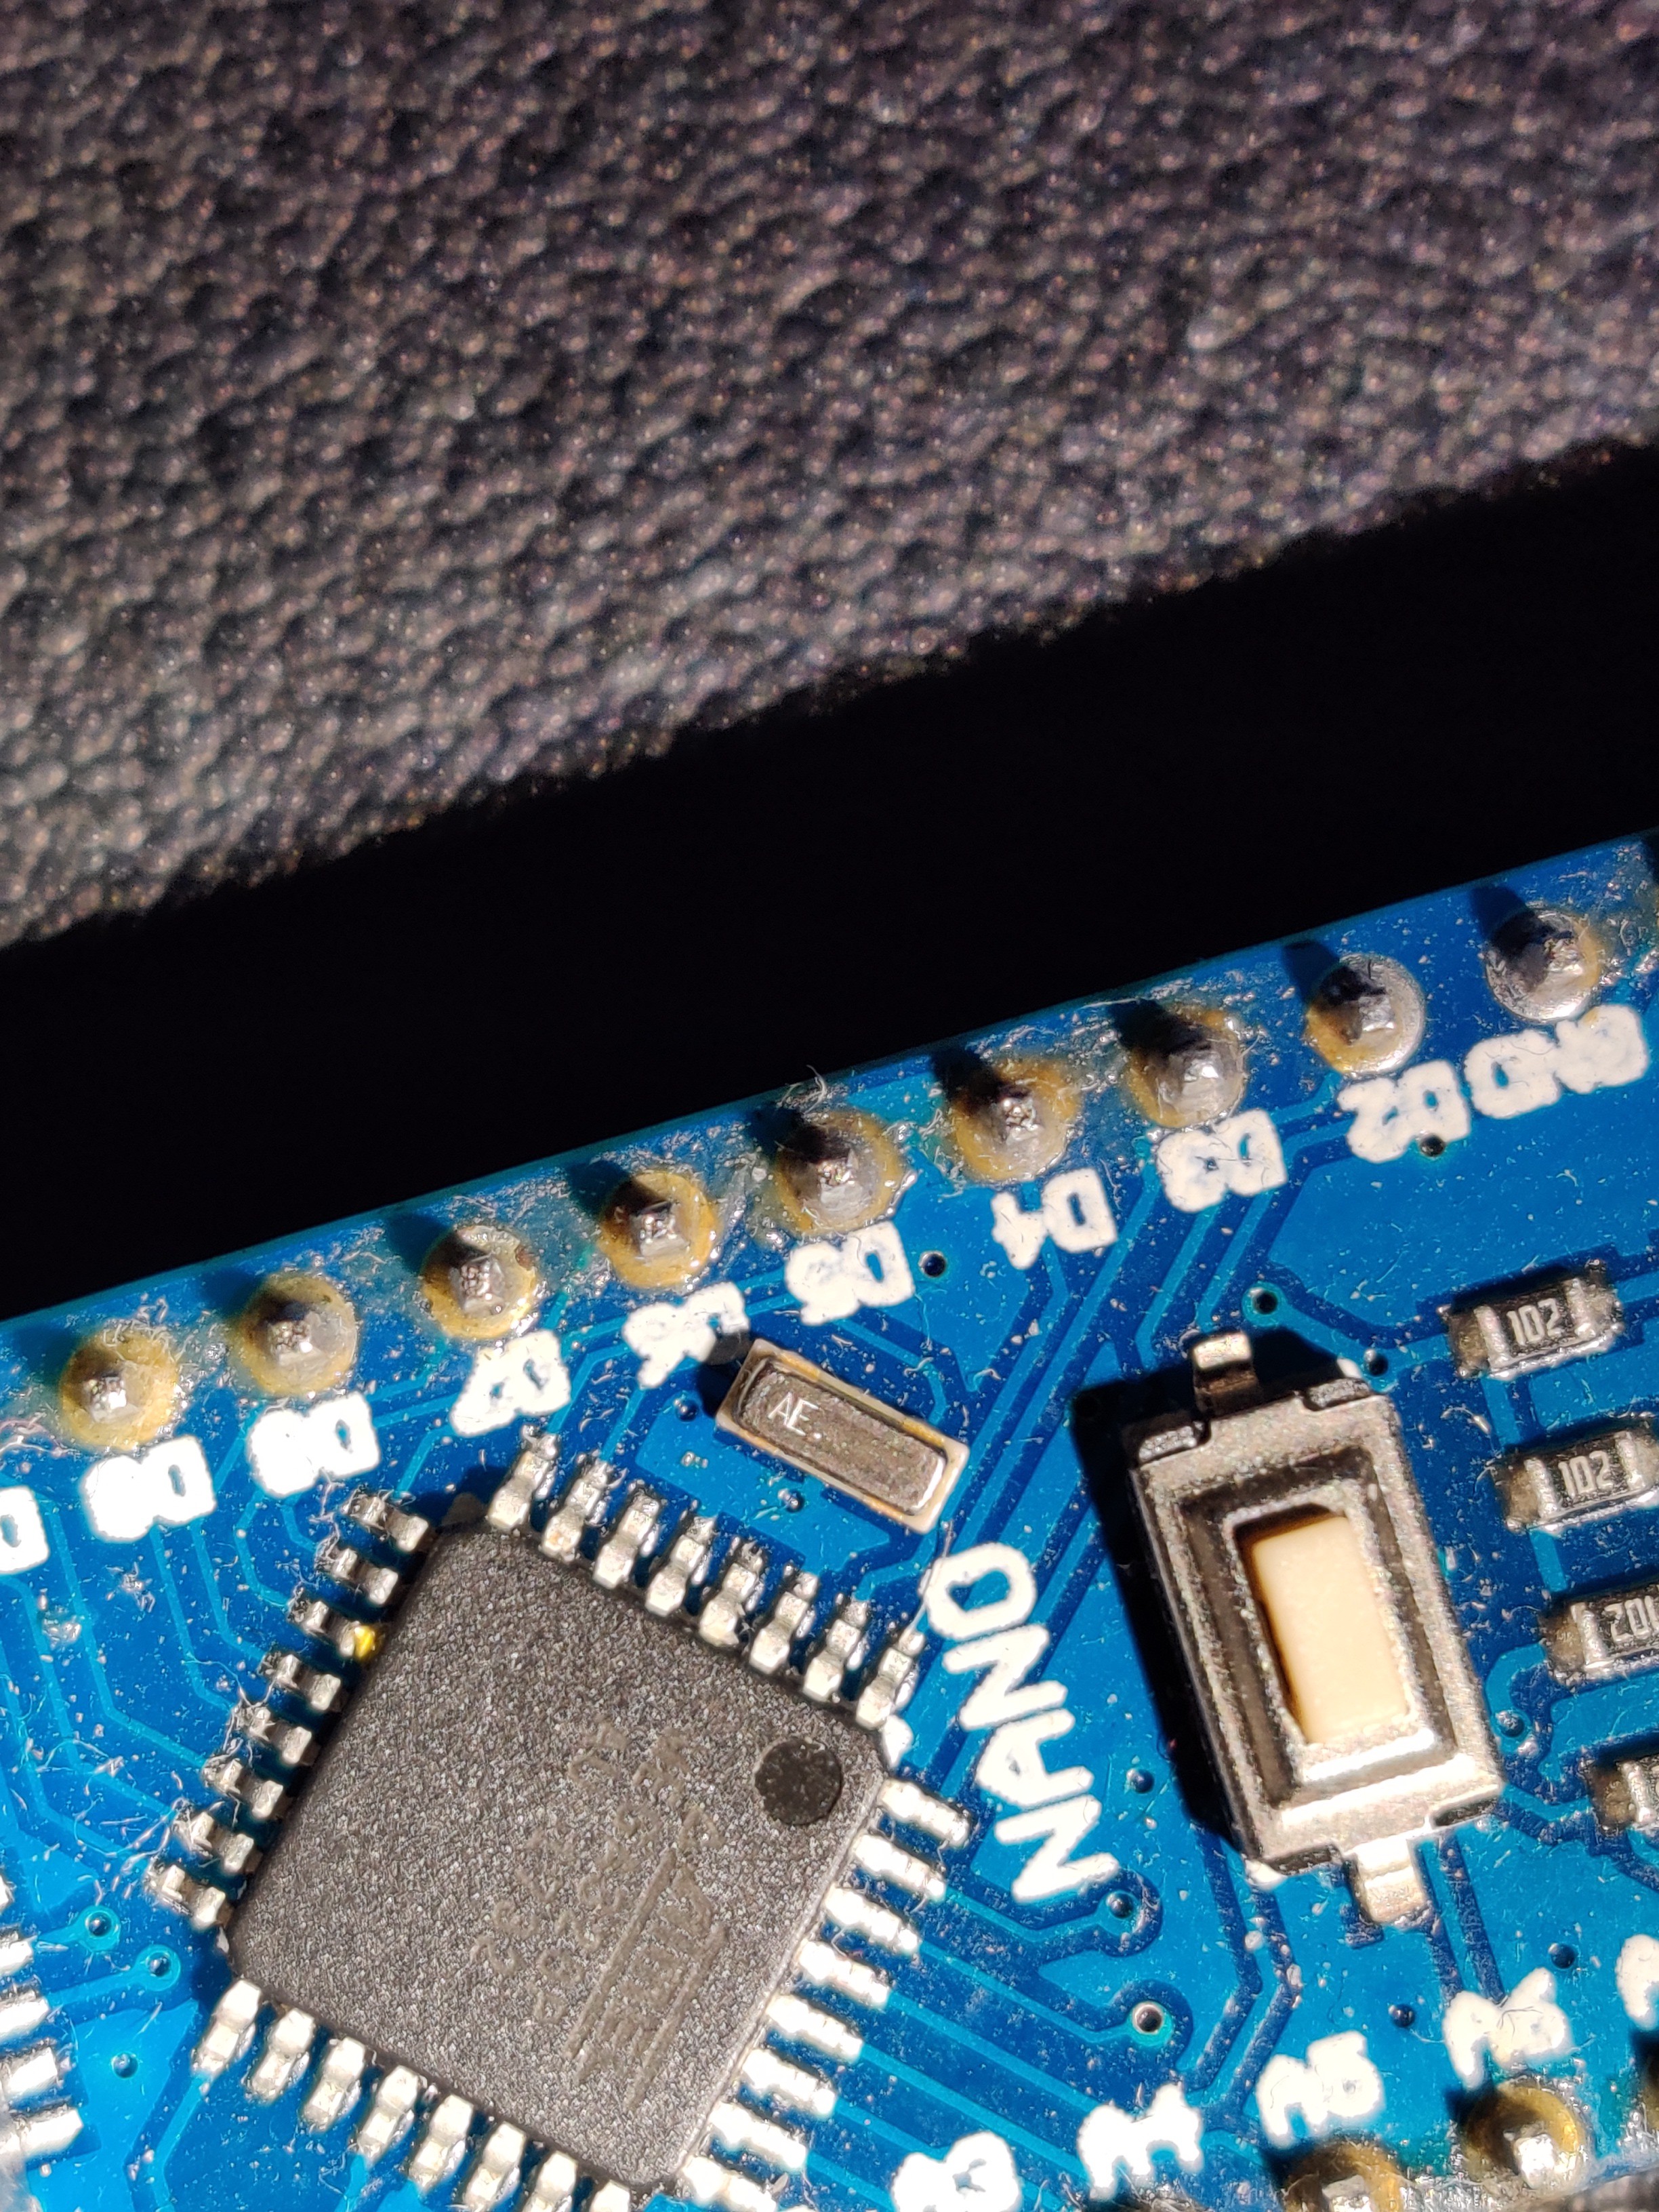
We decided to go with the ATMEGA328P for this application as it comes in a VQFN package, has a whole lot of documentation as it is the main processor used on arduino boards, and is relatively cheap (I will not be using the arduino bootloader but that will be a future topic). The LEDs will be a 0201 package and will be orange (because I don't want to wait for a 10 week lead time or pay an extra like 5 cents per). There will be 0201 resistors and a 3 pin 16mhz ceramic resonator (similar to what arduino nanos have).
The LEDs compared to a microSD card and 0.7mm pencil lead:
The resonator on a (knockoff) arduino nano:
Design:
All schematics, pcb designs, and everything else will be in the files section (I may just put them on github if I run out of space here)
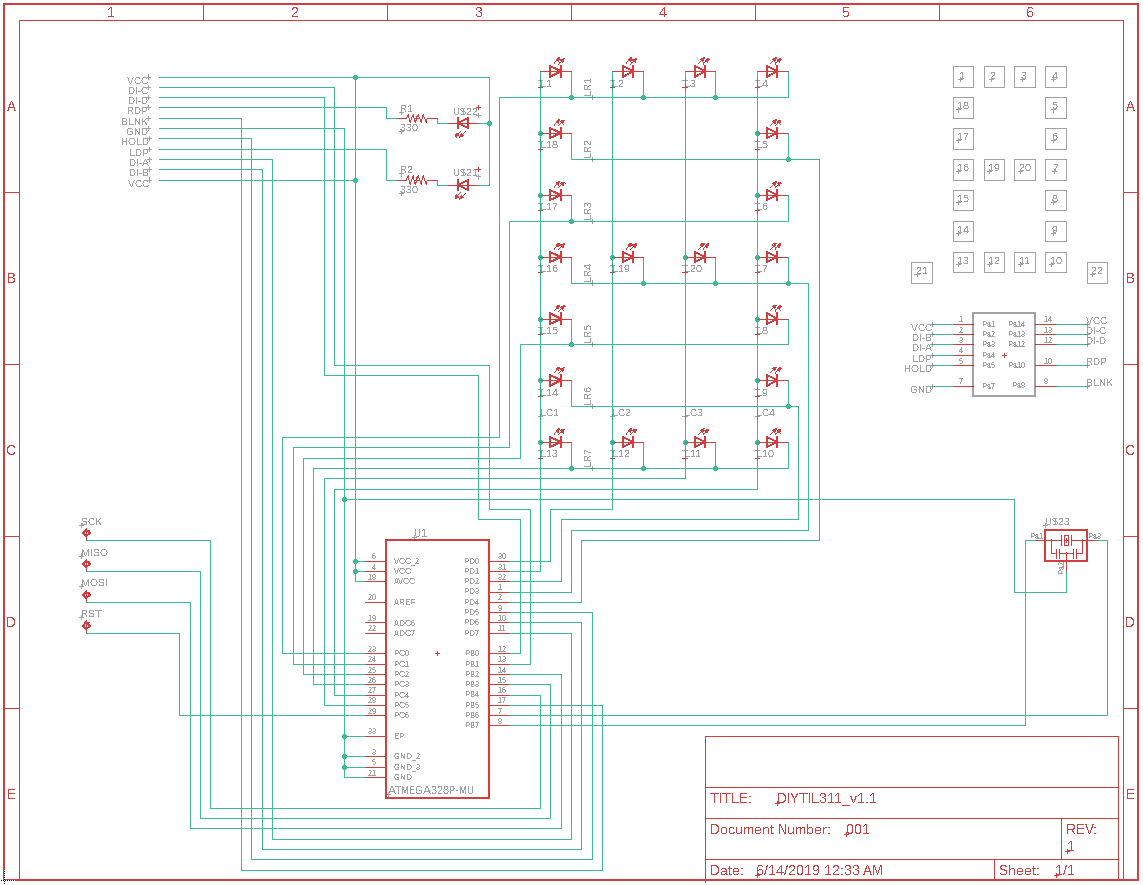
After spending some time with the datasheets for the original TIL311 and the ATMEGA328P, I used Eagle to make a schematic and lay out all the components where I wanted them to be on the PCB. I then began the task of routing all the components according to the PCB manufacturer's specs. After 3 failed attempts to follow their specs (mainly because I am apparently an idiot that can't read) and about 2 weeks, I submitted the PCBs to be manufactured.
Schematic:
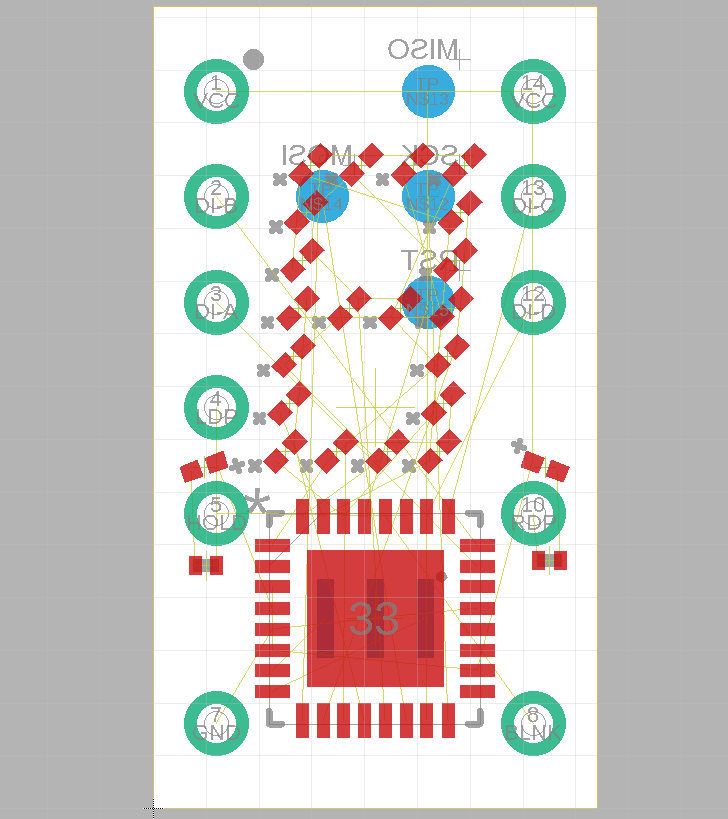
Failed PCB (I unrouted everything in hopes that I could salvage it but coudn't. sry that you dont get to see routes):
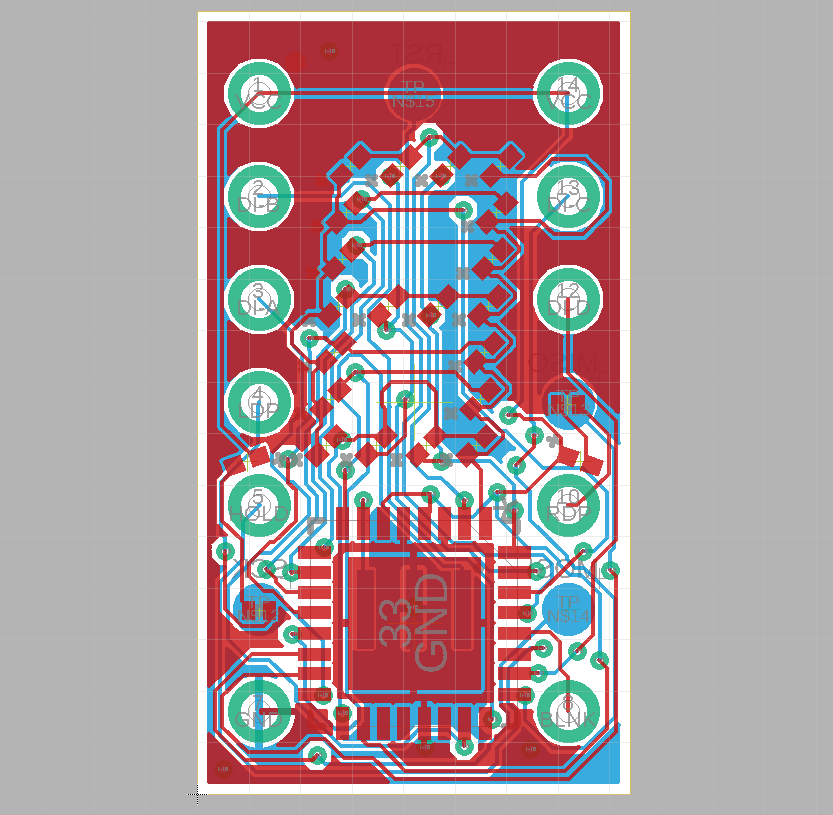
Failed PCB (tolerances too tight):
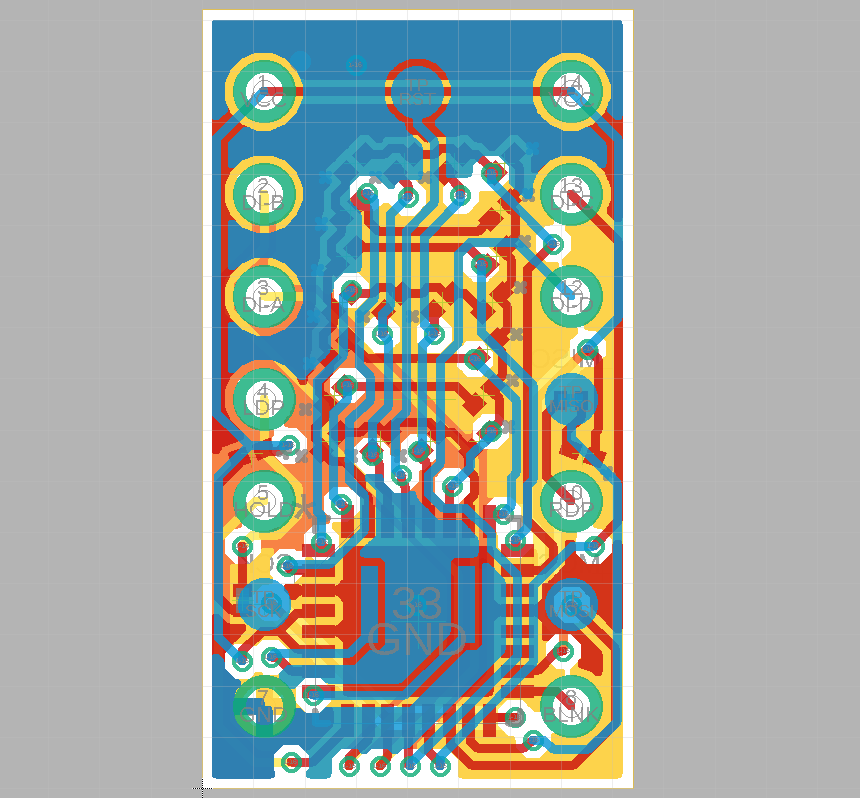
PCB that was accepted:
In the next post I will go over how we plan on programming this thing as well as some other useful stuff.
 Jacob Still
Discussions
Become a Hackaday.io Member
Create an account to leave a comment. Already have an account? Log In.