 Eric
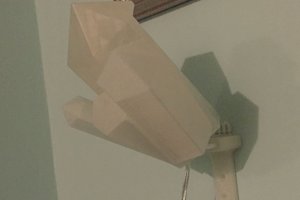
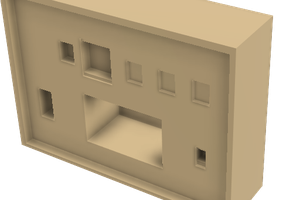
EricBy CAD’ing and 3D-printing all structural components, assembly only requires a bit of hole drilling and screw screwing. No more trying to wedge hot glue into every crevice to make sure everything stays together. While the parts do take a long time to print, printing doesn’t require supervision so labor is reduced and the overall quality is increased dramatically. The LED “troughs”, which used to be bent aluminum, is also 3D printed and spray-painted chrome to help reflect the light upwards. The speaker hole (I’m sure there’s a technical name for it, I just don’t know what it is) is a 3D printed grate with a bezel to hide the somewhat rough cuts made to let the sound through. On the other side of the hole is a ring that fits around the inner guard of the bezel to keep it in place, I soldered the bezel to the ring using PLA to make sure it never comes out.
The electronics got a huge upgrade, instead of salvaging computer speakers I instead bought new 5V audio amplifiers which eliminates fluctuation in sound quality between units and iterations. The same goes for the speakers, which are bought new in order to avoid guessing which salvage speakers work and which ones have the correct impedance. The RGB LEDs are the same Chinese bulk-buy, but they’re soldered into a strip of perf board to insure a solid connection. All of the components distributed throughout the toaster use JST XHP connectors for easy part replacement and just an overall cleaner look. The audio connector that used to be hard-soldered into the audio board is now a headphone jack that takes an aux cord which, again, looks much cleaner.
Those are the major design changes, there may be a few more I’m missing but they would fall under the category of 3D-printed structure or upgraded electronics.

 Alain d'Espaignet
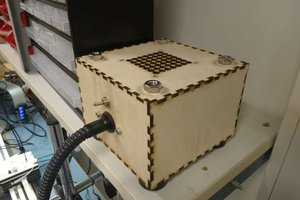
 Øystein
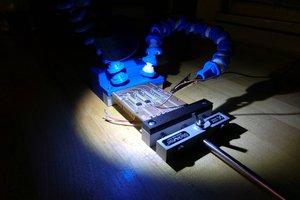
 Alex Rich
Never underestimate the power of toast...